Flask与Celery 项目应用(shared_task使用)
目录
- 1. 项目概述
- 主要功能
- 技术栈
- 2. 项目结构
- 3. 环境设置
- 创建虚拟环境并安装依赖
- 主要依赖
- 4. 应用配置
- Flask应用初始化 (`__init__.py`)
- Celery应用初始化 (`make_celery.py`)
- 5. 定义Celery任务 (`tasks.py`)
- 任务说明
- 6. 创建API端点 (`views.py`)
- API端点说明
- 7. 前端界面 (`index.html`)
- 前端JavaScript实现
- 8. 运行应用
- 用docker启动redis
- 启动Celery Worker
- 启动Flask开发服务器
- 9. 关键概念解析
- Celery任务装饰器
- 任务ID
- 任务状态查询
1. 项目概述
本教程将指导您创建一个Flask应用,该应用使用Celery处理后台任务。我们将构建一个简单的Web界面,允许用户提交三种不同类型的任务,并通过JavaScript轮询查看任务结果。
主要功能
- 简单计算任务:将两个数字相加
- 阻塞任务:模拟长时间运行的任务
- 进度报告任务:显示任务执行进度
技术栈
- Flask: Web框架
- Celery: 分布式任务队列
- Redis: 消息代理和结果后端
- JavaScript: 前端交互和轮询
2. 项目结构
flask_celery_app/
├── .venv/                  # 虚拟环境
├── README.md              # 项目说明
├── make_celery.py         # Celery应用初始化
├── pyproject.toml         # 项目配置
├── requirements.txt       # 依赖列表
└── src/└── task_app/├── __init__.py    # Flask应用初始化├── tasks.py       # Celery任务定义├── views.py       # Flask视图和API└── templates/└── index.html  # 前端界面
3. 环境设置
创建虚拟环境并安装依赖
uv venv
Using CPython 3.12.10
Creating virtual environment at: .venv
Activate with: source .venv/bin/activate
uv pip install -r requirements.txt
uv pip install -e .
主要依赖
- Flask
- Celery
- Redis
4. 应用配置
Flask应用初始化 (__init__.py)
from celery import Celery
from celery import Task
from flask import Flask
from flask import render_templatedef create_app() -> Flask:app = Flask(__name__)app.config.from_mapping(CELERY=dict(broker_url="redis://localhost",result_backend="redis://localhost",task_ignore_result=True,),)app.config.from_prefixed_env()celery_init_app(app)@app.route("/")def index() -> str:return render_template("index.html")from . import viewsapp.register_blueprint(views.bp)return appdef celery_init_app(app: Flask) -> Celery:class FlaskTask(Task):def __call__(self, *args: object, **kwargs: object) -> object:with app.app_context():return self.run(*args, **kwargs)celery_app = Celery(app.name, task_cls=FlaskTask)celery_app.config_from_object(app.config["CELERY"])celery_app.set_default()app.extensions["celery"] = celery_appreturn celery_app
Celery应用初始化 (make_celery.py)
from task_app import create_appflask_app = create_app()
celery_app = flask_app.extensions["celery"]
5. 定义Celery任务 (tasks.py)
import timefrom celery import shared_task
from celery import Task@shared_task(ignore_result=False)
def add(a: int, b: int) -> int:return a + b@shared_task()
def block() -> None:time.sleep(5)@shared_task(bind=True, ignore_result=False)
def process(self: Task, total: int) -> object:for i in range(total):self.update_state(state="PROGRESS", meta={"current": i + 1, "total": total})time.sleep(1)return {"current": total, "total": total}
任务说明
- add任务: 简单的加法计算,设置
ignore_result=False以保存结果 - block任务: 模拟耗时操作,不返回结果
- process任务: 带进度报告的任务,使用
update_state更新进度
6. 创建API端点 (views.py)
from celery.result import AsyncResult
from flask import Blueprint
from flask import requestfrom . import tasksbp = Blueprint("tasks", __name__, url_prefix="/tasks")@bp.get("/result/<id>")
def result(id: str) -> dict[str, object]:result = AsyncResult(id)ready = result.ready()return {"ready": ready,"successful": result.successful() if ready else None,"value": result.get() if ready else result.result,}@bp.post("/add")
def add() -> dict[str, object]:a = request.form.get("a", type=int)b = request.form.get("b", type=int)result = tasks.add.delay(a, b)return {"result_id": result.id}@bp.post("/block")
def block() -> dict[str, object]:result = tasks.block.delay()return {"result_id": result.id}@bp.post("/process")
def process() -> dict[str, object]:result = tasks.process.delay(total=request.form.get("total", type=int))return {"result_id": result.id}
API端点说明
- /tasks/result/: 获取任务结果
- /tasks/add: 提交加法任务
- /tasks/block: 提交阻塞任务
- /tasks/process: 提交带进度的任务
7. 前端界面 (index.html)
<!doctype html>
<html>
<head><meta charset=UTF-8><title>Celery Example</title>
</head>
<body>
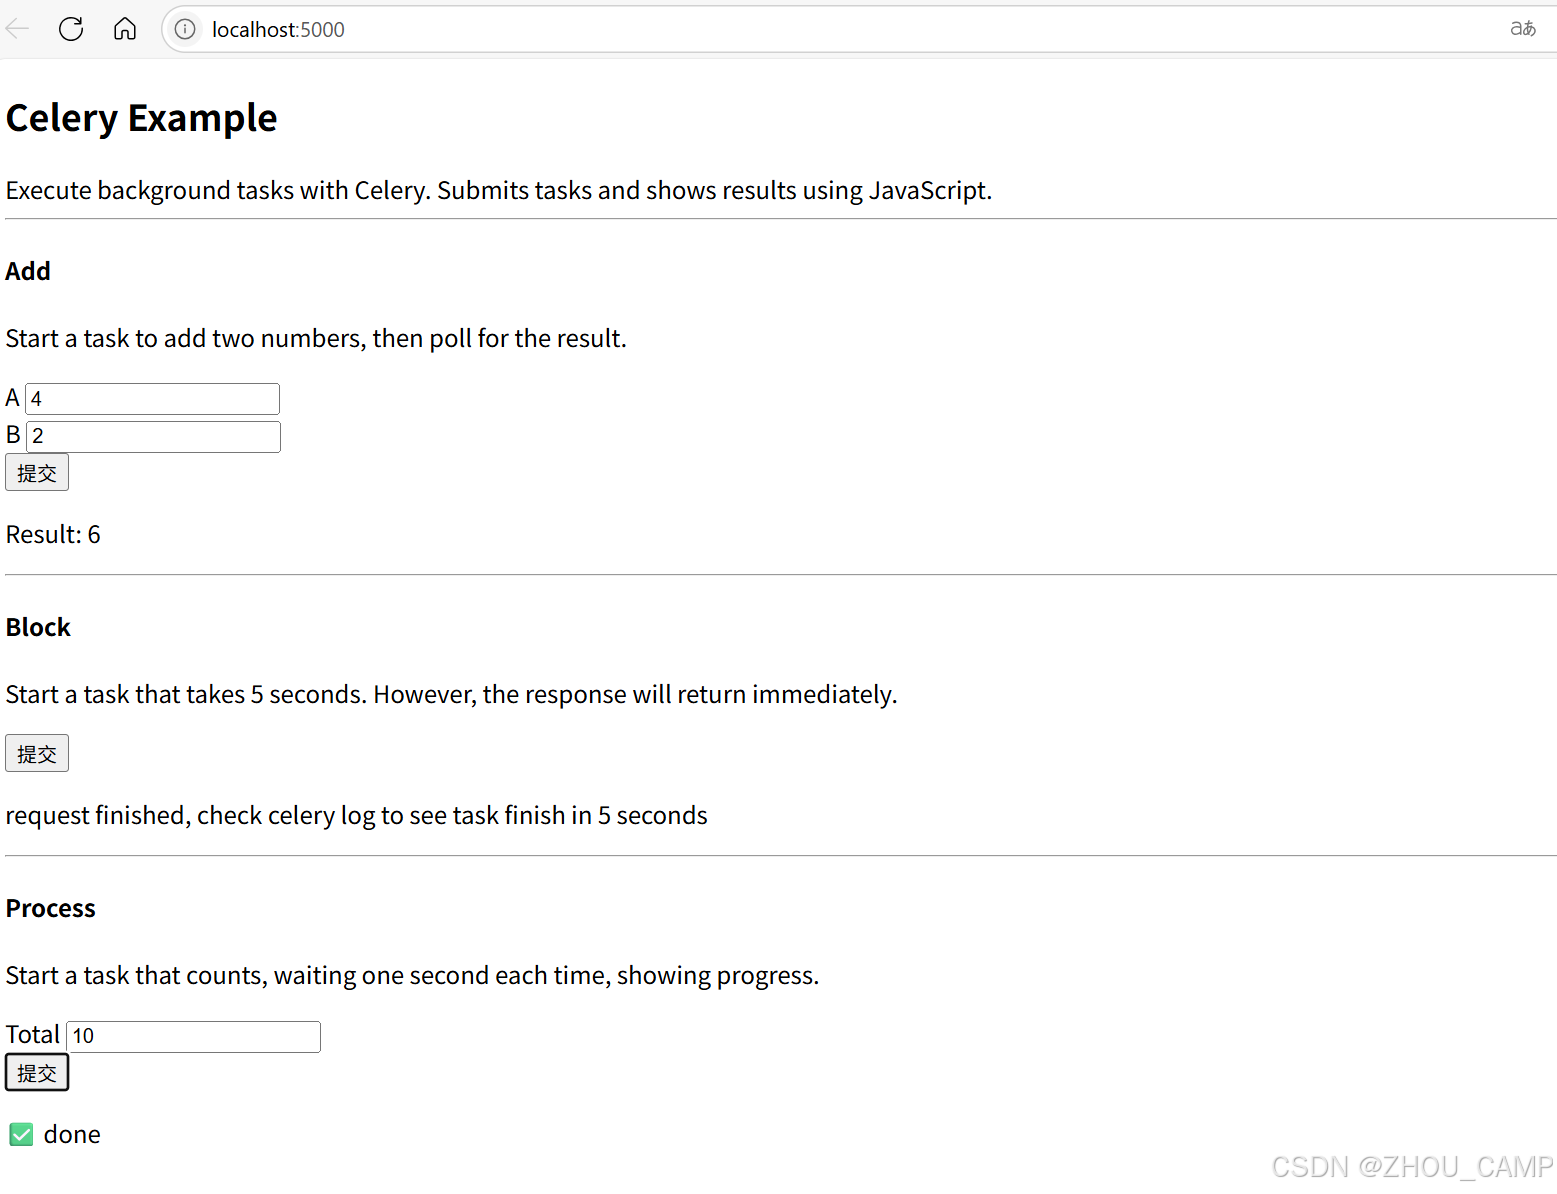
<h2>Celery Example</h2>
Execute background tasks with Celery. Submits tasks and shows results using JavaScript.<hr>
<h4>Add</h4>
<p>Start a task to add two numbers, then poll for the result.
<form id=add method=post action="{{ url_for("tasks.add") }}"><label>A <input type=number name=a value=4></label><br><label>B <input type=number name=b value=2></label><br><input type=submit>
</form>
<p>Result: <span id=add-result></span></p><hr>
<h4>Block</h4>
<p>Start a task that takes 5 seconds. However, the response will return immediately.
<form id=block method=post action="{{ url_for("tasks.block") }}"><input type=submit>
</form>
<p id=block-result></p><hr>
<h4>Process</h4>
<p>Start a task that counts, waiting one second each time, showing progress.
<form id=process method=post action="{{ url_for("tasks.process") }}"><label>Total <input type=number name=total value="10"></label><br><input type=submit>
</form>
<p id=process-result></p><script>const taskForm = (formName, doPoll, report) => {document.forms[formName].addEventListener("submit", (event) => {event.preventDefault()fetch(event.target.action, {method: "POST",body: new FormData(event.target)}).then(response => response.json()).then(data => {report(null)const poll = () => {fetch(`/tasks/result/${data["result_id"]}`).then(response => response.json()).then(data => {report(data)if (!data["ready"]) {setTimeout(poll, 500)} else if (!data["successful"]) {console.error(formName, data)}})}if (doPoll) {poll()}})})}taskForm("add", true, data => {const el = document.getElementById("add-result")if (data === null) {el.innerText = "submitted"} else if (!data["ready"]) {el.innerText = "waiting"} else if (!data["successful"]) {el.innerText = "error, check console"} else {el.innerText = data["value"]}})taskForm("block", false, data => {document.getElementById("block-result").innerText = ("request finished, check celery log to see task finish in 5 seconds")})taskForm("process", true, data => {const el = document.getElementById("process-result")if (data === null) {el.innerText = "submitted"} else if (!data["ready"]) {el.innerText = `${data["value"]["current"]} / ${data["value"]["total"]}`} else if (!data["successful"]) {el.innerText = "error, check console"} else {el.innerText = "✅ done"}console.log(data)})</script>
</body>
</html>前端JavaScript实现
前端使用JavaScript发送任务请求并轮询结果:
- 提交表单时阻止默认行为,使用fetch API发送POST请求
- 获取任务ID后,定期轮询
/tasks/result/<id>端点 - 根据任务状态更新UI
8. 运行应用
用docker启动redis
docker run --name redis-server -p 6379:6379 -d redis
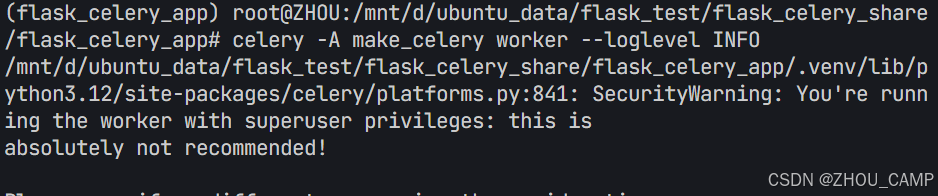
启动Celery Worker
# 在第一个终端窗口
celery -A make_celery worker --loglevel INFO
启动Flask开发服务器
# 在第二个终端窗口
flask -A task_app run --debug
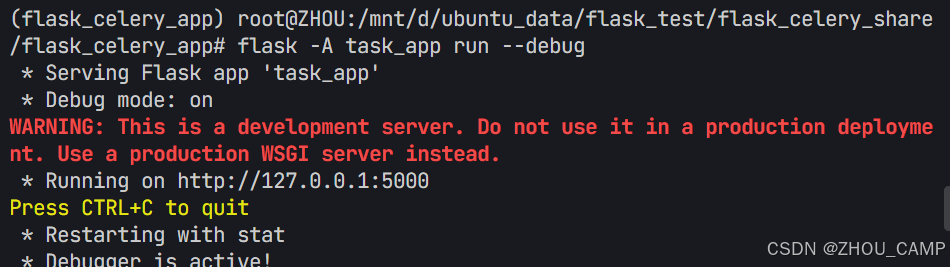
访问 http://localhost:5000/ 使用应用。
9. 关键概念解析
Celery任务装饰器
@shared_task(ignore_result=False): 创建可共享的任务,并保存结果bind=True: 将任务实例作为第一个参数传递给任务函数
任务ID
- 每个任务都有一个自动生成的唯一ID
- 通过
result.id获取,用于后续查询任务状态
任务状态查询
AsyncResult(id): 通过ID获取任务结果对象result.ready(): 检查任务是否完成result.successful(): 检查任务是否成功完成result.get(): 获取任务结果
项目链接:https://github.com/pallets/flask/tree/main/examples/celery
可用downgit单独下载项目中某个文件夹:https://minhaskamal.github.io/DownGit/#/home?url=https:%2F%2Fgithub.com%2Fpallets%2Fflask%2Ftree%2Fmain%2Fexamples%2Fcelery