【已经解决诸多问题】Mamba安装
mamba被称为新一代的计算架构,因此在CV和时序领域存在诸多的方案开始采用这一新架构,但是这个架构的安装过程中存在诸多问题!!!!为了更好帮助大家理解我们给出一个统一的安装流程!!!
1.准备conda环境 ☕️
- conda 创建环境😊
(base) root@sxkpascxvokvhsow-snow-6f8c7cf6d4-k65q9:~conda create -n mamba python=3.10.13
- 激活conda环境🤔
(base) root@sxkpascxvokvhsow-snow-6f8c7cf6d4-k65q9:~conda activate mamba
2. 准备相关依赖(以Vision Mamba为例子)👀
- 安装针对VM依赖
conda install cudatoolkit==11.8 -c nvidia
pip install torch==2.1.1 torchvision==0.16.1 torchaudio==2.1.1 --index-url https://download.pytorch.org/whl/cu118
conda install -c "nvidia/label/cuda-11.8.0" cuda-nvcc
conda install packaging
pip install -r vim_requirements.txt
这里有一些细节:
- 1. 首先下载pytorch时候不要换源,使用其它源可能下载非对应cuda版本的torch版本,这个可能会造成
ImportError: libcudart.so.11.0: cannot open shared object file: No such file or directory - 2. 下载完成后使用nvcc -V
(mamba) root@sxkpascxvokvhsow-snow-6f8c7cf6d4-k65q9:~# nvcc -V
nvcc: NVIDIA (R) Cuda compiler driver
Copyright (c) 2005-2024 NVIDIA Corporation
Built on Tue_Feb_27_16:19:38_PST_2024
Cuda compilation tools, release 12.4, V12.4.99
Build cuda_12.4.r12.4/compiler.33961263_0
- 3. 校验torch版本,一定注意对应的cuda版本
import torch
print(torch.__version__)  # 应输出类似 2.1.1+cu118
print(torch.cuda.is_available())  # 应输出 True
请确保上面的内容都对应才继续下一步
3. 安装Mamba🐍
- ⚠️⚠️⚠️注意⚠️⚠️⚠️
- 安装顺序:Mamba依赖causal_conv1d,因此必须先安装causal_conv1d然后在安装mamba_ssm;
- 安装方式:==不要走setup安装,这种安装大概率失败,出现错误后网上很多教程教你怎么解决,解决了之后当你运行会出现更多问题,因此不要给自己找事儿,==🔥🔥🔥直接走whl安装!!!直接走whl安装!!!直接走whl安装!!!🔥🔥🔥
- 安装平台:本文的安装平台主要是linux下,windows下坑非常多,建议使用服务器安装(有些租赁网站免费送5元);
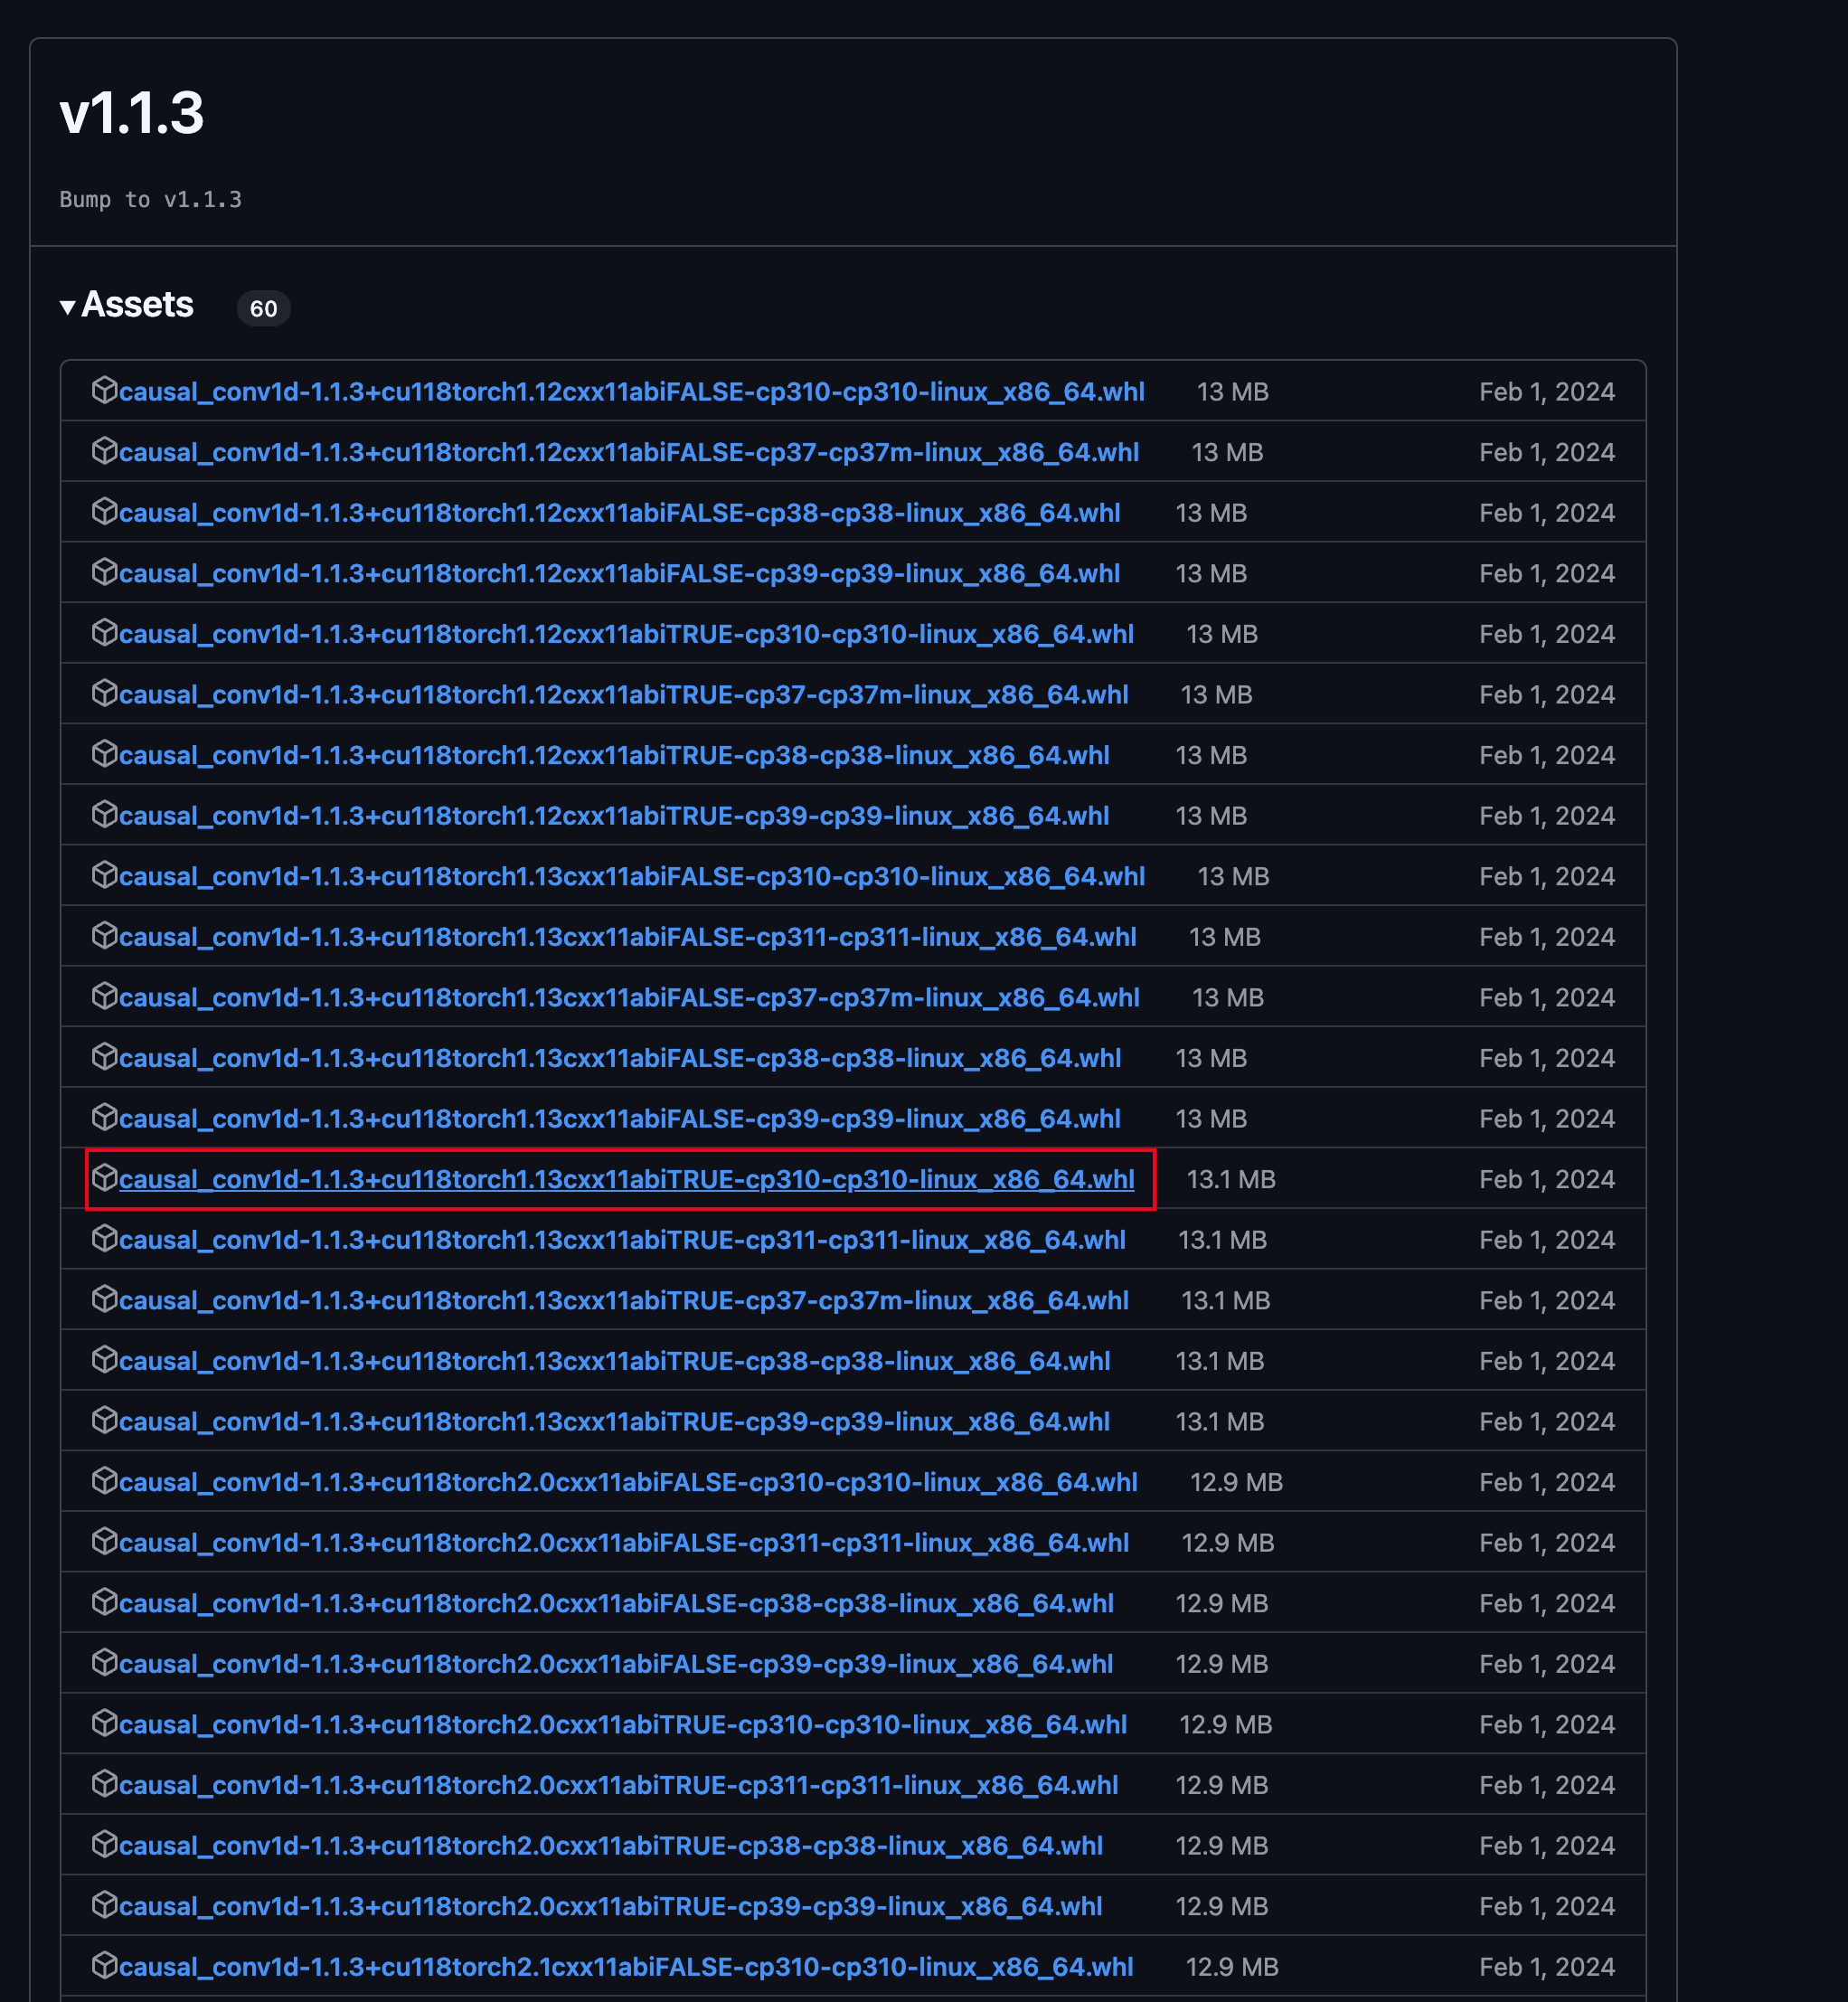
- 资源位置(寻找资源时候注意二者版本,如果不知道建议先走本文档的版本)
- causal_conv1d:github.com/Dao-AILab/causal-conv1d ---- 无法访问github资源下载
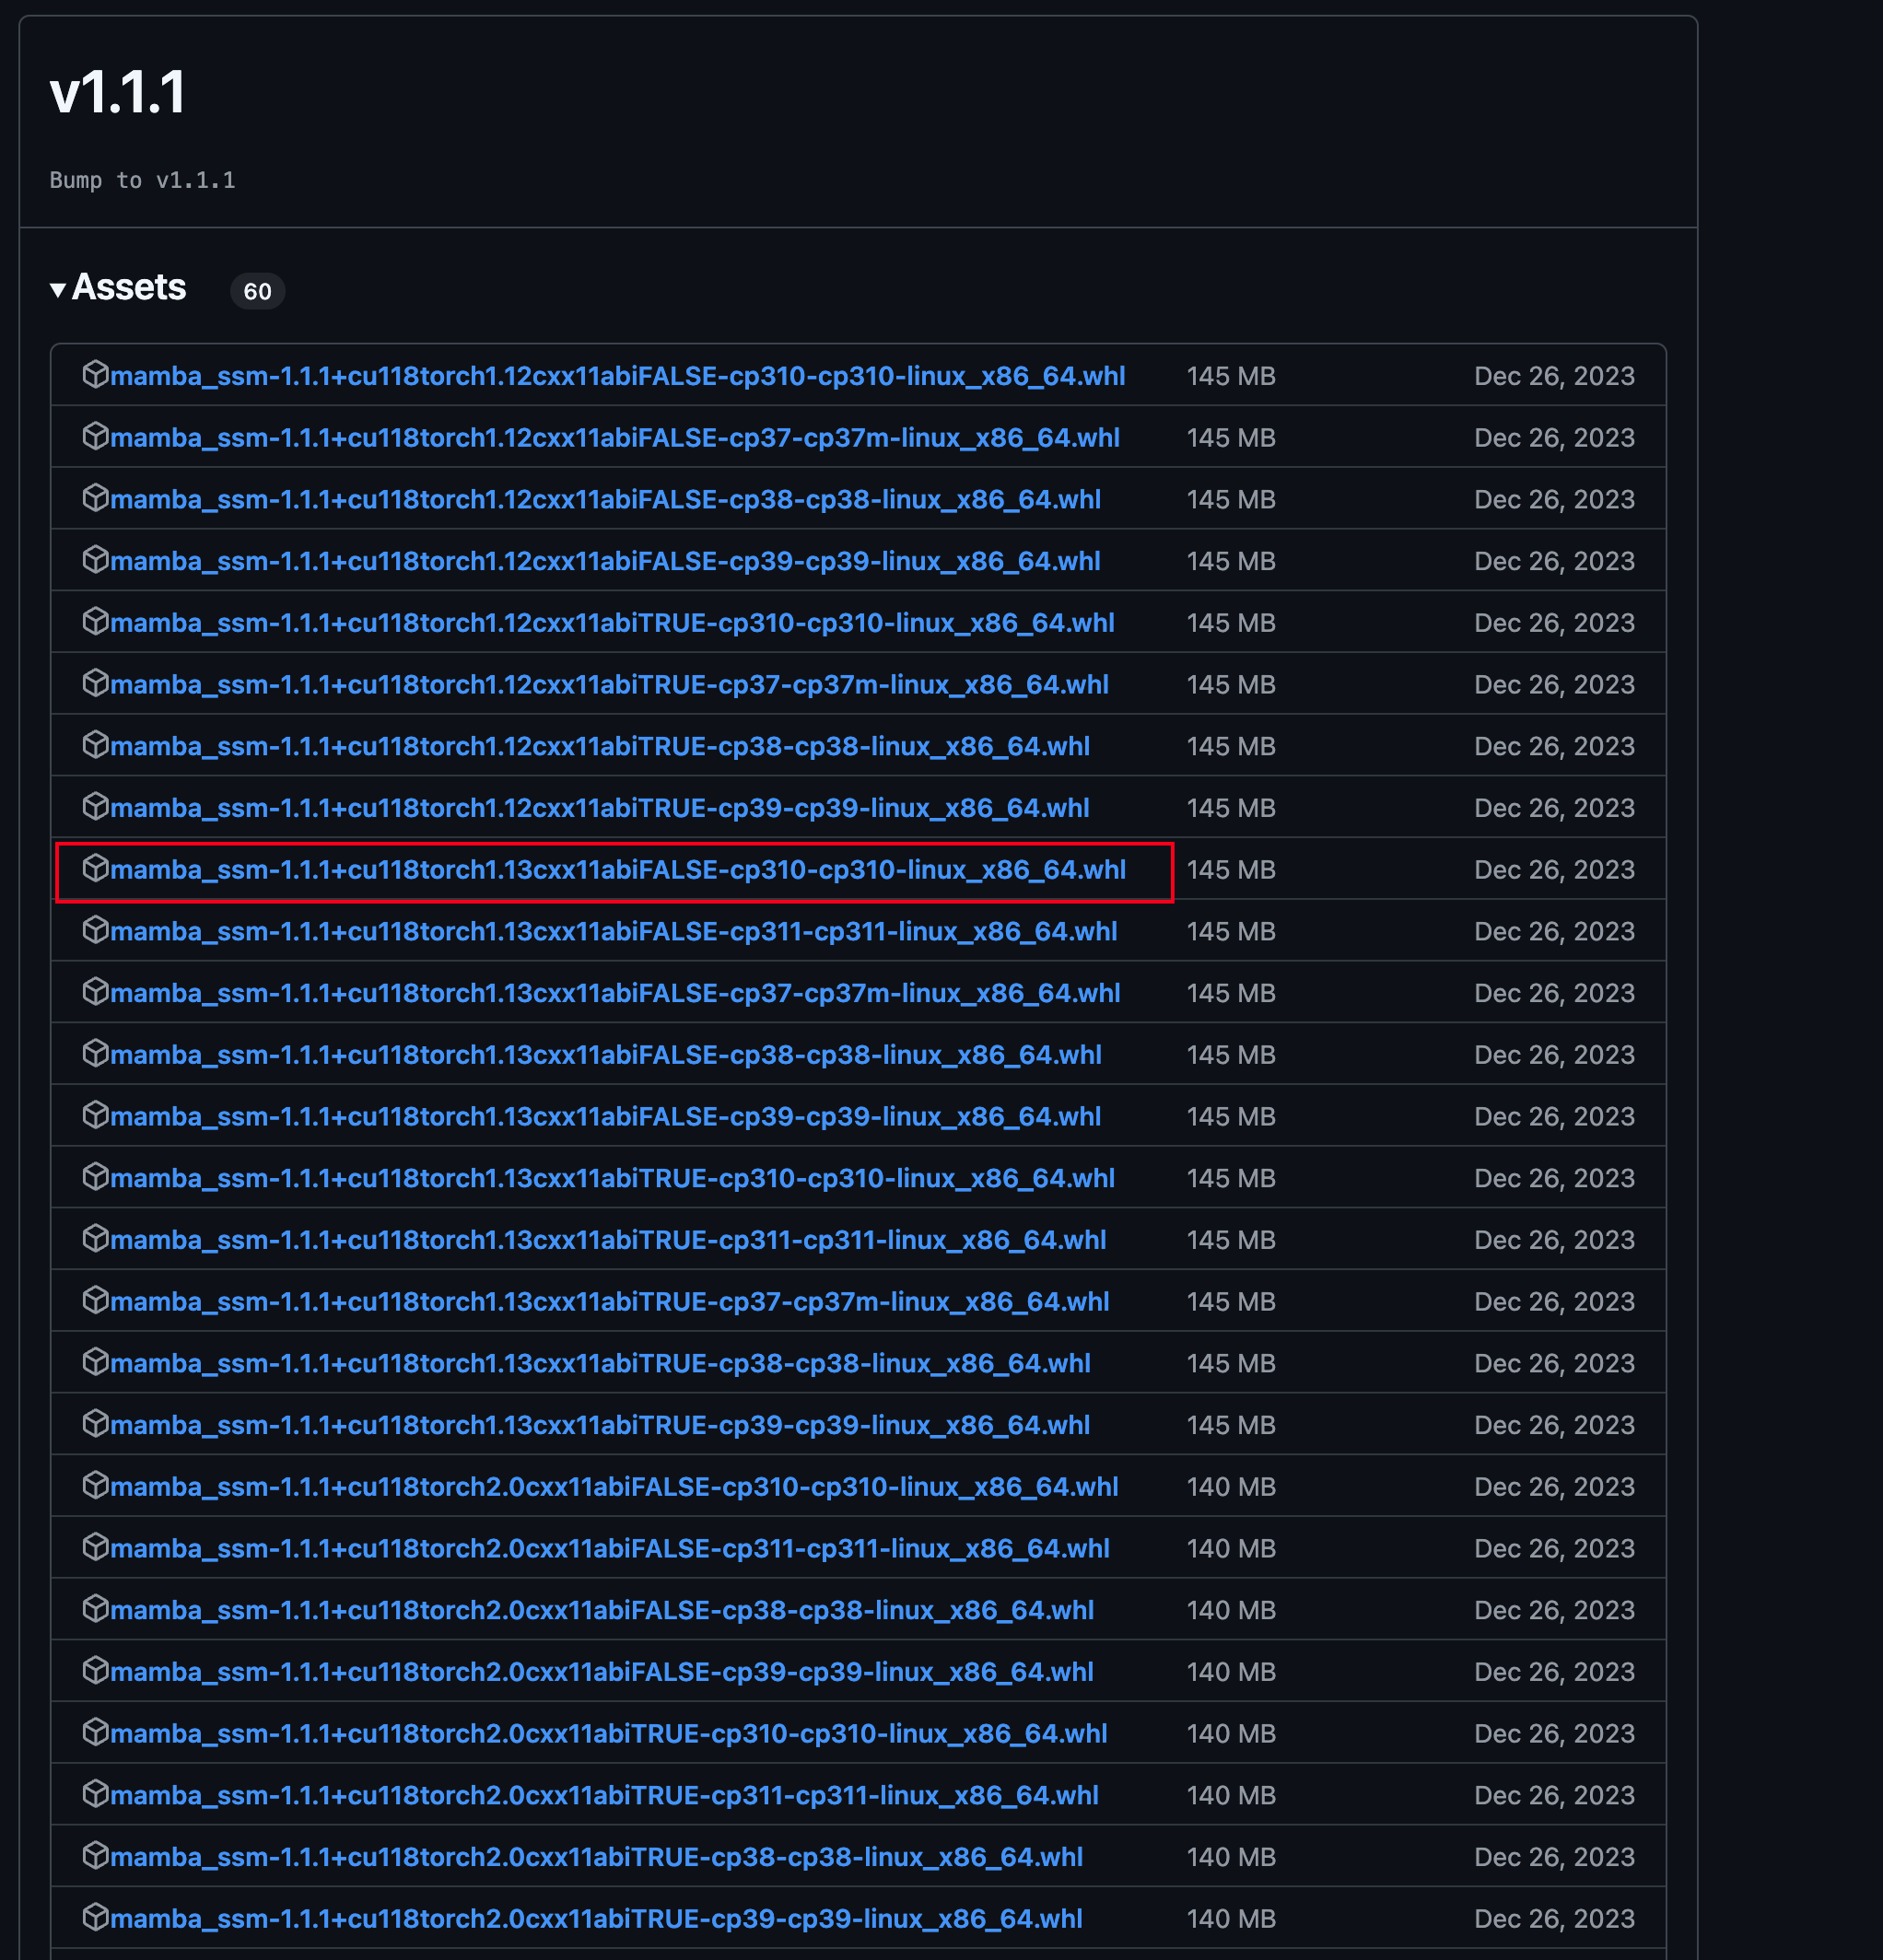
- mamba_ssm: github.com/state-spaces/mamba — 无法访问github资源下载
- causal_conv1d:github.com/Dao-AILab/causal-conv1d ---- 无法访问github资源下载
- 将这些资源上传到服务器上
(mamba) root@sxkpascxvokvhsow-snow-6f8c7cf6d4-k65q9:~# ls -l
total 15645
-rw-r--r--  1 root root  13531337 May 18 13:58 causal_conv1d-1.1.3+cu118torch2.1cxx11abiFALSE-cp310-cp310-linux_x86_64.whl
-rw-r--r--  1 root root 146669865 May 18 13:59 mamba_ssm-1.1.1+cu118torch2.1cxx11abiFALSE-cp310-cp310-linux_x86_64.whl
- 通过轮子下载(注意conda切换到指定的环境下)
(mamba) root@sxkpascxvokvhsow-snow-6f8c7cf6d4-k65q9:~# pip install causal_conv1d-1.1.3+cu118torch2.1cxx11abiFALSE-cp310-cp310-linux_x86_64.whl
(mamba) root@sxkpascxvokvhsow-snow-6f8c7cf6d4-k65q9:~# pip install mamba_ssm-1.1.1+cu118torch2.1cxx11abiFALSE-cp310-cp310-linux_x86_64.whl
- 下载好运行即可
import torch
from mamba_ssm import Mamba
from einops import rearrange# 初始化模型
model = Mamba(d_model=16, d_state=16, d_conv=4, expand=1).cuda()# 创建输入张量 - 注意形状应为(batch_size, sequence_length, d_model)
x = torch.randn(1, 32, 16).cuda()# 前向传播
y = model(x)
print("Mamba forward pass successful:", y.shape)
输出:
(mamba) root@sxkpascxvokvhsow-snow-6f8c7cf6d4-k65q9:~# python test.py
Mamba forward pass successful: torch.Size([1, 32, 16])
有问题请留言,大家可以一起解决!!!!