SpringBoot基础(静态资源导入)
静态资源导入
在WebMvcAutoConfiguration自动配置类中
有一个添加资源的方法:
public void addResourceHandlers(ResourceHandlerRegistry registry) {
//如果静态资源已经被自定义了,则直接生效if (!this.resourceProperties.isAddMappings()) {logger.debug("Default resource handling disabled");} else {
//注册一个/webjars/**,添加静态资源到该路径下this.addResourceHandler(registry, "/webjars/**", "classpath:/META-INF/resources/webjars/");
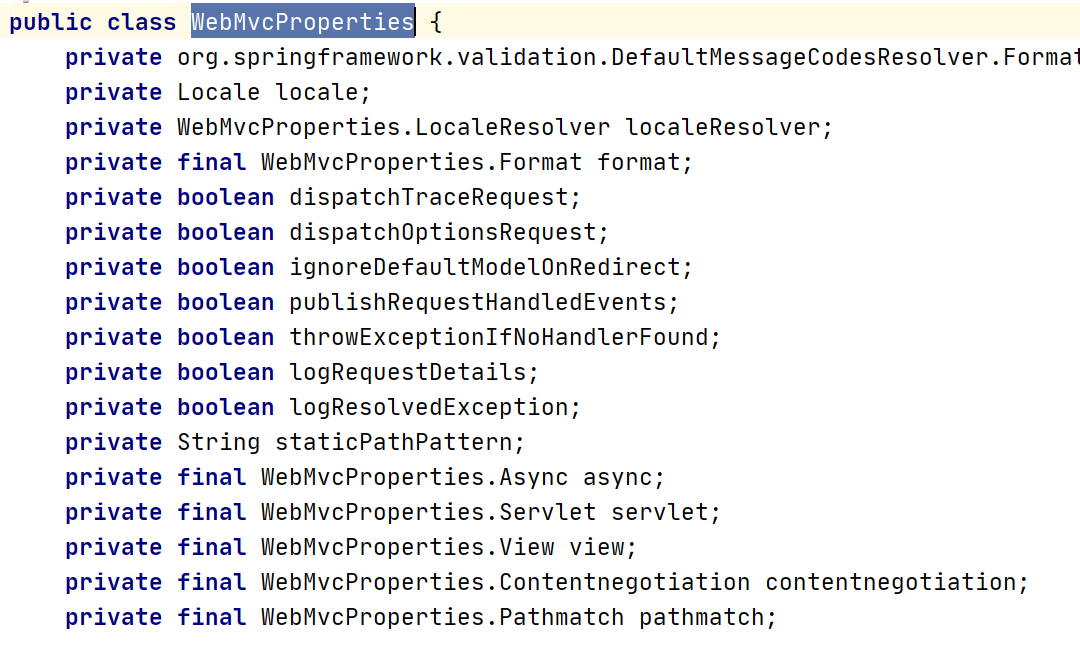
//获得静态资源的路径this.addResourceHandler(registry, this.mvcProperties.getStaticPathPattern(), (registration) -> {registration.addResourceLocations(this.resourceProperties.getStaticLocations());if (this.servletContext != null) {ServletContextResource resource = new ServletContextResource(this.servletContext, "/");registration.addResourceLocations(new Resource[]{resource});}});}}自定义静态资源:就是找到WebMvcProperties内部关于静态资源的配置,然后在配置文件中配置即可。
webjars引入jquery
<dependency>
<groupId>org.webjars</groupId>
<artifactId>jquery</artifactId>
<version>3.4.1</version>
</dependency>
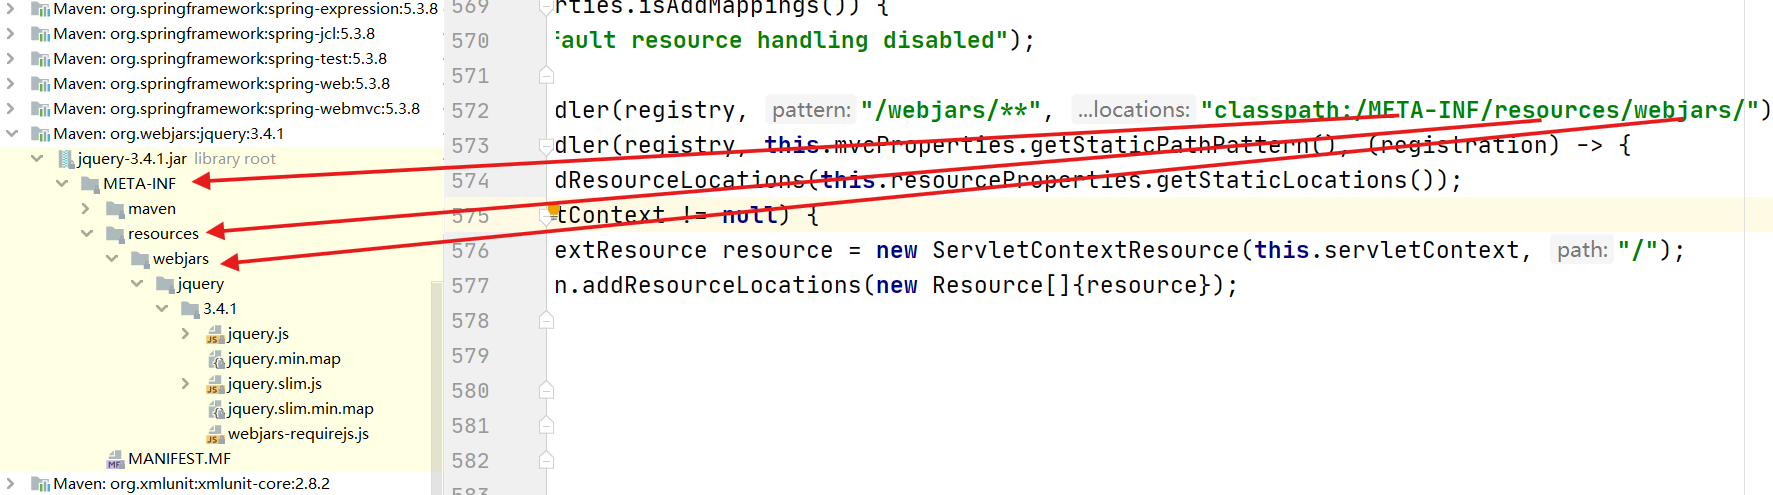
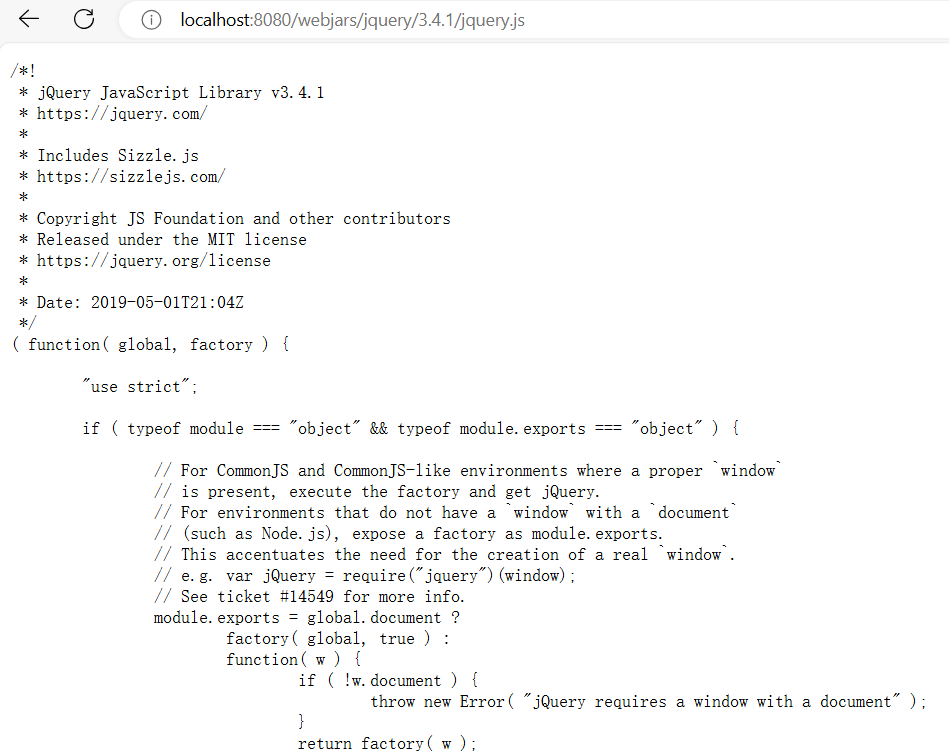
导入依赖后即可访问webjars下的信息。
静态资源路径:
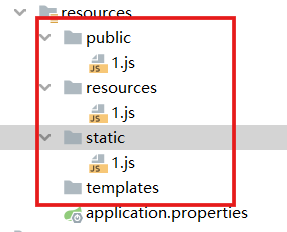
public static class Resources {private static final String[] CLASSPATH_RESOURCE_LOCATIONS = new String[]{"classpath:/META-INF/resources/", "classpath:/resources/", "classpath:/static/", "classpath:/public/"};综上:有4个路径下的静态资源可被访问。public为1,resources为2,static为3

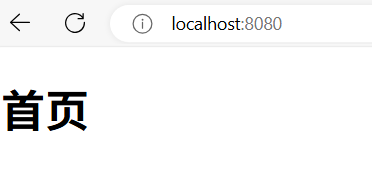
访问结果:
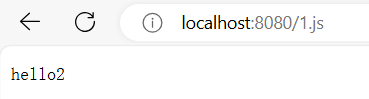
说明resources优先级最高。
删掉resources。
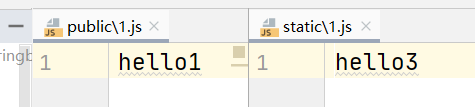
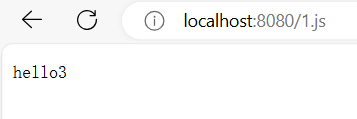
总结:优先级为:resources>static>public
常用于:public为公共资源(都会访问的页面),static为静态资源,如图片等,resources放上传的文件。
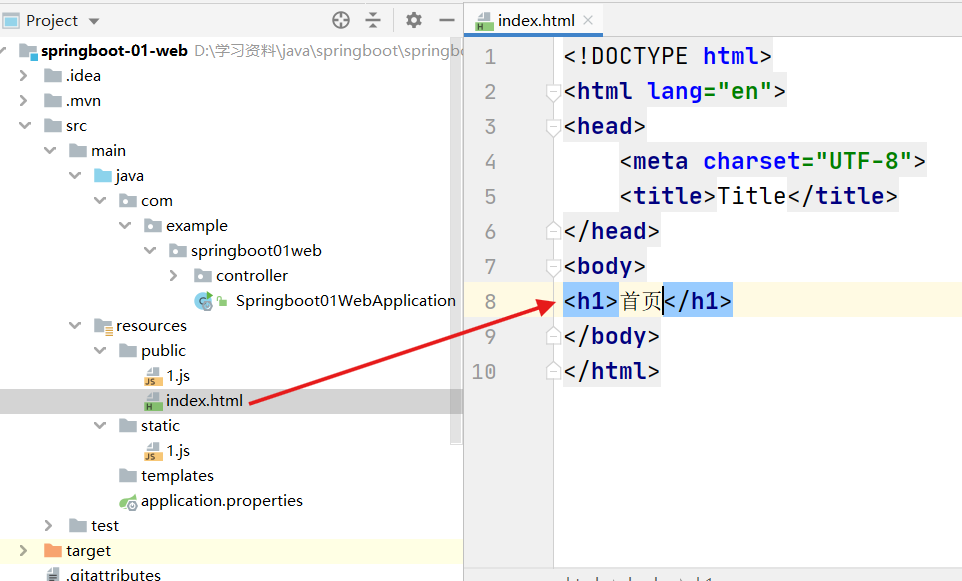
首页定制
从WebMvcAutoConfiguration中找到首页相关的配置。
从getWelcomePage()方法中找到自定义的路径。
String[] var1 = this.resourceProperties.getStaticLocations();
也可以通过静态资源目录找index.html的文件
return this.getIndexHtml(this.resourceLoader.getResource(location));
Resource resource = location.createRelative("index.html");
所以可以在静态资源目录下添加一个index.html文件。
注意:templates非静态资源目录,该目录下的页面只能通过controller来跳转。并且需要模板引擎的支持(需要导入thymeleaf依赖)。
模板引擎
SpringBoot使用的是嵌入式的Tomcat,不支持jsp页面,需要用html,然后用模板引擎来渲染前端。
模板引擎的作用:处理前端一些动态的值。
导入依赖:
<dependency>
<groupId>org.springframework.boot</groupId>
<artifactId>spring-boot-starter-thymeleaf</artifactId>
</dependency>
在templates下写前端页面:

在controller中编写:
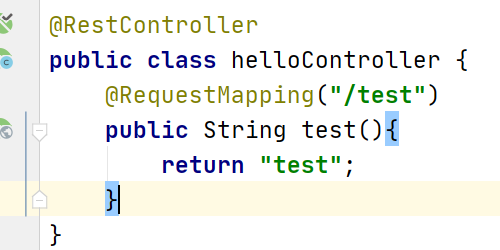
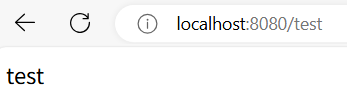
测试:
使用Thymeleaf时,在html上导入约束。
<html lang="en" xmlns:th="http://www.thymeleaf.org">
Thymeleaf 模板引擎支持多种表达式:
- 变量表达式:${...}
- 选择变量表达式:*{...}
- 链接表达式:@{...}
- 国际化表达式:#{...}
- 片段引用表达式:~{...}
测试:

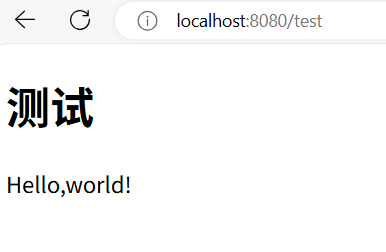
th:each使用
遍历,支持 Iterable、Map、数组等
在controller中编写一个集合传递给前端:
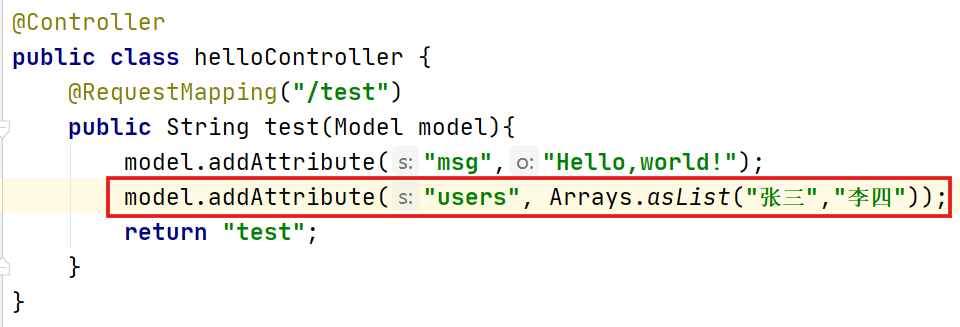
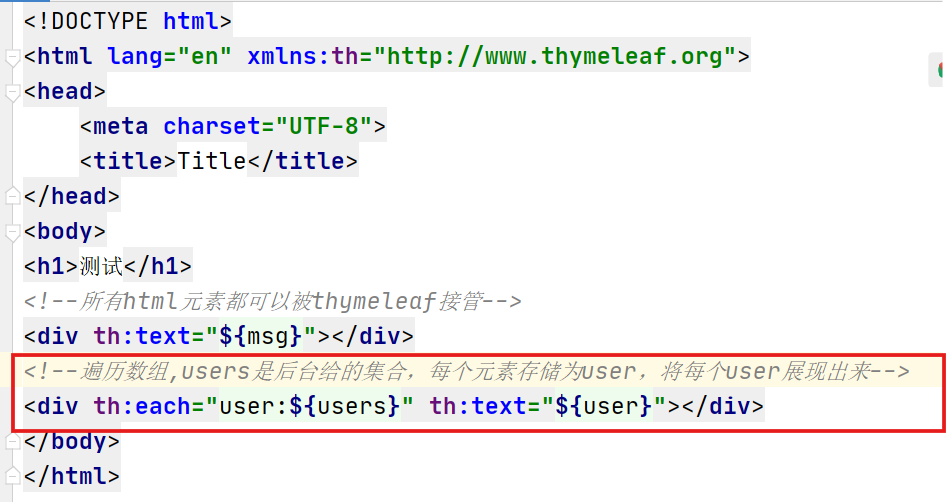
前端通过th:eath来遍历数组:
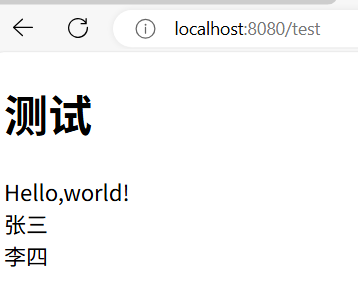
测试:
整合Mybatis框架
SpringBoot整合Mybatis框架需要一个整合包:mybatis-spring-boot-starter。项目创建成功后,需要引入该依赖。
<dependency>
<groupId>org.mybatis.spring.boot</groupId>
<artifactId>mybatis-spring-boot-starter</artifactId>
<version>2.2.2</version>
</dependency>
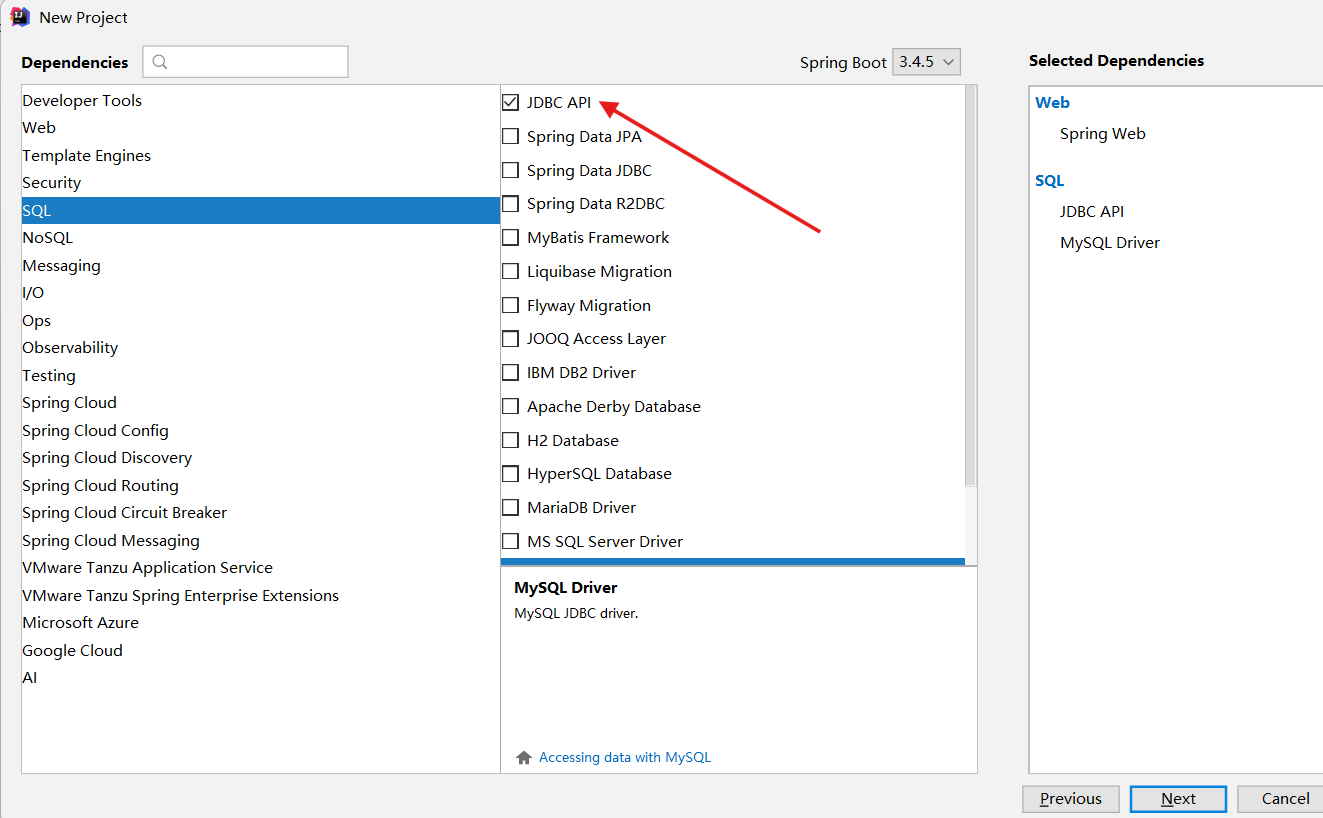
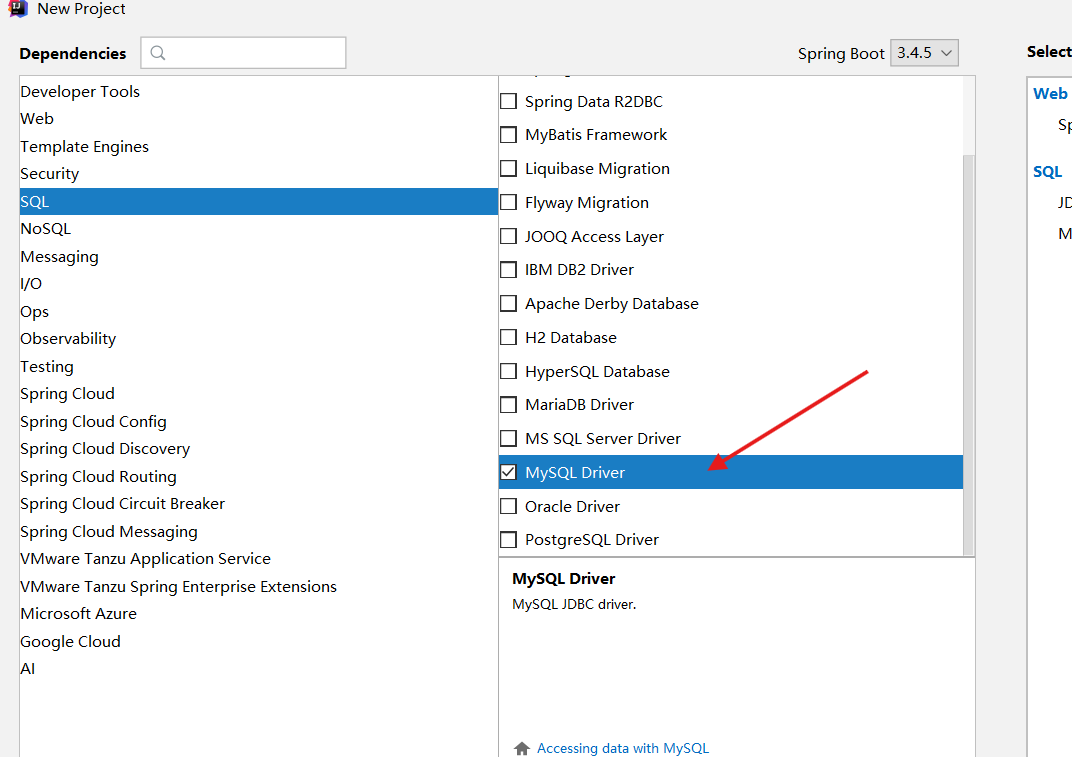
在创建SpringBooot项目时,需要勾选:
在properties文件中配置数据库信息进行连接:此处连接的是mybatis数据库。
#整合mybatis
spring.datasource.username=root
spring.datasource.password=123456
spring.datasource.url=jdbc:mysql://localhost:3306/mybatis?useSSL=false&useUnicode=true&characterEncoding=UTF-8&serverTimezone=UTC
#配置数据源
spring.datasource.driver-class-name=com.mysql.cj.jdbc.Driver
在测试类中注入DataSource,进行数据库连接成功测试:
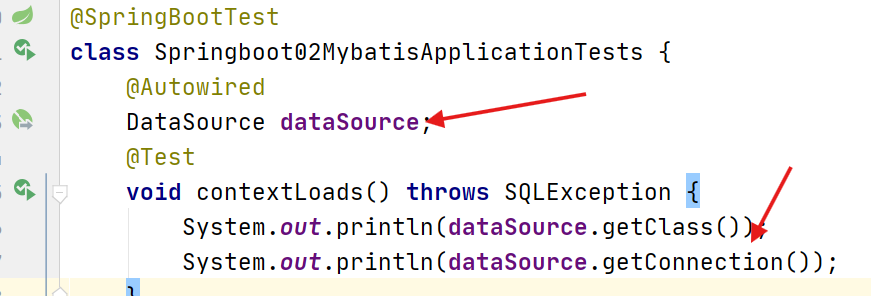
测试时,无错误提示即连接成功
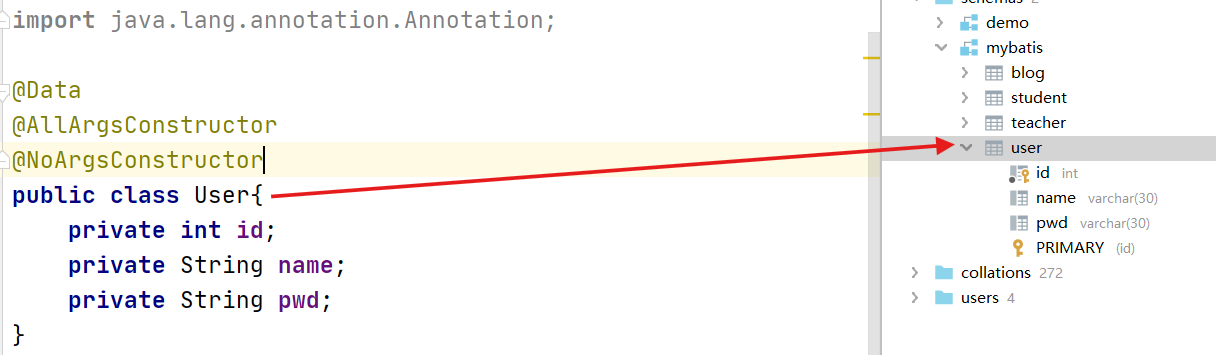
编写实体类:事先导入lombok依赖节省时间。
编写mapper实现类:
/*该注解表示这是一个mapper类,也可在启动类上添加@MapperScan("com.example.mapper")
* 表示扫描该包下的所有接口
* @Repository,该类被Spring整合,接口类dao统一用该注解*/
@Mapper
@Repository
public interface UserMapper {List<User> queryUserList();User queryUserById(int id);
}
编写mapper.xml文件:头文件可从MyBatis中文文档中找入门_MyBatis中文网
<?xml version="1.0" encoding="UTF-8" ?>
<!DOCTYPE mapperPUBLIC "-//mybatis.org//DTD Mapper 3.0//EN""http://mybatis.org/dtd/mybatis-3-mapper.dtd">
<mapper namespace="com.example.mapper.UserMapper"><select id="queryUserList" resultType="User">select * from user </select><select id="queryUserById" resultType="User">select * from user where id=#{id}</select>
</mapper>
在properties中整合mybatis:
#整合Mybatis
#设置别名
mybatis.type-aliases-package=com.example.springboot02mybatis.pojo
#设置mapper的地址
mybatis.mapper-locations=classpath:mybatis/mapper/*.xml
编写Controller类:
@RestController
public class UserControlller {@Autowiredprivate UserMapper userMapper;@GetMapping("/queryUserList")public List<User> queryUserList(){List<User> users = userMapper.queryUserList();for (User user : users) {System.out.println(user);}return users;}
}
注意:所有路径都需要对应上,不可出错
进行测试,可正常输出user列表信息:

编写通过id查询用户:
@GetMapping("/queryUserById")public String queryUserById(){User user = userMapper.queryUserById(3);System.out.println(user);return "ok";}