Spring Security(笔记)
第一步:
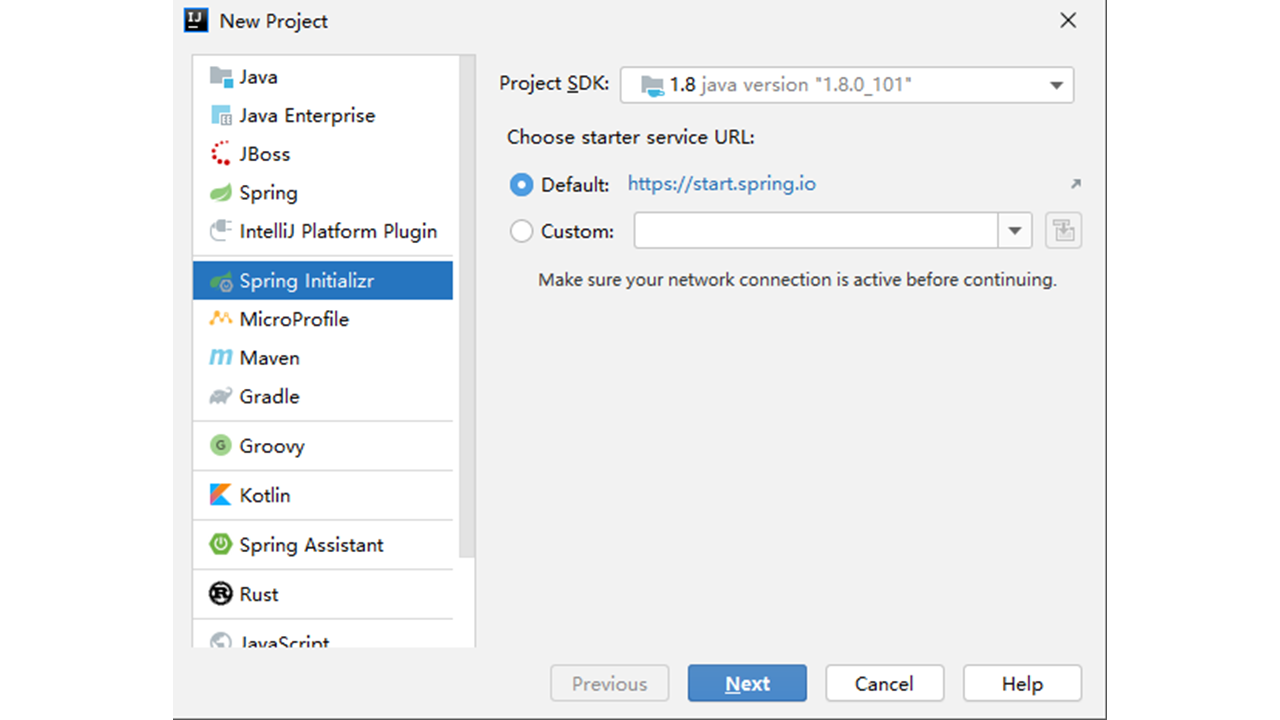
首先使用Intellij IDEA创建一个Spring Boot项目,JDK选择自己安装的1.8。点击Next后,编辑项目信息。然后跳转到选择依赖页面。
第二步:
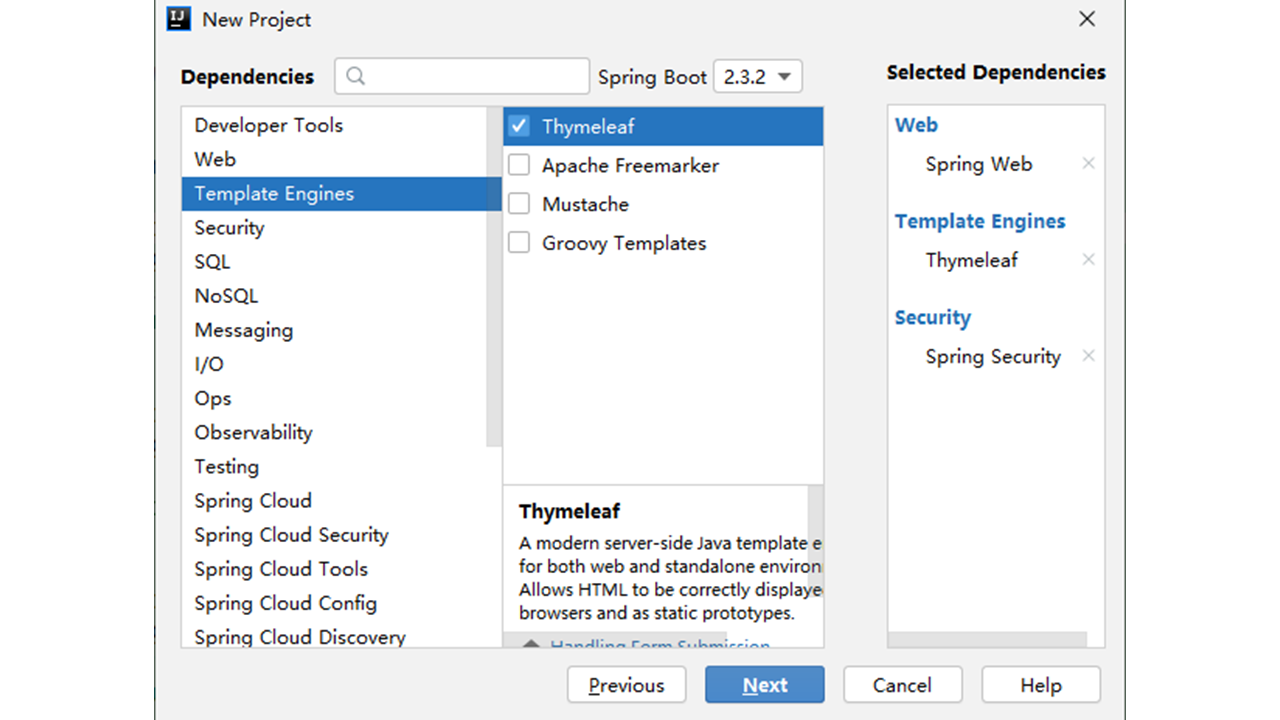
添加Spring Security、Spring Web、Thymeleaf三个依赖。完成后等待项目构建完成。
Spring Web项目包含了Web项目常用的依赖:
嵌入式Tomcat,可以让我们的项目打成jar包直接运行,而不需要放到单独的Tomcat下面,再通过启动Tomcat来运行项目。
Spring MVC,服务端三层架构中的视图层框架。主要用于处理页面跳转、页面请求处理等逻辑。
Jackson,可以把数据转换成JSON格式,也可以把JSON格式的数据解析成对象。
Thymeleaf是一个类似于JSP页面的模板引擎,可以把静态的HTML页面变成动态变化的HTML页面。使用简单方便,性能更高,Spring官方非常推荐。
第三步:
项目构建完成后,在pom.xml文件中添加依赖thymeleaf-extras-springsecurity5,该依赖是集成Thymeleaf和Spring Security需要使用的。
<dependency><groupId>org.thymeleaf.extras</groupId><artifactId>thymeleaf-extras-springsecurity5</artifactId><version>3.0.3.RELEASE</version>
</dependency>
第四步:
配置Spring Security,在org/springframework/samples/config/目录下创建SecurityConfig类,继承WebSecurityConfigurerAdapter,这个类是Spring Security提供的配置模板,可以覆写指定的方法来定义自己的配置,configure(HttpSecurity)可以用来配置与Http请求相关的权限控制等,userDetailsService()用来定义系统中存在哪些用户和他们有什么样的角色,可以用这些用户来登录我们的系统。在这里,我定义了一个用户名为user,密码为password的用户。
// 开启Spring Security,有了这个注解,Spring就会帮助我们自动配置Spring Security。
@EnableWebSecurity
public class SecurityConfig extends WebSecurityConfigurerAdapter {@Overrideprotected void configure(HttpSecurity http) throws Exception {http// 配置要控制的http URL.authorizeRequests()// 对于静态文件和页面不拦截。.antMatchers("/css/**", "/index").permitAll()// /user/下的请求只有拥有USER角色的用户才能访问.antMatchers("/user/**").hasRole("USER")// 回到HttpSecurity.and()// 设置通过表单进行登录认证.formLogin()// 登录页名称(即login.html),登录页不需要权限控制.loginPage("/login")// 登录校验地址,点击登录按钮时会跳转到该地址.loginProcessingUrl("/loginUrl")// 登录错误页地址.failureUrl("login-error");}@Override@Beanpublic UserDetailsService userDetailsService() {UserDetails userDetails = User.withDefaultPasswordEncoder()// 用户名.username("user")// 密码.password("password")// 拥有的角色.roles("USER").build();// 构建一个存储在内存中的用户信息return new InMemoryUserDetailsManager(userDetails);}
}antMatchers()是一个采用ANT模式的URL匹配器,*可以匹配0或者多个目录或者字符。`/css/*表示匹配/css`目录下的所有内容。