Vue之脚手架与组件化开发
一、基础知识
1、准备工作
node版本在12以上(看情况而变)
全局安装vue/cli脚手架(不理解的可以去看一下node安装环境配置教程)
npm i @vue/cli -g
2、项目初始化
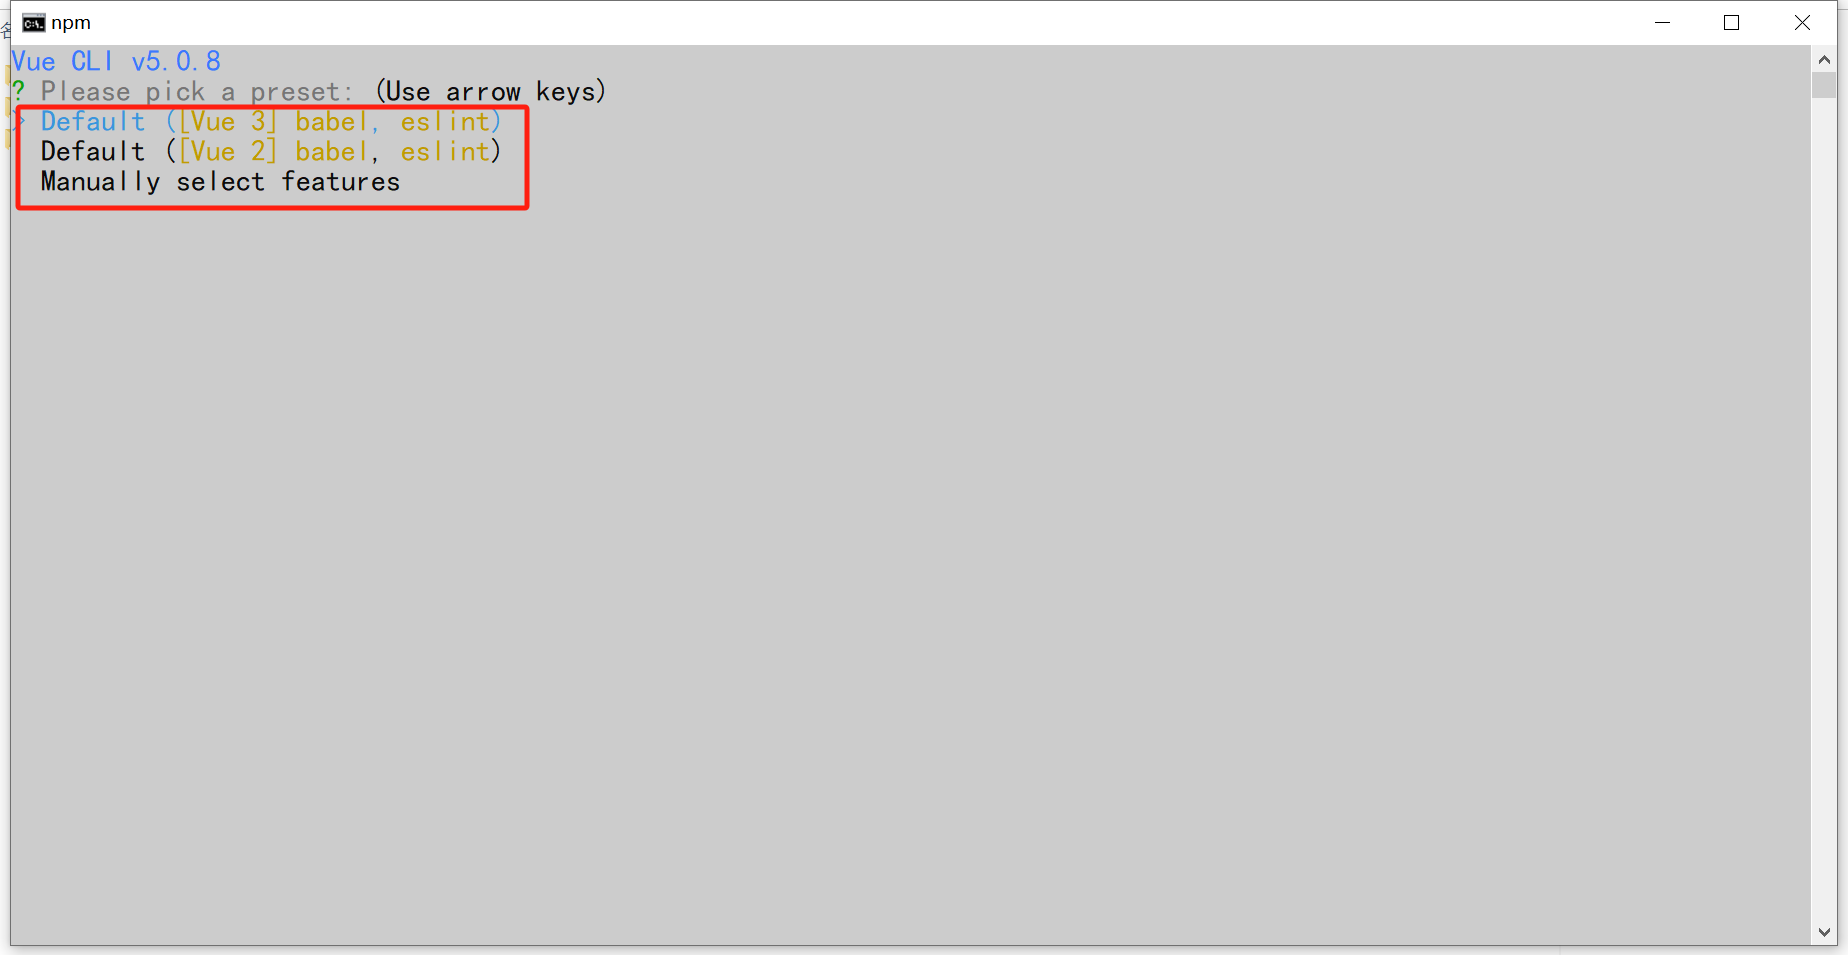
在终端输入
vue create my-vue-project(这里是名字,自定即可)
之后选择vue3、vue2或者自定义模板创建
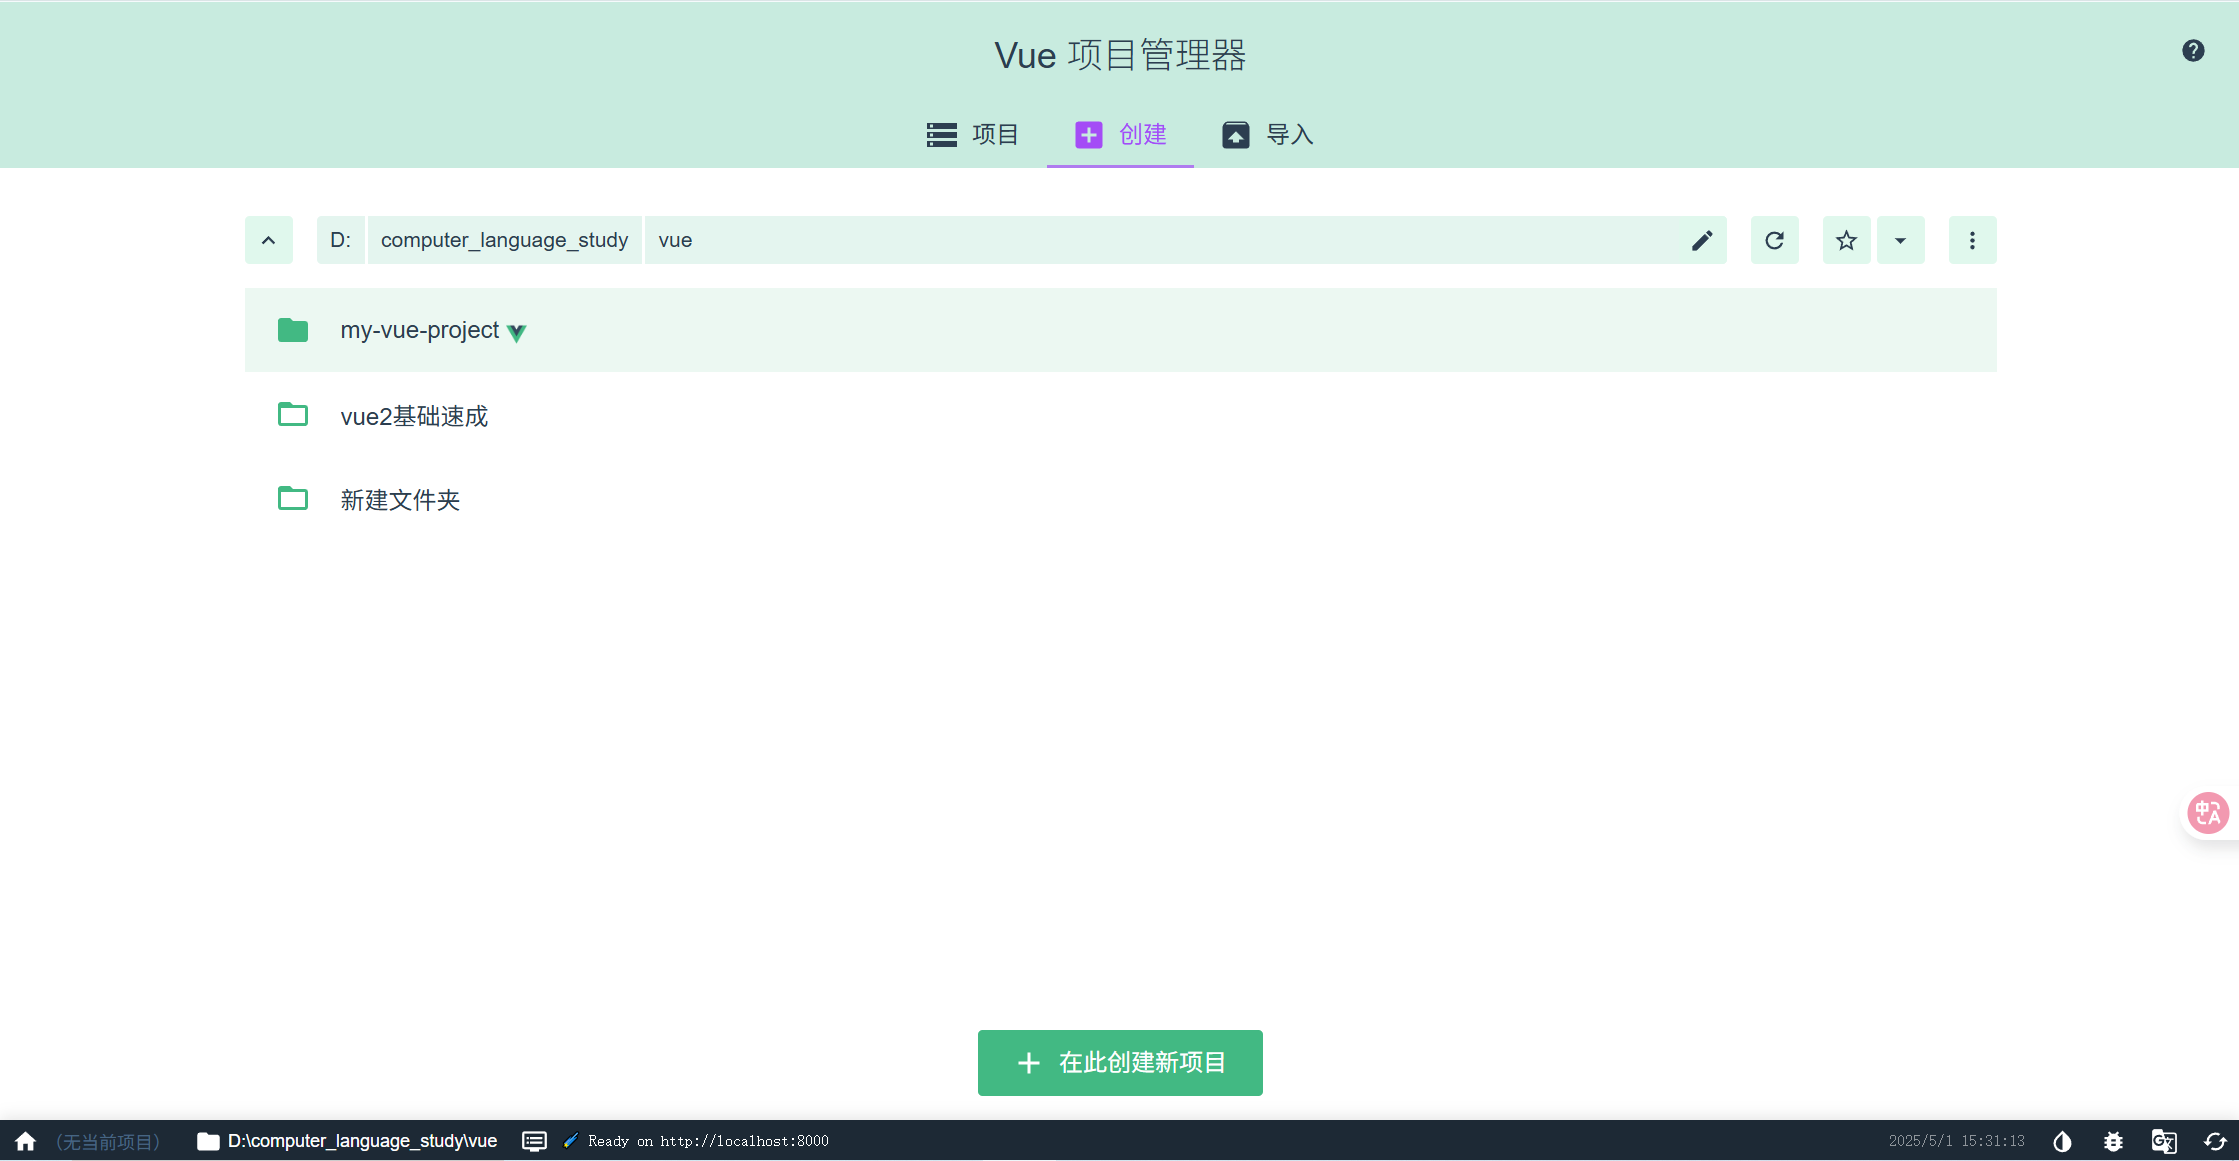
或者输入vue ui,以图形化的形式创建,创建过程都差不多
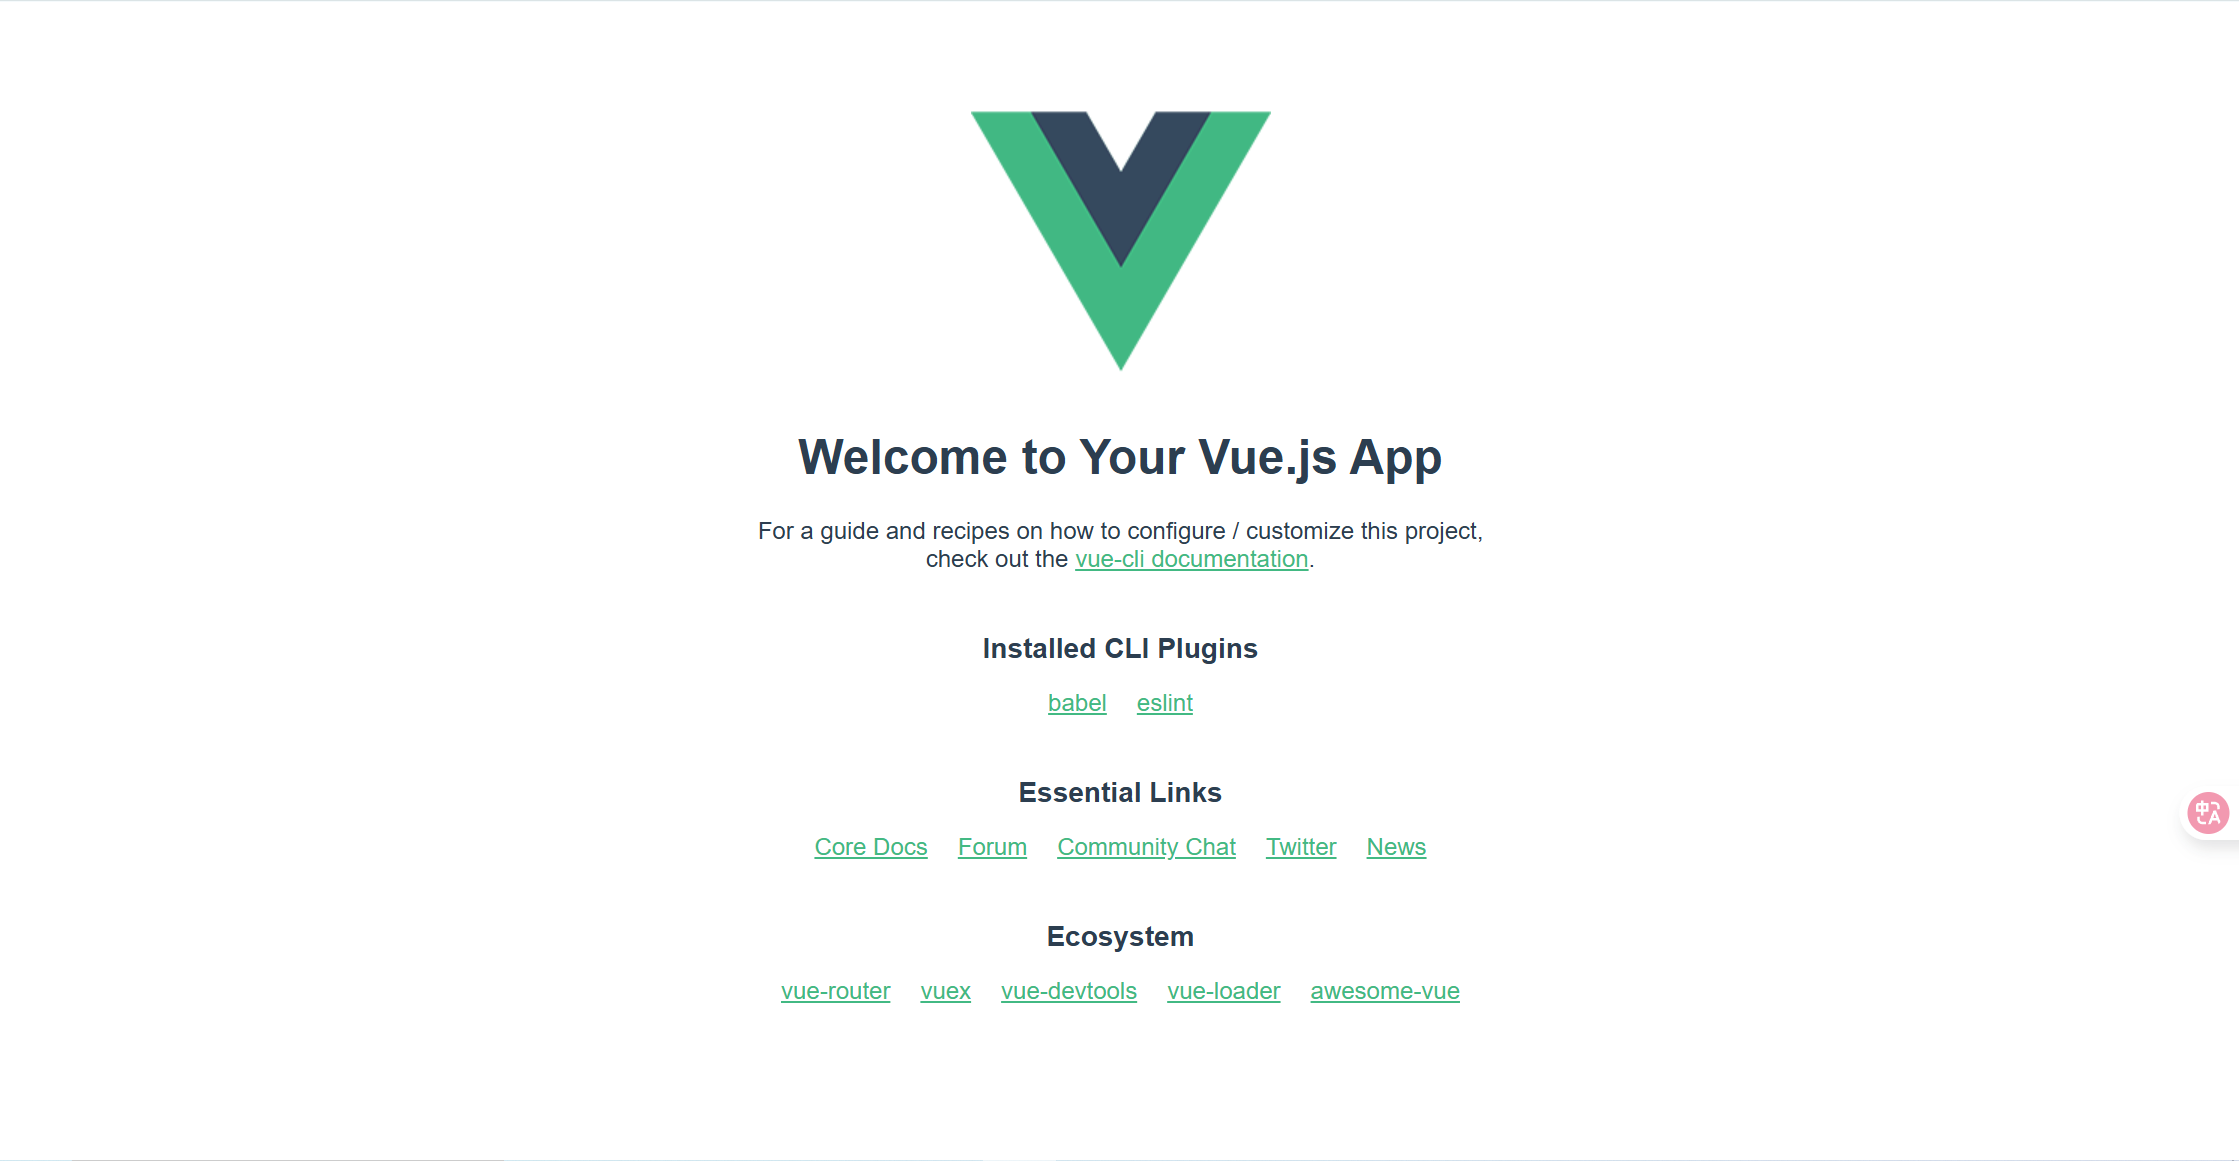
创建成功后,启动项目并成功显示,则初始化项目成功
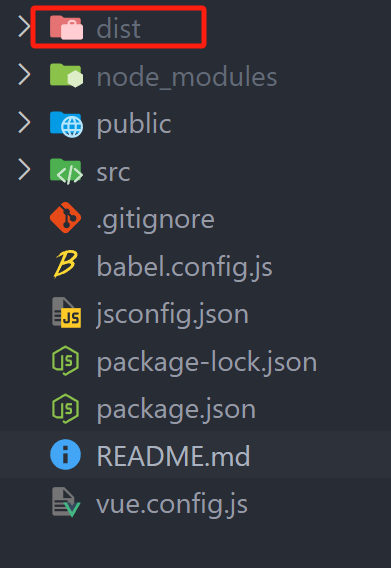
3、目录结构
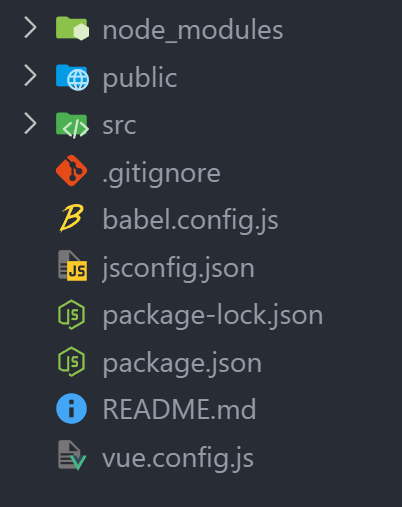
node_modules是该项目需要的一些依赖包和其它第三方工具包
public是静态资源包,保留的都是一些不参与编译的资源
src保留的都是一些参与编译的资源,该包下的App.vue是根组件,main.js则是入口文件用来对vue做一些配置
vue.config.js是用来配置vue/cli项目的文件
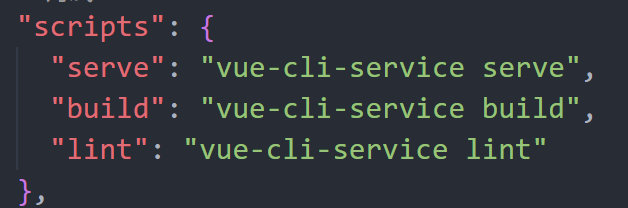
package.json中有一些比较常用的命令,比如serve、build,分别是启动项目、打包项目
4、打包项目
终端输入一下命令,打包项目
npm run build
打包完之后会生成一个dist文件
5、运行打包的项目
这个打包后的项目想要运行,需要一个服务器,我们这里下载一个serve服务器工具来运行
下载命令
npm i serve -g
运行命令
serve dist

二、组件化开发
1、什么是组件
组件是封装页面部分功能的一种方式
.vue后缀的都叫做单文件组件,都由template、script、style三部分组成
2、组件通信
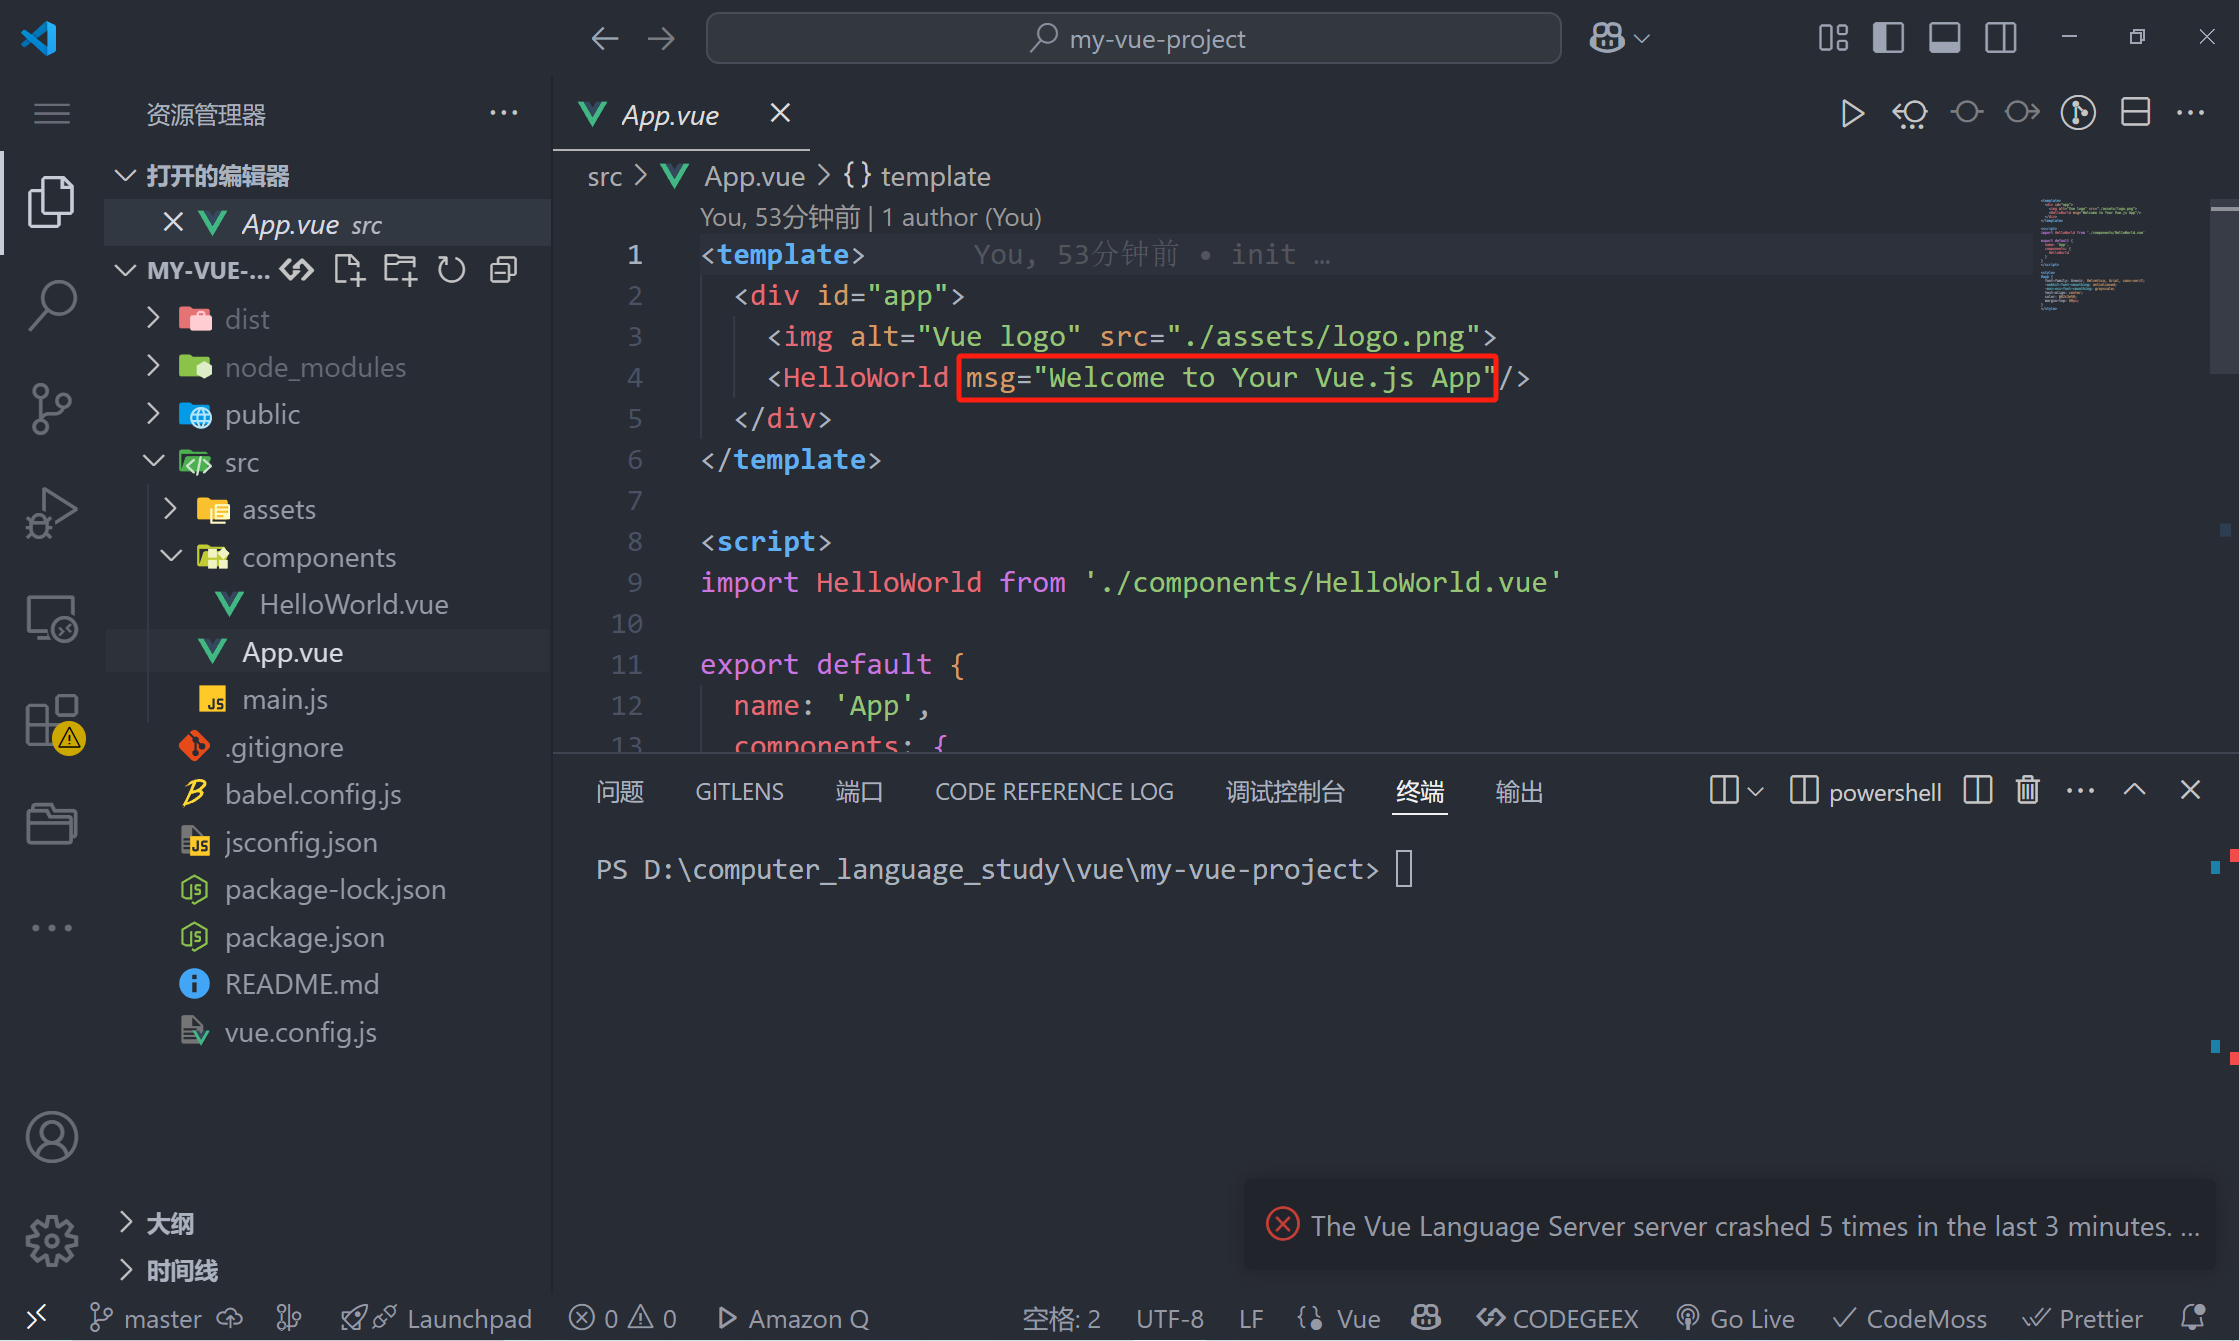
父组件传子组件
通过msg="xxxxxxx"传输,当然这里的msg是可以自定义的不是固定的
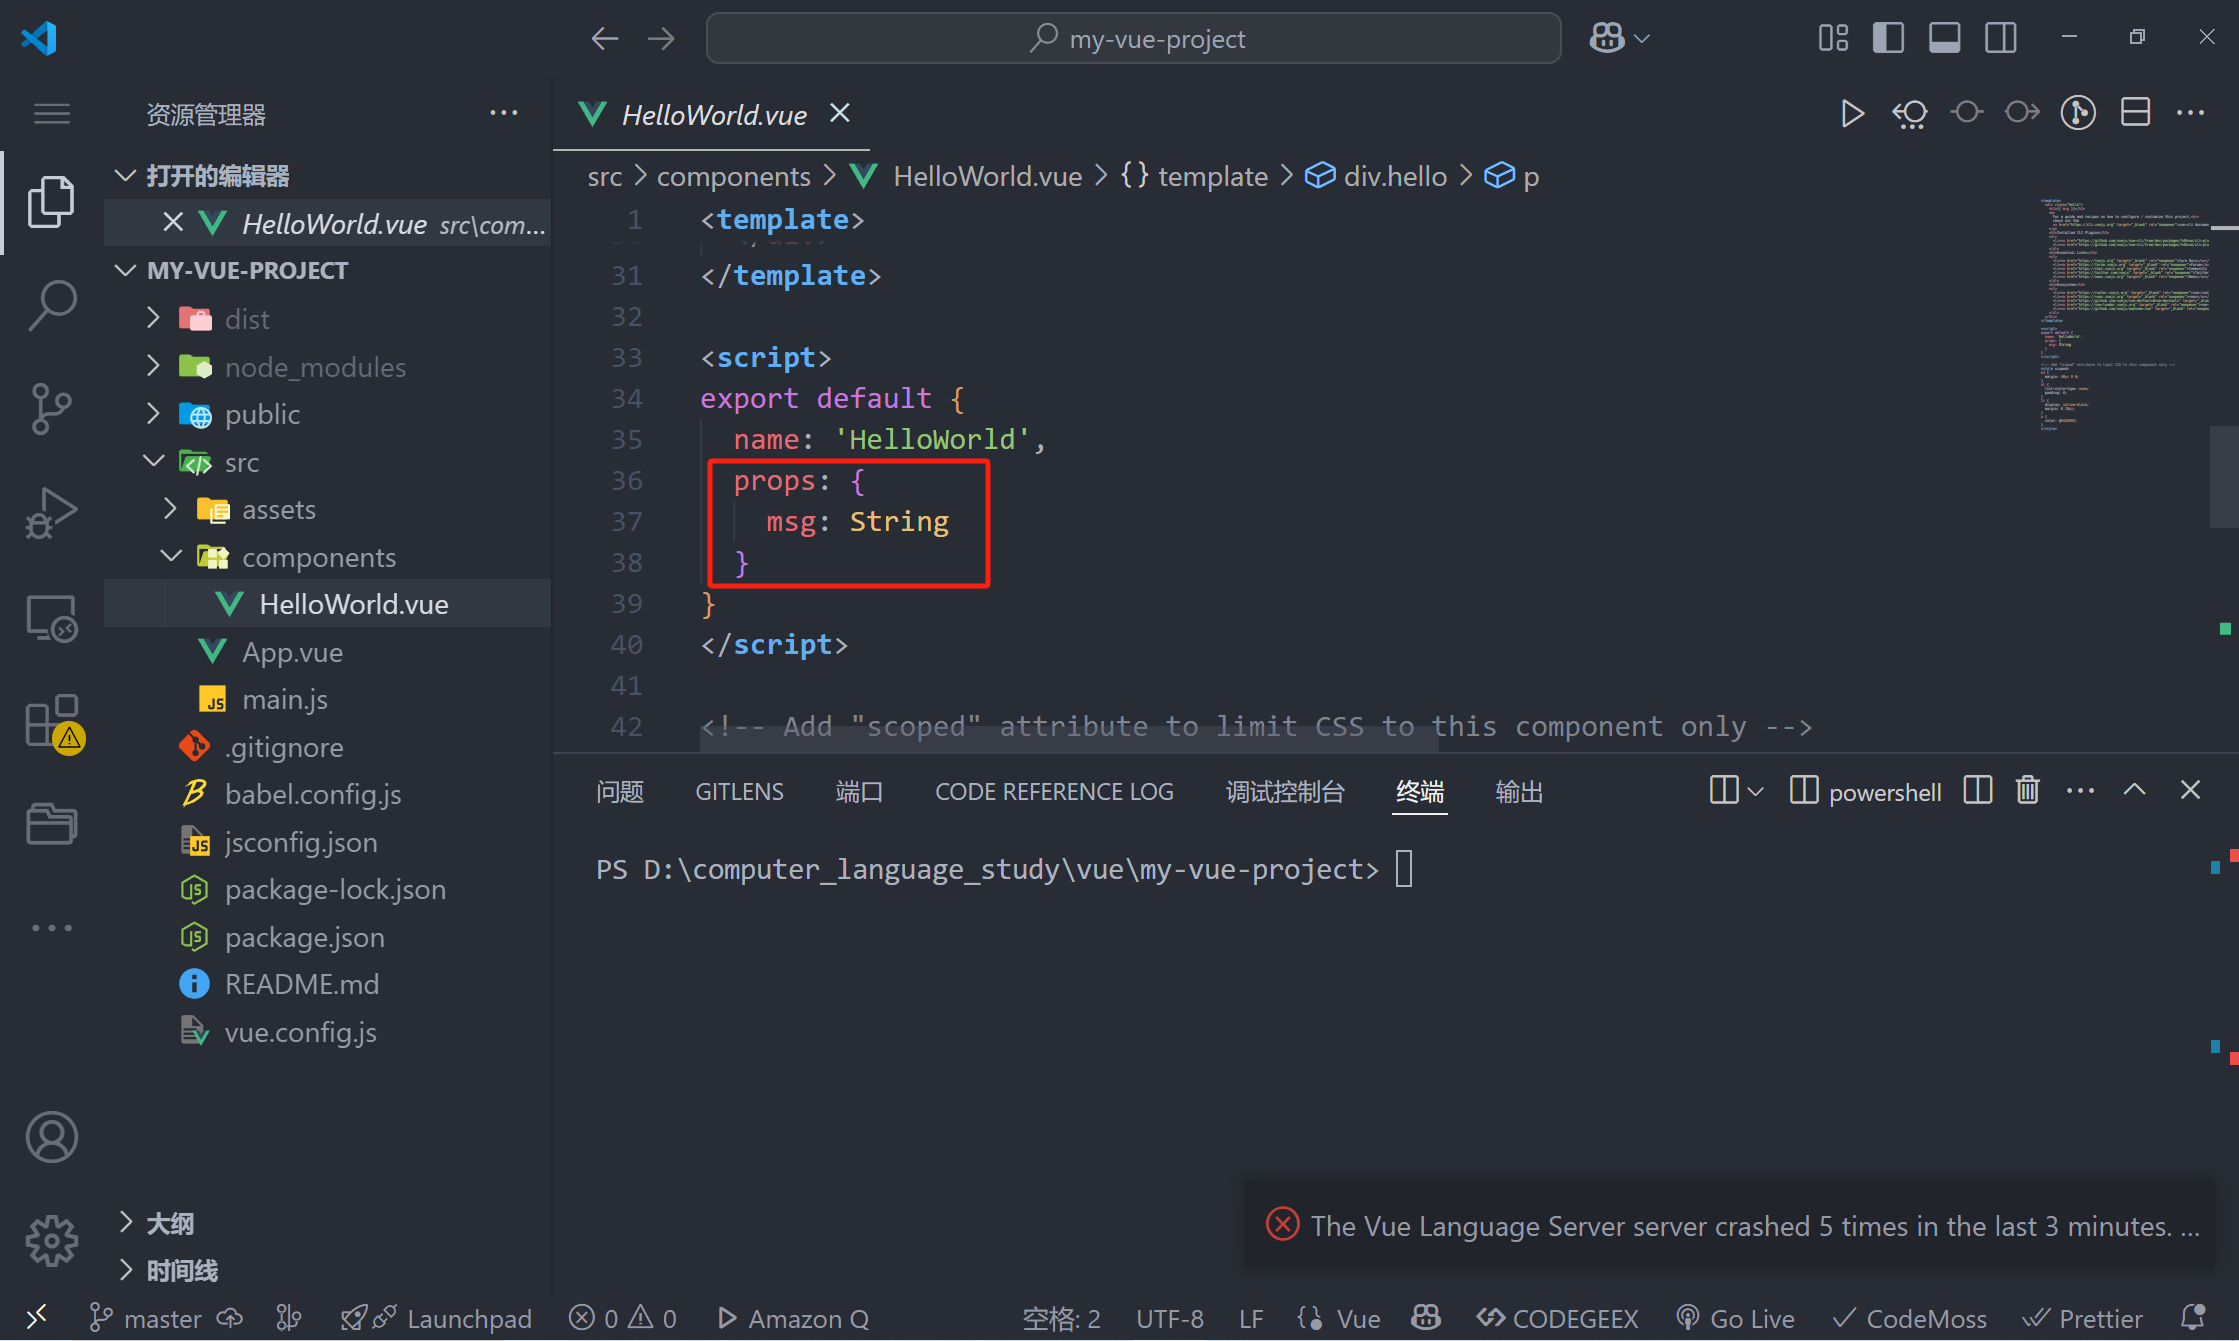
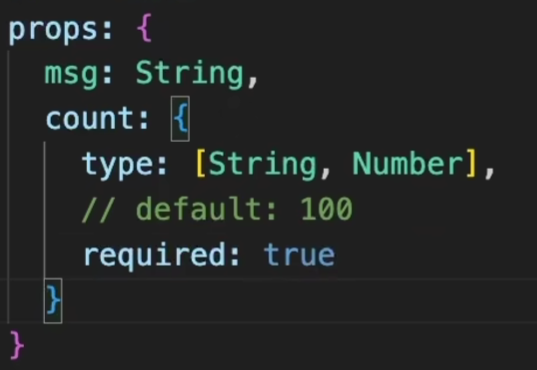
通过props接收,这里的msg要对应父组件的msg,名字要一模一样,接收的时候要规范类型,当然也要根据父组件传递的信息来规定
props的多种写法
子组件传父组件
子组件
父组件
HelloWorld.vue
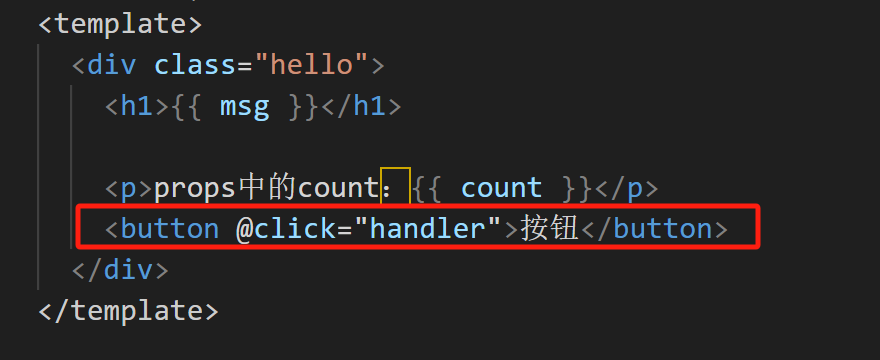
<template><div class="hello"><h1>{{ msg }}</h1><p>props中的count:{{ count }}</p><button @click="handler">按钮</button></div>
</template><script>
//组件通行
//父传子:通过props进行处理
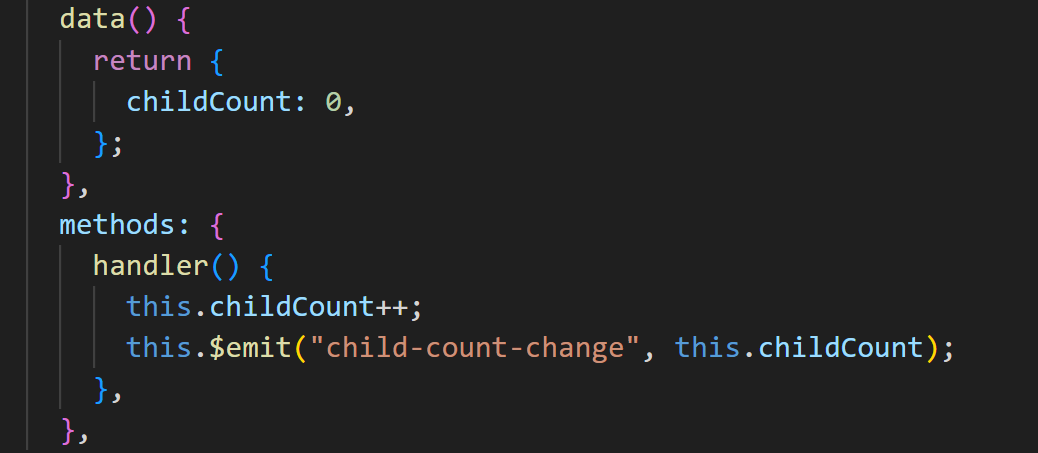
//子传父:通过$emit进行触发
export default {name: "HelloWorld",props: {msg: String,count: {type: [String, Number],// default: 100,required: true,},},data() {return {childCount: 0,};},methods: {handler() {this.childCount++;this.$emit("child-count-change", this.childCount);},},
};
</script><!-- Add "scoped" attribute to limit CSS to this component only -->
<style scoped>
h3 {margin: 40px 0 0;
}
ul {list-style-type: none;padding: 0;
}
li {display: inline-block;margin: 0 10px;
}
a {color: #42b983;
}
</style>
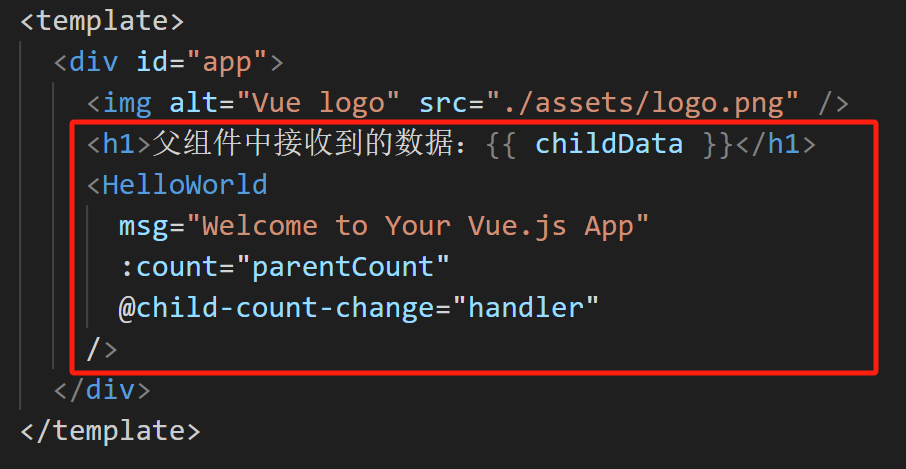
App.vue
<template><div id="app"><img alt="Vue logo" src="./assets/logo.png" /><h1>父组件中接收到的数据:{{ childData }}</h1><HelloWorldmsg="Welcome to Your Vue.js App":count="parentCount"@child-count-change="handler"/></div>
</template><script>
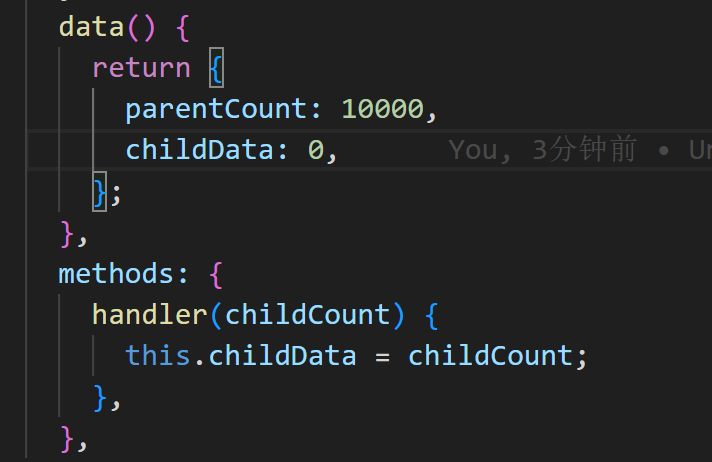
import HelloWorld from "./components/HelloWorld.vue";export default {name: "App",components: {HelloWorld,},data() {return {parentCount: 10000,childData: 0,};},methods: {handler(childCount) {this.childData = childCount;},},
};
</script><style>
#app {font-family: Avenir, Helvetica, Arial, sans-serif;-webkit-font-smoothing: antialiased;-moz-osx-font-smoothing: grayscale;text-align: center;color: #2c3e50;margin-top: 60px;
}
</style>
三、组件插槽
同一个子组件不同的展示需要用到插槽
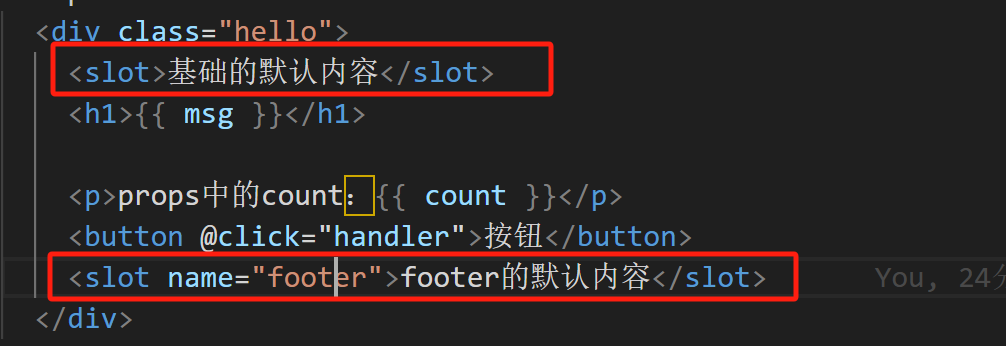

HelloWorld.vue
<template><div class="hello"><slot>基础的默认内容</slot><h1>{{ msg }}</h1><p>props中的count:{{ count }}</p><button @click="handler">按钮</button><slot name="footer">footer的默认内容</slot></div>
</template><script>
//组件通行
//父传子:通过props进行处理
//子传父:通过$emit进行触发
export default {name: "HelloWorld",props: {msg: String,count: {type: [String, Number],// default: 100,required: true,},},data() {return {childCount: 0,};},methods: {handler() {this.childCount++;this.$emit("child-count-change", this.childCount);},},
};
</script><!-- Add "scoped" attribute to limit CSS to this component only -->
<style scoped>
h3 {margin: 40px 0 0;
}
ul {list-style-type: none;padding: 0;
}
li {display: inline-block;margin: 0 10px;
}
a {color: #42b983;
}
</style>
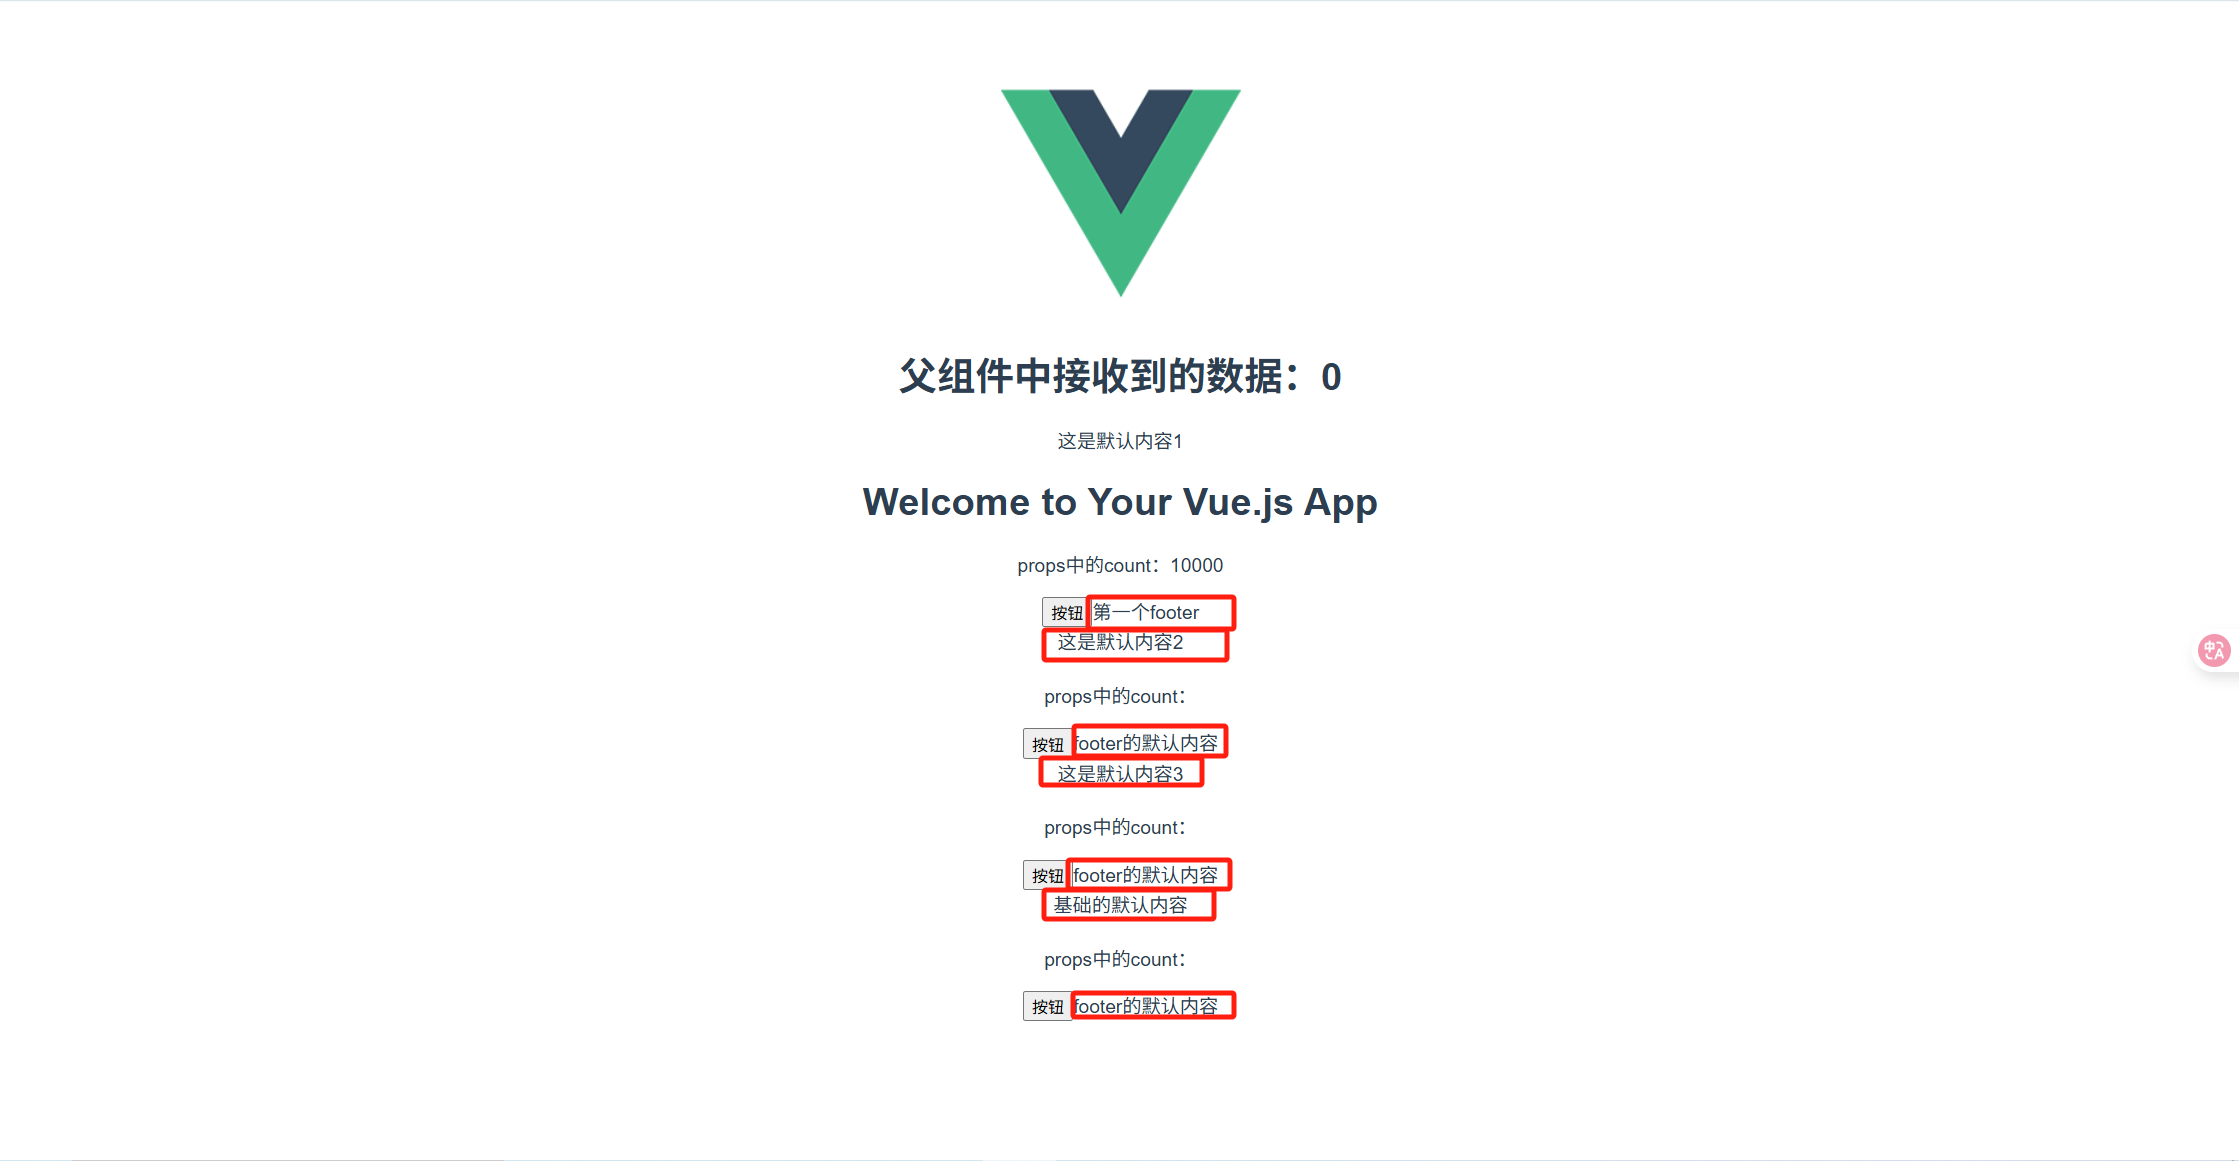
App.vue
<template><div id="app"><img alt="Vue logo" src="./assets/logo.png" /><h1>父组件中接收到的数据:{{ childData }}</h1><HelloWorldmsg="Welcome to Your Vue.js App":count="parentCount"@child-count-change="handler">这是默认内容1<template #footer>第一个footer</template></HelloWorld><HelloWorld>这是默认内容2</HelloWorld><HelloWorld>这是默认内容3</HelloWorld><HelloWorld></HelloWorld></div>
</template><script>
import HelloWorld from "./components/HelloWorld.vue";export default {name: "App",components: {HelloWorld,},data() {return {parentCount: 10000,childData: 0,};},methods: {handler(childCount) {this.childData = childCount;},},
};
</script><style>
#app {font-family: Avenir, Helvetica, Arial, sans-serif;-webkit-font-smoothing: antialiased;-moz-osx-font-smoothing: grayscale;text-align: center;color: #2c3e50;margin-top: 60px;
}
</style>