VSCode Verilog编辑仿真环境搭建
VSCode Verilog环境搭建
- 下载Iverilog
- 安装Iverilog
- 验证安装
- VS Code安装插件
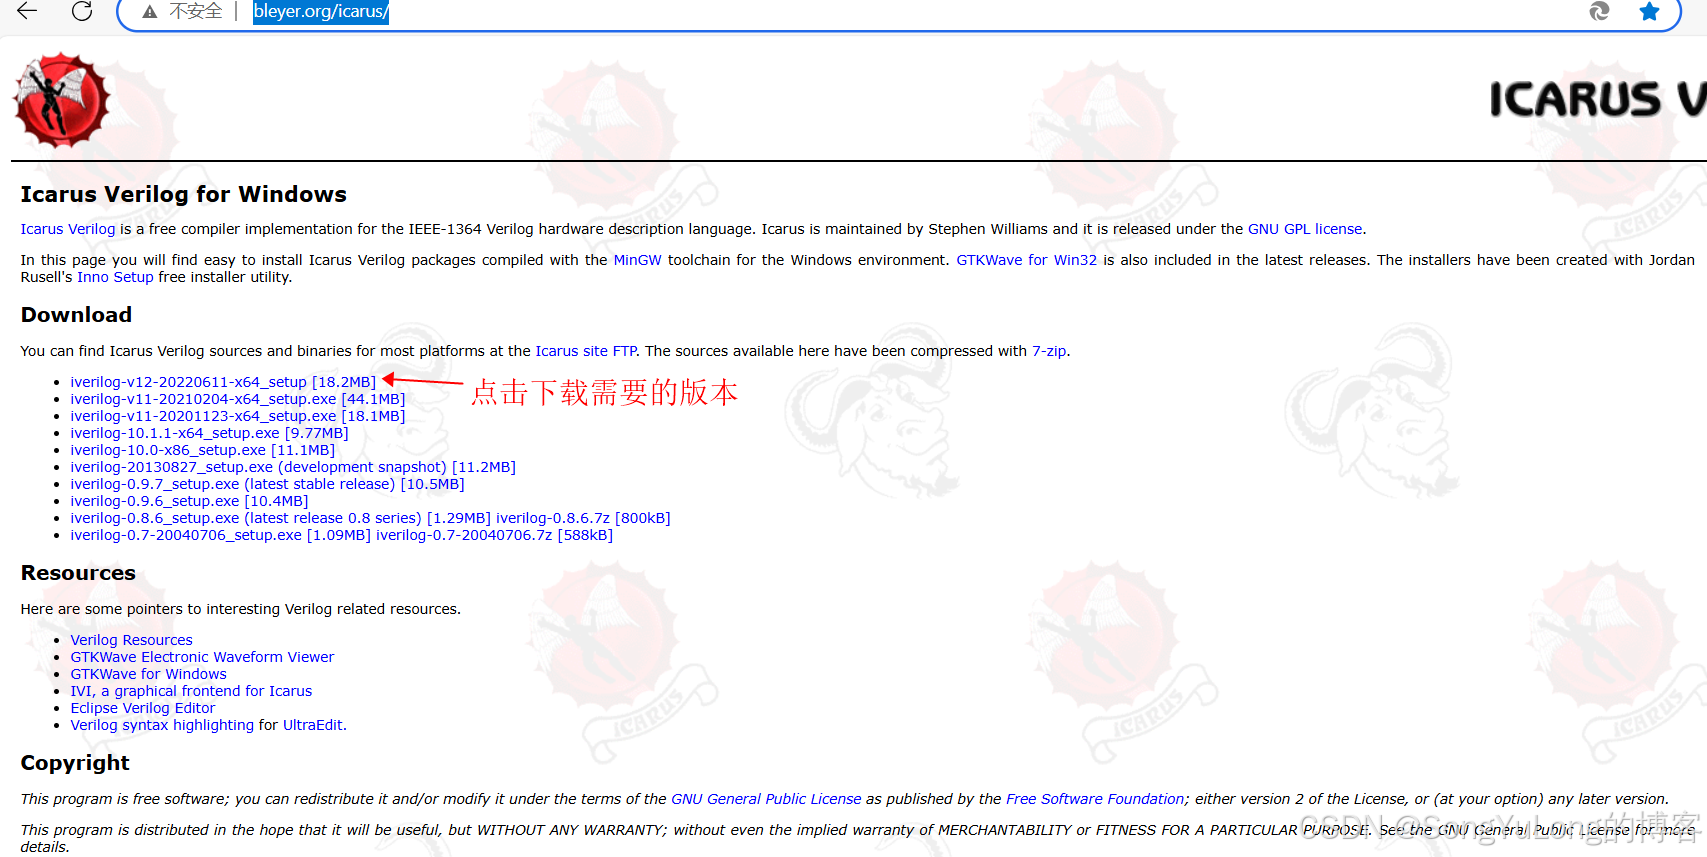
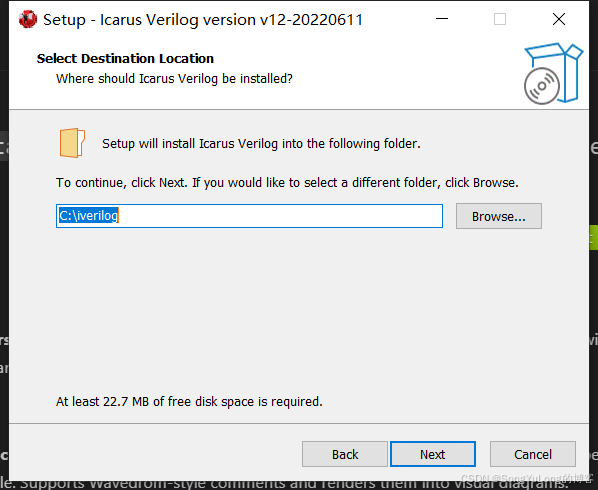
下载Iverilog
官网下载Iverilog
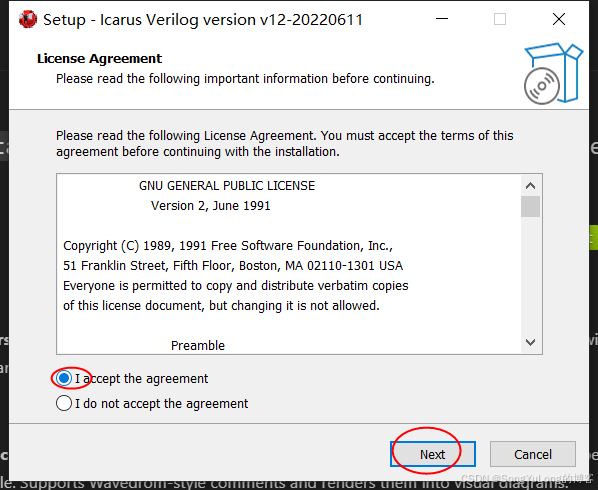
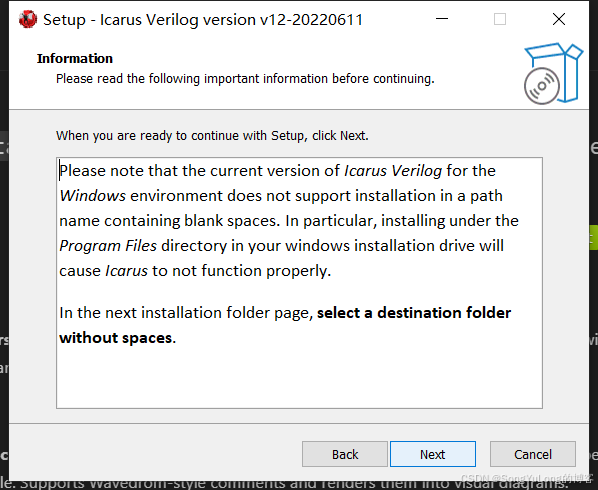
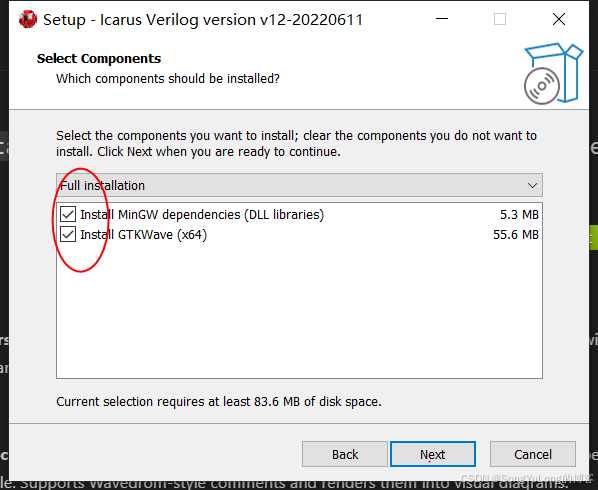
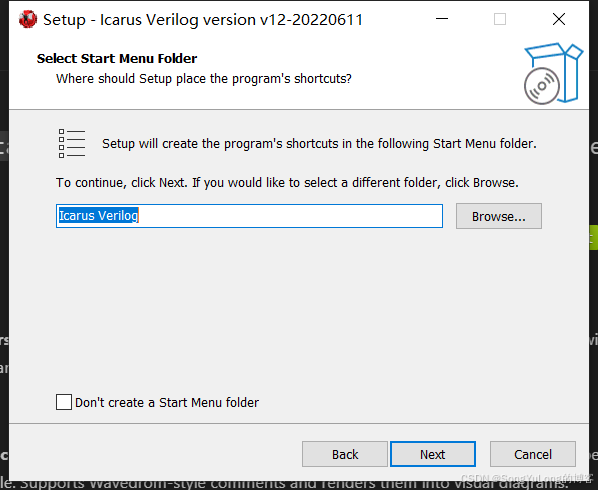
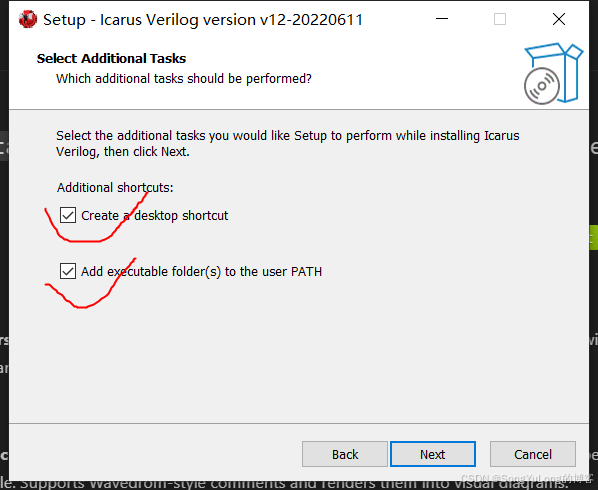
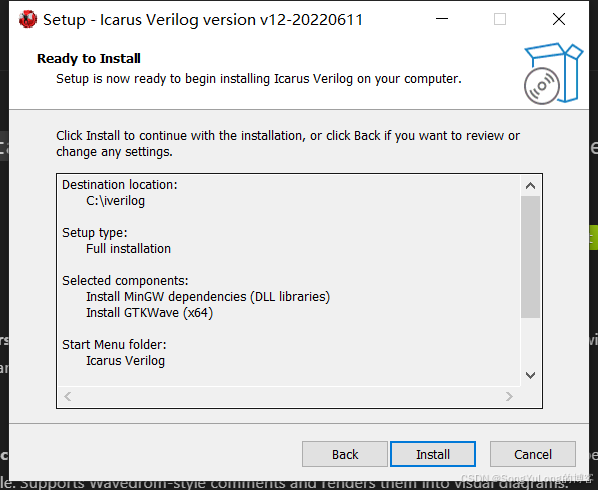
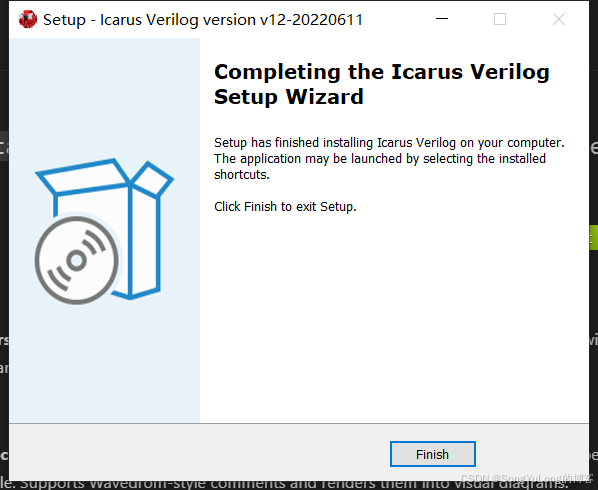
安装Iverilog
一定要勾选这两项
建议勾选这两项
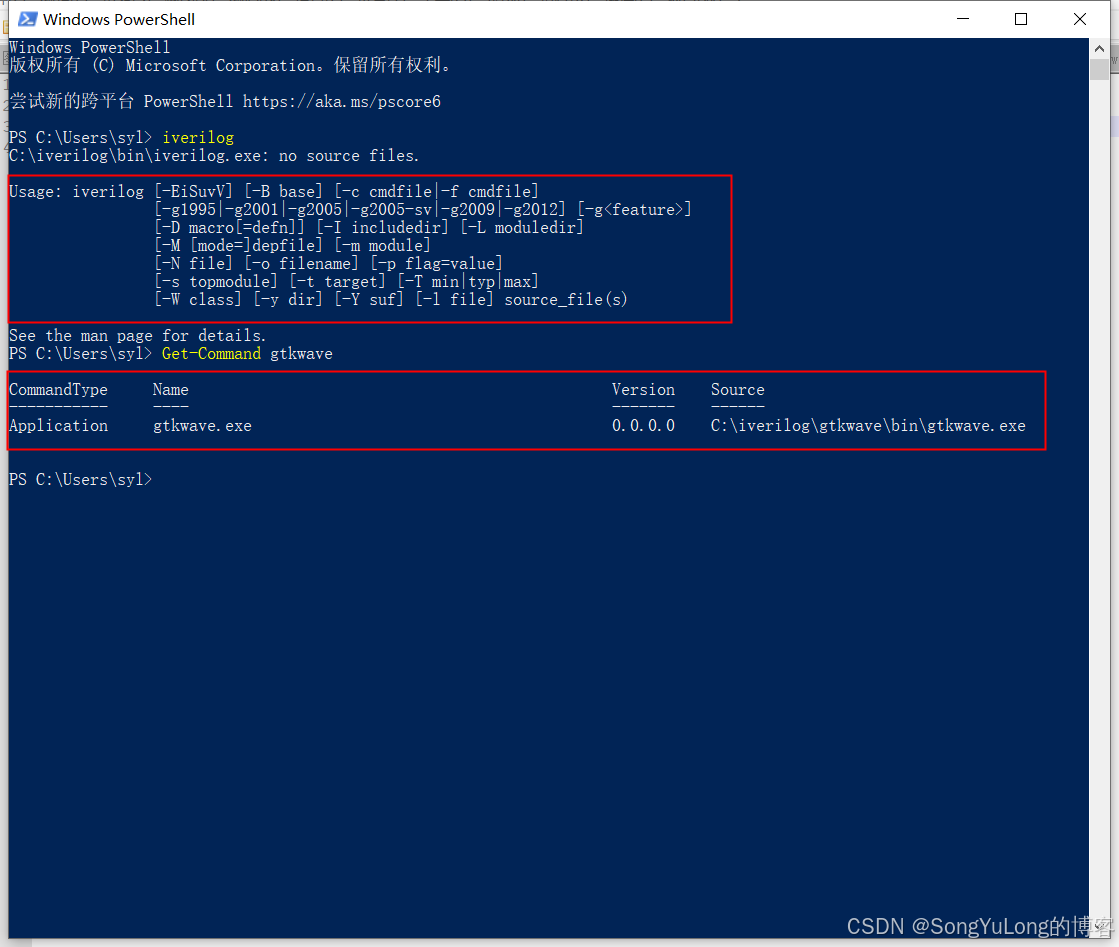
验证安装
- 运行Windows PowerShell
- 输入命令:iverilog
- 输入命令:Get-Command gtkwave
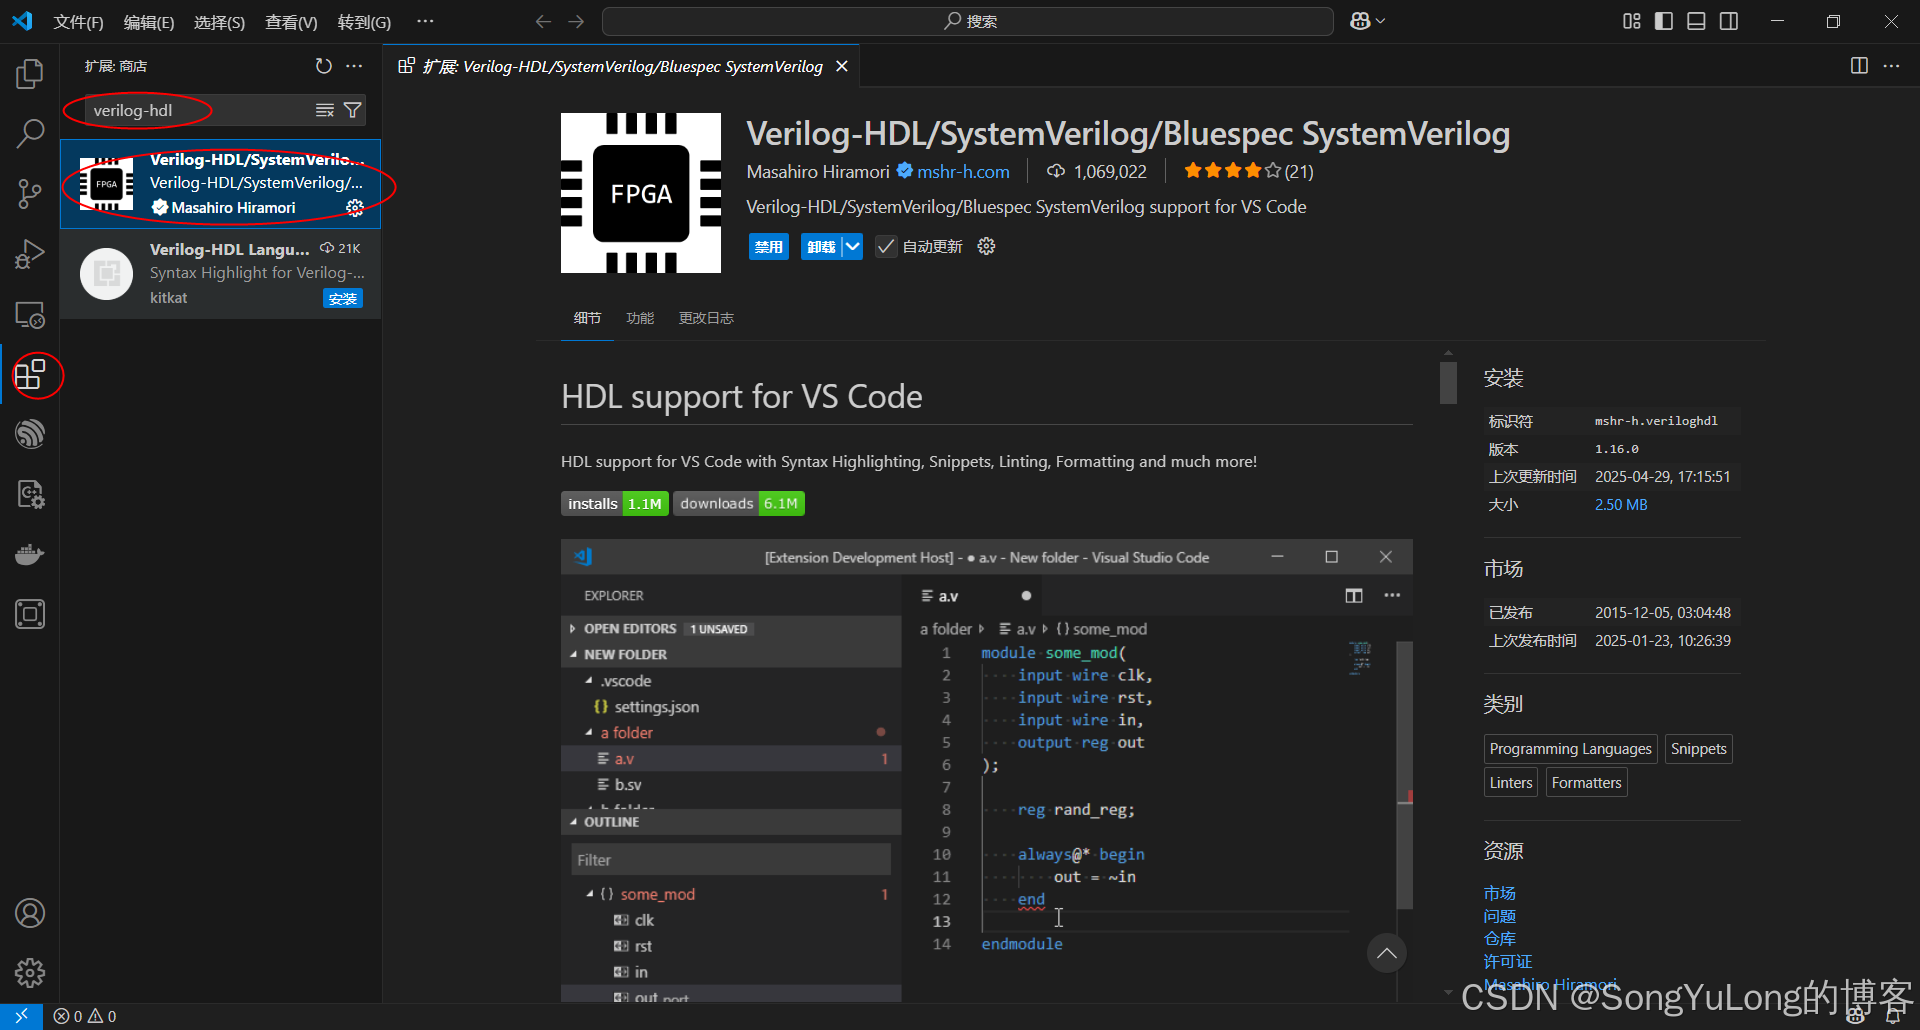
VS Code安装插件
- 搜索安装:Verilog-HDL插件
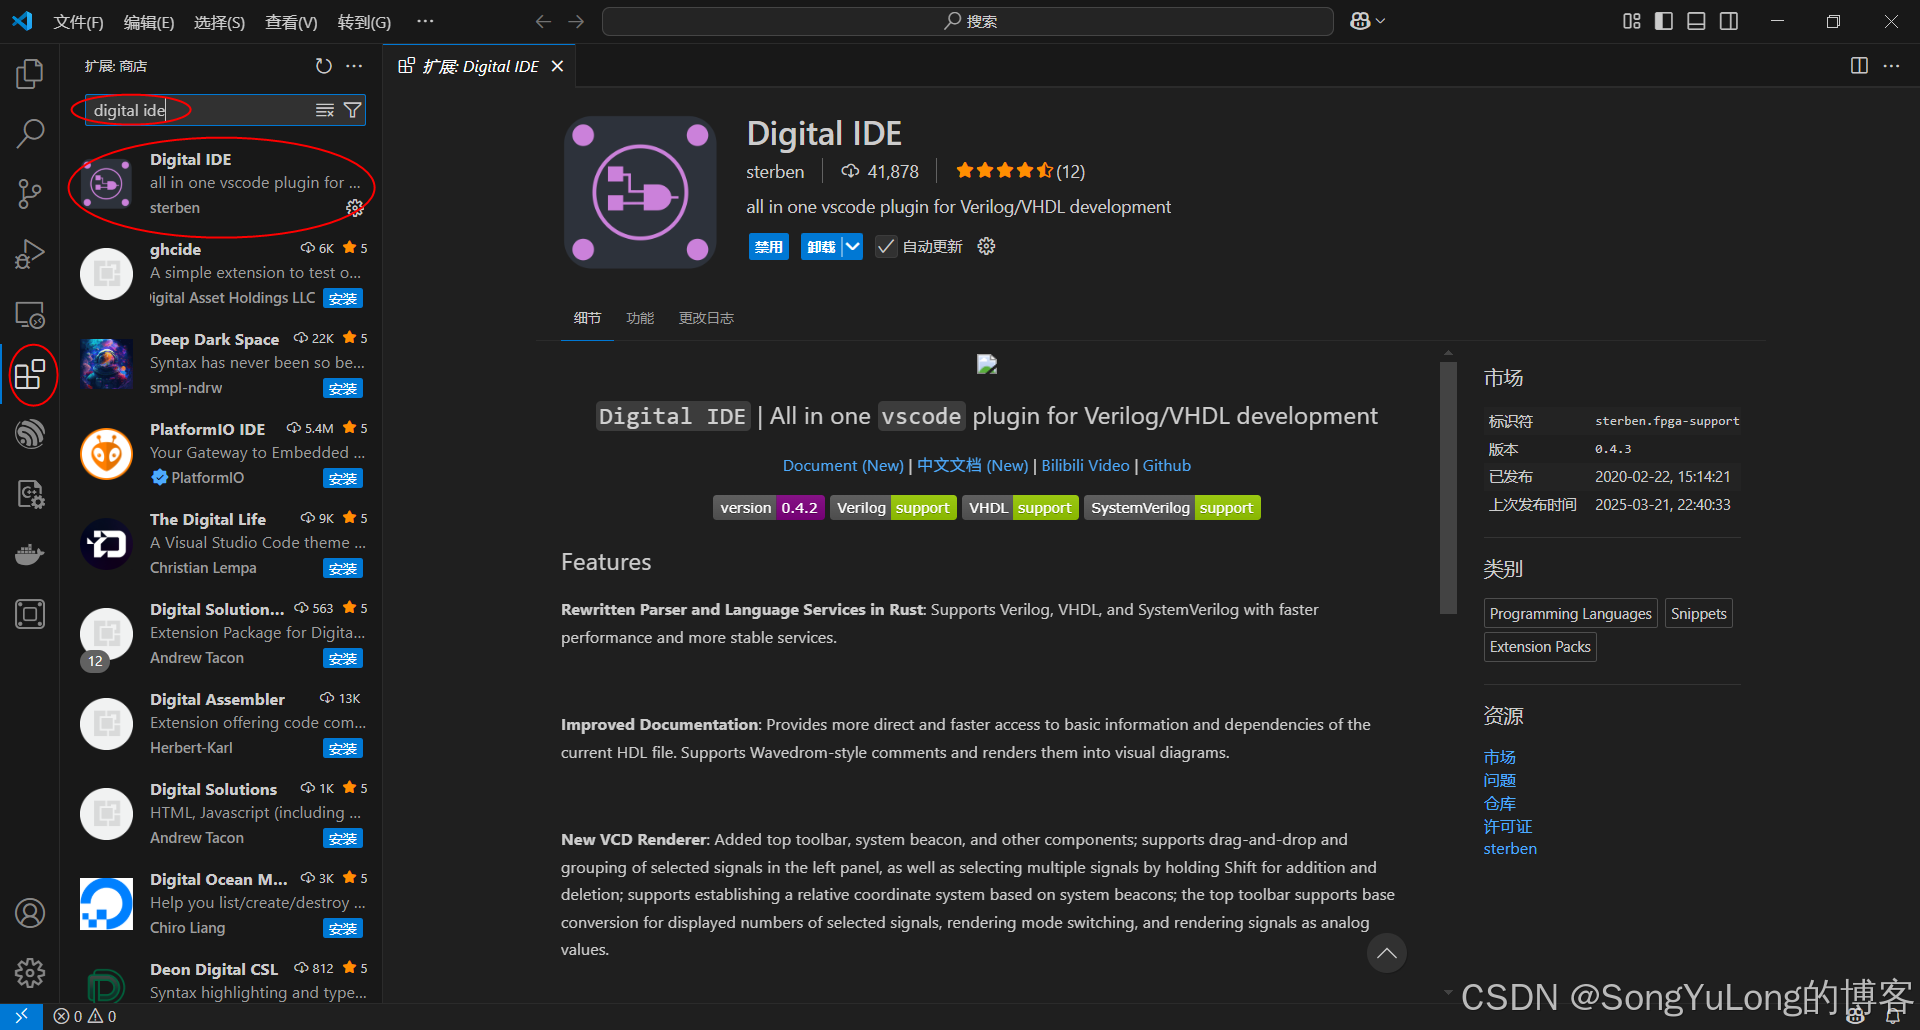
- 搜索安装:Digital IDE插件
创建counter.v文件
module counter(input clk, // 27MHzoutput [5:0] led);parameter DELAY_MAX = 13_500_000;reg [$clog2(DELAY_MAX+1)-1 : 0] delay_cnt=0;reg [5:0] led_reg = 0;always @(posedge clk) beginif (delay_cnt == DELAY_MAX-1) begindelay_cnt <= 0;endelse begindelay_cnt <= delay_cnt + 1'b1;endendalways @(posedge clk) beginif (delay_cnt == DELAY_MAX -1) beginled_reg <= led_reg + 1'b1;endendassign led = ~led_reg;endmodule //moduleName
创建counter_tb.v (testbeanch测试实例)
`timescale 1ns/1nsmodule testbench();reg clk;wire [5:0] led;always # 1 clk=~clk;initial beginclk = 0;endinitial begin$dumpfile("wave.vcd");$dumpvars(0, testbench);#6000 $finish;endcounter #(.DELAY_MAX(5)) u_counter(.clk(clk),.led(led));endmodule
使用iverilog编译器将Verilog代码和测试文件编译成VVP文件:
- 命令行执行:iverilog -o “test_tb.vvp” .\counter_tb.v .\counter.v
在命令行中运行生成的VVP文件,生成VCD波形文件:
- vvp test_tb.vvp
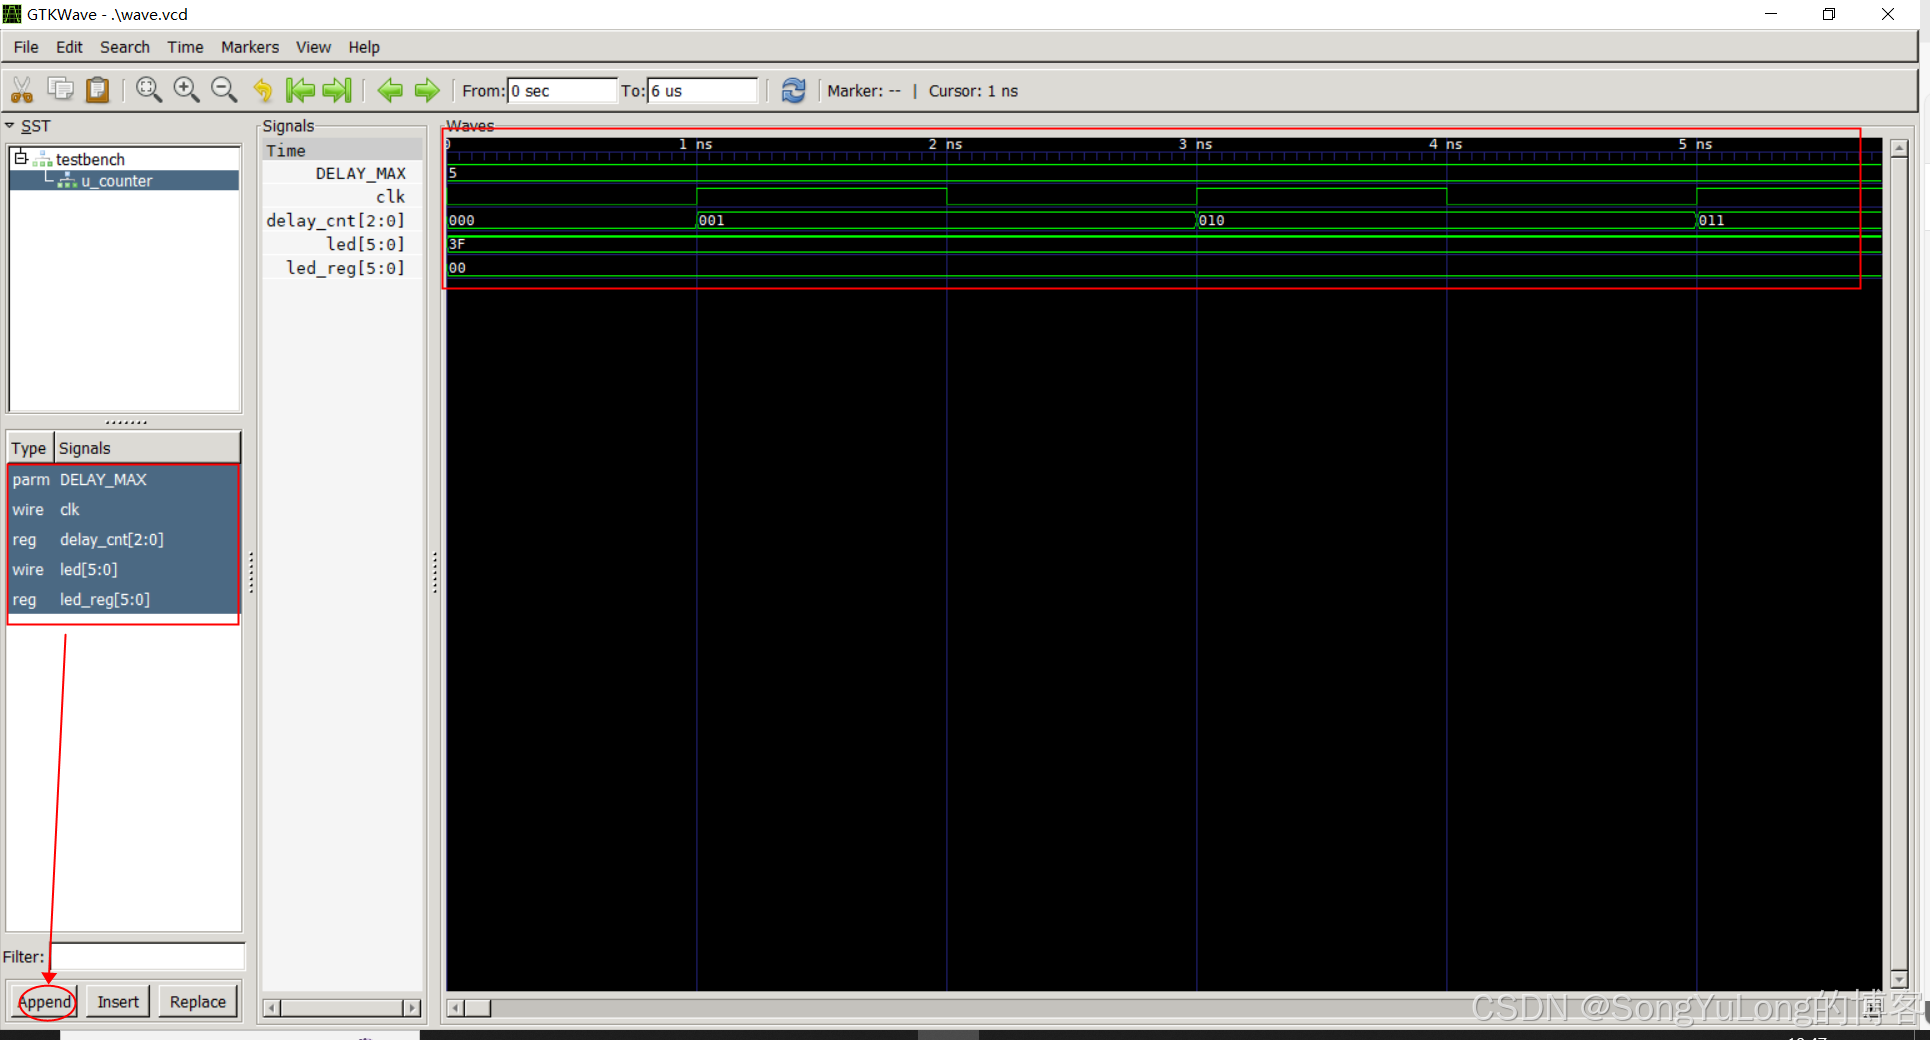
使用GTKwave打开生成的VCD文件,查看仿真波形:
- gtkwave.exe -L .\wave.vcd