从入门到实战!Vue-router 的深度探索与高效应用
在 Vue.js 的生态系统中,Vue-router 是实现页面路由功能的核心工具,它能帮助开发者构建单页面应用(SPA),实现页面间的高效切换与导航。今天,就为大家详细分享如何深入学习和使用 Vue-router,助力提升开发效率与用户体验。
一、Vue-router 初体验:搭建项目基础
(一)项目初始化
使用 Vue-cli 创建项目是快速搭建 Vue 开发环境的有效方式。
# 创建项目(选择自定义,选择vue3+router)
vue create lx-vue-router在命令行中执行vue create lx-vue-router,选择手动配置项目特性,勾选Router并选择 Vue 3 版本,同时启用 history 模式的路由,这能让 URL 更简洁美观。
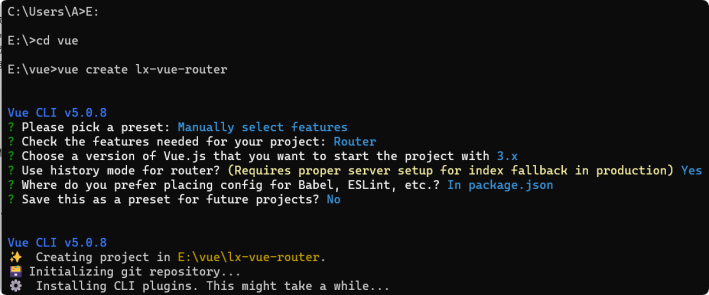
#进入项目目录
cd lx-vue-router
#运行项目
npm run serve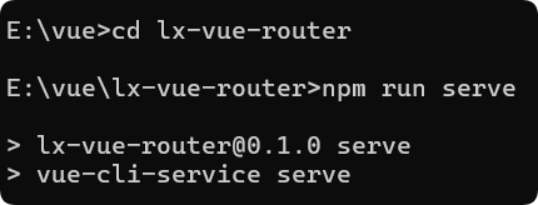
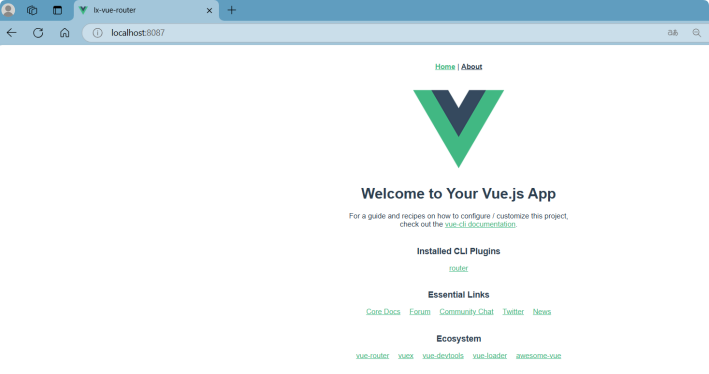
接着进入项目目录cd lx-vue-router,并运行npm run serve启动项目。此时,访问http://localhost:8087/,就能看到 Vue 项目的初始页面。
(二)验证安装
为确保 Vue-router 安装成功,可在项目目录下的命令行中执行npm list vue-router,
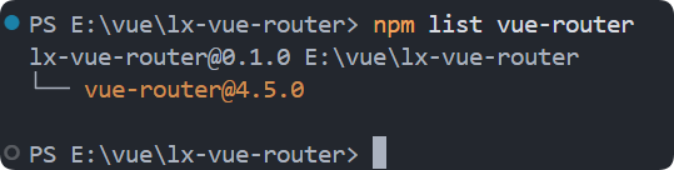
若能看到相关版本信息,就说明安装无误,这为后续开发奠定了基础。
二、局部配置优化:提升开发体验
在开发过程中,代码规范至关重要。如果项目中使用了 ESLint 和 Prettier,可通过以下命令进行代码格式化和错误修复:
- 运行
npx eslint --fix src/自动修复 ESLint 错误。 - 执行
npx prettier --write src/让 Prettier 自动格式化代码,使代码风格更加统一、规范,便于团队协作开发。
三、页面与路由配置:构建应用骨架
(一)创建页面组件
在views目录下创建Home.vue和Test.vue等页面组件。以Home.vue为例,在模板中展示欢迎信息:
<template>
  <div>
    <h1>This is the Home Page</h1>
    <p>Welcome to the Home page!</p>
  </div>
</template>
Test.vue的结构类似,只是内容不同。这些组件将作为路由的目标页面,承载不同的功能和内容。
(二)配置路由
在router/index.js文件中配置路由。通过createRouter和createWebHistory创建路由实例,并定义路由规则:
import { createRouter, createWebHistory } from 'vue-router'
import Home from '../views/Home.vue'
import Test from '../views/Test.vue'

const routes = [
  {
    path: '/',
    name: 'Home',
    component: Home,
  },
  {
    path: '/test',
    name: 'Test',
    component: Test,
  },
];

const router = createRouter({
  history: createWebHistory(process.env.BASE_URL),
  routes,
});

export default router;
在App.vue中使用router-link和router-view实现页面导航和路由渲染:
<template>
  <div id="app">
    <nav>
      <router-link to="/">Home</router-link> |
      <router-link to="/test">Test</router-link>
    </nav>
    <router-view/>
  </div>
</template>
<script>
export default {
  name: 'App',
};
</script>

<style>
#app {
  font-family: Avenir, Helvetica, Arial, sans-serif;
  text-align: center;
  color: #2c3e50;
  margin-top: 60px;
}
</style>
// main.js
import { createApp } from 'vue'
import App from './App.vue'
import router from './router'

createApp(App)
    .use(router)  // 使用 Vue 3 的插件注册方式
.mount('#app')
这样,在浏览器中点击导航链接,就能实现页面的平滑切换,验证了路由功能的正确性。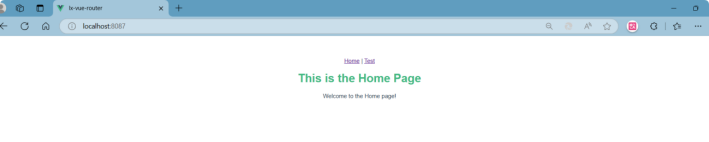

四、实战项目:打造高效学习助手
(一)项目功能概述
本次实战项目旨在打造一款多功能学习效率软件,涵盖用户系统、番茄钟、背单词、记事本、时间统计、点击小游戏等多个功能模块,同时支持个性化设置,如背景切换、语言切换等,全方位满足用户在学习和生活中的各种需求。
(二)功能模块详细解析
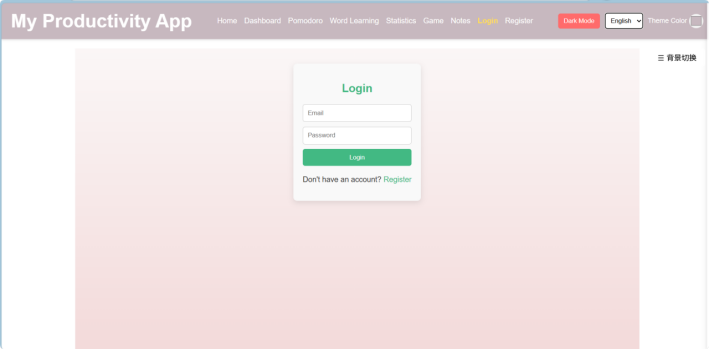
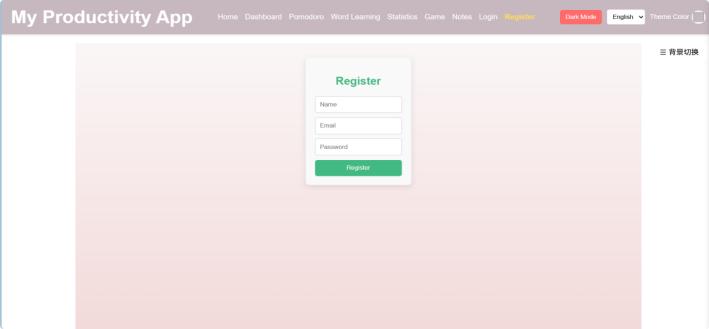
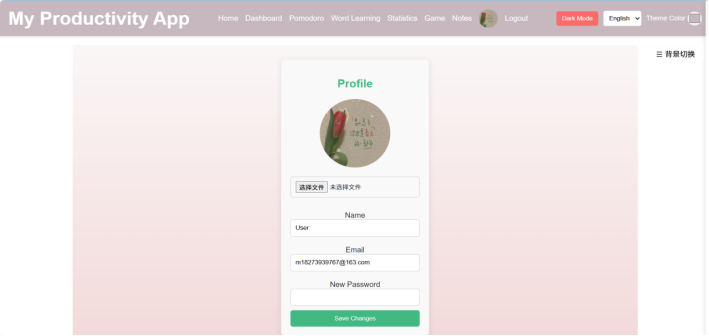
- 用户系统:包含登录、注册和个人中心功能。登录和注册时,通过
localStorage存储用户数据,利用vee-validate进行表单验证,保障数据的准确性和安全性。在个人中心,用户可以上传和修改头像、更新个人信息和密码,提升个性化体验。 - 番茄钟:核心功能通过
setInterval实现倒计时,借助@vueuse/core的useStorage持久化配置工作时间和循环模式。进度条使用 CSS 的transition动态更新,铃声则通过Howler.js播放,为用户提供清晰的时间管理体验。 - 背单词:单词学习与统计功能通过
localStorage存储数据,利用vue-i18n动态加载词库,支持多语言学习。通过计算属性实现分数统计,记录用户学习进度和成果。 - 记事本:使用
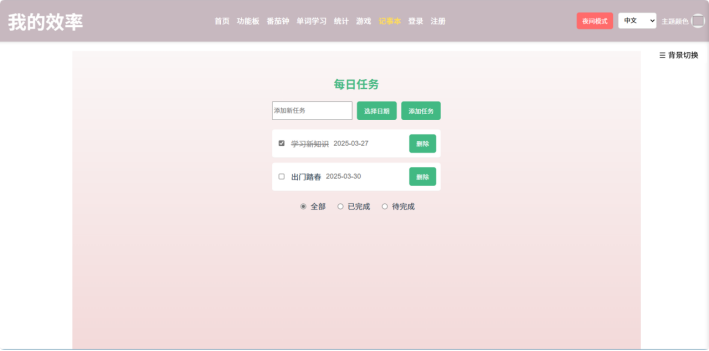
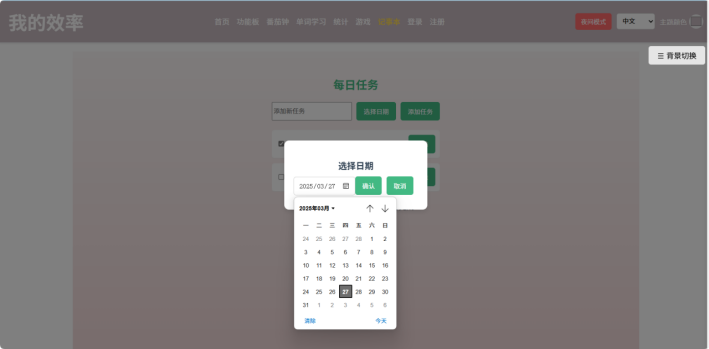
VueDraggable实现任务拖拽排序,结合vue-datepicker选择日期,任务状态通过v-model绑定到本地存储,方便用户管理日常任务。 - 时间统计:集成
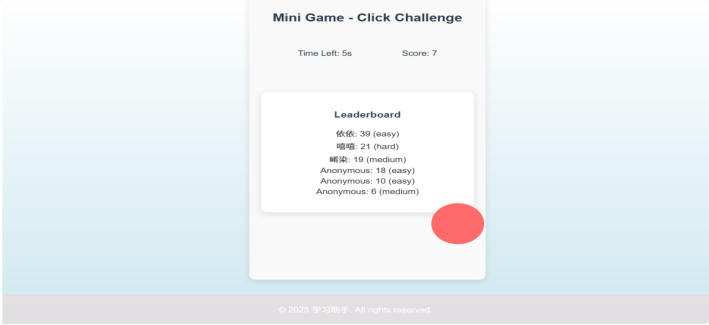
ECharts生成扇形图,直观展示时间分配情况。用户可以自定义事件分类,通过reactive对象动态管理分类数据,实现个性化的时间统计。 - 点击小游戏:具备简单、一般、困难三种难度模式,通过
v-if切换游戏逻辑。音效使用Howler.js增强趣味性,排行榜数据存储在IndexedDB中,实现快速读写,记录玩家成绩。 - 主题与背景:背景切换功能支持默认背景和自定义上传背景,用户可以对自定义背景进行重命名和删除操作。导航栏颜色通过 CSS 变量和颜色选择器实现动态修改,提供个性化的视觉体验。
- 国际化:通过
lang/en-US.json和lang/zh-CN.json等语言文件,结合i18n.js配置,实现中英文切换。在AppLayout.vue中添加语言切换按钮,方便多语言用户使用。 - 组合组件:在
views/Dashboard.vue中,使用<component :is="...">动态加载子组件,将番茄钟、记事本和时间统计功能集成在同一页面,提高用户操作的便捷性。
| 功能模块 | 核心实现文件 | 关键设计思路 |
| 1. 用户系统 | ||
| - 登录/注册 | views/Login.vue, views/Register.vue | 使用 localStorage 存储用户数据,通过 vue-router 的导航守卫控制未登录访问。 |
| - 个人中心 | views/Profile.vue | 集成头像上传组件(components/FileUploader.vue),支持 base64 存储或本地文件路径,通过 v-model 绑定用户数据。 |
| - 密码修改 | views/Profile.vue | 结合表单验证规则(如 vee-validate),本地加密存储密码(使用 crypto-js 简单哈希)。 |
| 2. 番茄钟 | ||
| - 核心功能 | views/Pomodoro.vue | 使用 setInterval 实现倒计时,@vueuse/core 的 useStorage 持久化配置(工作时间、循环模式)。 |
| - 进度条与铃声 | 进度条通过 CSS transition 动态更新,铃声使用 Howler.js 控制播放。 | |
| 3. 背单词 | ||
| - 单词学习与统计 | views/WordLearning.vue | 数据存储在 localStorage,使用 vue-i18n 动态加载词库,分数统计通过计算属性实现。 |
| 4. 记事本 | ||
| - 任务管理 | views/Notes.vue | 使用 VueDraggable 实现任务拖拽排序,结合 vue-datepicker 选择日期,任务状态通过 v-model 绑定到本地存储。 |
| 5. 时间统计 | ||
| - 分类与图表 | views/Statistics.vue | 集成 ECharts 生成扇形图,分类数据通过 reactive 对象动态管理,支持自定义标签和颜色。 |
| 6. 点击小游戏 | ||
| - 游戏逻辑与排行榜 | views/Game.vue | 难度模式通过 v-if 切换逻辑,音效使用 Howler.js,排行榜数据存储在 IndexedDB 支持快速读写。 |
| 7. 主题与背景 | ||
| - 背景切换 | layouts\AppLayout.vue | 上传背景通过 <input type="file"> 转为 base64 存储,默认背景列表在 assets/images/backgrounds/。 |
| - 导航栏颜色 | layouts/AppLayout.vue | 使用 CSS 变量(--nav-color)动态绑定颜色选择器(<input type="color">)的值,通过 provide/inject 全局传递颜色状态。 |
| 8. 国际化 | ||
| - 中英文切换 | lang/en-US.json, lang/zh-CN.json, i18n.js | 扩展语言包键值,在 AppLayout.vue 添加语言切换按钮,调用 i18n.global.locale 更新。 |
| 9. 组合组件 | ||
| - 集成番茄钟/记事本/统计 | views/Dashboard.vue | 使用 <component :is="..."> 动态加载子组件,通过 Pinia 共享状态(如时间数据)。 |
(三)技术实现细节
- 前端:运用 HTML、CSS 和 JavaScript 构建页面布局与交互逻辑。使用图形库(如
Chart.js)绘制扇形统计图,实现背景图片切换、导航栏颜色修改等功能,提升用户界面的美观性和交互性。 - 后端:初期使用本地存储(如
LocalStorage)保存用户数据,后续可通过 API 接口调用数据库(如 MySQL、MongoDB)实现数据的云端存储和同步,确保数据的安全性和可扩展性。 - 音效:借助 HTML5 音频播放铃声和游戏音效,为用户提供丰富的听觉反馈,增强应用的趣味性。
- 语言切换:利用国际化库(如
i18n)实现中英文切换,根据用户需求提供多语言支持,扩大应用的使用范围。
五、项目代码剖析:关键部分解读
(一)路由配置
在router/index.js中,采用动态导入的方式提升性能:
import { createRouter, createWebHistory } from 'vue-router'
// 使用动态导入提升性能(生产环境代码分割)
const loadView = (view) => () => import(`@/views/${view}.vue`)
const routes = [
  {
    path: '/',
    component: () => import('@/layouts/AppLayout.vue'),
    children: [
      {
        path: '',
        name: 'Home',
        component: loadView('Home')
      },
      {
        path: 'dashboard',
        name: 'Dashboard',
        component: loadView('Dashboard'),
        meta: { guestOnly: true }
      },
      {
        path: 'login',
        name: 'Login',
        component: loadView('Login'),
        meta: { guestOnly: true }
      },
      {
        path: 'register',
        name: 'Register',
        component: loadView('Register'),
        meta: { guestOnly: true }
      },
      {
        path: 'profile',
        name: 'Profile',
        component: loadView('Profile'),
        meta: { requiresAuth: true }
      },
      {
        path: 'pomodoro',
        name: 'Pomodoro',
        component: loadView('Pomodoro')
      },
      {
        path: 'word-learning',
        name: 'WordLearning',
        component: loadView('WordLearning')
      },
      {
        path: 'statistics',
        name: 'Statistics',
        component: loadView('Statistics')
      },
      {
        path: 'game',
        name: 'Game',
        component: loadView('Game')
      },
      {
        path: 'notes',
        name: 'Notes',
        component: loadView('Notes')
      }
    ]
  }
]
const router = createRouter({
  history: createWebHistory(process.env.BASE_URL || '/'),
  routes,
  scrollBehavior(to, from, savedPosition) {
    return savedPosition || { top: 0 }
  }
})
router.beforeEach((to, from) => {
  const isAuthenticated = localStorage.getItem('isAuthenticated') === 'true'
  if (to.meta.requiresAuth && !isAuthenticated) {
    return {
      name: 'Login',
      query: {
        redirect: encodeURIComponent(to.fullPath),
        reason: 'auth-required'
      }
    }
  }

  // 已认证用户访问游客页面
  if (to.meta.guestOnly && isAuthenticated) {
    return { name: 'Home' }
  }
})
export default router
同时,通过导航守卫实现用户认证和权限控制:
router.beforeEach((to, from) => {
  const isAuthenticated = localStorage.getItem('isAuthenticated') === 'true'
  if (to.meta.requiresAuth &&!isAuthenticated) {
    return {
      name: 'Login',
      query: {
        redirect: encodeURIComponent(to.fullPath),
        reason: 'auth-required'
      }
    }
  }
  if (to.meta.guestOnly && isAuthenticated) {
    return { name: 'Home' }
  }
})
确保只有登录用户能访问特定页面,未登录用户被引导至登录页面。
(二)组件开发
以Pomodoro.vue为例,展示如何实现番茄钟功能:
<template>
  <div class="pomodoro">
    <h2>{{ $t('pomodoro.title') }}</h2>
    <div class="settings">
      <label>{{ $t('pomodoro.workTime') }} (分钟):
        <input v-model="workTimeInMinutes" type="number" min="1" />
      </label>
      <label>{{ $t('pomodoro.restTime') }} (分钟):
        <input v-model="restTimeInMinutes" type="number" min="1" />
      </label>
      <label>
        <input type="checkbox" v-model="loopMode" /> {{ $t('pomodoro.loopMode') }}
      </label>
    </div>
    <div class="progress">
      <progress :value="(totalTime - time) / totalTime * 100" :max="100"></progress>
    </div>
    <div class="timer">{{ minutes }}:{{ seconds }}</div>
    <div class="controls">
      <button @click="startTimer" :disabled="isRunning">{{ $t('pomodoro.start') }}</button>
      <button @click="stopTimer" :disabled="!isRunning">{{ $t('pomodoro.stop') }}</button>
      <button @click="resetTimer">{{ $t('pomodoro.reset') }}</button>
    </div>
  </div>
</template>
<script>
export default {
  data() {
    return {
      workTime: 25 * 60,
      restTime: 5 * 60,
      workTimeInMinutes: 25,
      restTimeInMinutes: 5,
      loopMode: false,
      time: 25 * 60,
      isRunning: false,
      timer: null,
      totalTime: 25 * 60,
    };
  },
  watch: {
    workTimeInMinutes(newVal) {
      this.workTime = newVal * 60;
      if (!this.isRunning) this.time = this.workTime;
    },
    restTimeInMinutes(newVal) {
      this.restTime = newVal * 60;
    },
  },
  computed: {
    minutes() {
      return Math.floor(this.time / 60).toString().padStart(2, '0');
    },
    seconds() {
      return (this.time % 60).toString().padStart(2, '0');
    },
  },
  methods: {
    startTimer() {
      this.isRunning = true;
      this.totalTime = this.workTime;
      this.time = this.workTime;
      this.timer = setInterval(() => {
        this.tick();
      }, 1000); },
    tick() {
      if (this.time > 0) {
        this.time--;
      } else {
        this.playSound();
        if (this.loopMode) {
          if (this.totalTime === this.workTime) {
            this.totalTime = this.restTime;
            this.time = this.restTime;
          } else {
            this.totalTime = this.workTime;
            this.time = this.workTime;
          }
        } else {
          this.stopTimer();
          alert(this.$t('pomodoro.timeUp'));
        }
      }
    },
    stopTimer() {
      this.isRunning = false;
      clearInterval(this.timer);
    },
    resetTimer() {
      this.stopTimer();
      this.workTime = this.workTimeInMinutes * 60;
      this.restTime = this.restTimeInMinutes * 60;
      this.time = this.workTime;
    },
  },
  beforeDestroy() {
    this.stopTimer();
  },
};
</script>
<style scoped>
.pomodoro {
  text-align: center;
  max-width: 400px;
  margin: 0 auto;
  padding: 20px;
  background-color: #f9f9f9;
  border-radius: 8px;
  box-shadow: 0 4px 12px rgba(0, 0, 0, 0.1);
}
h2 {
  color: #42b983;
  margin-bottom: 20px;
}
.timer {
  font-size: 48px;
  margin: 20px 0;
}
button {
  margin: 5px;
  padding: 10px 20px;
  background-color: #42b983;
  color: white;
  border: none;
  border-radius: 5px;
  cursor: pointer;
  transition: background-color 0.3s;
}
button:disabled {
  background-color: #ccc;
  cursor: not-allowed;
}
button:hover:not(:disabled) {
  background-color: #3aa876;
}
.settings {
  margin-bottom: 10px;
}
.settings label {
  display: block;
  margin-bottom: 10px;
}
.progress {
  width: 100%;
  margin: 0 auto 10px;
}
.controls {
  margin-top: 20px;
}
</style>
<script>
export default {
  data() {
    return {
      workTime: 25 * 60,
      // 其他数据初始化...
    };
  },
  watch: {
    workTimeInMinutes(newVal) {
      this.workTime = newVal * 60;
      if (!this.isRunning) this.time = this.workTime;
    },
    // 其他监听函数...
  },
  computed: {
    minutes() {
      return Math.floor(this.time / 60).toString().padStart(2, '0');
    },
    seconds() {
      return (this.time % 60).toString().padStart(2, '0');
    },
  },
  methods: {
    startTimer() {
      this.isRunning = true;
      // 启动倒计时逻辑...
    },
    // 其他方法...
  },
  beforeDestroy() {
    this.stopTimer();
  },
};
</script>
通过数据绑定、计算属性和方法实现了番茄钟的设置、倒计时、暂停和重置等功能。
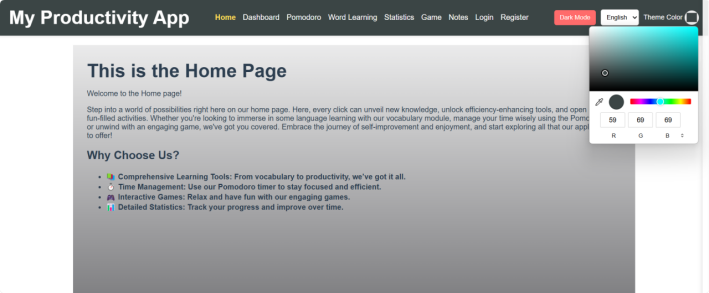
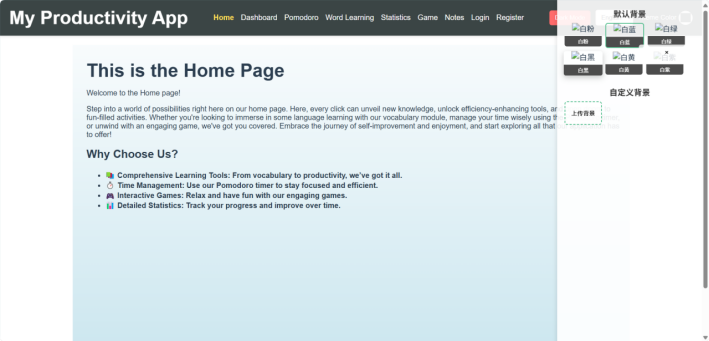
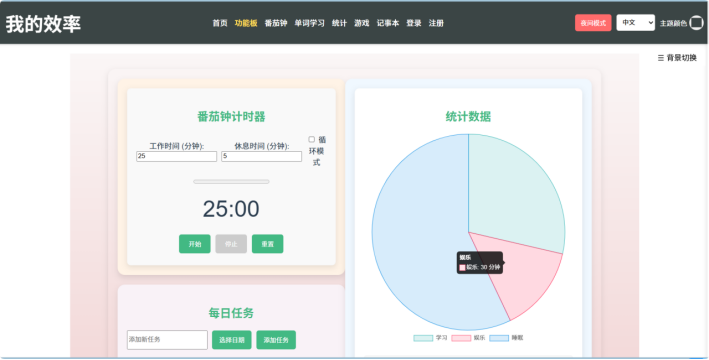
六、运行效果展示:眼见为实
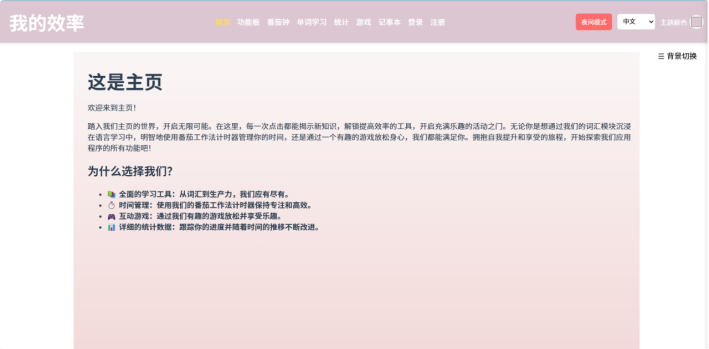
启动项目后,在浏览器中可以看到软件的各个功能界面。主界面提供了丰富的功能入口,用户可以轻松切换到不同功能模块。番茄钟界面能实时显示倒计时和进度条,背单词界面支持多语言学习和进度统计,时间统计界面通过扇形图直观展示时间分配情况,点击小游戏界面提供多种难度选择和排行榜功能,记事本界面方便用户管理任务。此外,用户还可以进行背景切换、语言切换、导航栏颜色修改等个性化操作,充分满足不同用户的需求。
1.中文模式
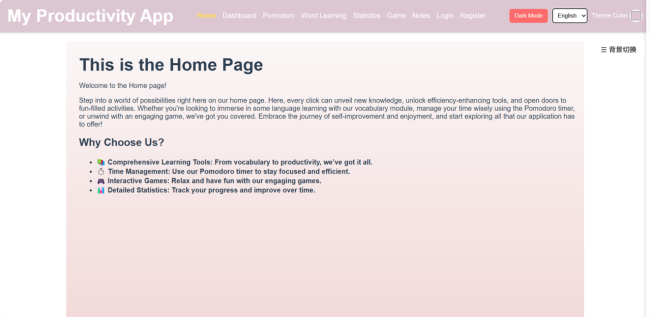
2.英文模式
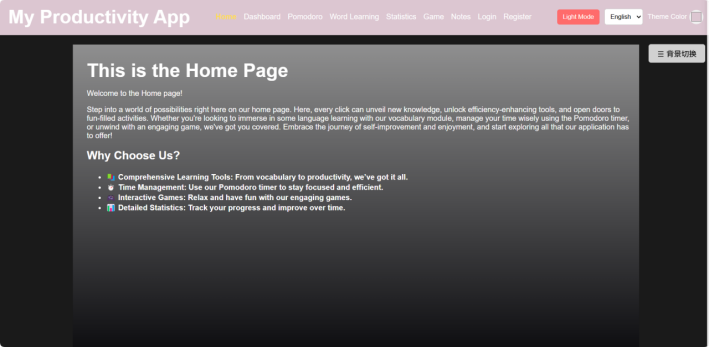
3.夜间模式
4.白天模式

5.导航栏颜色切换
6.背景切换
7.自定义上传背景,修改删除重命名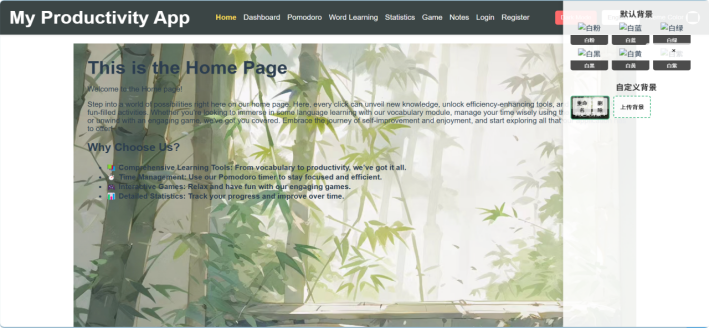
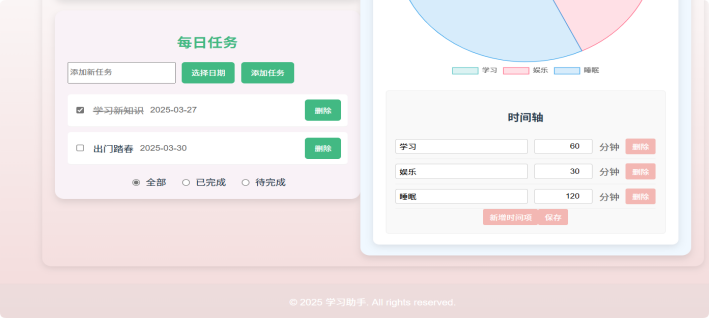
8.功能板界面(组件结合)
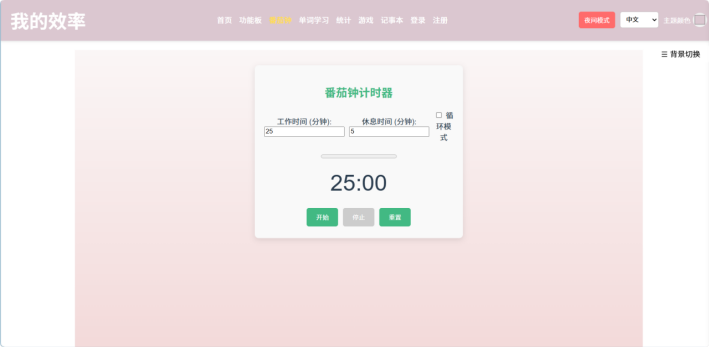
9.番茄钟界面
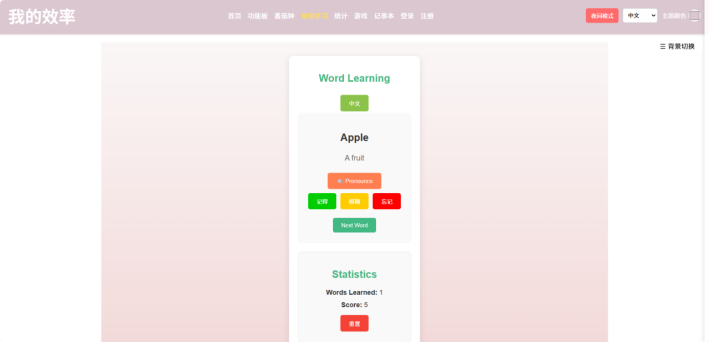
10.背单词界面
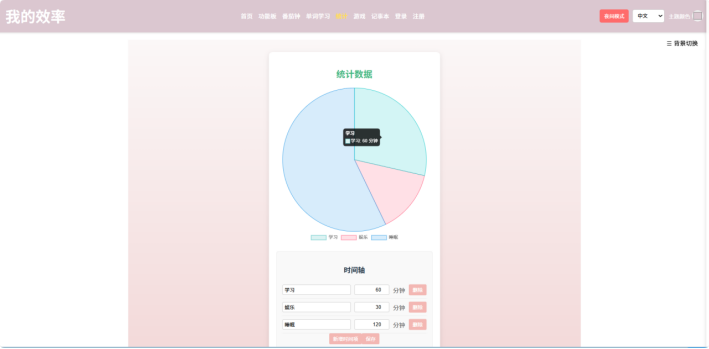
11.时间统计界面
12.游戏界面-排行榜以及难度选择,点击小游戏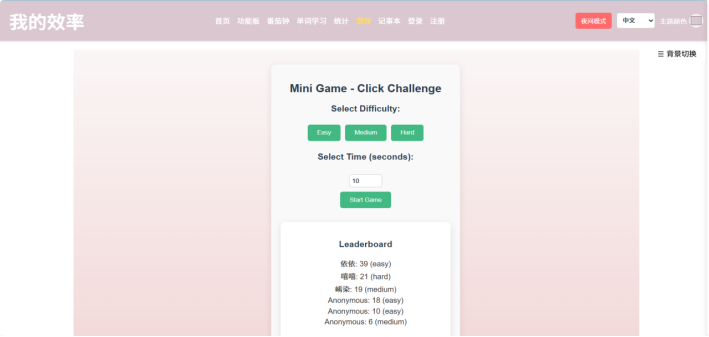
13.记事本界面
14.登录界面
15.注册界面
16.个人信息界面,上传头像,修改信息
通过本次对 Vue-router 的学习和实战项目开发,相信大家对其有了更深入的理解和掌握。在实际开发中,合理运用 Vue-router 和其他 Vue 生态工具,能够构建出功能强大、用户体验良好的应用程序。希望本文能为大家的 Vue 开发之路提供有益的参考,让我们一起不断探索,创造出更优秀的前端应用!