【Linux】Linux编译器-gcc/g++使用和gcc具体编译过程以及编译选项的小插曲
目录
一、Linux编译器-gcc/g++使用
二、gcc/g++编译过程
三、总结
一、Linux编译器-gcc/g++使用
- gcc只能用来编译c语言
- g++既能编译c语言还可以编译c++
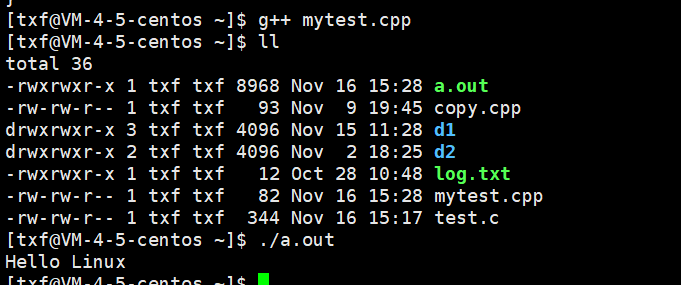
gcc在编译时,默认生成a.out

可以看到无论是owner还是所属组还是other 都可以执行 (x)
用./a.out运行即可

(.是指当前路径,.. 是指当前路径下的上一级路径)
我们也可以创建c++的代码

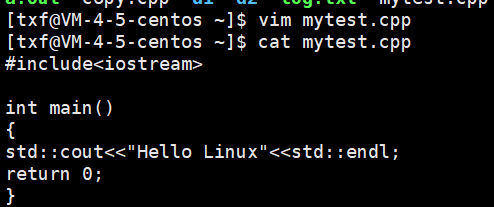
二、gcc/g++编译过程
- 预处理
进行宏替换
![]()

这里就生成了一个test.i的临时文件 ,test.i是预处理的结果
我们分别打开test.c和test.i 看一下源代码和预处理的结果 :
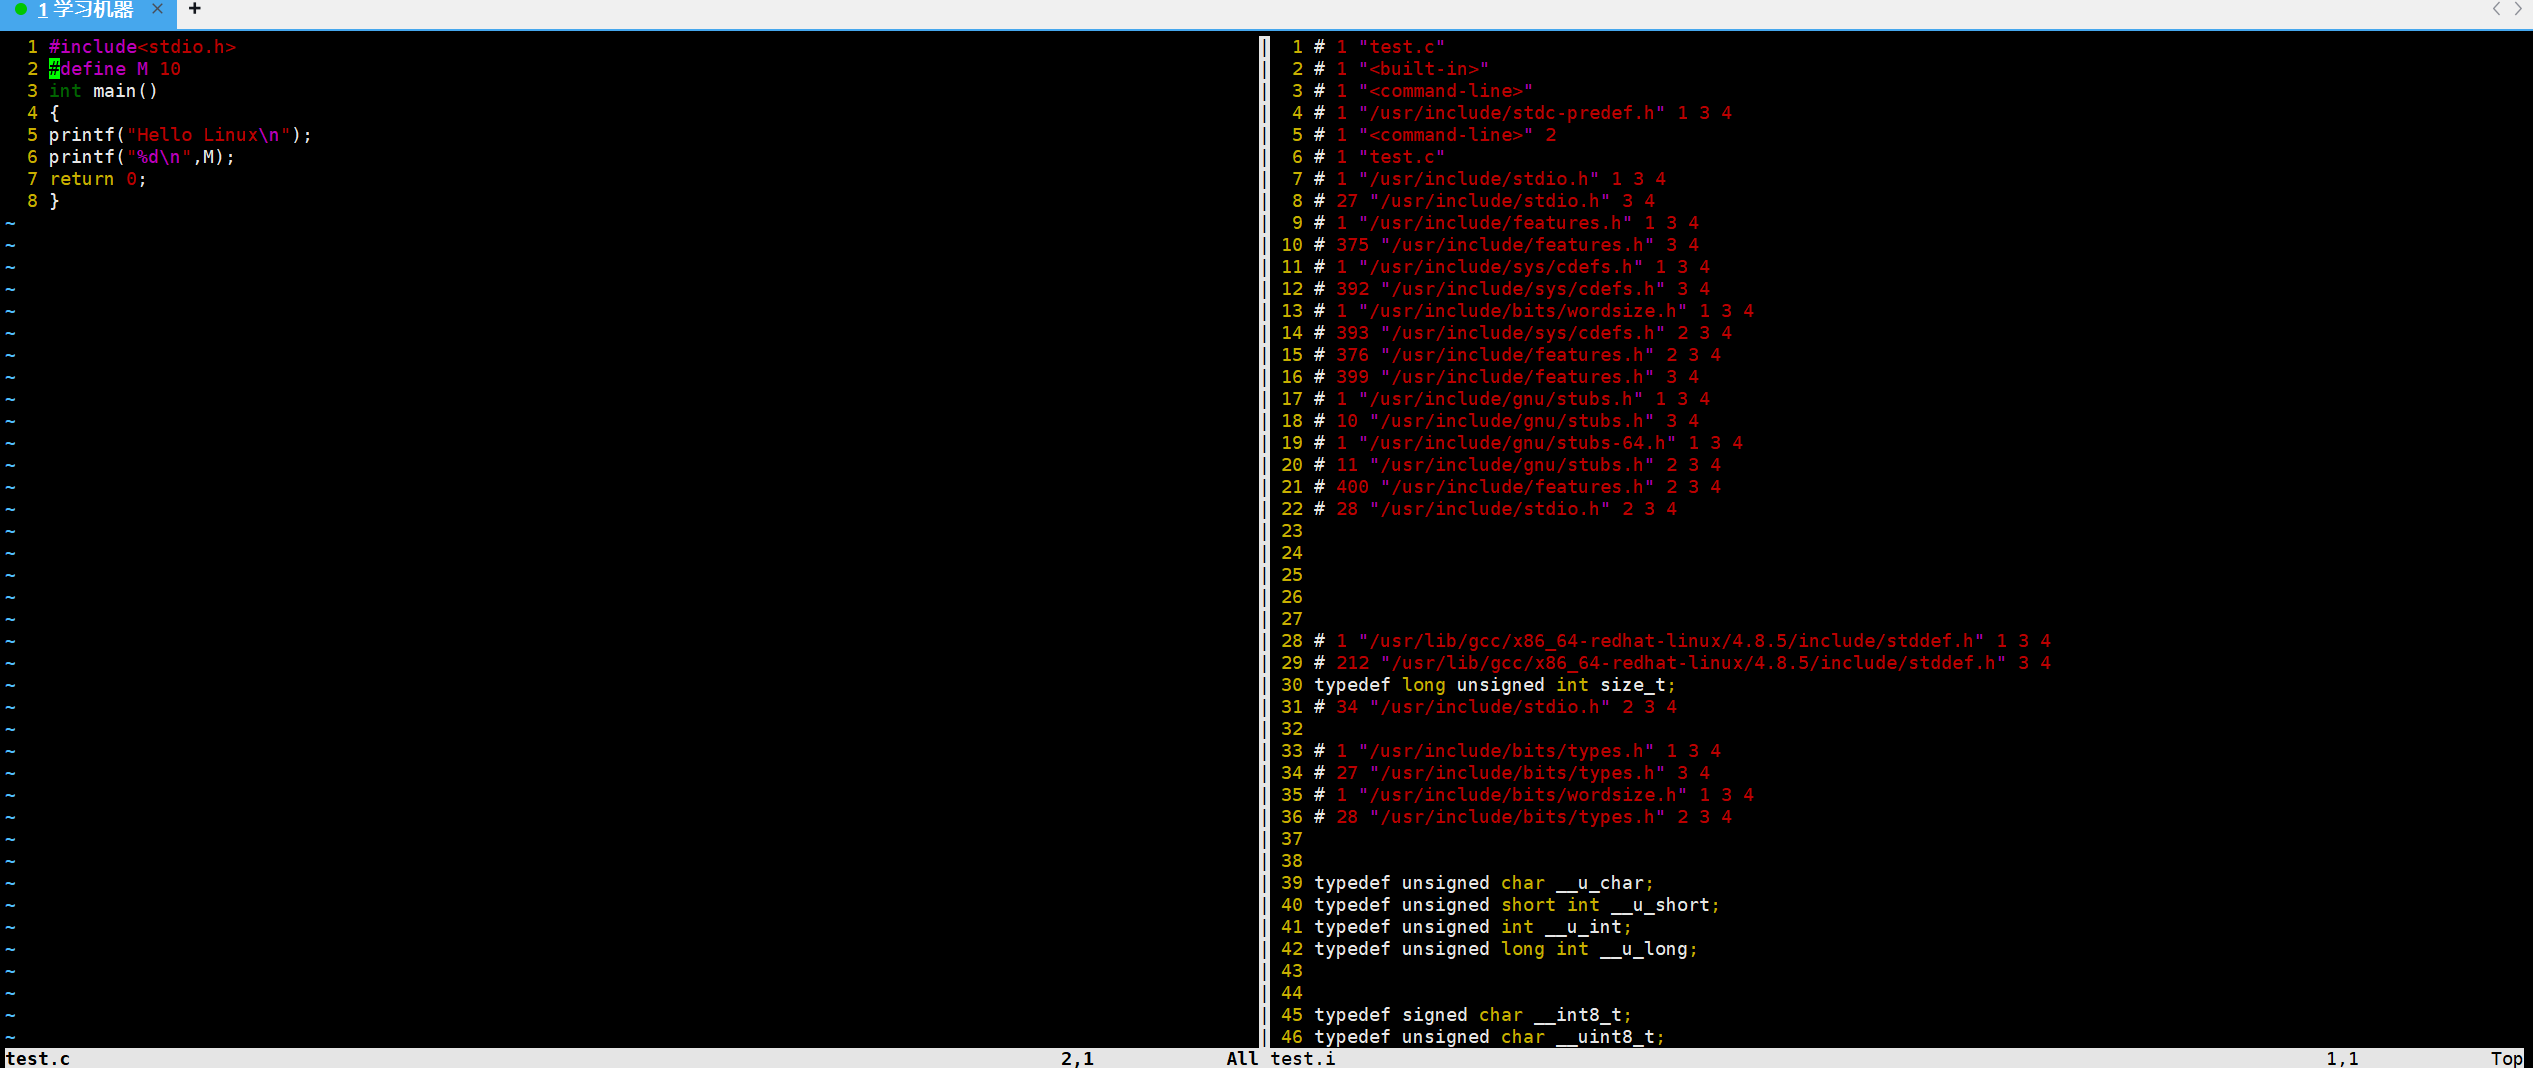
在test.i中可以看到
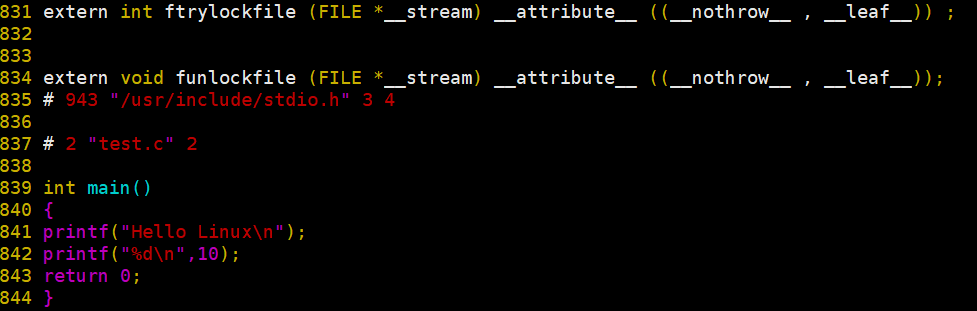
到了800多行,才看到我们的源代码,前面的800多行都是从c语言的 #include<stdio.h> 中拷贝来的,这种行为就叫做头文件展开
去注释
Linux中是提前就有c++/c的头文件的
ls /usr/include/

我们进入stdio.h中
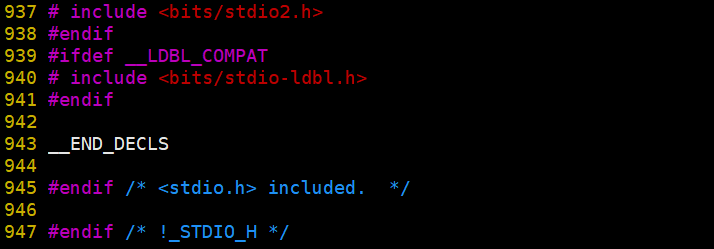
有这么多行,所以头文件展开就是拷贝stdio.h中的代码到源文件中
其实我们在安装vs2019 / vs2020时,我们选择对应的开发包,同步也在下载c的头文件和库文件到电脑文件中
条件编译
可以看到,我们这里定义了宏 ,会编译 #ifdef M 而不会编译 #else ,#endif 是都会编译
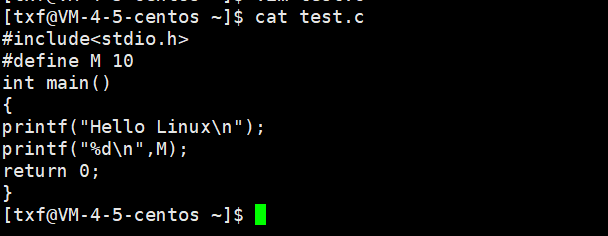
test.c : 源代码
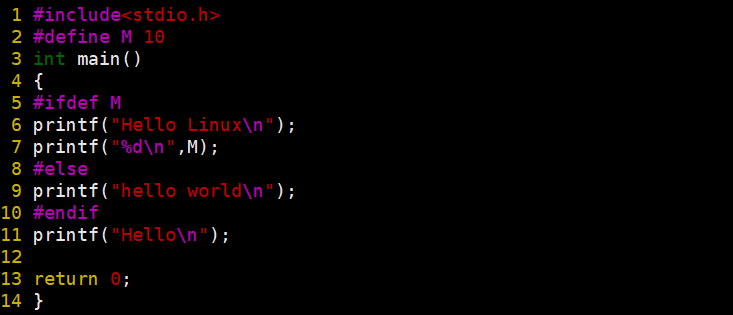
test.i : 预处理后的代码
执行以下 :

这就是条件编译
编译器既然能预处理,那么就具有修改代码的能力,我们会能用这种方式定义宏:
gcc -E test.c -o test.i -M在预处理后,代码还是c语言,而在编译阶段,代码才会形成汇编
- 编译(形成汇编)
gcc -S test.c -o test.s
- 汇编(生成机器可识别代码)
gcc -c test.s -o test.o
:把我们的汇编语言转换成二进制
[txf@VM-4-5-centos ~]$ ls
a.out  copy.cpp  d1  d2  log.txt  mytest.cpp  test.c  test.i  test.o  test.s
[txf@VM-4-5-centos ~]$ vim test.o
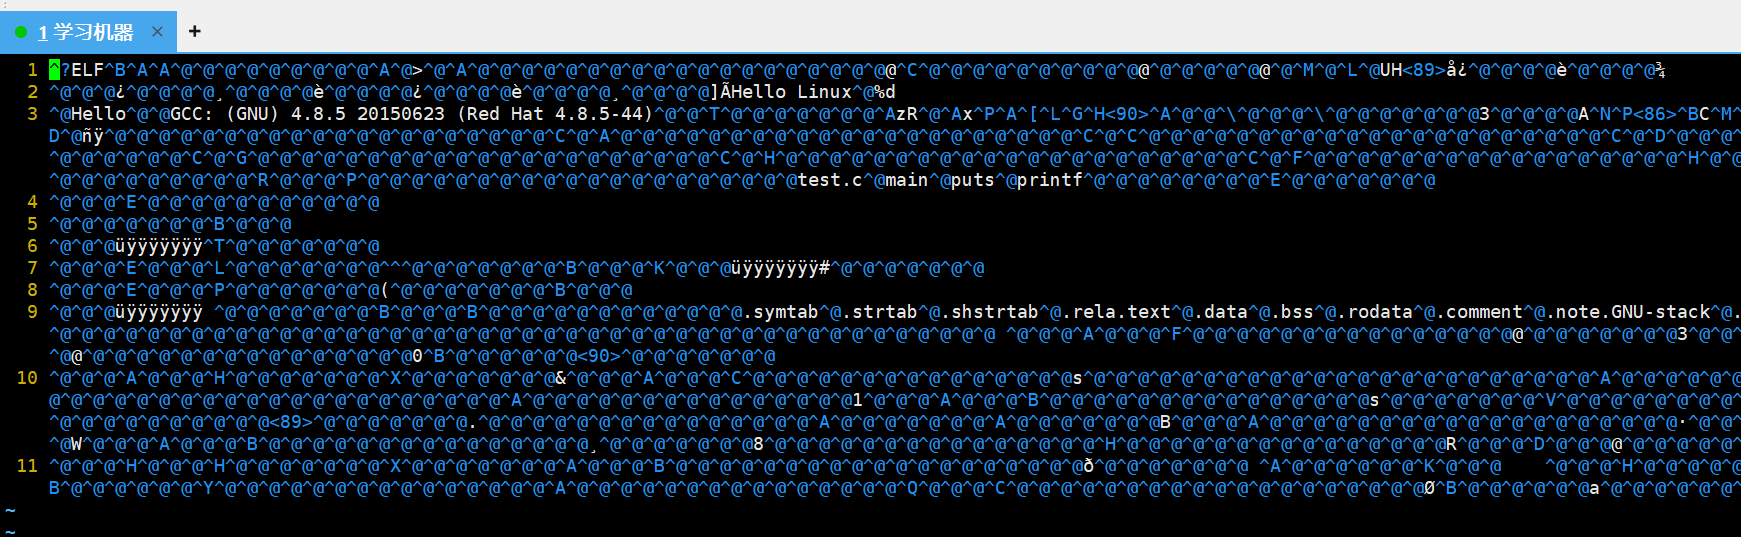
全都是乱码,因为test.o 是二进制的,而vim 是文本编辑器,文本编辑器只认文本,而想要查看二进制,我们可以用 :
[txf@VM-4-5-centos ~]$ vim test.o
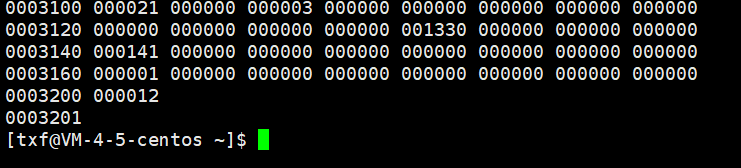
[txf@VM-4-5-centos ~]$ od test.o
此时就形成了我们的机器码:
- 连接(生成可执行文件或库文件)
[txf@VM-4-5-centos ~]$ gcc test.o -o test
[txf@VM-4-5-centos ~]$ ls
a.out  copy.cpp  d1  d2  log.txt  mytest.cpp  test  test.c  test.i  test.o  test.s
我们运行一下 :
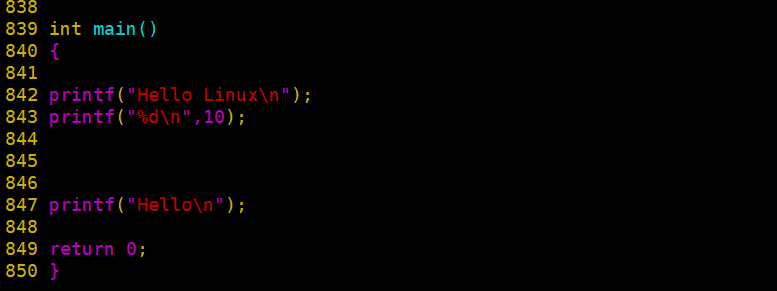
[txf@VM-4-5-centos ~]$ ./test
Hello Linux
10
Hello
[txf@VM-4-5-centos ~]$
ok ,这里肯定会有疑问 : 前面的那些选项都是什么意思
我们这里先把之前的文件删掉
[txf@VM-4-5-centos ~]$ rm test  test.i test.o test.s
[txf@VM-4-5-centos ~]$ ls
a.out  copy.cpp  d1  d2  log.txt  mytest.cpp  test.c
如果不添加选项,会默认形成a.out 文件
[txf@VM-4-5-centos ~]$ gcc test.c
[txf@VM-4-5-centos ~]$ ls
a.out  copy.cpp  d1  d2  log.txt  mytest.cpp  test.c
而如果我们想自定义命名可执行程序:-o + 自定义命名
[txf@VM-4-5-centos ~]$ gcc test.c -o test.o
[txf@VM-4-5-centos ~]$ ls
a.out  copy.cpp  d1  d2  log.txt  mytest.cpp  test.c  test.o
照样能运行:
[txf@VM-4-5-centos ~]$ ./test.o
Hello Linux
10
Hello
[txf@VM-4-5-centos ~]$
如果是只进行预处理 :-E
[txf@VM-4-5-centos ~]$ gcc -E test.c -o test.i
[txf@VM-4-5-centos ~]$
这里都最好带个 -o 因为只是 -E 会把预处理的结果打印到屏幕上
-E : 告诉gcc从现在开始进行程序的翻译,将预处理工作做完就停下来,不要往后走
[txf@VM-4-5-centos ~]$ head test.i
# 1 "test.c"
# 1 "<built-in>"
# 1 "<command-line>"
# 1 "/usr/include/stdc-predef.h" 1 3 4
# 1 "<command-line>" 2
# 1 "test.c"
# 1 "/usr/include/stdio.h" 1 3 4
# 27 "/usr/include/stdio.h" 3 4
# 1 "/usr/include/features.h" 1 3 4
# 375 "/usr/include/features.h" 3 4
[txf@VM-4-5-centos ~]$
-S : 把预处理完的代码转为汇编语言
这里都最好带个 -o 因为只是 -S 会把预处理的结果打印到屏幕上
[txf@VM-4-5-centos ~]$ gcc -S test.i -o test.s
:从现在开始进行程序的翻译,将编译工作做完就停下来
-s : 把编译好的语言转为汇编语言(二进制)
[txf@VM-4-5-centos ~]$ gcc -S test.i -o test.s
[txf@VM-4-5-centos ~]$ gcc -s test.s -o test.0
[txf@VM-4-5-centos ~]$ mv test.0 test.o
[txf@VM-4-5-centos ~]$ ls
a.out  copy.cpp  d1  d2  log.txt  mytest.cpp  test.c  test.i  test.o  test.s
:从现在开始进行程序的翻译,将汇编工作做完就停下来
test.o : 可重定位目标, 二进制文件 简称目标文件,不可以独立执行,虽然已经是二进制,需要经过链接才能执行
(小编这里怎么执行出来了?)
[txf@VM-4-5-centos ~]$ ./test.o
Hello Linux
10
Hello
小编估计是这里的
[txf@VM-4-5-centos ~]$ mv test.0 test.o
出了点小插曲,现在编译test.o 反而报错了
[txf@VM-4-5-centos ~]$ gcc test.o -o test
/usr/bin/ld: error in test.o(.eh_frame); no .eh_frame_hdr table will be created.
/usr/lib/gcc/x86_64-redhat-linux/4.8.5/../../../../lib64/crt1.o: In function `_start':
(.text+0x20): undefined reference to `main'
collect2: error: ld returned 1 exit status
但是我查看test.o :
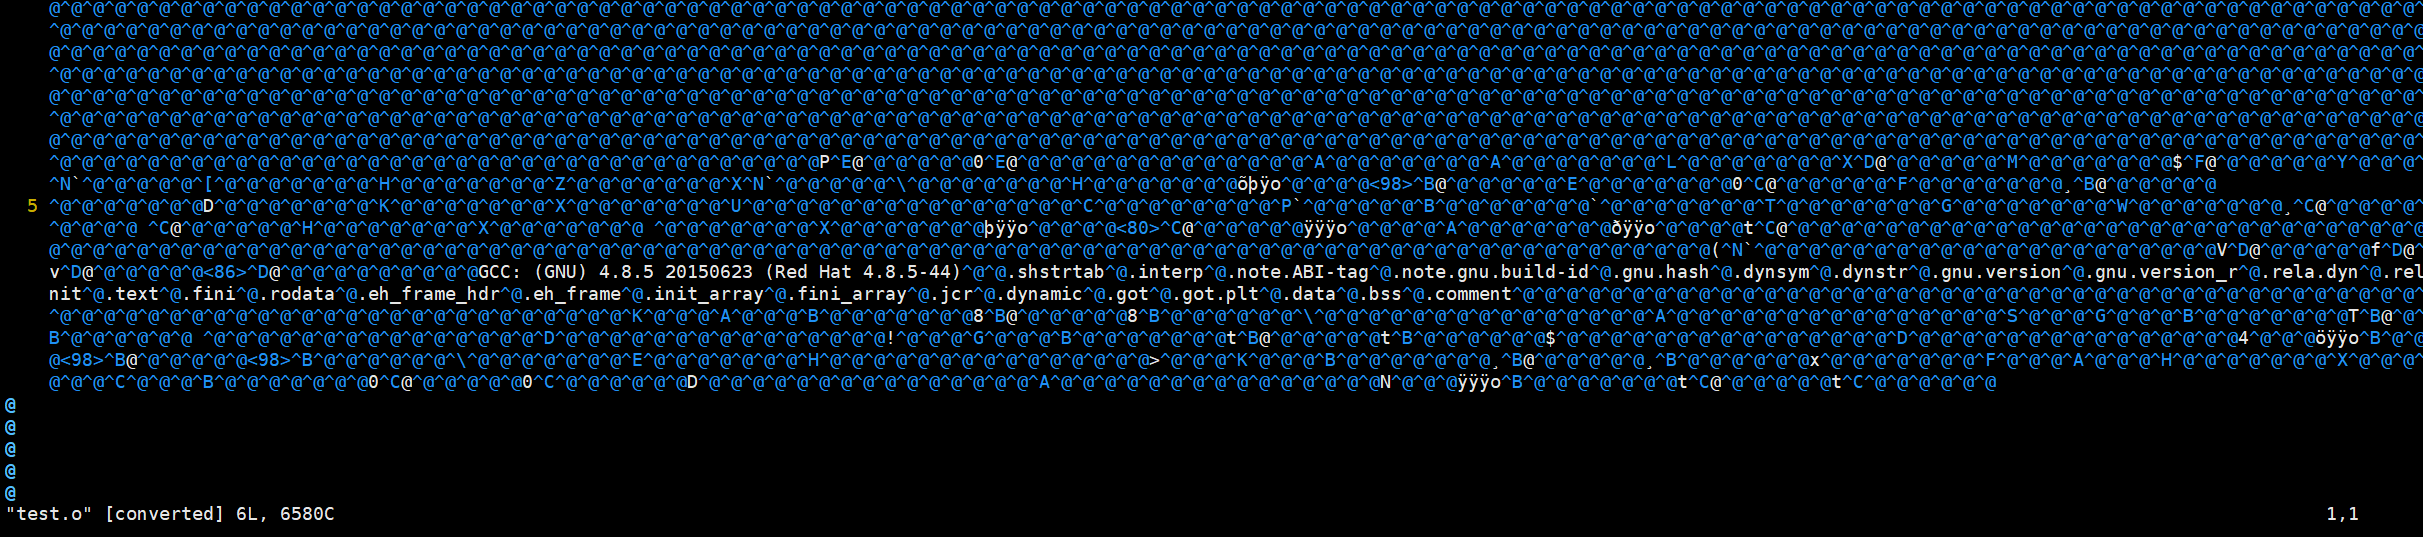
依旧是乱码

(怎么跑起来的?)
哦 ,小编这里输错了 本来是
[txf@VM-4-5-centos ~]$ gcc -c test.s -o test.o
输成了
[txf@VM-4-5-centos ~]$ gcc -s test.s -o test.0
(尖尖哇嘎乃)![]()
链接 : 将可重定位目标二进制文件和库进行链接,形成可执行程序
[txf@VM-4-5-centos ~]$ gcc test.o -o test
三、总结
- 预处理 :E
[txf@VM-4-5-centos ~]$ gcc -E test.c -o test.i
- 编译 :S
[txf@VM-4-5-centos ~]$ gcc -S test.c -o test.s
- 汇编 :c
[txf@VM-4-5-centos ~]$ gcc -c test.s -o test.o
- 连接 :c
[txf@VM-4-5-centos ~]$ gcc test.o -o test- 执行
[txf@VM-4-5-centos ~]$ ./test
Hello Linux
10
Hello
此时,我们想一下在连接中是怎样连接的,和谁连接,怎样实现的,在下一篇文章中小编会详解