webpack 从零构建 Vue3
webpack 从零构建 Vue3
- 1. 构建项目
- 2. webpack 相关依赖和配置
- 3. vue 相关
- 4. 清除旧的 output 文件
- 5. 热更新
- 6. 样式相关
- 6.1 引入 css
- 6.2 引入 less
- 7. ts 相关
- 8. webpack 输出信息优化
- 8.1 错误信息优化
- 8.2 专注地址
- 9. 完整关键代码
虽然我们已经可以通过 Vite 去快速的构建一个 Vue3 项目,但是使用 webpack 去构建一个Vue3 项目还是有必要的。一来让我们复习下 webpack 的项目构建流程,二来万一以后遇上老项目也能够快速上手。
1. 构建项目
创建项目文件夹,比如 webpack-vue-app
(1)初始化 package.json 包:
npm init -y
(2)全局下载安装 typescript(如果之前没安装的话):
npm i -g typescript
(3)生成 tsconfig.js 文件:
tsc --init
(4)创建项目文件基本目录:public/index.html、src/assets 文件夹、src/views 文件夹、src/App.vue、src/main.ts。
其中,public/index.html:
<!DOCTYPE html>
<html lang="en">
<head><meta charset="UTF-8"><meta name="viewport" content="width=device-width, initial-scale=1.0"><title>webpack vue app</title>
</head>
<body></body>
</html>
2. webpack 相关依赖和配置
(5)全局下载 pnpm(如果之前没安装的话):
npm i -g pnpm
(6)下载 webpack 相关依赖:
pnpm add webpack
pnpm add webpack-cli
pnpm add webpack-dev-server
pnpm add html-webpack-plugin
(7)创建 webpack.config.js:
const { Configuration } = require('webpack');
const path = require('path');
const htmlWebpackPlugin = require('html-webpack-plugin');/*** @type {Configuration}*/
const config = {mode: 'development',entry: './src/main.ts',output: {filename: '[hash].js',path: path.resolve(__dirname, 'dist')},plugins: [new htmlWebpackPlugin({template: './public/index.html'})]
}module.exports = config;
(8)package.json 添加运行和打包命令:
{"name": "webpack-vue-app","version": "1.0.0","description": "","main": "index.js","scripts": {"test": "echo \"Error: no test specified\" && exit 1","dev": "webpack-dev-server","build": "webpack"},"keywords": [],"author": "","license": "ISC","dependencies": {"html-webpack-plugin": "^5.6.4","webpack": "^5.102.1","webpack-cli": "^6.0.1","webpack-dev-server": "^5.2.2"}
}
关键代码:
"dev": "webpack-dev-server",
"build": "webpack"
(9)main.ts 添加一些代码,用于后续测试。比如:
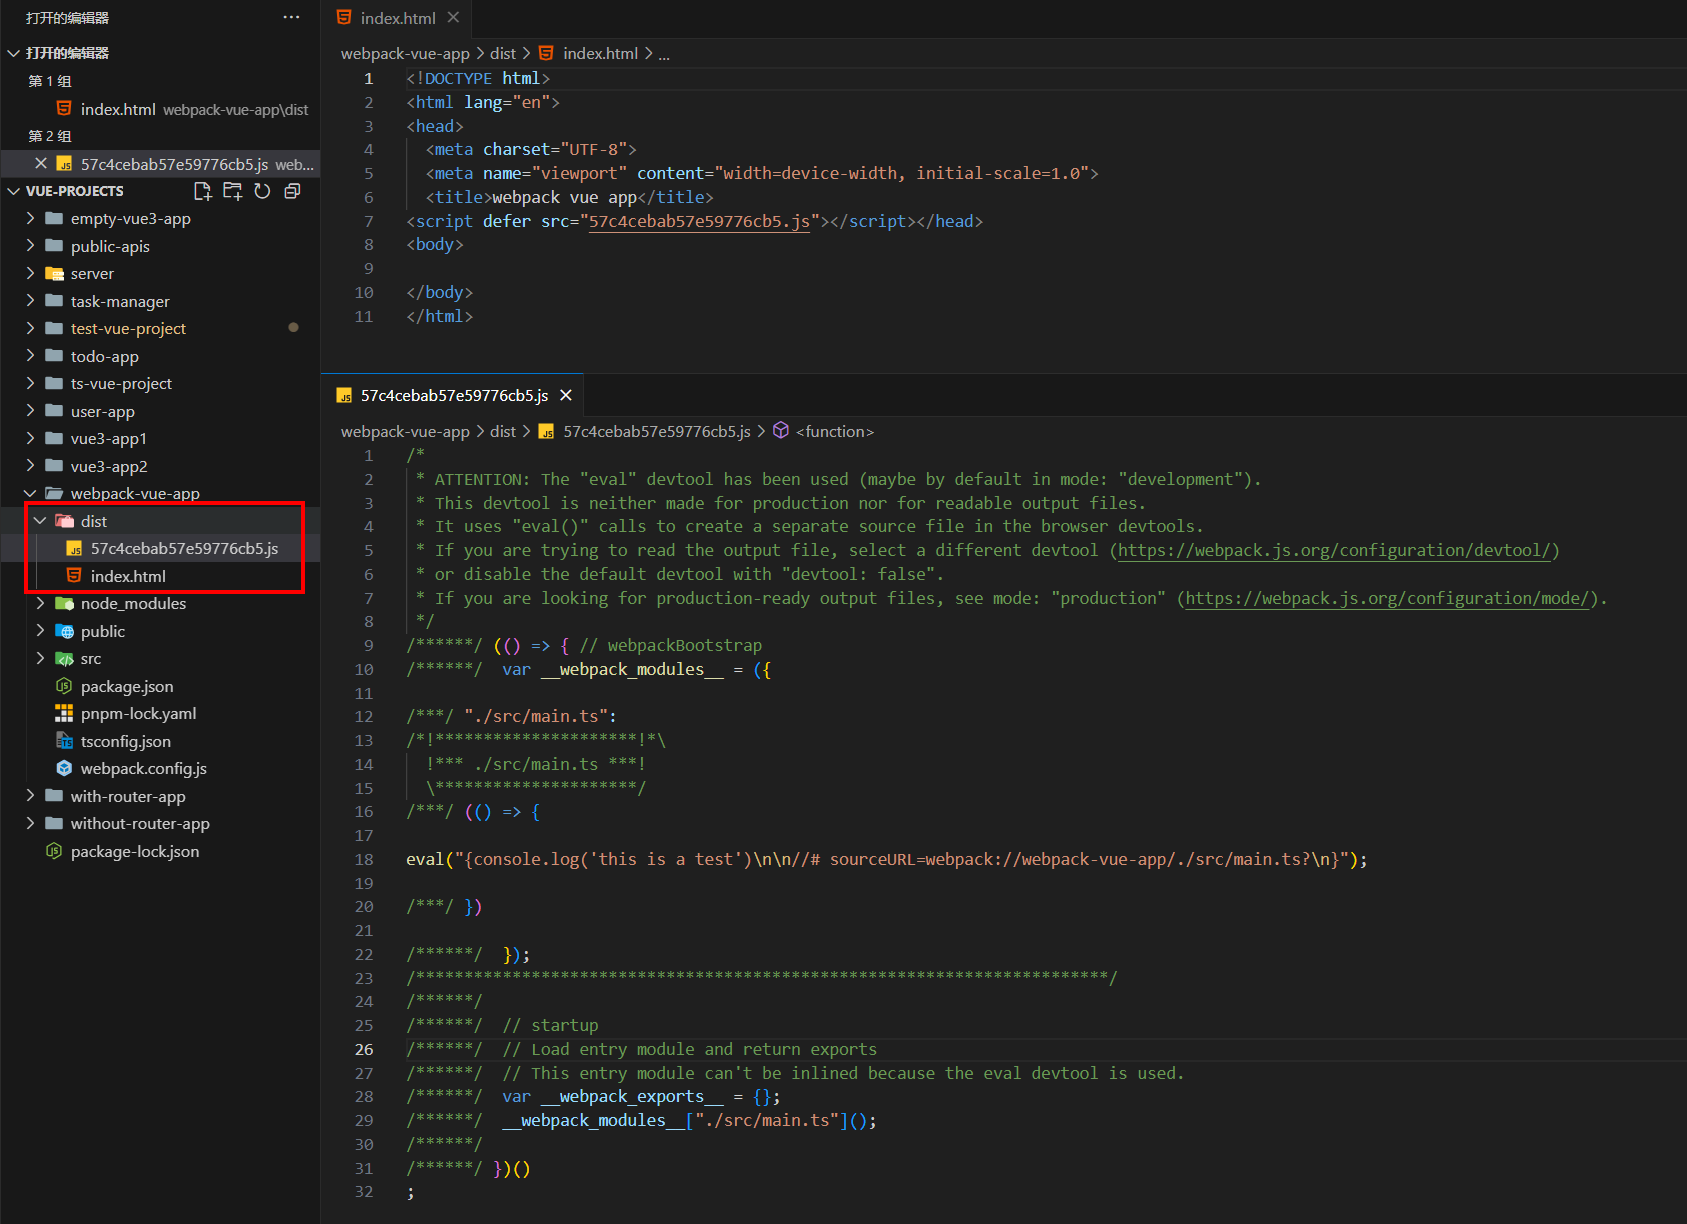
console.log('this is a test')
(10)执行 npm run build,生成打包后的文件
3. vue 相关
(1)安装 vue
pnpm add vue
pnpm add vue-loader@next
pnpm add @vue/copiler-sfc
(2)在 webpack.config.js 中使用相关的插件和 loader:
const { Configuration } = require('webpack');
const path = require('path');
const htmlWebpackPlugin = require('html-webpack-plugin');const { VueLoaderPlugin } = require('vue-loader/dist/index')/*** @type {Configuration}*/
const config = {mode: 'development',entry: './src/main.ts',module: {rules: [{test: /\.vue$/,use: 'vue-loader'}]},output: {filename: '[hash].js',path: path.resolve(__dirname, 'dist')},plugins: [new htmlWebpackPlugin({template: './public/index.html'}),new VueLoaderPlugin()]
}module.exports = config;
(3)写入 App.vue 内容,用于测试:
<template><div>123</div>
</template><script setup></script><style scoped></style>
(4)在 public/index.html 中,加入 id 为 app 的元素,用于后续挂载App.vue:
<!DOCTYPE html>
<html lang="en">
<head><meta charset="UTF-8"><meta name="viewport" content="width=device-width, initial-scale=1.0"><title>webpack vue app</title>
</head>
<body><div id="app"></div>
</body>
</html>
(5)main.ts 中引入 App.vue ,并进行挂载
import { createApp } from 'vue'import App from './App.vue'createApp(App).mount('#app')
(6)打包测试,执行 npm run build
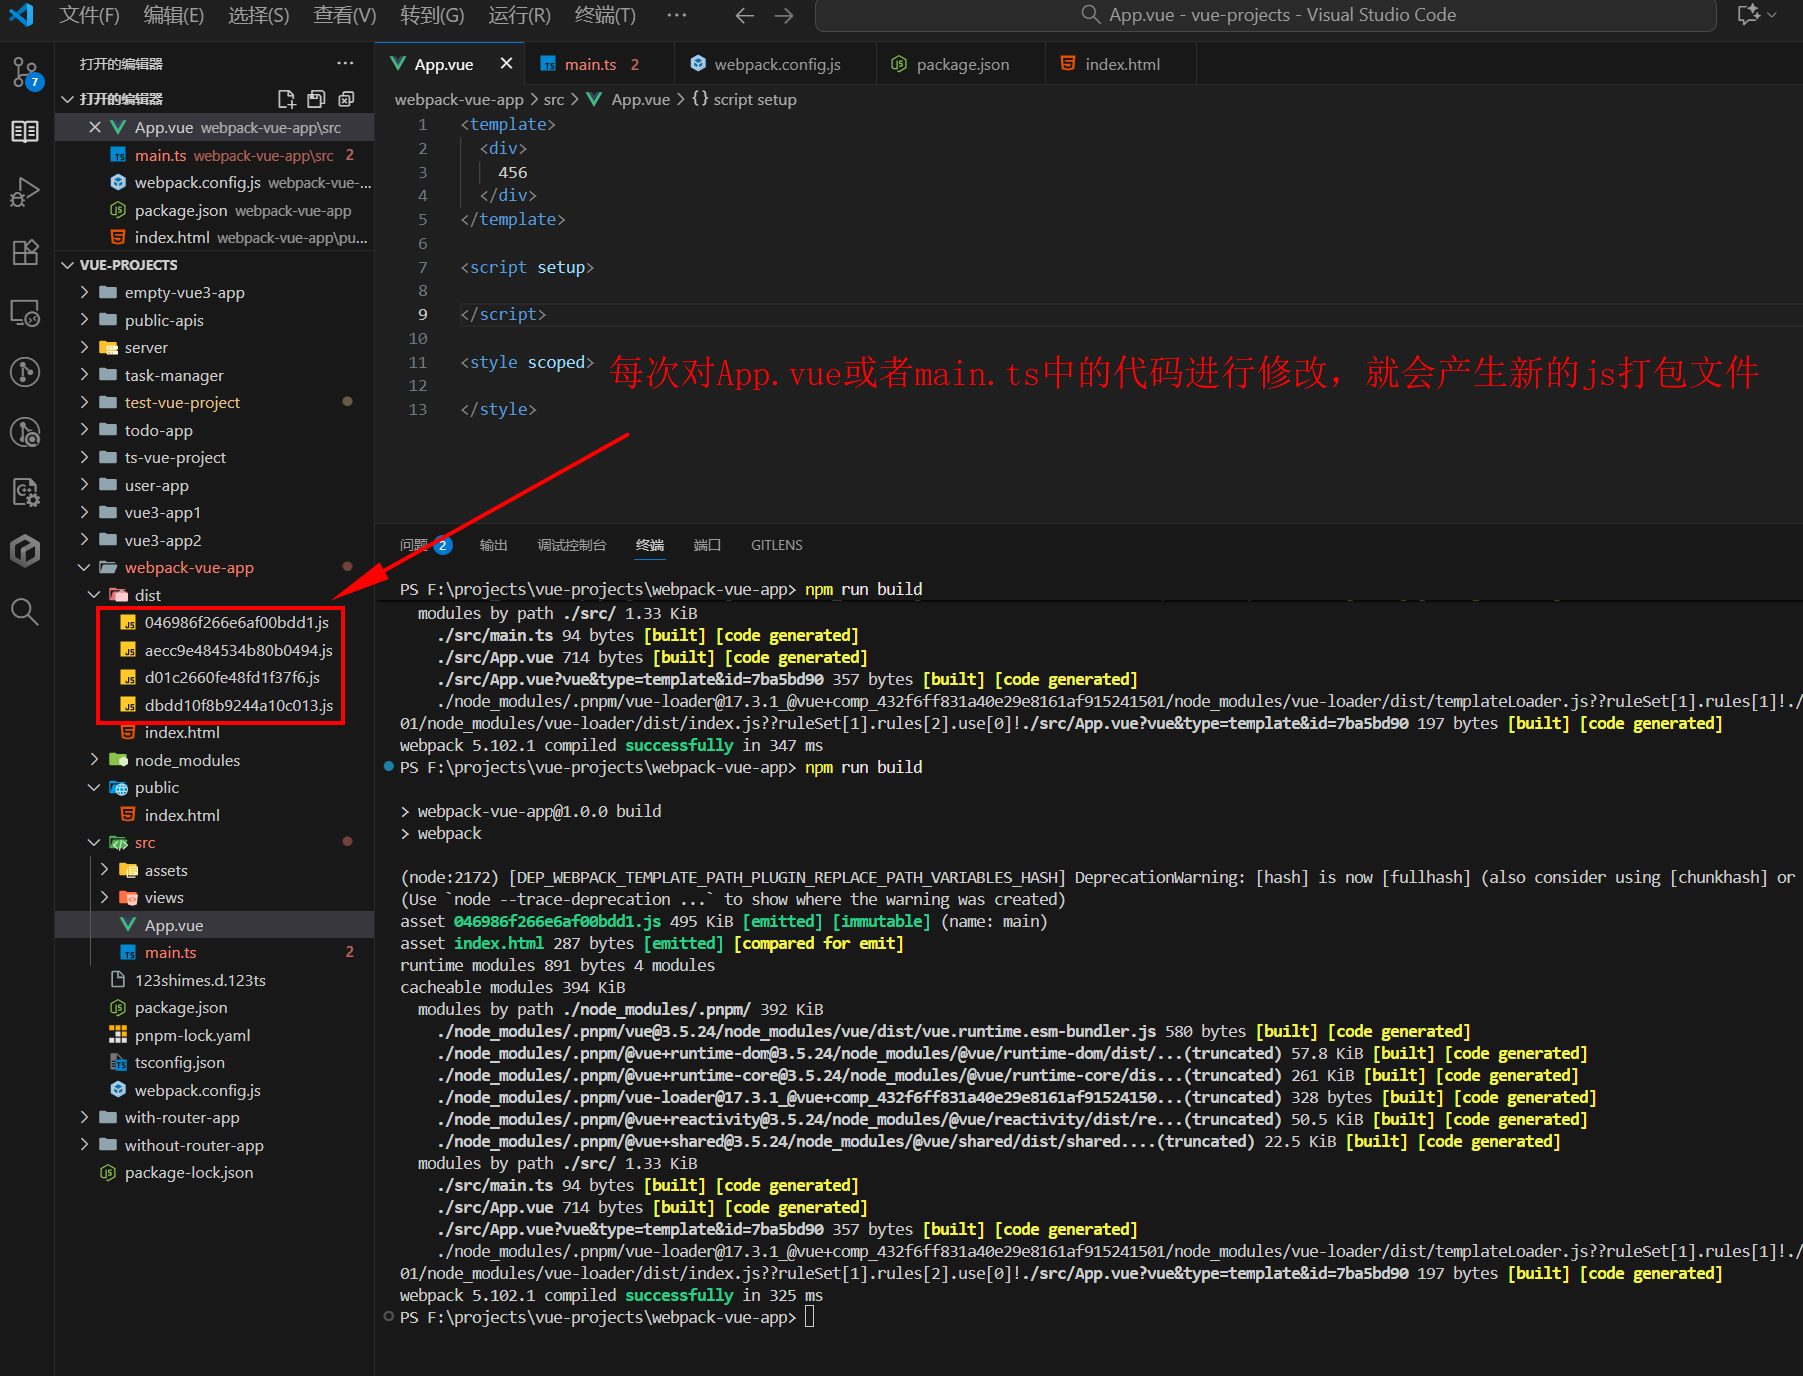
会发现,每次只要对 App.vue 或 main.ts 中的代码进行修改,就会产生新的 js 打包文件,而不会删除旧的 js 打包文件。
4. 清除旧的 output 文件
(1)方式一(老版本,不建议):下载 clean-webpack-plugin
pnpm add clean-webpack-plugin
在 webpack.config.js 中配置:
const { Configuration } = require('webpack');
const path = require('path');
const htmlWebpackPlugin = require('html-webpack-plugin');
const { CleanWebpackPlugin } = require('clean-webpack-plugin');const { VueLoaderPlugin } = require('vue-loader/dist/index')/*** @type {Configuration}*/
const config = {mode: 'development',entry: './src/main.ts',module: {rules: [{test: /\.vue$/,use: 'vue-loader'}]},output: {filename: '[hash].js',path: path.resolve(__dirname, 'dist')},plugins: [new htmlWebpackPlugin({template: './public/index.html'}),new VueLoaderPlugin(),new CleanWebpackPlugin()]
}module.exports = config;
(2)方式二(推荐):在 output 中配置 clean 即可。
webpack.config.js:
const { Configuration } = require('webpack');
const path = require('path');
const htmlWebpackPlugin = require('html-webpack-plugin');const { VueLoaderPlugin } = require('vue-loader/dist/index')/*** @type {Configuration}*/
const config = {mode: 'development',entry: './src/main.ts',module: {rules: [{test: /\.vue$/,use: 'vue-loader'}]},output: {filename: '[hash].js',path: path.resolve(__dirname, 'dist'),clean: true},plugins: [new htmlWebpackPlugin({template: './public/index.html'}),new VueLoaderPlugin(),]
}module.exports = config;
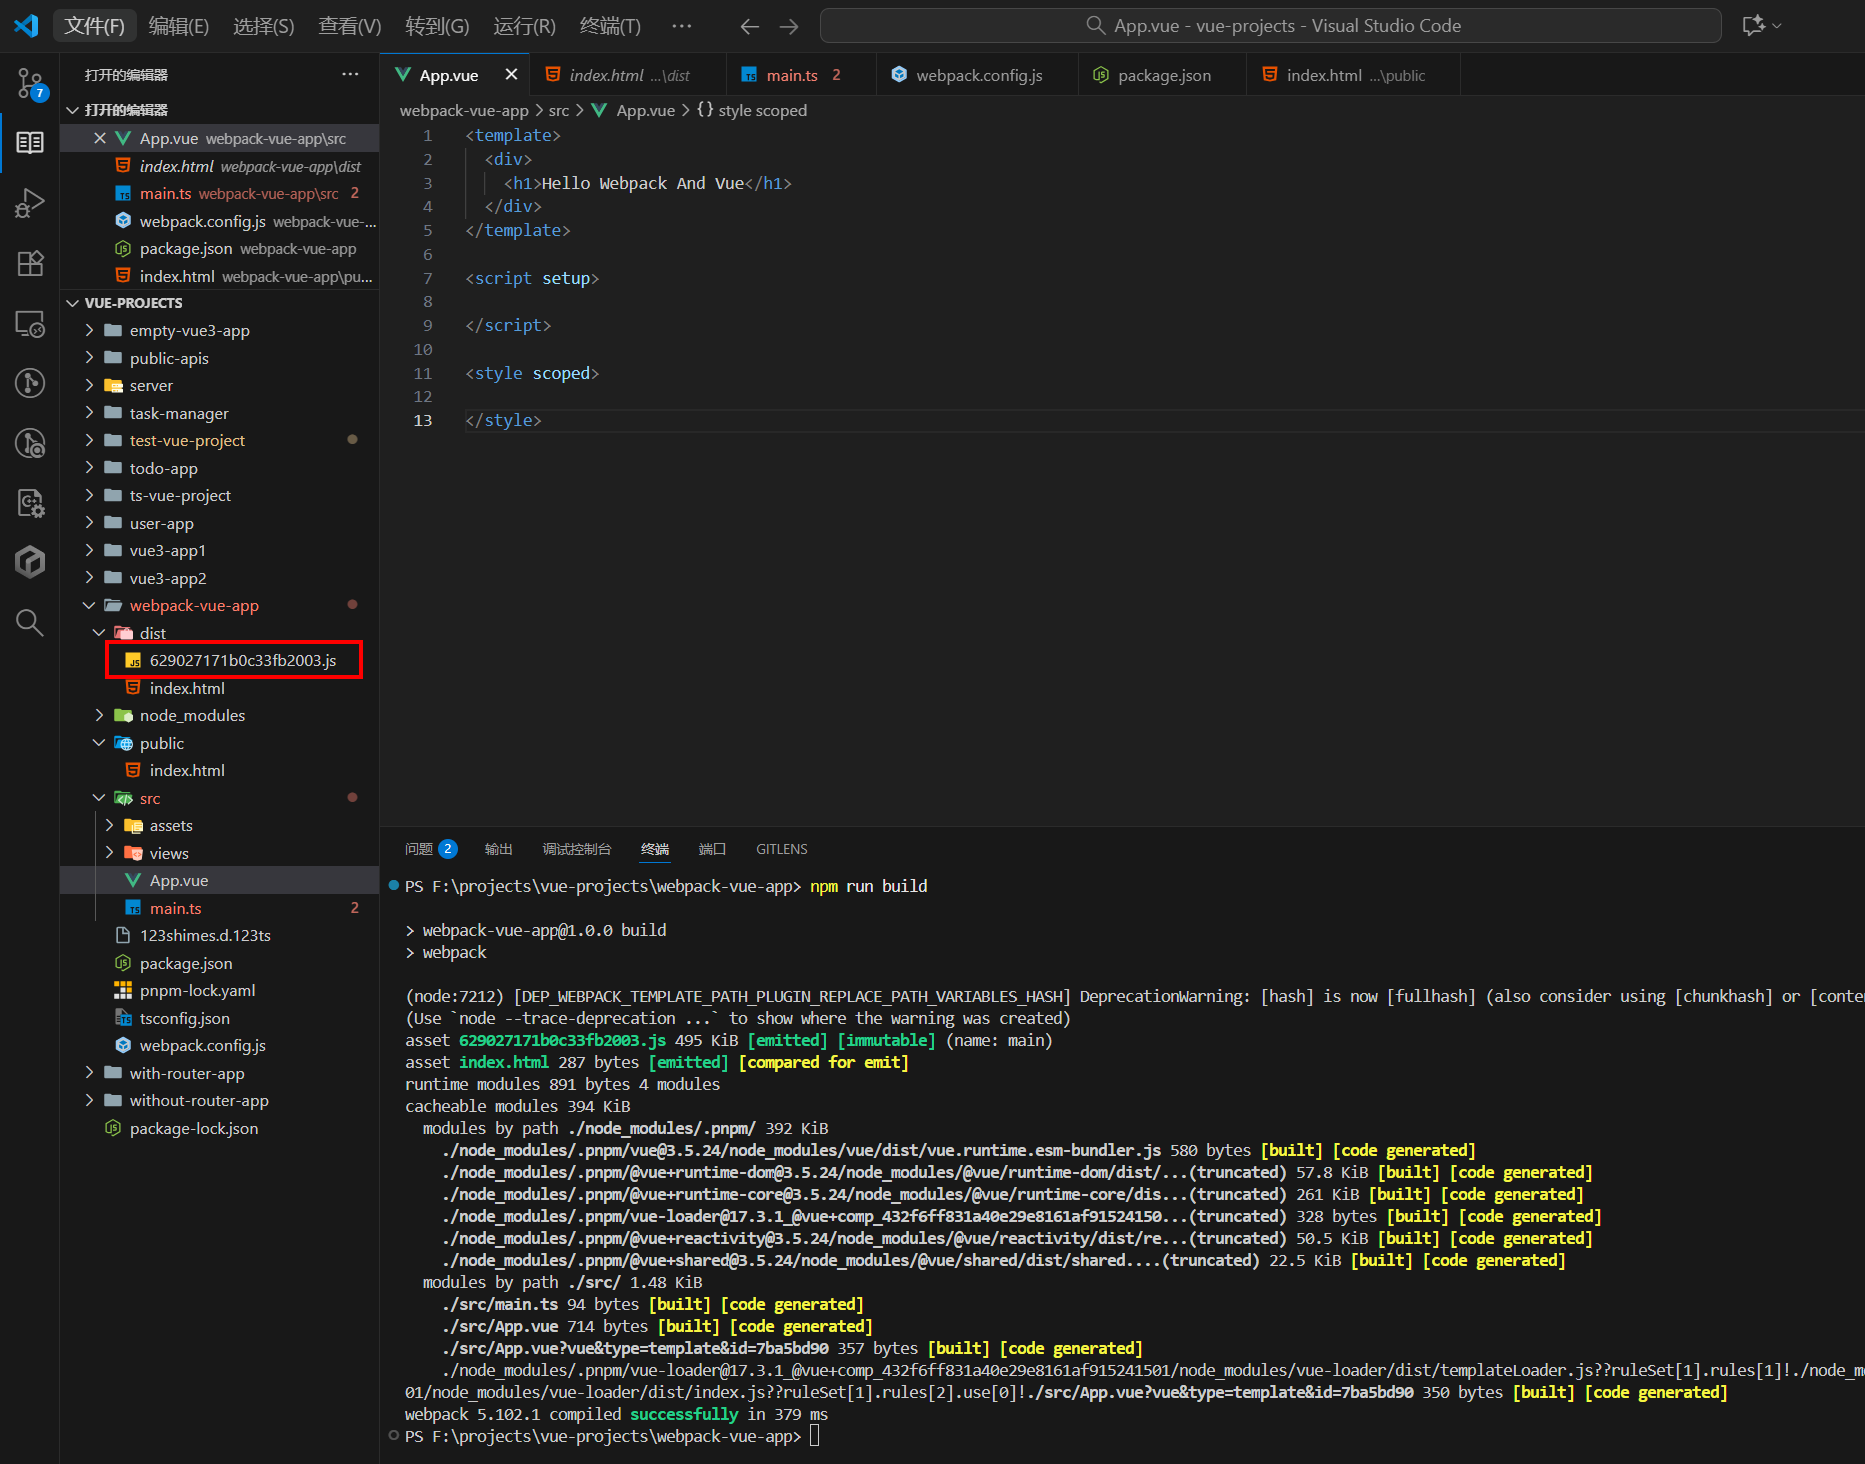
使用 live-server 或其他方式在浏览器打开 dist/index.html 文件

5. 热更新
(1)运行 npm run dev,点击链接,打开 html 预览
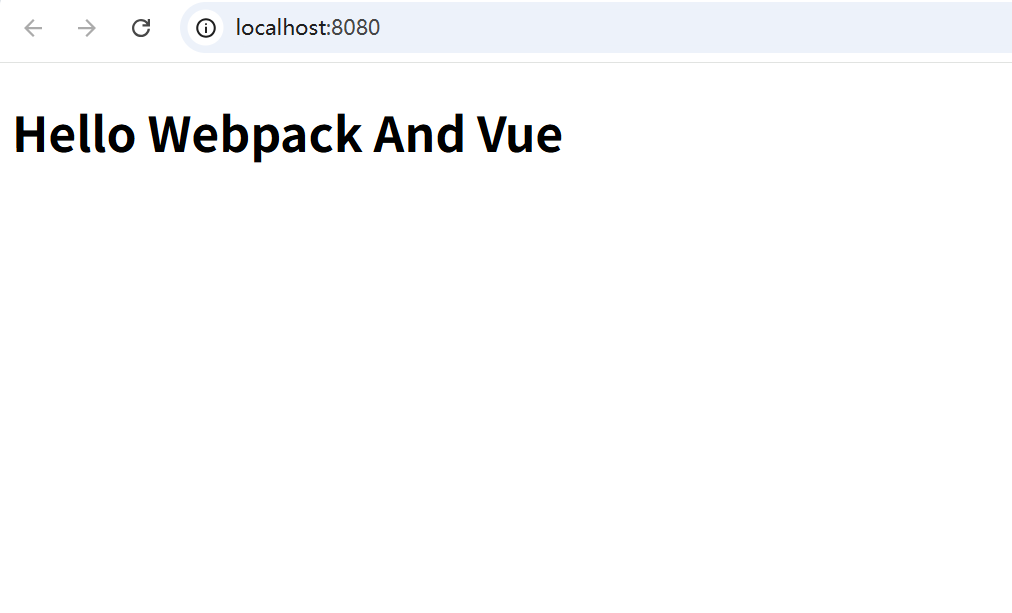
(2)修改 App.vue:
<template><div><h1>Hello Webpack And Vue 123</h1></div>
</template><script setup></script><style scoped></style>

热更新没问题。
6. 样式相关
6.1 引入 css
(1)别名配置和后缀名配置
resolve: {// 别名配置alias: {'@': path.resolve(__dirname, 'src'),},// 自动补全后缀名extensions: ['.vue', '.ts', '.js']}
(2)引入样式相关 loader
pnpm add css-loader
pnpm add style-loader
在 webpack.config.js 的 module 中进行配置:
module: {rules: [{test: /\.vue$/,use: 'vue-loader'},{test: /\.css$/,use: ['style-loader', 'css-loader']}]},
不同于vite,webpack 配置修改后,记得 npm run dev 重启。
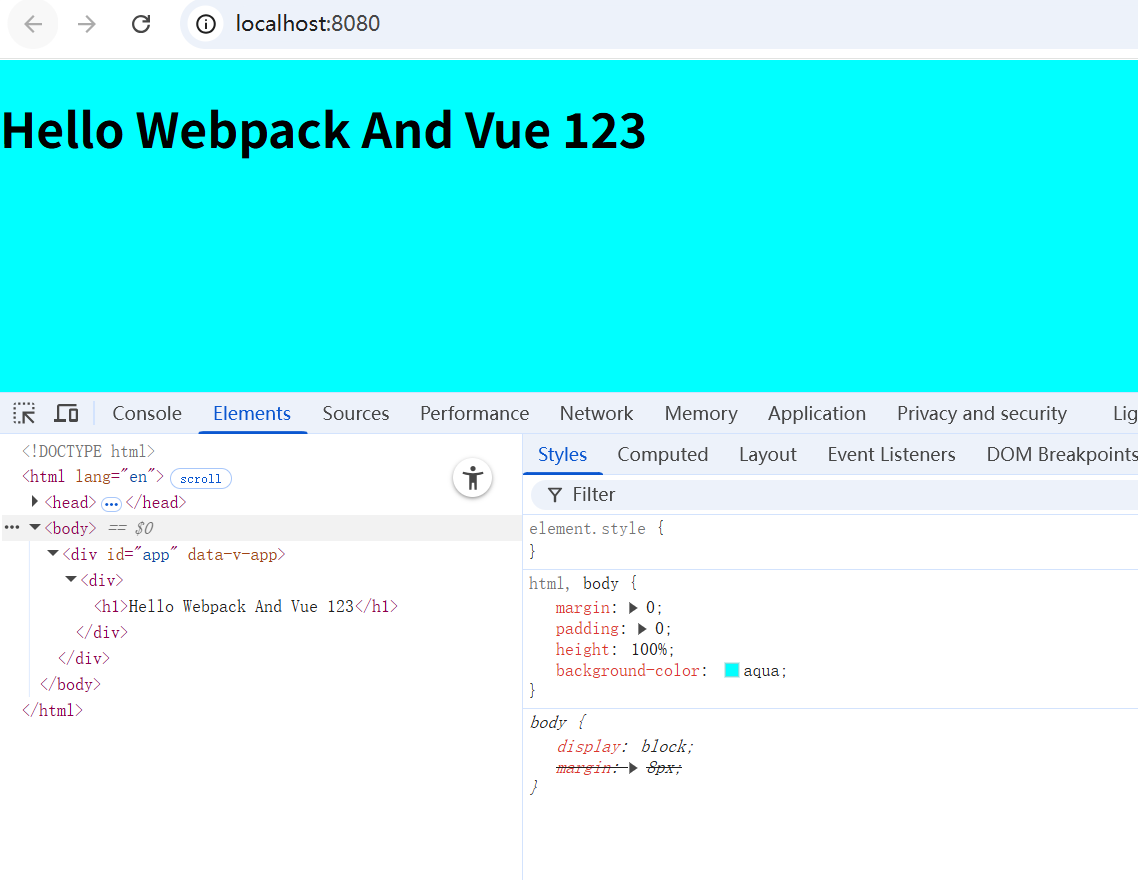
(3)创建 assets/index.css 文件:
html, body{margin: 0;padding: 0;height: 100%;background-color: aqua;
}
(4)在 App.vue 中引入使用:
<template><div><h1>Hello Webpack And Vue 123</h1></div>
</template><script setup>
import '@/assets/index.css'</script><style scoped></style>
6.2 引入 less
(1)下载 less 和 less-loader:
pnpm add less
pnpm add less-loader
(2)配置 webpack.config.js 中的 module:
module: {rules: [{test: /\.vue$/,use: 'vue-loader'},{test: /\.css$/,use: ['style-loader', 'css-loader']},{test: /\.less$/,use: ['style-loader', 'css-loader', 'less-loader']}]},
重新 npm run dev
(3)修改 assets/index.css 的后缀名为 less
(4)修改 App.vue 中的引用:
<template><div><h1>Hello Webpack And Vue 123</h1></div>
</template><script setup>
import '@/assets/index.less'</script><style scoped></style>
7. ts 相关
(1)下载 typescript 和 ts-loader:
pnpm add typescript
pnpm add ts-loader
(2)webpack.config.js 中添加配置:
module: {rules: [{test: /\.vue$/,use: 'vue-loader'},{test: /\.css$/,use: ['style-loader', 'css-loader']},{test: /\.less$/,use: ['style-loader', 'css-loader', 'less-loader']},{test: /\.ts$/, //解析tsloader: "ts-loader",options: {configFile: path.resolve(process.cwd(), 'tsconfig.json'),appendTsSuffixTo: [/\.vue$/]},}]},
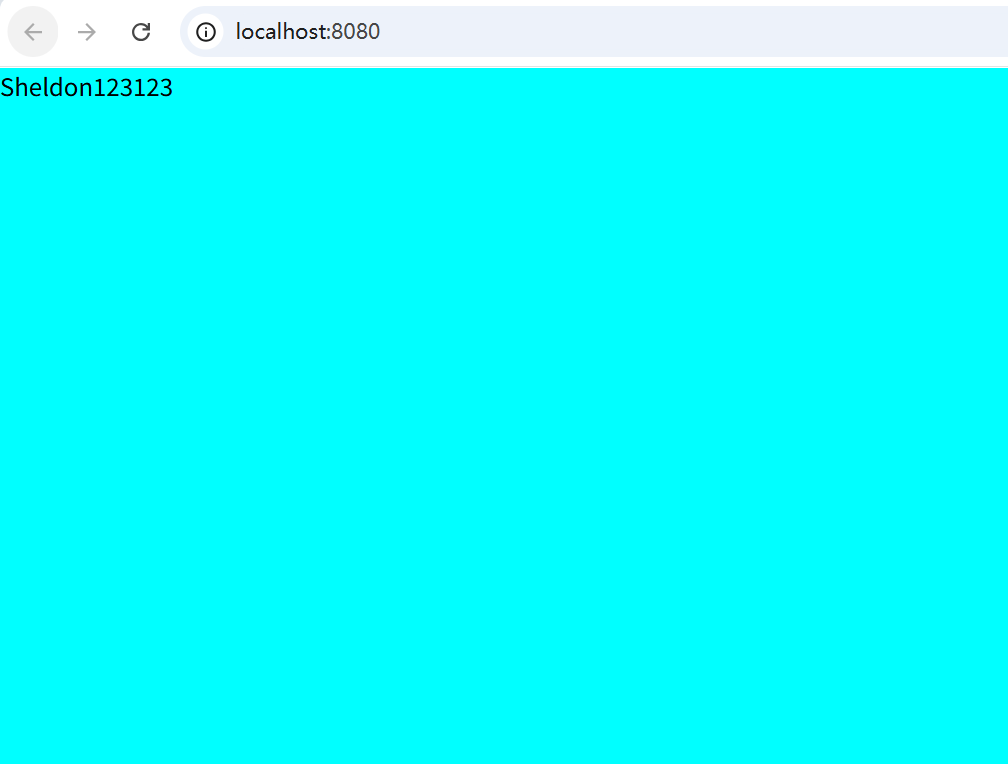
(3)在 vue 文件中,就可以使用 ts了。比如,App.vue:
<template><div>{{ name }}123123</div>
</template><script setup lang="ts">
import '@/assets/index.less'
import { ref } from 'vue'
const name = ref<string>('Sheldon')
</script><style lang="scss" scoped></style>
8. webpack 输出信息优化
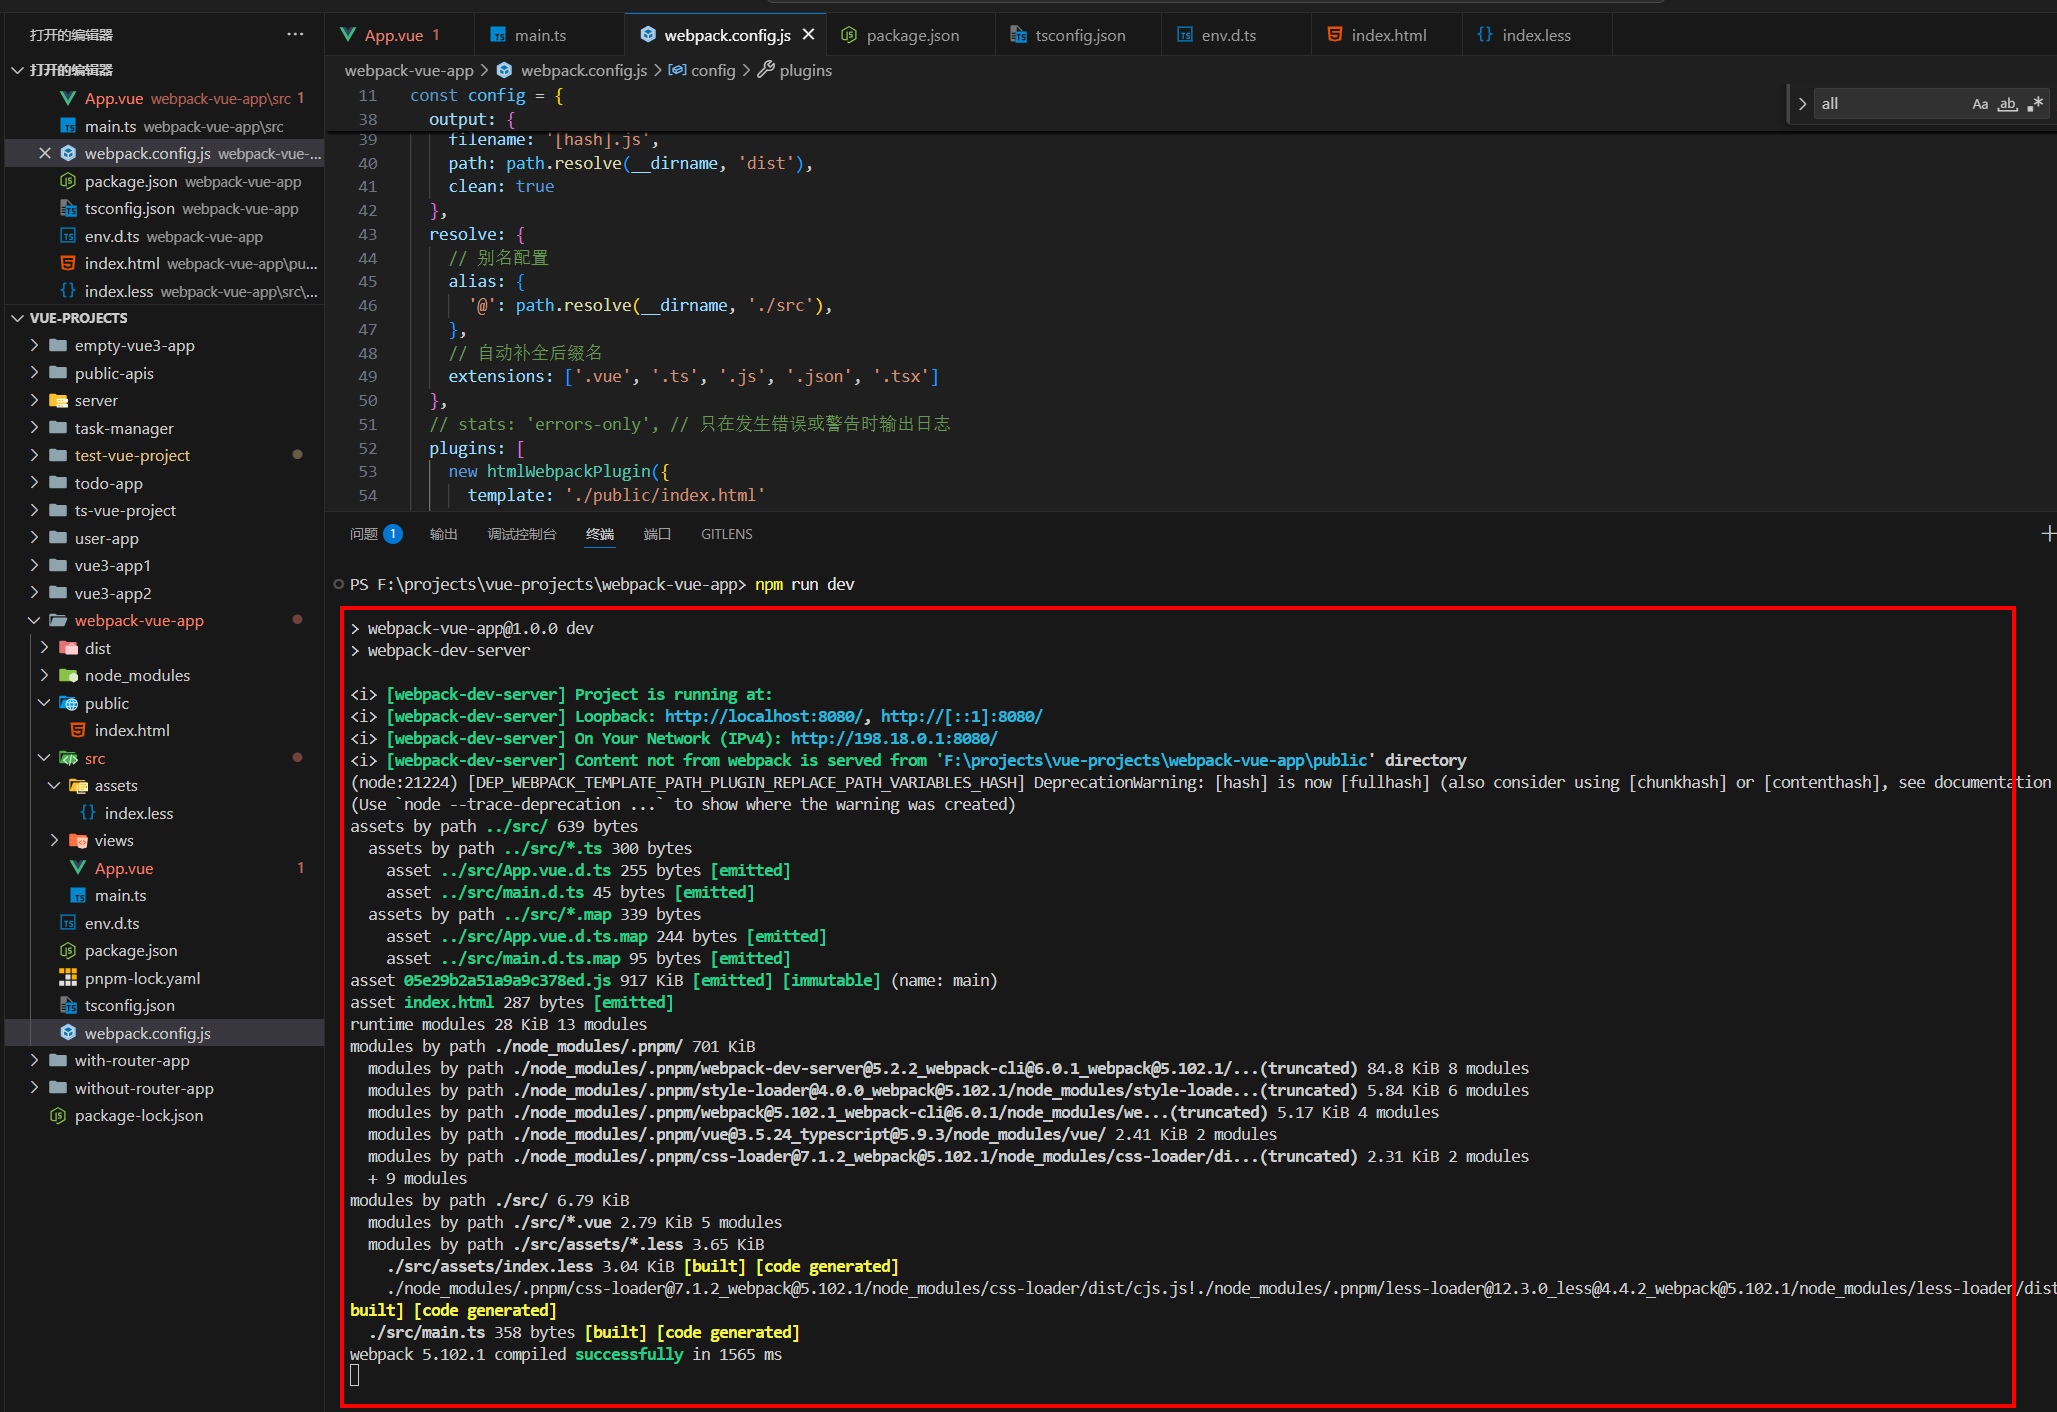
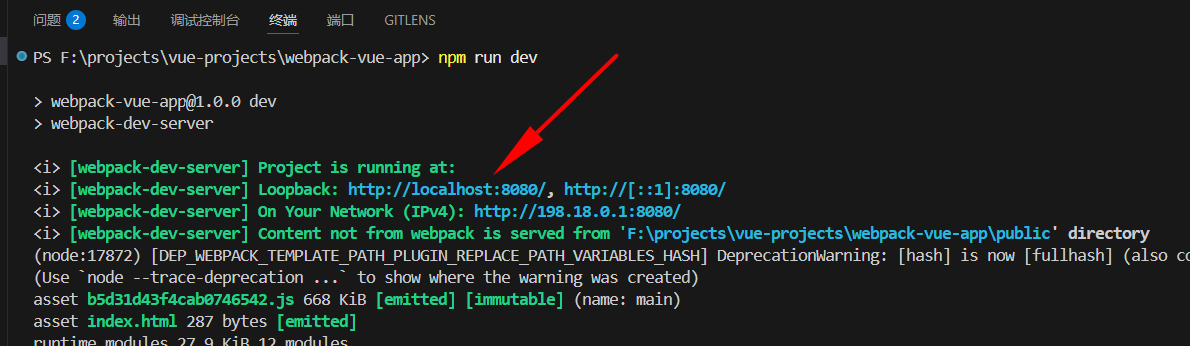
每次 npm run dev 都会输出这一堆信息,但是实际上我们只关注代码最终的server地址和报错信息。可以做下优化。
8.1 错误信息优化
webpack.config.js 的 config 中添加
stats: 'errors-only', // 只在发生错误或警告时输出日志
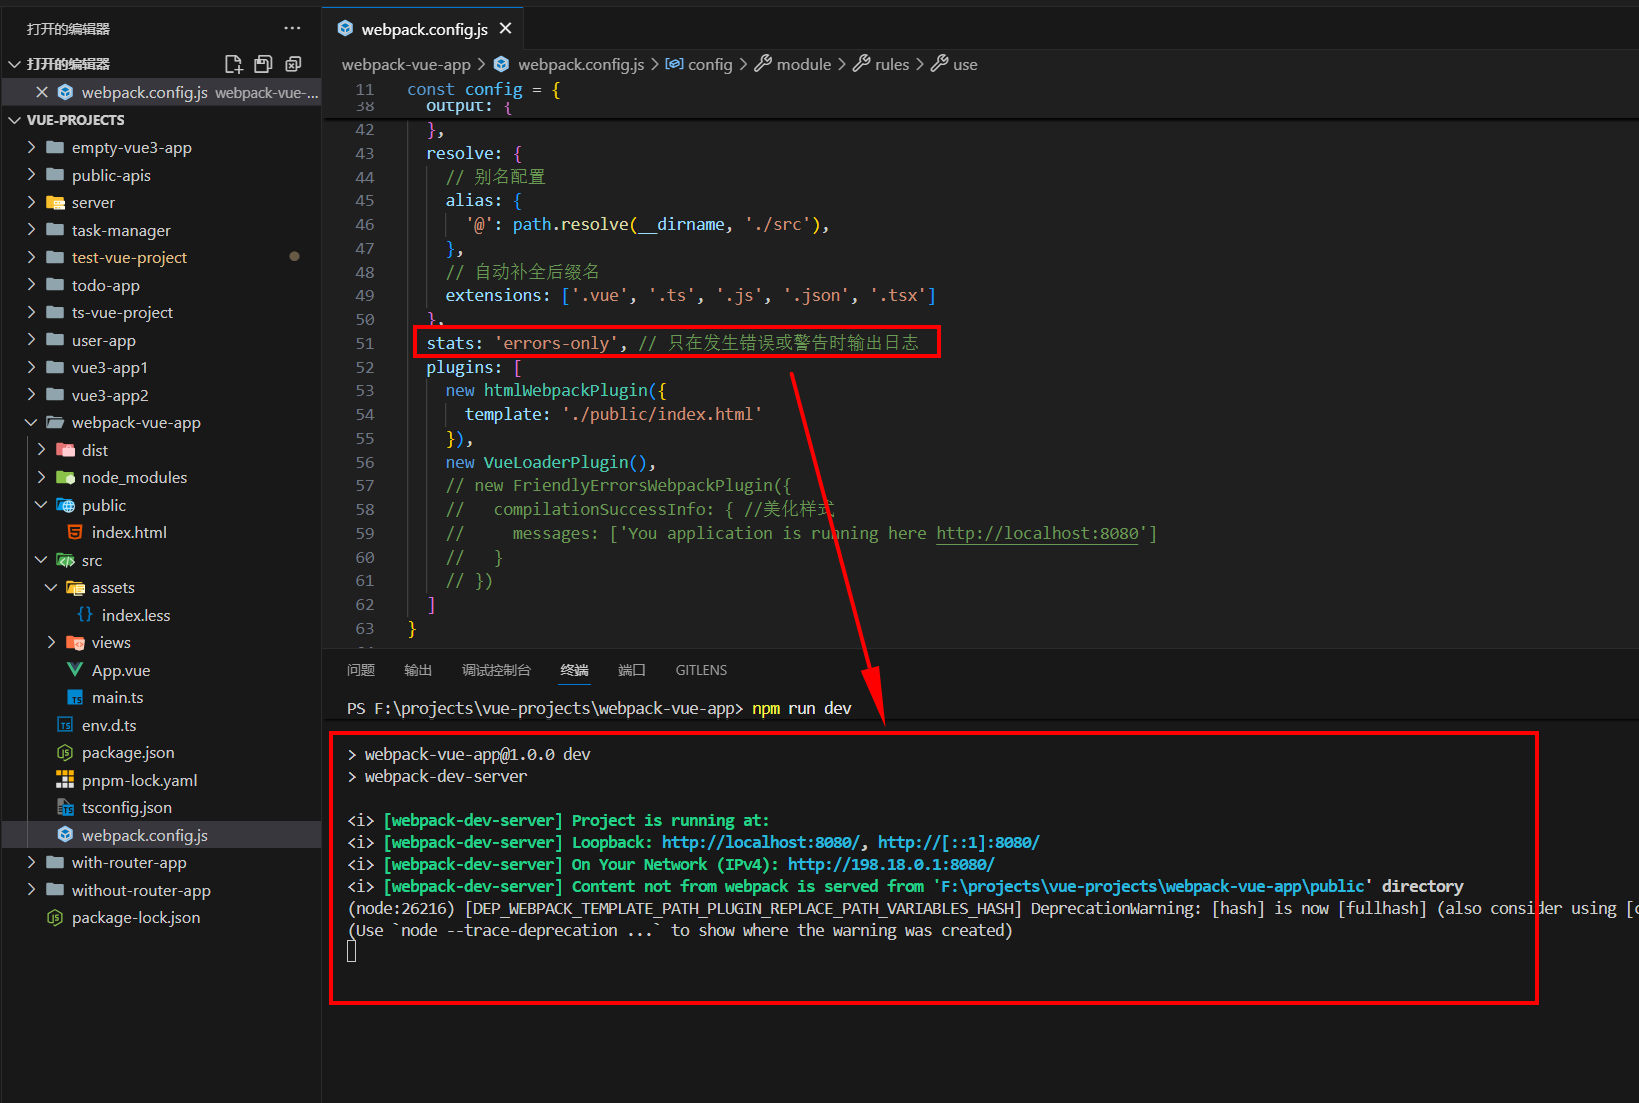
重新运行npm run dev, 会发现中间的处理信息直接删除,只会有server和报错信息了。
8.2 专注地址
(1)下载 friendly-errors-webpack-plugin
pnpm add friendly-errors-webpack-plugin
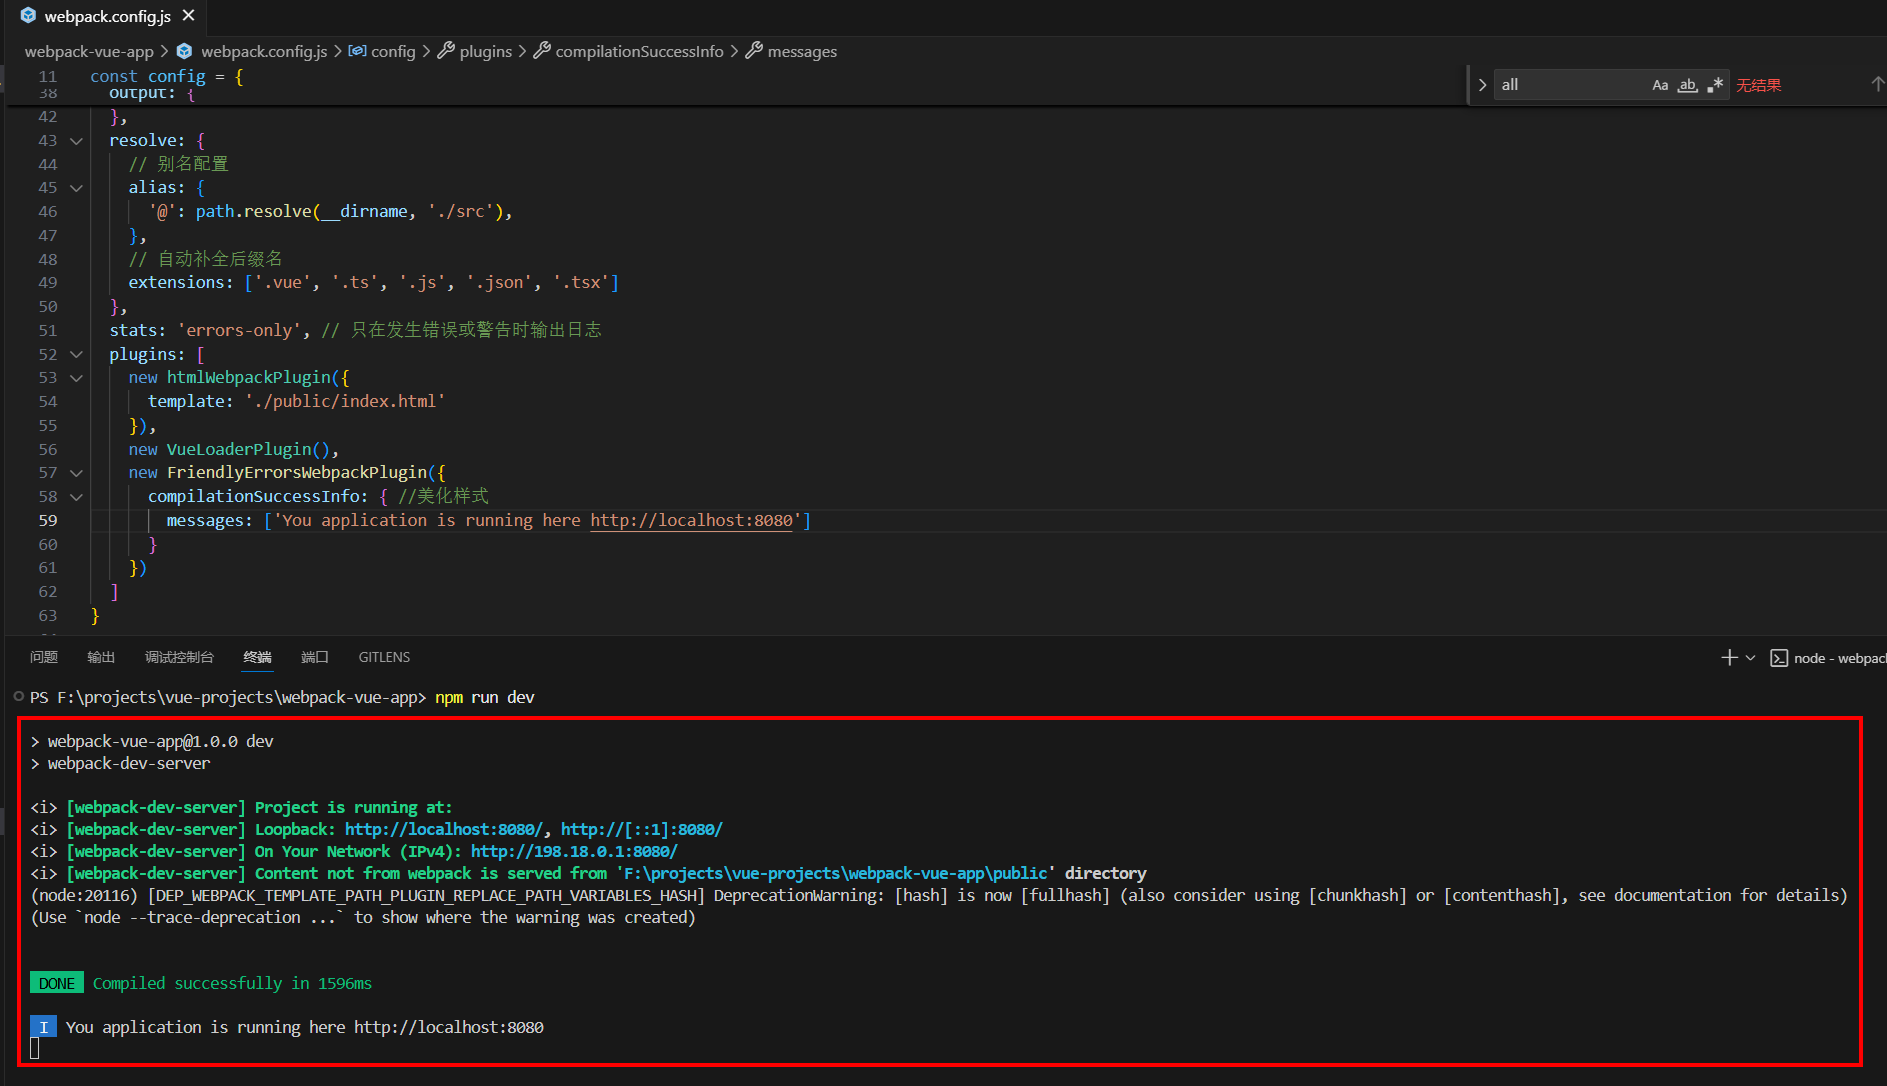
(2)在webpack.config.js 中进行配置:
const FriendlyErrorsWebpackPlugin = require("friendly-errors-webpack-plugin")
plugins: [new htmlWebpackPlugin({template: './public/index.html'}),new VueLoaderPlugin(),new FriendlyErrorsWebpackPlugin({compilationSuccessInfo: { //美化样式messages: ['You application is running here http://localhost:8080']}})]
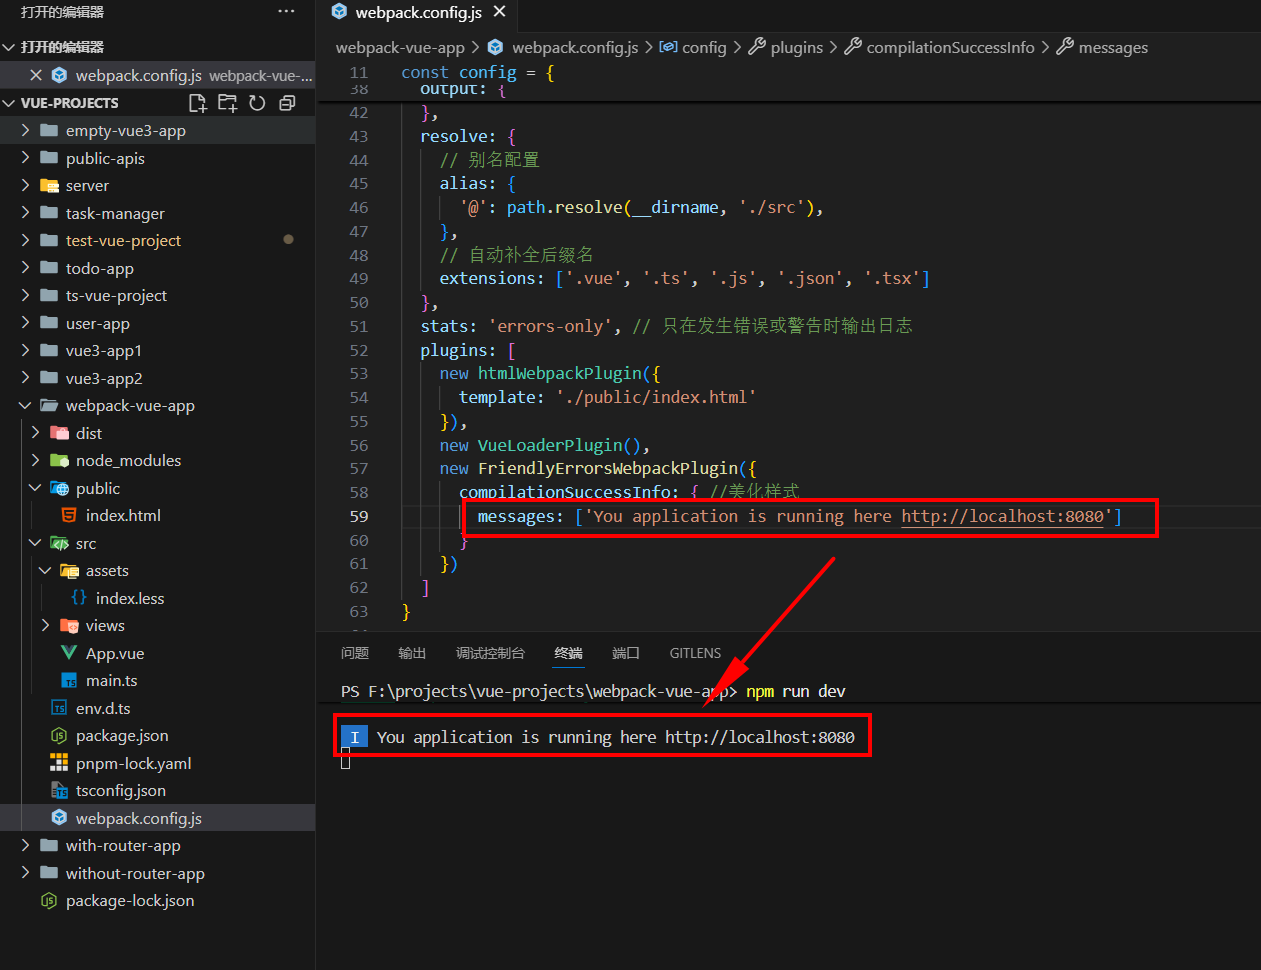
重新运行 npm run dev,会发现,输出信息做了进一步优化。虽然实际上是添加了一行输出,但是实际效果会直接跳转到这一行,让我们更加专注于server地址。
9. 完整关键代码
资源下载地址:https://download.csdn.net/download/qq_39055970/92281471
(1)package.json:
{"name": "webpack-vue-app","version": "1.0.0","description": "","main": "index.js","scripts": {"test": "echo \"Error: no test specified\" && exit 1","dev": "webpack-dev-server","build": "webpack"},"keywords": [],"author": "","license": "ISC","dependencies": {"@vue/compiler-sfc": "^3.5.24","clean-webpack-plugin": "^4.0.0","css-loader": "^7.1.2","friendly-errors-webpack-plugin": "^1.7.0","html-webpack-plugin": "^5.6.4","less": "^4.4.2","less-loader": "^12.3.0","style-loader": "^4.0.0","ts-loader": "^9.5.4","typescript": "^5.9.3","vue": "^3.5.24","vue-loader": "^17.3.1","webpack": "^5.102.1","webpack-cli": "^6.0.1","webpack-dev-server": "^5.2.2"}
}
(2)webpack.config.js:
const { Configuration } = require('webpack');
const path = require('path');
const htmlWebpackPlugin = require('html-webpack-plugin');const { VueLoaderPlugin } = require('vue-loader/dist/index')
const FriendlyErrorsWebpackPlugin = require("friendly-errors-webpack-plugin")/*** @type {Configuration}*/
const config = {mode: 'development',entry: './src/main.ts',module: {rules: [{test: /\.vue$/,use: 'vue-loader'},{test: /\.less$/,use: ['style-loader', 'css-loader', 'less-loader']},{test: /\.css$/,use: ['style-loader', 'css-loader']},{test: /\.ts$/,  //解析tsloader: "ts-loader",options: {configFile: path.resolve(process.cwd(), 'tsconfig.json'),appendTsSuffixTo: [/\.vue$/]},}]},output: {filename: '[hash].js',path: path.resolve(__dirname, 'dist'),clean: true},resolve: {// 别名配置alias: {'@': path.resolve(__dirname, './src'),},// 自动补全后缀名extensions: ['.vue', '.ts', '.js', '.json', '.tsx']},stats: 'errors-only', // 只在发生错误或警告时输出日志plugins: [new htmlWebpackPlugin({template: './public/index.html'}),new VueLoaderPlugin(),new FriendlyErrorsWebpackPlugin({compilationSuccessInfo: { //美化样式messages: ['You application is running here http://localhost:8080']}})]
}module.exports = config;
(3)tsconfig.json:
{// Visit https://aka.ms/tsconfig to read more about this file"compilerOptions": {// File Layout// "rootDir": "./src",// "outDir": "./dist",// Environment Settings// See also https://aka.ms/tsconfig/module"module": "nodenext","target": "esnext","types": [],// For nodejs:// "lib": ["esnext"],// "types": ["node"],// and npm install -D @types/node// Other Outputs"sourceMap": true,"declaration": true,"declarationMap": true,// Stricter Typechecking Options"noUncheckedIndexedAccess": true,"exactOptionalPropertyTypes": true,// Style Options// "noImplicitReturns": true,// "noImplicitOverride": true,// "noUnusedLocals": true,// "noUnusedParameters": true,// "noFallthroughCasesInSwitch": true,// "noPropertyAccessFromIndexSignature": true,// Recommended Options"strict": true,"jsx": "react-jsx","verbatimModuleSyntax": false,"isolatedModules": true,"noUncheckedSideEffectImports": true,"moduleDetection": "force",// "moduleResolution": "nodenext","skipLibCheck": true,"baseUrl": ".","paths": {"@/*": ["src/*"],},"allowSyntheticDefaultImports": true,}
}
(4)public/index.html:
<!DOCTYPE html>
<html lang="en">
<head><meta charset="UTF-8"><meta name="viewport" content="width=device-width, initial-scale=1.0"><title>webpack vue app</title>
</head>
<body><div id="app"></div>
</body>
</html>
(5)src/main.ts:
import { createApp } from 'vue'
import App from './App.vue'createApp(App).mount('#app')
上一章 《Vue3 组件库 Element Plus》
下一章 《Vue3 高级性能优化》