MyBatis操作数据库入门补充1
MyBatis XML配置文件
MyBatis的开发有两种方式:注解与xml配置文件,下面介绍如何使用xml操作数据库.
配置连接字符串和MyBatis
进行两项设置,数据库连接字符串设置和MyBatis的XML⽂件配置.
#驱动类名称
spring.datasource.driver-class-name=com.mysql.cj.jdbc.Driver
#数据库连接的url
spring.datasource.url=jdbc:mysql://127.0.0.1:3306/mybatis_test?characterEncoding=utf8&useSSL=false
#连接数据库的⽤⼾名
spring.datasource.username=root
#连接数据库的密码
spring.datasource.password=123456
# 配置 mybatis xml 的⽂件路径,在 resources/mapper 创建所有表的 xml ⽂件
mybatis.mapper-locations=classpath:mapper/**Mapper.xml
写持久层代码
持久层代码包含两个部分:在接口中定义方法,在XML文件中实现方法.
创建mapper接口
//XML实现
@Mapper
public interface UserInfoXMLMapper {List<UserInfo> getUserInfoAll();
}
添加UserInfoXMLMapper.xml
在resources/mapper路径下创建对应的xml文件.
<?xml version="1.0" encoding="UTF-8"?>
<!DOCTYPE mapper PUBLIC "-//mybatis.org//DTD Mapper 3.0//EN""http://mybatis.org/dtd/mybatis-3-mapper.dtd">
<mapper namespace="com.springboot.mybatis.mapper.UserInfoXMLMapper"></mapper>
mapper标签中的namespace的值是对应接口的所在位置.
增删改查操作
Insert
在接口中定义函数:
Integer insertUser(UserInfo userInfo);在xml中队函数进行实现,在mapper标签下,创建插入标签Insert,insert的属性id值应该为对应的方法名称,元素内容为所执行的sql语句.
<insert id="insertUser">insert into userinfo(username, password, age, gender, phone)values(#{username}, #{password}, #{age},#{gender},#{phone})</insert>编写测试代码进行测试:
@Testvoid testInsertUser() {UserInfo userInfo = new UserInfo();userInfo.setUsername("xml");userInfo.setPassword("123456");userInfo.setAge(99);userInfo.setGender(0);userInfo.setPhone("10086");Integer n = userInfoXMLMapper.insertUser(userInfo);System.out.println("本次插入影响到了"+n+"行");}

Delete
删除操作与插入操作类似,将Insert关键字替换为Delete即可.
//接口:Integer deleteById(Integer id); //xml:<delete id="deleteById">delete from userinfo where id = #{id}</delete>//测试:@Testvoid deleteById() {Integer n = userInfoXMLMapper.deleteById(9);System.out.println("本次删除影响到了"+n+"行");}

刚才插入的id为9的数据被删除成功.
Update
Integer updatePassword(Integer id);<update id="updatePassword">update userinfo set password = 123456 where id = #{id}</update>@Testvoid updatePassword() {Integer n = userInfoXMLMapper.updatePassword(4);System.out.println("本次修改影响到了"+n+"行");}

wangwu的密码从原来的wangwu被修改成了123456.
Select
查询操作与上面的几个有所不同,前面的操作返回值均为数字,而查询操作所返回的值是一个元素列表,在进行查询时,需要指定数据库返回的元素列表与哪个类进行匹配,在select标签中使用resultType对类进行指定.
查询userinfo数据库,并使用UserInfo类与返回值进行匹配:
List<UserInfo> getUserInfoAll();//指定UserInfo类<select id="getUserInfoAll" resultType="com.springboot.mybatis.model.UserInfo">select * from userinfo</select>@Testvoid insertUser() {List<UserInfo> userInfos = userInfoXMLMapper.getUserInfoAll();for (UserInfo userInfo : userInfos) {System.out.println(userInfo);}}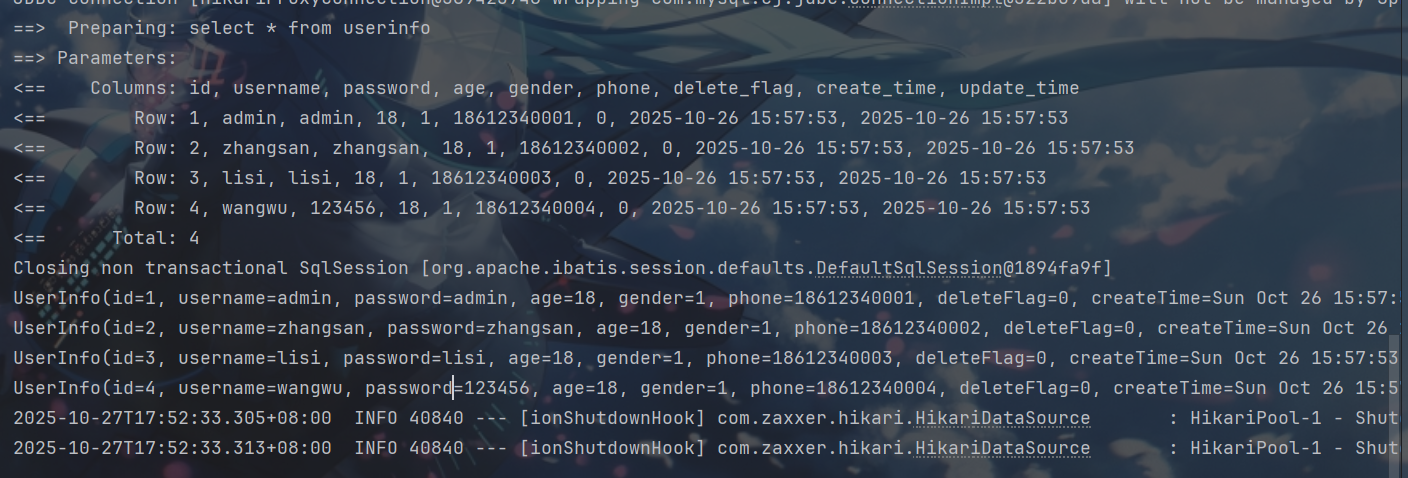
在查询时,与使用注释一样,也会出现因为类的属性与数据库表的列名不匹配导致值没用正确的赋上.同样也是三种解决办法:起别名,开启驼峰命名,结果映射.前两种与使用注释的做法一样,不做解释,在使用xml时结果映射的方法与使用注释时略有不同.
结果映射:
在xml文件中使用标签resultMap来创建映射,属性id为这个映射的名称,方便后续使用这个映射,而属性type为与数据库进行对应的实体类的位置(与select中的resultType类似).在resultMap的元素内容中,使用标签result来创建映射(用法与使用注释时的用法类似),可以使用id标签来映射主键.
<resultMap id="test" type="com.springboot.mybatis.model.UserInfo"><id column="id" property="id"></id><result column="delete_flag" property="deleteFlag"></result><result column="create_time" property="createTime"></result><result column="update_time" property="updateTime"></result></resultMap>这样就创建好了一个映射,在使用时,在select中添加resultMap属性并赋值想要的映射名即可.
List<UserInfo> getUserInfoAllResultMap();//使用resultMap引入映射关系<select id="getUserInfoAllResultMap" resultMap="test">select * from userinfo</select>@Testvoid getUserInfoAllResultMap() {List<UserInfo> userInfos = userInfoXMLMapper.getUserInfoAllResultMap();for (UserInfo userInfo : userInfos) {System.out.println(userInfo);}}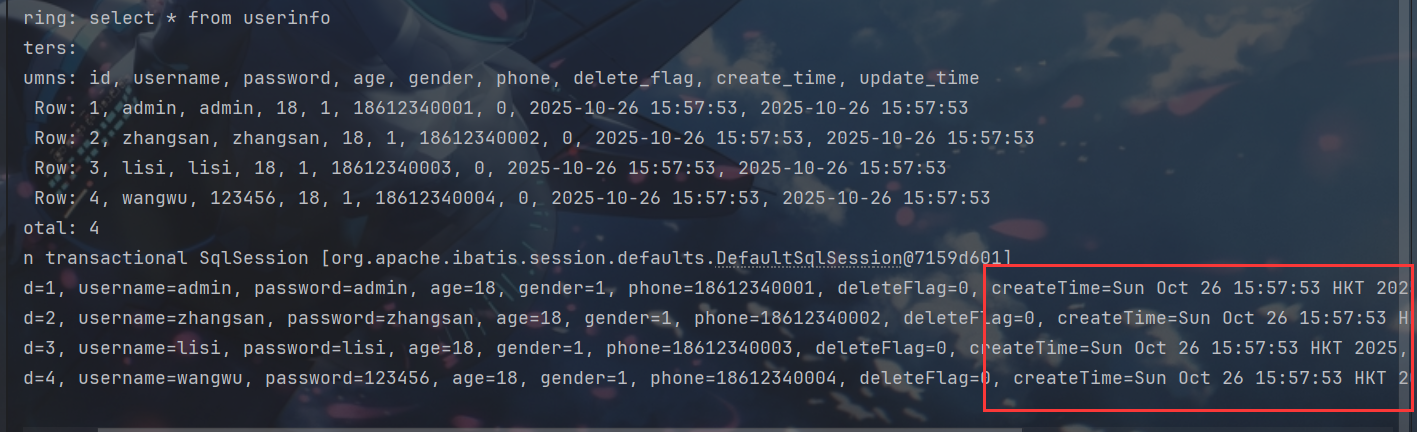
查询结果正确赋值.