大文件分片上传:简单案例(前端切割与后端合并)
文章目录
- 一、前端实现分片上传
- 二、后端处理分片上传
- 三、总结
一、前端实现分片上传
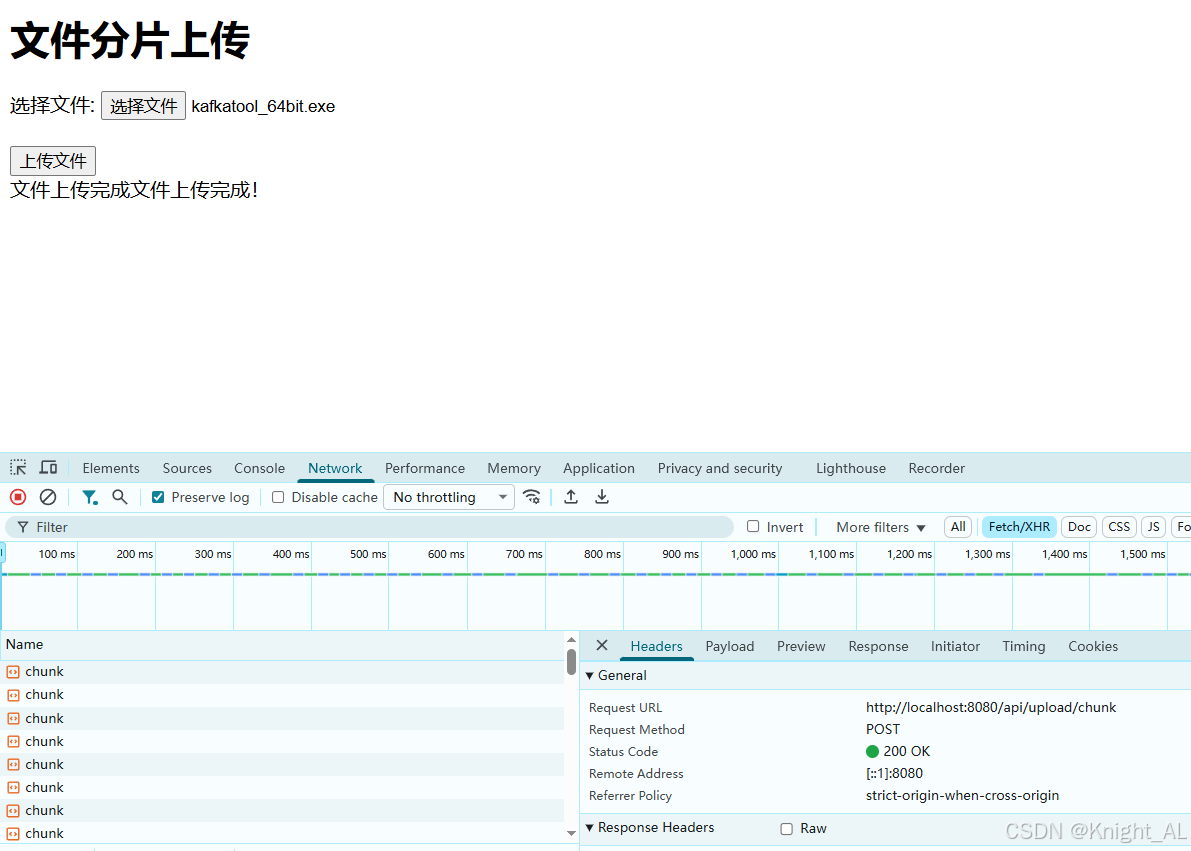
在前端,我们通过 JavaScript 的 File.slice() 方法将大文件切割成多个小的分片,然后逐个分片上传到后端。这样可以避免在上传过程中遇到的大文件上传性能瓶颈,且支持断点续传。
- 选择文件并切割成分片
我们需要先选择文件,并通过 slice() 方法将大文件切割成多个小块(即分片)。每个分片会单独上传。每次上传文件分片时,我们会附带必要的元数据(如文件名、总分片数、当前分片编号等)来帮助后端完成文件合并。
HTML 和 JavaScript 代码
<!DOCTYPE html>
<html lang="en">
<head><meta charset="UTF-8"><meta name="viewport" content="width=device-width, initial-scale=1.0"><title>文件分片上传</title><style>/* 样式 */.success { color: green; }.error { color: red; }</style>
</head>
<body><div class="container"><h1>文件分片上传</h1><form id="uploadForm"><label for="file">选择文件:</label><input type="file" id="file" name="file" required><br><br><button type="submit">上传文件</button></form><div id="message" class="message"></div><div><label>上传进度:</label><progress id="uploadProgress" value="0" max="100" style="width: 100%;"></progress><span id="progressPercentage">0%</span></div>
</div><script>const form = document.getElementById('uploadForm');const messageDiv = document.getElementById('message');const progressBar = document.getElementById('uploadProgress');const progressPercentage = document.getElementById('progressPercentage');const chunkSize = 1024 * 1024; // 每个分片的大小(1MB)// 获取已上传的分片列表function getUploadedChunks(identifier) {return fetch(`/api/upload/check?identifier=${identifier}`).then(response => response.ok ? response.json() : []).then(result => result.uploadedChunks || []);}// 上传当前分片function uploadChunk(file, chunkNumber, totalChunks, identifier) {const chunk = file.slice(chunkNumber * chunkSize, (chunkNumber + 1) * chunkSize);const formData = new FormData();formData.append('file', chunk);formData.append('filename', file.name);formData.append('totalChunks', totalChunks);formData.append('chunkNumber', chunkNumber + 1); // 当前分片的编号formData.append('identifier', identifier);return fetch('/api/upload/chunk', {method: 'POST',body: formData,}).then(response => {if (!response.ok) throw new Error('分片上传失败');return response.text();});}form.onsubmit = function(e) {e.preventDefault();  // 阻止表单的默认提交行为const fileInput = document.getElementById('file');const file = fileInput.files[0];  // 获取选择的文件const totalChunks = Math.ceil(file.size / chunkSize);  // 计算分片总数const identifier = file.name + "_" + Date.now();  // 为文件生成唯一标识符// 获取已上传的分片列表getUploadedChunks(identifier).then(uploadedChunks => {let chunkNumber = uploadedChunks.length;  // 从已上传的分片之后开始上传const totalSize = file.size;  // 文件的总大小// 更新进度条function updateProgress(totalSize, uploadedSize) {uploadedSize = Math.min(uploadedSize, totalSize);const progress = (uploadedSize / totalSize) * 100; // 计算进度progressBar.value = progress;progressPercentage.textContent = `${Math.round(progress)}%`;}// 上传下一个分片function uploadNextChunk() {if (chunkNumber < totalChunks) {return uploadChunk(file, chunkNumber, totalChunks, identifier).then(result => {messageDiv.innerHTML = `<span class="success">${result}</span>`;chunkNumber++;  // 上传成功后,进入下一个分片const uploadedSize = chunkNumber * chunkSize; // 已上传的大小updateProgress(totalSize, uploadedSize);  // 更新进度条return uploadNextChunk();  // 上传下一个分片}).catch(error => {messageDiv.innerHTML = `<span class="error">${error.message}</span>`;// 如果上传失败,重试当前分片return new Promise(resolve => setTimeout(resolve, 3000))  // 等待 3 秒重试.then(() => uploadNextChunk());});} else {// 确保进度条显示为100%并显示上传完成updateProgress(totalSize, totalSize);messageDiv.innerHTML += "<span class='success'>文件上传完成!</span>";return Promise.resolve();  // 上传完成}}uploadNextChunk();  // 开始上传分片}).catch(error => {messageDiv.innerHTML = `<span class="error">${error.message}</span>`;});};
</script></body>
</html>
代码说明:
file.slice():通过该方法将大文件切割成多个小块(分片)。slice方法接受两个参数:起始位置和结束位置。通过这个方法可以将大文件分割成大小适中的块,进行分片上传。FormData:每次上传一个分片时,使用FormData将分片文件和其他信息(如文件名、分片总数、当前分片号)传递给后端。fetch:使用fetch发送POST请求,将每个分片上传到服务器。
二、后端处理分片上传
后端负责接收每个分片,并保存到临时位置。当所有分片上传完毕后,后端需要将这些分片合并成原始文件。
- 后端处理分片上传
文件分片上传接口
后端使用 Spring Boot 提供的 MultipartFile 接口来接收文件分片。每次上传一个分片时,后端保存它,并在上传完成后进行文件合并。
import org.springframework.http.HttpStatus;
import org.springframework.http.ResponseEntity;
import org.springframework.web.bind.annotation.PostMapping;
import org.springframework.web.bind.annotation.RequestMapping;
import org.springframework.web.bind.annotation.RequestParam;
import org.springframework.web.bind.annotation.RestController;
import org.springframework.web.multipart.MultipartFile;import java.io.File;
import java.io.FileInputStream;
import java.io.IOException;
import java.io.RandomAccessFile;
import java.nio.channels.FileChannel;
import java.nio.channels.ReadableByteChannel;
import java.nio.channels.Channels;@RestController
@RequestMapping("/api/upload")
public class FileUploadController {private static final String UPLOAD_DIR = "E:/uploads/"; // 定义文件保存目录@PostMapping("/chunk")public ResponseEntity<String> uploadChunk(@RequestParam("file") MultipartFile file,@RequestParam("filename") String filename,@RequestParam("totalChunks") int totalChunks,@RequestParam("chunkNumber") int chunkNumber) {try {// 保存每个分片到临时文件File destFile = new File(UPLOAD_DIR + filename + "_part_" + chunkNumber);storeFileWithZeroCopy(file, destFile);// 检查是否上传完成所有分片if (chunkNumber == totalChunks) {// 合并所有分片File mergedFile = new File(UPLOAD_DIR + filename);mergeChunks(filename, totalChunks, mergedFile);return new ResponseEntity<>("文件上传完成", HttpStatus.OK);} else {return new ResponseEntity<>("分片上传成功", HttpStatus.OK);}} catch (Exception e) {return new ResponseEntity<>("文件上传失败:" + e.getMessage(), HttpStatus.INTERNAL_SERVER_ERROR);}}// 使用零拷贝技术将分片文件保存到磁盘private void storeFileWithZeroCopy(MultipartFile file, File destFile) throws IOException {try (ReadableByteChannel inputChannel = Channels.newChannel(file.getInputStream());FileChannel outputChannel = new RandomAccessFile(destFile, "rw").getChannel()) {outputChannel.transferFrom(inputChannel, 0, file.getSize());}}// 合并所有分片成一个完整文件private void mergeChunks(String filename, int totalChunks, File mergedFile) throws IOException {try (RandomAccessFile outputFile = new RandomAccessFile(mergedFile, "rw");FileChannel outputChannel = outputFile.getChannel()) {for (int i = 1; i <= totalChunks; i++) {File partFile = new File(UPLOAD_DIR + filename + "_part_" + i);try (ReadableByteChannel inputChannel = Channels.newChannel(new FileInputStream(partFile))) {outputChannel.transferFrom(inputChannel, outputFile.length(), partFile.length());}partFile.delete();  // 删除已合并的分片}}}
}
代码说明:
MultipartFile:Spring 提供的接口,用于接收上传的文件分片。storeFileWithZeroCopy:使用零拷贝技术(transferFrom)将文件分片直接保存到磁盘,避免了内存拷贝的性能损失。mergeChunks:当所有分片上传完毕,调用该方法合并所有分片文件,最终生成一个完整的文件。
零拷贝(Zero Copy)
零拷贝是一种优化技术,它可以避免数据在内存和磁盘之间的多次复制,减少 CPU 负担,提高性能。在这里,我们使用 FileChannel.transferFrom() 方法将文件分片直接写入目标文件,而不经过内存的中转。
三、总结
通过前端使用 File.slice() 方法将大文件切割成多个小分片,并逐一上传,后端接收到每个分片后进行保存和合并。这样能够有效避免大文件上传过程中的网络波动、时间过长等问题,同时提供了断点续传的功能。
文件分片上传的步骤:
- 前端切割文件并上传:将文件分割成小块,逐一上传。
- 后端接收分片并保存:每次接收一个文件分片,并保存到临时文件。
- 上传完成后,后端合并分片:当所有分片上传完成,后端将所有分片合并成完整的文件。