day7_vite 啊哈哈啊哈哈哈哈哈
day7_vite
vite(工具集 前端工程化项目使用的工具) 是vue官方退出的 编译 运行 工具
单页面应用 (全局只有一个页面 分别写一个个组件 由工具整体编译 通过js做内容替换)
1安装node.js
js运行时工具 脱离浏览器的js代码 都需要它才能运行
安装目录尽量不要改 目录中不要带中文
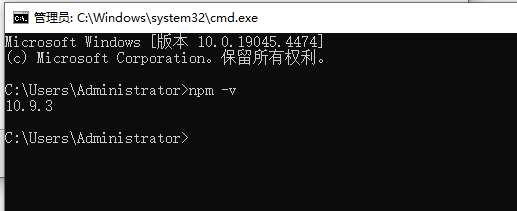
检查npm是否安装成功
2安装pnpm 包安装工具
https://pnpm.nodejs.cn/installation/ 官网
全局安装pnpm包管理工具
npm install -g pnpm@latest-10
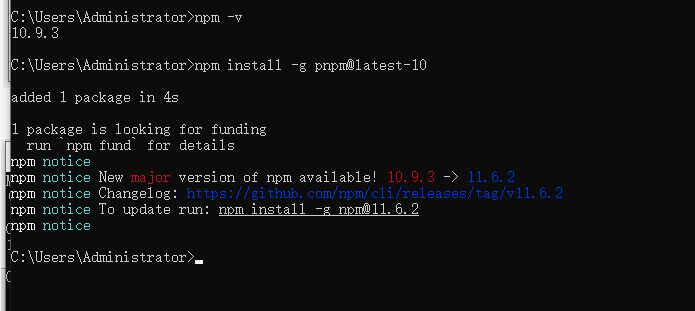
安装完成
3vite安装
https://cn.vitejs.dev/guide/ vite官网
安装vite 创建vite项目
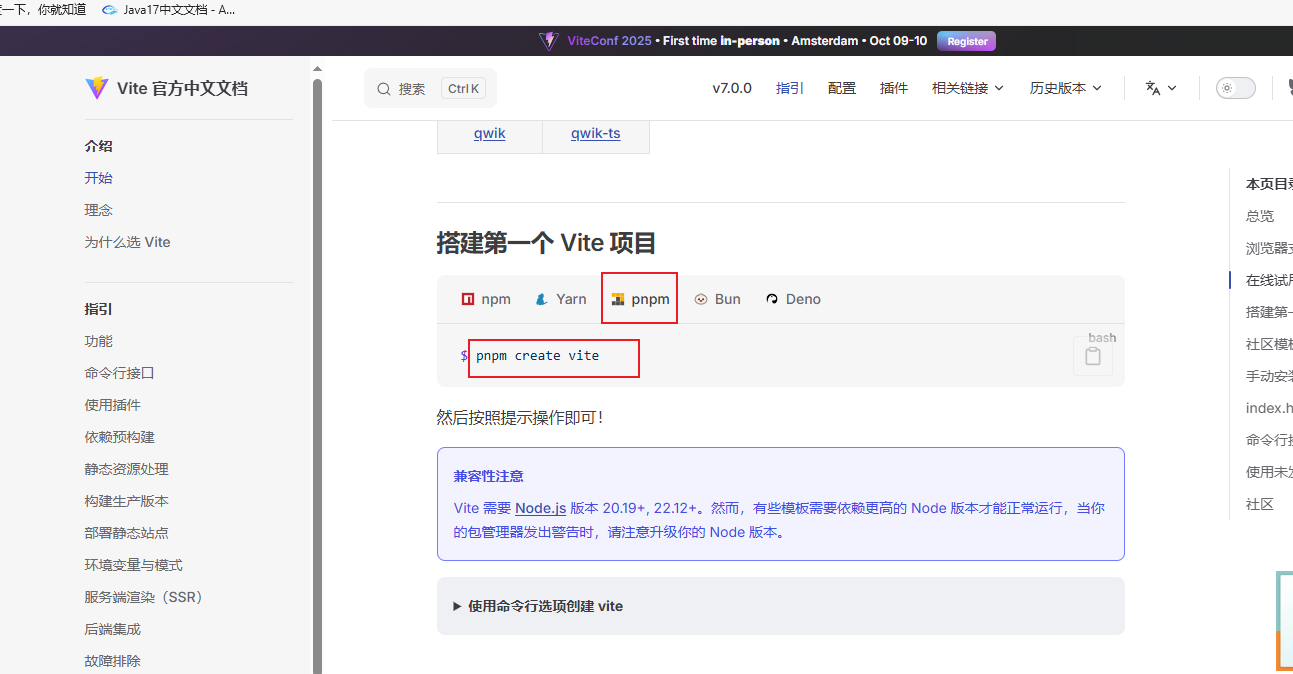
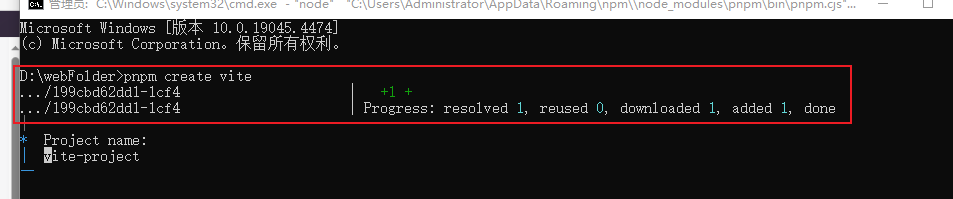
pnpm create vite
注意:这个命令会安装vite 创建项目 在要创建项目的目录敲命令
安装完成
4.创建vite项目
选择选项
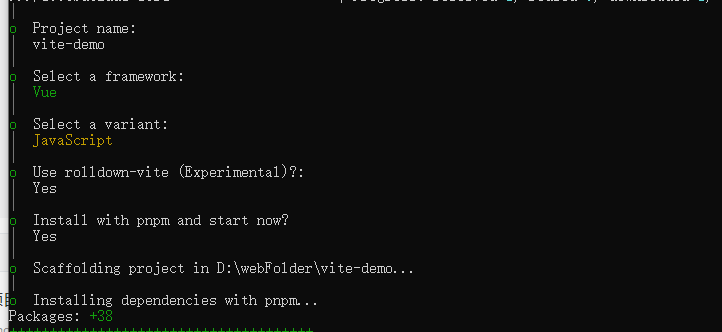
项目会自动创建 自动启动

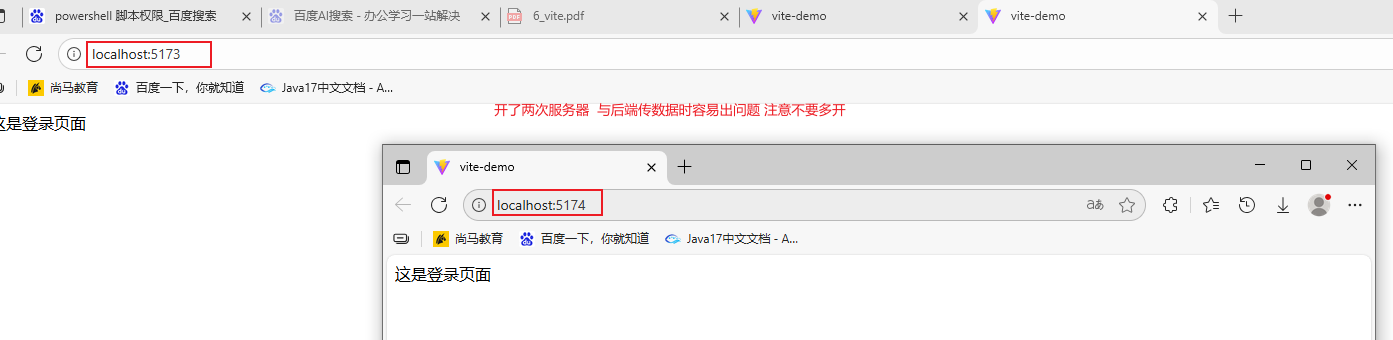
vite服务器默认端口 5173
项目创建完成
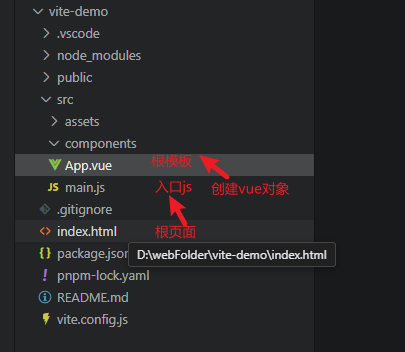
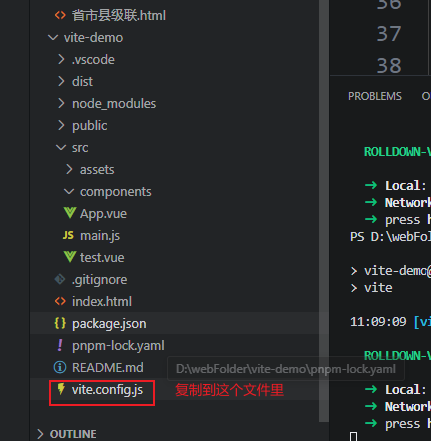
5vite项目目录结构
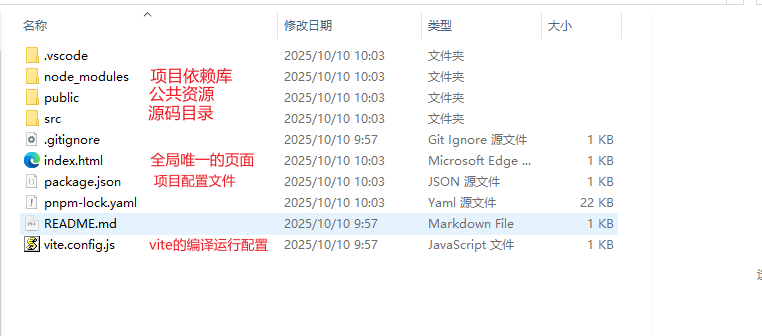
需要项目编码时 写的 主要时src源码目录
把欢迎的多余文件删掉 只留这几个文件
6vite项目相关命令
1项目启动
启动测试环境 启动vite自带服务器 (开发时使用)
pnpm run dev
需要进入项目目录 有package.json文件的目录 才能使用
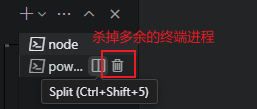
2项目关闭
控制台中 ctrl+c 杀当前进程
注意 ctrl+c不是复制 复制 鼠标左键拖中 点右键 再点右键 粘贴
3(根据package.json文件)安装全部依赖库
重建当前项目的依赖库
pnpm install
4项目打包
把当前项目打包到dist目录中 配合其他服务器 在生产环境(正式上线)中使用
pnpm run build
7通过开发工具启动关闭项目
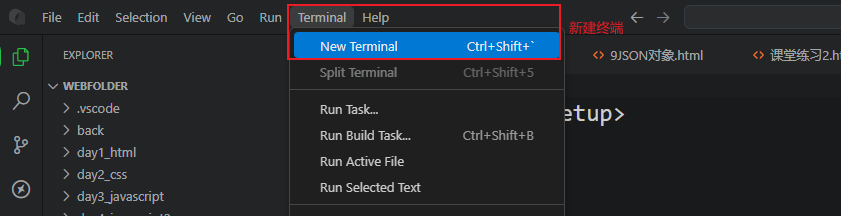
终端常用两种形式
powerShell 执行脚本 设置脚本权限命令 Set-ExecutionPolicy Unrestricted 之后才可以执行脚本
cmd cmd控制台 可以直接执行

8开发工具相关配置
配置vue模板
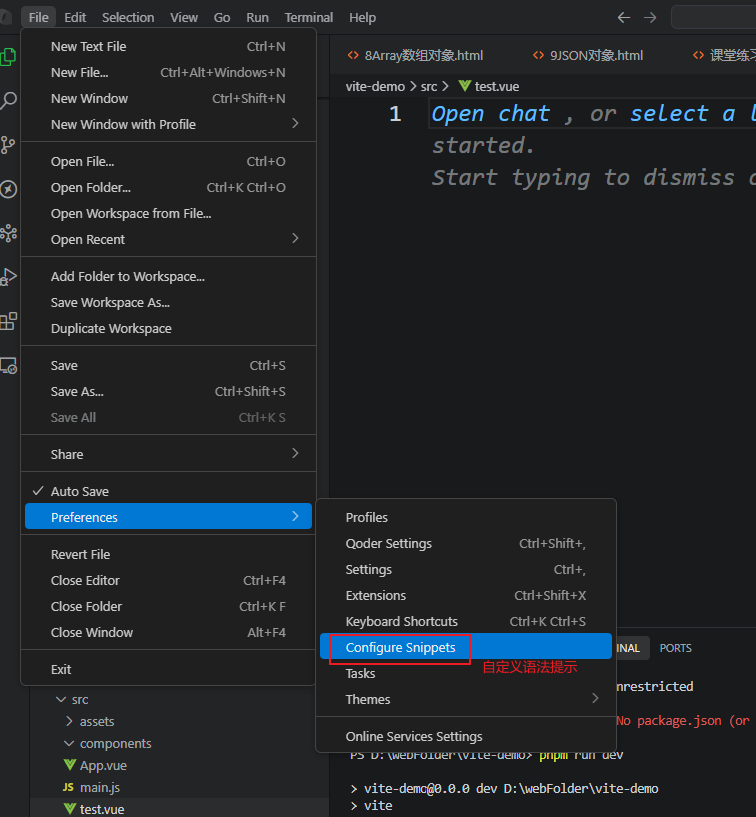

自定义模板文件
{// Place your snippets for vue here. Each snippet is defined under a snippet name and has a prefix, body and // description. The prefix is what is used to trigger the snippet and the body will be expanded and inserted. Possible variables are:// $1, $2 for tab stops, $0 for the final cursor position, and ${1:label}, ${2:another} for placeholders. Placeholders with the // same ids are connected.// Example:"vue3templage": {"prefix": "vue3","body": ["<script setup>","import { ref } from 'vue' ","</script>","","<template>"," ","</template>","","<style scoped>","","</style>"
],"description": "vue3templage"}
}
安装插件
官方插件 语法变色
9项目运行启动配置 vite.config.js
import { fileURLToPath, URL } from 'node:url'
import { defineConfig } from 'vite'
import vue from '@vitejs/plugin-vue'
// https://vitejs.dev/config/
export default defineConfig({plugins: [vue()],//配置根路径,这个不配置会导致部署之后访问不到base: './',// 构建build: {outDir: 'dist', //指定打包输出路径assetsDir: 'assets', //指定静态资源存放路径cssCodeSplit: true, //css代码拆分,禁用则所有样式保存在一个css里面sourcemap: false, //是否构建source map 文件// 生产环境取消 consoleminify: 'terser',terserOptions: {compress: {drop_console: true,drop_debugger: true}},//会打包出 css js 等文件夹 目录显得清晰rollupOptions: {output: {chunkFileNames: 'js/[name]-[hash].js',entryFileNames: 'js/[name]-[hash].js',assetFileNames: '[ext]/[name]-[hash].[ext]'}}},resolve: {alias: {//别名,给./src目录,起个别名@,在文件中就可以使用@替换src了'@': fileURLToPath(new URL('./src', import.meta.url))}},// 本地服务server: {host: "0.0.0.0", // 可以通过ip访问前端服务port: 5173, // 端口号open: true, // 是否自动在浏览器打开https: false, // 是否开启 httpscors: true, // 允许跨域}
})
主要的效果 引入文件时 可以使用别名@ 替代/src
启动服务器后 自动弹出浏览器 方便测试
注意:vite服务器 如果当前端口号被占用 会自动往后移一个
10 xxx.vue文件
spa(单页面应用)项目中的组件 作为模板 在根页面中替换显示
<script setup>写js代码//相当与setup函数中的位置//直接写变量函数 不需要return </script> <template>写html代码<!-- 写html标签代码 vue中的各种指令 --> </template> <style scoped>写css代码/* scoped 样式只对当前vue文件生效 写css代码 */ </style>
1vue文件当做页面使用
table显示数据示例
<script setup>import { ref,onMounted } from 'vue'const students = ref([])onMounted(()=>{//从后端加载数据students.value = [{ id: 1, name: '张三', age: 18 }, { id: 2, name: '李四', age: 19 }, { id: 3, name: '王五', age: 20 }]})
</script><template><table border="1"><thead><tr class="myHeader"><th>编号</th><th>名称</th><th>年龄</th></tr></thead><tbody><tr v-for="stu in students"><td>{{stu.id}}</td><td>{{stu.name}}</td><td>{{stu.age}}</td></tr></tbody></table>
</template><style scoped>.myHeader {background-color: #F00;}
</style>
2vue文件当做组件 供其他页面使用
vue文件可以做自定义组件 给其他的页面引入使用
<script setup>
import { ref } from 'vue'
</script><template><div class="title">xxx管理系统</div></template><style scoped>.title{font-size: 30px;text-align: center;border-bottom: 1px solid #eee;height: 50px;line-height: 50px;}
</style>
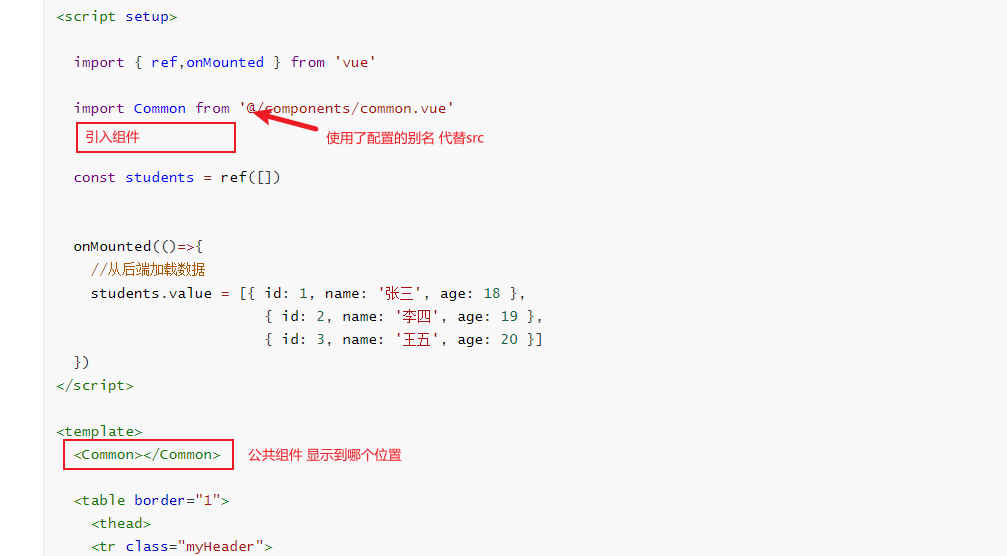
其他vue文件可以引入这个vue文件 作为公共组件
<script setup>import { ref,onMounted } from 'vue'import Common from '@/components/common.vue'const students = ref([])onMounted(()=>{//从后端加载数据students.value = [{ id: 1, name: '张三', age: 18 }, { id: 2, name: '李四', age: 19 }, { id: 3, name: '王五', age: 20 }]})
</script><template><Common></Common><table border="1"><thead><tr class="myHeader"><th>编号</th><th>名称</th><th>年龄</th></tr></thead><tbody><tr v-for="stu in students"><td>{{stu.id}}</td><td>{{stu.name}}</td><td>{{stu.age}}</td></tr></tbody></table>
</template><style scoped>.myHeader {background-color: #F00;}
</style>
11vueRouter 路由组件
模拟多页面切换
https://router.vuejs.org/zh/installation.html 官网
1安装路由
pnpm add vue-router@4
要进入项目目录安装
2创建路由的配置文件
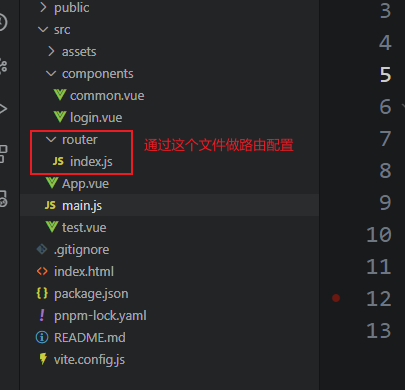
路由配置:
import { createRouter, createWebHistory } from 'vue-router'
//静态引入
//1先引入组件 2再配置路由对应关系
//import Login from './components/login.vue'// 创建路由实例并传递 `routes` 配置
const router = createRouter({history: createWebHistory(import.meta.env.BASE_URL),routes:[//配置地址与vue组件的对应关系//{path:'/login',component:Login}//动态引入//通过函数引入组件{path:'/login',component:()=>import('@/components/login.vue')}]
})export default router
注意:
静态引入
import Login from './components/login.vue'routes:[//配置地址与vue组件的对应关系{path:'/login',component:Login}
]
动态引入(建议用这个)
routes:[//动态引入//通过函数引入组件{path:'/login',component:()=>import('@/components/login.vue')}]
3main.js中引入路由配置
import { createApp } from 'vue'
import App from './App.vue'
// 如果文件名叫index.js 就可以省略
import router from './router'//router是vue的        插件     插件需要多执行一个use命令
//如果与vue没有集成关系 js库叫依赖
const vue = createApp(App)
//启用router路由
vue.use(router)
//挂载
vue.mount('#app')
增加的内容:
// 如果文件名叫index.js 就可以省略
//引入刚才配置好的路由配置文件
import router from './router'
//启用router路由
vue.use(router)
4.改造app.vue
app.vue 根组件 不要写页面
<script setup></script><template><router-view></router-view>
</template><style scoped></style>
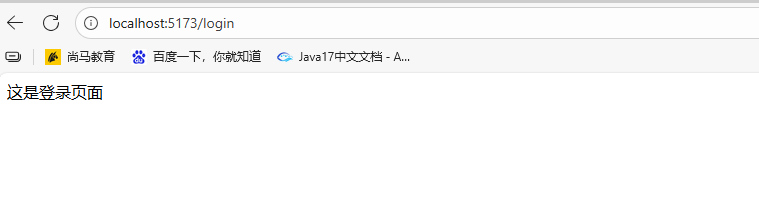
5.启动服务器 测试路径
浏览器敲配置的路径 显示指定对应的组件 (模拟多页面切换效果)
6配置欢迎页面
//通过重定向 覆盖根组件路径 (配置欢迎页面){path:'/',redirect:'/login'}
import { createRouter, createWebHistory } from 'vue-router'
//静态引入
//1先引入组件 2再配置路由对应关系
//import Login from './components/login.vue'// 创建路由实例并传递 `routes` 配置
const router = createRouter({history: createWebHistory(import.meta.env.BASE_URL),routes:[//配置地址与vue组件的对应关系//{path:'/login',component:Login}//动态引入//通过函数引入组件{path:'/login',component:()=>import('@/components/login.vue')},//通过重定向 覆盖根组件路径 (配置欢迎页面){path:'/',redirect:'/login'}]
})export default router
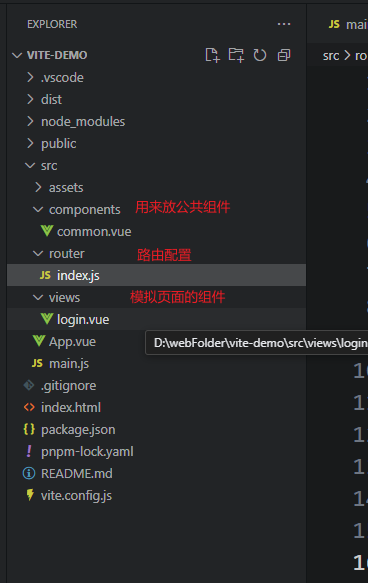
7.使用views目录 和components目录 区分不同功能的vue文件
8如何在不同的vue文件间切换
通过router的自定义标签切换
<router-link to="/login">去登录</router-link>
通过router的js切换(推荐)
//导入自己配置的路由
import router from '@/router'const myGo = ()=>{//通过router跳转路由router.push('/login')
}