K230基础-颜色识别
第十八章 颜色识别-K230视觉系统的色彩感知能力
🎯 本章目标:
掌握在 K230(CanMV 平台)上实现颜色识别的完整方法,学会通过find_blobs()函数检测特定颜色区域,结合阈值调试、形态学处理、多颜色识别与应用实战,构建基于颜色的智能系统(如颜色分拣、循迹、交互控制)。
1. 颜色识别基础原理
1.1 什么是颜色识别?
颜色识别是从图像中检测出具有特定颜色的区域,并获取其位置、大小、中心等信息。
- 核心方法:基于颜色空间的阈值分割
- 常用颜色空间:RGB、LUV、HSV
- K230 推荐:使用 LUV 或 RGB565 阈值
✅ 优势:
- 算法简单、速度快
- 适合嵌入式实时处理
- 无需训练模型
⚠️ 挑战:
- 受光照影响大
- 颜色边界模糊
- 相似颜色易误判
2. 颜色空间与阈值
2.1 RGB565 颜色空间
- 每像素 16 位:R(5) + G(6) + B(5)
- 范围:R: 0
31, G: 063, B: 0~31 - 不推荐直接用于阈值识别(受亮度影响大)
2.2 LUV 颜色空间(推荐)
K230 的 find_blobs() 内部将 RGB 转换为 LUV 空间进行处理:
| 通道 | 说明 |
|---|---|
| L | 亮度(Lightness) |
| U | 色度(红-绿分量) |
| V | 色度(黄-蓝分量) |
✅ 优点:
- L 与 UV 解耦,抗光照变化
- 更适合颜色分割
2.3 阈值定义格式
threshold = (L_min, L_max, U_min, U_max, V_min, V_max)
📌 示例:
red_threshold   = (30, 100, 15, 127, 15, 127)   # 红色
green_threshold = (30, 100, -64, -8, -32, 32)   # 绿色
blue_threshold  = (0, 30, -128, -20, -128, -40) # 蓝色
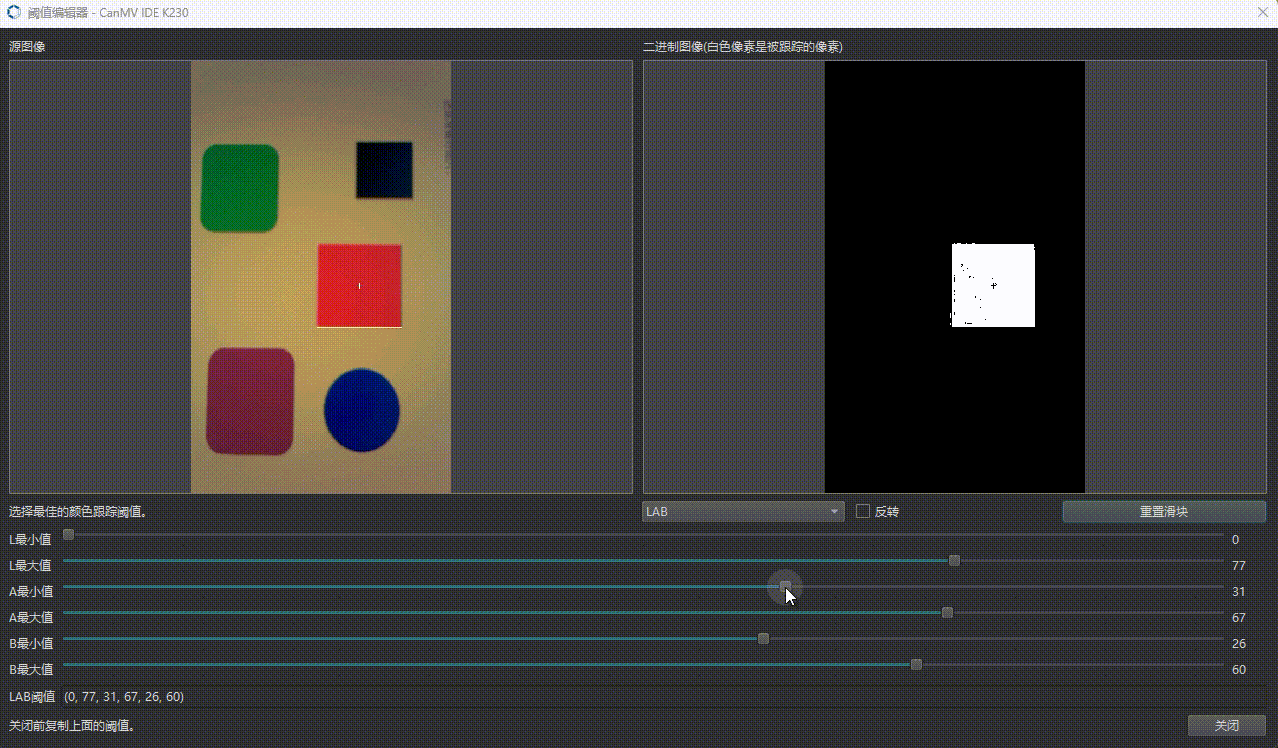
🔧 调试建议:使用 OpenMV IDE 实时取色调整阈值。
3. 核心函数:find_blobs()
blobs = img.find_blobs(thresholds,roi=None,x_stride=1,y_stride=1,invert=False,area_threshold=10,pixels_threshold=10,merge=False,margin=0)
| 参数 | 说明 |
|---|---|
thresholds | 颜色阈值列表 [(L_min,L_max,U_min,U_max,V_min,V_max), ...] |
roi | 感兴趣区域 (x, y, w, h) |
area_threshold | 最小面积(像素数) |
pixels_threshold | 最小像素数 |
merge | 是否合并相邻区域 |
margin | 合并时的边缘容忍像素 |
4. 实战项目一:单颜色识别(红色)
import sensor
import image
import time# 初始化摄像头
sensor.reset()
sensor.set_pixformat(sensor.RGB565)
sensor.set_framesize(sensor.QQVGA)  # 160x120(提高帧率)
sensor.skip_frames(time=2000)# 定义红色阈值(LUV)
red_threshold = (30, 100, 15, 127, 15, 127)clock = time.clock()while True:clock.tick()img = sensor.snapshot()# 查找红色块blobs = img.find_blobs([red_threshold],pixels_threshold=100,area_threshold=100,merge=True)if blobs:for b in blobs:# 绘制矩形框img.draw_rectangle(b.rect(), color=(255, 0, 0), thickness=2)# 绘制中心十字img.draw_cross(b.cx(), b.cy(), color=(0, 255, 0), size=5)# 标注面积img.draw_string(b.x(), b.y()-12, f"Red: {b.pixels()}", color=(255, 255, 255))# 打印信息print(f"红色块: 中心=({b.cx()}, {b.cy()}), 面积={b.pixels()}, 宽高=({b.w()}, {b.h()})")else:print("未检测到红色")fps = clock.fps()img.draw_string(10, 10, f"FPS: {fps:.1f}", color=(255, 255, 0))
5. 实战项目二:多颜色识别(RGB 三色)
# 定义三种颜色阈值
thresholds = [(30, 100, 15, 127, 15, 127),    # 红(30, 100, -64, -8, -32, 32),    # 绿(0, 30, -128, -20, -128, -40)   # 蓝
]color_names = ["Red", "Green", "Blue"]
color_colors = [(255, 0, 0), (0, 255, 0), (0, 0, 255)]while True:img = sensor.snapshot()blobs = img.find_blobs(thresholds,pixels_threshold=150,area_threshold=150,merge=True)detected = [0, 0, 0]  # 红、绿、蓝计数for b in blobs:# b.code() 返回匹配的阈值索引(1~n)idx = b.code() - 1if idx < len(color_names):name = color_names[idx]draw_color = color_colors[idx]img.draw_rectangle(b.rect(), color=draw_color, thickness=2)img.draw_cross(b.cx(), b.cy(), color=(255, 255, 255), size=5)img.draw_string(b.x(), b.y()-12, name, color=draw_color)print(f"检测到 {name}: 位置=({b.cx()}, {b.cy()}), 面积={b.pixels()}")detected[idx] += 1# 统计结果print(f"统计: 红={detected[0]}, 绿={detected[1]}, 蓝={detected[2]}")
6. 实战项目三:颜色循迹小车(黑白线检测)
6.1 检测黑色引导线
# 黑色阈值(低亮度)
black_threshold = (0, 30, -128, 127, -128, 127)sensor.set_framesize(sensor.QQVGA)
sensor.set_pixformat(sensor.RGB565)# 定义 ROI:仅检测图像下半部分(车道区域)
roi = (0, 80, 160, 40)while True:img = sensor.snapshot()blobs = img.find_blobs([black_threshold],roi=roi,pixels_threshold=50,merge=True)if blobs:# 取最大 blob(最可能是主线)main_blob = max(blobs, key=lambda b: b.pixels())img.draw_rectangle(main_blob.rect(), color=(255, 0, 0))img.draw_cross(main_blob.cx(), main_blob.cy(), color=(0, 255, 0))# 计算偏差(用于控制小车)deviation = main_blob.cx() - (img.width() // 2)  # 偏差量print(f"偏差: {deviation}")# 可输出 PWM 控制信号# left_pwm = base - k * deviation# right_pwm = base + k * deviationelse:print("未检测到黑线")
7. 高级技巧与优化
7.1 动态阈值调整(光照自适应)
def get_adaptive_threshold(img, x, y, w, h):stat = img.get_statistics(roi=(x, y, w, h))l_mean = stat.l_mean()l_stdev = stat.l_stdev()return (l_mean - l_stdev, l_mean + l_stdev, -128, 127, -128, 127)# 使用
adaptive_thresh = get_adaptive_threshold(img, 80, 60, 40, 40)
blobs = img.find_blobs([adaptive_thresh])
✅ 用途:应对光照变化
7.2 形态学滤波去噪
# 先二值化(可选)
img.binary([(128, 255)], invert=True)# 腐蚀 + 膨胀(去噪)
img.erode(1)
img.dilate(1)
✅ 建议:在
find_blobs前使用,提升稳定性
7.3 多级检测策略
# 第一级:低分辨率快速检测
sensor.set_framesize(sensor.QQVGA)
blobs = img.find_blobs([...])if blobs:# 第二级:高分辨率精细检测sensor.set_framesize(sensor.QVGA)# 对目标区域重点分析
8. 常见问题与调试
❌ 问题1:颜色识别不稳定
解决:
- 固定光照环境
- 使用 LUV 空间
- 增加
pixels_threshold过滤小噪声- 使用 ROI 限制检测区域
❌ 问题2:误识别相似颜色
优化:
- 精确调整 U/V 范围
- 使用
merge=False查看原始分割- 结合形状特征二次判断
❌ 问题3:find_blobs() 返回空
排查:
- 摄像头是否正确初始化?
- 阈值范围是否合理?
- 图像是否为
RGB565格式?
9. 性能与实际应用
| 操作 | 耗时(QQVGA) |
|---|---|
find_blobs | |
| 形态学处理 | |
| ROI 检测 | 更快(区域小) |
✅ 典型应用:
- 智能分拣机器人
- 颜色寻迹小车
- 工业流水线检测
- 智能家居颜色控制
✅ 本章你已掌握:
- LUV 颜色空间与阈值定义
find_blobs()核心函数使用- 单色/多色识别实战
- 颜色循迹应用
- 动态阈值与抗干扰优化