Nginx服务——安装与搭建
前情提要
nginx服务参数
源码包:nginx-1.26.0.tar.gz
- 端口:80
- 配置文件:安装目录/conf/nginx.conf
- 日志文件:安装目录/logs/access_log或error_log
- 网页根目录:安装目录/html
- 启停命令:安装目录/sbin/nginx或-s stop
RPM包:nginx
- 端口:80
- 配置文件:/etc/nginx/nginx.conf
- 日志文件:/var/log/nginx/
- 网页根目录:/usr/share/nginx/html
- 启停命令:systemctl start/stop nginx
Nginx服务功能
- 高性能的http服务器
- 反向代理服务器,七层负载均衡器
- 邮件代理服务器
- Nginx是apache的优化,可以处理高并发
- 工作模式:event
Nginx服务安装
1.安装
- 安装nginx,要支持http2需要nginx在1.9.5以上、openssl在1.0.2及以上
- 安装基础依赖:
[root@localhost ~]# dnf -y install gcc gcc-c++ zlib zlib-devel pcre pcre-devel openssl-devel openssl
- 添加nginx管理用户:
[root@localhost ~]# useradd -r -s /sbin/nologin nginx- 进入解压目录,编译、安装:
[root@localhost ~]# tar -zxf nginx-1.26.2.tar.gz
[root@localhost ~]# ls
anaconda-ks.cfg  cat.sh  nginx-1.26.2  nginx-1.26.2.tar.gz
[root@localhost ~]# cd nginx-1.26.2
[root@localhost nginx-1.26.2]# ./configure --user=nginx --group=nginx --prefix=/usr/local/nginx --with-http_stub_status_module --with-http_ssl_module --with-http_v2_module --with-stream
[root@localhost nginx-1.26.2]# make -j 8 && make install- 检查配置文件有无错误
[root@localhost ~]# /usr/local/nginx/sbin/nginx -t
nginx: the configuration file /usr/local/nginx/conf/nginx.conf syntax is ok
nginx: configuration file /usr/local/nginx/conf/nginx.conf test is successful
- 启动nginx服务(目前为nginx未运行的状态),查看服务状态
[root@localhost ~]# /usr/local/nginx/sbin/nginx
[root@localhost ~]# ps aux | grep nginx |grep -v grep
root       19698  0.0  0.1   9908  2044 ?        Ss   20:09   0:00 nginx: master process /usr/local/nginx/sbin/nginx
nginx      19699  0.0  0.2  14180  4860 ?        S    20:09   0:00 nginx: worker process
- 发现一个是守护进程,一个是执行进程,说明只有一个进程可调用,需要在配置文件中调整worker数量和事件驱动模式
[root@localhost ~]# vi /usr/local/nginx/conf/nginx.conf
worker_processes  auto;    #数量可调,一般为cpu核数,auto可自动检测
events {worker_connections  10000;    #理论最大65535,worker里的连接模式
}
2.nginx工作模式
nginx连接的工作模式是异步非阻塞IO和事件驱动模式,事件驱动模式
- 同步阻塞(线程):调用发出后,遇到耗时操作等待消息结果
- 异步非阻塞:调用发出后,遇到耗时操作做标记,在epoll中注册监听事件,继续处理其他请求,当结果返回,epoll通知该连接继续处理标记请求
3.配置文件
- http{}:web服务器处理的http请求
- include:加载其他配置类型
- sendfile on:调用sendfile方法,即零拷贝技术
- tcp_nopush on:通过合并数据包减少网络拥塞,解决网络传输效率问题
- tcp_nodelay on:立即转发小数据包,减少延迟
- server{}:在nginx中,一个server就是一台虚拟主机
- listen 80:监听80端口
- location /:匹配请求资源【URL格式:http://ip或域名/请求资源】【=精确匹配,~正则匹配,/:字符匹配,字符越长,优先级越高】
4.Nginx实验
- 访问控制、虚拟主机、地址跳转、加密、加密跳转、反向代理、负载均衡
- Nginx服务对接客户端,更新后不宜中断,为保证在服务不中断的通知加载更新后的配置文件,需执行以下两条更新命令:
[root@localhost ~]# /usr/local/nginx/sbin/nginx -t    #防止新加载配置文件出错
[root@localhost ~]# /usr/local/nginx/sbin/nginx -s reload    #热重启
- 加载统计模块:stup_status,真实机访问
location /zhuangtai {stub_status on;}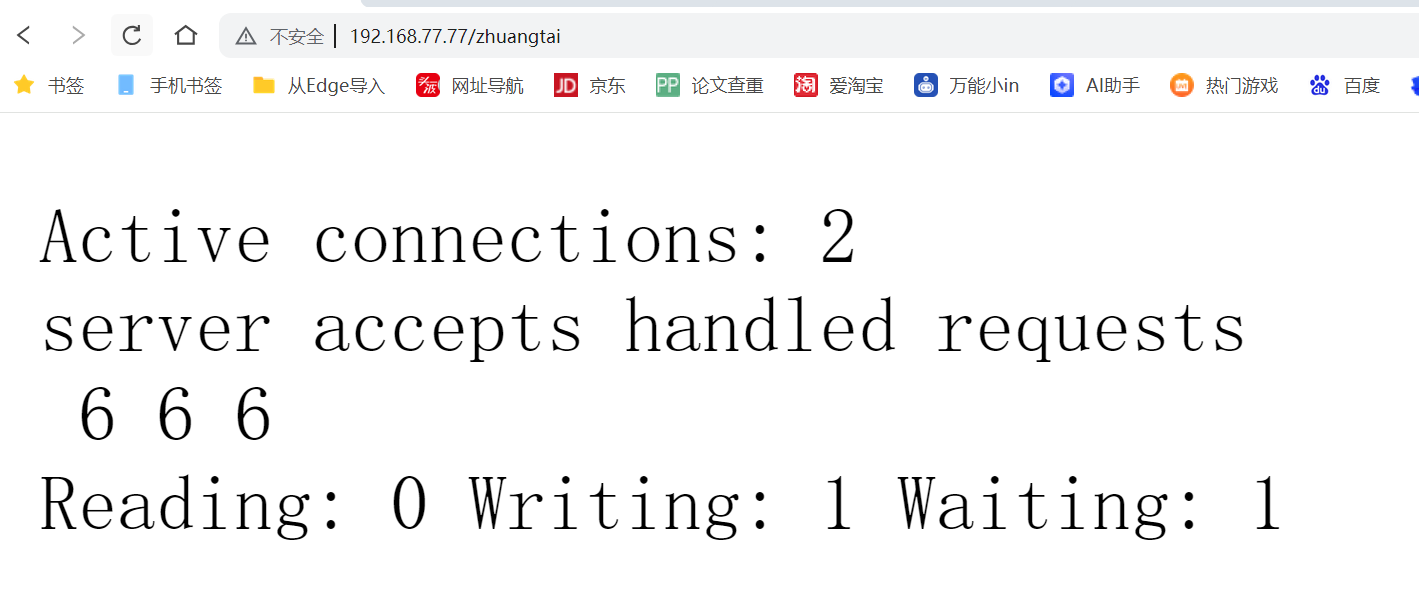
结果分析:
- "Active connections"表示当前的活动连接数;
- "server accepts handled requests"表示已经处理的连接信息;
- 三个数字依次表示已经处理的连接数、成功的TCP握手次数、已处理的请求数
实验一:访问控制
加入黑名单
1.修改配置文件,拒绝77.78客户端访问
vim conf/nginx.confserver {listen 80;server_name localhost;deny 192.168.77.78或location / {root html;index index.html index.htm;deny 192.168.77.78;}2.重启服务,在客户端访问
[root@localhost ~]# curl 192.168.77.77
<html>
<head><title>403 Forbidden</title></head>
<body>
<center><h1>403 Forbidden</h1></center>
<hr><center>nginx/1.26.2</center>
</body>
</html>
3.总结
#基于IP地址的访问(顺序优先)
#允许所有、拒绝个别
$ vim /usr/local/nginx/conf/nginx.conf
location / {
root html;
index index.html index.htm index.php;
deny 192.168.66.13;
allow 192.168.66.0/24;
}
$ /usr/local/nginx/sbin/nginx -t
$ /user/local/nginx/sbin/nginx -s reload
#允许个别、拒绝所有
$ vim /usr/local/nginx/conf/nginx.conf
location / {
root html;
index index.html index.htm index.php;
allow 192.168.66.13;
deny 192.168.66.0/24;
}
$ /usr/local/nginx/sbin/nginx -t
$ /usr/local/nginx/sbin/nginx -s reload
保护页面
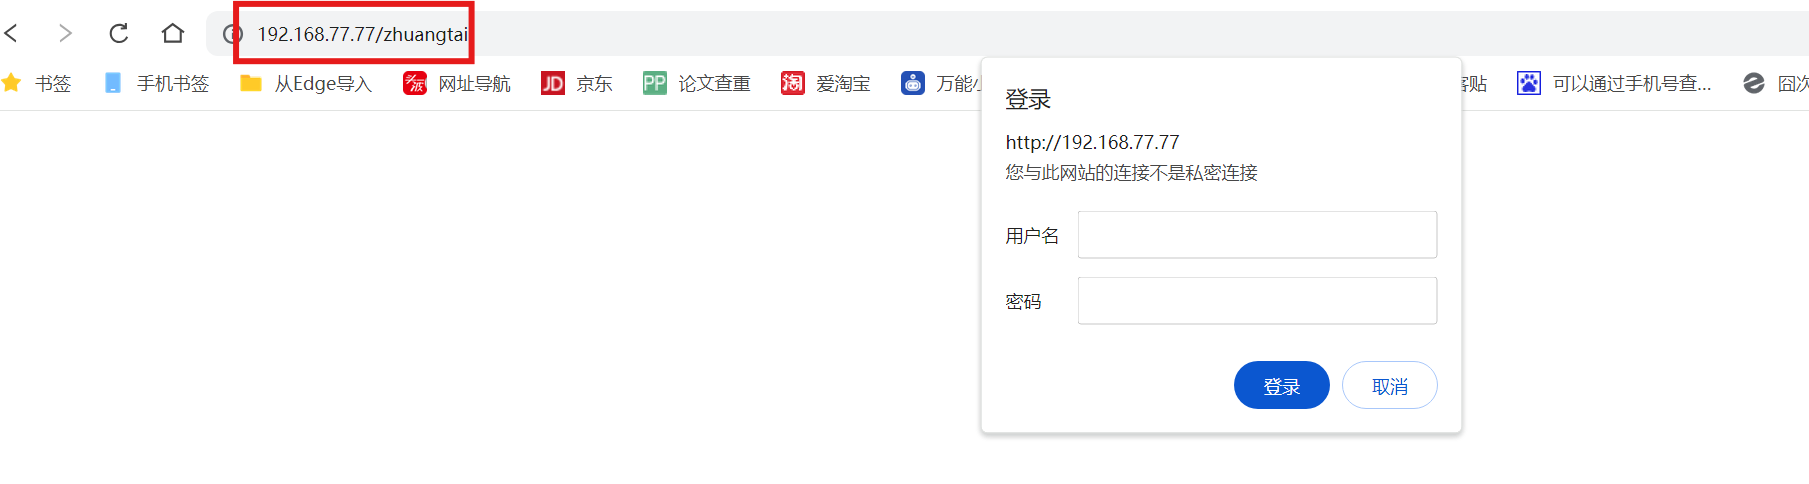
1.保护zhuangtai页面
location /zhuangtai {stub_status on;auth_basic "zhongyao";auth_basic_user_file /usr/local/nginx/html/nginx.pwd}
2.创建认证文件
#需要先安装httpd-tools模块
[root@localhost nginx]# htpasswd -c /usr/local/nginx/html/nginx.pwd lisi
New password:
Re-type new password:
Adding password for user lisi
[root@localhost nginx]# htpasswd -m /usr/local/nginx/html/nginx.pwd wangwu
New password:
Re-type new password:
Adding password for user wangwu
3.重启服务,测试
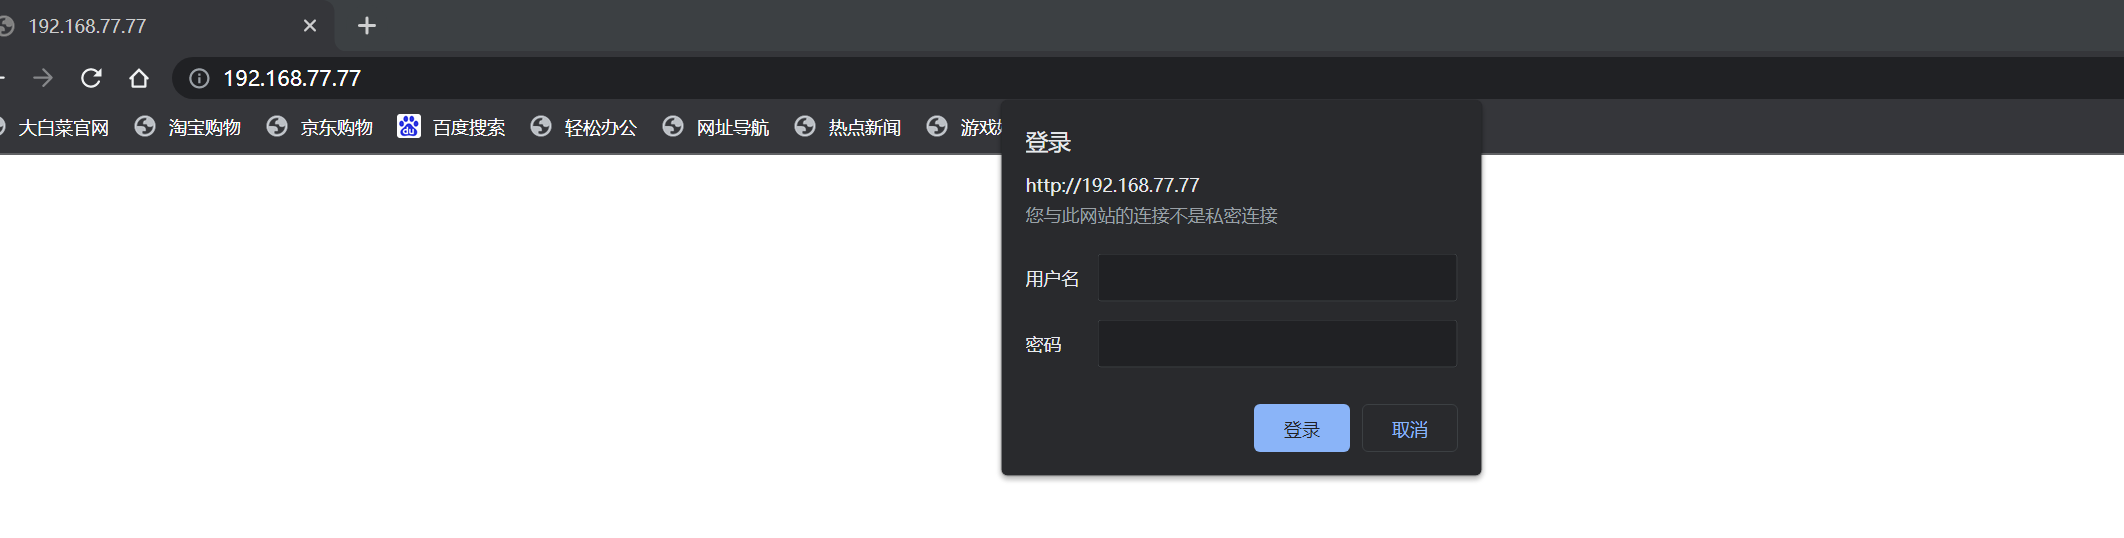
4.保护默认网页index.html
location / {root html;index index.html index.htm;auth_basic "zhongyao";auth_basic_user_file /usr/local/nginx/html/nginx.pwd;}
5.重启,测试网页
实验二:虚拟主机
基于域名的虚拟主机
1.准备两台虚拟主机
server {listen 80;server_name www.1.com;location / {root html/1;index index.html index.htm;}}server {listen 80;server_name www.2.com;location / {root html/2;index index.html index.htm;}}
2.创建根目录和默认文件
[root@localhost nginx]# mkdir html/{1,2}
[root@localhost nginx]# echo "the first page!" > html/1/index.html
[root@localhost nginx]# echo "the second page!" > html/2/index.html
3.重启,写入hosts文件,测试


问题1:直接用ip访问?
- 按顺序找到第一台虚拟主机www.1.com的默认网页html/1/index.html
基于端口的虚拟主机
1.修改两台虚拟主机的端口
server {listen 80;server_name www.1.com;location / {root html/1;index index.html index.htm;}}server {listen 90;server_name www.2.com;location / {root html/2;index index.html index.htm;}}
2.重启服务,查看监听端口
[root@localhost nginx]# /usr/local/nginx/sbin/nginx -t
nginx: the configuration file /usr/local/nginx/conf/nginx.conf syntax is ok
nginx: configuration file /usr/local/nginx/conf/nginx.conf test is successful
[root@localhost nginx]# /usr/local/nginx/sbin/nginx -s reload
[root@localhost nginx]# ss -anpt | grep nginx
LISTEN 0      511          0.0.0.0:80        0.0.0.0:*    users:(("nginx",pid=20290,fd=6),("nginx",pid=20289,fd=6),("nginx",pid=19751,fd=6))
LISTEN 0      511          0.0.0.0:90        0.0.0.0:*    users:(("nginx",pid=20290,fd=10),("nginx",pid=20289,fd=10),("nginx",pid=19751,fd=10))
3.进行真实机测试


实验三:地址跳转
1.从www.1.com到www.2.com
server {listen 80;server_name www.1.com;rewrite ^(.*)$ http://www.2.com$1 permanent;
2.检查,重载,打开真实机测试

注:这里跳转后域名也会变成www.2.com,为方便理解,我改了回来
实验四:加密
1.加密www.2.com虚拟主机
#解开加密虚拟主机,修改配置server {listen 443 ssl;server_name www.2.com;ssl_certificate cert.pem;ssl_certificate_key cert.key;ssl_session_cache shared:SSL:1m;ssl_session_timeout 5m;ssl_ciphers HIGH:!aNULL:!MD5;ssl_prefer_server_ciphers on;location / {root html/2;index index.html index.htm;}}
2.创建证书
[root@localhost nginx]# cd conf/
[root@localhost conf]# openssl genrsa -out cert.key 2048
[root@localhost conf]# openssl req -new -key cert.key -out cert.csr
[root@localhost conf]# openssl x509 -req -days 365 -sha256 -in cert.csr -signkey cert.key -out cert.pem
Certificate request self-signature ok
subject=C = XX, L = Default City, O = Default Company Ltd
3.检查,重启,测试
[root@localhost nginx]# ./sbin/nginx -t
[root@localhost nginx]# ./sbin/nginx -s reload

4.在配置文件中升级协议为h2
server {listen 443 ssl;server_name www.2.com;http2 on; #开启h2模块
5.重启,真实机测试


实验五:加密跳转
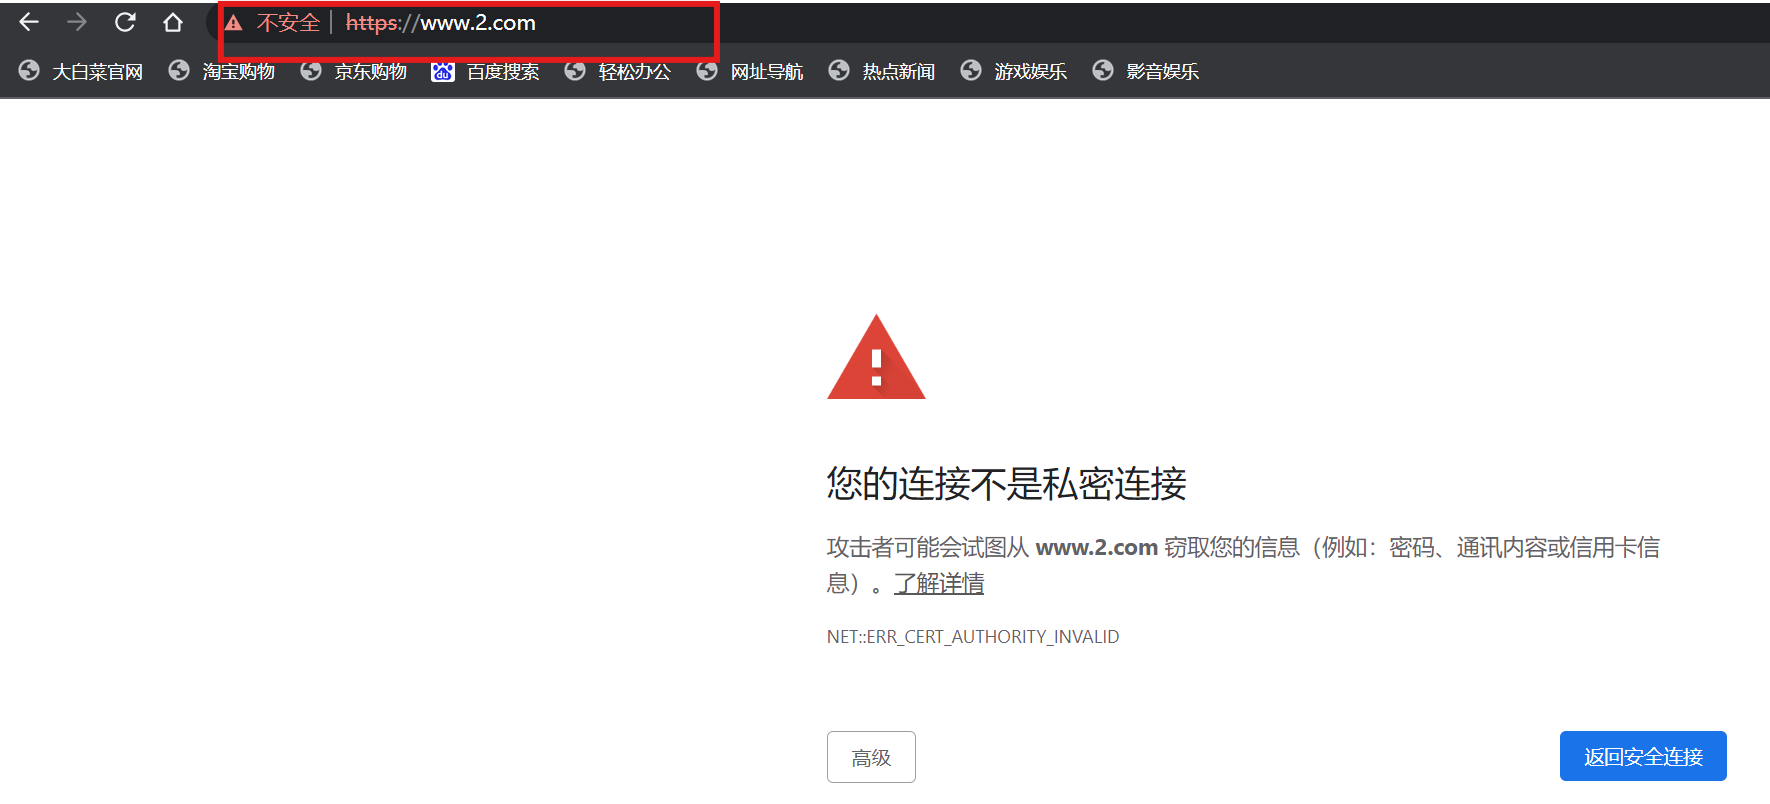
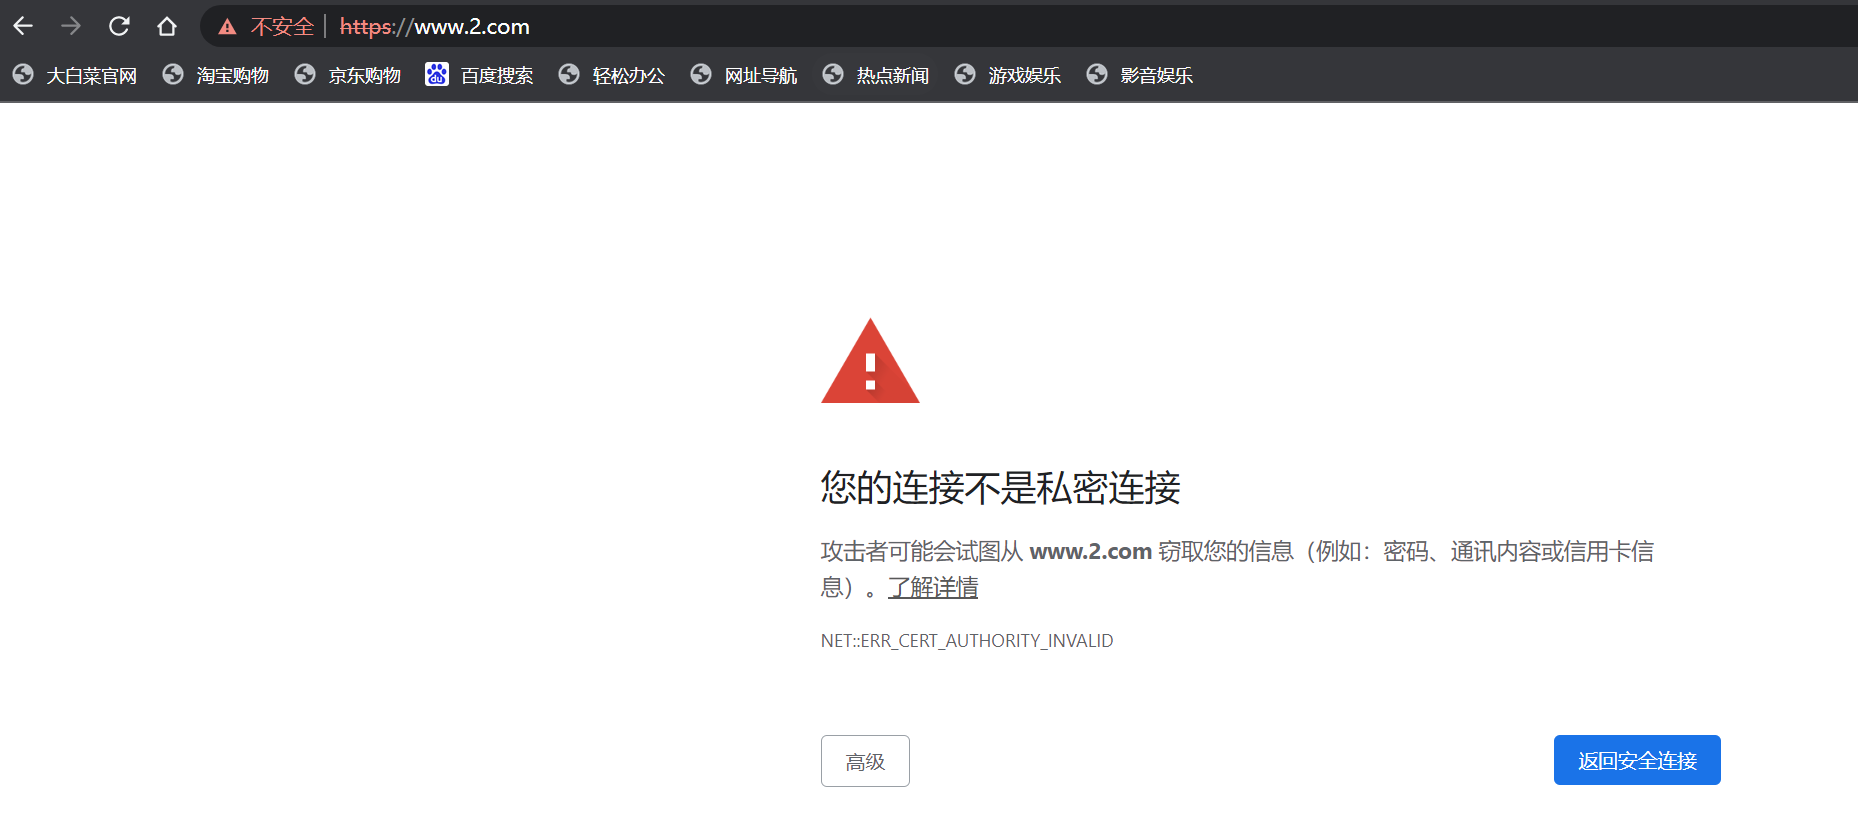
1.从http跳转到https
#修改主配置文件,修改server端口为443、添加验证配置server {listen 80;server_name www.2.com;rewrite ^(.*)$ https://www.2.com$1 permanent;2.重启服务,测试
输入www.2.com,直接跳转至https://www.2.com
实验六:反向代理
正向代理和反向代理的区别
- 代理主体不同,正向代理客户端,反向代理服务器
- 反向代理访问到代理服务器就结束了
即client——proxyer(nginx)—截止—RS(真实服务器)
1.准备代理服务器(77)和apache服务器(78)
注:目标是客户机访问代理服务器,查看到apache服务器的内容
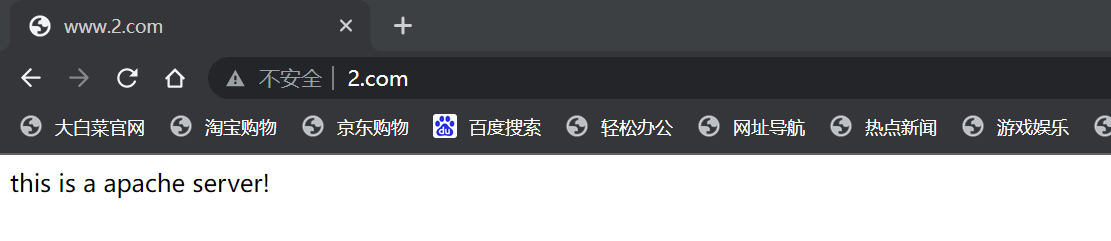
#77.78配置httpd服务,写入内容
[root@localhost ~]# curl 192.168.77.78
this is a apache server!
2.配置跳转服务
location / {root html/2;index index.html index.htm;proxy_pass http://192.168.77.78;}
3.重启服务,真实机测试
4.跳转和反向代理的差别
- 跳转:url和内容都会改变
- 反向代理:内容改变,url不变
注:nginx作为代理服务器,接收到客户端的请求后,转发到后端真实服务器上(共两次http请求,可以在日志文件中查看)