Macbook Air M4 笔记本 ChatTTS 初体验
这篇博客用来记录在 Macbook Air M4 设备上使用 ChatTTS 的过程。当然,该博客是我们即将开源的一个项目的前期准备工作,最终项目形态是用本地 Ollama + ChatTTS 生成有音色质感的对话,未来还将封装成一个 Ubuntu 平台下的 ros 功能包并尝试在 Jetson 设备上进行部署。
Step1. 拉取源码
使用下面的命令拉取 ChatTTS 项目源码:
$ https://github.com/2noise/ChatTTS.git
创建一个 conda 环境:
$ cd ChatTTS
$ conda create -n chattts python=3.11
$ conda activate chattts
$ pip install -r requirements.txt
为了国内能更友好地下载模型并处理掉一个已知错误,你需要安装并降级下面两个包,如果下载太慢可以在后面添加 -i https://mirrors.aliyun.com/pypi/simple/ :
$ pip install modelscope
$ pip install transformers==4.53.2
$ pip install soundfile
MacOS 还需要安装 ffpeg:
$ brew install ffmpeg
Step2. 修改源码
找到项目中 ChatTTS/core.py 文件并修改 2 处位置:
- 位置一:大约在第 14 行
# from huggingface_hub import snapshot_download
from modelscope import snapshot_download
- 位置二:大约在第 113 行
# download_path = snapshot_download(
#     repo_id="2Noise/ChatTTS",
#     allow_patterns=["*.yaml", "*.json", "*.safetensors"],
#     cache_dir=custom_path,
#     force_download=force_redownload,
# )
download_path = snapshot_download(repo_id="pzc163/ChatTTS",allow_patterns=["*.yaml", "*.json", "*.safetensors"],cache_dir=custom_path,force_download=force_redownload,
)
Step3. 运行示例并拉取模型
使用下面的命令会自动拉取模型:
(chattts) $ python examples/web/webui.py
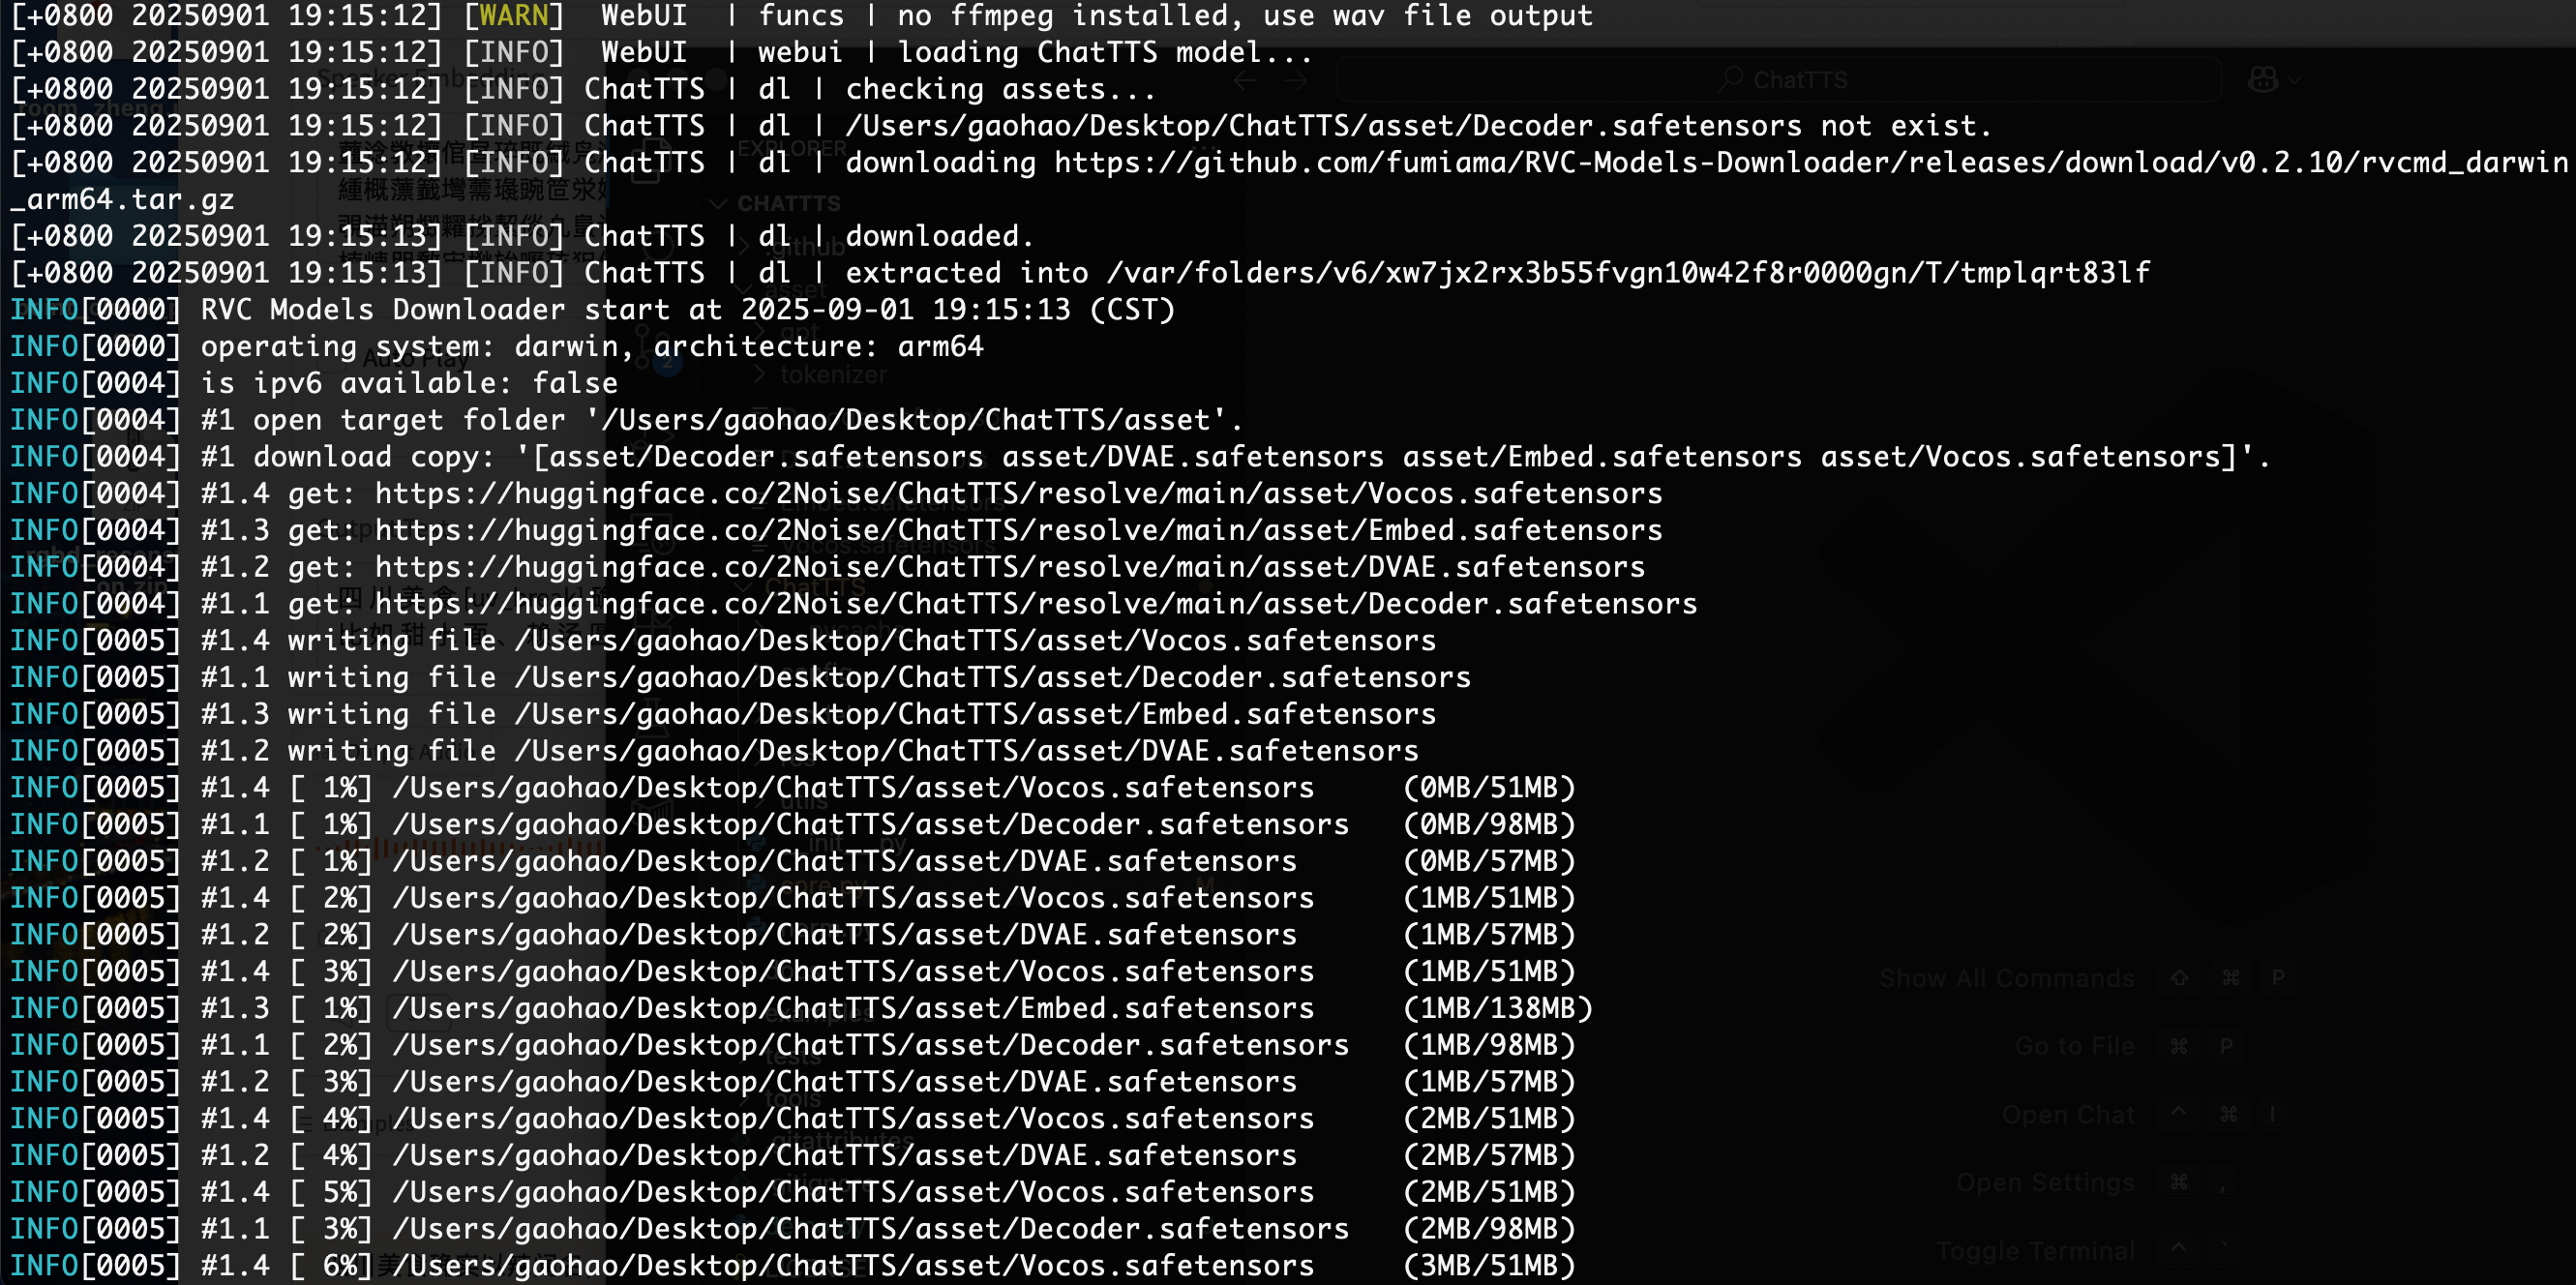
模型拉取结束后会自动弹出下面的网页界面,如果第一次打开长时间都没有弹出这个窗口,那么直接 Ctrl+C 然后重新执行这个命令即可:
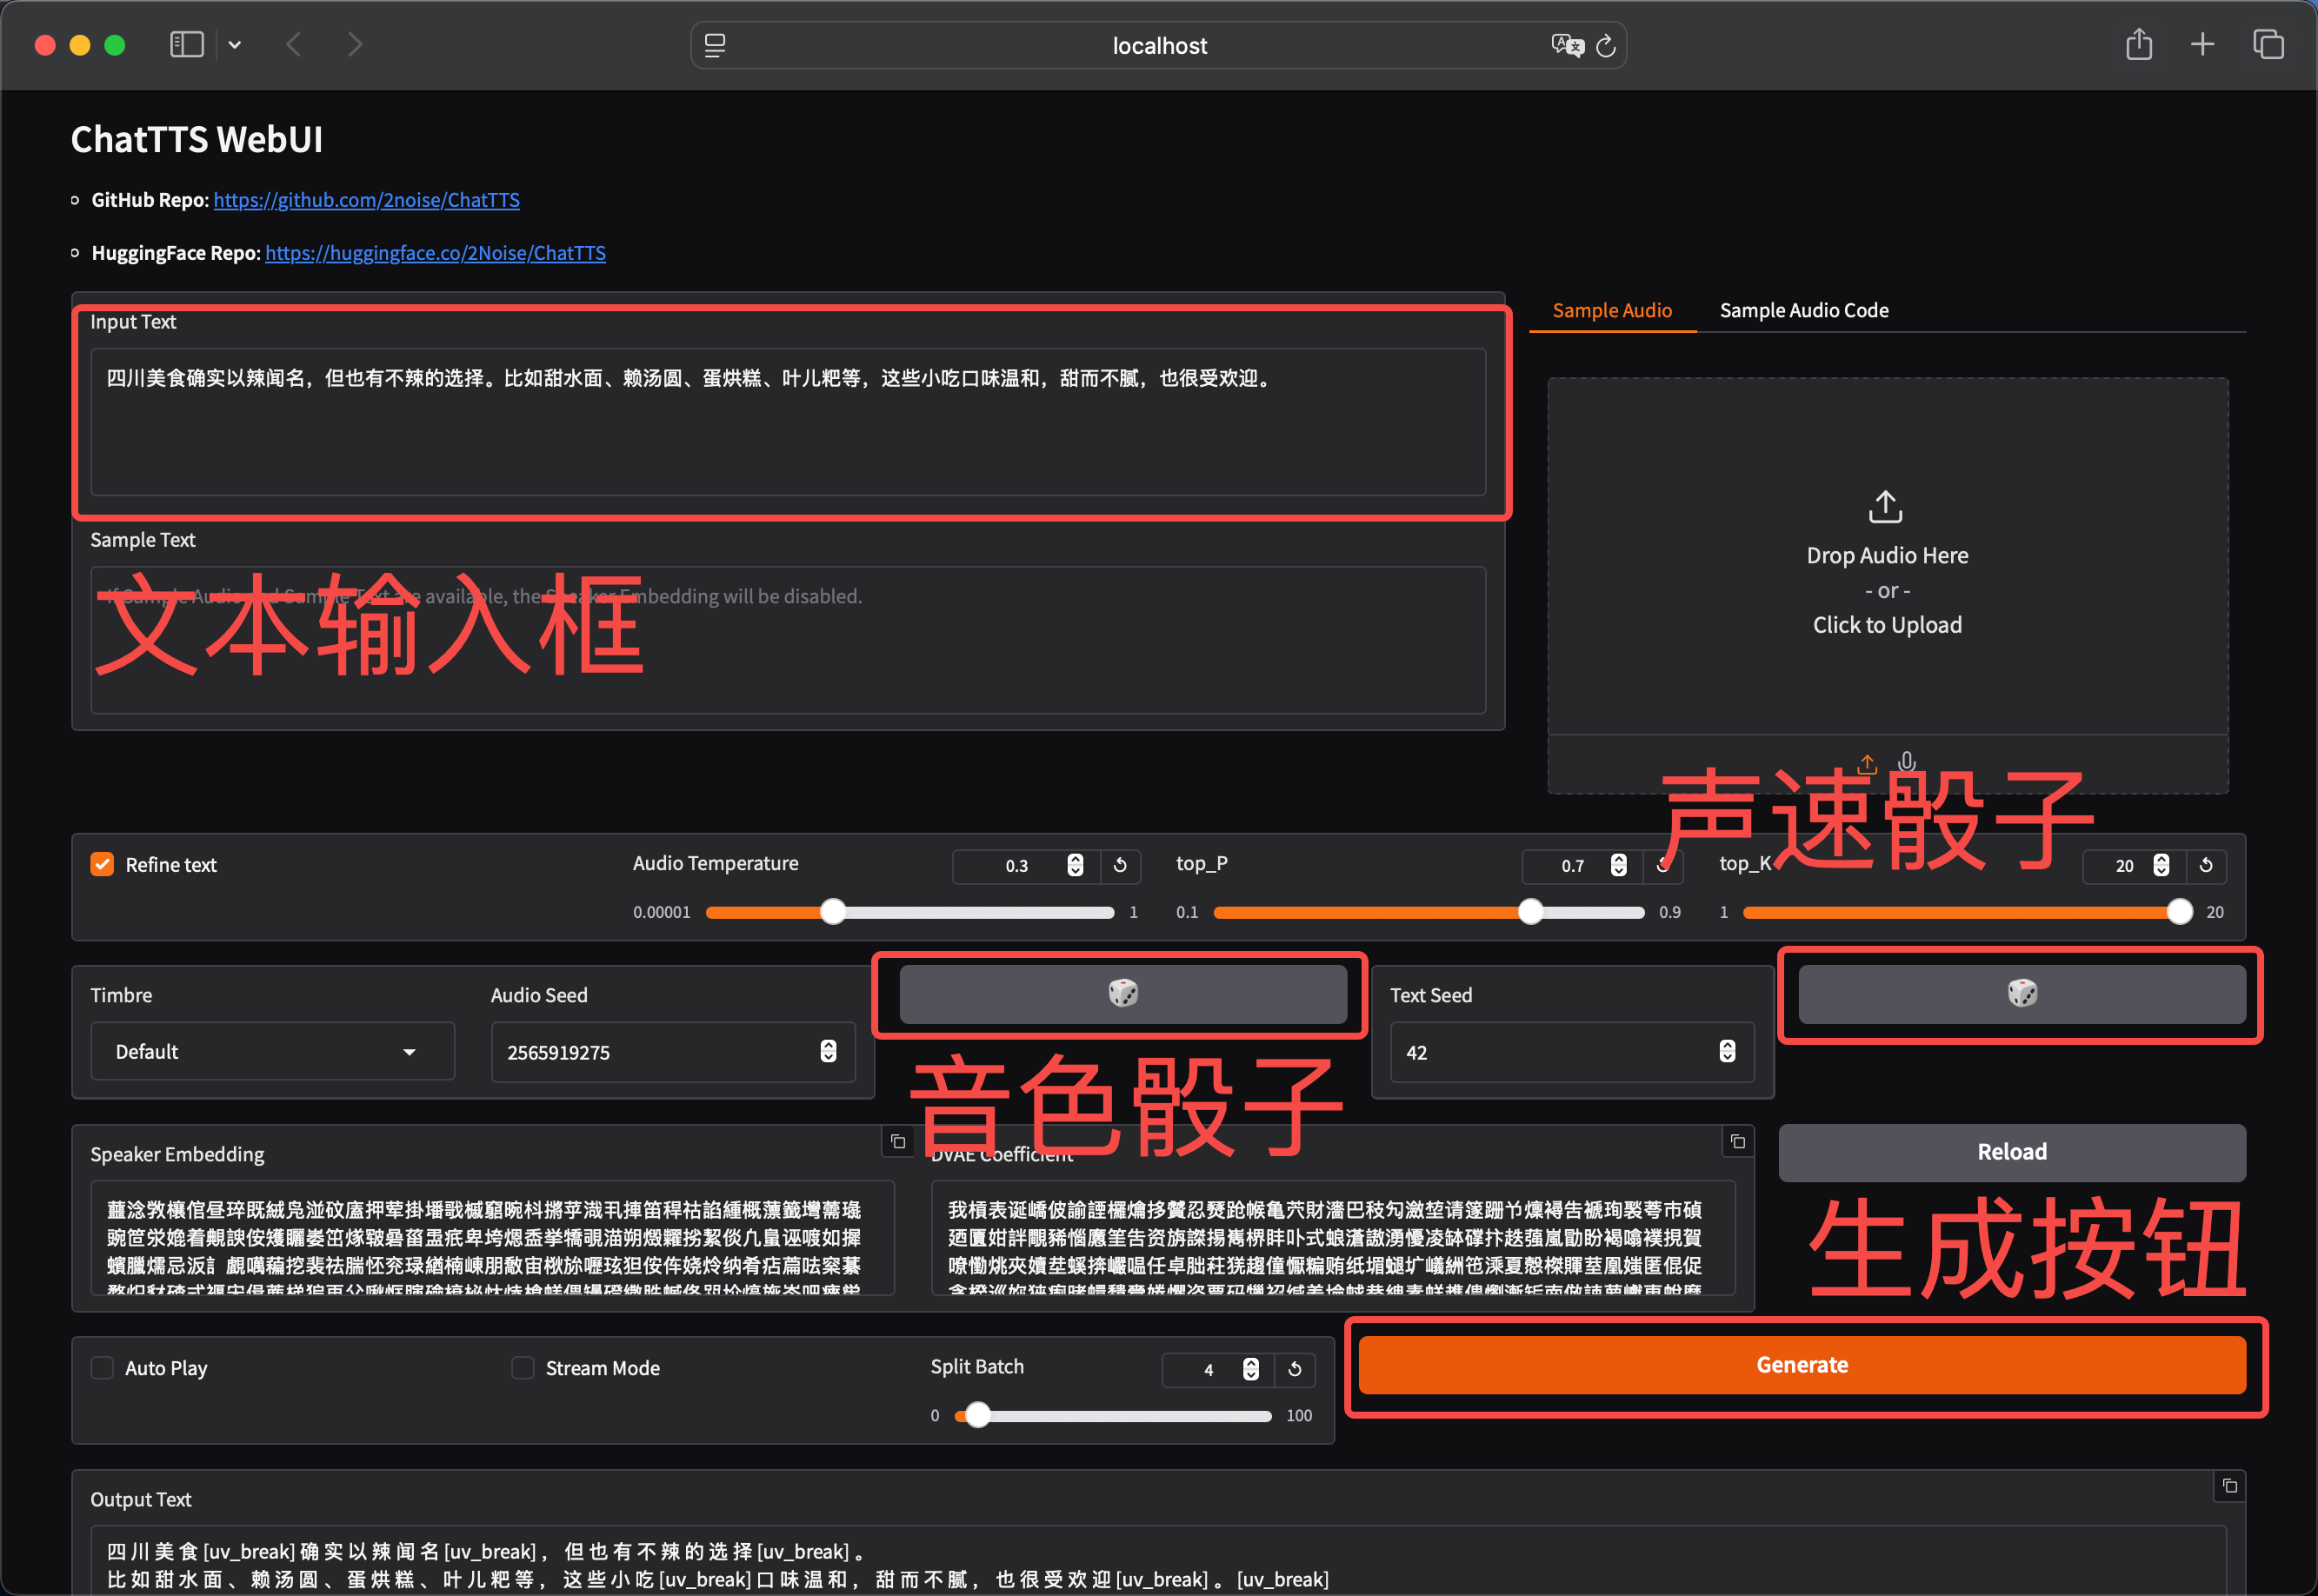
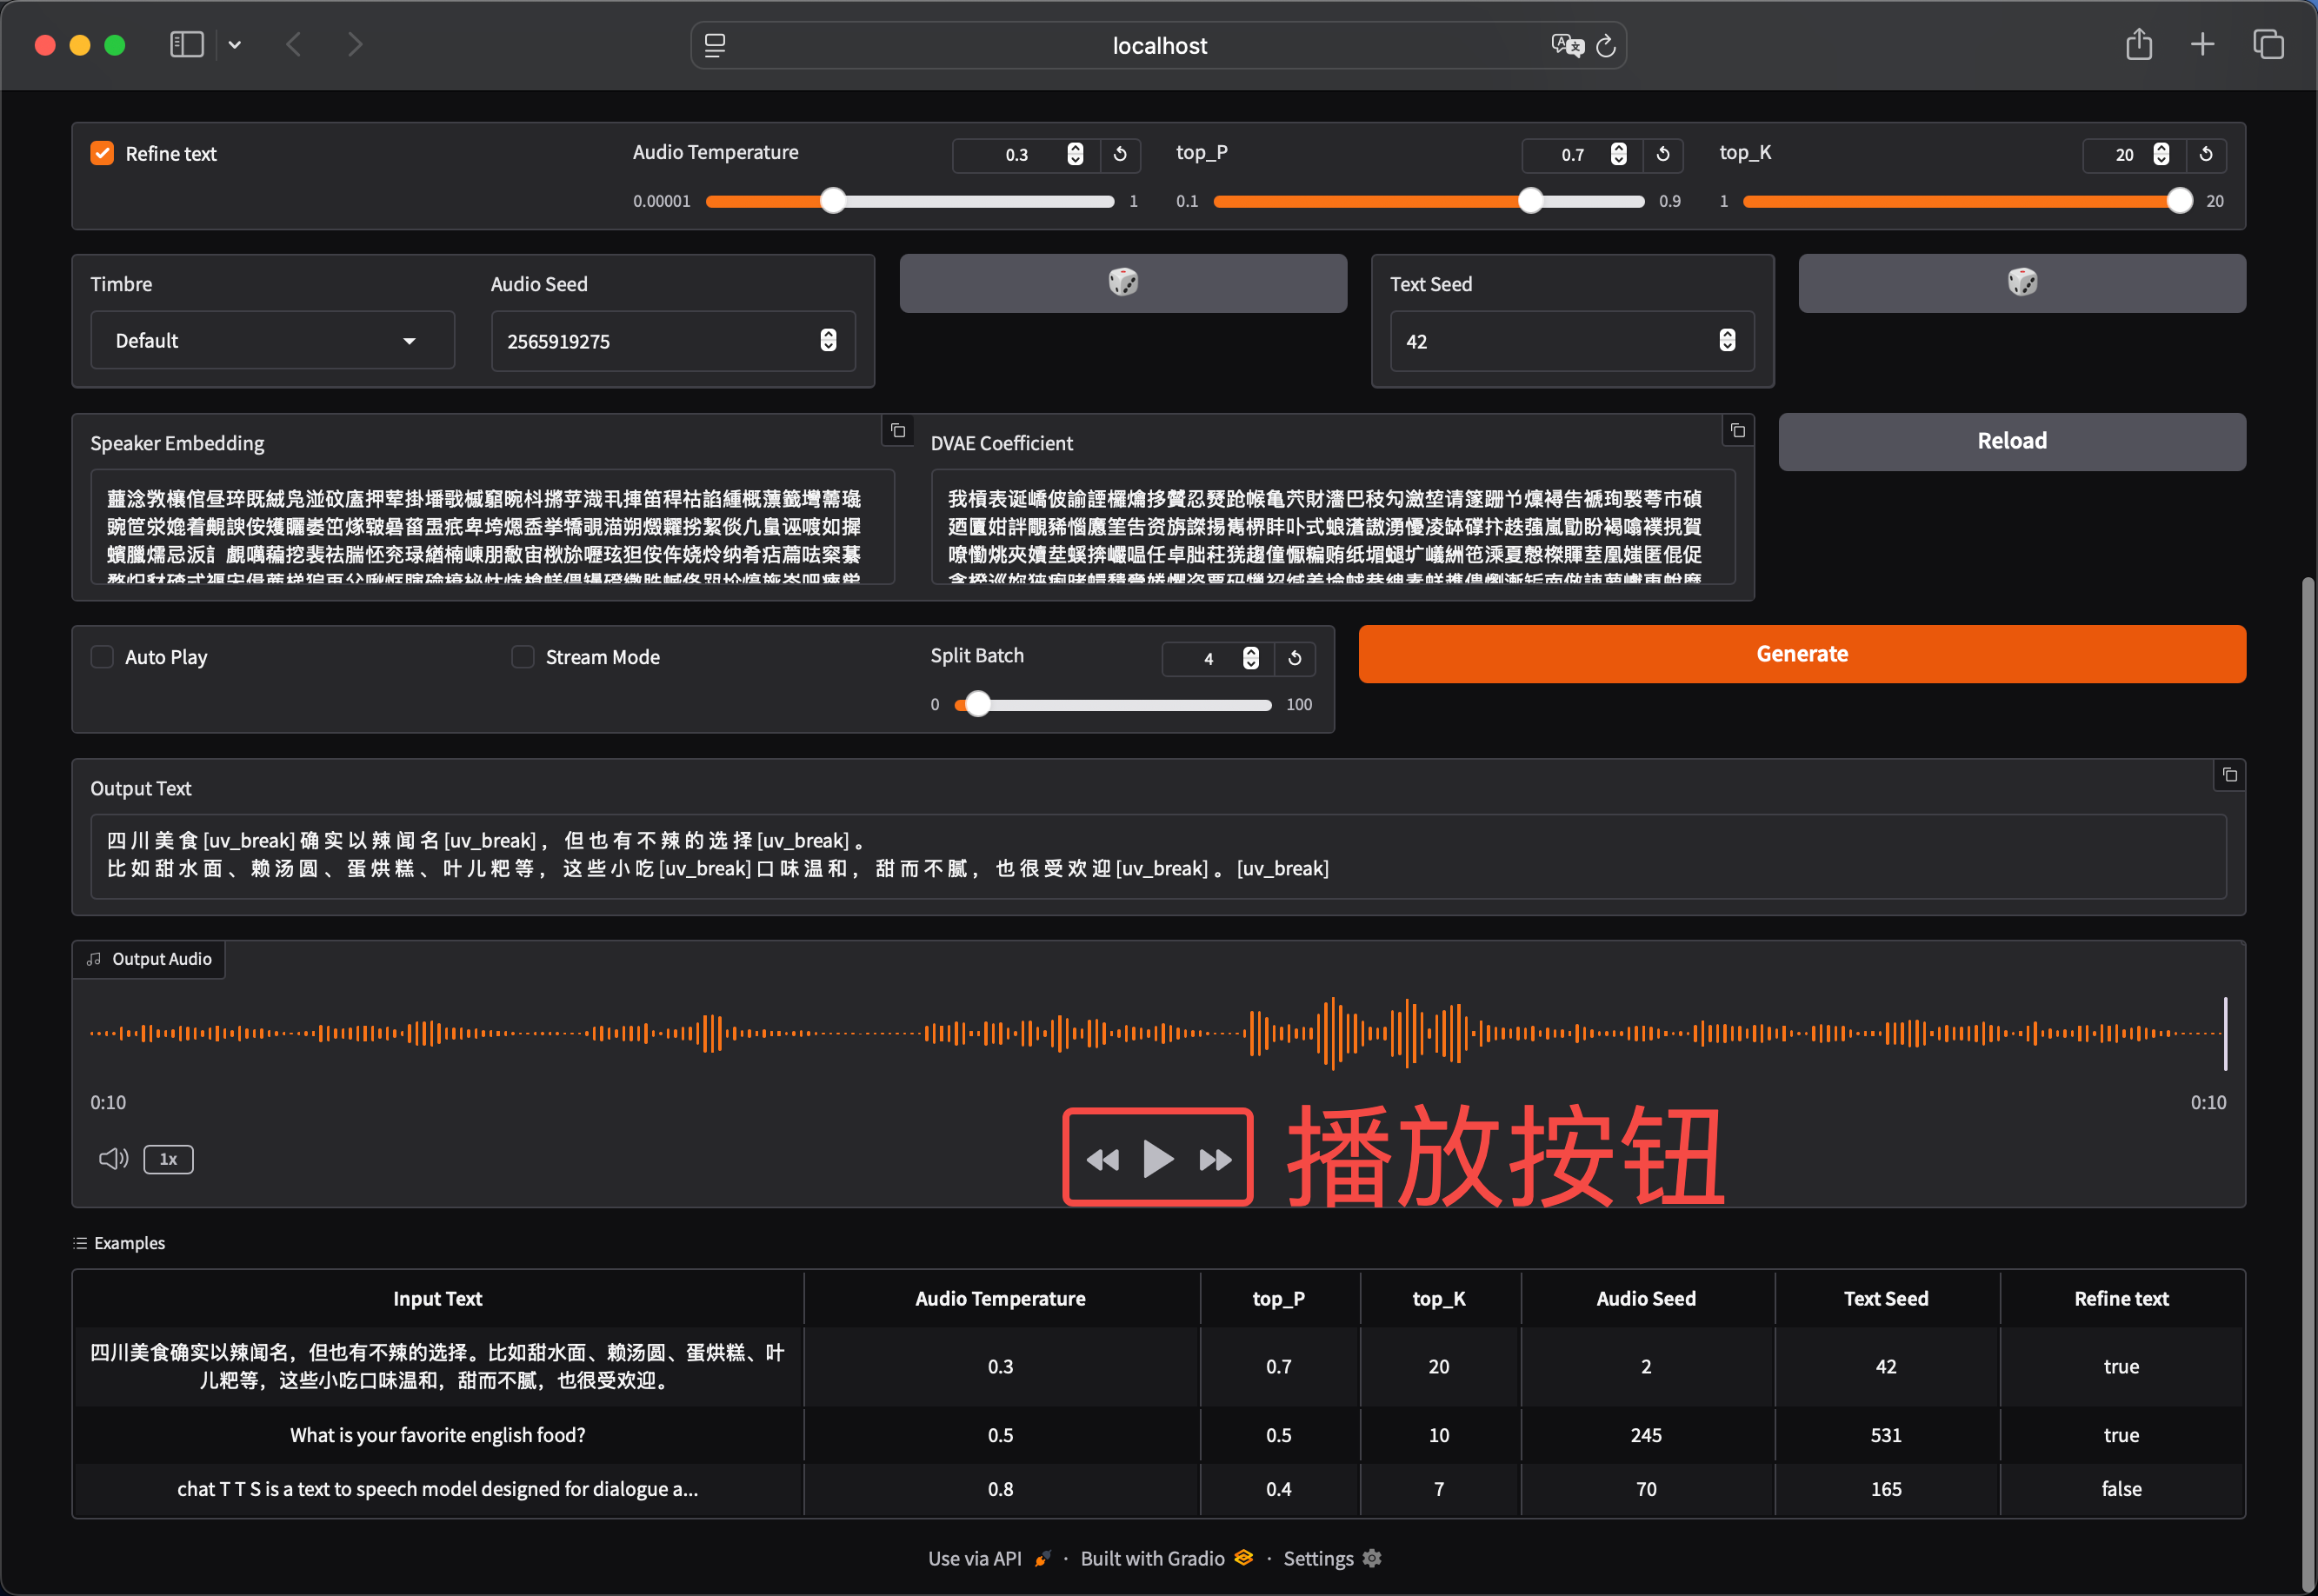
点击 Generate 按钮后等待音频生成后即可下拉网页找到播放按钮
Step4. 代码形式生成
官方提供了两份代码形式生成的模版,在项目的根目录下创建一个 demo.py 文件并写入以下内容即可,但要注意的是在我的 Mac 上运行生成的音频音色比较奇怪,解决方法是用 soundfile 替代 torchaudio 库保存音频文件,如果你生成的音频音色没问题则不用修改:
【Note】:如果修改后音色还是很奇怪,可能由于 texts 文本太短的原因,建议延长文本长度以让模型生成更自然的音频。
import ChatTTS
import torch
import torchaudio
import soundfilechat = ChatTTS.Chat()
chat.load(compile=False) # Set to True for better performancetexts = ["PUT YOUR 1st TEXT HERE", "PUT YOUR 2nd TEXT HERE"]wavs = chat.infer(texts)for i in range(len(wavs)):"""In some versions of torchaudio, the first line works but in other versions, so does the second line."""try:# torchaudio.save(f"basic_output{i}.wav", torch.from_numpy(wavs[i]).unsqueeze(0), 24000)soundfile.write(f"basic_output{i}.wav", wavs[0][0], 24000)except:# torchaudio.save(f"basic_output{i}.wav", torch.from_numpy(wavs[i]), 24000)soundfile.write(f"basic_output{i}.wav", wavs[0], 24000)
也可以尝试下面这个 demo:
import ChatTTS
import torch
import torchaudio
import soundfilechat = ChatTTS.Chat()
chat.load(compile=False)texts = ["PUT YOUR 1st TEXT HERE", "PUT YOUR 2nd TEXT HERE"]rand_spk = chat.sample_random_speaker()
print(rand_spk)params_infer_code = ChatTTS.Chat.InferCodeParams(spk_emb = rand_spk, # add sampled speaker temperature = .3,   # using custom temperaturetop_P = 0.7,        # top P decodetop_K = 20,         # top K decode
)params_refine_text = ChatTTS.Chat.RefineTextParams(prompt='[oral_2][laugh_0][break_6]',
)wavs = chat.infer(texts,params_refine_text=params_refine_text,params_infer_code=params_infer_code,
)text = 'What is [uv_break]your favorite english food?[laugh][lbreak]'
wavs = chat.infer(text, skip_refine_text=True, params_refine_text=params_refine_text,  params_infer_code=params_infer_code)
"""
In some versions of torchaudio, the first line works but in other versions, so does the second line.
"""
try:# torchaudio.save("word_level_output.wav", torch.from_numpy(wavs[0]).unsqueeze(0), 24000)soundfile.write("word_level_output.wav" wavs[0][0], 24000)
except:# torchaudio.save("word_level_output.wav", torch.from_numpy(wavs[0]), 24000)soundfile.write("word_level_output.wav" wavs[0], 24000)