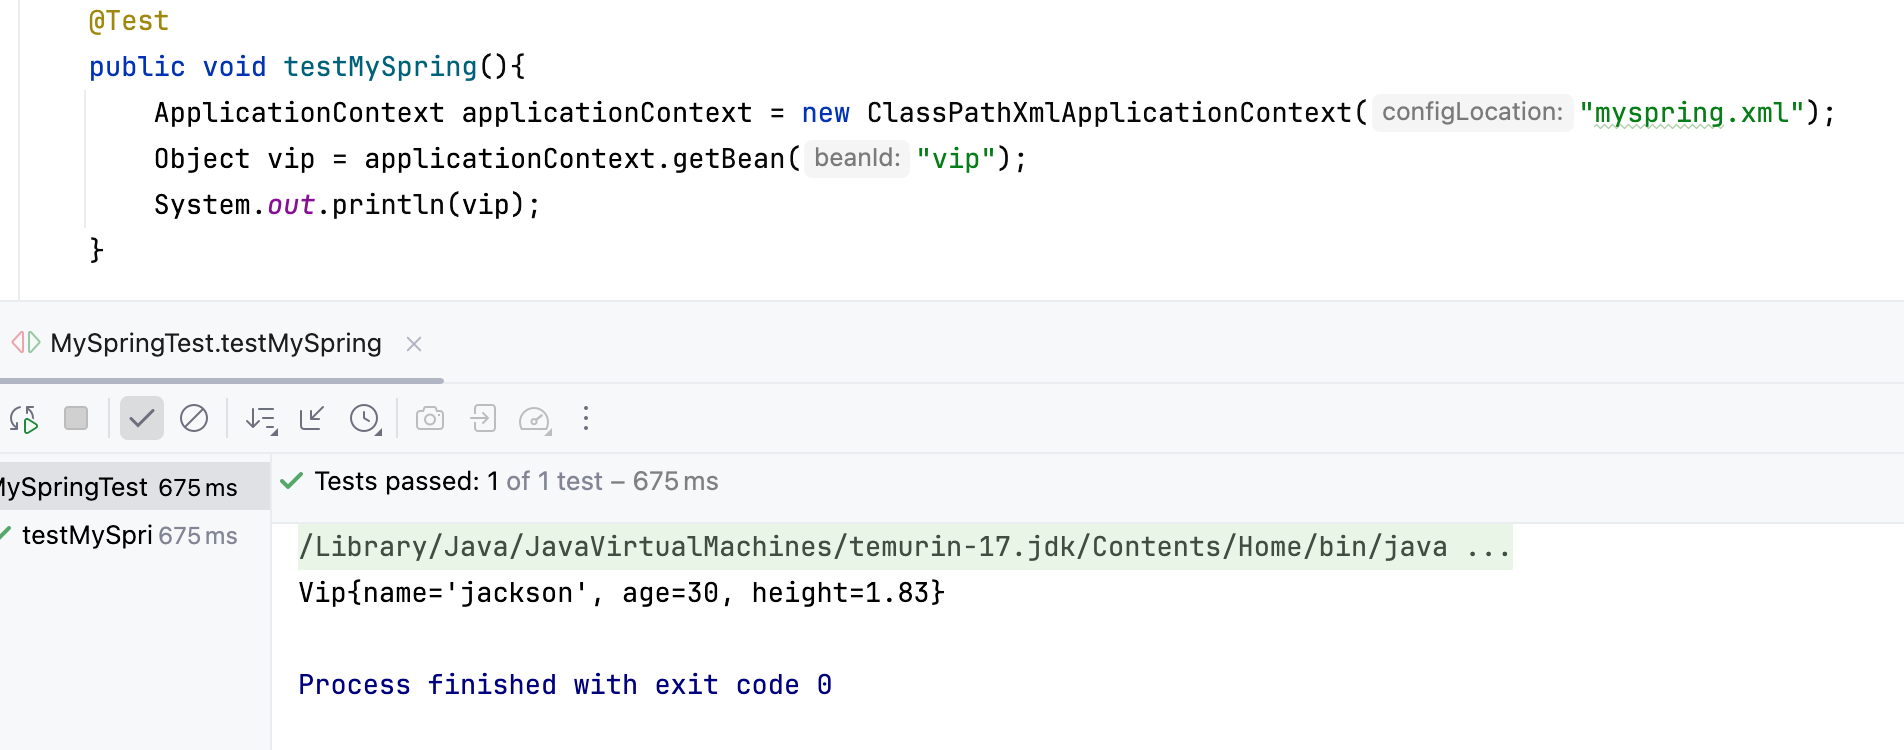
手写一个Spring框架
Spring IoC 容器实现原理:工厂模式 + 解析XML + 反射机制
以下实现基于 set 注入的方式,手写一个 Spring 框架。
一、项目初始化
1.1 创建项目/模块
采用 maven 的方式新建项目或模块:qhjspring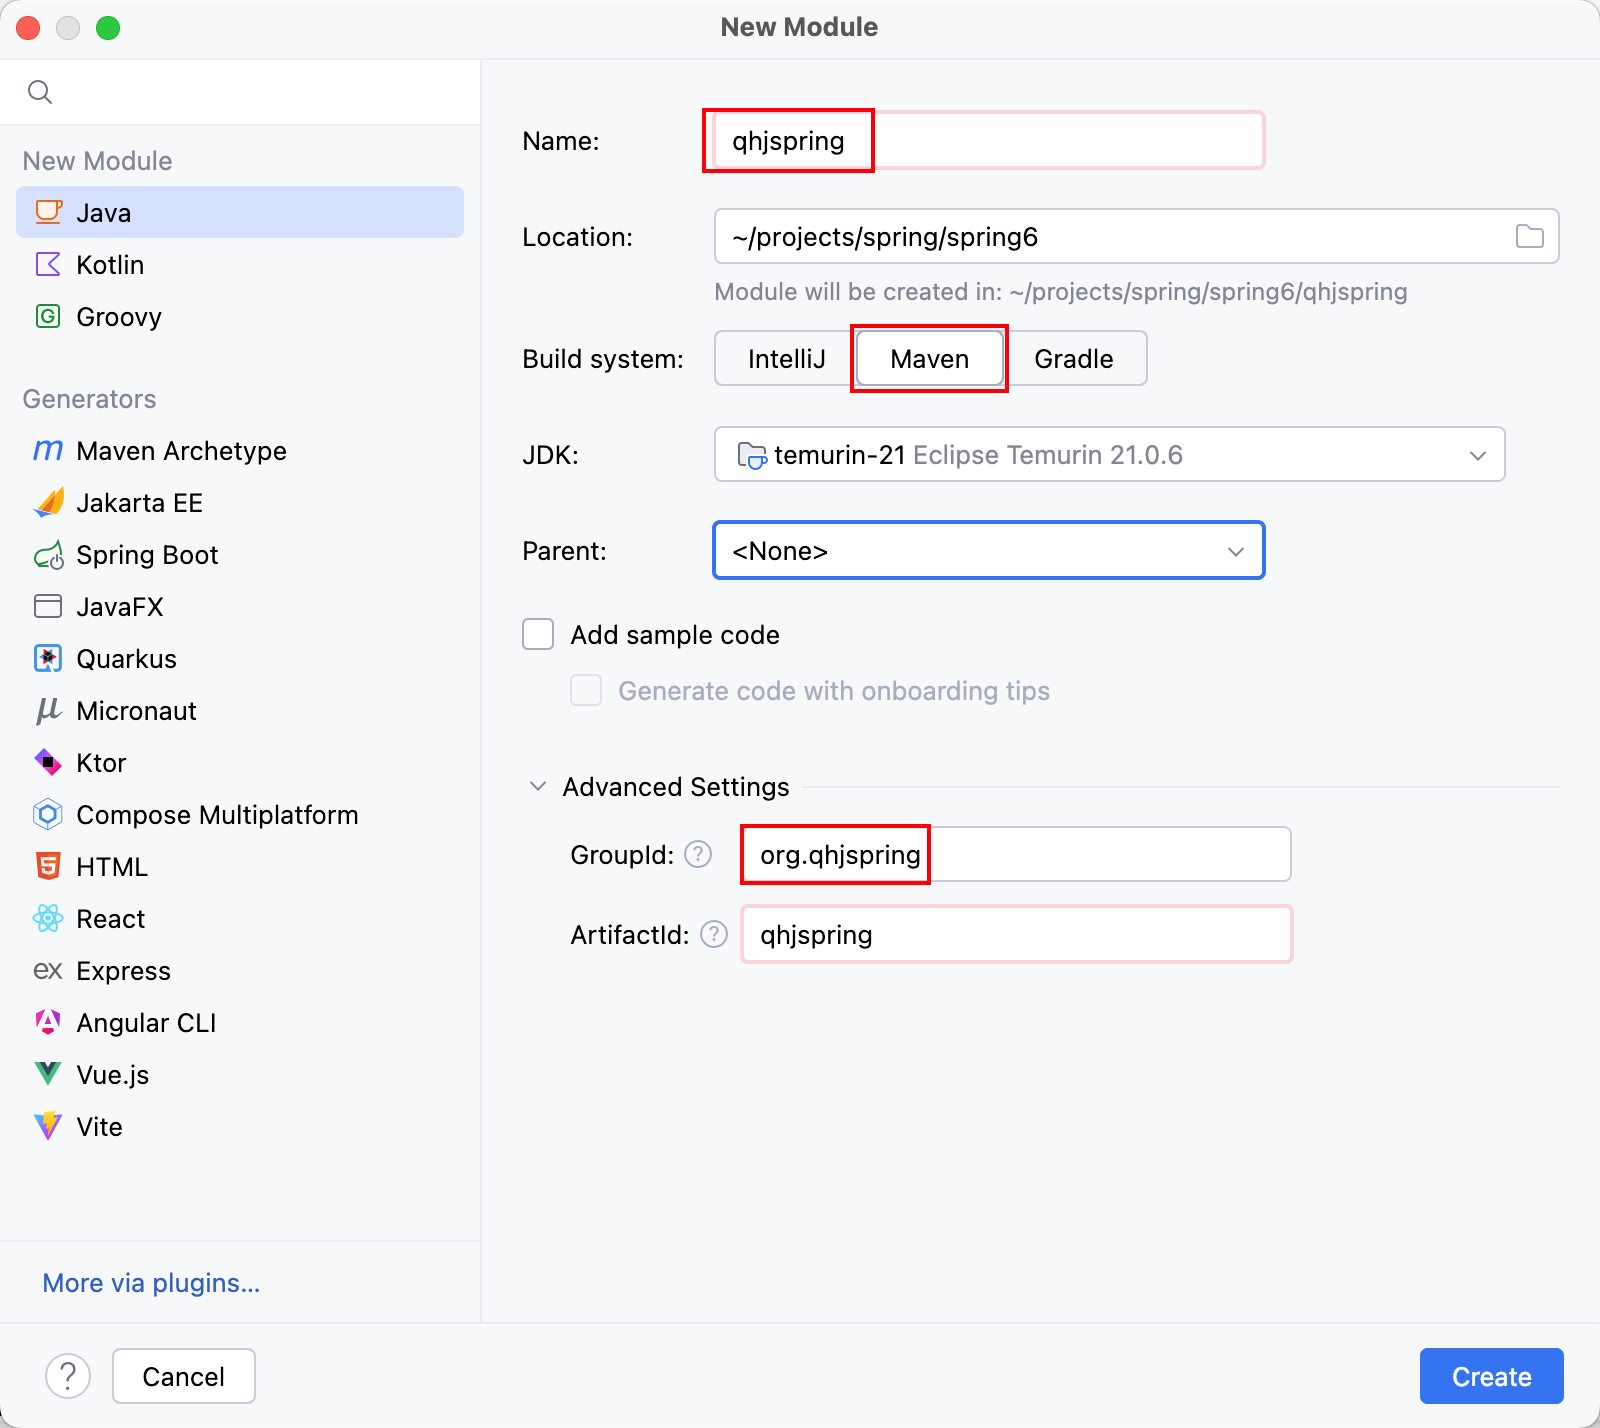
1.2 引入依赖
1. jdk 版本:17 2. 打包方式采用:jar 3. dom4j + jaxen 依赖:解析 xml 文件 4. junit 依赖:测试类 5. log4j2 依赖:打印日志<?xml version="1.0" encoding="UTF-8"?>
<project xmlns="http://maven.apache.org/POM/4.0.0"xmlns:xsi="http://www.w3.org/2001/XMLSchema-instance"xsi:schemaLocation="http://maven.apache.org/POM/4.0.0 http://maven.apache.org/xsd/maven-4.0.0.xsd"><modelVersion>4.0.0</modelVersion><groupId>org.qhjspring</groupId><artifactId>qhjspring</artifactId><version>1.0-SNAPSHOT</version><!--打成jar包,等测试时引用此包--><packaging>jar</packaging><properties><maven.compiler.source>17</maven.compiler.source><maven.compiler.target>17</maven.compiler.target><project.build.sourceEncoding>UTF-8</project.build.sourceEncoding></properties><dependencies><!--dom4j是一个能够解析XML文件的java组件。--><dependency><groupId>org.dom4j</groupId><artifactId>dom4j</artifactId><version>2.1.3</version></dependency><dependency><groupId>jaxen</groupId><artifactId>jaxen</artifactId><version>1.2.0</version></dependency><!--junit依赖--><dependency><groupId>junit</groupId><artifactId>junit</artifactId><version>4.13.2</version><scope>test</scope></dependency><!--log4j2的依赖--><dependency><groupId>org.apache.logging.log4j</groupId><artifactId>log4j-core</artifactId><version>2.19.0</version></dependency><dependency><groupId>org.apache.logging.log4j</groupId><artifactId>log4j-slf4j2-impl</artifactId><version>2.19.0</version></dependency></dependencies>
</project>
二、一个常用的 set 注入例子
2.1 创建 Bean
分别创建两个 bean:User 和 Address,以及其 get、set、toString 方法。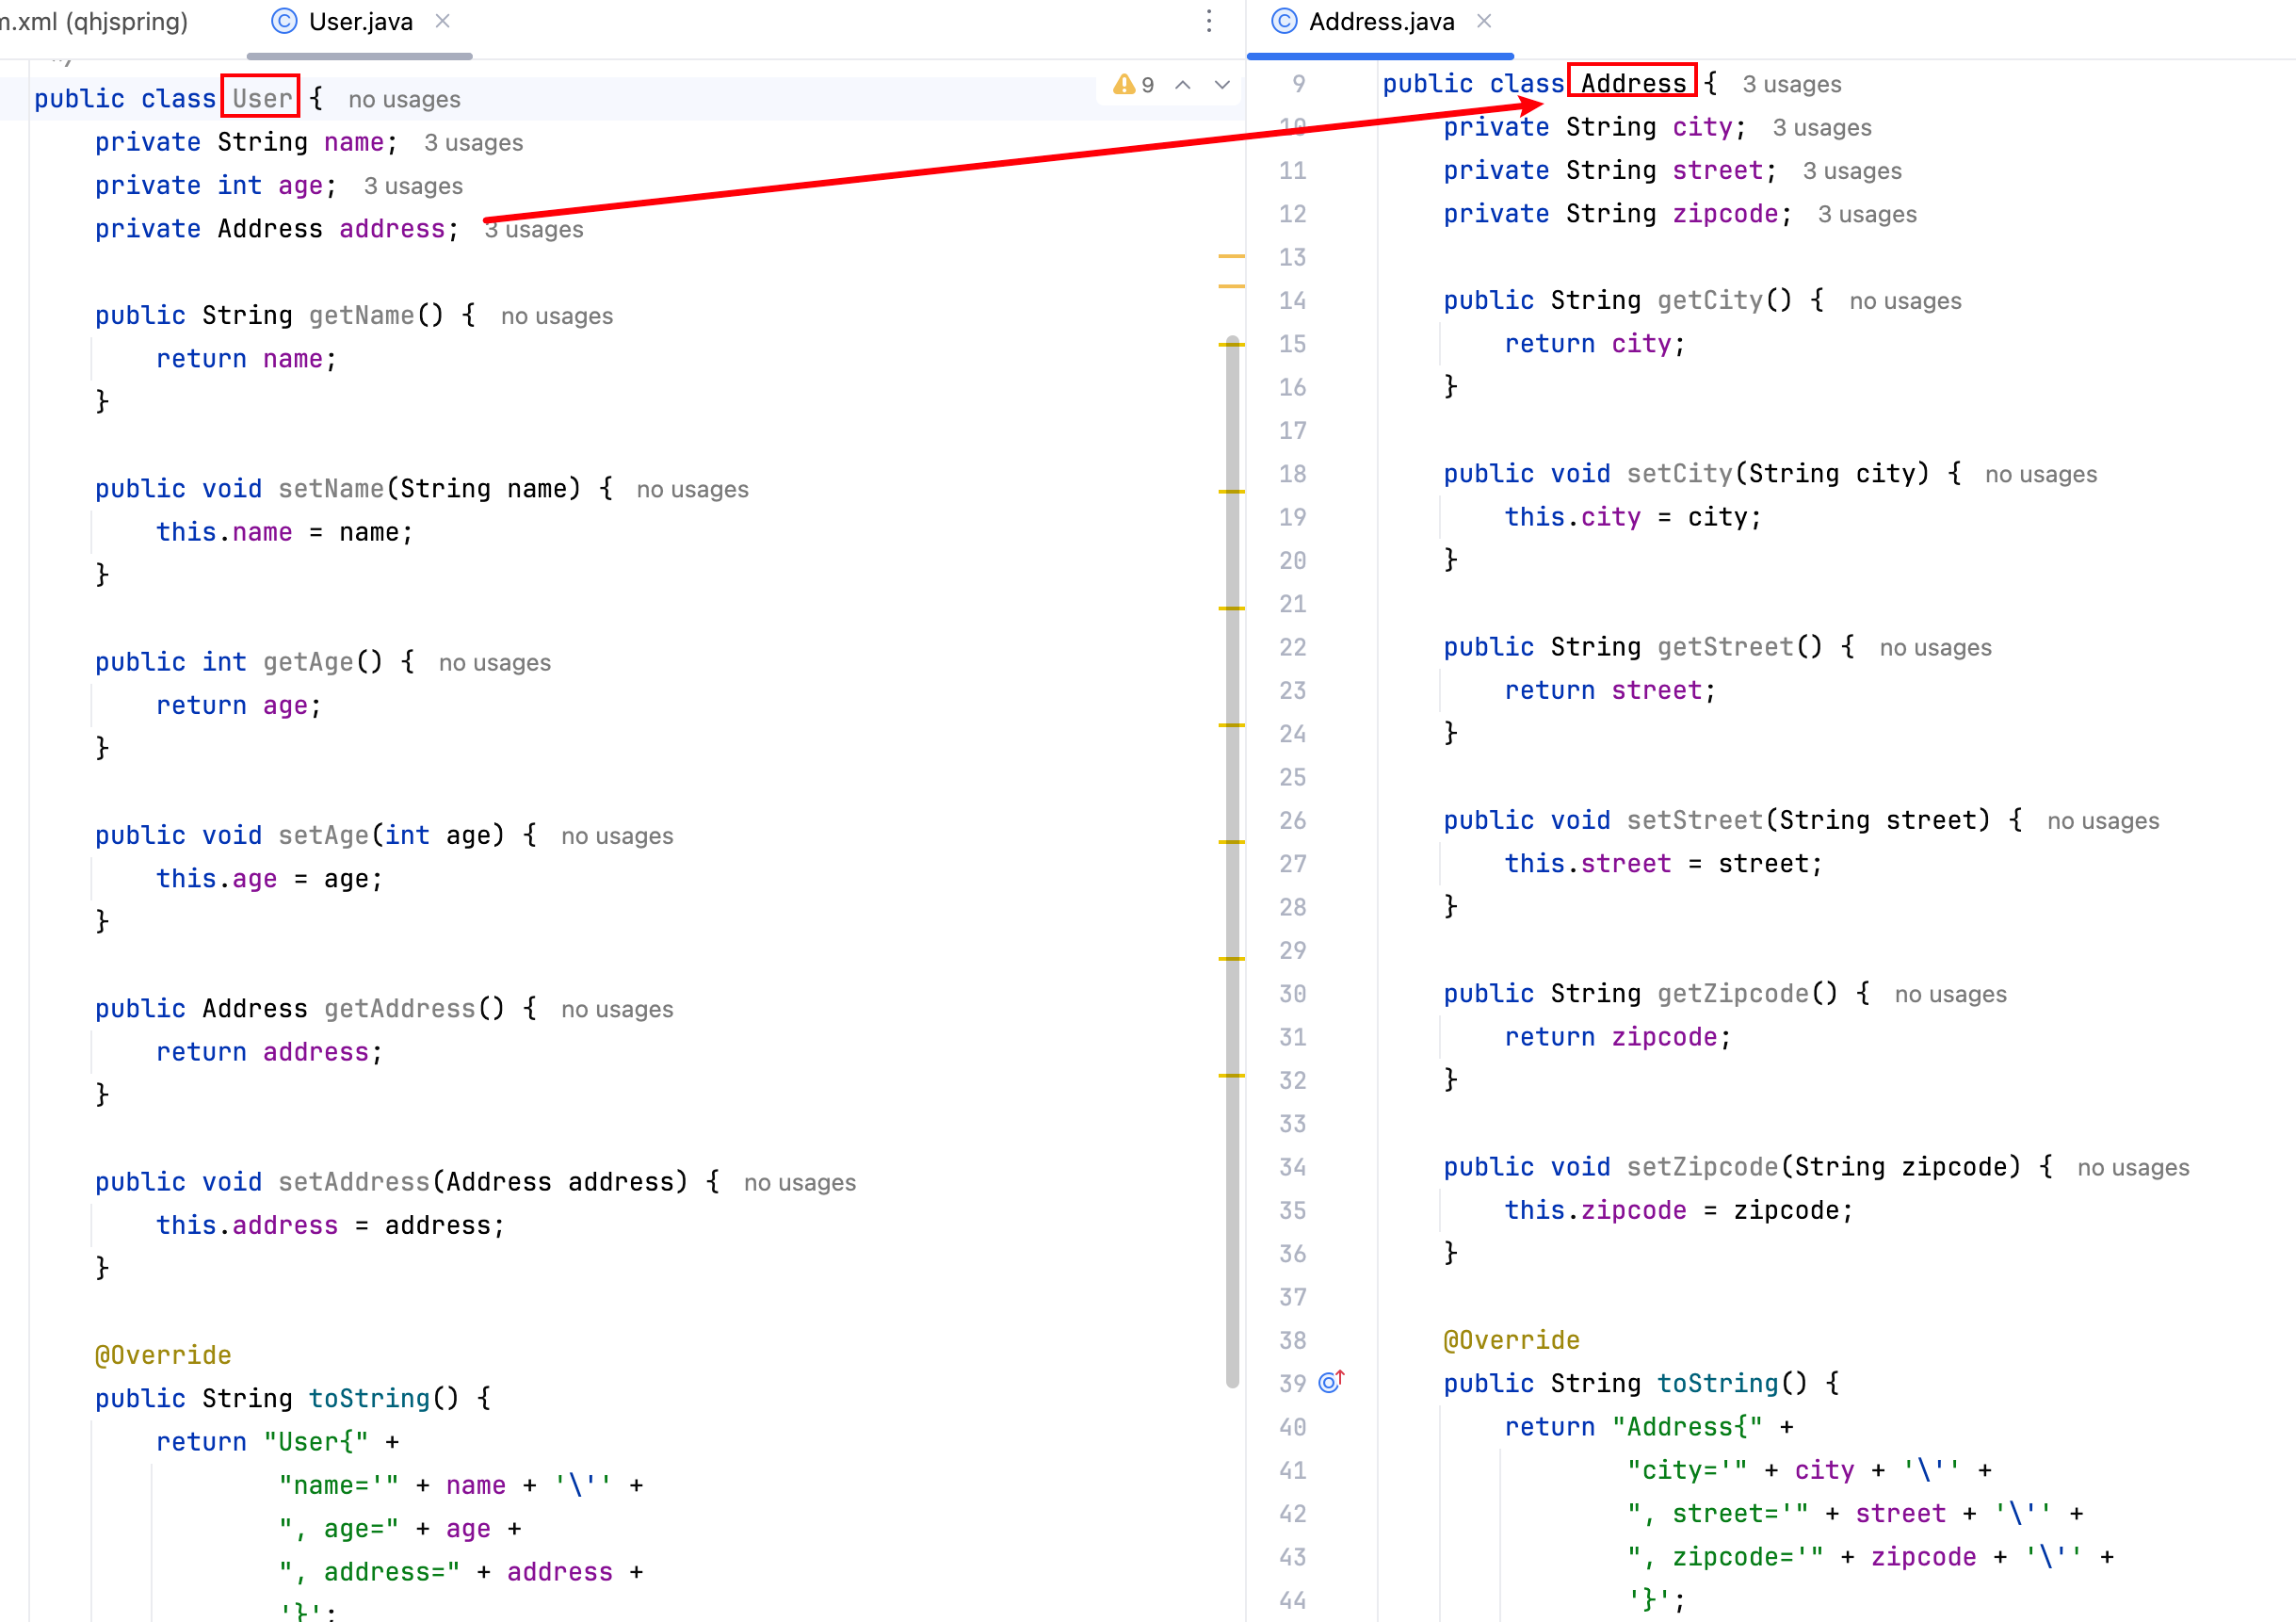
2.2 创建 xml 配置文件
使用 value 给简单属性赋值,使用 ref 给引用属性赋值:<?xml version="1.0" encoding="UTF-8"?>
<beans><bean id="userBean" class="com.qhjspring.bean.User"><property name="name" value="青花椒"/><property name="age" value="18"/><property name="addr" ref="addrBean"/></bean><bean id="addrBean" class="com.qhjspring.bean.Address"><property name="city" value="上海"/><property name="street" value="青浦区"/><property name="zipcode" value="1000001"/></bean></beans>
2.3 测试类
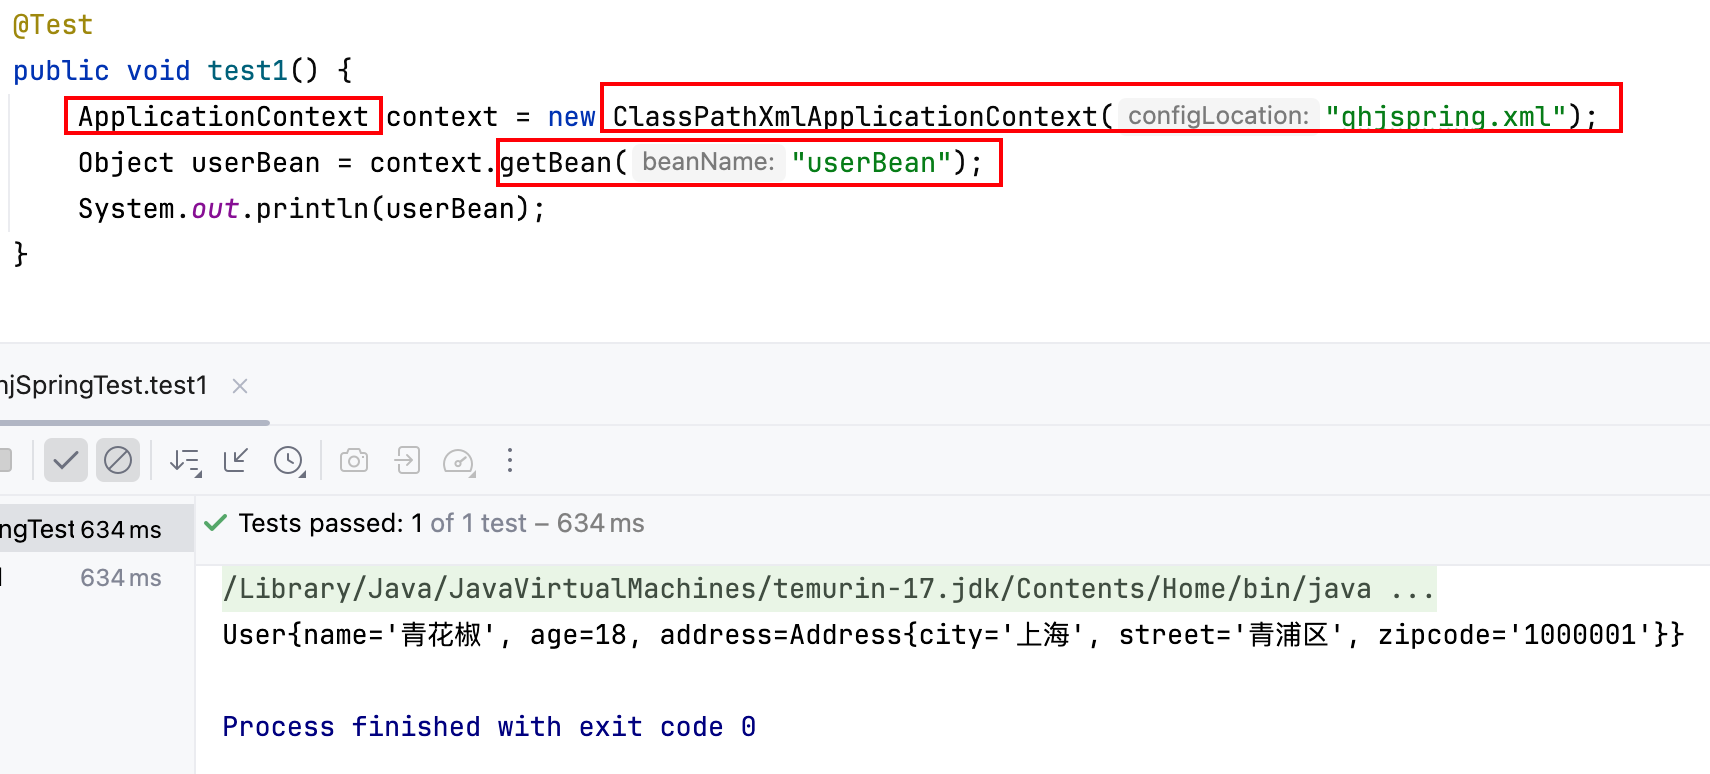
```java @Test public void test1() {ApplicationContext context = new ClassPathXmlApplicationContext("qhjspring.xml");Object userBean = context.getBean("userBean");System.out.println(userBean); } ```输出结果:
三、手写 Spring
基于以上例子,如果要手写一个 Spring 框架,有四个步骤:- ApplicationContext 接口,提供 getBean() 方法;
- 实现类 ClassPathXmlApplicationContext,加载 xml 配置文件;
- 实例化所有的 Bean;
- 给 Bean 的属性赋值(调用 set 方法)。
⚠️ 其中,第 4、5 步是典型的 “Spring 解决 set + singleton 模式下的循环依赖” 问题:
将 “实例化 Bean” 和 “给 Bean 属性赋值” 两个动作分开。实例化 Bean 后,先不给属性赋值,而是提前将 Bean 对象曝光给外界(类似于缓存),所有单例的 Bean 全部实例化完成后,再调用 set 方法给属性赋值。
3.1 ApplicationContext 接口
ApplicationContext 接口中提供了一个 getBean() 方法,通过该方法可以获取 Bean 对象。/*** @author qinghuajiao* @version 1.0* @description: ApplicantContext接口* @date 2025/8/28 22:56*/
public interface ApplicationContext {/*** 根据Bean的id获取bean实例** @param beanId Bean的id* @return*/Object getBean(String beanId);
}
3.2 实现类 ClassPathXmlApplicationContext
此类实现 ApplicationContext 接口,核心问题就是:🤔 如何存储 Bean 的集合?如何从集合中获取某个 Bean 实例?
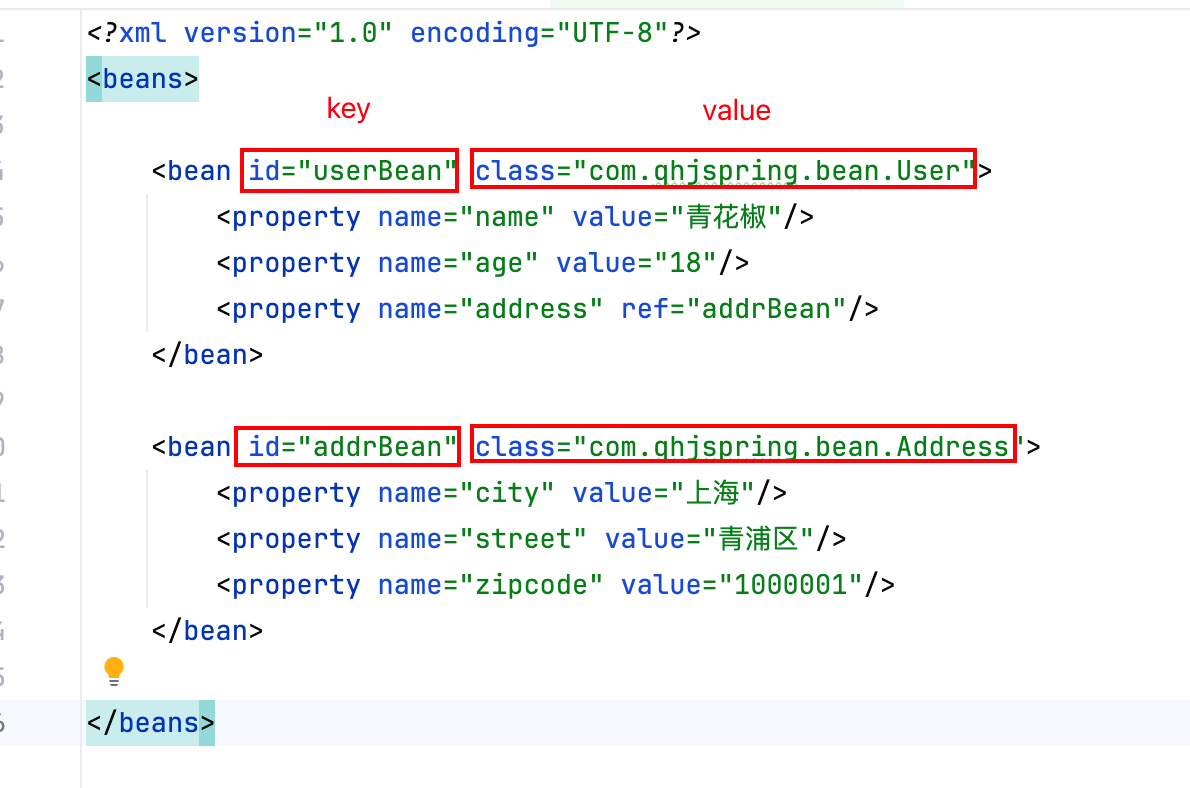
可以采用 Map 集合存储 Bean 实例。Map 集合的 key 存储 beanId,value 存储 Bean 实例:Map<String, Object>。
/*** @author qinghuajiao* @version 1.0* @description: ClassPathXmlApplicationContext类* @date 2025/8/28 23:01*/
public class ClassPathXmlApplicationContext implements ApplicationContext {// 存储Bean的Map集合Map<String, Object> beanMap = new HashMap<>();/*** 解析xml文件,创建所有Bean实例,并将Bean实例存放到Map集合中。** @param configLocation spring配置文件的路径。注意:使用ClassPathXmlApplicationContext,配置文件应当放到类路径下。*/public ClassPathXmlApplicationContext(String configLocation) {}@Overridepublic Object getBean(String beanName) {return beanMap.get(beanName);}
}
3.3 解析xml文件,实例化 Bean
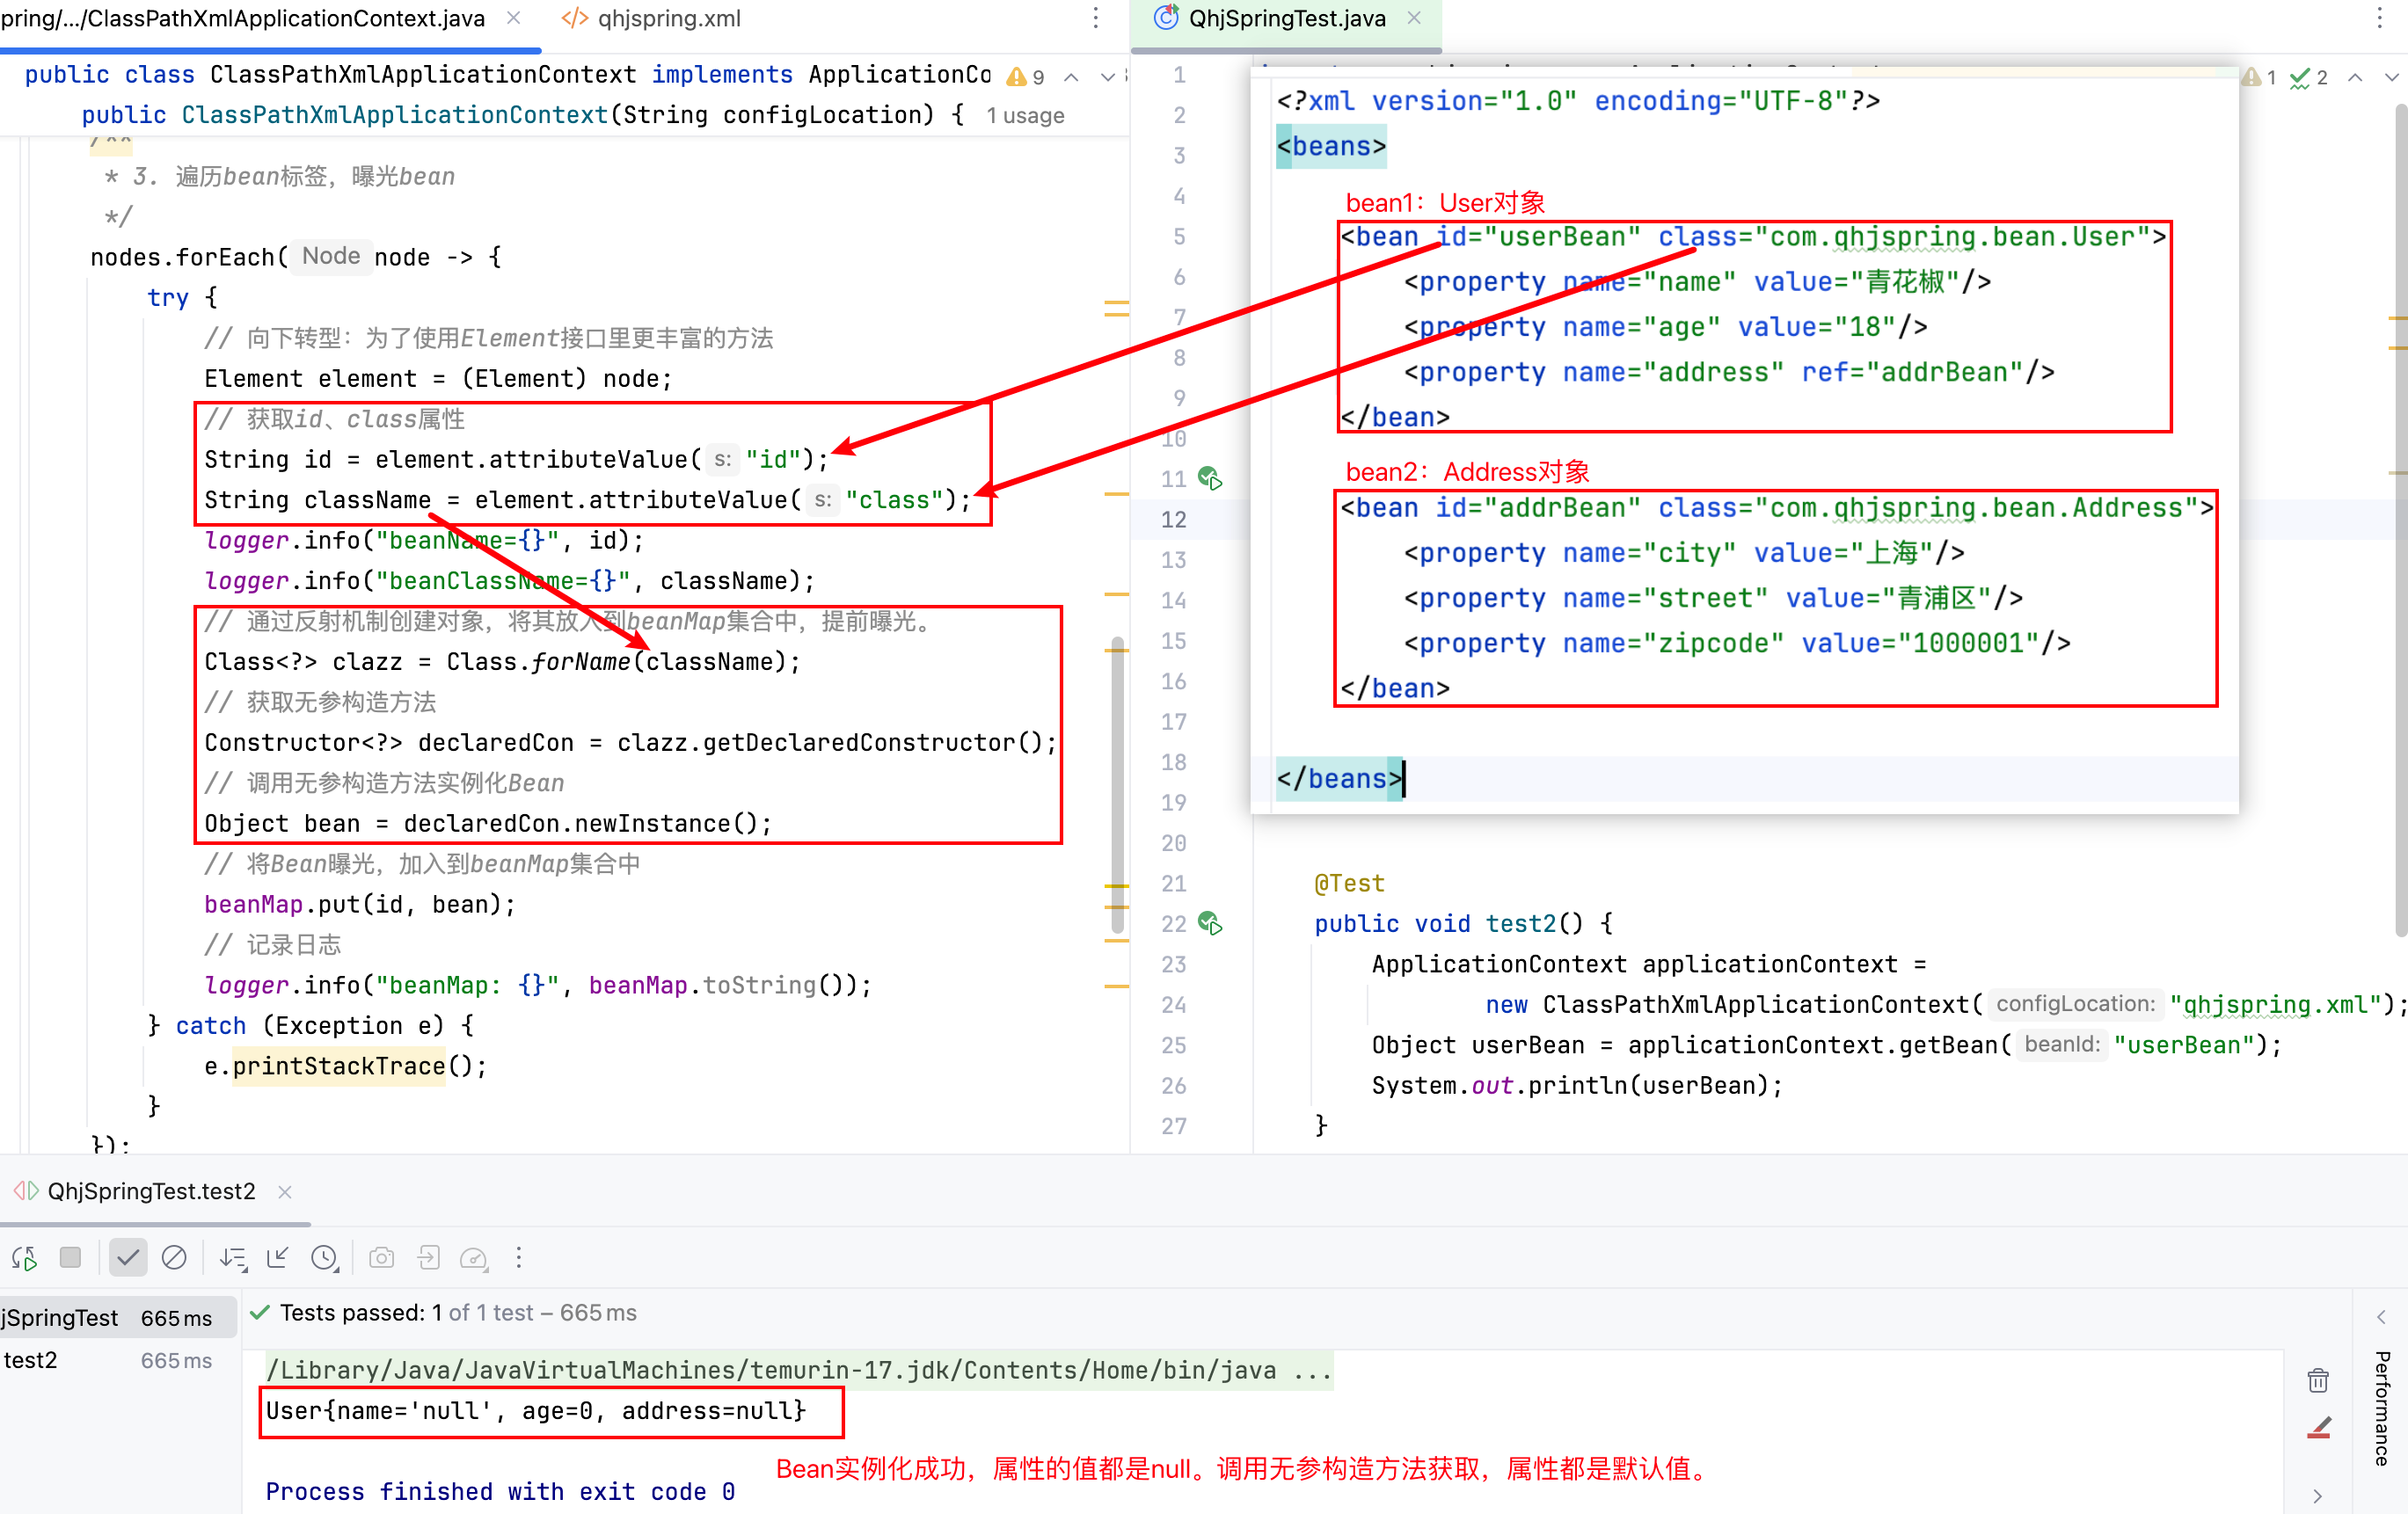
解析xml文件、实例化Bean需要三步:- 读取文件进行解析(注意要把 xml 文件放到类路径下,否则加载不到);
- 获取解析后的所有 bean 标签(使用反斜杠 // 获取标签);
- 遍历 bean 标签,曝光 Bean
/*** 解析xml文件,创建所有Bean实例,并将Bean实例存放到beanMap集合中。** @param configLocation spring配置文件的路径。注意:使用ClassPathXmlApplicationContext,配置文件应当放到类路径下。*/
public ClassPathXmlApplicationContext(String configLocation) {try {/*** 1. 解析xml文件*/// 这是dom4j解析xml文件的核心对象SAXReader reader = new SAXReader();// 获取一个输入流,指向配置文件InputStream inputStream = ClassLoader.getSystemClassLoader().getResourceAsStream(configLocation);// 读取文件Document document = reader.read(inputStream);/*** 2. 获取所有bean标签*/// 获取所有的bean标签,使用两个反斜杠//来获取某标签List<Node> nodes = document.selectNodes("//bean");/*** 3. 遍历bean标签,曝光Bean*/nodes.forEach(node -> {try {// 向下转型:为了使用Element接口里更丰富的方法Element element = (Element) node;// 获取id、class属性String id = element.attributeValue("id");String className = element.attributeValue("class");logger.info("beanName={}", id);logger.info("beanClassName={}", className);// 通过反射机制创建对象,将其放入到beanMap集合中,提前曝光。Class<?> clazz = Class.forName(className);// 获取无参构造方法Constructor<?> declaredCon = clazz.getDeclaredConstructor();// 调用无参构造方法实例化BeanObject bean = declaredCon.newInstance();// 将Bean曝光,加入到beanMap集合中beanMap.put(id, bean);// 记录日志logger.info("beanMap: {}", beanMap.toString());} catch (Exception e) {e.printStackTrace();}});/*** 4. 再次遍历bean标签,给属性赋值*/} catch (Exception e) {e.printStackTrace();}
}
3.4 给 Bean 的属性赋值
/*** 4. 再次遍历bean标签,给属性赋值*/
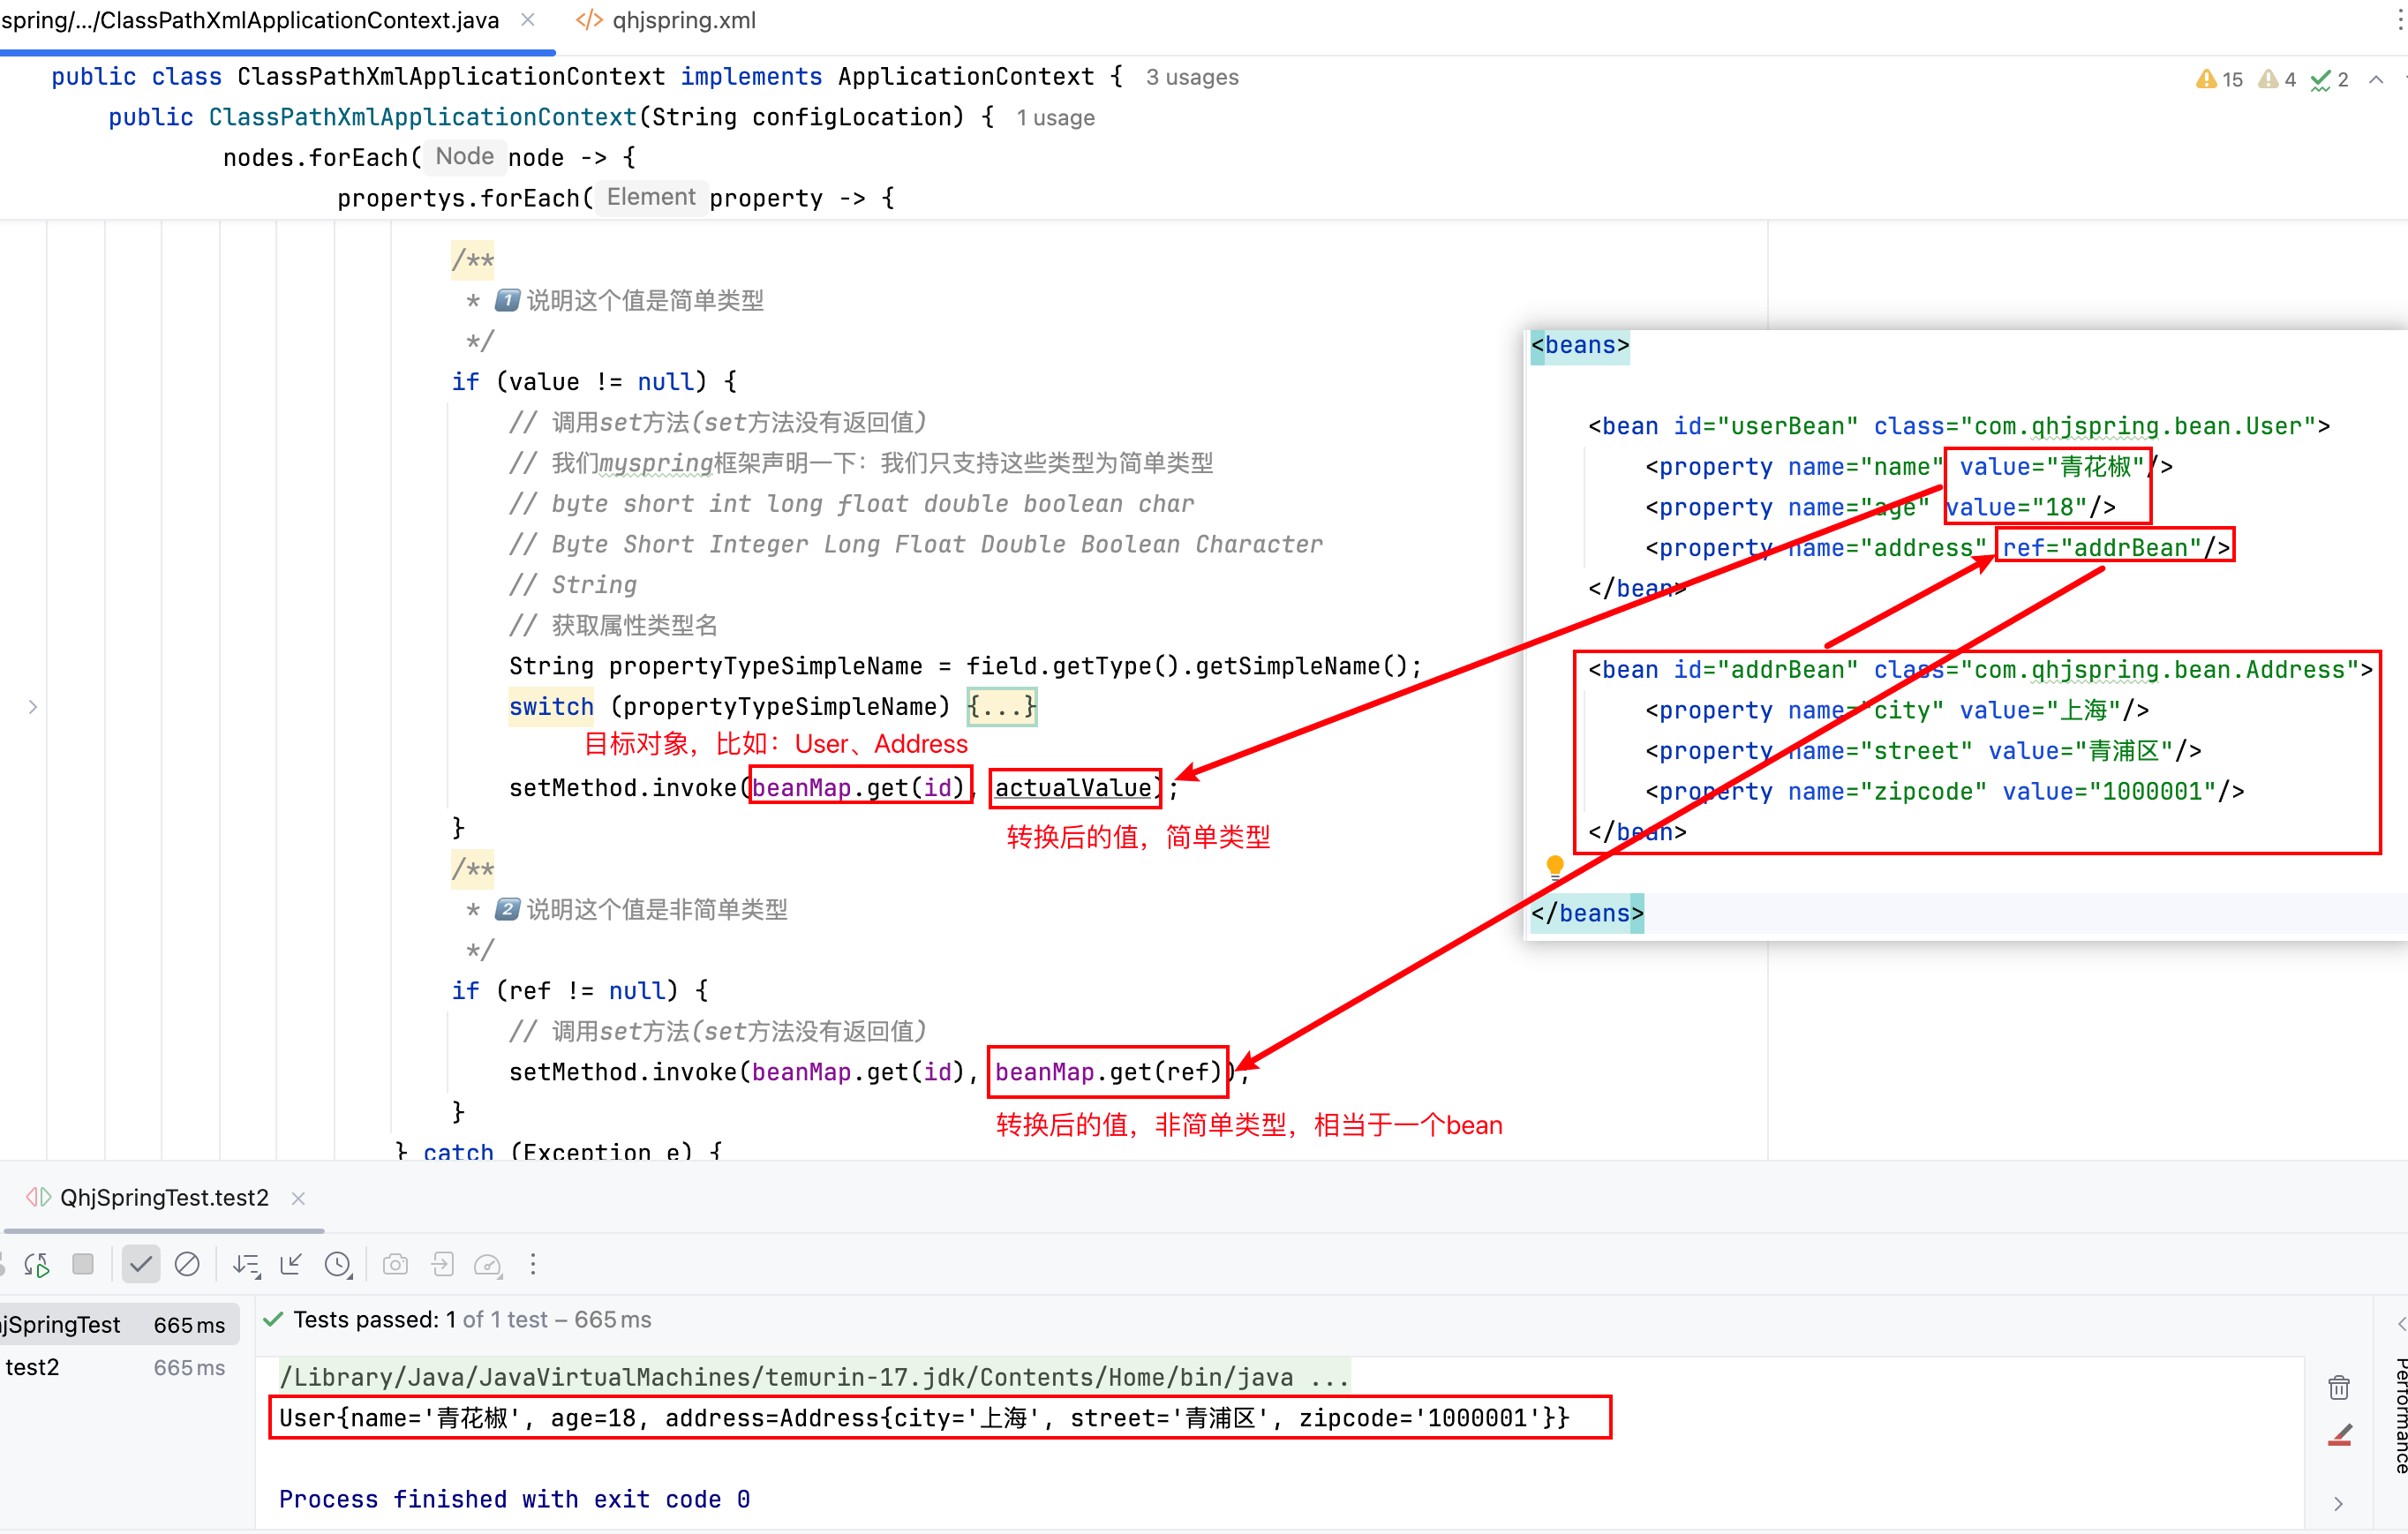
nodes.forEach(node -> {try {// 向下转型:为了使用Element接口里更丰富的方法Element element = (Element) node;// 获取id、class属性String id = element.attributeValue("id");String className = element.attributeValue("class");logger.info("beanName={}", id);logger.info("beanClassName={}", className);// 通过反射机制创建对象,将其放入到beanMap集合中,提前曝光。Class<?> clazz = Class.forName(className);// 获取该bean标签下所有的属性property标签List<Element> propertys = element.elements("property");// 遍历所有的属性标签propertys.forEach(property -> {try {// 获取属性名String propertyName = property.attributeValue("name");// 获取属性类型Field field = clazz.getDeclaredField(propertyName);logger.info("属性名:{}", propertyName);// 获取set方法名  set+属性名第一个字母大写+属性名其余字母小写String setMethodName = "set" + propertyName.toUpperCase().charAt(0) + propertyName.substring(1);// 获取set方法Method setMethod = clazz.getDeclaredMethod(setMethodName, field.getType());// 获取具体的值(简单类型value 和 非简单类型ref)String value = property.attributeValue("value");Object actualValue = null;String ref = property.attributeValue("ref");/*** 1️⃣说明这个值是简单类型*/if (value != null) {// 调用set方法(set方法没有返回值)// 我们myspring框架声明一下:我们只支持这些类型为简单类型// byte short int long float double boolean char// Byte Short Integer Long Float Double Boolean Character// String// 获取属性类型名String propertyTypeSimpleName = field.getType().getSimpleName();switch (propertyTypeSimpleName) {case "byte":actualValue = Byte.parseByte(value);break;case "short":actualValue = Short.parseShort(value);break;case "int":actualValue = Integer.parseInt(value);break;case "long":actualValue = Long.parseLong(value);break;case "float":actualValue = Float.parseFloat(value);break;case "double":actualValue = Double.parseDouble(value);break;case "boolean":actualValue = Boolean.parseBoolean(value);break;case "char":actualValue = value.charAt(0);break;case "Byte":actualValue = Byte.valueOf(value);break;case "Short":actualValue = Short.valueOf(value);break;case "Integer":actualValue = Integer.valueOf(value);break;case "Long":actualValue = Long.valueOf(value);break;case "Float":actualValue = Float.valueOf(value);break;case "Double":actualValue = Double.valueOf(value);break;case "Boolean":actualValue = Boolean.valueOf(value);break;case "Character":actualValue = Character.valueOf(value.charAt(0));break;case "String":actualValue = value;}setMethod.invoke(beanMap.get(id), actualValue);}/*** 2️⃣说明这个值是非简单类型*/if (ref != null) {// 调用set方法(set方法没有返回值)setMethod.invoke(beanMap.get(id), beanMap.get(ref));}} catch (Exception e) {e.printStackTrace();}});} catch (Exception e) {e.printStackTrace();}
});
四、打包发布、测试
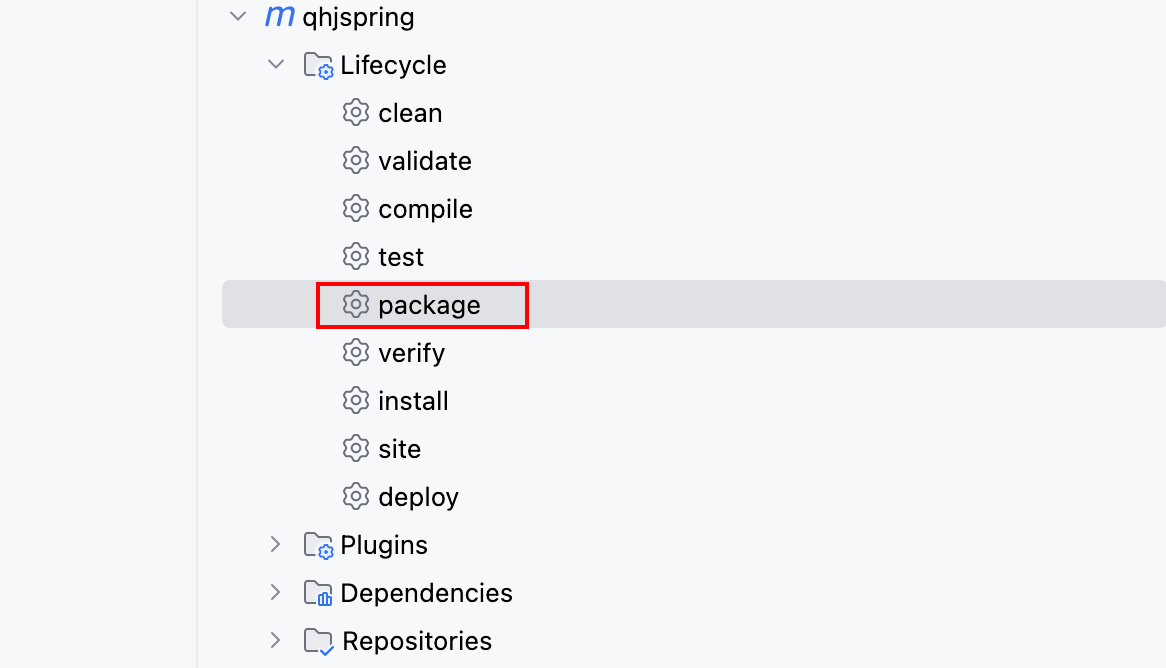
4.1 打包发布

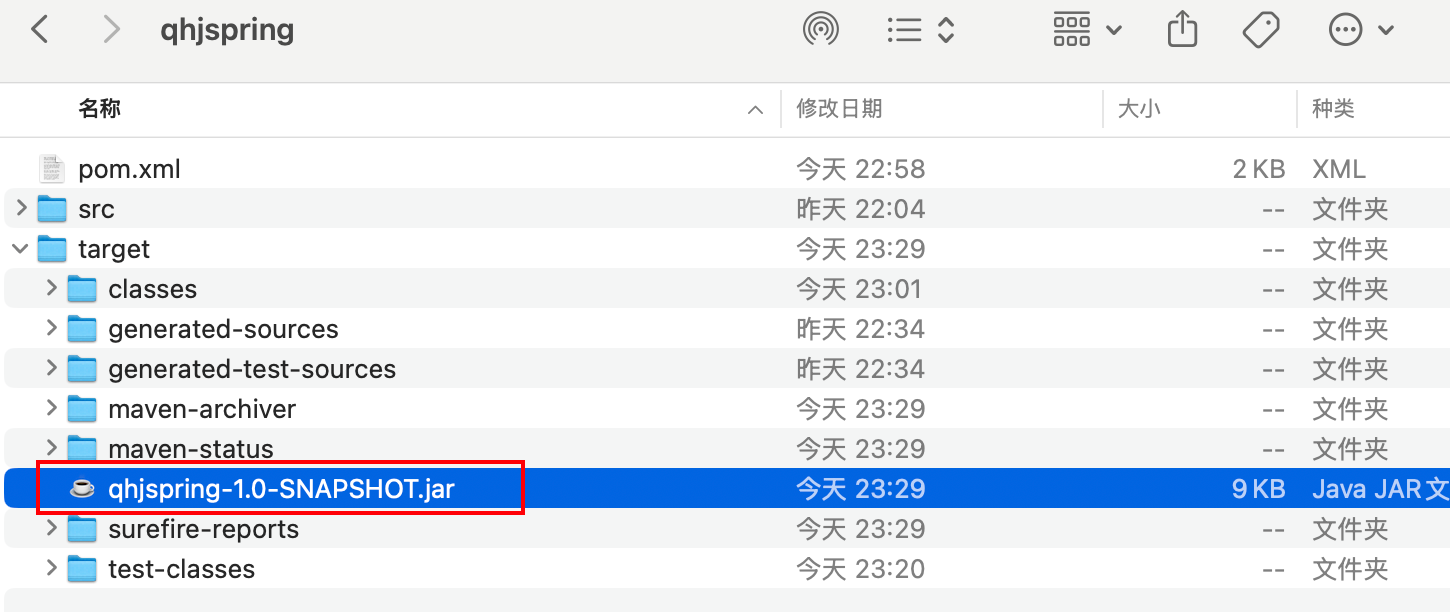
4.2 测试
1. 引入jar包<!--用qhjspring框架,需要引入依赖-->
<dependency><groupId>org.qhjspring</groupId><artifactId>qhjspring</artifactId><version>1.0-SNAPSHOT</version>
</dependency>
- xml文件
<?xml version="1.0" encoding="UTF-8"?>
<beans><bean id="vip" class="com.powernode.myspring.bean.Vip"><property name="name" value="jackson"></property><property name="age" value="30"></property><property name="height" value="1.83"></property></bean></beans>
- 测试类
import com.qhjspring.core.ApplicationContext;
import com.qhjspring.core.ClassPathXmlApplicationContext;
import org.junit.Test;/*** @author qinghuajiao* @version 1.0* @description: ClassPathXmlApplicationContext类* @date 2025/8/28 23:38*/
public class MySpringTest {@Testpublic void testMySpring(){ApplicationContext applicationContext = new ClassPathXmlApplicationContext("myspring.xml");Object vip = applicationContext.getBean("vip");System.out.println(vip);}}
