Nightingale源码Linux进行跨平台编译

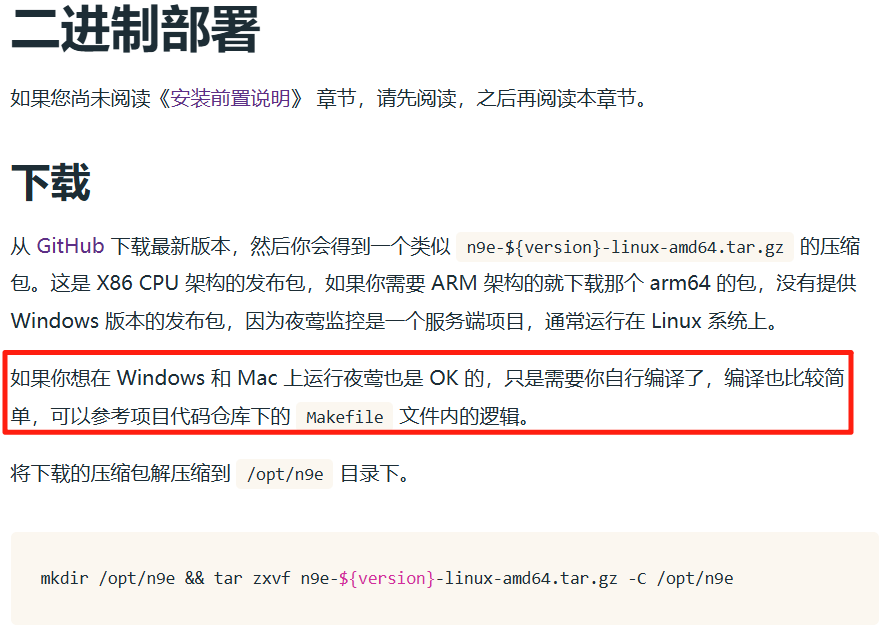
最近使用Nightingale 需要实现对服务的监测,想要在Windows 系统中使用,看官方文档中并不直接提供执行程序,原文如下:
准备工作
本地环境
本地已经安装git
本地安装git 便于后续下载源码并进行自动编译。
Linux操作系统环境(Centos8)
由于源码的执行脚本是使用sh,为了降低难度,直接使用Linux-amd64,不管是使用虚拟机还是Wsl 子系统都可以,笔者这里使用的Centos8 本地物理机 。
安装Go 并配置环境
下载Go 二进制部署包(国内可以使用阿里云等镜像源进行下载)。
官方下载:
wget https://golang.google.cn/dl/go1.25.0.linux-amd64.tar.gz
国内镜像:
wget https://mirrors.aliyun.com/golang/go1.25.0.linux-amd64.tar.gz
解压到/usr/local目录。
$sudo tar -C /usr/local -xzf go1.25.0.linux-amd64.tar.gz
执行命令输出结果如下:
$whereis go
配置环境变量,此处为了方便演示,直接配置/etc/profile,便于所有用户均生效。
$sudo vi /etc/profile
在尾部添加如下配置:
export PATH=$PATH:/usr/local/go/bin
国内可以添加环境加速变量:
export GOPROXY=https://goproxy.cn,direct
export GOSUMDB=off
配置后保存并退出,使用source /etc/profile。
$ source /etc/profile
验证是否生效:
$go version
go version go1.25.0 linux/amd64
查看环境:
$go env GOOS GOARCH
linux amd64
安装GoReleaser
参考官方链接
直接使用Go install 。
$go install github.com/goreleaser/goreleaser/v2@latest
安装完成后,实际执行程序在/home/当前账户/go/bin/goreleaser。
由于默认未设置Go 的执行目录。
为了方便,同样在当前账户环境变量配置.bash_profile 配置文件的尾部添加上环境变量,保存后退出。
export PATH=$PATH:/home/<当前账户>/go/bin
执行source。
source .bash_profile
查看版本。
$ goreleaser version
至此,环境准备成功。
下载源码
把代码通过master分支克隆下来,对应tag版本为8.2.1。
git clone https://github.com/ccfos/nightingale.git
由于是使用的Go 语言开发,同时注意到项目源码目录下中有一个.goreleaser.yml 配置文件。可以考虑直接通过GoReleaser进行程序构建。
修改配置
实际为了正常使用编译,需要修改两个配置文件,一个是fe.sh,一个是.goreleaser.yml。
fe.sh
修改该文件主要是在执行自动化打包时,会需要从github中下载对应版本的源码包,由于是国内,所以,为了快速下载。所以需要添加一些国内的github 代理站点,这里笔者也是用AI修改的,完整配置如下:
#!/bin/bash# 复制初始化 SQL
cp -f ./docker/initsql/a-n9e.sql n9e.sql# 如果 pub 目录已存在,跳过下载
if [ ! -d "./pub" ]; then# 获取最新版本号TAG=$(curl -sX GET "https://api.github.com/repos/n9e/fe/releases/latest" | awk '/tag_name/{print $4;exit}' FS='[""]')FILENAME="n9e-fe-${TAG}.tar.gz"echo "?? 正在下载前端包: ${FILENAME}"# 定义多个下载源(支持代理)DOWNLOAD_URLS=("https://mirror.ghproxy.com/https://github.com/n9e/fe/releases/download/${TAG}/${FILENAME}""https://gh-proxy.com/https://github.com/n9e/fe/releases/download/${TAG}/${FILENAME}""https://download.fastgit.org/n9e/fe/releases/download/${TAG}/${FILENAME}""https://github.com/n9e/fe/releases/download/${TAG}/${FILENAME}")# 尝试每个地址,直到成功for url in "${DOWNLOAD_URLS[@]}"; doecho "?? 尝试下载: $url"if curl -# -f -o "$FILENAME" -L "$url"; thenecho "? 下载成功: $FILENAME"breakelseecho "? 下载失败: $url"fidone# 检查是否下载成功if [ ! -f "$FILENAME" ]; thenecho "? 所有下载源均失败,无法获取 ${FILENAME}"exit 1fi# 解压if ! tar zxf "$FILENAME"; thenecho "? 解压失败: $FILENAME"exit 2fi# 清理压缩包(可选)# rm -f "$FILENAME"
fi# 获取 GOPATH
GOPATH=$(go env GOPATH)
GOPATH=${GOPATH:-$HOME/go}# 确保 statik 已安装
if ! command -v statik &> /dev/null; thenecho "??  statik 未安装,正在安装..."go install github.com/rakyll/statik@latest
fi# 嵌入静态文件
if ! "$GOPATH/bin/statik" -src=./pub -dest=./front -f; thenecho "? 嵌入静态文件失败"exit 4
fiecho "?? 前端资源已成功嵌入"
.goreleaser.yml
这个是goreleaser进行自动化打包需要的配置文件。原有配置中并未包含windows 执行配置,同时还多了docker 镜像包的打包,但是并不是笔者需要的,所以在使用AI对配置进行了合理修改,完整内容如下:
version: 2before:hooks:- go mod tidy- go install github.com/rakyll/statikchangelog:disable: true#
#
#
# #
archives:# Linux amd64- id: linux-amd64name_template: >-{{- if eq .Os "linux" }}n9e-v{{ .Version }}-linux-amd64.tar.gz{{- end }}wrap_in_directory: falsefiles:- docker/**- etc/**- integrations/**- cli/**- n9e.sql# # Linux arm64- id: linux-arm64name_template: >-{{- if eq .Os "linux" }}n9e-v{{ .Version }}-linux-arm64.tar.gz{{- end }}wrap_in_directory: falsefiles:- docker/**- etc/**- integrations/**- cli/**- n9e.sql# Windows amd64- id: windows-amd64name_template: >-{{- if eq .Os "windows" }}n9e-v{{ .Version }}-windows-amd64.zip{{- end }}wrap_in_directory: falsefiles:- docker/**- etc/**- integrations/**- cli/**- n9e.sql# Windows arm64- id: windows-arm64name_template: >-{{- if eq .Os "windows" }}n9e-v{{ .Version }}-windows-arm64.zip{{- end }}wrap_in_directory: falsefiles:- docker/**- etc/**- integrations/**- cli/**- n9e.sql# macOS amd64- id: darwin-amd64name_template: >-{{- if eq .Os "darwin" }}n9e-v{{ .Version }}-darwin-amd64.tar.gz{{- end }}wrap_in_directory: falsefiles:- docker/**- etc/**- integrations/**- cli/**- n9e.sql# macOS arm64- id: darwin-arm64name_template: >-{{- if eq .Os "darwin" }}n9e-v{{ .Version }}-darwin-arm64.tar.gz{{- end }}wrap_in_directory: falsefiles:- docker/**- etc/**- integrations/**- cli/**- n9e.sql#
# builds:- id: buildhooks:pre:- cmd: sh -x ./fe.shoutput: truemain: ./cmd/center/binary: n9eenv:- CGO_ENABLED=0goos:- linux- windows- darwingoarch:- amd64- arm64ldflags:- -s -w- -X github.com/ccfos/nightingale/v8/pkg/version.Version={{ .Tag }}-{{ .ShortCommit }}# skip: false# archives - id: build-climain: ./cmd/cli/binary: n9e-clienv:- CGO_ENABLED=0goos:- linux- windows- darwingoarch:- amd64- arm64ldflags:- -s -w- -X github.com/ccfos/nightingale/v8/pkg/version.Version={{ .Tag }}-{{ .ShortCommit }}- id: build-edgemain: ./cmd/edge/binary: n9e-edgeenv:- CGO_ENABLED=0goos:- linux- windows- darwingoarch:- amd64- arm64ldflags:- -s -w- -X github.com/ccfos/nightingale/v8/pkg/version.Version={{ .Tag }}-{{ .ShortCommit }}#
release:github:owner: ccfosname: nightingalename_template: v{{ .Version }}# Docker
#dockers:
#  - image_templates:
#      - flashcatcloud/nightingale:{{ .Version }}-amd64
#    goos: linux
#    goarch: amd64
#    ids:
#      - build
#    dockerfile: docker/Dockerfile.goreleaser
#    extra_files:
#      - etc
#      - integrations
#    use: buildx
#    build_flag_templates:
#      - "--platform=linux/amd64"#  - image_templates:
#      - flashcatcloud/nightingale:{{ .Version }}-arm64v8
#    goos: linux
#    goarch: arm64
#    ids:
#      - build
#    dockerfile: docker/Dockerfile.goreleaser.arm64
#    extra_files:
#      - etc
#      - integrations
#    use: buildx
#    build_flag_templates:
#      - "--platform=linux/arm64/v8"# Docker
#docker_manifests:
#  - name_template: flashcatcloud/nightingale:{{ .Version }}
#    image_templates:
#      - flashcatcloud/nightingale:{{ .Version }}-amd64
#      - flashcatcloud/nightingale:{{ .Version }}-arm64v8#  - name_template: flashcatcloud/nightingale:latest
#    image_templates:
#      - flashcatcloud/nightingale:{{ .Version }}-amd64
#      - flashcatcloud/nightingale:{{ .Version }}-arm64v8
进行构建
通过如下指令goreleaser build --snapshot进行快照构建,构建过程中需要耐心等待,输出如下内容则表示构建成功build succeeded after。
$goreleaser build --snapshot/*省略内容*/• building binary=dist/build-edge_darwin_arm64_v8.0/n9e-edge• writing artifacts metadata• build succeeded after 1m2s• thanks for using GoReleaser!
构建过程中会生成dist目录,目录中就是不同平台对应的执行程序,如果在构建过程中出现异常,可以删除dist 目录进行重新构建。
在Windows上运行
作为独立运行程序,需要准备两个依赖服务,也可以直接使用默认sqlite和miniredis。
mysql
redis
数据库初始化脚本在源码docker/initsql/a-n9e.sql中,可以直接进行执行,会自动在数据库服务中创建数据库n9e_v6。
配置文件模板在源码etc目录下的config.toml 中,将其连带etc文件夹一并拷贝到与执行程序平级。
.
n9e.exe
etc/config.toml
主要修改config.toml 配置文件中[DB]和[Redis]。
[DB]
# mysql postgres sqlite
DBType = "mysql"
# postgres: host=%s port=%s user=%s dbname=%s password=%s sslmode=%s
# postgres: DSN="host=127.0.0.1 port=5432 user=root dbname=n9e_v6 password=1234 sslmode=disable"
DSN="root:ggcy@admin@tcp(localhost:3360)/n9e_v6?charset=utf8mb4&parseTime=True&loc=Local"
[Redis]
# address, ip:port or ip1:port,ip2:port for cluster and sentinel(SentinelAddrs)
Address = "127.0.0.1:6739"
RedisType = "standalone"
直接控制台运行命令。
>n9e.exe
runner.cwd: [workdir]/build_windows_amd64_v1
runner.hostname: [host]
runner.fd_limits: N/A
runner.vm_limits: N/A
rpc.listening: 0.0.0.0:20090
please view n9e at  http://172.21.11.6:17000
http server listening on: 0.0.0.0:17000
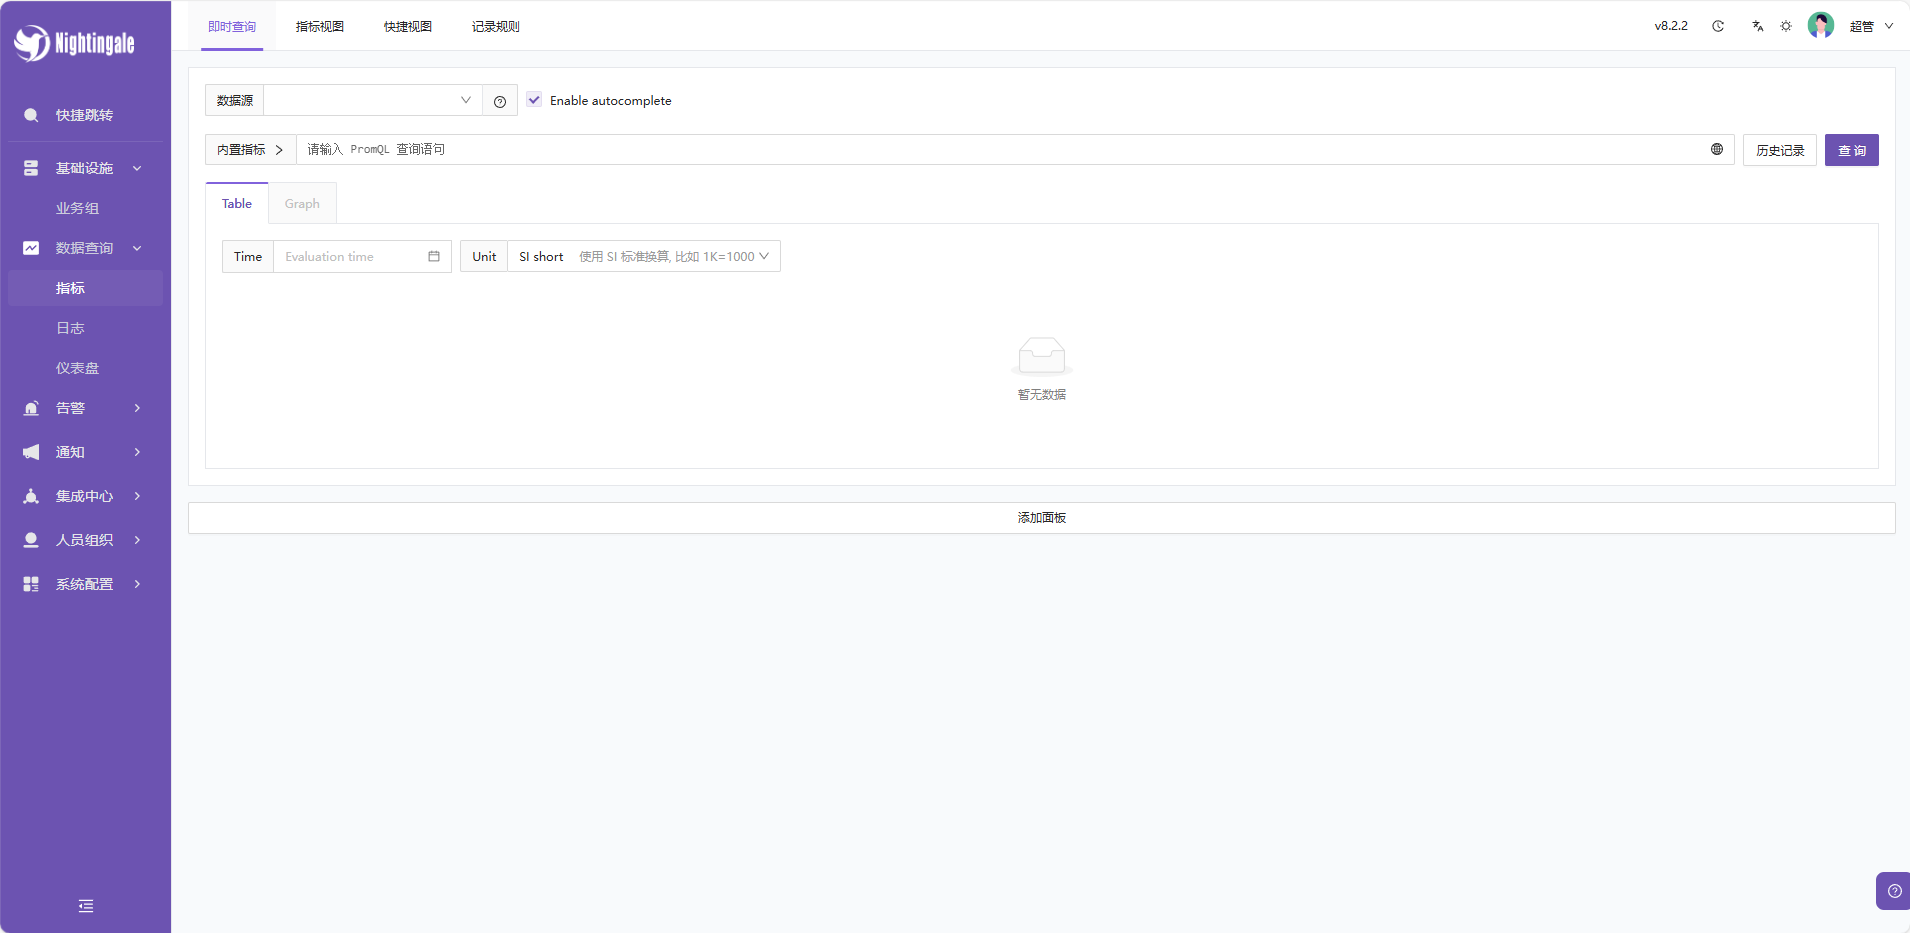
访问地址:http://localhost:17000。
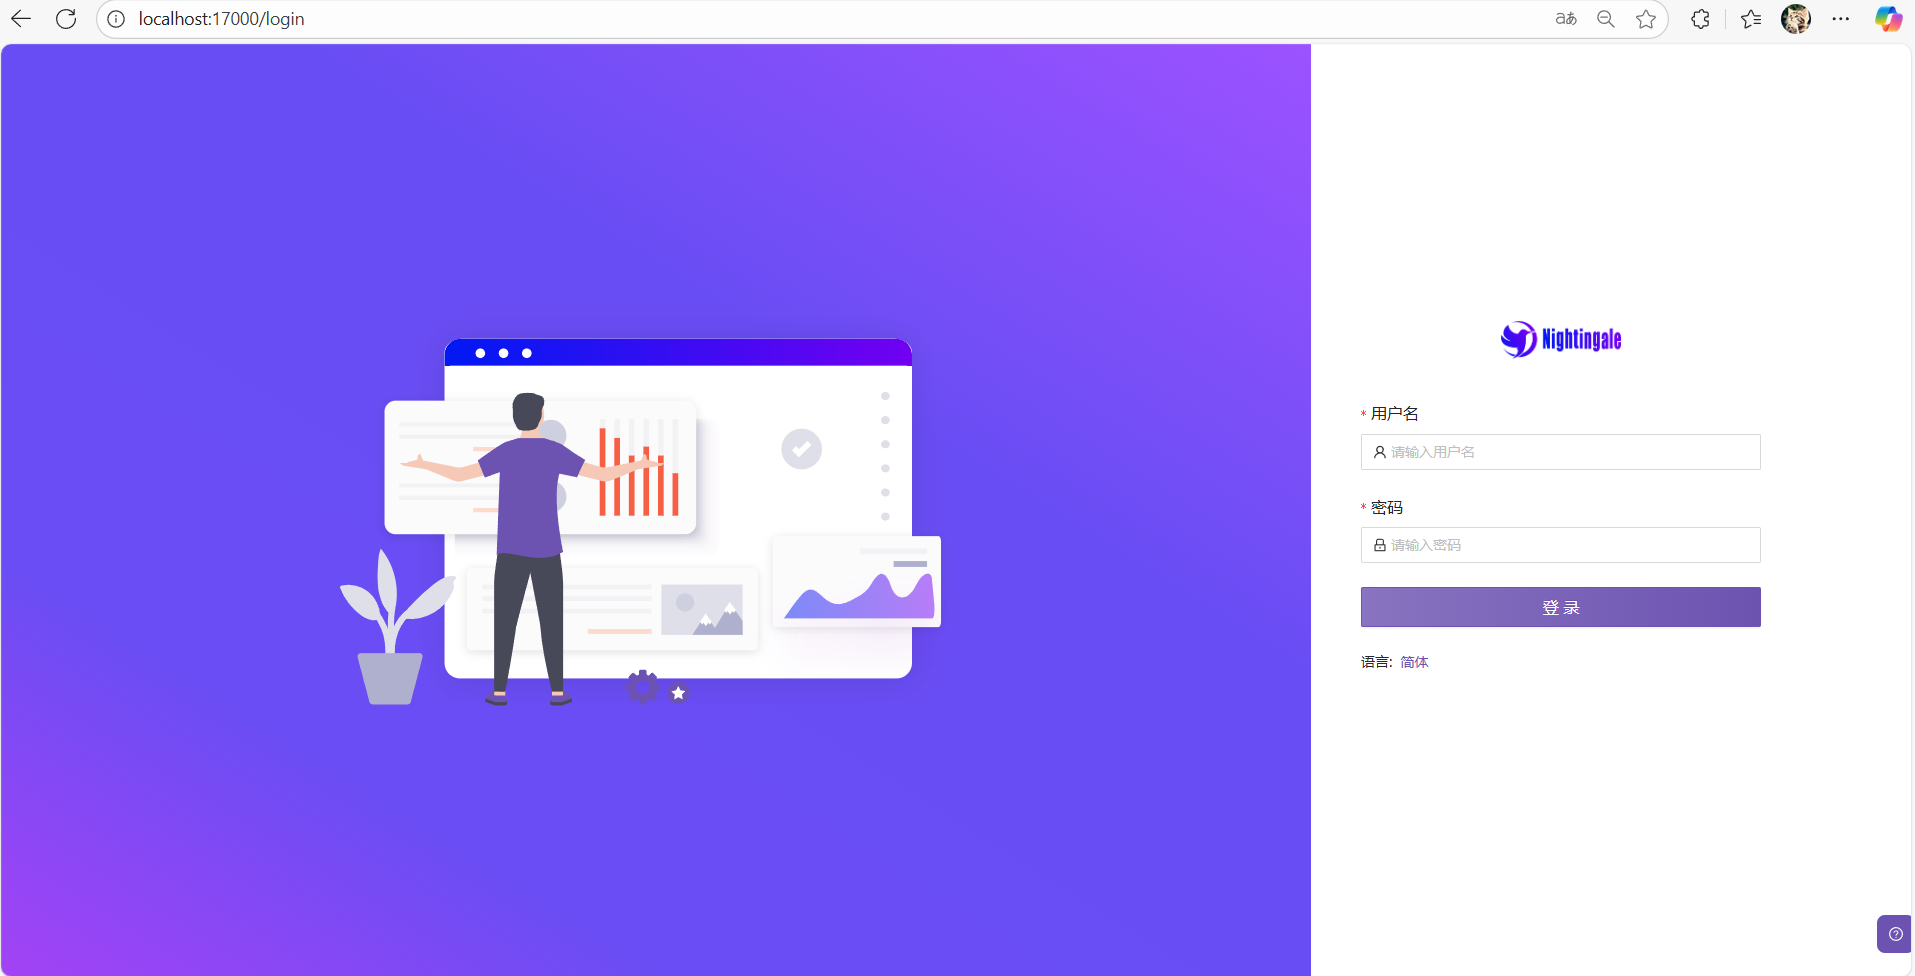
默认账户为root,密码为root.2020,进入系统。