用docker来安装部署freeswitch记录
今天刚才测试一个callcenter的项目,所以尝试安装freeswitch
1、使用轩辕镜像 - 中国开发者首选的专业 Docker 镜像加速服务平台
编辑下面/etc/docker/daemon.json文件为
{"registry-mirrors": ["https://docker.xuanyuan.me"]
}
同时可以进入轩辕镜像 - 中国开发者首选的专业 Docker 镜像加速服务平台
进行搜索获取freeswitch的镜像下载地址
2、下载
docker pull safarov/freeswitch
3、
docker run --net=host --name freeswitch \-e SOUND_RATES=8000:16000 \-e SOUND_TYPES=music:en-us-callie \-v /home/mydata/freeswitch:/usr/share/freeswitch/sounds \-v /etc/freeswitch/:/etc/freeswitch \safarov/freeswitch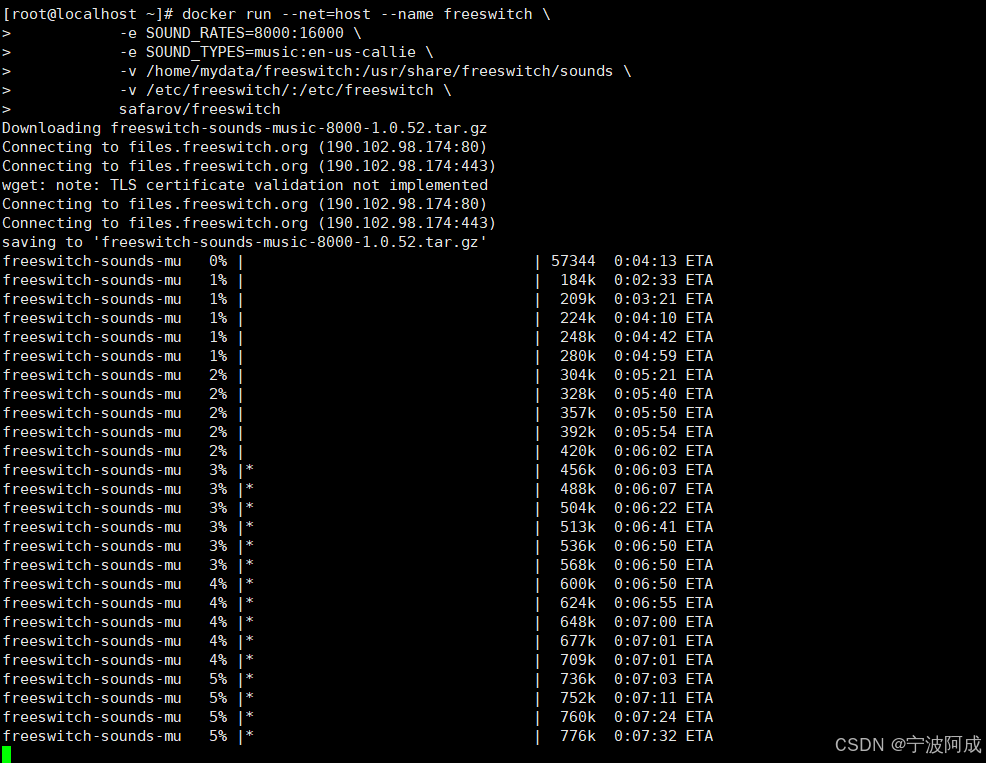
3、最后是这样的

上面有两个错误,通过下面方式处理解决错误
3.1、加入--cap-add=SYS_NICE \解决上面的第一个错误
docker run --net=host --name freeswitch \--cap-add=SYS_NICE \-e SOUND_RATES=8000:16000 \-e SOUND_TYPES=music:en-us-callie \-v /home/mydata/freeswitch:/usr/share/freeswitch/sounds \-v /etc/freeswitch/:/etc/freeswitch \safarov/freeswitch3.2、编辑 /etc/sysctl.conf 添加以下内容:
# 允许容器使用实时调度策略
kernel.sched_rt_runtime_us = -1
3.3、在
本来用下面,但拷贝进去出错
docker run --net=host --name freeswitch \--cap-add=SYS_NICE \ # 授予优先级调整权限--ulimit rtprio=99 \ # 解除实时优先级限制[5](@ref)--security-opt seccomp=unconfined \ # 绕过安全策略限制[11](@ref)-e SOUND_RATES=8000:16000 \-e SOUND_TYPES=music:en-us-callie \-v /home/mydata/freeswitch:/usr/share/freeswitch/sounds \-v /etc/freeswitch:/etc/freeswitch \safarov/freeswitch所以用下面的了就可以了
docker run --net=host --name freeswitch --cap-add=SYS_NICE --ulimit rtprio=99 -e SOUND_RATES=8000:16000 -e SOUND_TYPES=music:en-us-callie -v /home/mydata/freeswitch:/usr/share/freeswitch/sounds -v /etc/freeswitch:/etc/freeswitch safarov/freeswitch
3.4 通过下面方式可以看到初始密码default_password
cd /etc/freeswitch/
vi vars.xml
<include><!-- Preprocessor VariablesThese are introduced when configuration strings must be consistent across modules.NOTICE: YOU CAN NOT COMMENT OUT AN X-PRE-PROCESS line, Remove the line instead.WARNING WARNING WARNING WARNING WARNING WARNING WARNING WARNING WARNING WARNINGYOU SHOULD CHANGE THIS default_password value if you don't want to be subject to anytoll fraud in the future. It's your responsibility to secure your own system.This default config is used to demonstrate the feature set of FreeSWITCH.WARNING WARNING WARNING WARNING WARNING WARNING WARNING WARNING WARNING WARNING--><X-PRE-PROCESS cmd="set" data="default_password=0YZMB0_oSD3V"<X-PRE-PROCESS cmd="set" data="disable_system_api_commands=false"/><!-- Did you change it yet? --><!--
3.5 但现在还是有问题啊
[root@localhost ~]# docker exec -it freeswitch bash
rpc error: code = 2 desc = oci runtime error: exec failed: container_linux.go:300: starting container process caused "exec: \"bash\": executable file not found in $PATH"[root@localhost ~]# docker exec freeswitch fs_cli -x "status"
[ERROR] fs_cli.c:1699 main() Error Connecting []
[root@localho
3.6 但通过下面可以进入
[root@localhost ~]# docker exec -it freeswitch /bin/shBusyBox v1.35.0 (Debian 1:1.35.0-4+b4) built-in shell (ash)
Enter 'help' for a list of built-in commands./ #
但状态运行还是一样的问题
3.7、进入容器修改配置文件event_socket.conf.xml:
vi /usr/share/freeswitch/conf/vanilla/autoload_configs/event_socket.conf.xml
<configuration name="event_socket.conf" description="Socket Client"><settings><param name="nat-map" value="false"/><param name="listen-ip" value="::"/><param name="listen-port" value="8021"/><param name="password" value="ClueCon"/><!--<param name="apply-inbound-acl" value="loopback.auto"/>--><!--<param name="stop-on-bind-error" value="true"/>--></settings>
</configuration>
上面的listen-ip修改成0.0.0.0,如下:
<configuration name="event_socket.conf" description="Socket Client"><settings><param name="nat-map" value="false"/><param name="listen-ip" value="0.0.0.0"/><param name="listen-port" value="8021"/><param name="password" value="ClueCon"/><!--<param name="apply-inbound-acl" value="loopback.auto"/>--><!--<param name="stop-on-bind-error" value="true"/>--></settings>
</configuration>
3.8、修改编辑 ACL 配置文件
vi /usr/share/freeswitch/conf/vanilla/autoload_configs/acl.conf.xml
<configuration name="acl.conf" description="Network Lists"><network-lists><!--These ACL's are automatically created on startup.rfc1918.auto  - RFC1918 Spacenat.auto      - RFC1918 Excluding your local lan.localnet.auto - ACL for your local lan.loopback.auto - ACL for your local lan.--><list name="lan" default="allow"><!--<node type="deny" cidr="192.168.42.0/24"/><node type="allow" cidr="192.168.42.42/32"/> --><node type="allow" cidr="0.0.0.0/0"/> <!-- 允许所有IP访问(测试用) --></list><!--                                                 This will traverse the directory adding all users    with the cidr= tag to this ACL, when this ACL matchesthe users variables and params apply as if theydigest authenticated.-->                                 <list name="domains" default="deny">                                                 <!-- domain= is special it scans the domain from the directory to build the ACL --><node type="allow" domain="$${domain}"/>                              <!-- use cidr= if you wish to allow ip ranges to this domains acl. --><!-- <node type="allow" cidr="192.168.0.0/24"/> --></list></network-lists>
</configuration>
上面注释掉原先的,增加了下面一行
<node type="allow" cidr="0.0.0.0/0"/> <!-- 允许所有IP访问(测试用) -->
3.9 、在 event_socket.conf.xml 中引用此规则:
<param name="apply-inbound-acl" value="lan"/> <!-- 原值可能是loopback.auto -->当然要是原先没有控制,我上面没有控制,应该可以不需要增加这个了
4、但上面的方式还是不行,只能放弃最新的版本安装了,后来用了下面的容器了
docker run -d --name freeswitch --memory=1g --memory-swap=1g --net=host --cap-add=SYS_NICE --ulimit rtprio=99 -p 5060:5060/tcp -p 5060:5060/udp -p 5080:5080/tcp -p 5080:5080/udp -p 8021:8021/tcp -p 7443:7443/tcp -p 16384-32768:16384-32768/udp -e SOUND_RATES="8000:16000" -e SOUND_TYPES="music:en-us-callie" -v /home/mydata/freeswitch:/usr/share/freeswitch/sounds -v /etc/freeswitch:/etc/freeswitch safarov/freeswitch:1.10.34.1 上面版本容器下载运行后如下:
[root@localhost ~]# docker logs freeswitch
Downloading freeswitch-sounds-music-8000-1.0.52.tar.gz
Skiping download of freeswitch-sounds-music-8000-1.0.52.tar.gz. Already present
Downloading freeswitch-sounds-music-16000-1.0.52.tar.gz
Skiping download of freeswitch-sounds-music-16000-1.0.52.tar.gz. Already present
Downloading freeswitch-sounds-en-us-callie-8000-1.0.51.tar.gz
Skiping download of freeswitch-sounds-en-us-callie-8000-1.0.51.tar.gz. Already present
Downloading freeswitch-sounds-en-us-callie-16000-1.0.51.tar.gz
Skiping download of freeswitch-sounds-en-us-callie-16000-1.0.51.tar.gz. Already present
New FreeSwitch password for SIP calls set to 'o-qEitzz29Sc'
2025-06-08 00:24:32.672768 [WARNING] sofia.c:5227 rtp-timeout-sec deprecated use media_timeout variable.
2025-06-08 00:24:32.672775 [WARNING] sofia.c:5234 rtp-hold-timeout-sec deprecated use media_hold_timeout variable.
2025-06-08 00:24:32.673040 [WARNING] sofia.c:5227 rtp-timeout-sec deprecated use media_timeout variable.
2025-06-08 00:24:32.673042 [WARNING] sofia.c:5234 rtp-hold-timeout-sec deprecated use media_hold_timeout variable.
2025-06-08 00:24:32.673198 [WARNING] sofia.c:5227 rtp-timeout-sec deprecated use media_timeout variable.
2025-06-08 00:24:32.673200 [WARNING] sofia.c:5234 rtp-hold-timeout-sec deprecated use media_hold_timeout variable.
2025-06-08 00:24:32.673364 [WARNING] sofia.c:5227 rtp-timeout-sec deprecated use media_timeout variable.
2025-06-08 00:24:32.673368 [WARNING] sofia.c:5234 rtp-hold-timeout-sec deprecated use media_hold_timeout variable.
2025-06-08 00:24:32.674981 [WARNING] sofia.c:2306 MSG Thread 0 Started
4.2 检查结果如下:
docker exec freeswitch fs_cli -x "status"
UP 0 years, 0 days, 0 hours, 1 minute, 15 seconds, 171 milliseconds, 923 microseconds
FreeSWITCH (Version 1.10.0  64bit) is ready
0 session(s) since startup
0 session(s) - peak 0, last 5min 0
0 session(s) per Sec out of max 30, peak 0, last 5min 0
1000 session(s) max
min idle cpu 0.00/98.53
Current Stack Size/Max 240K/8192K
4.3 同时现在端口也正常了
[root@localhost ~]# netstat -lntp
Active Internet connections (only servers)
Proto Recv-Q Send-Q Local Address           Foreign Address         State       PID/Program name
tcp        0      0 192.168.199.151:5060    0.0.0.0:*               LISTEN      24603/freeswitch
tcp        0      0 192.168.199.151:5066    0.0.0.0:*               LISTEN      24603/freeswitch
tcp        0      0 192.168.199.151:8081    0.0.0.0:*               LISTEN      24603/freeswitch
tcp        0      0 192.168.199.151:8082    0.0.0.0:*               LISTEN      24603/freeswitch
tcp        0      0 192.168.199.151:7443    0.0.0.0:*               LISTEN      24603/freeswitch
tcp        0      0 0.0.0.0:22              0.0.0.0:*               LISTEN      1027/sshd
tcp        0      0 192.168.199.151:5080    0.0.0.0:*               LISTEN      24603/freeswitch
tcp        0      0 127.0.0.1:25            0.0.0.0:*               LISTEN      1238/master
tcp6       0      0 ::1:5060                :::*                    LISTEN      24603/freeswitch
tcp6       0      0 :::3306                 :::*                    LISTEN      1531/docker-proxy-c
tcp6       0      0 :::6379                 :::*                    LISTEN      1520/docker-proxy-c
tcp6       0      0 ::1:8081                :::*                    LISTEN      24603/freeswitch
tcp6       0      0 ::1:8082                :::*                    LISTEN      24603/freeswitch
tcp6       0      0 :::8021                 :::*                    LISTEN      24603/freeswitch
tcp6       0      0 :::22                   :::*                    LISTEN      1027/sshd
tcp6       0      0 ::1:5080                :::*                    LISTEN      24603/freeswitch
tcp6       0      0 ::1:25                  :::*                    LISTEN      1238/master
firewall-cmd --add-port=8021/tcp  --permanent
firewall-cmd --add-port=5060/tcp  --permanent
firewall-cmd --add-port=7443/tcp  --permanent
firewall-cmd --reload
firewall-cmd --list-all
4.5 增加防火墙端口以便访问
不过通过telnet连接端口8021连接不上,提示权限拒绝
本地/etc/freeswitch/的event_socket.conf.xml
<configuration name="event_socket.conf" description="Socket Client"><settings><param name="nat-map" value="false"/><param name="listen-ip" value="0.0.0.0"/><param name="listen-port" value="8021"/><param name="password" value="ClueCon"/><!--<param name="apply-inbound-acl" value="loopback.auto"/>--><!-- 修改为允许所有IP --><param name="apply-inbound-acl" value="all.allow"/><param name="stop-on-bind-error" value="true"/></settings>
</configuration>
最后还是在本地的配置
/etc/freeswitch/autoload_configs
vi acl.conf.xml
<configuration name="acl.conf" description="Network Lists"><network-lists><!--These ACL's are automatically created on startup.rfc1918.auto  - RFC1918 Spacenat.auto      - RFC1918 Excluding your local lan.localnet.auto - ACL for your local lan.loopback.auto - ACL for your local lan.--><list name="all.allow" default="allow"> <!-- 默认策略改为allow --><node type="allow" cidr="127.0.0.1/32"/> <!-- 确保本地IP被允许 --><node type="allow" cidr="192.168.199.151/32"/></list><list name="lan" default="allow"><node type="allow" cidr="127.0.0.1/32"/><node type="allow" cidr="192.168.199.151/32"/></list><!--This will traverse the directory adding all userswith the cidr= tag to this ACL, when this ACL matchesthe users variables and params apply as if theydigest authenticated.--><list name="domains" default="deny"><!-- domain= is special it scans the domain from the directory to build the ACL --><node type="allow" domain="$${domain}"/><!-- use cidr= if you wish to allow ip ranges to this domains acl. --><!-- <node type="allow" cidr="192.168.0.0/24"/> --></list></network-lists>
</configuration>
上面主要需要更加
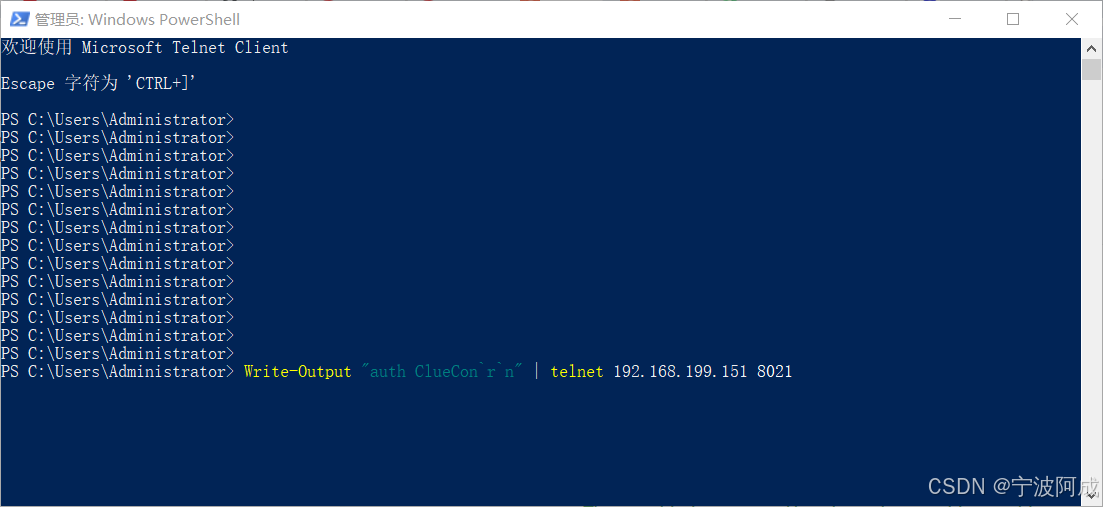
<list name="all.allow" default="allow"> <!-- 默认策略改为allow --><node type="allow" cidr="127.0.0.1/32"/> <!-- 确保本地IP被允许 --><node type="allow" cidr="192.168.199.151/32"/></list>4.6 在powershell里输入
Write-Output "auth ClueCon`r`n" | telnet 192.168.199.151 8021