RuoYi前后端分离框架实现前后端数据传输加密(二)之前端篇
一、背景
本文是RuoYi前后端分离框架实现前后端数据传输加密(一)之后端篇文章配套的,主要介绍前端对自定义字段传输加密的实现,两篇文章结合可以完整的完成RuoYi前后端分离框架对API通信过程中实现自定义字段加密传输。前端的加解密实现,不涉及到界面的修改,仅仅是方法的修改,话不多说开整。
二、插件安装
前端国密工具插件的选择可以直接问AI或者搜索引擎,也可以直接到npmjs官方网站去搜索,直接选择一个下载量相对较多一点的就行,由于采用的若依框架的前端版本为vue2,所以本人选择的是sm-crypto插件。如下图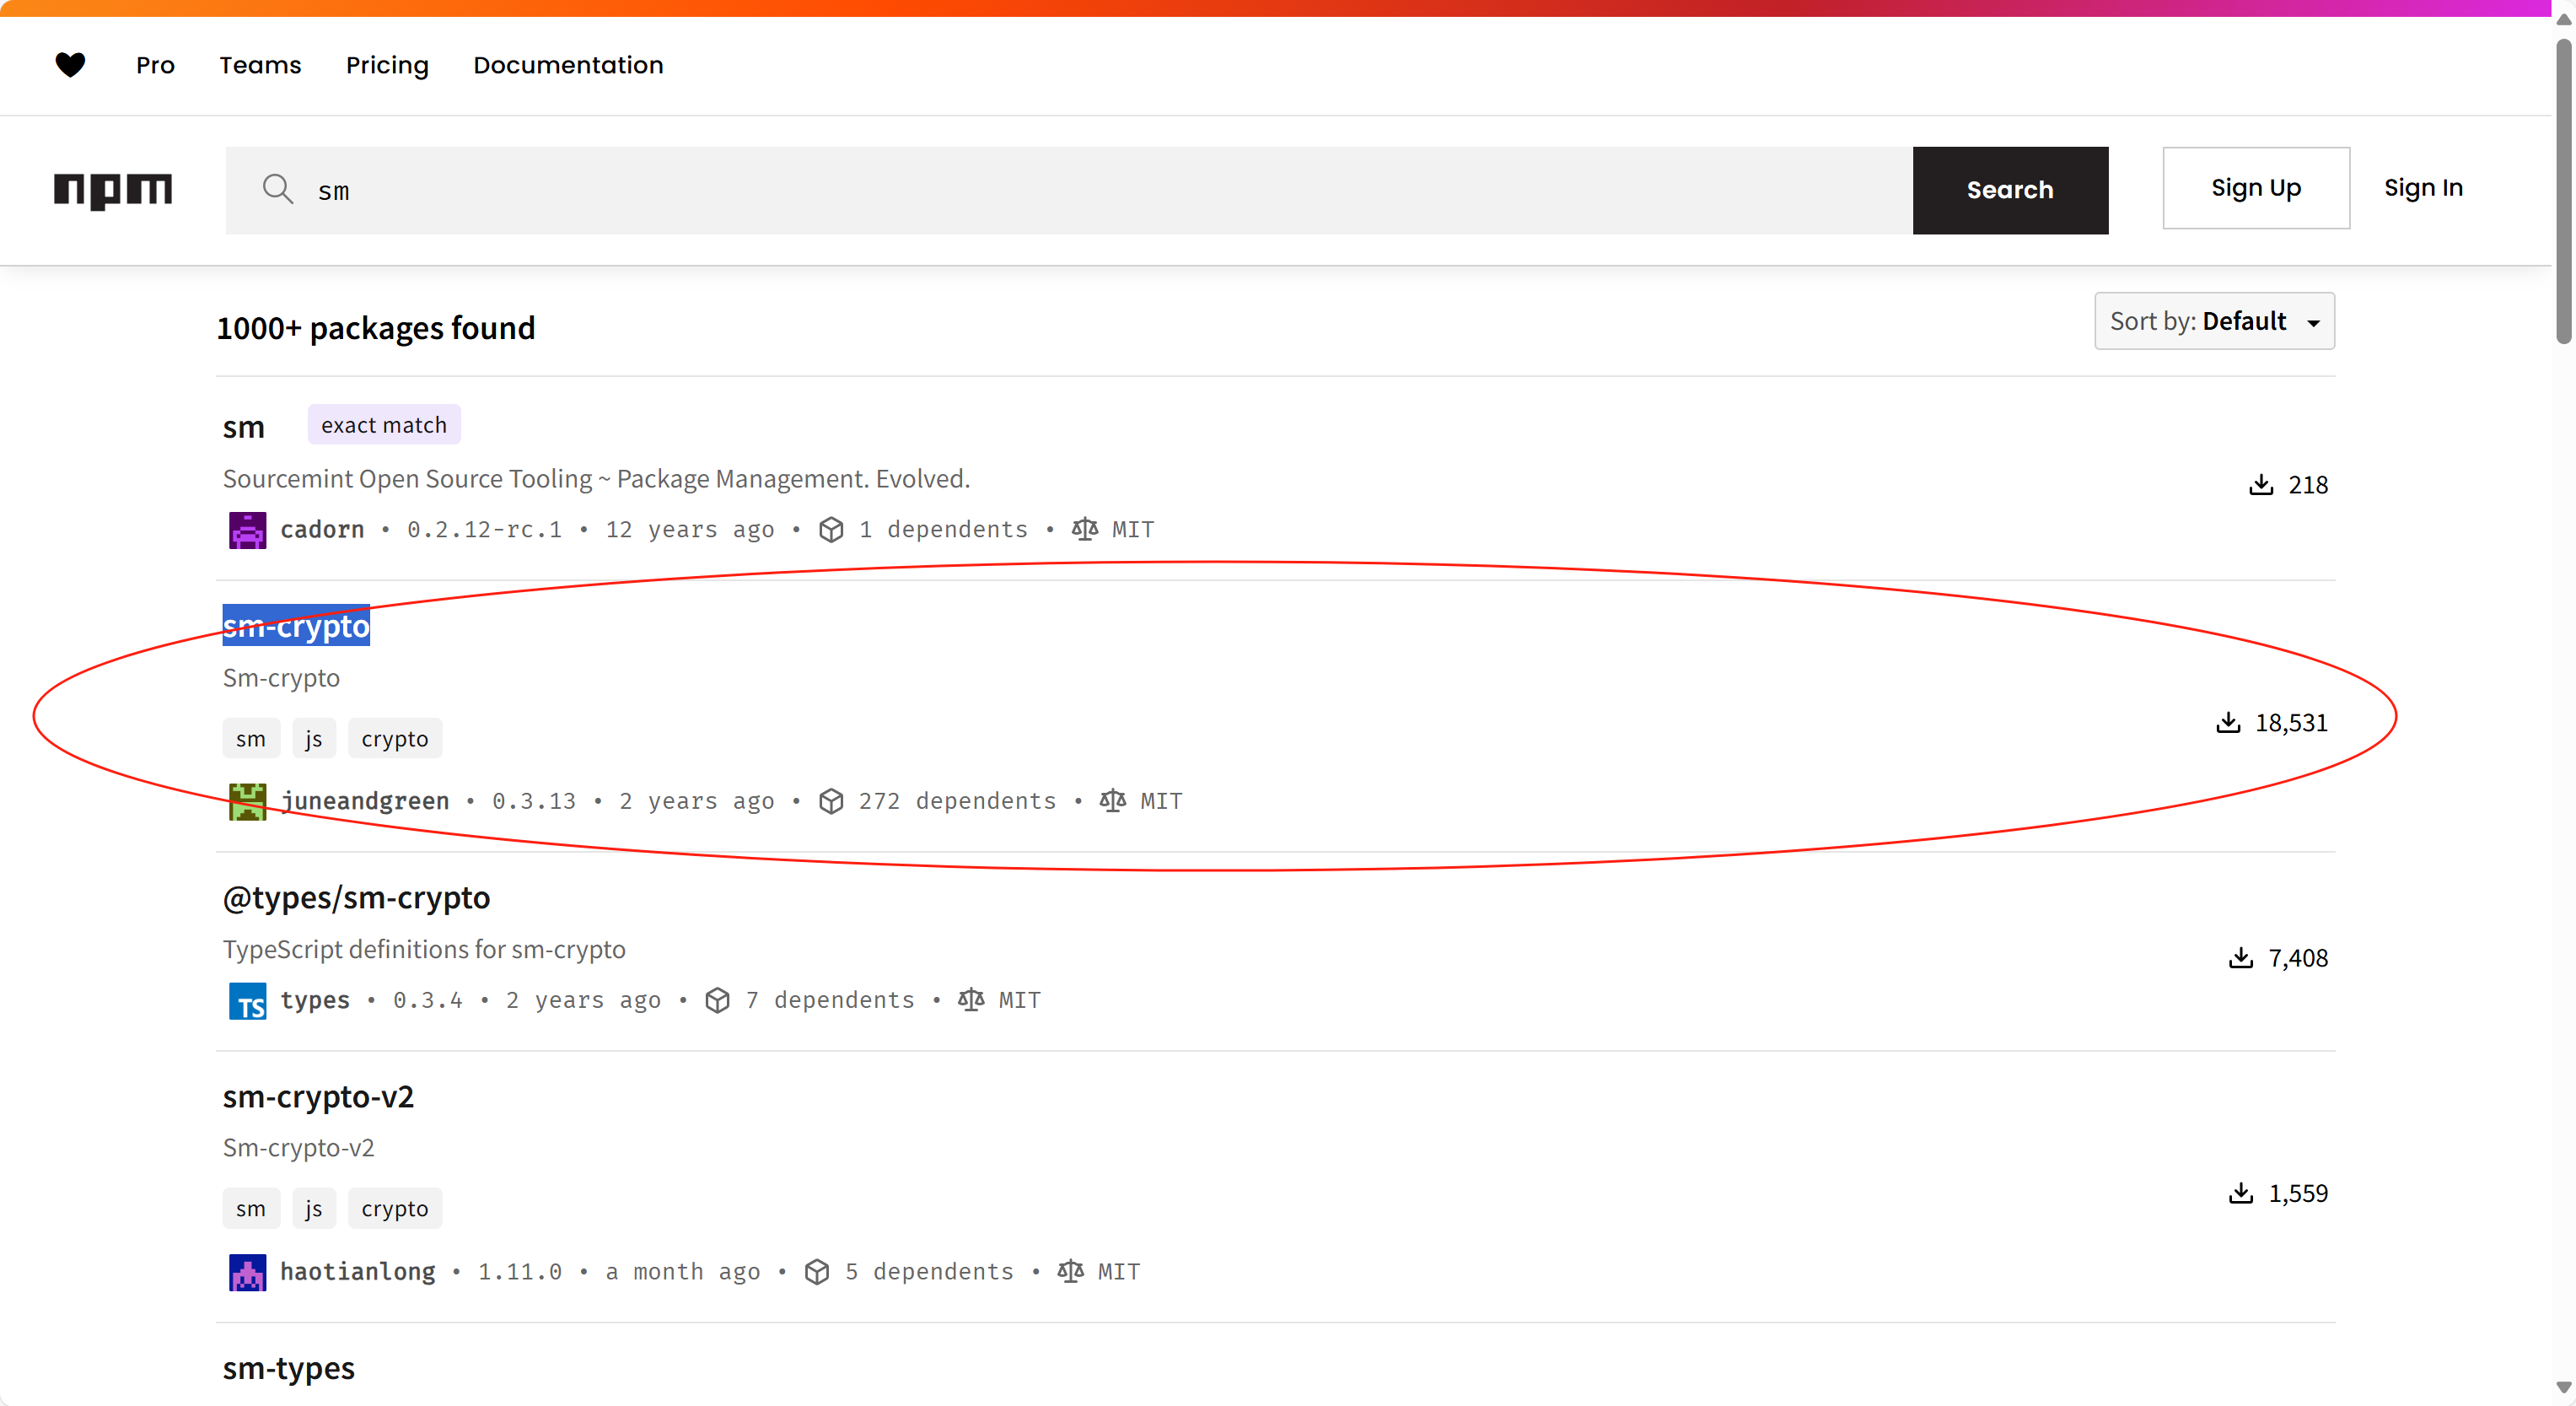
插件的安装,可以直接参照sm-crypto插件文档来,不想去找文档的,可以直接按照下面贴的来:
安装
npm install --save sm-crypto
sm2
获取密钥对
const sm2 = require('sm-crypto').sm2let keypair = sm2.generateKeyPairHex()publicKey = keypair.publicKey // 公钥
privateKey = keypair.privateKey // 私钥// 默认生成公钥 130 位太长,可以压缩公钥到 66 位
const compressedPublicKey = sm2.compressPublicKeyHex(publicKey) // compressedPublicKey 和 publicKey 等价
sm2.comparePublicKeyHex(publicKey, compressedPublicKey) // 判断公钥是否等价// 自定义随机数,参数会直接透传给 jsbn 库的 BigInteger 构造器
// 注意:开发者使用自定义随机数,需要自行确保传入的随机数符合密码学安全
let keypair2 = sm2.generateKeyPairHex('123123123123123')
let keypair3 = sm2.generateKeyPairHex(256, SecureRandom)let verifyResult = sm2.verifyPublicKey(publicKey) // 验证公钥
verifyResult = sm2.verifyPublicKey(compressedPublicKey) // 验证公钥
加密解密
const sm2 = require('sm-crypto').sm2
const cipherMode = 1 // 1 - C1C3C2,0 - C1C2C3,默认为1let encryptData = sm2.doEncrypt(msgString, publicKey, cipherMode) // 加密结果
let decryptData = sm2.doDecrypt(encryptData, privateKey, cipherMode) // 解密结果encryptData = sm2.doEncrypt(msgArray, publicKey, cipherMode) // 加密结果,输入数组
decryptData = sm2.doDecrypt(encryptData, privateKey, cipherMode, {output: 'array'}) // 解密结果,输出数组
ps:密文会在解密时自动补充 04,如遇到其他工具补充的 04 需手动去除再传入。签名验签
ps:理论上来说,只做纯签名是最快的。const sm2 = require('sm-crypto').sm2// 纯签名 + 生成椭圆曲线点
let sigValueHex = sm2.doSignature(msg, privateKey) // 签名
let verifyResult = sm2.doVerifySignature(msg, sigValueHex, publicKey) // 验签结果// 纯签名
let sigValueHex2 = sm2.doSignature(msg, privateKey, {pointPool: [sm2.getPoint(), sm2.getPoint(), sm2.getPoint(), sm2.getPoint()], // 传入事先已生成好的椭圆曲线点,可加快签名速度
}) // 签名
let verifyResult2 = sm2.doVerifySignature(msg, sigValueHex2, publicKey) // 验签结果// 纯签名 + 生成椭圆曲线点 + der编解码
let sigValueHex3 = sm2.doSignature(msg, privateKey, {der: true,
}) // 签名
let verifyResult3 = sm2.doVerifySignature(msg, sigValueHex3, publicKey, {der: true,
}) // 验签结果// 纯签名 + 生成椭圆曲线点 + sm3杂凑
let sigValueHex4 = sm2.doSignature(msg, privateKey, {hash: true,
}) // 签名
let verifyResult4 = sm2.doVerifySignature(msg, sigValueHex4, publicKey, {hash: true,
}) // 验签结果// 纯签名 + 生成椭圆曲线点 + sm3杂凑(不做公钥推导)
let sigValueHex5 = sm2.doSignature(msg, privateKey, {hash: true,publicKey, // 传入公钥的话,可以去掉sm3杂凑中推导公钥的过程,速度会比纯签名 + 生成椭圆曲线点 + sm3杂凑快
})
let verifyResult5 = sm2.doVerifySignature(msg, sigValueHex5, publicKey, {hash: true,publicKey,
})// 纯签名 + 生成椭圆曲线点 + sm3杂凑 + 不做公钥推 + 添加 userId(长度小于 8192)
// 默认 userId 值为 1234567812345678
let sigValueHex6 = sm2.doSignature(msgString, privateKey, {hash: true,publicKey,userId: 'testUserId',
})
let verifyResult6 = sm2.doVerifySignature(msgString, sigValueHex6, publicKey, {hash: true,userId: 'testUserId',
})
获取椭圆曲线点
const sm2 = require('sm-crypto').sm2let point = sm2.getPoint() // 获取一个椭圆曲线点,可在sm2签名时传入
根据私钥获取公钥
const sm2 = require('sm-crypto).sm2let publicKey = sm2.getPublicKeyFromPrivateKey(privateKey)
sm3
const sm3 = require('sm-crypto').sm3let hashData = sm3('abc') // 杂凑// hmac
hashData = sm3('abc', {key: 'daac25c1512fe50f79b0e4526b93f5c0e1460cef40b6dd44af13caec62e8c60e0d885f3c6d6fb51e530889e6fd4ac743a6d332e68a0f2a3923f42585dceb93e9', // 要求为 16 进制串或字节数组
})
sm4
加密
const sm4 = require('sm-crypto').sm4
const msg = 'hello world! 我是 juneandgreen.' // 可以为 utf8 串或字节数组
co