工信部中文点选验证码识别
一、简介

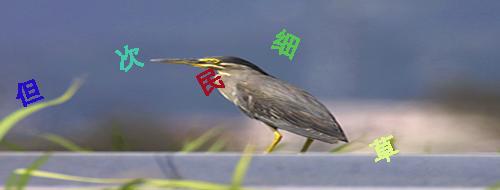
这个是工信部的中文点选验证码,文字中规中矩,没有变形。难点就是他和背景颜色融入比较好,经常找不到文字在什么地方。
二、数据标注
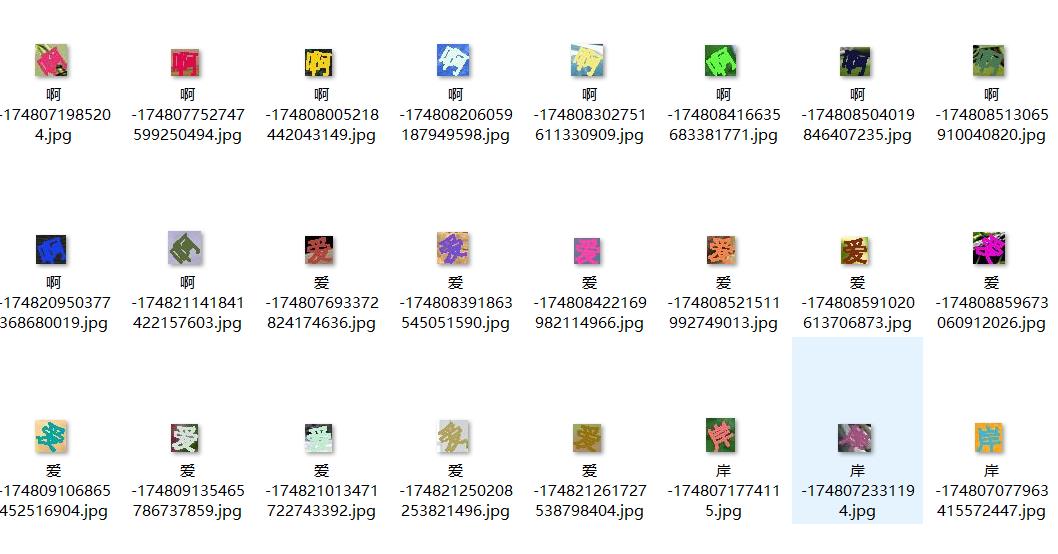
我们进行了大量数据标注,标注中文50万个字符,终于让单个字的正确率提升到了99%以上。整个验证码识别正确率也达到了90%以上。这也是最费时费力的过程,标记50万数据我们整整忙碌了2个月。看在我们这么辛苦的份上也请大家多多支持。谢谢

三、识别代码
下面是我们的识别样例代码,需要上传两张图片,分别是:
1、点击区大图

2、点击顺序小图

3、识别样例代码
import base64
import requests
import datetime
from io import BytesIO
from PIL import Image, ImageDraw, ImageFontt1 = datetime.datetime.now()#PIL图片保存为base64编码
def PIL_base64(img, coding='utf-8'):img_format = img.formatif img_format == None:img_format = 'JPEG'format_str = 'JPEG'if 'png' == img_format.lower():format_str = 'PNG'if 'gif' == img_format.lower():format_str = 'gif'if img.mode == "P":img = img.convert('RGB')if img.mode == "RGBA":format_str = 'PNG'img_format = 'PNG'output_buffer = BytesIO()# img.save(output_buffer, format=format_str)img.save(output_buffer, quality=100, format=format_str)byte_data = output_buffer.getvalue()base64_str = 'data:image/' + img_format.lower() + ';base64,' + base64.b64encode(byte_data).decode(coding)# base64_str = base64.b64encode(byte_data).decode(coding)return base64_str# 加载图片
img1 = Image.open(r'E:\Python\lixin_project\OpenAPI接口测试\test_img\71-1.jpg')
# 图片转base64
img1_base64 = PIL_base64(img1)
img2 = Image.open(r'E:\Python\lixin_project\OpenAPI接口测试\test_img\71-2.jpg')
# 图片转base64
img2_base64 = PIL_base64(img2)# 验证码识别接口
url = "http://bq1gpmr8.xiaomy.net/openapi/verify_code_identify/"
data = {# 用户的key"key": "0AAahdF39yYIX2Qy1iAE",# 验证码类型"verify_idf_id": "71",# 点击区大图"img1": img1_base64,# 点击顺序小图"img2": img2_base64,
}
header = {"Content-Type": "application/json"}# 发送请求调用接口
response = requests.post(url=url, json=data, headers=header)# 获取响应数据,识别结果
print(response.text)
print("耗时:", datetime.datetime.now() - t1)# 标记识别结果
draw = ImageDraw.Draw(img1)
# 字体设置
font_type = "./msyhl.ttc"
font_size = 20
font = ImageFont.truetype(font_type, font_size)
# 获取结果列表
y = response.json()['data']['res_str']
point_list = eval(y)
# 标记点击序号
for i, point in enumerate(point_list):draw.ellipse((point[0] - 15, point[1] - 15,point[0] + 15, point[1] + 15), fill=(255, 0, 0))draw.text((point[0] - 5, point[1] - 15), str(i + 1), fill=(255, 255, 255), font=font)img1.show()
