Babylon.js学习之路《六、材质与纹理:为模型赋予真实的表面效果》

文章目录
- 1. 引言:材质与纹理的重要性
- 1.1 材质与纹理的核心作用
- 2. 基础材质:StandardMaterial
- 2.1 材质属性详解
- 2.2 实战:创建金属材质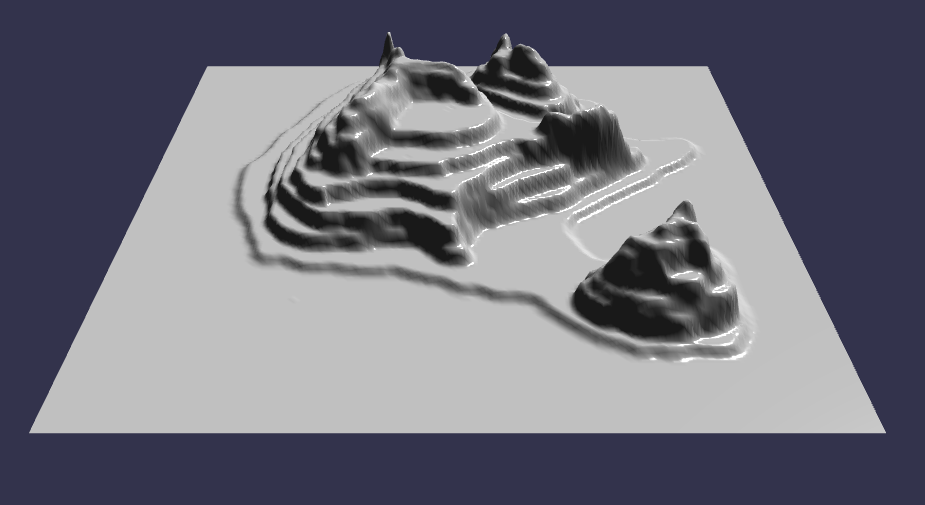
- 3. 纹理贴图:从基础到高级
- 3.1 基础纹理映射
- 3.2 多纹理混合技术
- 4. 高级材质:PBRMaterial
- 4.1 PBR 材质基础
- 4.2 PBR 材质实战:生锈金属
- 5. 动态材质与自定义着色器
- 5.1 动态修改材质属性**
- 5.2 自定义 GLSL 着色器
- 6. 实战任务
- 任务 1:创建动态天气墙面
- 任务 2:可交互的材质编辑器
- 7. 性能优化与常见问题
- 7.1 纹理优化技巧
- 7.2 常见问题解答
- 7. 总结与下一章预告
- 7.1 关键知识点回顾
- 7.2 下一章预告
1. 引言:材质与纹理的重要性
- 上一章详解灯光与阴影,点光源、方向光、聚光灯的设置与阴影优化技巧。
- 这一章详细介绍一下Babylon中,材质与纹理的相关知识,包含基础材质、PBR材质、着色器等。
- 材质与纹理的好坏,决定着场景的显示效果,更决定着使用者的体验。
1.1 材质与纹理的核心作用
- 核心作用:材质定义物体的视觉属性(颜色、反光、粗糙度),纹理提供表面细节(图案、凹凸、磨损)。
- 案例对比:
- 无材质:物体呈现单一颜色,缺乏真实感。
- 基础材质:通过颜色和反光增强立体感。
- 纹理+材质:表面细节丰富(如木纹、锈迹、布料纤维)。
2. 基础材质:StandardMaterial
2.1 材质属性详解
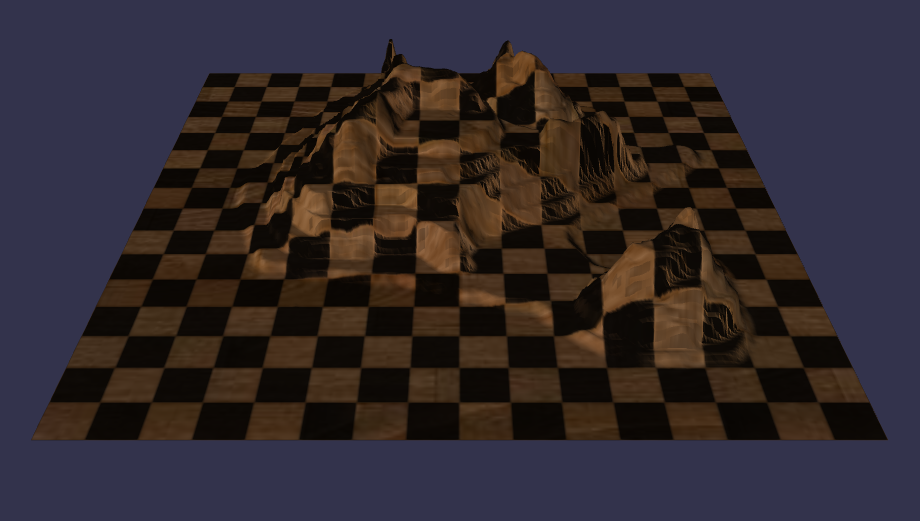
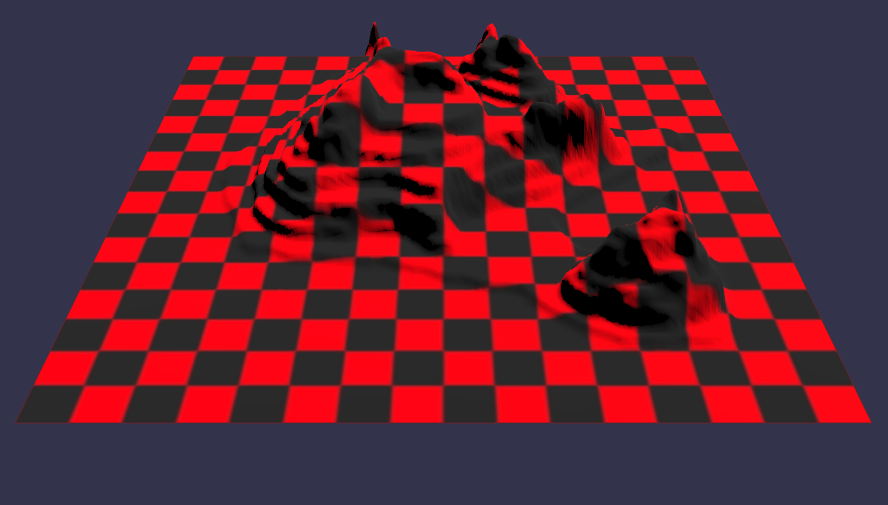
如图,是一个没有材质的地面,下面为这个地形添加材质
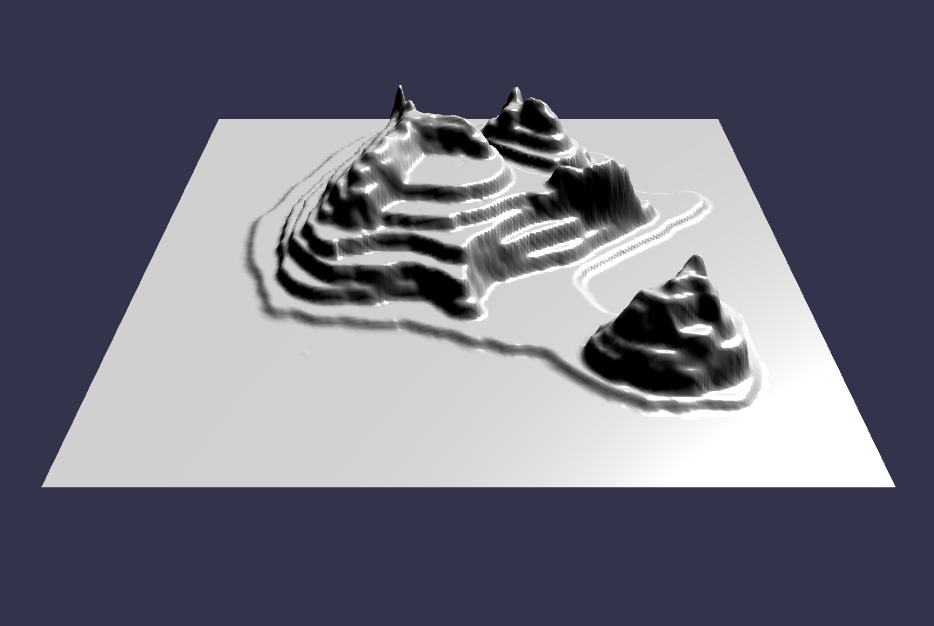
- 关键属性:
// 地面var ground = BABYLON.Mesh.CreateGroundFromHeightMap("ground","/textures/heightMap.png",250,250,200,0,50, scene, false);// 地面材质var groundMaterial = new BABYLON.StandardMaterial("ground", scene);// 地面材质贴图groundMaterial.diffuseTexture = new BABYLON.Texture("/textures/ground.jpg", scene);// 横向\纵向重复次数groundMaterial.diffuseTexture.uScale = 6;groundMaterial.diffuseTexture.vScale = 6;// 漫反射颜色(基础色)groundMaterial.diffuseColor = new BABYLON.Color3(1, 1, 1);// 高光颜色groundMaterial.specularColor = new BABYLON.Color3(0, 0, 0);// 自发光颜色(如霓虹灯)groundMaterial.emissiveColor = new BABYLON.Color3(0, 0, 0);// 环境光影响颜色groundMaterial.ambientColor = new BABYLON.Color3(1, 1, 1);// 透明度(0 ~ 1)groundMaterial.alpha = 1;ground.position.y = -2.05;ground.material = groundMaterial;
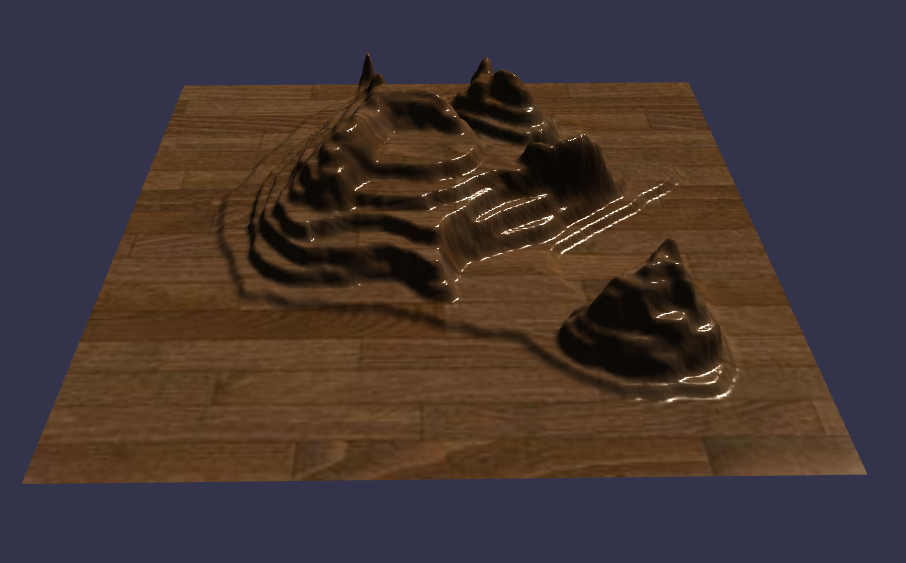
- 光泽与粗糙度:
groundMaterial.specularPower = 64; // 高光聚焦程度(值越大,光斑越小)groundMaterial.roughness = 0.3; // 表面粗糙度(0光滑,1粗糙)
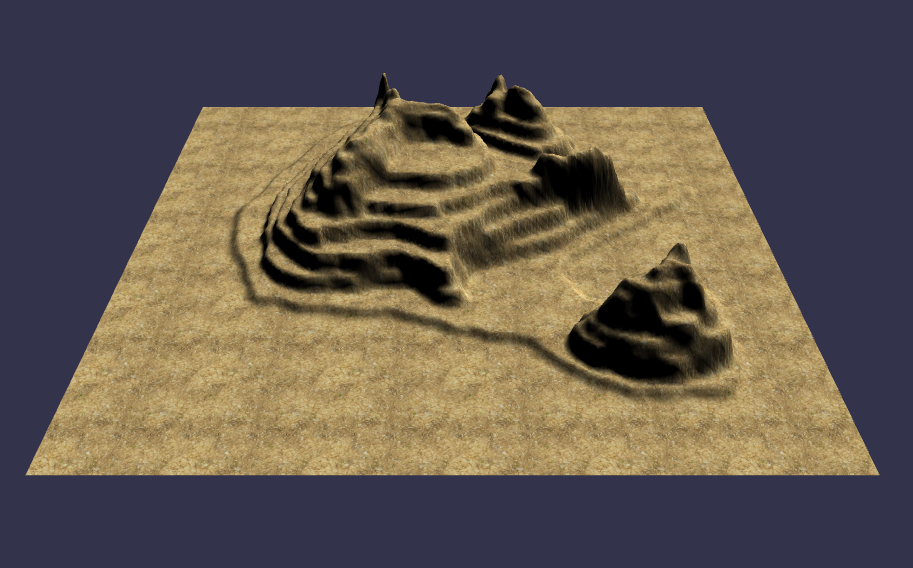
经过几行代码的处理,一个沙丘形状的地形就展现出来。
2.2 实战:创建金属材质
- 目标:模拟抛光金属表面(高反光、锐利高光)。
- 代码示例:
const metalMat = new BABYLON.StandardMaterial("metalMat", scene);metalMat.diffuseColor = new BABYLON.Color3(0.8, 0.8, 0.8); // 银灰色metalMat.specularColor = new BABYLON.Color3(1, 1, 1); // 白色高光metalMat.specularPower = 256; // 高光聚焦metalMat.emissiveColor = new BABYLON.Color3(0.1, 0.1, 0.1); // 轻微自发光sphere.material = metalMat;
3. 纹理贴图:从基础到高级
3.1 基础纹理映射
- 加载纹理贴图:
const diffuseTexture = new BABYLON.Texture("textures/wood.jpg", // 纹理路径scene);material.diffuseTexture = diffuseTexture; // 应用漫反射贴图
- 纹理参数调整:
diffuseTexture.uScale = 2; // 横向重复次数diffuseTexture.vScale = 2; // 纵向重复次数diffuseTexture.wrapU = BABYLON.Texture.WRAP_REPEAT; // 横向重复模式diffuseTexture.wrapV = BABYLON.Texture.WRAP_MIRROR; // 纵向镜像重复
3.2 多纹理混合技术
- 法线贴图(Normal Map):模拟表面凹凸细节。
const normalTexture = new BABYLON.Texture("textures/brick_normal.jpg", scene);material.bumpTexture = normalTexture;material.bumpTexture.level = 0.5; // 凹凸强度
- 高光贴图(Specular Map):控制表面反光区域。
const specularTexture = new BABYLON.Texture("textures/brick_specular.jpg", scene);material.specularTexture = specularTexture;
- 环境光遮蔽贴图(AO Map):增强阴影细节。
const aoTexture = new BABYLON.Texture("textures/brick_ao.jpg", scene);material.ambientTexture = aoTexture;
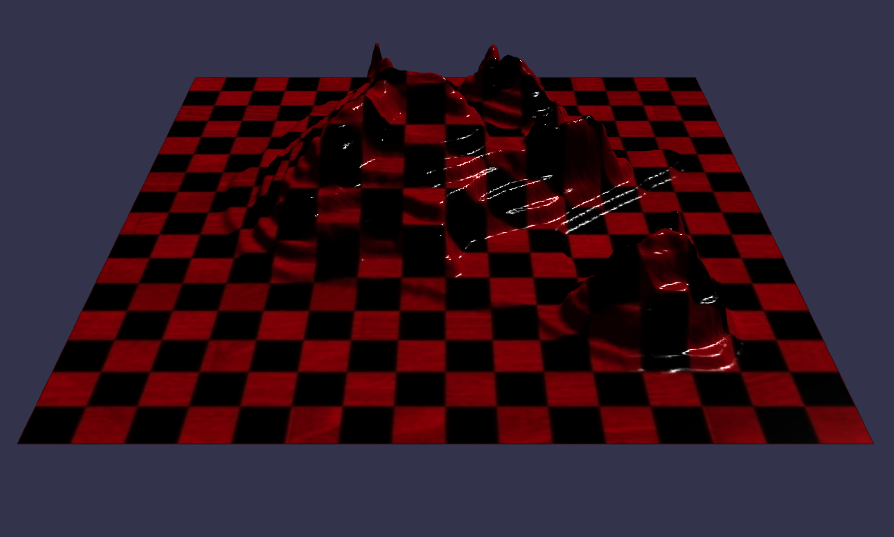
4. 高级材质:PBRMaterial
4.1 PBR 材质基础
- PBR 核心原理:基于物理的渲染(金属度、粗糙度、环境反射)。
- 代码示例:
const pbrMat = new BABYLON.PBRMaterial("pbrMat", scene);pbrMat.albedoTexture = new BABYLON.Texture("textures/metal_albedo.png", scene);pbrMat.metallic = 0.9; // 金属度(0非金属,1金属)pbrMat.roughness = 0.2; // 粗糙度(0光滑,1粗糙)pbrMat.environmentTexture = BABYLON.CubeTexture.CreateFromPrefilteredData("textures/env.dds", scene); // 环境反射贴图
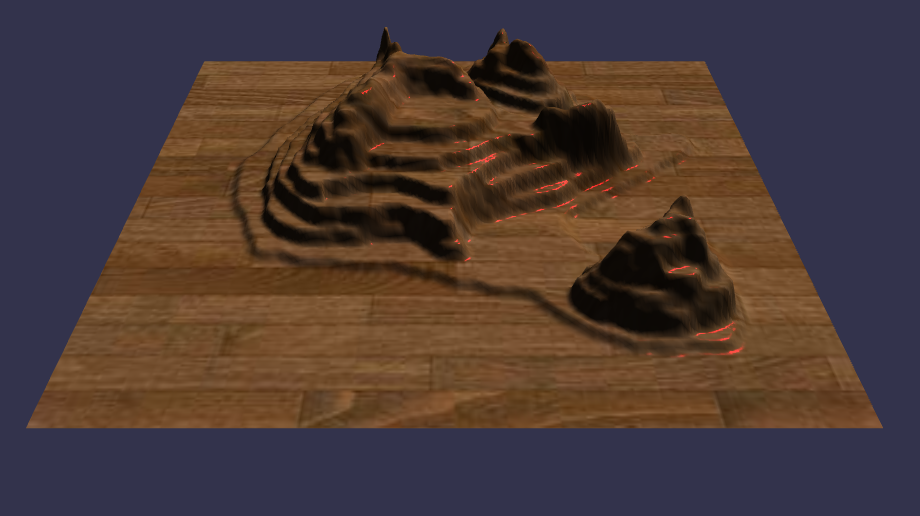
4.2 PBR 材质实战:生锈金属
- 纹理组合:
pbrMat.albedoTexture = new BABYLON.Texture("textures/rusted_iron_albedo.png", scene);pbrMat.metallicTexture = new BABYLON.Texture("textures/rusted_iron_metallic.png", scene);pbrMat.roughnessTexture = new BABYLON.Texture("textures/rusted_iron_roughness.png", scene);pbrMat.normalTexture = new BABYLON.Texture("textures/rusted_iron_normal.png", scene);pbrMat.ambientTexture = new BABYLON.Texture("textures/rusted_iron_ao.png", scene);
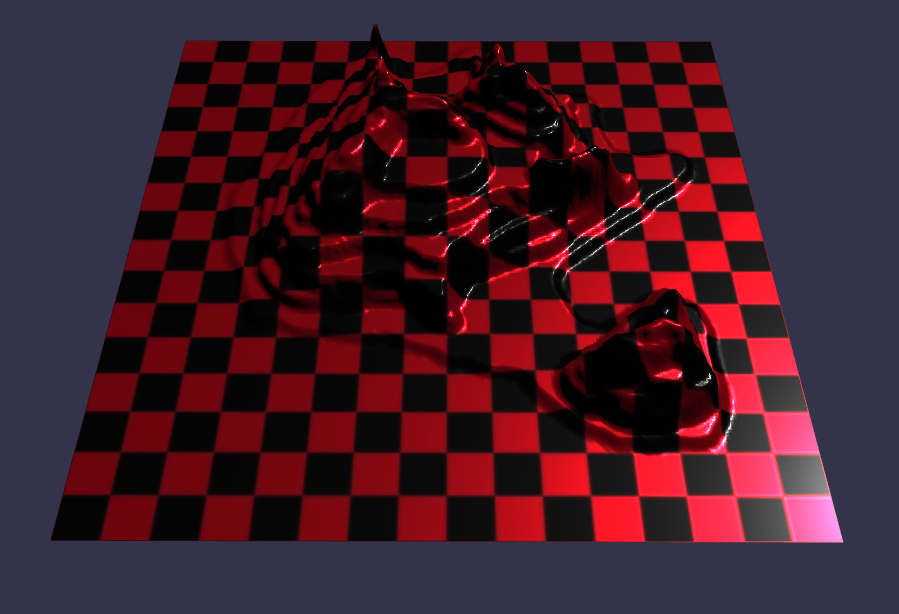
5. 动态材质与自定义着色器
5.1 动态修改材质属性**
- 颜色渐变效果:
let time = 0;scene.registerBeforeRender(() => {material.diffuseColor = new BABYLON.Color3(Math.sin(time) * 0.5 + 0.5, // R通道Math.cos(time) * 0.5 + 0.5, // G通道0.5 // B通道);time += 0.02;});
5.2 自定义 GLSL 着色器
- 着色器材质(ShaderMaterial):
const shaderMat = new BABYLON.ShaderMaterial("shaderMat",scene,"customShader", // 着色器名称(需提前定义){attributes: ["position", "uv"],uniforms: ["worldViewProjection", "time"]});shaderMat.setFloat("time", 0);scene.registerBeforeRender(() => {shaderMat.setFloat("time", performance.now() / 1000);});
6. 实战任务
任务 1:创建动态天气墙面
- 目标:墙面材质随天气变化(干燥→湿润→结冰)。
- 实现步骤:
- 干燥状态:使用普通砖墙纹理。
- 湿润效果:增加法线贴图强度,提升高光。
- 结冰效果:叠加透明冰层纹理,调整粗糙度为0.1。
let weather = "dry"; // 控制天气状态function updateMaterial() {switch (weather) {case "wet":material.bumpTexture.level = 0.8;material.roughness = 0.3;break;case "ice":material.roughness = 0.1;material.diffuseTexture = new BABYLON.Texture("textures/ice_overlay.png", scene);break;}}
任务 2:可交互的材质编辑器
- 目标:通过 GUI 控件实时调整材质参数。
- 代码示例:
const advancedTexture = BABYLON.GUI.AdvancedDynamicTexture.CreateFullscreenUI("UI");const panel = new BABYLON.GUI.StackPanel();advancedTexture.addControl(panel);// 粗糙度滑动条const roughnessSlider = new BABYLON.GUI.Slider();roughnessSlider.minimum = 0;roughnessSlider.maximum = 1;roughnessSlider.value = pbrMat.roughness;roughnessSlider.onValueChangedObservable.add((value) => {pbrMat.roughness = value;});panel.addControl(roughnessSlider);
7. 性能优化与常见问题
7.1 纹理优化技巧
- 纹理压缩:使用
.ktx或.basis格式减少加载时间。 - Mipmap 配置:
const texture = new BABYLON.Texture("texture.jpg", scene, {generateMipMaps: true, // 启用 MipmapsamplingMode: BABYLON.Texture.TRILINEAR_SAMPLINGMODE // 三线性过滤});
7.2 常见问题解答
- 问题 1:纹理拉伸或错位
- 解决方案:调整模型的 UV 映射,或在代码中设置
uScale/vScale。
- 解决方案:调整模型的 UV 映射,或在代码中设置
- 问题 2:透明材质显示异常
- 解决方案:启用透明度混合并设置渲染顺序:
material.alpha = 0.5;
material.backFaceCulling = false; // 禁用背面剔除
material.needDepthPrePass = true; // 深度预渲染
- 解决方案:启用透明度混合并设置渲染顺序:
- 问题 3:PBR 材质过暗
- 解决方案:添加环境光或 HDR 天空盒:
scene.environmentTexture = BABYLON.CubeTexture.CreateFromPrefilteredData("textures/environment.dds", scene);
7. 总结与下一章预告
7.1 关键知识点回顾
- 标准材质与 PBR 材质配置、多纹理混合、动态材质控制。
- 扩展方向:
- 程序化纹理生成:通过代码动态生成纹理图案。
- 后处理链:结合泛光(Bloom)、景深(Depth of Field)提升画面效果。
7.2 下一章预告
- 《用户交互:鼠标点击、拖拽与射线检测》:实现物体点击事件、拖拽操作与射线碰撞检测。