React+Springboot项目部署ESC服务器
记录一下我个人部署Linux服务器的心得
环境介绍
ESC服务器创建时默认安装LNMP,即Linux,Nginx,Mysql,Php
所以这里不讲怎么安装Nignx和Mysql
笔者使用的Linux版本为22.0.4LTS版
前端打包
运行React打包命令进行前端项目的打包
npm run build打包后可能生成dist或者build文件夹,这取决于你构建react项目采用的方式
服务器Nginx的网页目录为/var/www/html文件夹,将上述dist或者build文件夹的内容拷贝到这里
注意:不要将整个文件夹拖入,因为dist或者build文件夹无法识别
服务器Nginx的配置目录为/etc/nginx文件夹,打开nginx.conf文件
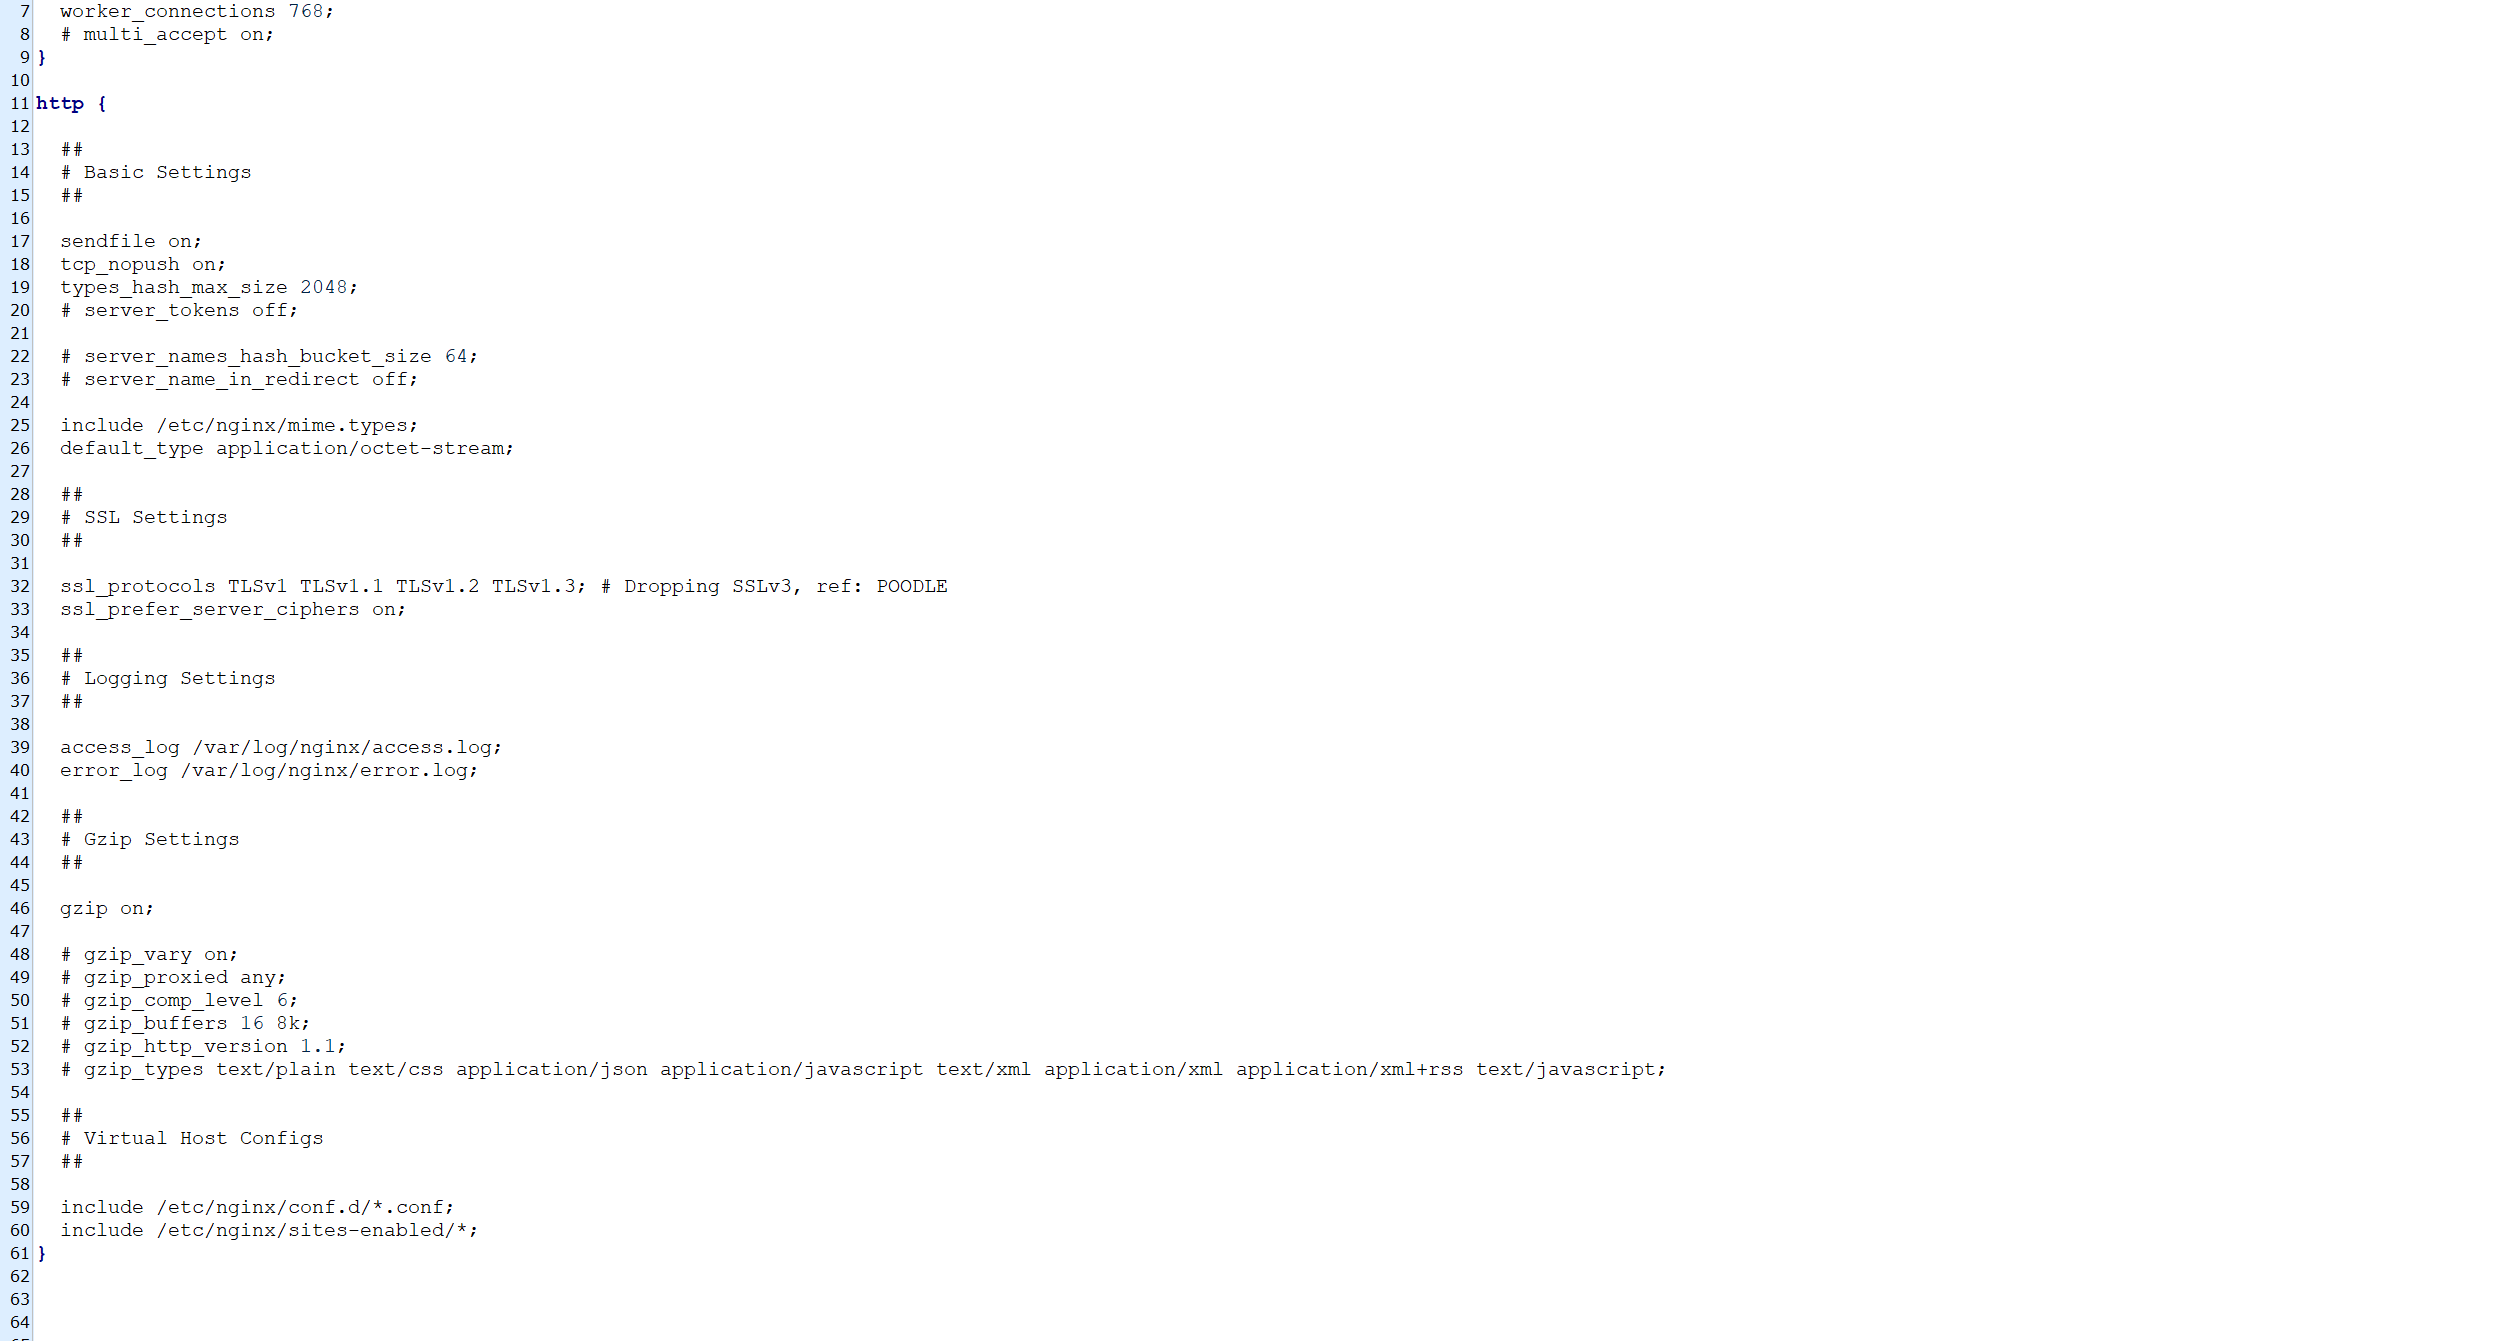
可以看到它包括了下面两个配置
include /etc/nginx/conf.d/*.conf;
include /etc/nginx/sites-enabled/*;
我们修改下面那个里面的默认配置文件,同时解决跨域问题
##
# You should look at the following URL's in order to grasp a solid understanding
# of Nginx configuration files in order to fully unleash the power of Nginx.
# https://www.nginx.com/resources/wiki/start/
# https://www.nginx.com/resources/wiki/start/topics/tutorials/config_pitfalls/
# https://wiki.debian.org/Nginx/DirectoryStructure
#
# In most cases, administrators will remove this file from sites-enabled/ and
# leave it as reference inside of sites-available where it will continue to be
# updated by the nginx packaging team.
#
# This file will automatically load configuration files provided by other
# applications, such as Drupal or Wordpress. These applications will be made
# available underneath a path with that package name, such as /drupal8.
#
# Please see /usr/share/doc/nginx-doc/examples/ for more detailed examples.
### Default server configuration
#
server {listen 80;listen [::]:80;# SSL configuration## listen 443 ssl default_server;# listen [::]:443 ssl default_server;## Note: You should disable gzip for SSL traffic.# See: https://bugs.debian.org/773332## Read up on ssl_ciphers to ensure a secure configuration.# See: https://bugs.debian.org/765782## Self signed certs generated by the ssl-cert package# Don't use them in a production server!## include snippets/snakeoil.conf;root /var/www/html;# Add index.php to the list if you are using PHPindex index.php index.html index.htm index.nginx-debian.html;server_name 39.106.52.24;location /api/ {proxy_pass http://localhost:8081/;  # 后端服务地址proxy_redirect off;proxy_set_header Host $host;proxy_set_header X-Real-IP $remote_addr;proxy_set_header X-Scheme  $scheme;      # 传递协议proxy_set_header X-Forwarded-For $proxy_add_x_forwarded_for;proxy_set_header Cookie $http_cookie;}location / {# First attempt to serve request as file, then# as directory, then fall back to displaying a 404.try_files $uri $uri/ =404;}# pass PHP scripts to FastCGI server#location ~ \.php$ {include snippets/fastcgi-php.conf;##	# With php-fpm (or other unix sockets):fastcgi_pass unix:/run/php/php8.0-fpm.sock;#	# With php-cgi (or other tcp sockets):#	fastcgi_pass 127.0.0.1:9000;}#}# deny access to .htaccess files, if Apache's document root# concurs with nginx's one##location ~ /\.ht {#	deny all;#}
}# Virtual Host configuration for example.com
#
# You can move that to a different file under sites-available/ and symlink that
# to sites-enabled/ to enable it.
#
#server {
#	listen 80;
#	listen [::]:80;
#
#	server_name example.com;
#
#	root /var/www/example.com;
#	index index.html;
#
#	location / {
#		try_files $uri $uri/ =404;
#	}
#}
后端打包
笔者项目使用gradle创建,所以运行下面命令
gradlew build接着把build文件夹下的libs中生成的jar文件拷贝到云服务器运行即可
java -jar Sapling-0.0.1-SNAPSHOT.jar有一种方法可以让jar一直在服务器后台运行。方法就是用下面这行命令运行jar包
nohup java -jar /opt/tracker/Sapling-0.0.1-SNAPSHOT.jar &//注意这里还有& 不要忘记了。