NFS 快速开始
一、NFS 是什么
NFS(Network File System)是一种基于 TCP/IP 协议的网络文件系统,它允许客户端通过网络访问远程服务器上的文件,就像操作自己本地计算机文件一样。
二、部署
假设现在有如下三台服务器,k8s31master、k8s31node1、k8s31node2。
k8s31master 作为 NFS 服务器。k8s31node1、k8s31node2 是客户端。
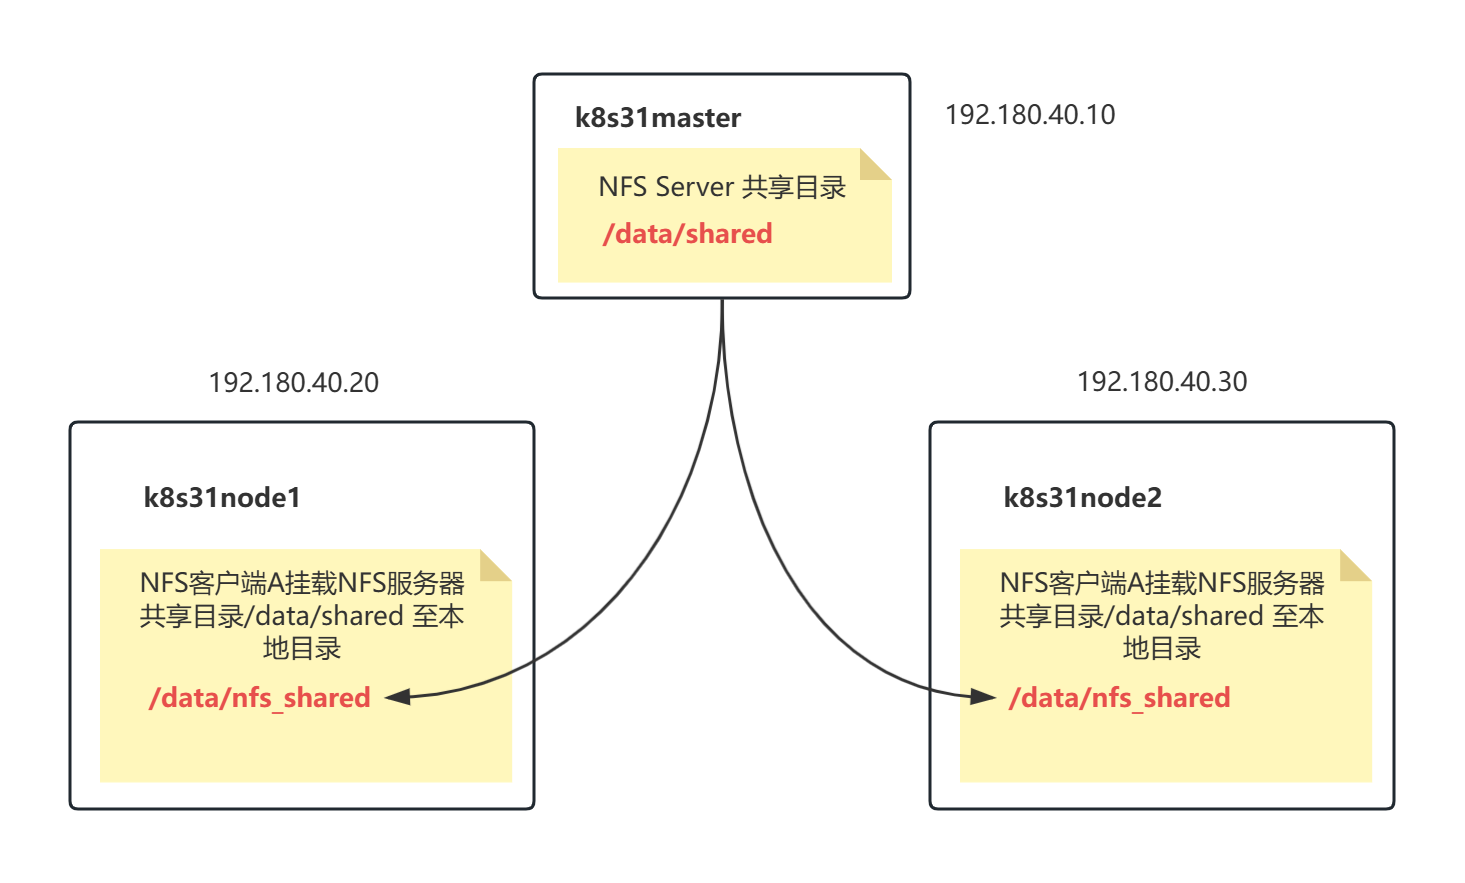
2.1、服务器端部署(k8s31master)
2.1.1、安装 NFS 服务
[root@k8s31master ~]# yum install -y nfs-utils2.1.2、创建共享目录
[root@k8s31master ~]# sudo mkdir -p /data/shared
[root@k8s31master ~]# sudo chmod 777 /data/shared
2.1.3、配置 NFS 导出
编辑 /etc/exports 文件,添加共享目录和允许访问的客户端:
/data/shared 192.168.40.0/24(rw,sync,no_root_squash)
- 192.168.40.0/24:允许该网段的客户端访问。
- rw:读写权限。
- sync:数据同步写入磁盘。
- no_root_squash:允许客户端 root 用户访问(谨慎使用)。
2.1.4、启动 NFS 服务
[root@k8s31master ~]# sudo systemctl enable nfs-server --now
- --now:马上启动 nfs 服务。
- systemctl enable [ service ]:设置为开机启动。
2.1.5、查看 NFS 服务状态
[root@k8s31master ~]# sudo systemctl status nfs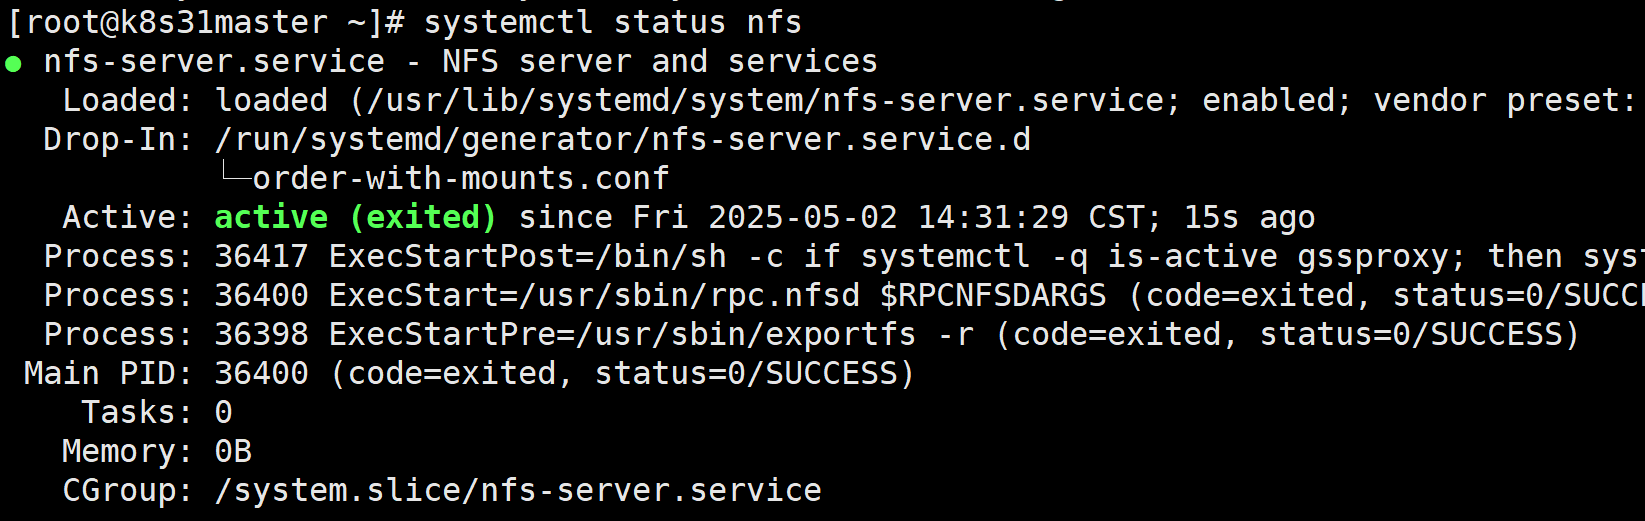
2.2、客户端配置(k8s31node1、k8s31node2)
2.2.1、安装 NFS 客户端
# k8s31node1 执行
[root@k8s31node1 ~]# yum install -y nfs-utils
# k8s31node2 执行
[root@k8s31node2 ~]# yum install -y nfs-utils
2.2.2、创建挂载点
# k8s31node1 执行
[root@k8s31node1 ~]# sudo mkdir -p /data/nfs_shared
# k8s31node2 执行
[root@k8s31node2 ~]# sudo mkdir -p /data/nfs_shared
2.2.3、挂载 NFS 共享目录
临时挂载(重启后失效):
# k8s31node1
[root@k8s31node1 ~]# sudo mount 192.168.40.10:/data/shared /data/nfs_shared
# k8s31node2
[root@k8s31node2 ~]# sudo mount 192.168.40.10:/data/shared /data/nfs_shared
192.168.40.10是服务器 IP。
2.2.4、验证 NFS 挂载
[root@k8s31node1 ~]# df -h | grep nfs
192.168.40.10:/data/shared   17G  5.9G   12G  35% /data/nfs_shared
[root@k8s31node1 ~]# touch /data/nfs_shared/a.txt
[root@k8s31node1 ~]# ls -l /data/nfs_shared/
total 0
-rw-r--r-- 1 root root 0 May  2 15:02 a.txt
[root@k8s31node2 ~]# df -h | grep nfs
192.168.40.10:/data/shared   17G  5.9G   12G  35% /data/nfs_shared
[root@k8s31node2 ~]# touch /data/nfs_shared/b.txt
[root@k8s31node2 ~]# ls -l /data/nfs_shared/
total 0
-rw-r--r-- 1 root root 0 May  2 15:02 a.txt
-rw-r--r-- 1 root root 0 May  2 15:04 b.txt
# 服务器端查看
[root@k8s31master ~]# ls -l /data/shared/
total 0
-rw-r--r-- 1 root root 0 May  2 15:02 a.txt
-rw-r--r-- 1 root root 0 May  2 15:04 b.txt
2.2.5、卸载
umount /data/nfs_shared三、K8S 使用 NFS 作为存储卷
新建一个 Deployment,容器是 nginx。指定 pod 挂载的卷,是 NFS 服务器 192.168.40.10 共享出来的卷 /data/shared。这样,我们只要把静态资源发布到 NFS 服务器的共享目录上,就能实现所有 pod 前端项目的更新。
apiVersion: apps/v1
kind: Deployment
metadata:name: nfs-deploy
spec:replicas: 2selector:matchLabels:app: nsf-podtemplate:metadata:labels:app: nsf-podspec:volumes:- name: nfs-volumesnfs:path: /data/sharedserver: 192.168.40.10containers:- name: nginximage: nginx:1.14.2imagePullPolicy: IfNotPresentvolumeMounts:- name: nfs-volumesmountPath: /usr/share/nginx/htmlreadOnly: trueports:- containerPort: 80protocol: TCP
nfs.server:NFS 服务器的域名或 IP。
nfs.path:NFS 服务器共享出来的目录。
- NFS 服务器创建静态页面
[root@k8s31master ~]# echo "Hello NFS" > /data/shared/index.html- 访问 pod nginx
kubectl get pod -owide
[root@k8s31master ~]# curl 10.244.165.32
Hello NFS
[root@k8s31master ~]# curl 10.244.9.9
Hello NFS
四、Pod 本地挂载路径
- 查看 pod 的 uid
kubectl get pod nfs-deploy-585697bb67-27nk9 -oyaml | grep uid
进入 k8s31node1/var/lib/kubelet/pods/pod uid/volumes/kubernetes.io~nfs/nfs-volumes
/var/lib/kubelet/pods/pod uid/volumes/kubernetes.io~nfs/nfs-volumes