Learning vtkjs之DepthTest
深度测试
介绍
vtkPixelSpaceCallbackMapper 遍历其输入数据集的点,使用来自活动摄像头的变换来计算每个点的屏幕坐标。
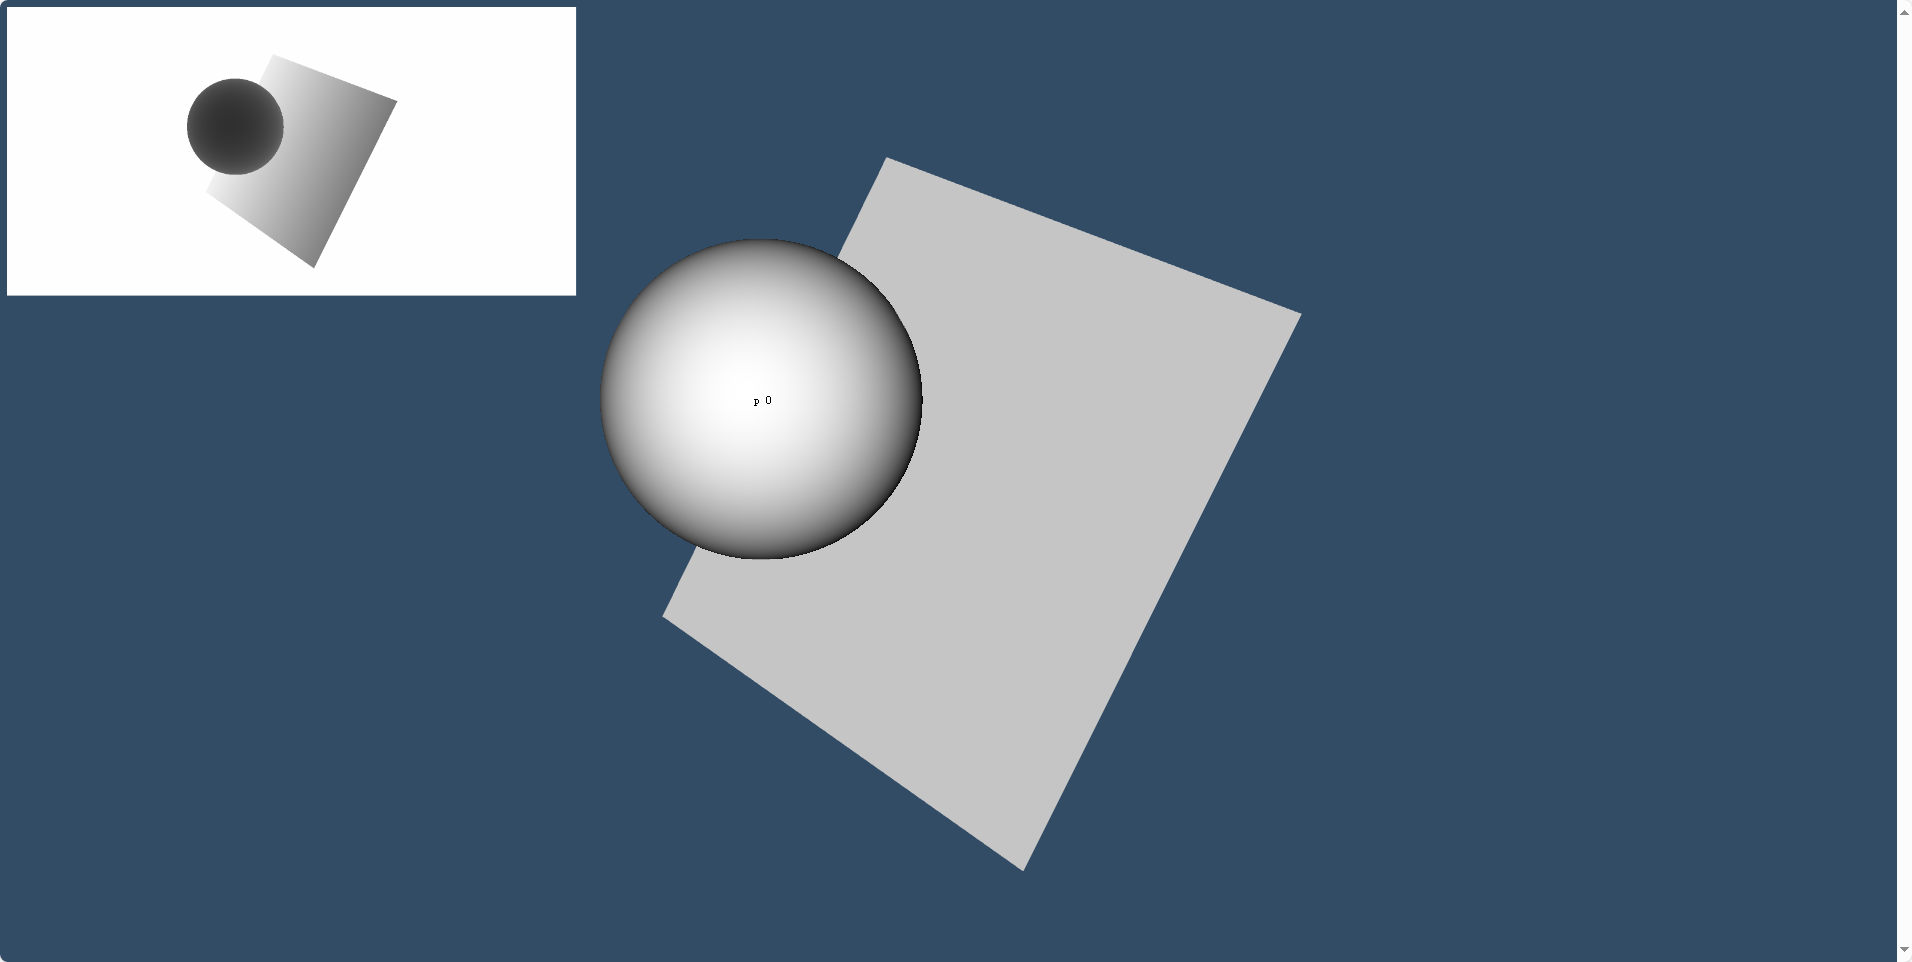
效果
核心代码
深度图绘制
function initializeDebugHandler() {const { renderWindow } = context.current;const debugCanvas = debugCanvasRef.current;const debugCtx = debugCanvas.getContext("2d", { willReadFrequently: true });const debugCanvasSize = 1 / 4;let dbgWidth = 0;let dbgHeight = 0;let lastDepthBuffer = null;debugCanvas.addEventListener("click", (evt) => {evt.preventDefault();evt.stopPropagation();const x = (evt.pageX - debugCanvas.offsetLeft) / debugCanvasSize;const y = (evt.pageY - debugCanvas.offsetTop) / debugCanvasSize;if (lastDepthBuffer && dbgWidth > 0 && dbgHeight > 0) {const dIdx =((dbgHeight - 1 - Math.floor(y)) * dbgWidth + Math.floor(x)) * 4;const r = lastDepthBuffer[dIdx] / 255;const g = lastDepthBuffer[dIdx + 1] / 255;let z = (r * 256 + g) / 257;z = z * 2 - 1; // scale depths from [0, 1] into [-1, 1]console.log(`depth at (${x}, ${y}) is ${z}`);const activeCamera = renderWindow.getRenderers()[0].getActiveCamera();const crange = activeCamera.getClippingRange();console.log(`current clipping range: [${crange[0]}, ${crange[1]}]`);} else {console.log(`click(${x}, ${y})`);}});return {update: (coordsList, depthBuffer) => {debugCtx.fillStyle = "rgba(255, 255, 255, 1.0)";debugCtx.clearRect(0, 0, dbgWidth, dbgHeight);if (!depthBuffer) {console.error("Expected a depthBuffer!");return;}lastDepthBuffer = depthBuffer;if (dbgWidth === 0 || dbgHeight === 0) {console.log("No size yet, cannot draw debug canvas");return;}const depthRange = [10000000, -10000000];const imageData = debugCtx.getImageData(0, 0, dbgWidth, dbgHeight);const data = imageData.data;for (let y = 0; y < imageData.height; y += 1) {for (let x = 0; x < imageData.width; x += 1) {// Going back to the raw pixels again here, so they need to be// flipped in y as the Core/PixelSpaceCallbackMapper already did.const dIdx = ((imageData.height - 1 - y) * imageData.width + x) * 4;const r = depthBuffer[dIdx] / 255;const g = depthBuffer[dIdx + 1] / 255;const z = (r * 256 + g) / 257;// z = (z * 2) - 1; // scale depths from [0, 1] into [-1, 1]const zColor = affine(z, 0, 1, 0, 255);const pIdx = (y * imageData.width + x) * 4;data[pIdx] = zColor;data[pIdx + 1] = zColor;data[pIdx + 2] = zColor;data[pIdx + 3] = 255;if (z < depthRange[0]) {depthRange[0] = z;}if (z > depthRange[1]) {depthRange[1] = z;}// z = (z * 2) - 1; // scale depths from [0, 1] into [-1, 1]// const pdepth = depthValues[dIdx] * 255;// const pdepth = affine(depthValues[dIdx], depthRange.min, depthRange.max, 0, 255);// const pIdx = ((y * imageData.width) + x) * 4;// data[pIdx] = pdepth;// data[pIdx + 1] = pdepth;// data[pIdx + 2] = pdepth;// data[pIdx + 3] = 255;}}debugCtx.putImageData(imageData, 0, 0);// console.log(`depth range: [${depthRange[0]}, ${depthRange[1]}], delta: ${depthRange[1] - depthRange[0]}`);},resize: (w, h) => {console.log(`Debug canvas resize: [${w}, ${h}]`);// const aspect = w / h;// const sw = w * debugCanvasSize;// const sh = sw / aspect;debugCanvas.setAttribute("width", `${w}px`);debugCanvas.setAttribute("height", `${h}px`);dbgWidth = w;dbgHeight = h;},};} 主要流程
useEffect(() => {const renderWindow = vtkRenderWindow.newInstance();const renderer = vtkRenderer.newInstance({ background: [0.2, 0.3, 0.4] });renderWindow.addRenderer(renderer);context.current = {renderWindow,};const pointMapper = vtkSphereMapper.newInstance({ radius: 0.5 });const pointActor = vtkActor.newInstance();pointMapper.setInputData(pointPoly);pointActor.setMapper(pointMapper);const planeMapper = vtkMapper.newInstance();const planeActor = vtkActor.newInstance();planeMapper.setInputData(planePoly);planeActor.setMapper(planeMapper);const psMapper = vtkPixelSpaceCallbackMapper.newInstance();psMapper.setInputData(pointPoly);psMapper.setUseZValues(true);psMapper.setCallback((coordsList, camera, aspect, depthBuffer) => {if (textCtx && windowWidth > 0 && windowHeight > 0) {const dataPoints = psMapper.getInputData().getPoints();const viewMatrix = camera.getViewMatrix();mat4.transpose(viewMatrix, viewMatrix);const projMatrix = camera.getProjectionMatrix(aspect, -1, 1);mat4.transpose(projMatrix, projMatrix);textCtx.clearRect(0, 0, windowWidth, windowHeight);coordsList.forEach((xy, idx) => {const pdPoint = dataPoints.getPoint(idx);const vc = vec3.fromValues(pdPoint[0], pdPoint[1], pdPoint[2]);vec3.transformMat4(vc, vc, viewMatrix);vc[2] += 0.5; // sphere mapper's radiusvec3.transformMat4(vc, vc, projMatrix);console.log(`Distance to camera: point = ${xy[2]}, depth buffer = ${xy[3]}`);if (vc[2] - 0.001 < xy[3]) {textCtx.font = "12px serif";textCtx.textAlign = "center";textCtx.textBaseline = "middle";textCtx.fillText(`p ${idx}`, xy[0], windowHeight - xy[1]);}});const activeCamera = renderWindow.getRenderers()[0].getActiveCamera();const crange = activeCamera.getClippingRange();console.log(`current clipping range: [${crange[0]}, ${crange[1]}]`);}if (enableDebugCanvas && depthBuffer) {if (!debugHandler) {debugHandler = initializeDebugHandler();}debugHandler.update(coordsList, depthBuffer);}});const textActor = vtkActor.newInstance();textActor.setMapper(psMapper);// ----------------------------------------------------------------------------// Add the actor to the renderer and set the camera based on it// ----------------------------------------------------------------------------renderer.addActor(pointActor);renderer.addActor(textActor);renderer.addActor(planeActor);resetCameraPosition();// renderer.resetCamera();// const cp = activeCamera.getPosition();// const cf = activeCamera.getFocalPoint();// console.log(`new cam pos: [${cp[0]}, ${cp[1]}, ${cp[2]}], new cam fp: [${cf[0]}, ${cf[1]}, ${cf[2]}]`);// ----------------------------------------------------------------------------// Use OpenGL as the backend to view the all this// ----------------------------------------------------------------------------const openGLRenderWindow = vtkOpenGLRenderWindow.newInstance();renderWindow.addView(openGLRenderWindow);openGLRenderWindow.setContainer(vtkContainerRef.current);context.current["openGLRenderWindow"] = openGLRenderWindow;const textCanvas = document.createElement("canvas");textCanvas.style.position = "absolute";textCanvas.style.top = "0px";textCanvas.style.left = "0px";vtkContainerRef.current.appendChild(textCanvas);textCtx = textCanvas.getContext("2d");context.current["textCanvas"] = textCanvas;// ----------------------------------------------------------------------------// Setup an interactor to handle mouse events// ----------------------------------------------------------------------------const interactor = vtkRenderWindowInteractor.newInstance();interactor.setView(openGLRenderWindow);interactor.initialize();interactor.setContainer(vtkContainerRef.current);interactor.setInteractorStyle(vtkInteractorStyleTrackballCamera.newInstance());resize();}, []); 全部代码都放到github上了
新坑_Learning vtkjs_git地址
关注我,我持续更新vtkjs的example学习案例
也欢迎各位给我提意见,技术交流~
大鸿
WeChat : HugeYen
WeChat Public Account : BIM树洞
做一个静谧的树洞君
用建筑的语言描述IT事物;
用IT的思维解决建筑问题;
共建BIM桥梁,聚合团队。
本学习分享资料不得用于商业用途,仅做学习交流!!如有侵权立即删除!!