Nginx 核心功能02
目录
正向代理
编译安装 Nginx
配置正向解析
反向代理(七层代理)
反向代理 (四层代理)
Nginx正则表达式
Rewrite语法
扩展跳转
正向代理
正向代理(Forward Proxy)是一种位于客户端和原始服务器之间的代理服务器,其主要作用是将客户端的请求转发给目标服务器,并将响应返回给客户端Nginx 的 正向代理 充当客户端的“中间人”,代表用户访问外部资源并隐藏真实 IP。它是企业内网管控、安全审计与加速访问的核心工具。用于场景一般是:
- 内网访问控制:限制员工访问特定网站(如社交媒体)
- 匿名访问:通过代理服务器隐藏用户真实身份。
- 资源缓存加速:缓存公共资源(如软件包、镜像文件),减少外网带宽消耗。
编译安装 Nginx
安装Nginx所需要的依赖包(小实验环境,所以就没要那么多依赖包)
[root@localhost ~]# yum -y install gcc* pcre-devel zlib-devel openssl-devel创建运行用户、组和日志目录
[root@localhost ~]# useradd -M -s /sbin/nologin nginx    #创建用户,没有家目录,不能登录系统
[root@localhost ~]# mkdir -p /var/log/nginx                #创建nginx文件,这一步可以不用做
[root@localhost ~]# chown -R nginx:nginx /var/log/nginx    #属组的归属,这一步也可以不做
后续的编译安装过程包含这两个
编译安装 Nginx(将准备好的Nginx软件包通过远程的方式传上去)
注:中间有重复的,没事的不影响所以就没删
[root@localhost ~]# tar zxf nginx-1.26.3_http_proxy.tar.gz    #解压缩
[root@localhost ~]# cd nginx-1.26.3            #切换到nginx-1.26.3[root@localhost ~]# ./configure --prefix=/usr/local/nginx --user=nginx --group=nginx  --with-http_ssl_module --with-http_v2_module --with-http_realip_module --with-http_stub_status_module --with-http_gzip_static_module --with-pcre --with-stream --with-stream_ssl_module --with-stream_realip_module --with-http_gzip_static_module --add-module=./ngx_http_proxy_connect_module        #编译安装[root@localhost ~]# make && make install        #这一步才是真正意义上的安装 巨慢
各项参数说明:
- --user=nginx #指定nginx运行用户
- --group=nginx #指定nginx运行组
- --with-http_ssl_module #支持https://
- --with-http_v2_module #支持http版本2
- --with-http_realip_module #支持ip透传
- --with-http_stub_status_module #支持状态页面
- --with-http_gzip_static_module #支持压缩
- --with-pcre #支持正则
- --with-stream #支持tcp反向代理
- --with-stream_ssl_module #支持tcp的ssl加密
- --with-stream_realip_module #支持tcp的透传ip
- --with-http_gzip_static_module #支持gzip的压缩
- --add-module=./ngx_http_proxy_connect_module #支持https转发
配置nginx的环境变量
[root@localhost ~]# ln -s /usr/local/nginx/sbin/* /usr/local/sbin/将Nginx添加到系统服务(让nginx可以支持systemctl的命令)
注:因为实验环境不需要没那么多的配置 所以配置的东西还是很少的
[root@localhost ~]# vim /lib/systemd/system/nginx.service[Unit]
Description=The nginx Server
After=network.target[Service]
Type=forking
PIDFile=/usr/local/nginx/logs/nginx.pid
ExecStart=/usr/local/sbin/nginx
ExecStop=/usr/local/sbin/nginx -s stop[Install]
WantedBy=multi-user.target
注意: 一定要试一下 systemctl restart nginx 能不能用 虽然配置文件里面没有写 但系统是支持的 一定要尝试一下 start(启动)与 stop(停止)看看报错不报 报错的话 就重启下就好了 虚拟机环境 保存下好的快照 别的环境当我没说
配置正向解析
vim /usr/local/nginx/conf/nginx.cnf
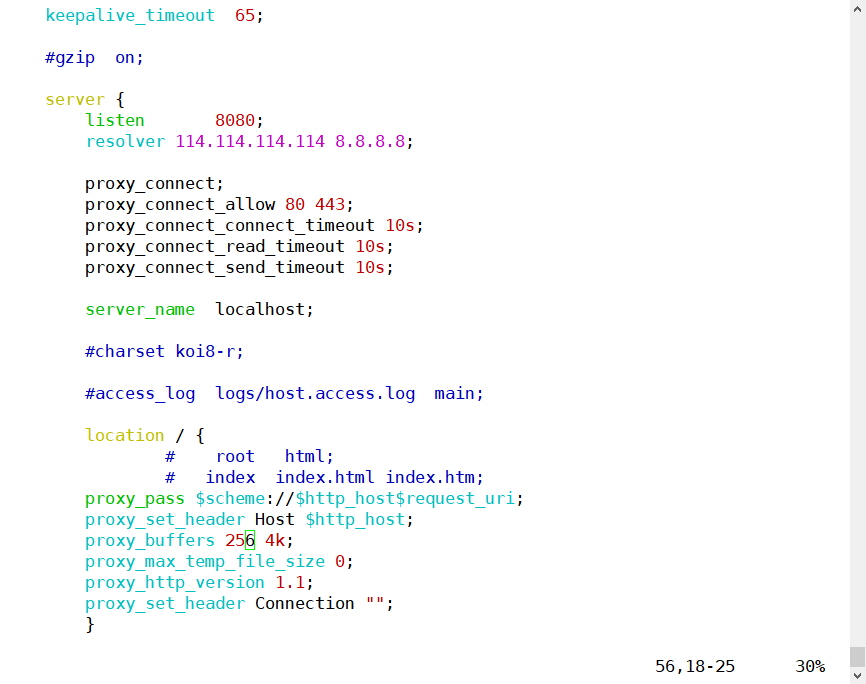
.....省略部分信息server {listen 8080;resolver 114.114.114.114 8.8.8.8;proxy_connect;proxy_connect_allow 80 443;proxy_connect_connect_timeout 10s;proxy_connect_read_timeout 10s;proxy_connect_send_timeout 10s;server_name localhost;#charset koi8-r;#access_log logs/host.access.log main;location / {# root html;# index index.html index.htm;proxy_pass $scheme://$http_host$request_uri;proxy_set_header Host $http_host;proxy_buffers 256 4k;proxy_max_temp_file_size 0;proxy_http_version 1.1;proxy_set_header Connection "";}
配置完 需要输入此命令 来确认敲的是否有错(接下图 是没有报错的提示)
这个命令会在此文档出现多次 我就不多注释其含义是什么了
[root@localhost ~]# nginx -t

重启 Nginx
[root@localhost ~]# systemctl restart nginx
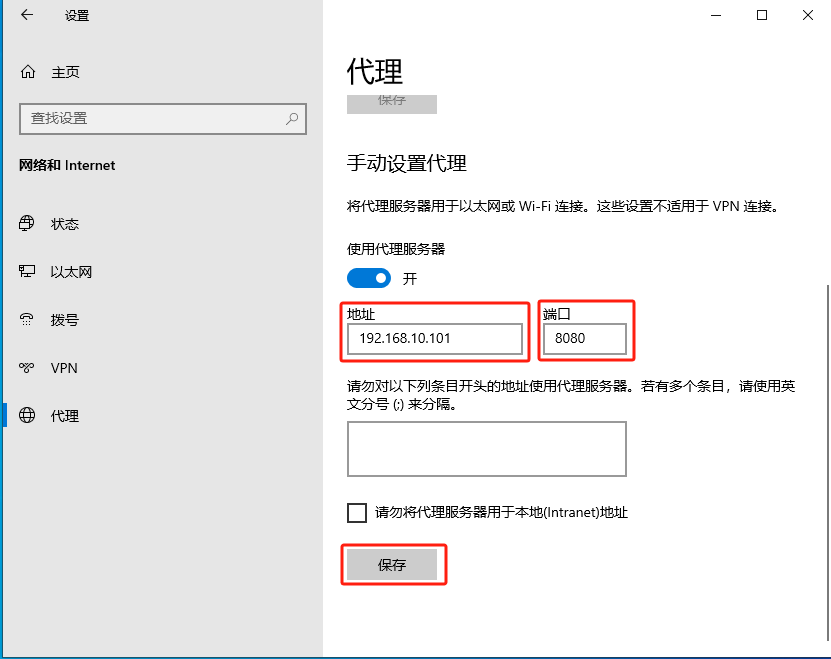
Windows 验证:
首先,win10要开启代理可以通过此方法开启代理服务器:win+i 设置、网络与Internet、代理——使用代理服务器——将192.168.10.101:8080写入进去 ——保存 网页访问百度

Linux验证:
因Linux没有浏览器 所以只能使用此命令才可以看到效果:
[root@localhost ~]# curl -x http://192.168.10.101:8080 www.baidu.com
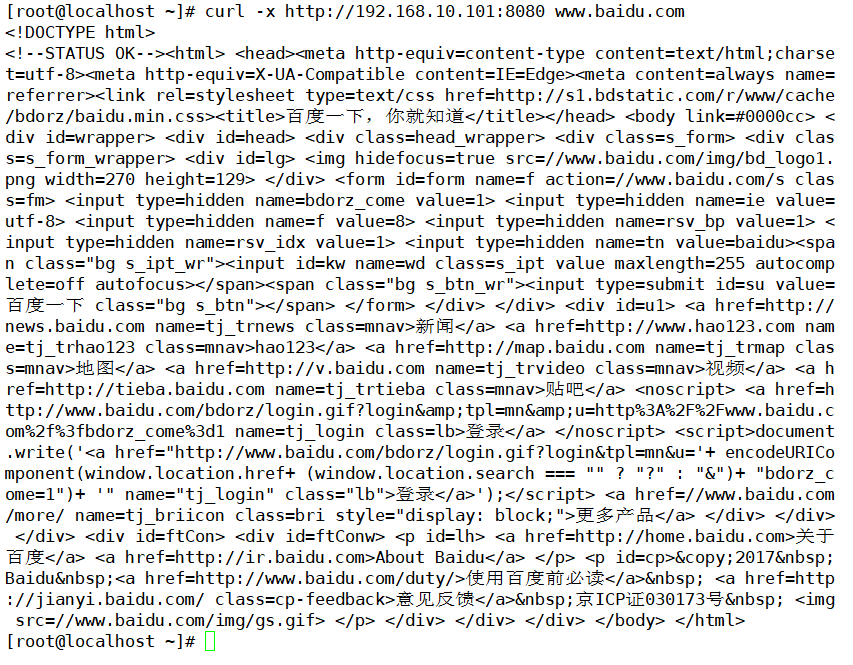
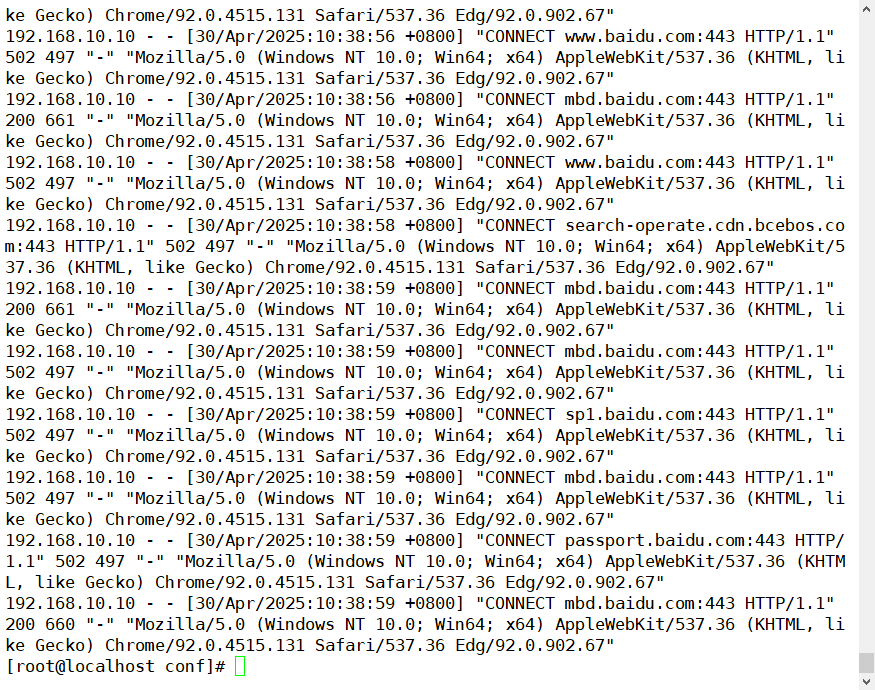
效果其实并没有那么明显,我们这里可以访问 nginx的访问日志位置在:(我们刷新网站的时候 日志信息是会变的 可以看到 IP 访问的网站以及端口等内容)
[root@localhost ~]# /usr/local/nginx/logs/access.log

反向代理(七层代理)
要准备两台WEB服务器要实现轮询的效果
103、
[root@localhost ~]# systemctl stop firewalld        #关闭防火墙
[root@localhost ~]# dnf -y install httpd        #安装httpd
[root@localhost ~]# vim /var/www/html/index.html        #网站位置33333333333333333                    #网站内容
[root@localhost ~]# systemctl start httpd        #启动http服务
104、
[root@localhost ~]# systemctl stop firewalld        #关闭防火墙
[root@localhost ~]# dnf -y install httpd        #安装httpd
[root@localhost ~]# vim /var/www/html/index.html        #网站位置4444444444444444444                #网站内容
[root@localhost ~]# systemctl start httpd        #启动http服务
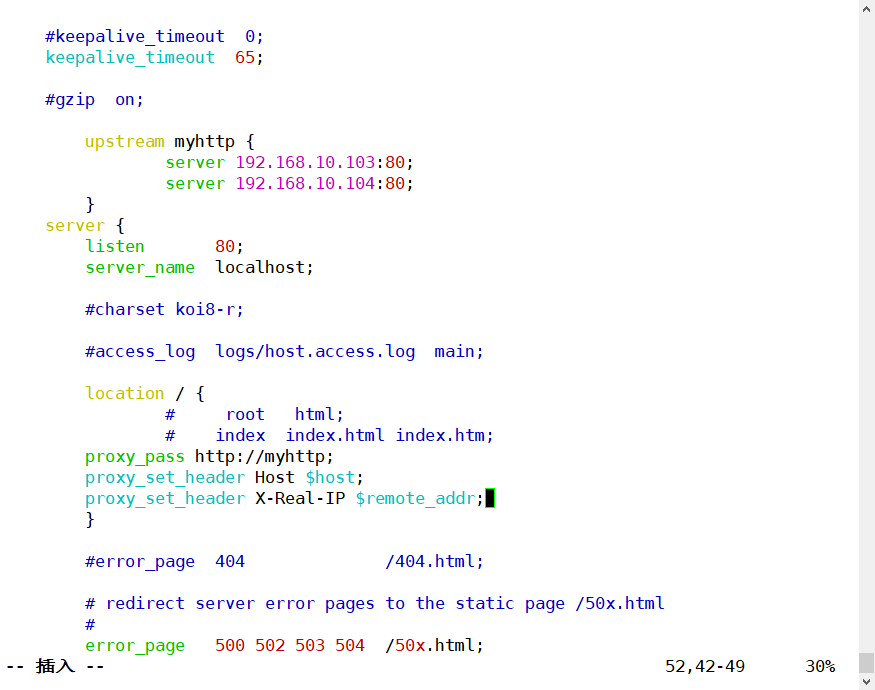
修改nginx.conf配置文件
vim /usr/local/nginx/conf/nginx.cof
....省略部分信息        upstream myhttp {server 192.168.10.103:80;server 192.168.10.104:80;}server {listen       80;server_name  localhost;#charset koi8-r;#access_log  logs/host.access.log  main;location / {#     root   html;#    index  index.html index.htm;proxy_pass http://myhttp;proxy_set_header Host $host;proxy_set_header X-Real-IP $remote_addr;}
检测一下是否敲错:
[root@localhost ~]# nginx -t
重启
[root@localhost ~]# systemctl restart nginx
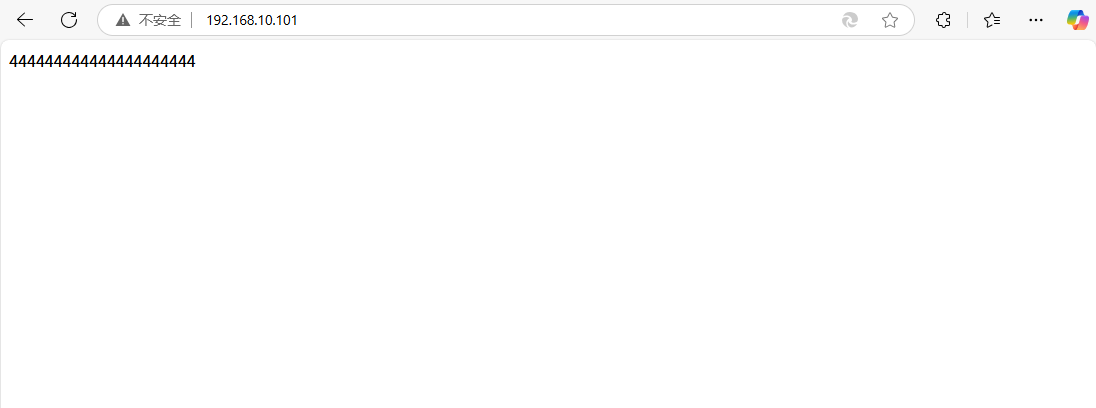
宿主机访问 192.168.10.101 看看有没有轮询(多刷新几次看看内容是否不一样)

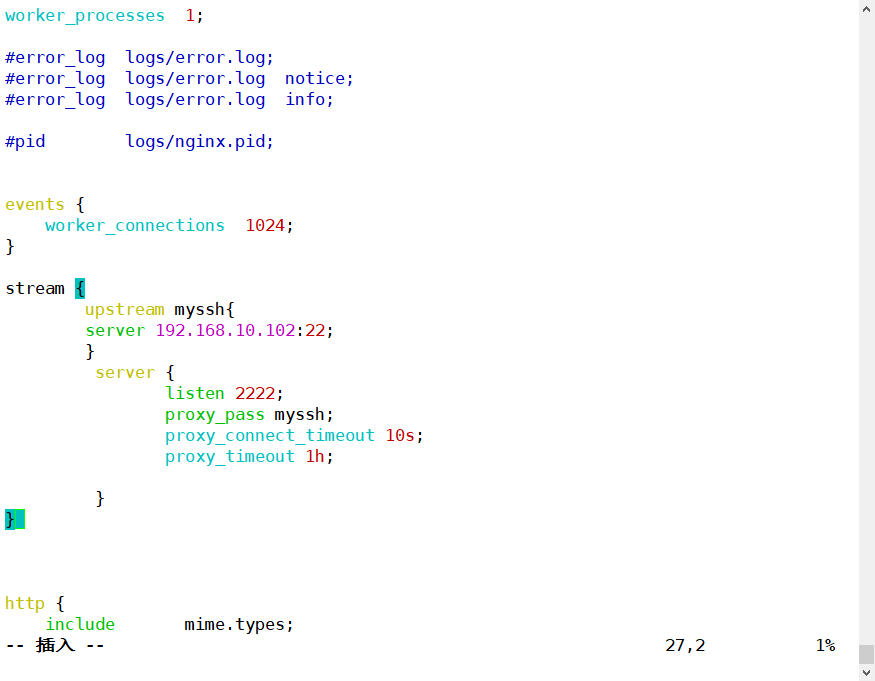
反向代理 (四层代理)
vim /usr/local/nginx/conf/nginx.conf
......省略部分信息#在envents下面添加 stream
events {worker_connections  1024;
}stream {upstream myssh{server 192.168.10.102:22;}server {listen 2222;proxy_pass myssh;proxy_connect_timeout 10s;proxy_timeout 1h; }
}
检测一下是否敲错:
[root@localhost ~]# nginx -t
重启nginx
[root@localhost ~]# systemctl restart nginx
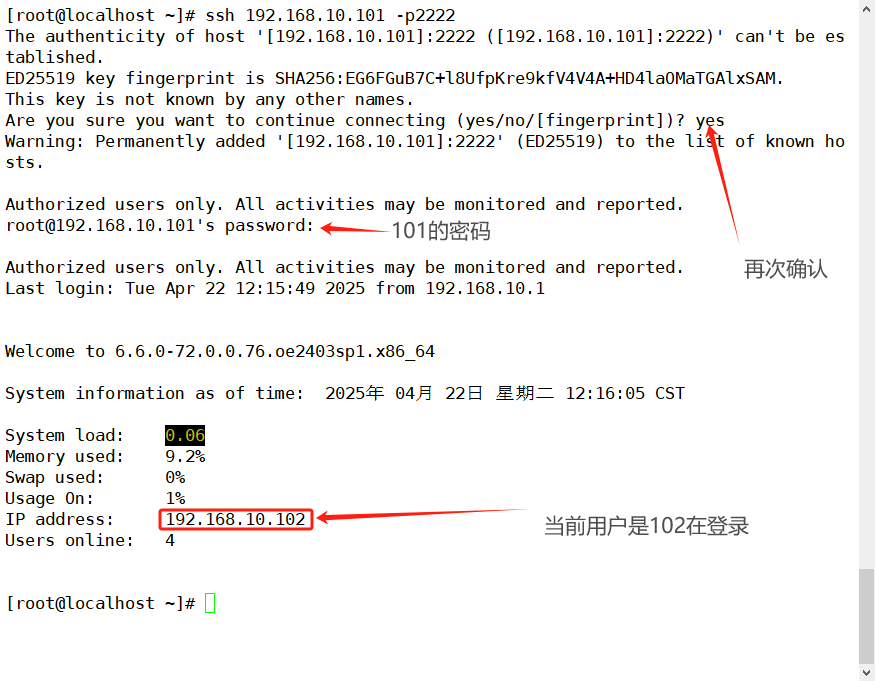
102 验证:
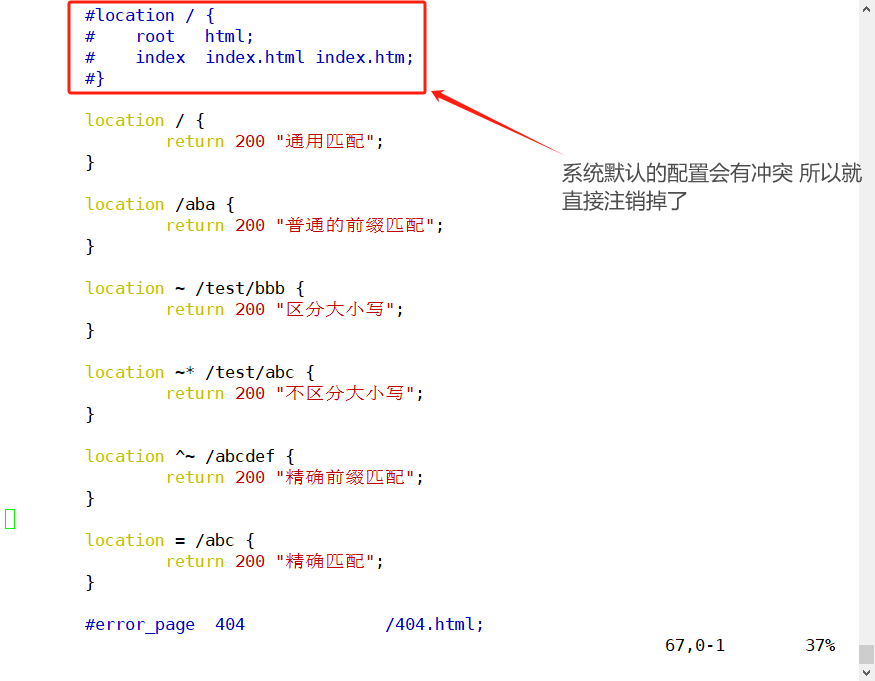
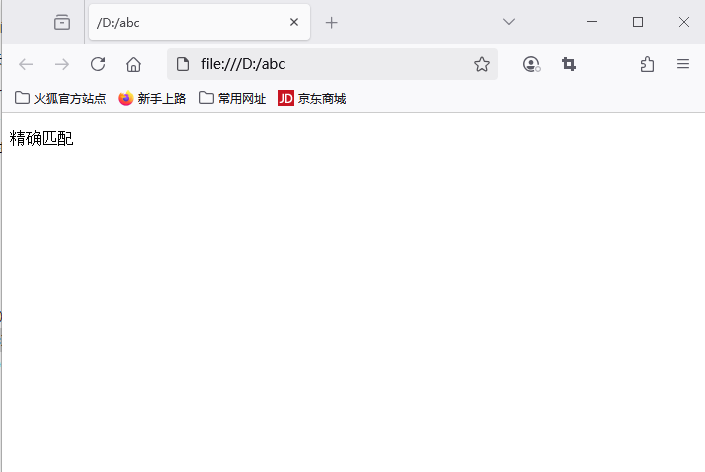
Nginx正则表达式
[root@localhost ~]# vim /usr/local/nginx/conf/nginx.conf#location / {# root html;# index index.html index.htm;# }location / {return 200 "通用匹配";}location /aba {return 200 "普通的前缀匹配";}location ~ /test/bbb {return 200 "区分大小写";}location ~* /test/abc {return 200 "不区分大小写";}location ^~ /abcdef {return 200 "精确前缀匹配";}location = /abc {return 200 "精确匹配";}
检测配置文件是否有错
[root@localhost ~]# nginx -t
重启nginx
[root@localhost ~]# systemctl restart nginx
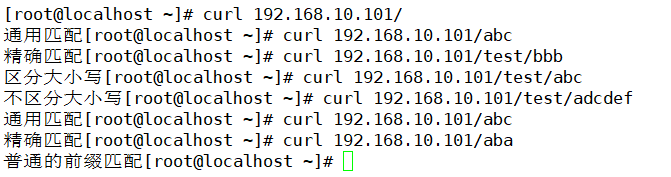
验证:
Rewrite语法
[root@localhost ~]# vim /usr/local/nginx/conf/nginx.conf
.....省略部分信息location /abc {rewrite ^/ /def last;		#注意 两个//中间是有空格的}location /def {return 200 "你好";}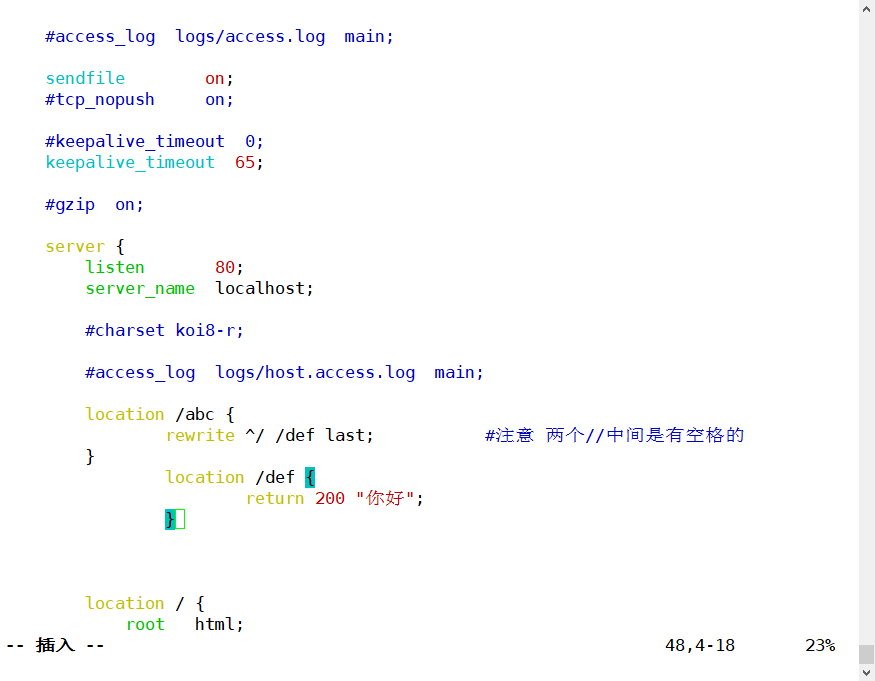
检测是否敲的有误
[root@localhost ~]# nginx -t
重启nginx
[root@localhost ~]# systemctl restart nginx
验证:
windows验证: 浏览器打开网站:192.168.10.101/abc 会自动下载一个文件 找到文件位置 打开方式为浏览器 火狐也行 打开就可以看到 /def 的内容

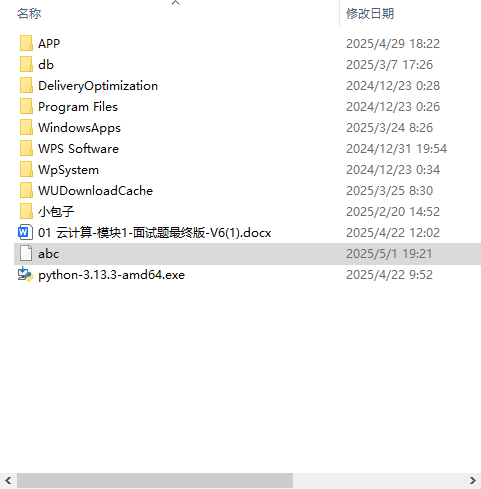
Linux验证:curl 192.168.10.101/abc 直接看到文件内容
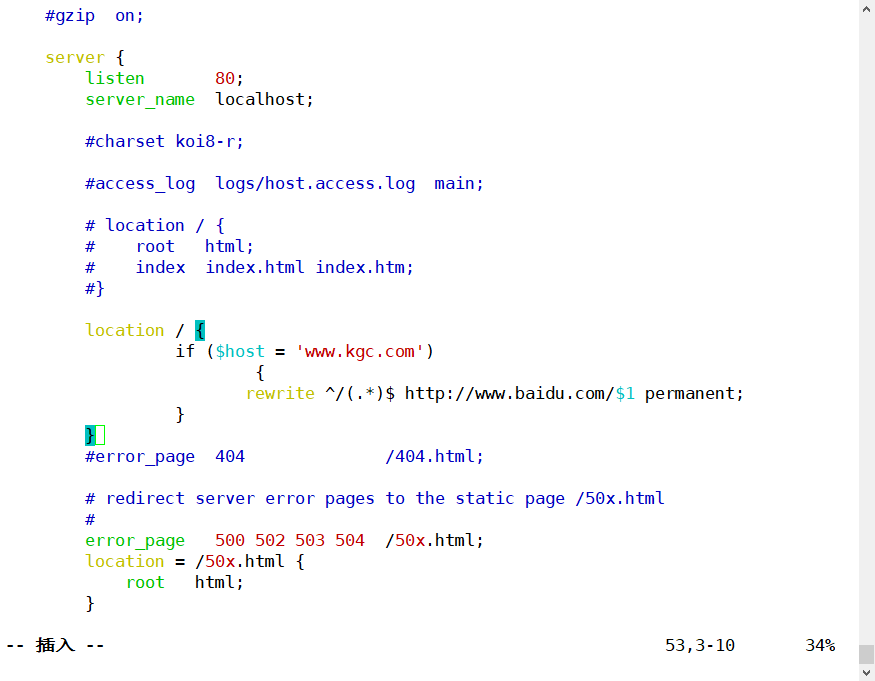
扩展跳转
vim /usr/local/nginx/conf/nginx.conf# location / {# root html;# index index.html index.htm;#}location / {if ($host = 'www.kgc.com'){rewrite ^/(.*)$ http://www.baidu.com/$1 permanent;}}
检测是否有误:
[root@localhost ~]# nginx -t
重启nginx
[root@localhost ~]# systemctl restart nginx
验证:
Windows:用宿主机修改hosts文件 用浏览器访问域名 会自动跳转到百度

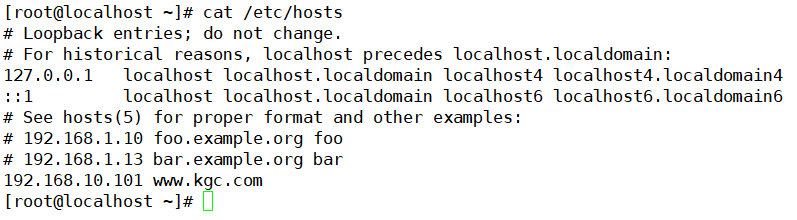
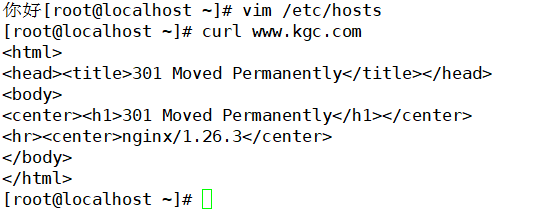
Linux:修改 /etc/hosts 文件 curl www.kgc.com 会显示301 是正常的