Vue 3 国际化实战:支持 Element Plus 组件和语言持久化
目录
- Vue 3 国际化实战:支持 Element Plus 组件和语言持久化
- 实现效果:
- 效果一、中英文切换
- 效果二、本地持久化存储
- 效果三、element Plus国际化
- vue3项目国际化实现步骤
- 第一步、安装`i18n`
- 第二步、配置`i18n`的`en`和`zh`
- 第三步:使用 `vue-i18n` 库来实现多语言支持
- 第四步、本地持久化
- 第五步、main.ts挂载
- 第六步、页面使用测试效果
- 第七步、 `Element Plus`的国际化操作
- 第八步、element Plus国际化效果测试
- 问题总结:
- 问题一、如何在js种使用
- 问题二、elementPlud表单校验提示不生效问题
Vue 3 国际化实战:支持 Element Plus 组件和语言持久化
i18n来源于英文单词internationalization的首末字母i和n,18为中间的字符数,是"国际化"的简称,在资迅领域,国际化(i18n)指产品,出版物,软件,硬件等无需做大的改变就能适应不同的语言和地区的需要,对前端开发来说,在不修改内部代码的情况下,能根据不同语言及地区显示相应的界面,在全球化时代,国际化尤为重要,因为产品的潜在用户可能来自世界各个国家,通常与i18n相关的还有L10n本地化的简称。
实现效果:
效果一、中英文切换
效果二、本地持久化存储
效果三、element Plus国际化

vue3项目国际化实现步骤
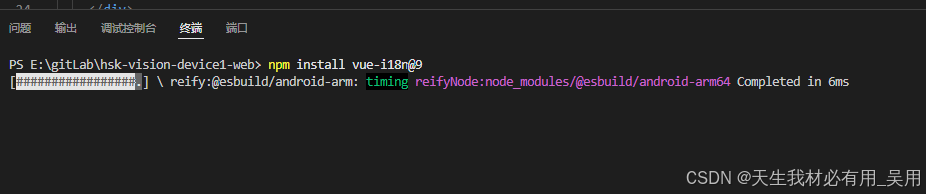
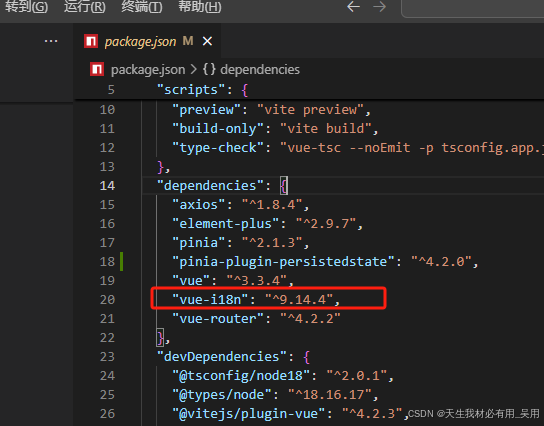
第一步、安装i18n
vue3中需要安装的版本是v9版本
npm install vue-i18n@9
第二步、配置i18n的en和zh
- 创建
src/locales/en.json{ "header": { "title": "JuBo Vision · AI Intelligent Inspection System", "home": "Home", "systemConfiguration": "System Configuration", "inspectionSettings": "Inspection Settings", "faultConfiguration": "Fault Configuration", "logs": "Logs" } } - 创建
src/locales/zh.json{ "header": { "title": "聚玻Vision ·AI智能检测系统", "home": "首页", "systemConfiguration": "系统配置", "inspectionSettings": "检测配置", "faultConfiguration": "故障配置", "logs": "日志" } }
第三步:使用 vue-i18n 库来实现多语言支持
创建src/locales/index.ts,其中代码步骤:
- 从
vue-i18n中导入用于创建i18n实例的方法。- 分别导入中文和英文的语言资源文件(
en和zh的JSON格式)。- 通过
navigator.language获取用户语言环境。- 检查本地缓存的语言设置,如果本地存储中有值,则解析
JSON数据并提取curLocale字段作为当前语言。- 创建
i18n实例。- 定义支持的语言列表。
整体代码:
import { createI18n } from 'vue-i18n'
import zh from './zh.json'
import en from './en.json'

// 获取浏览器界面语言,默认语言
let currentLanguage = navigator.language.replace(/-(\S*)/, '')

// 如果本地缓存记录了语言环境,则使用本地缓存
let lsLocale = localStorage.getItem('locale') || ''
if (lsLocale) {
  currentLanguage = JSON.parse(lsLocale)?.curLocale
}

export const i18n = createI18n({
  locale: currentLanguage,
  legacy: false, // 修复组件引入i18n时vite脚手架报错的问题
  globalInjection: true, // 全局注册 $t
  messages: {
    zh,
    en
  }
})

export const langs = [
  { key: 'zh', title: '中文' },
  { key: 'en', title: 'English' }
]
第四步、本地持久化
当我们把中文改成English后,再刷新页面,语言环境又会回到中文,所以我们需要做一点工作来保持国际化状态。
创建src/stores/locales.ts文件,代码如下:
import { defineStore } from 'pinia'
import { ref } from 'vue'
import { i18n } from '../locales/index'
export const useLocaleStore = defineStore(
  'locale',
  () => {
    // 初始化时从 localStorage 获取语言设置,默认为 'en'
    const locale = ref(localStorage.getItem('user-locale') || i18n.global.locale.value);

    // 设置locale
    function setLocale(lang: any) {
      locale.value = lang
      i18n.global.locale.value = lang
      localStorage.setItem('user-locale', lang); // 持久化存储到 localStorage
    }
    return { locale, setLocale }
  }
)
第五步、main.ts挂载
import { createApp, watch } from 'vue';
import { createPinia } from 'pinia';
import App from './App.vue';
import router from './router';
// 整合ElementPlus
import ElementPlus from 'element-plus';
// 样式文件,elemen-plus样式在index.scss中导入了
import '@/styles/index.scss';
// 图标
import { useElIcon } from '@/utils/setGlobal';
// 国际化
import { i18n } from './locales/index'
// 引入 Pinia Store
import { useLocaleStore } from './stores/locales';
const app = createApp(App);
app.use(createPinia());
app.use(router);
app.use(i18n)
app.use(ElementPlus);
// 初始化语言设置
const localeStore = useLocaleStore();
const currentLocale = localeStore.locale;
// 同步 i18n 的语言设置
localeStore.setLocale(currentLocale);
// 全局注册图标`ele-`开头(样式在index.scss中)
useElIcon(app);
app.mount('#app')
第六步、页面使用测试效果
代码:
<template>
  <!-- 右侧头部区域 -->
  <el-header class="layout-header">
    <div class="header-box">
      <logo />
    </div>
    <div
      class="header-navigation-bar"
      style="display: flex; justify-content: space-between"
    >
      <div style="width: 50%">
        <el-menu
          :router="true"
          :default-active="$route.path"
          class="el-menu-demo"
          mode="horizontal"
          @select="handleSelect"
        >
          <el-menu-item index="/">{{ $t("header.home") }}</el-menu-item>
          <el-menu-item index="/systemSetting">{{
            $t("header.systemConfiguration")
          }}</el-menu-item>
          <el-sub-menu index="/detectionConfig">
            <template #title>{{ $t("header.inspectionSettings") }}</template>
            <el-menu-item index="/detectionConfig">{{
              $t("header.inspectionSettings")
            }}</el-menu-item>
            <el-menu-item index="/faultConfig">{{
              $t("header.faultConfiguration")
            }}</el-menu-item>
          </el-sub-menu>
          <el-menu-item index="/log">
            {{ $t("header.logs") }}
          </el-menu-item>
        </el-menu>
      </div>
      <el-date-picker type="datetime" placeholder="Select date and time" />
      <div style="margin-right: 50px; height: 30px">
        <el-dropdown
          @command="handleCommand"
          style="width: 80px; line-height: 30px"
        >
          <div class="el-dropdown-link" style="display: flex">
            <div>{{ currentLan }}</div>
            <div style="line-height: 30px; line-height: 37px; margin-left: 4px">
              <SvgIcon name="ele-ArrowDown"></SvgIcon>
            </div>
          </div>

          <template #dropdown>
            <el-dropdown-menu>
              <el-dropdown-item
                v-for="lang in langs"
                :key="lang.key"
                :command="lang"
                >{{ lang.title }}</el-dropdown-item
              >
            </el-dropdown-menu>
          </template>
        </el-dropdown>
      </div>
    </div>
  </el-header>
</template>
<script setup lang="ts" name="LayoutHeader">
import { defineAsyncComponent } from "vue";
import { ref } from "vue";

//正确用法
import { langs } from "../../locales/index"; //这个是你自己的国际化配置文件

import { useLocaleStore } from "../../stores/locales";
import { getCurrentInstance } from "vue";
const Logo = defineAsyncComponent(() => import("./logo.vue"));
const useLocale = useLocaleStore();

const handleSelect = (key: string, keyPath: string[]) => {
  console.log(key, keyPath);
};
const app = getCurrentInstance();
let curLocale = useLocale.locale;
let currentLan = ref(langs.find((cur) => cur.key === curLocale)?.title || "");

const handleCommand = (command: any) => {
  currentLan.value = command.title;
  // i18n.global.locale.value = command.key; // 设置初始语言
  useLocale.setLocale(command.key);
};
</script>
<style scoped lang="scss">
.el-menu--horizontal {
  --el-menu-horizontal-height: 30px;
}
.header-box {
  height: 52px;
  width: 100;
  background-color: white;
  line-height: 52px;
  border-bottom: 1px solid #f3f3f3;
}
.header-navigation-bar {
  height: 30px;
  width: 100%;
}
</style>
效果:
第七步、 Element Plus的国际化操作
使用 Element Plus 提供的语言切换 API:ElLocaleProvider(el-config-provider 组件),可以实现 Element Plus 组件的动态国际化!你只需要在 App.vue 中包一层配置组件就可以了。
<script setup lang='ts'>
import { computed } from "vue";
import { useLocaleStore } from "./stores/locales";
import zhCn from "element-plus/es/locale/lang/zh-cn";
import en from "element-plus/es/locale/lang/en";

const localeStore = useLocaleStore();
const currentLocale = computed(() => {
  return localeStore.locale === "zh" ? zhCn : en;
});
</script>
<template>
  <!-- 不要少了`class="h100"` 高度100%,不然布局的高度无法占满 -->
  <div class="h100">
    <!-- 路由组件渲染出品 -->
    <!-- <router-view></router-view> -->
    <el-config-provider :locale="currentLocale">
      <router-view />
    </el-config-provider>
  </div>
</template>
<style scoped>
</style>
第八步、element Plus国际化效果测试
刷新持久化存储:

问题总结:
问题一、如何在js种使用
import { ElMessage } from "element-plus";
import { useI18n } from "vue-i18n";
const { t } = useI18n();
ElMessage.error(t("login.loginFail"));
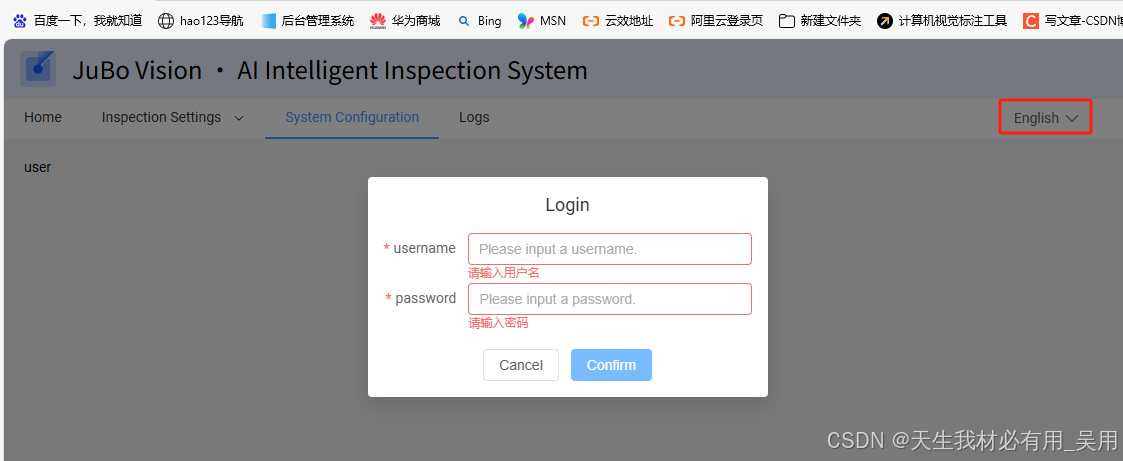
问题二、elementPlud表单校验提示不生效问题
正常去写发现数据没热更新,使用了computed去写
无法热更新写法:
const loginRules = reactive<FormRules>({
  username: [
    {
      required: true,
      message: t("login.userNamePlaceholder"),
      trigger: "blur",
    },
  ],
  password: [
    { required: true, message: t("login.userPwdPlaceholder"), trigger: "blur" },
  ],
});
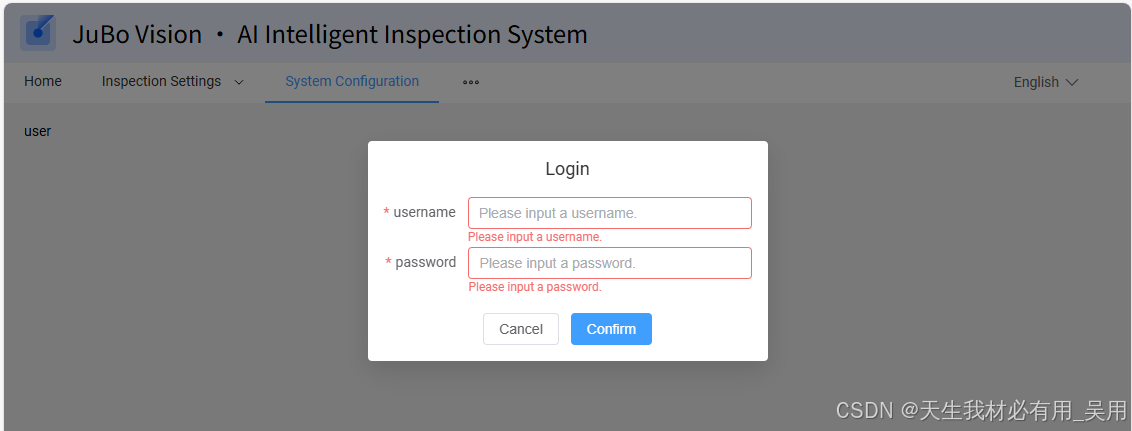
直接使用computed包住整个校验后的写法:
const loginRules = computed(() => ({
  username: [
    {
      required: true,
      message: t("login.userNamePlaceholder"),
      trigger: "blur",
    },
  ],
  password: [
    { required: true, message: t("login.userPwdPlaceholder"), trigger: "blur" },
  ],
}));
效果:
英文状态:
中文状态
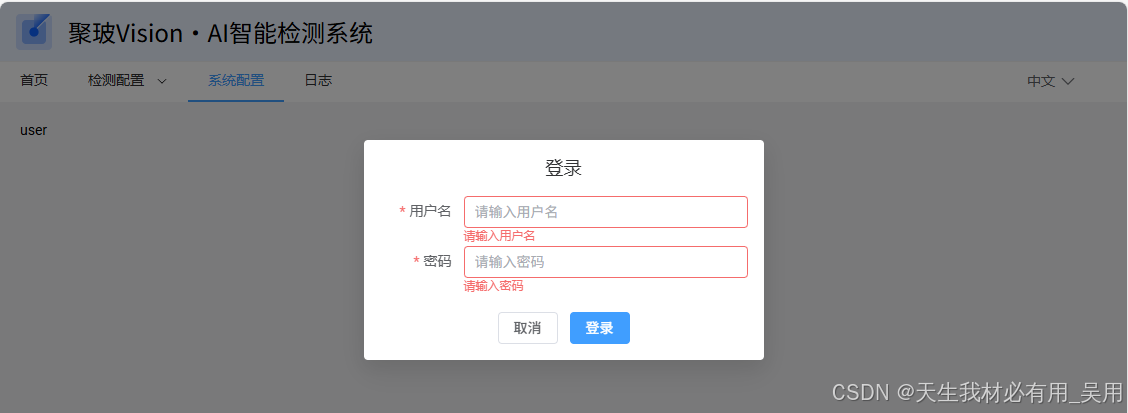
完美解决无法热更新问题