SpringBoot教程(三十二)| SpringBoot集成Sentinel
SpringBoot教程(三十二)| SpringBoot集成Sentinel
- 一、什么是Sentinel?
- 二、版本兼容性
- 三、引入 Sentinel 核心依赖(以 Spring Cloud Alibaba 方式集成)
- 四、启动 Sentinel 控制台(服务端)
- 五、Spring Boot 连接控制台
- 六、启动应用并触发资源注册
- 七、规则测试
- 1. 限流场景
- 2. 熔断场景
- 3. 降级场景
- 八、实现规则持久化(推荐Nacos )
- 下载nacos
- 2. 改成单机模式
- 3. 进入naocs
一、什么是Sentinel?
Sentinel 是阿里巴巴开源的一款流量控制、熔断降级的框架,能够帮助我们解决分布式系统中的流量管理问题。
主要用于微服务架构中的流量防护,提供限流、熔断、热点防护等机制
二、版本兼容性
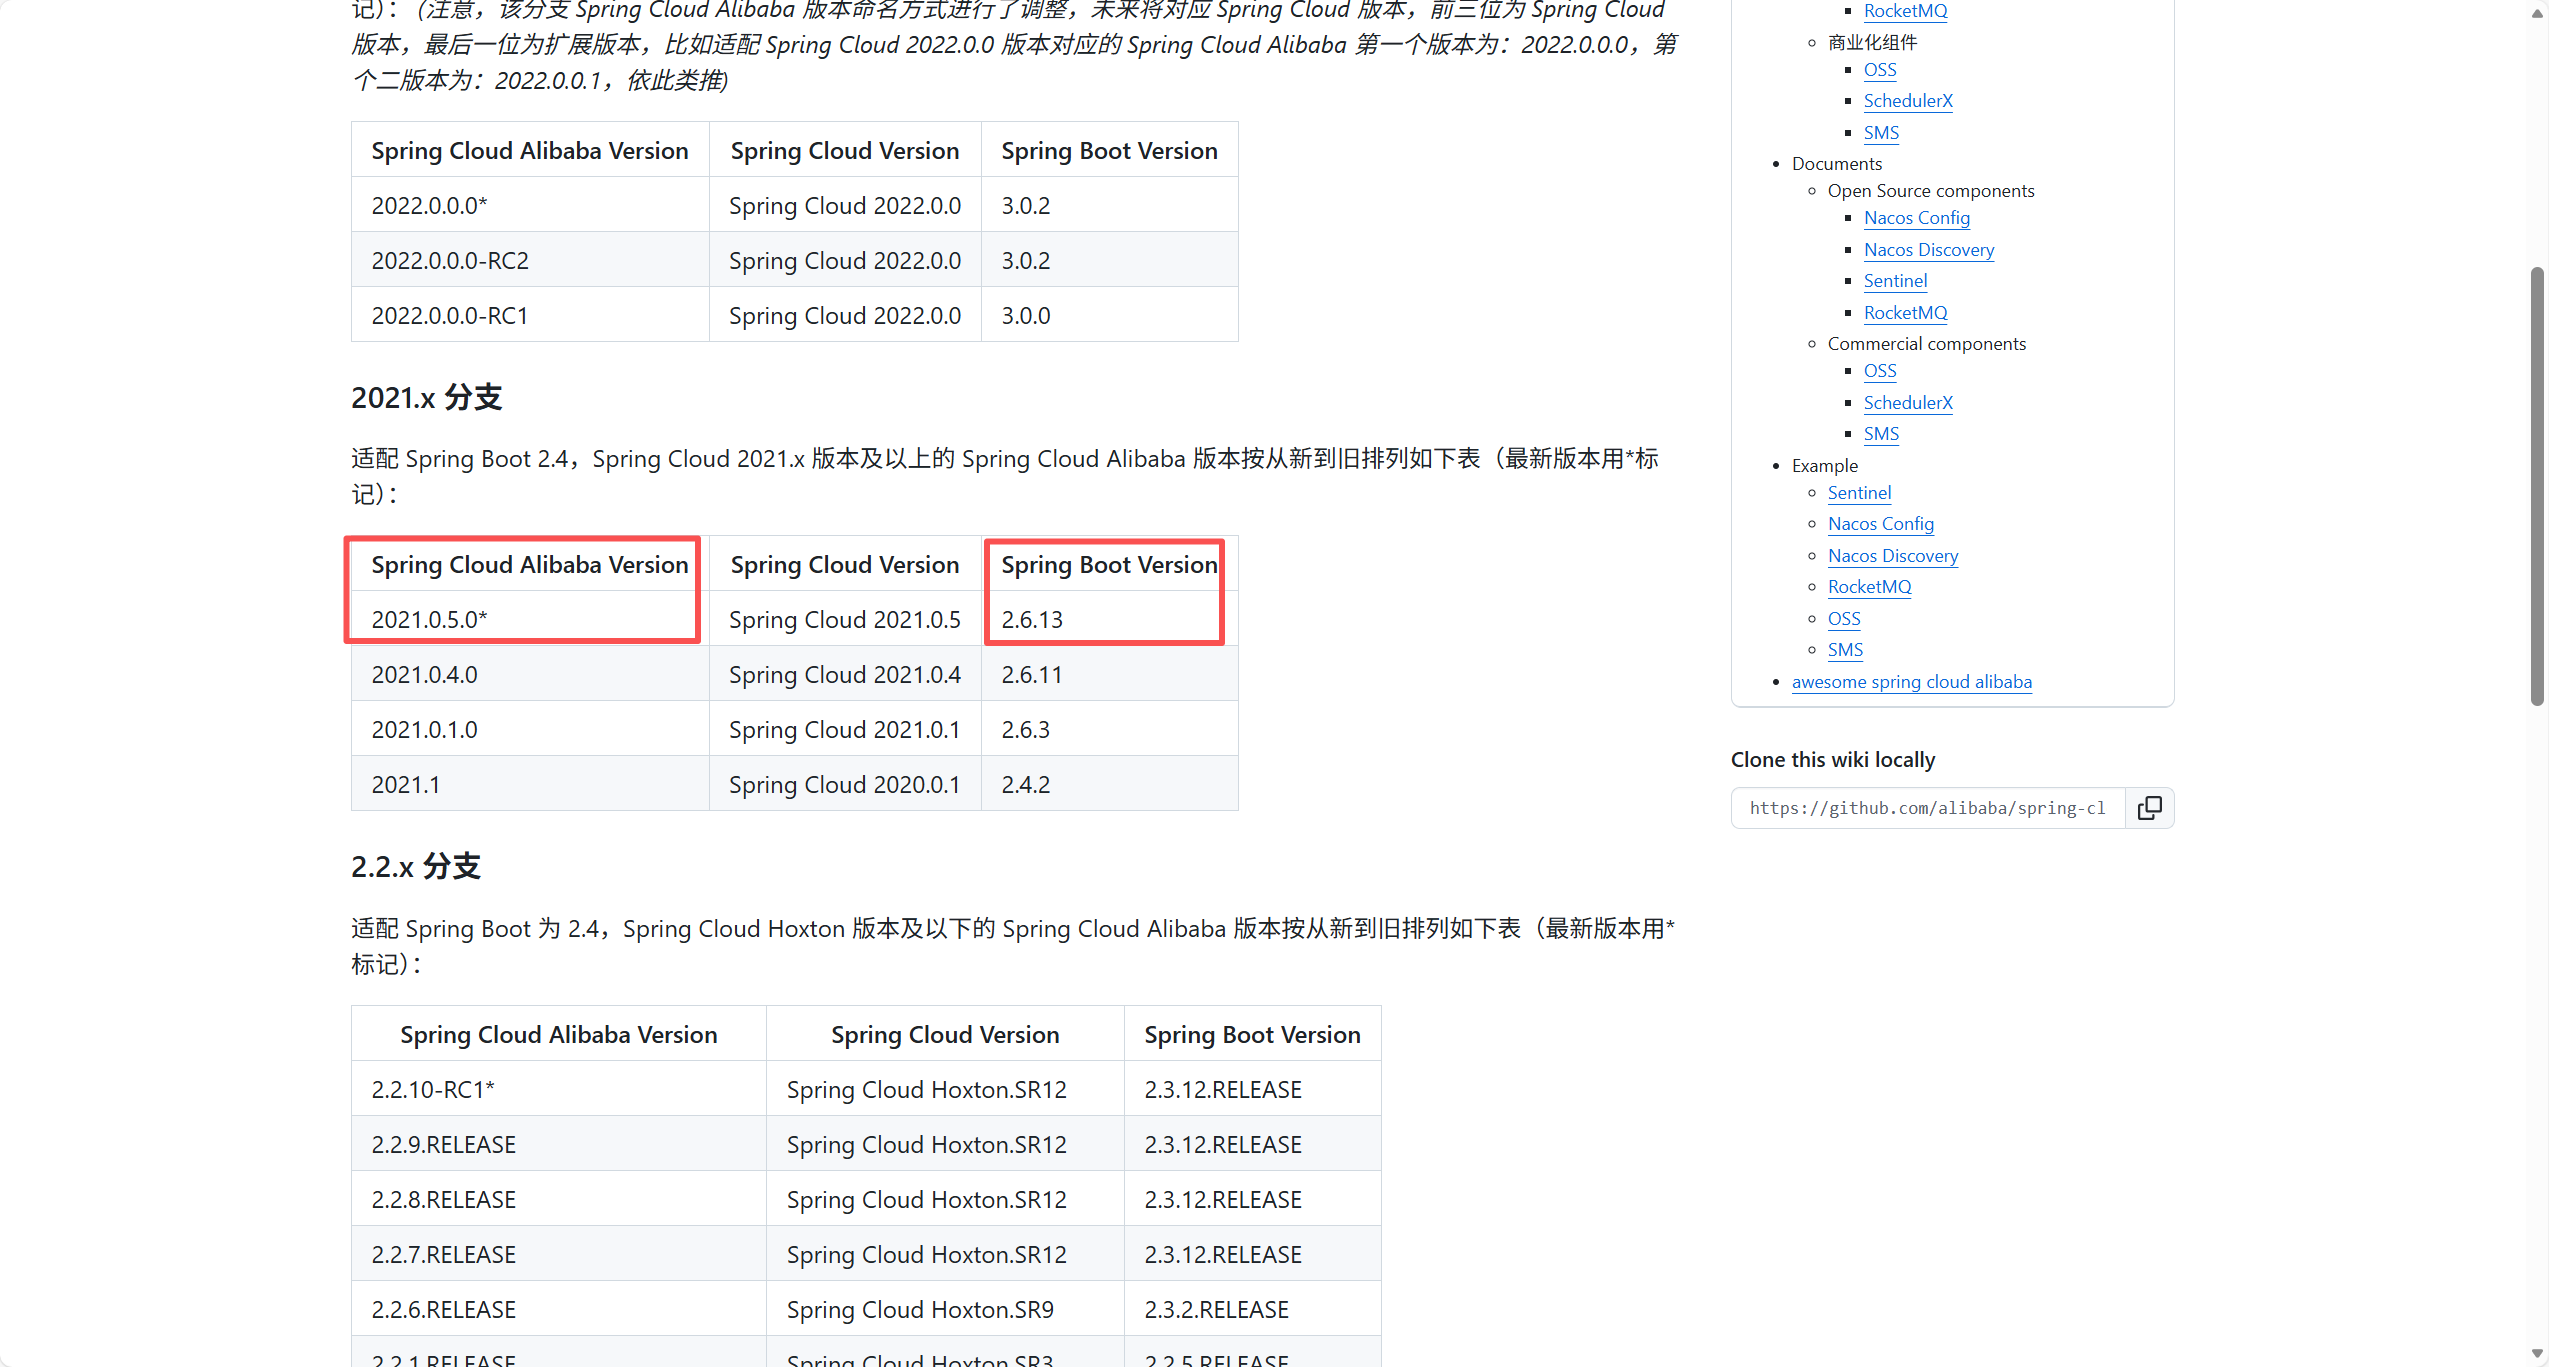
- Sentinel 通常与 Spring Cloud Alibaba 套件结合使用,需注意版本匹配。
点击 版本对应表 即可查看
我这边是SpringBoot 为 2.6.13,使用的 spring-cloud-alibaba-dependencies 即为 2021.0.5.0 版本
三、引入 Sentinel 核心依赖(以 Spring Cloud Alibaba 方式集成)
<!-- Spring Cloud Alibaba 版本管理(父工程或 dependencyManagement 中) -->
<dependencyManagement><dependencies><dependency><groupId>com.alibaba.cloud</groupId><artifactId>spring-cloud-alibaba-dependencies</artifactId><version>2021.0.5.0</version><type>pom</type><scope>import</scope></dependency></dependencies>
</dependencyManagement><!-- Sentinel 核心依赖 -->
<dependencies><!-- Spring Boot Web (用于测试接口) --><dependency><groupId>org.springframework.boot</groupId><artifactId>spring-boot-starter-web</artifactId></dependency><!-- Sentinel 集成 Spring Cloud --><dependency><groupId>com.alibaba.cloud</groupId><artifactId>spring-cloud-starter-alibaba-sentinel</artifactId></dependency>
</dependencies>
四、启动 Sentinel 控制台(服务端)
Sentinel 控制台用于可视化配置规则、监控流量,需单独启动:
步骤:
1.查看 sentinel 的版本
通过 spring-cloud-alibaba-dependencies 进行 查看,可以得出是 1.8.6
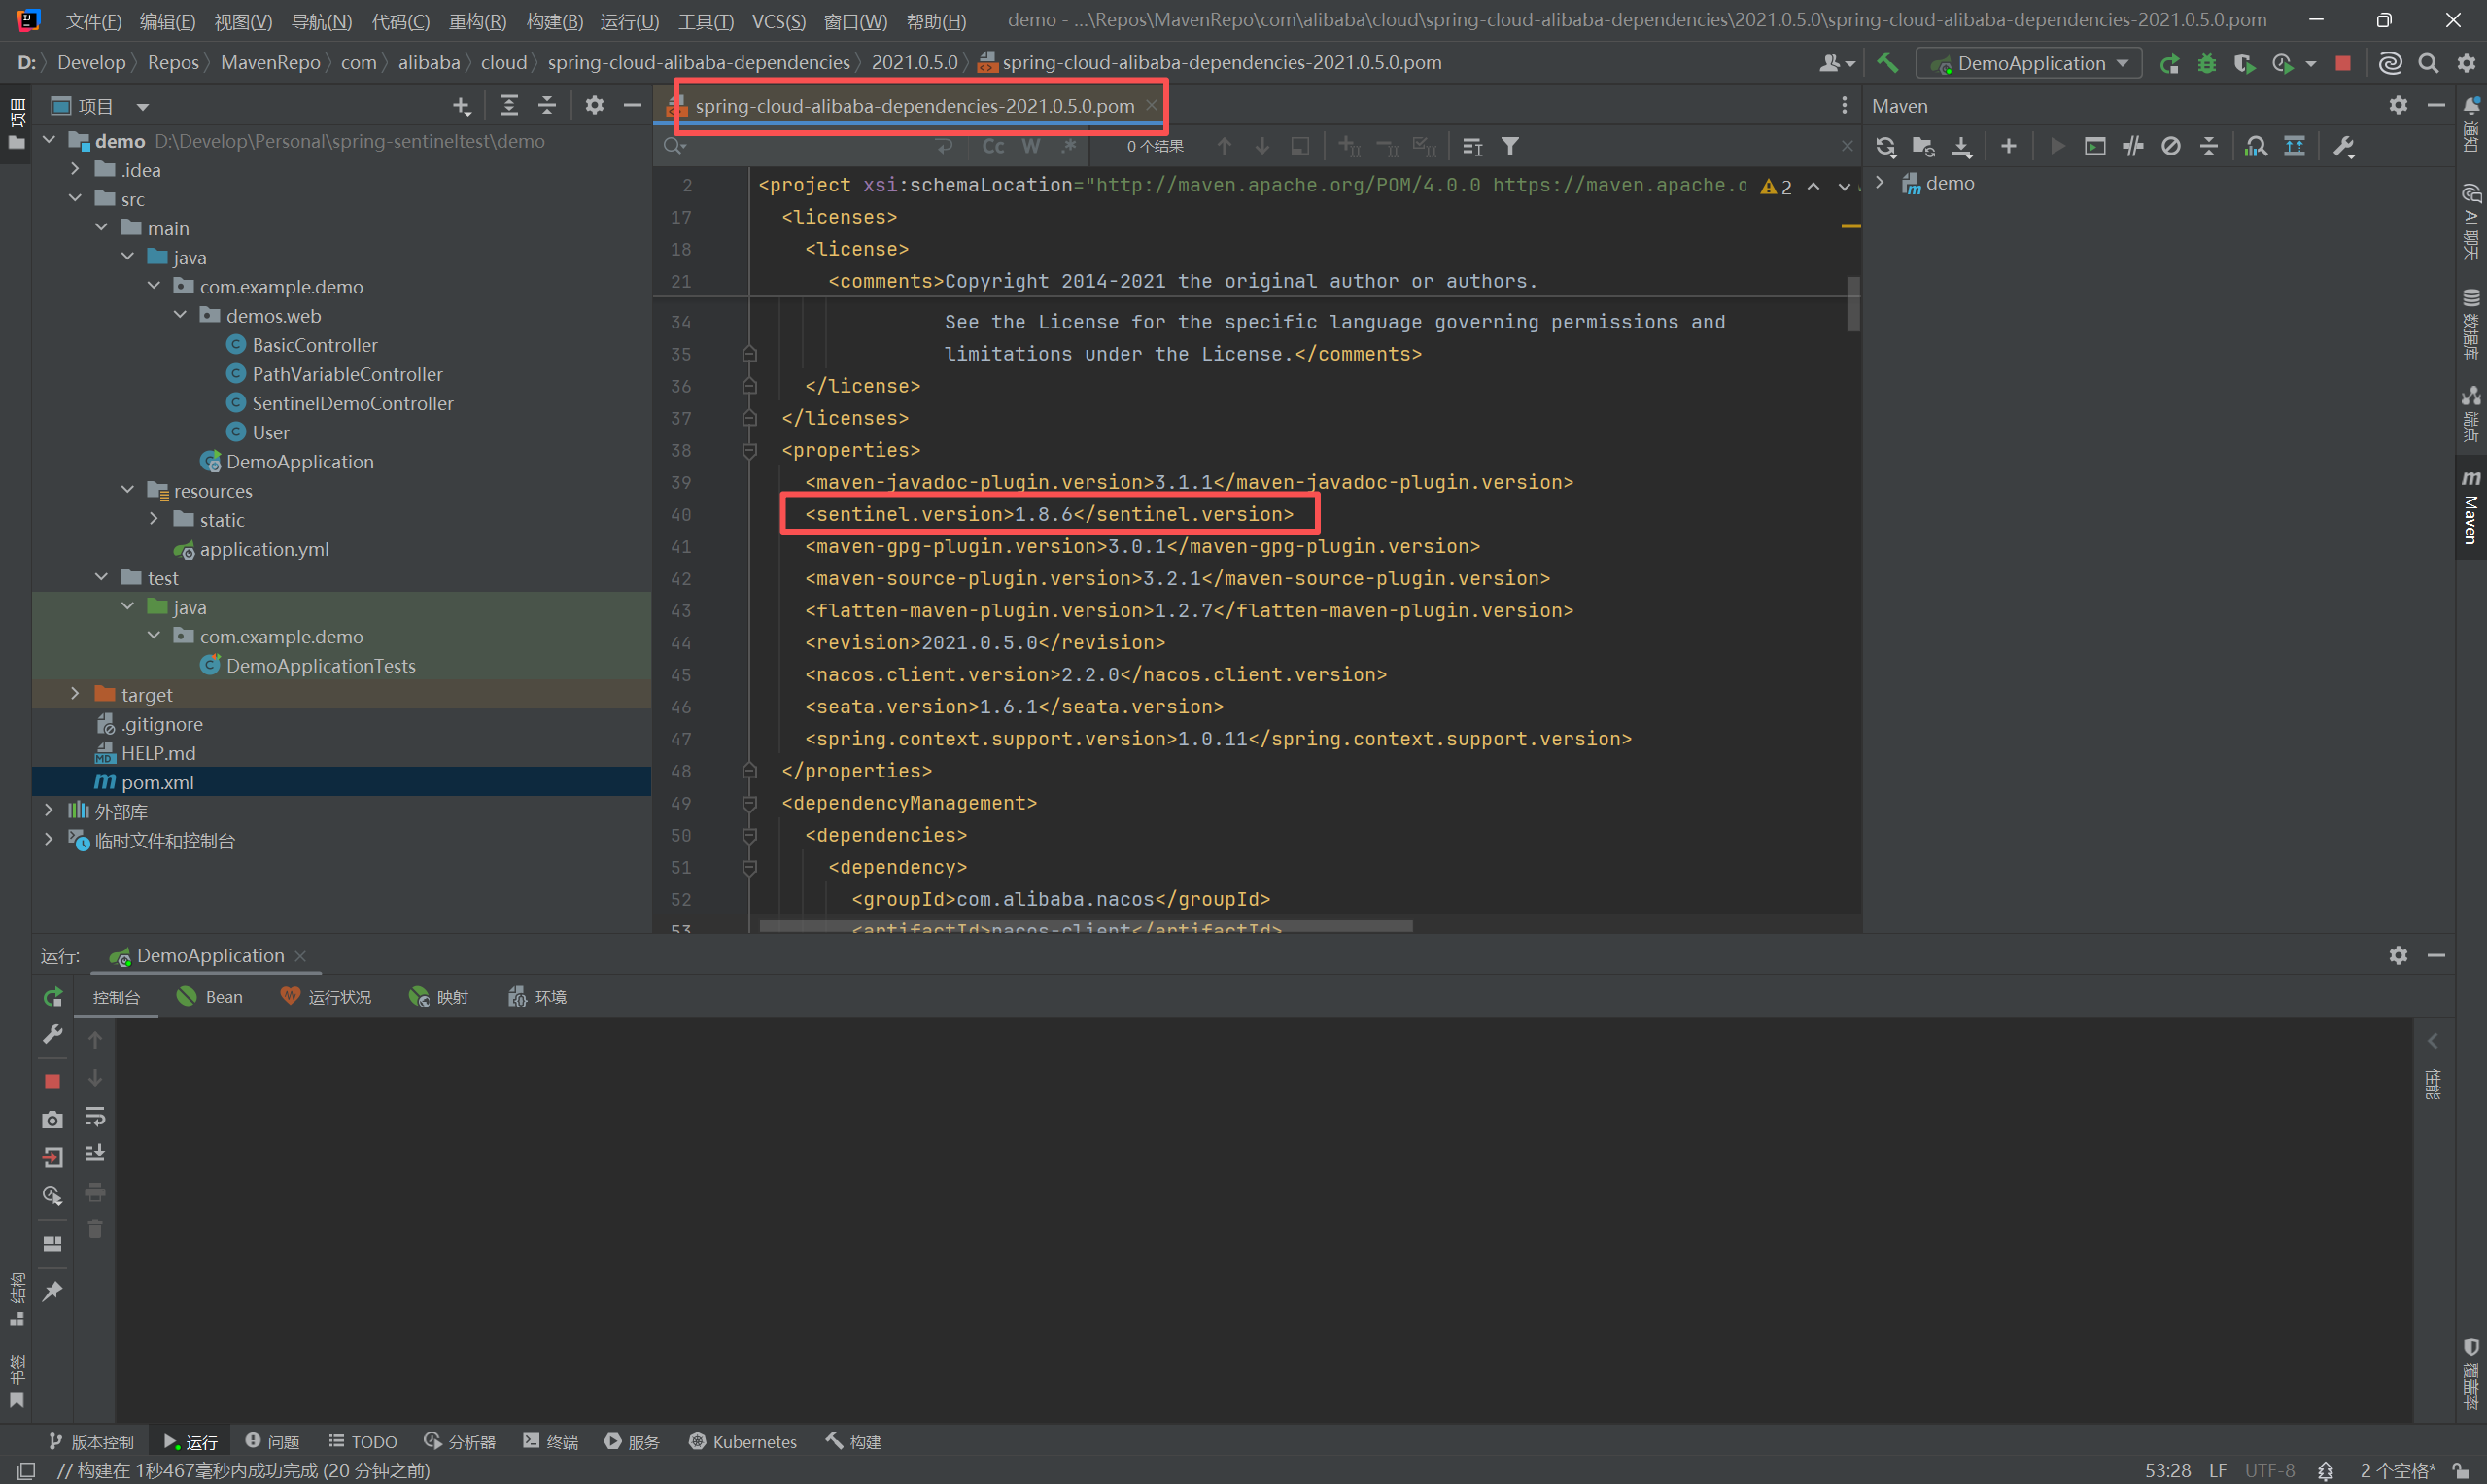
2.下载控制台 jar 包:从 Sentinel Releases 下载 sentinel-dashboard-${version}.jar。(我这里是 sentinel-dashboard-1.8.6.jar)
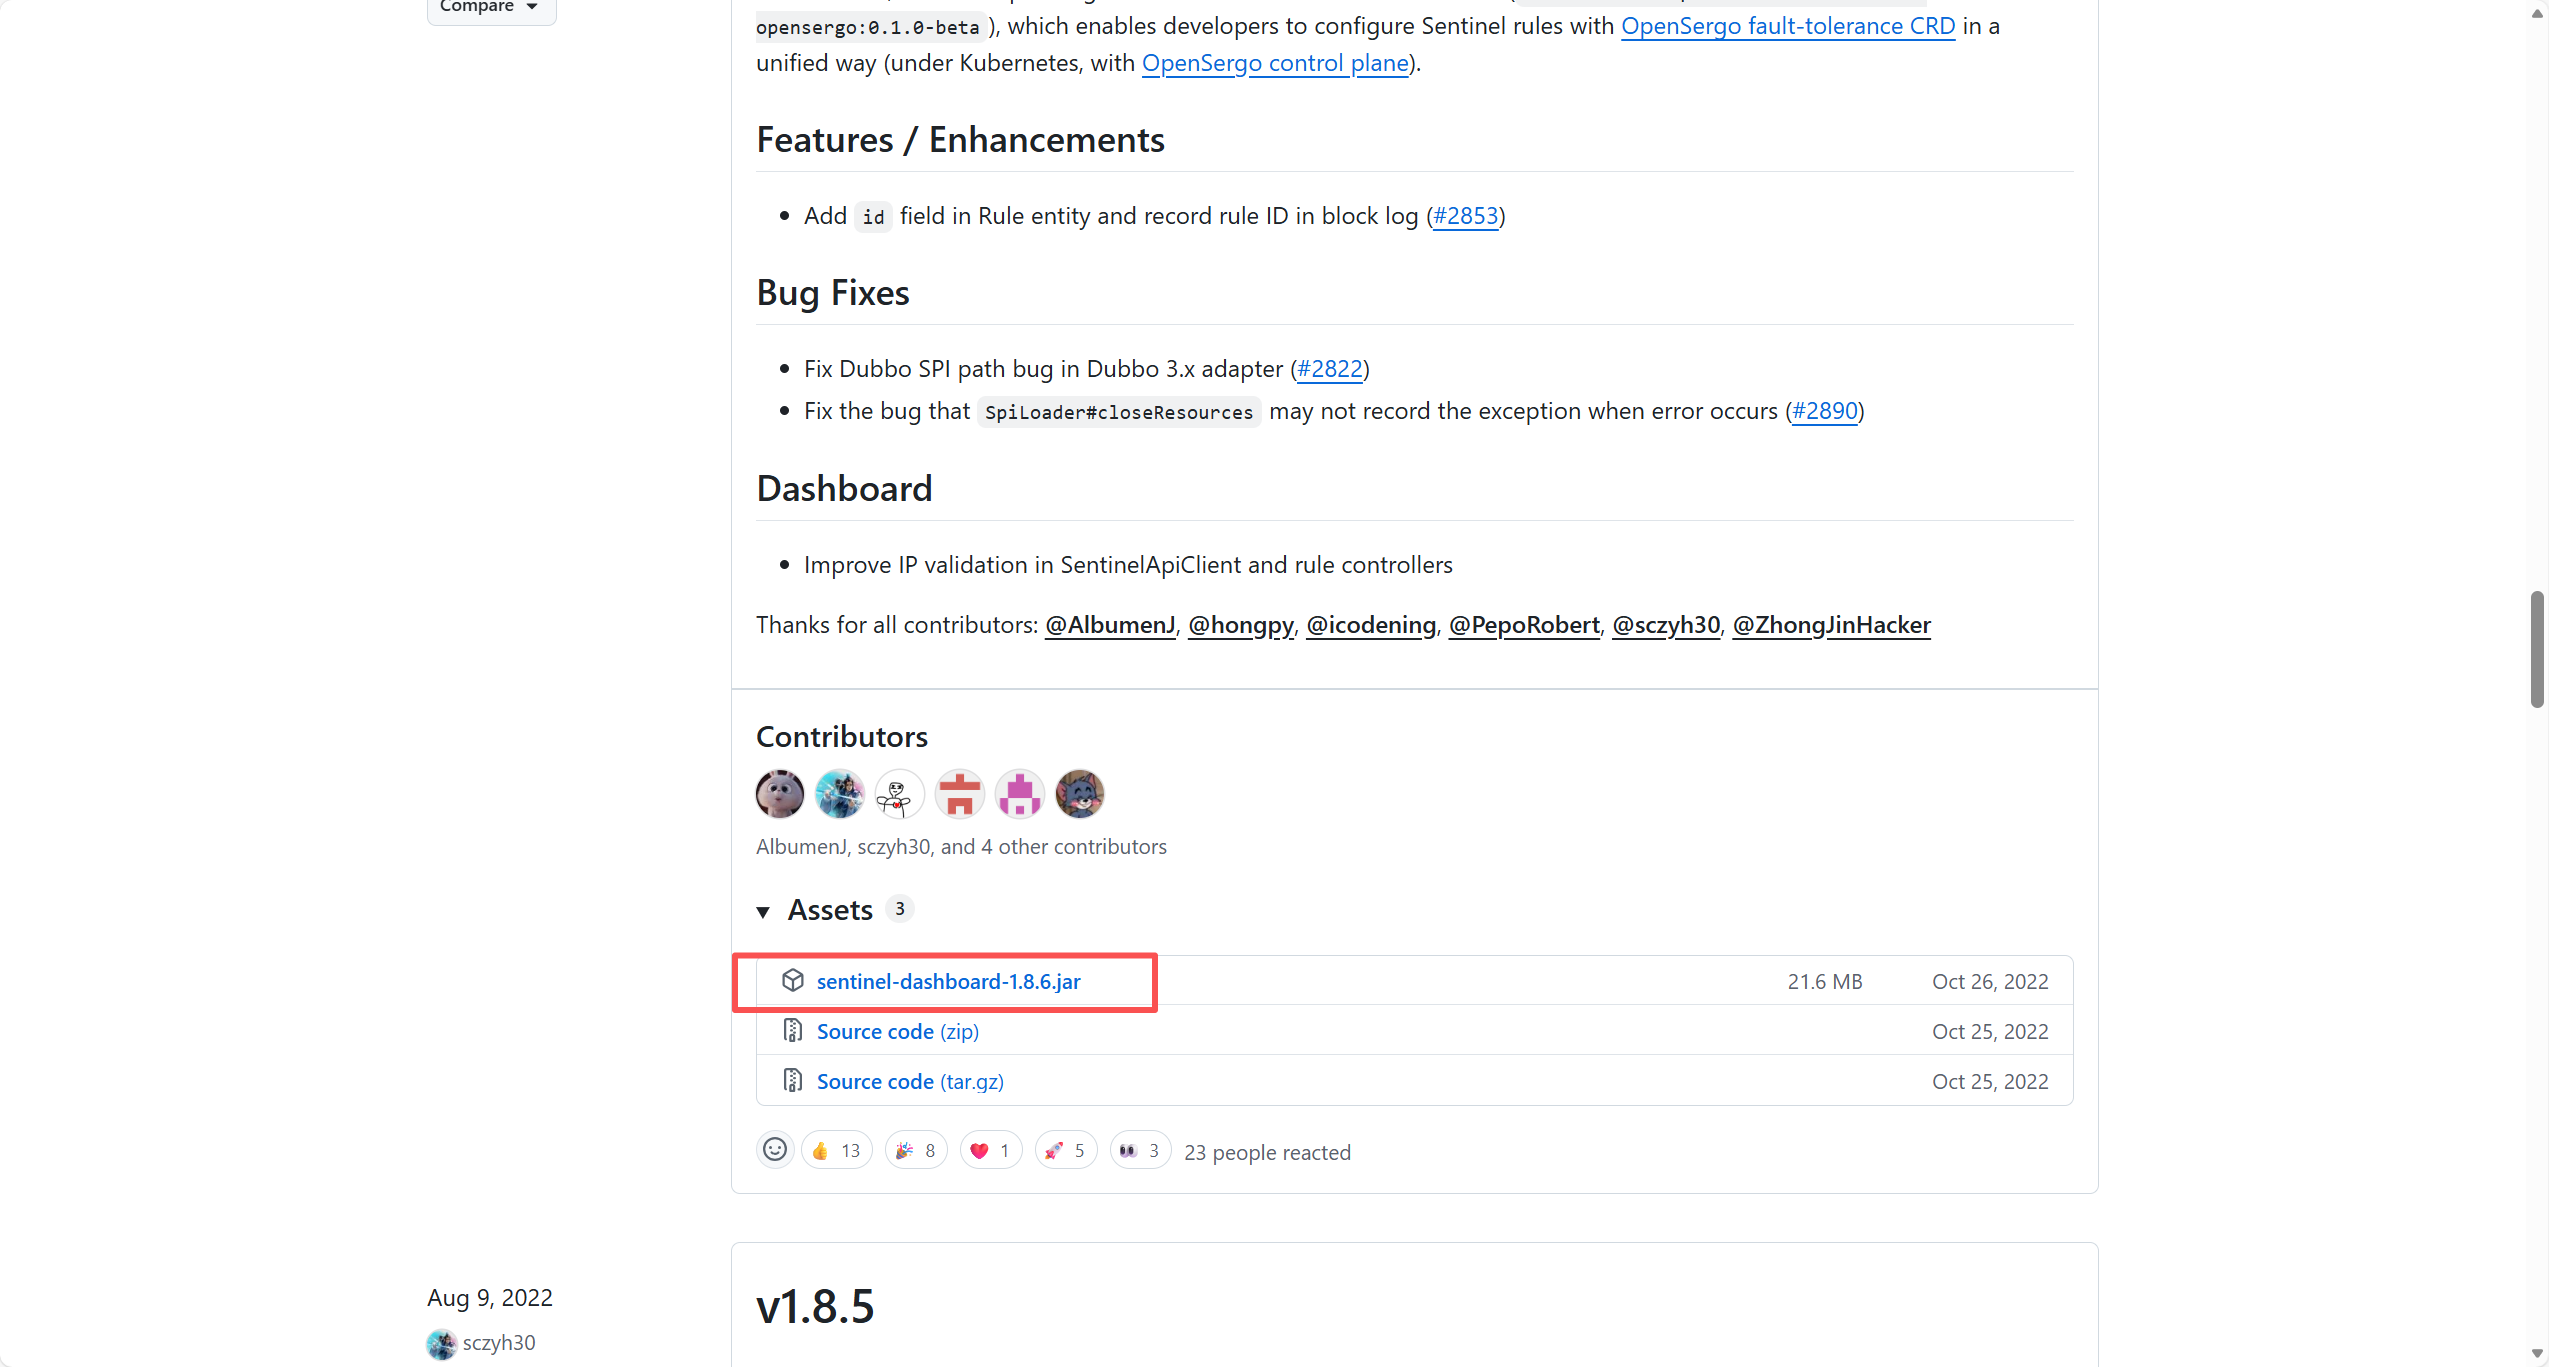
3.启动控制台:命令行执行(默认端口 8080,账号密码均为 sentinel):
java -jar sentinel-dashboard-1.8.6.jar --server.port=8080
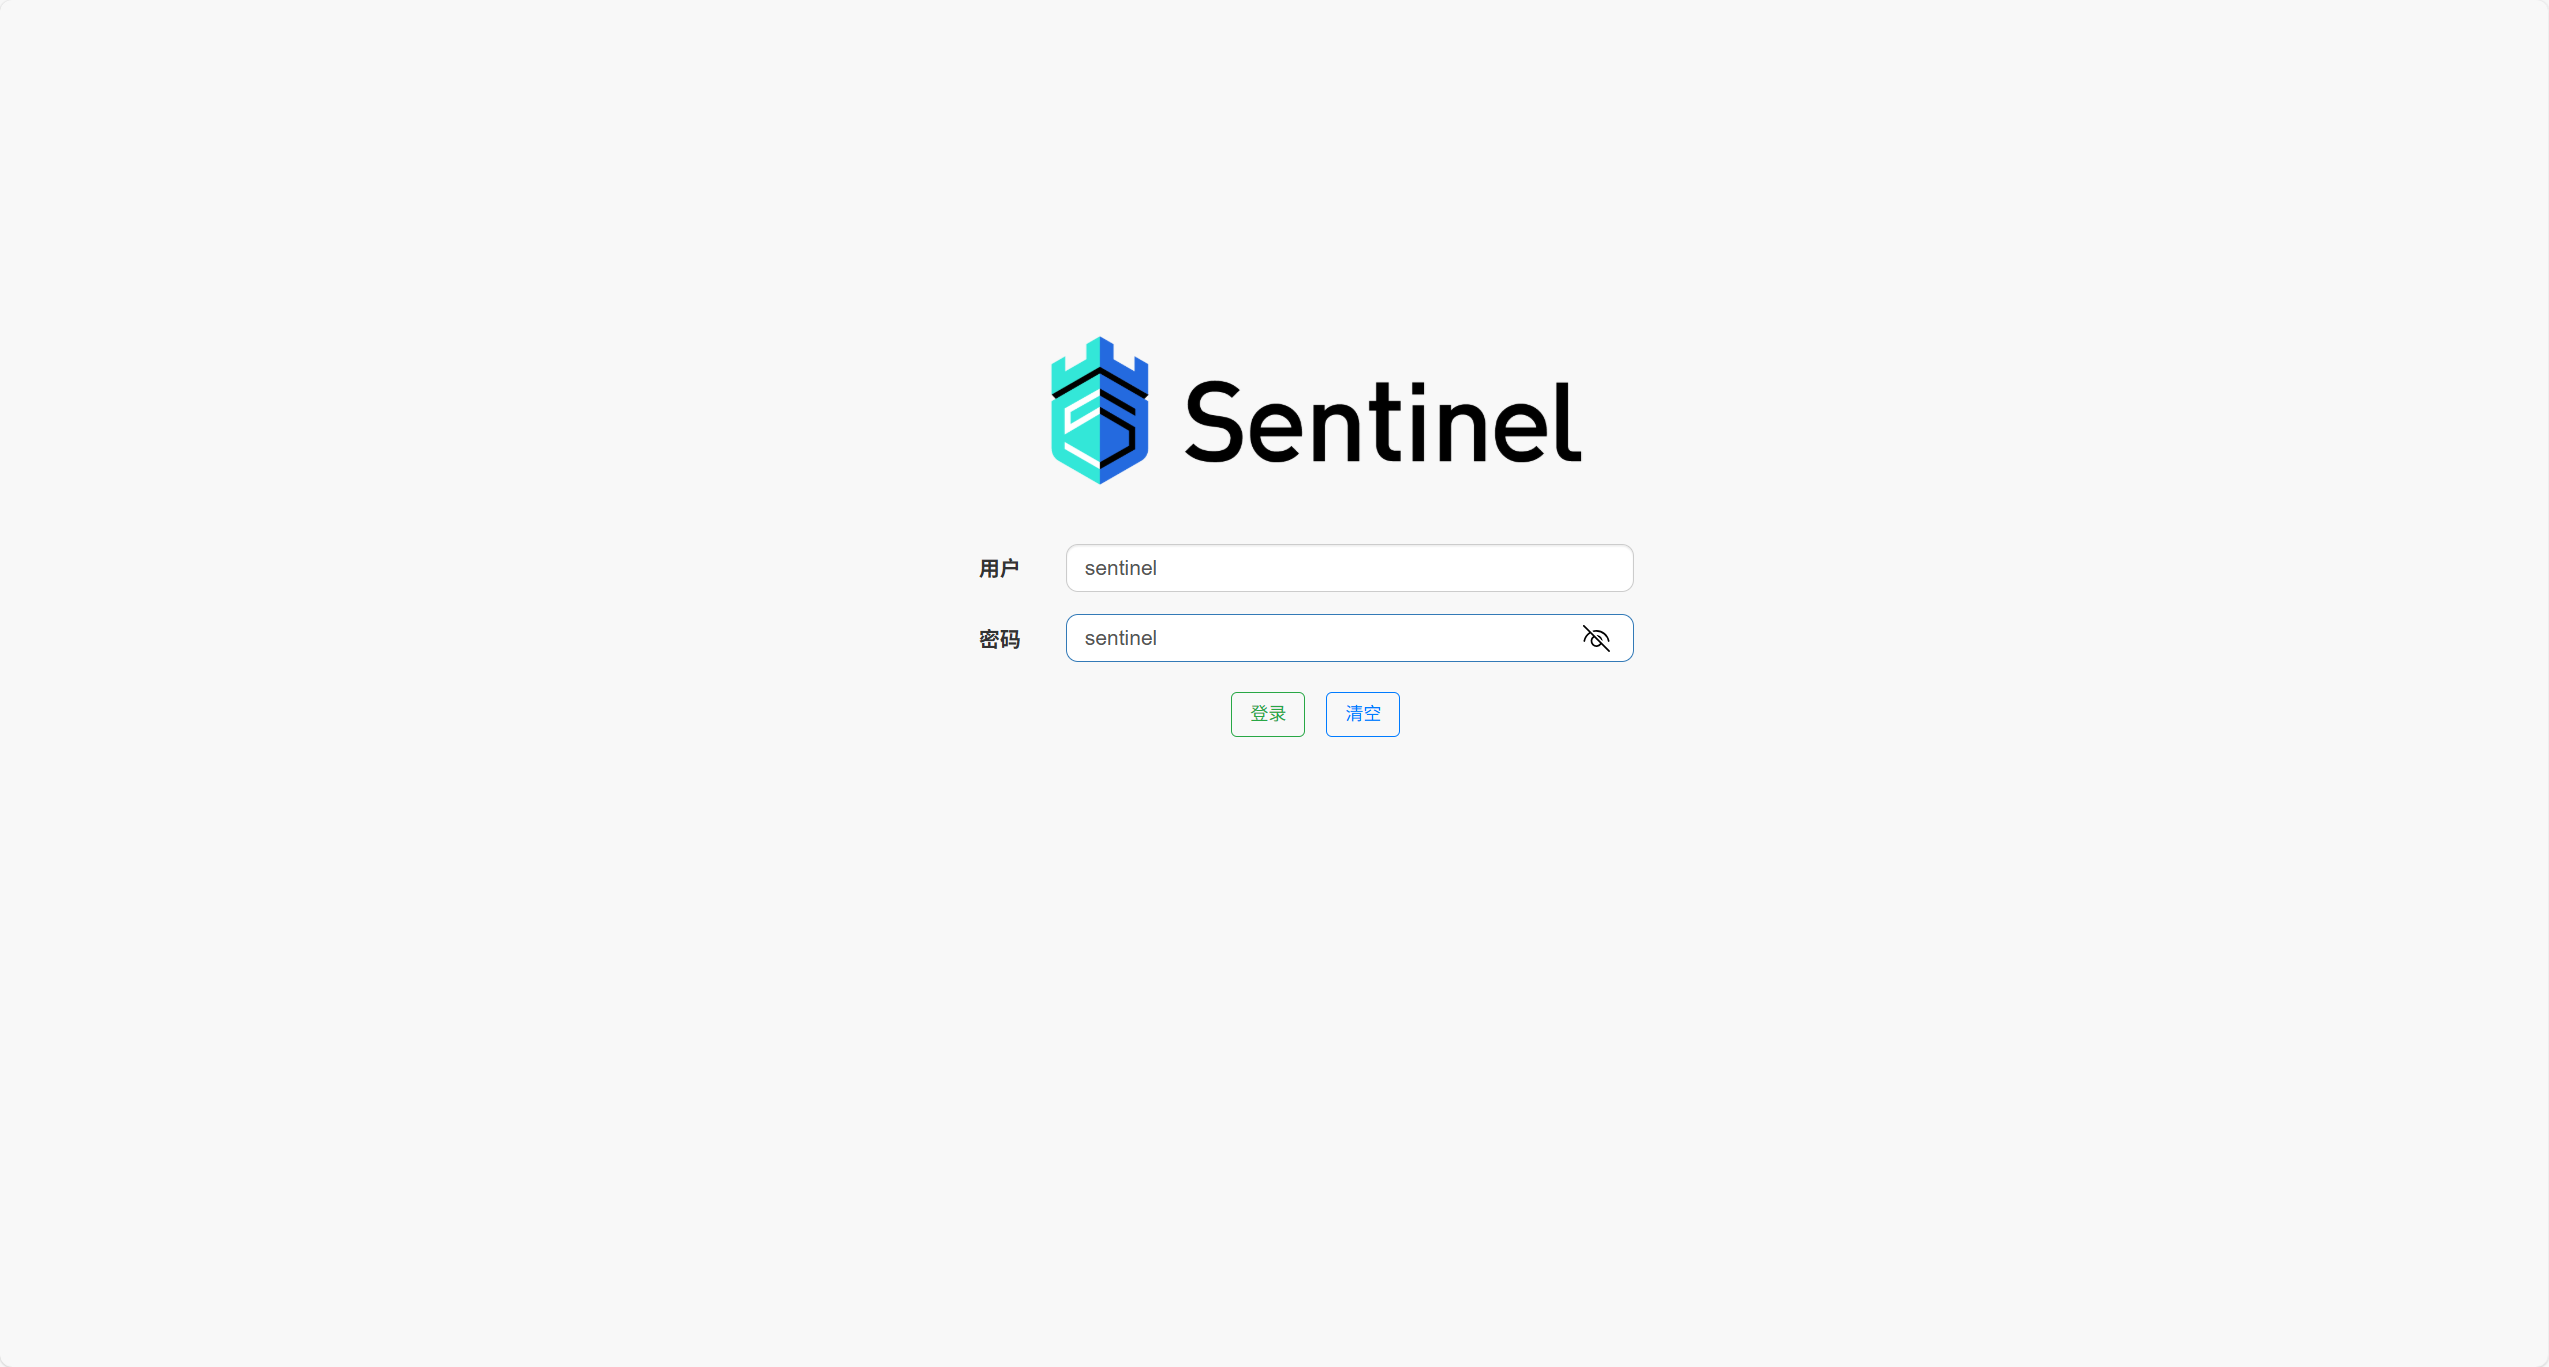
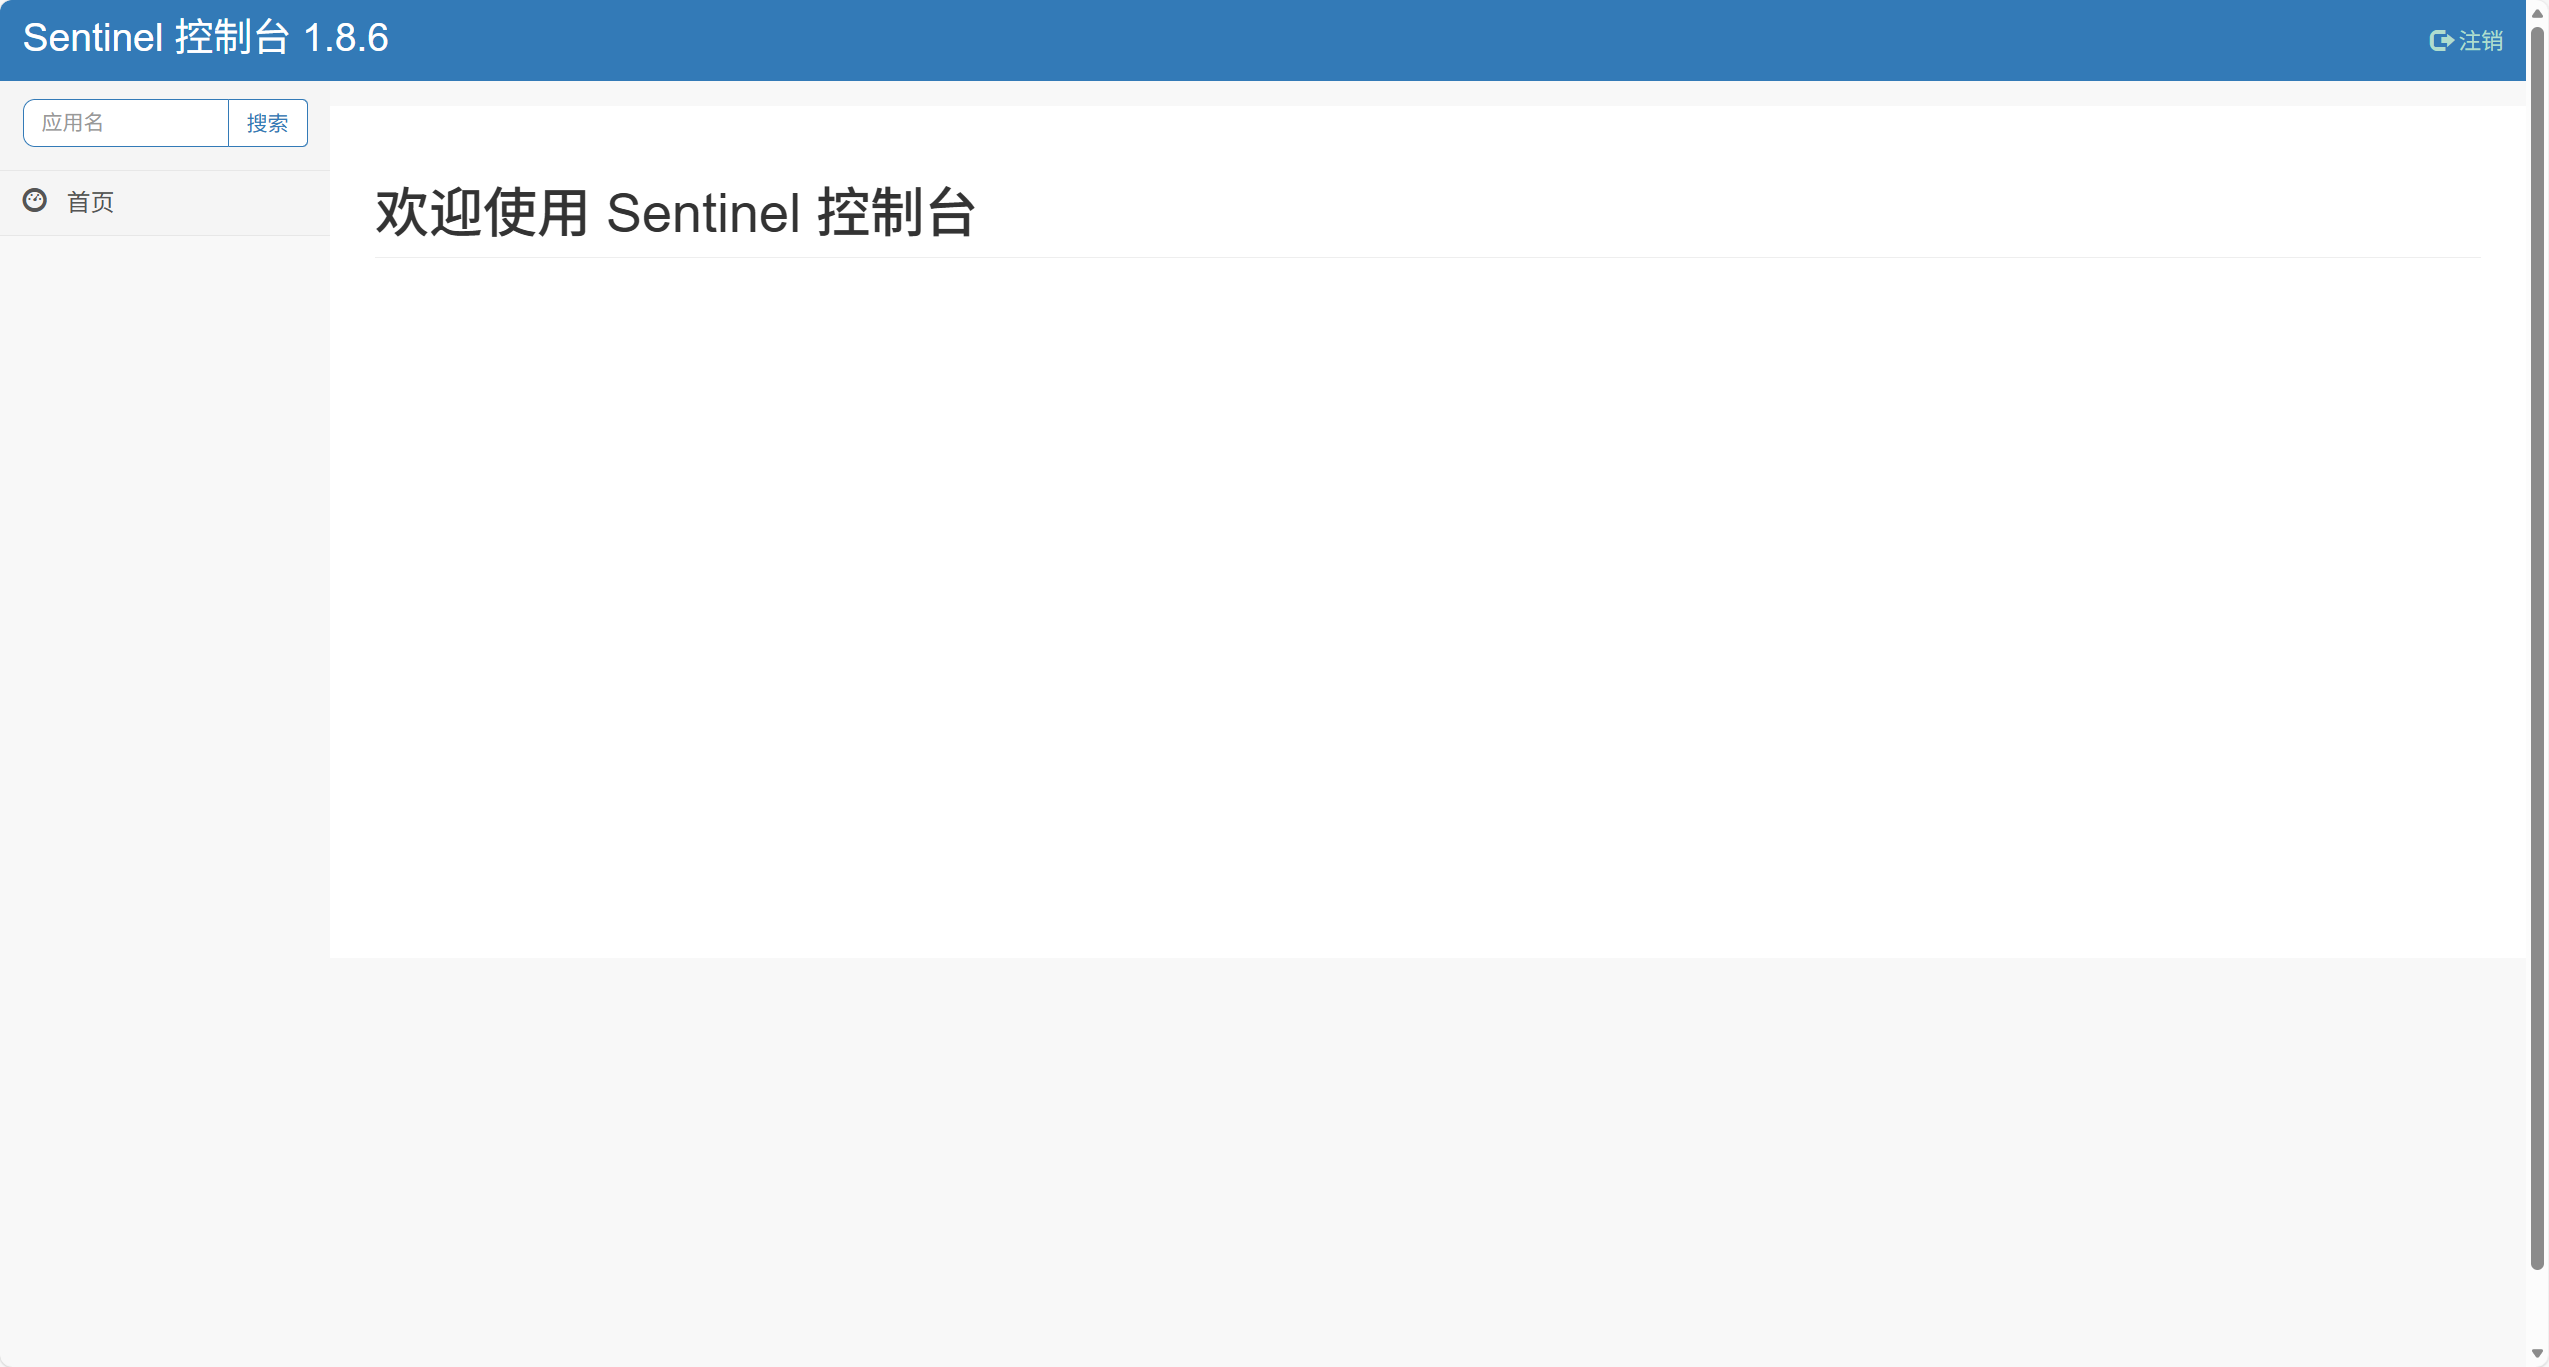
4.访问控制台:浏览器打开 http://localhost:8080,输入账号密码登录。
五、Spring Boot 连接控制台
在 application.yml 中配置控制台地址:
server:port: 8080spring:application:name: sentinel-demo # 应用名称(控制台会显示此名称)cloud:sentinel:eager: true # 取消Sentinel控制台懒加载transport:dashboard: localhost:8085 # 控制台地址port: 8719 # 本地客户端与控制台通信的端口(默认8719,若被占用自动+1)
六、启动应用并触发资源注册
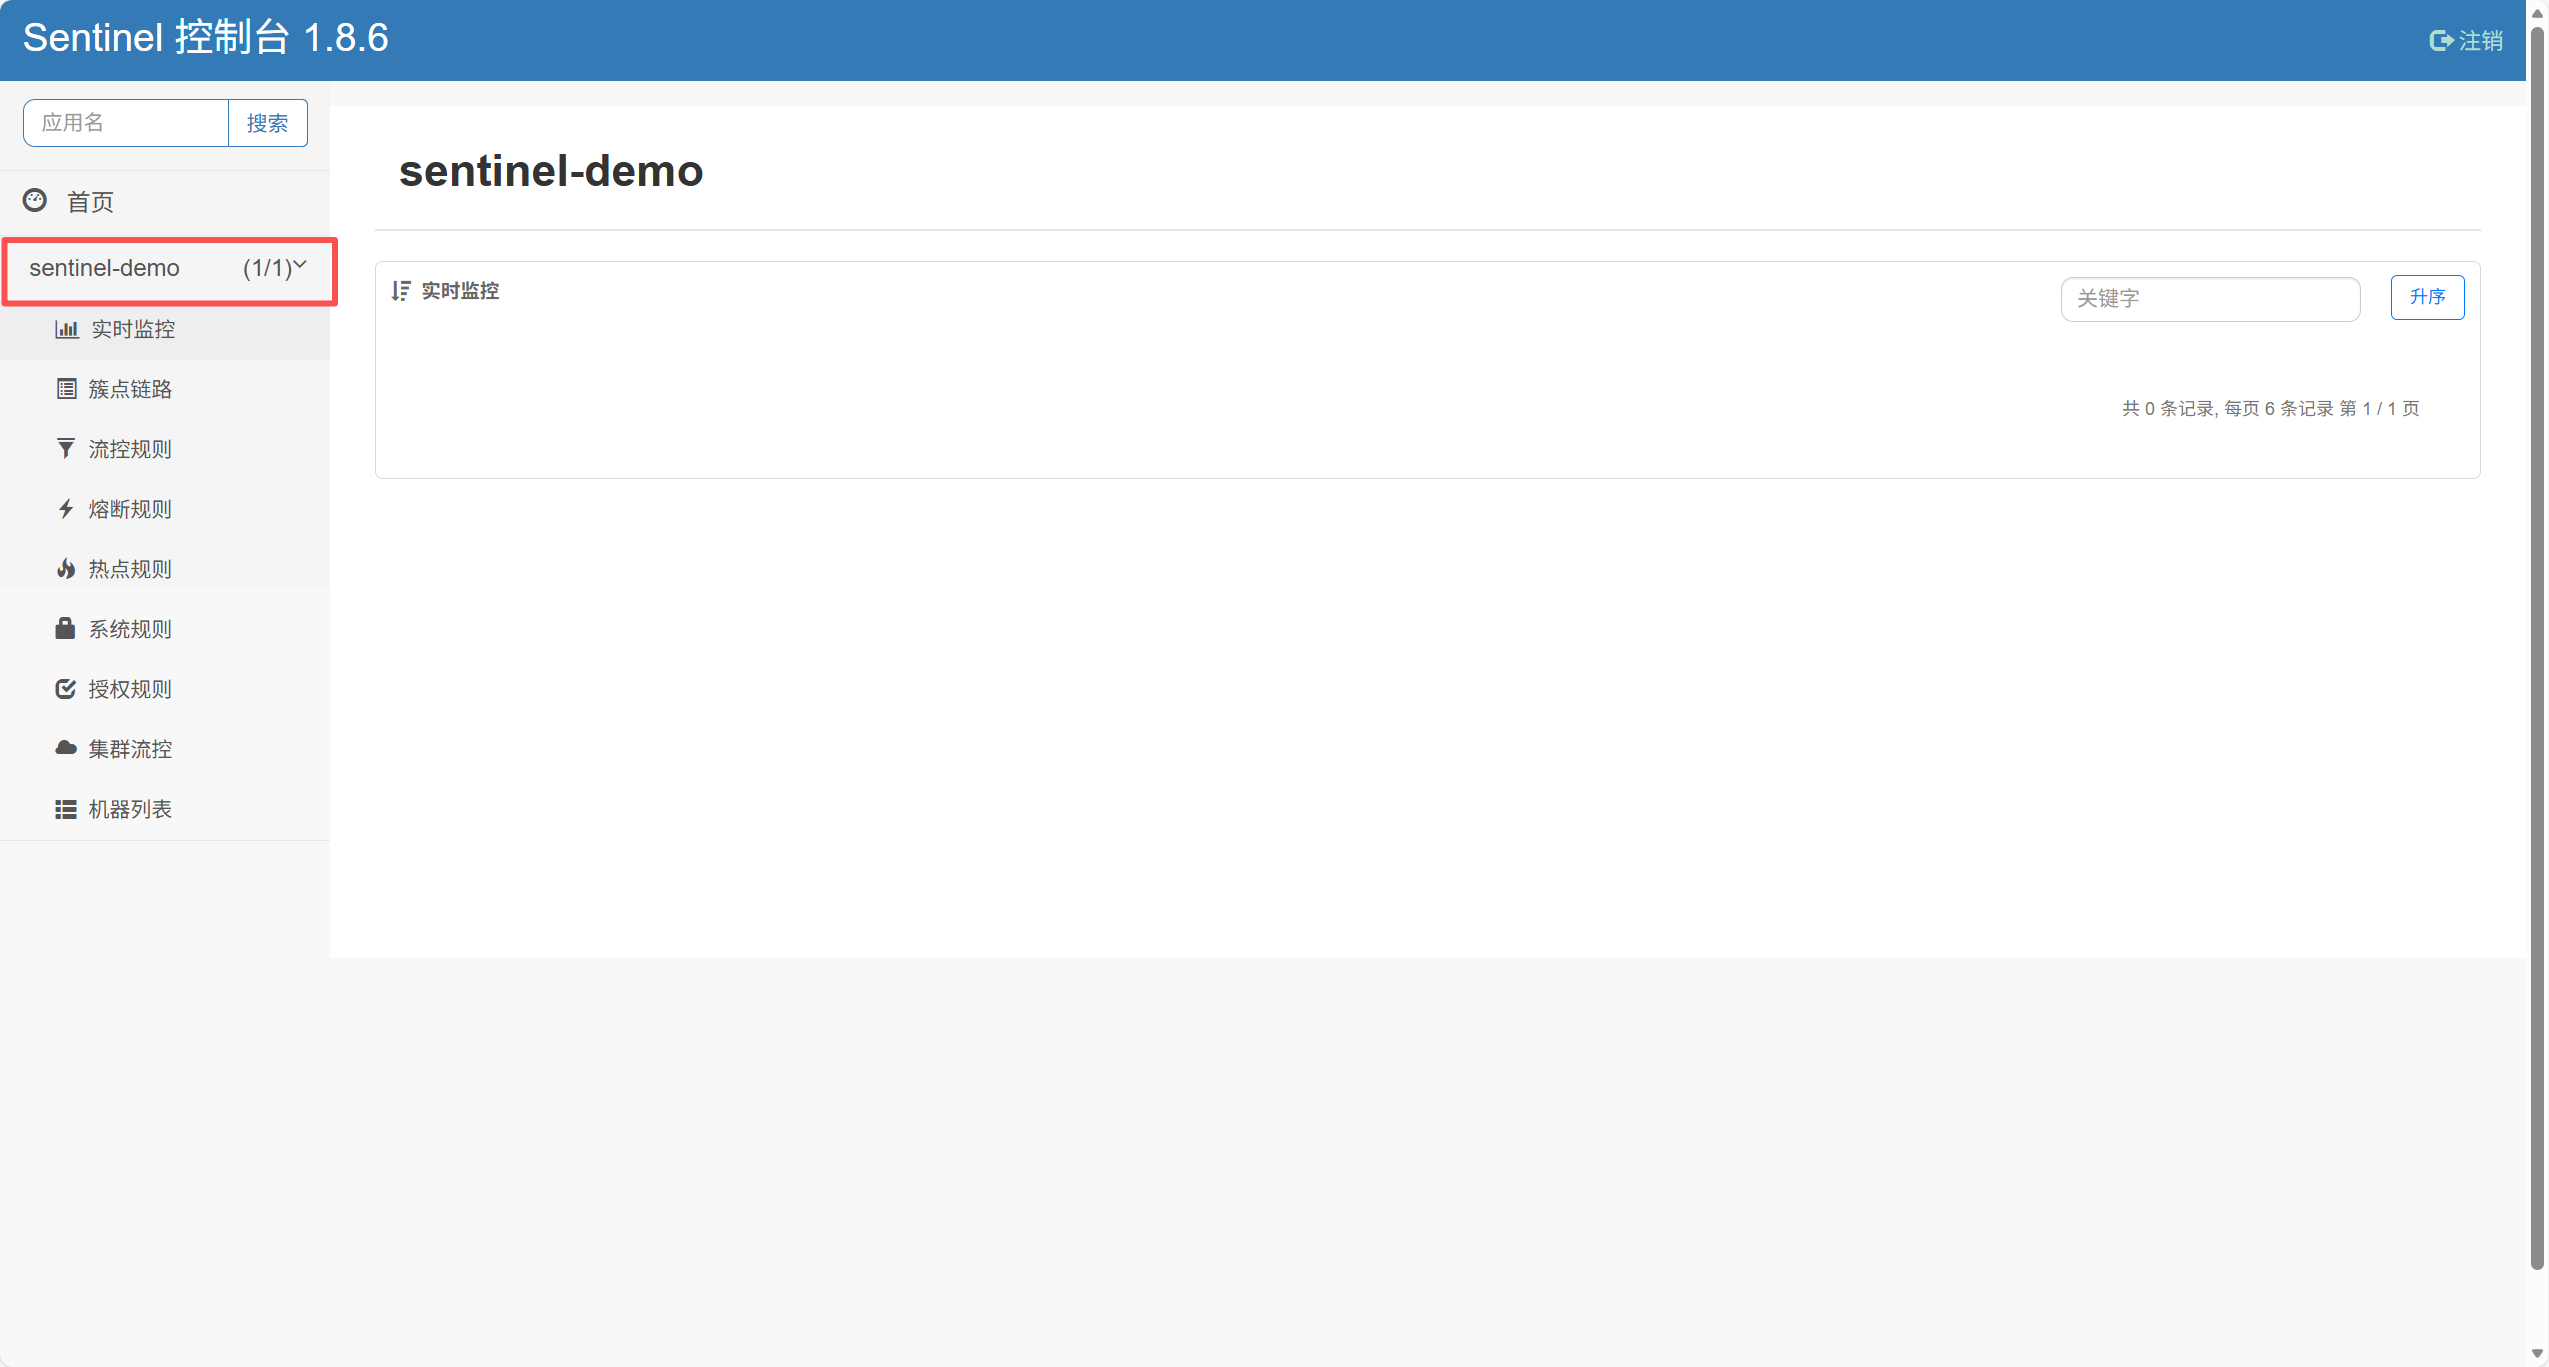
启动 Spring Boot 应用。
注意:Sentinel 默认是懒加载,资源首次被访问后才会在控制台显示,上面的配置我使用 eager: true 取消了懒加载
七、规则测试
1. 限流场景
限流场景(接口:/flow/{id})
核心逻辑:接口本身正常,仅当请求频率(QPS)超过阈值时被限流。
import com.alibaba.csp.sentinel.annotation.SentinelResource;
import com.alibaba.csp.sentinel.slots.block.BlockException;
import org.springframework.web.bind.annotation.GetMapping;
import org.springframework.web.bind.annotation.PathVariable;
import org.springframework.web.bind.annotation.RestController;@RestController
public class SentinelDemoController {// ==================== 1. 限流场景 ====================/*** 限流测试接口:正常响应,仅通过QPS阈值触发限流* 资源名:flowLimitResource*/@SentinelResource(value = "flowLimitResource",blockHandler = "flowBlockHandler" // 限流触发时的处理方法)@GetMapping("/flow/{id}")public String flowLimitTest(@PathVariable String id) {// 接口本身无异常,仅当QPS超过阈值时触发限流return "限流接口正常响应:" + id;}// 限流触发的处理方法(BlockException)public String flowBlockHandler(String id, BlockException e) {return "【限流触发】接口被限制,id=" + id + ",原因:" + e.getMessage();}
}
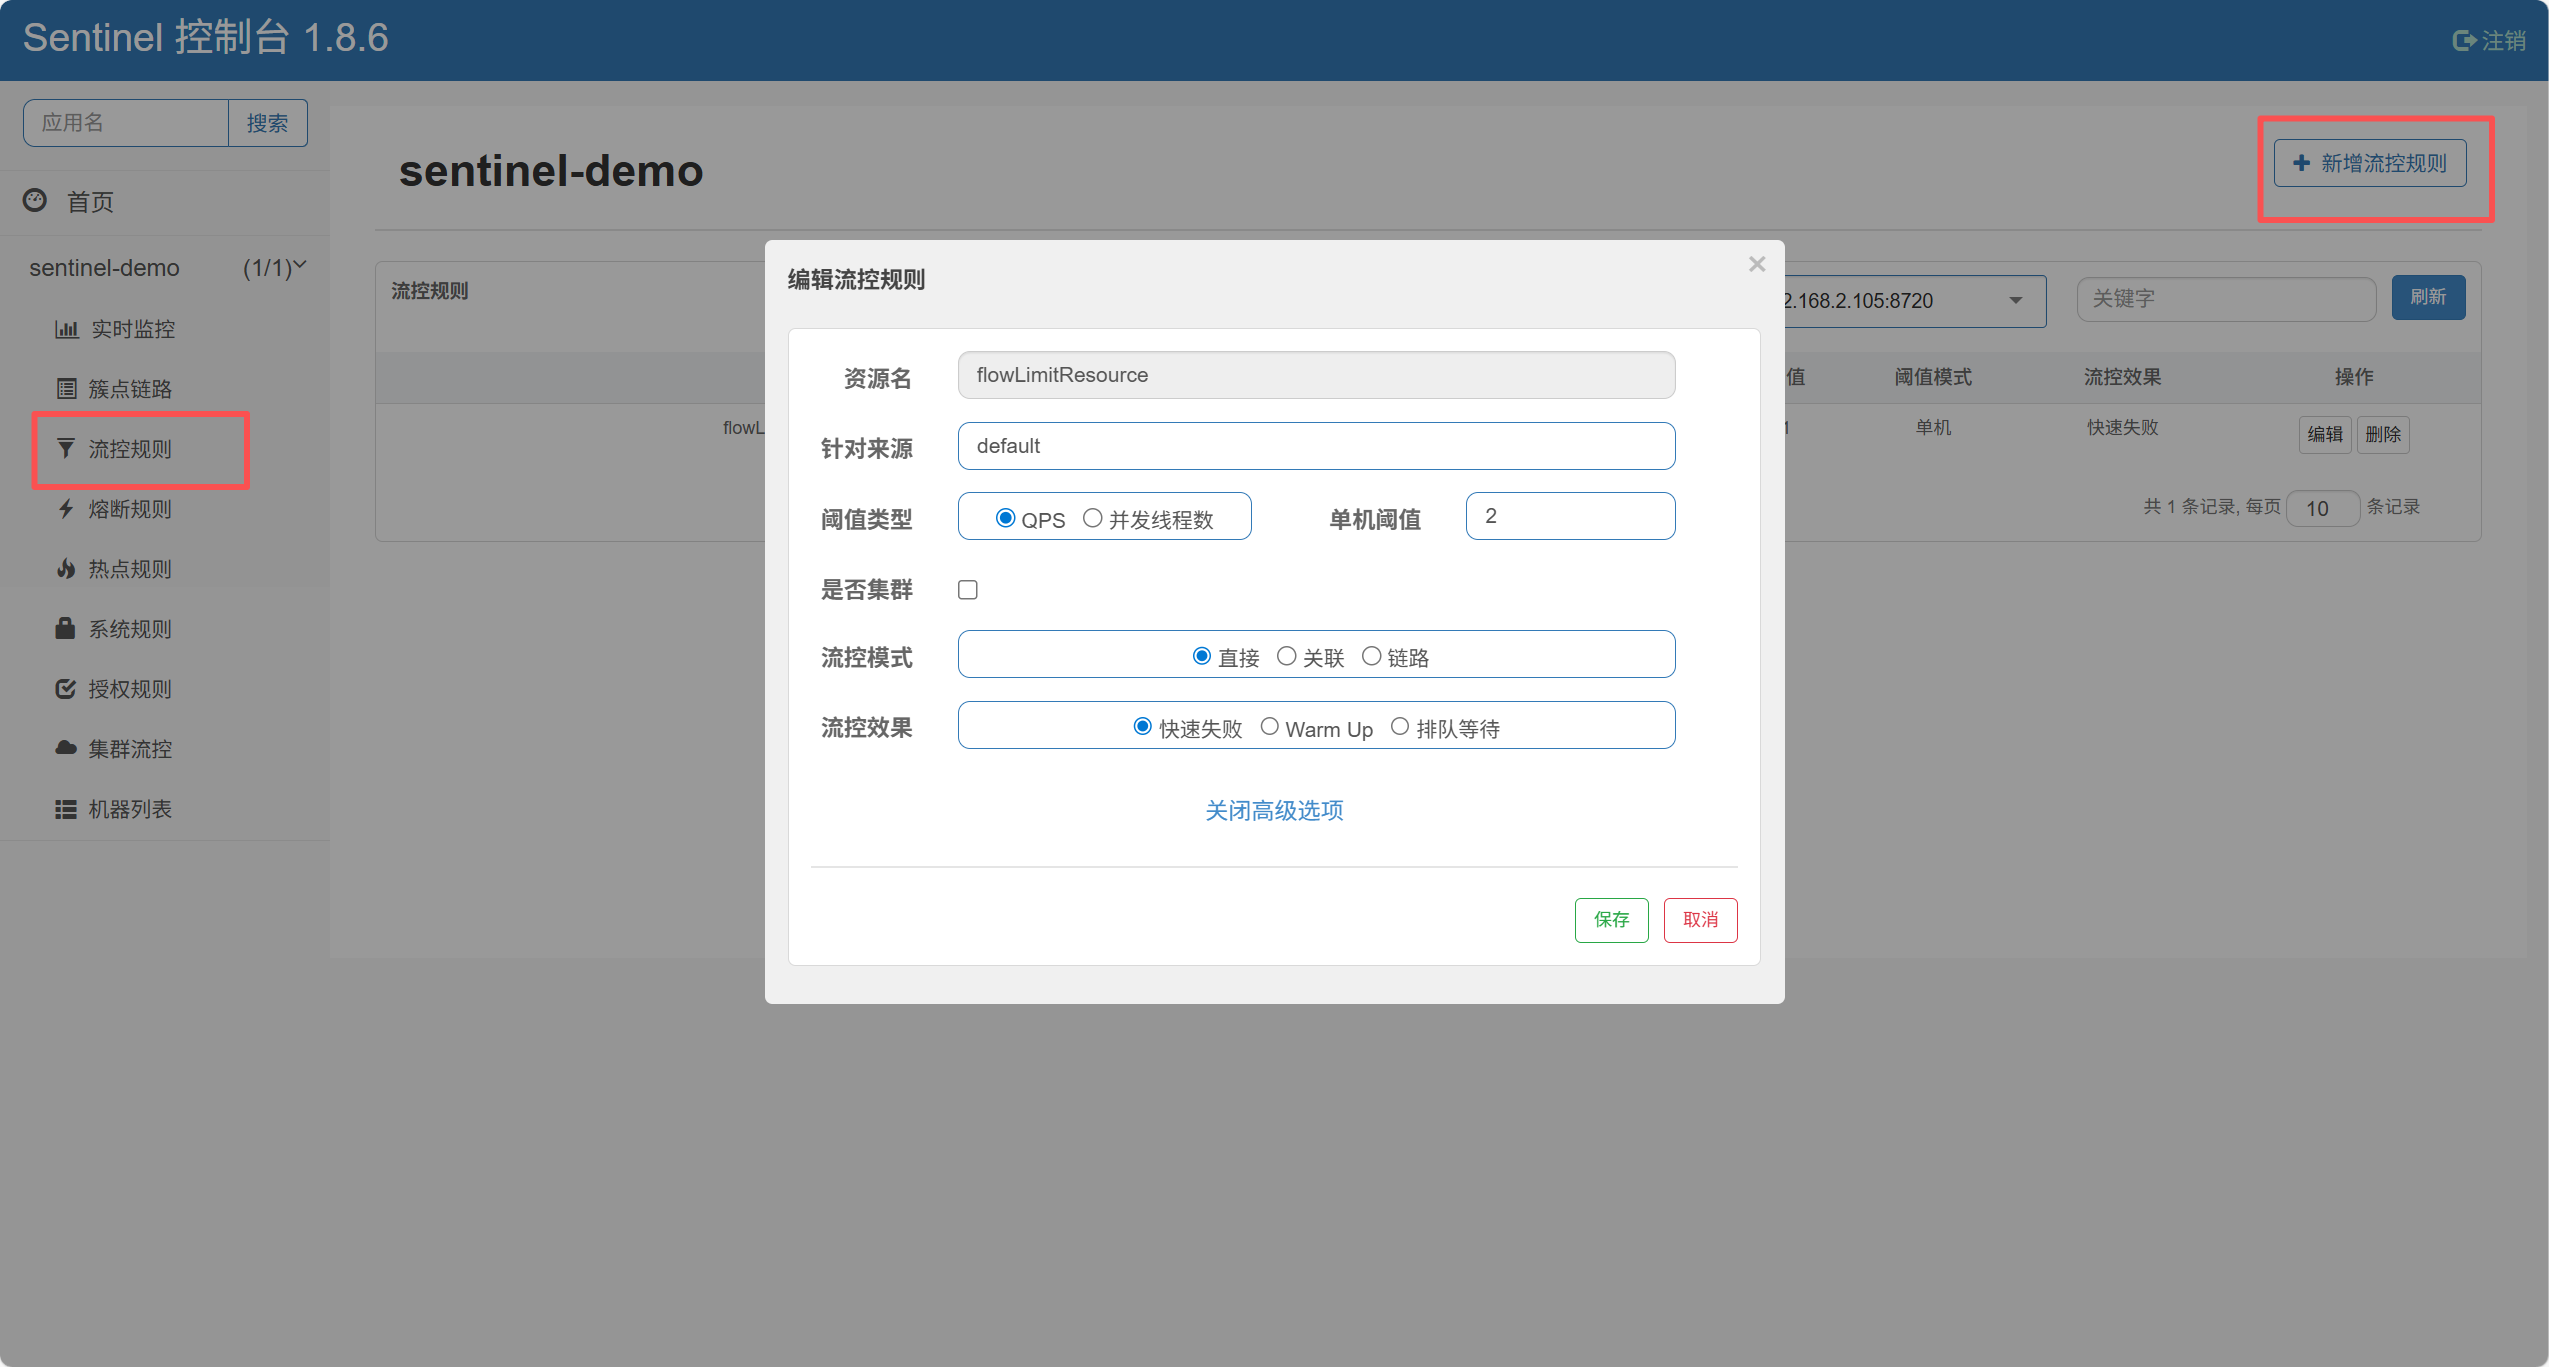
控制台配置(流控规则):
1.进入应用 → 流控规则 → 新增
2.资源名:flowLimitResource(与注解value一致)
3. 阈值类型:QPS → 单机阈值:2(每秒最多 2 次请求)
4.点击确定。
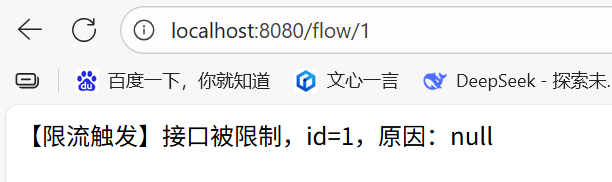
测试方法:
快速刷新访问 http://localhost:8080/flow/1(1 秒内访问 3 次以上),会返回 flowBlockHandler 的限流提示。
2. 熔断场景
熔断场景(接口:/circuit/{id})
核心逻辑:接口固定超时(1 秒),当超时比例达标时,Sentinel 会暂时熔断接口(阻断请求)。
import com.alibaba.csp.sentinel.annotation.SentinelResource;
import com.alibaba.csp.sentinel.slots.block.BlockException;
import org.springframework.web.bind.annotation.GetMapping;
import org.springframework.web.bind.annotation.PathVariable;
import org.springframework.web.bind.annotation.RestController;@RestController
public class SentinelDemoController {// ==================== 2. 熔断场景 ====================/*** 熔断测试接口:模拟高频超时,触发熔断规则* 资源名:circuitBreakResource*/@SentinelResource(value = "circuitBreakResource",blockHandler = "circuitBlockHandler" // 熔断触发时的处理方法)@GetMapping("/circuit/{id}")public String circuitBreakTest(@PathVariable String id) throws InterruptedException {// 固定模拟超时(1秒),用于触发熔断规则的"慢调用比例"Thread.sleep(1000); // 强制睡眠1秒,超过熔断规则设置的RT阈值return "熔断接口正常响应:" + id;}// 熔断触发的处理方法(BlockException)public String circuitBlockHandler(String id, BlockException e) {return "【熔断触发】接口被熔断,id=" + id + ",原因:" + e.getMessage();}
}
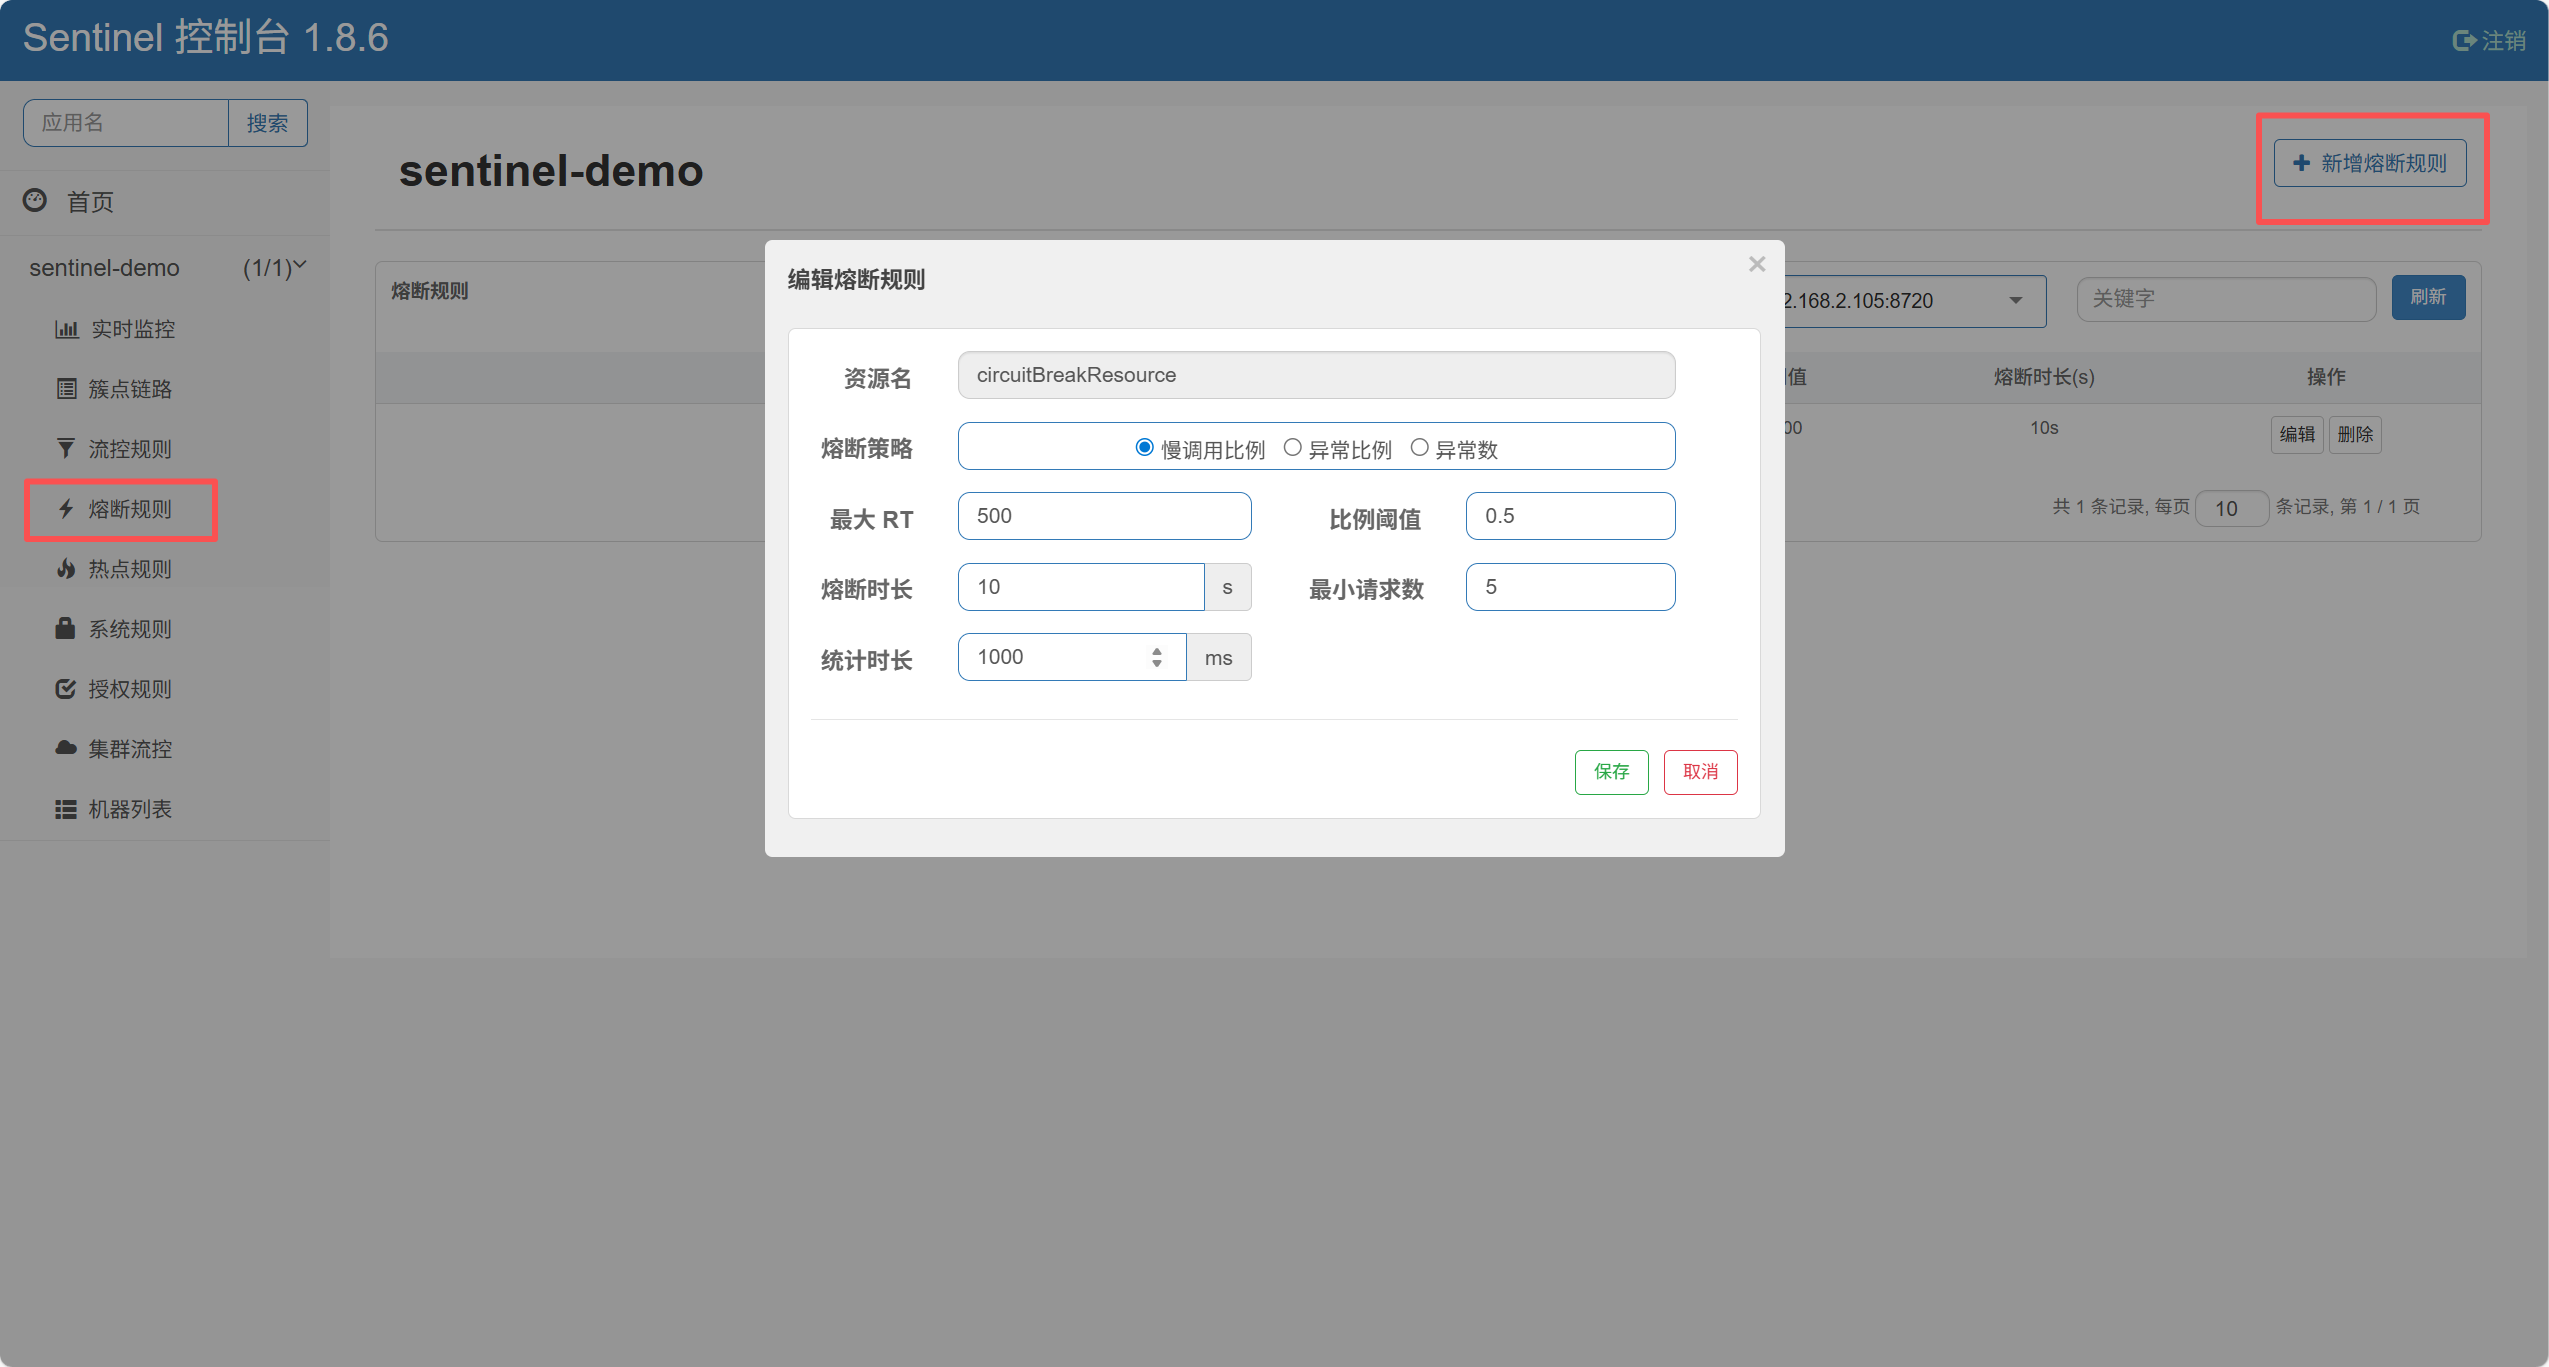
控制台配置(熔断降级规则):
1.进入应用 → 熔断降级规则 → 新增
2.资源名:circuitBreakResource
3.熔断策略:慢调用比例
4.最大 RT(响应时间):500ms(超过 500ms 视为 “慢调用”)
5.慢调用比例阈值:0.5(50% 的请求是慢调用)
6.熔断时长:10s(熔断后 10 秒内直接阻断请求)
7.最小请求数:5(至少 5 次请求才判断是否熔断)
8.点击确定。
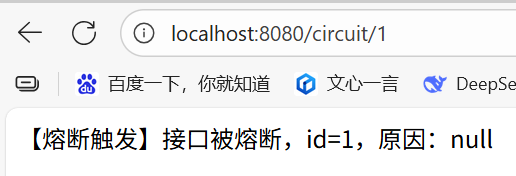
测试方法:
连续访问 http://localhost:8080/circuit/1 5 次以上(每次都会超时 1 秒,超过 500ms 阈值),当慢调用比例达到 50% 后,接口会被熔断,此时访问会返回 circuitBlockHandler 的熔断提示,10 秒后自动恢复。
3. 降级场景
降级场景(接口:/fallback/{id})
核心逻辑:当接口抛出业务异常时,通过fallback方法降级处理(与 Sentinel 规则无关,是业务自身的异常处理)。
import com.alibaba.csp.sentinel.annotation.SentinelResource;
import com.alibaba.csp.sentinel.slots.block.BlockException;
import org.springframework.web.bind.annotation.GetMapping;
import org.springframework.web.bind.annotation.PathVariable;
import org.springframework.web.bind.annotation.RestController;@RestController
public class SentinelDemoController {// ==================== 3. 降级场景 ====================/*** 降级测试接口:主动抛出业务异常,触发fallback降级* 资源名:fallbackResource*/@SentinelResource(value = "fallbackResource",fallback = "fallbackHandler" // 业务异常触发的降级方法)@GetMapping("/fallback/{id}")public String fallbackTest(@PathVariable String id) {// 当id为"error"时,主动抛出异常(固定触发条件)if ("error".equals(id)) {throw new RuntimeException("业务异常:id不能为'error'");}return "降级接口正常响应:" + id;}// 业务异常触发的降级处理方法public String fallbackHandler(String id, Throwable e) {return "【降级触发】业务异常处理,id=" + id + ",异常信息:" + e.getMessage();}
}
无需控制台配置:仅通过代码fallback参数指定处理方法。
测试方法:
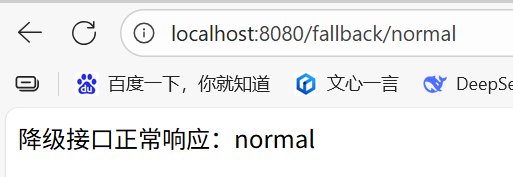
1.访问 http://localhost:8080/fallback/normal → 正常响应(无异常)。
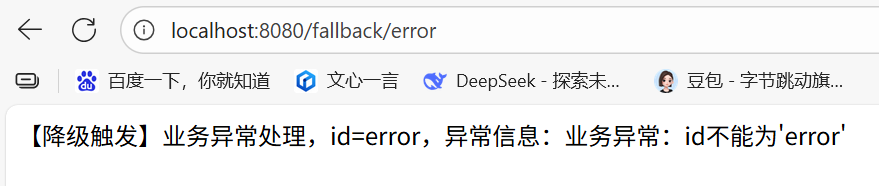
2.访问 http://localhost:8080/fallback/error → 触发RuntimeException,返回 fallbackHandler 的降级提示。
八、实现规则持久化(推荐Nacos )
以上的规则配置会在Sentinel服务端关闭的时候,就被重置了,所以最好实现持久化配置,推荐nacos
下载nacos
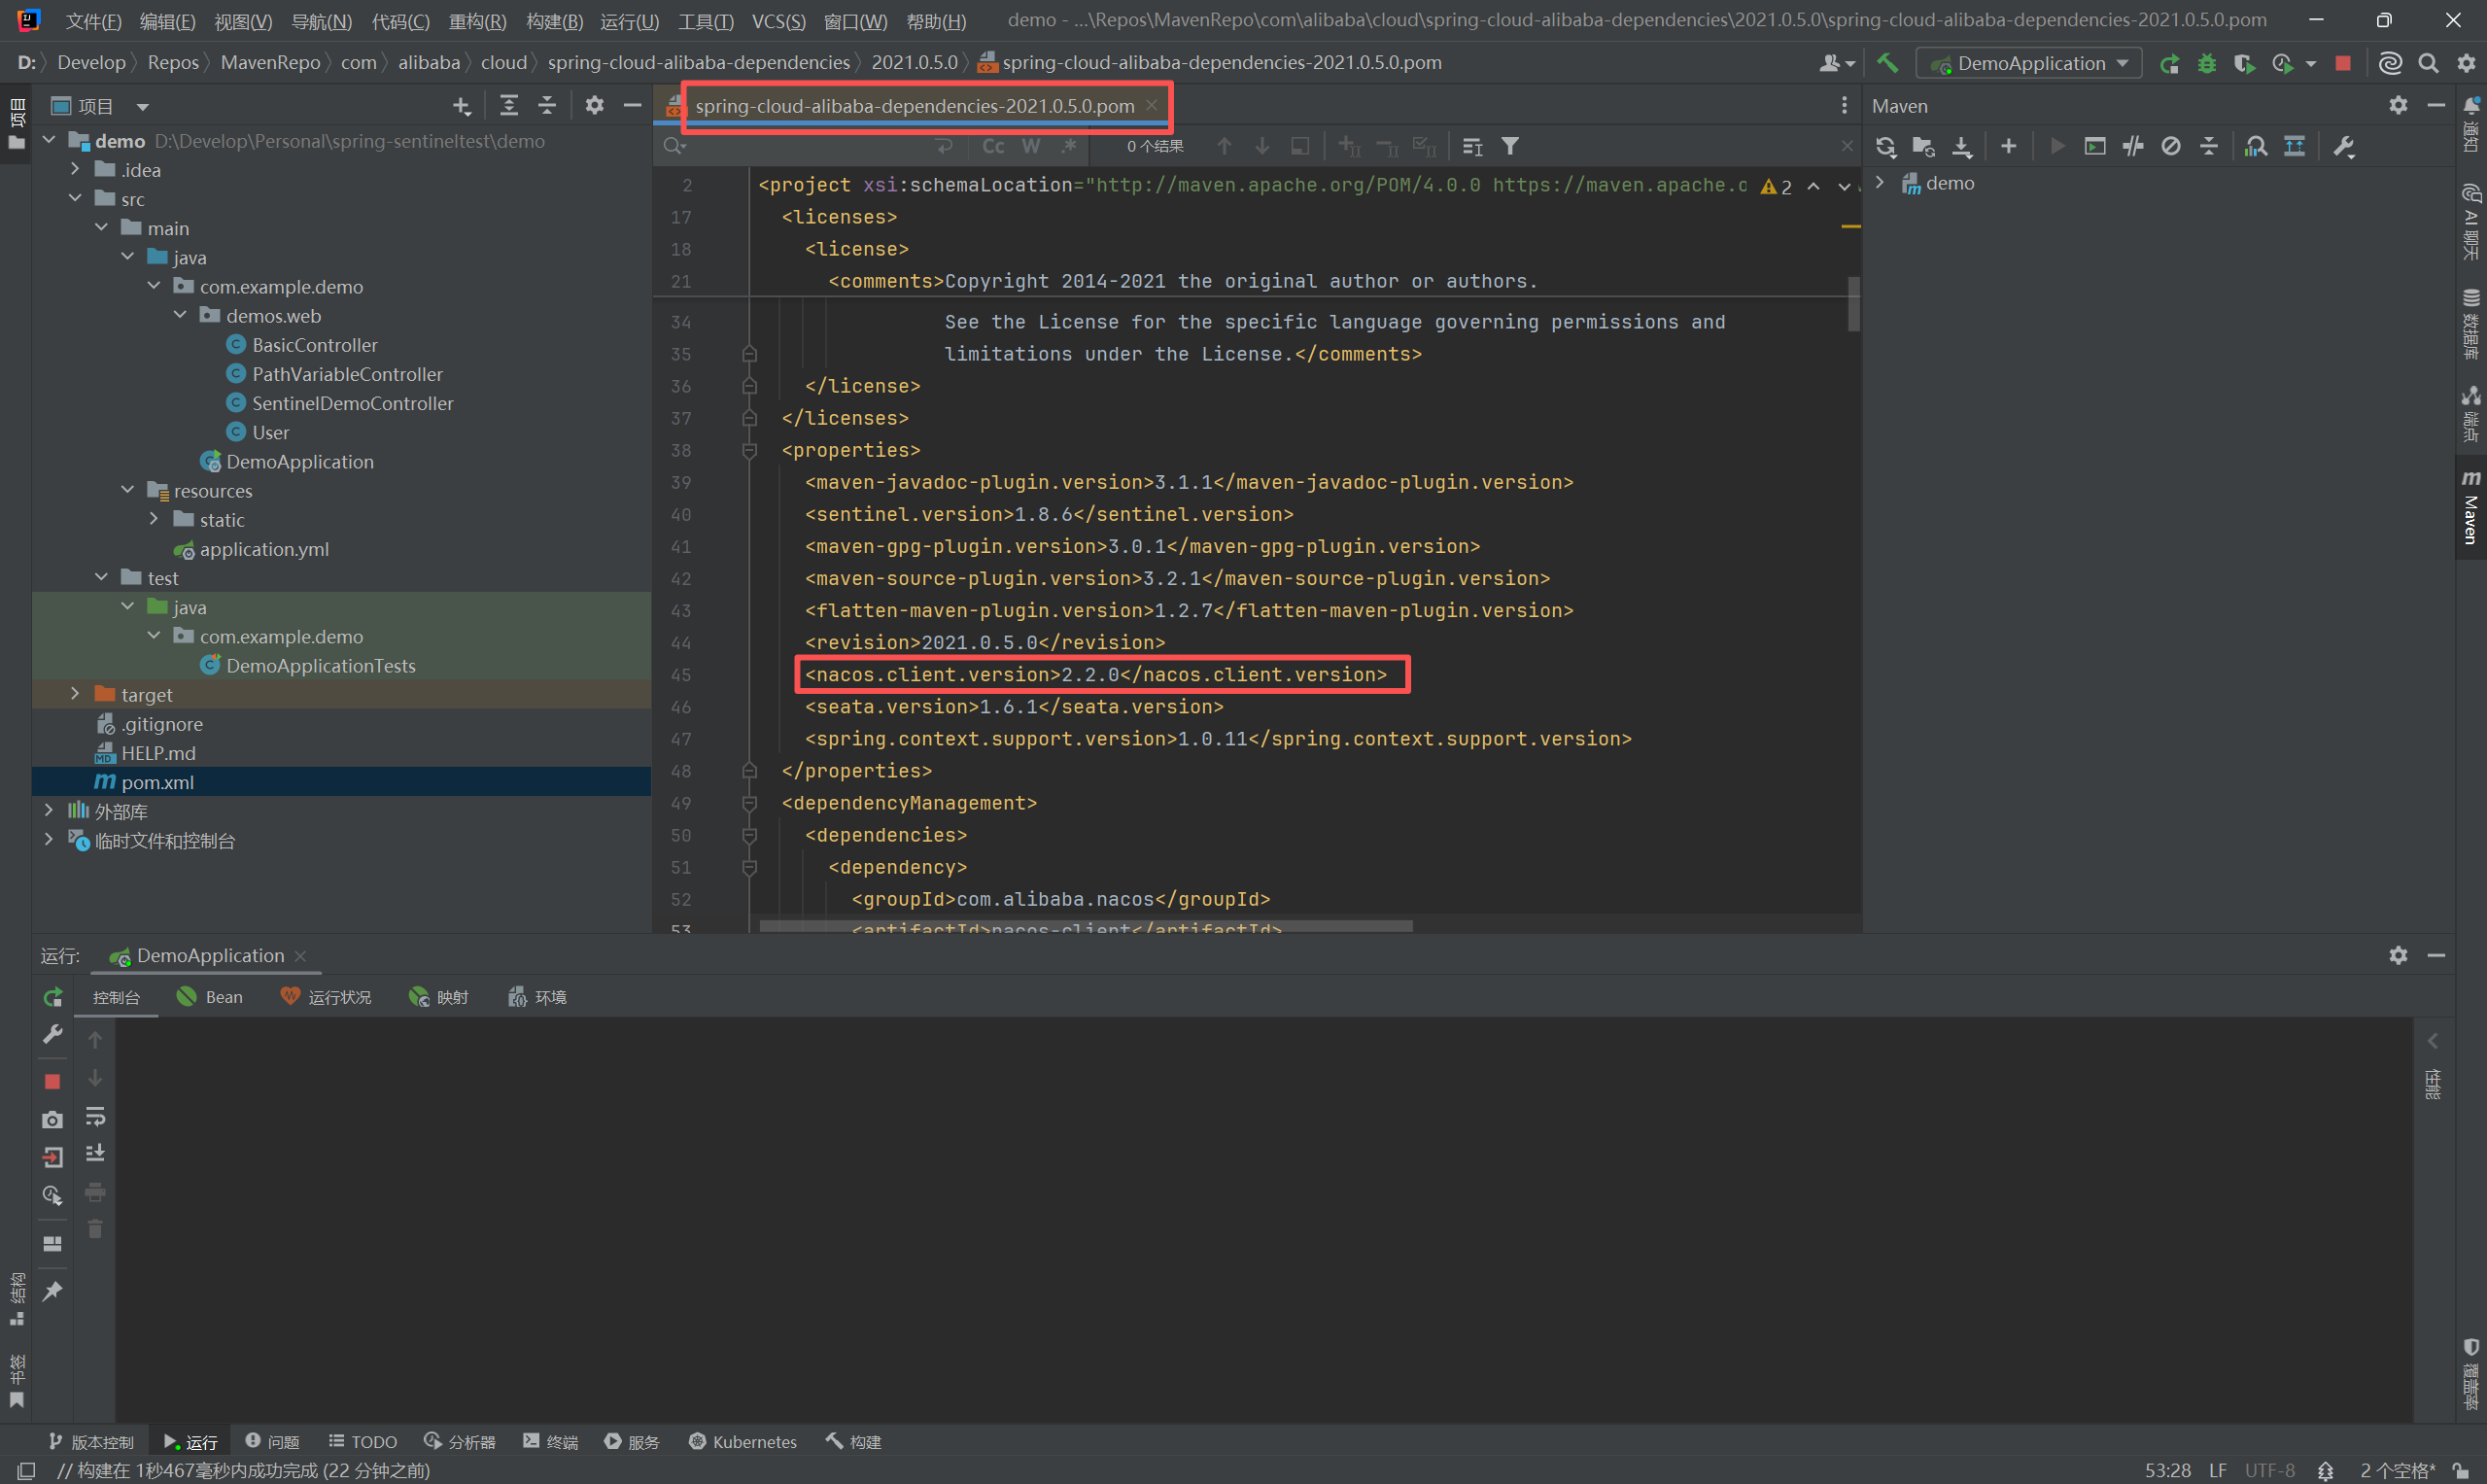
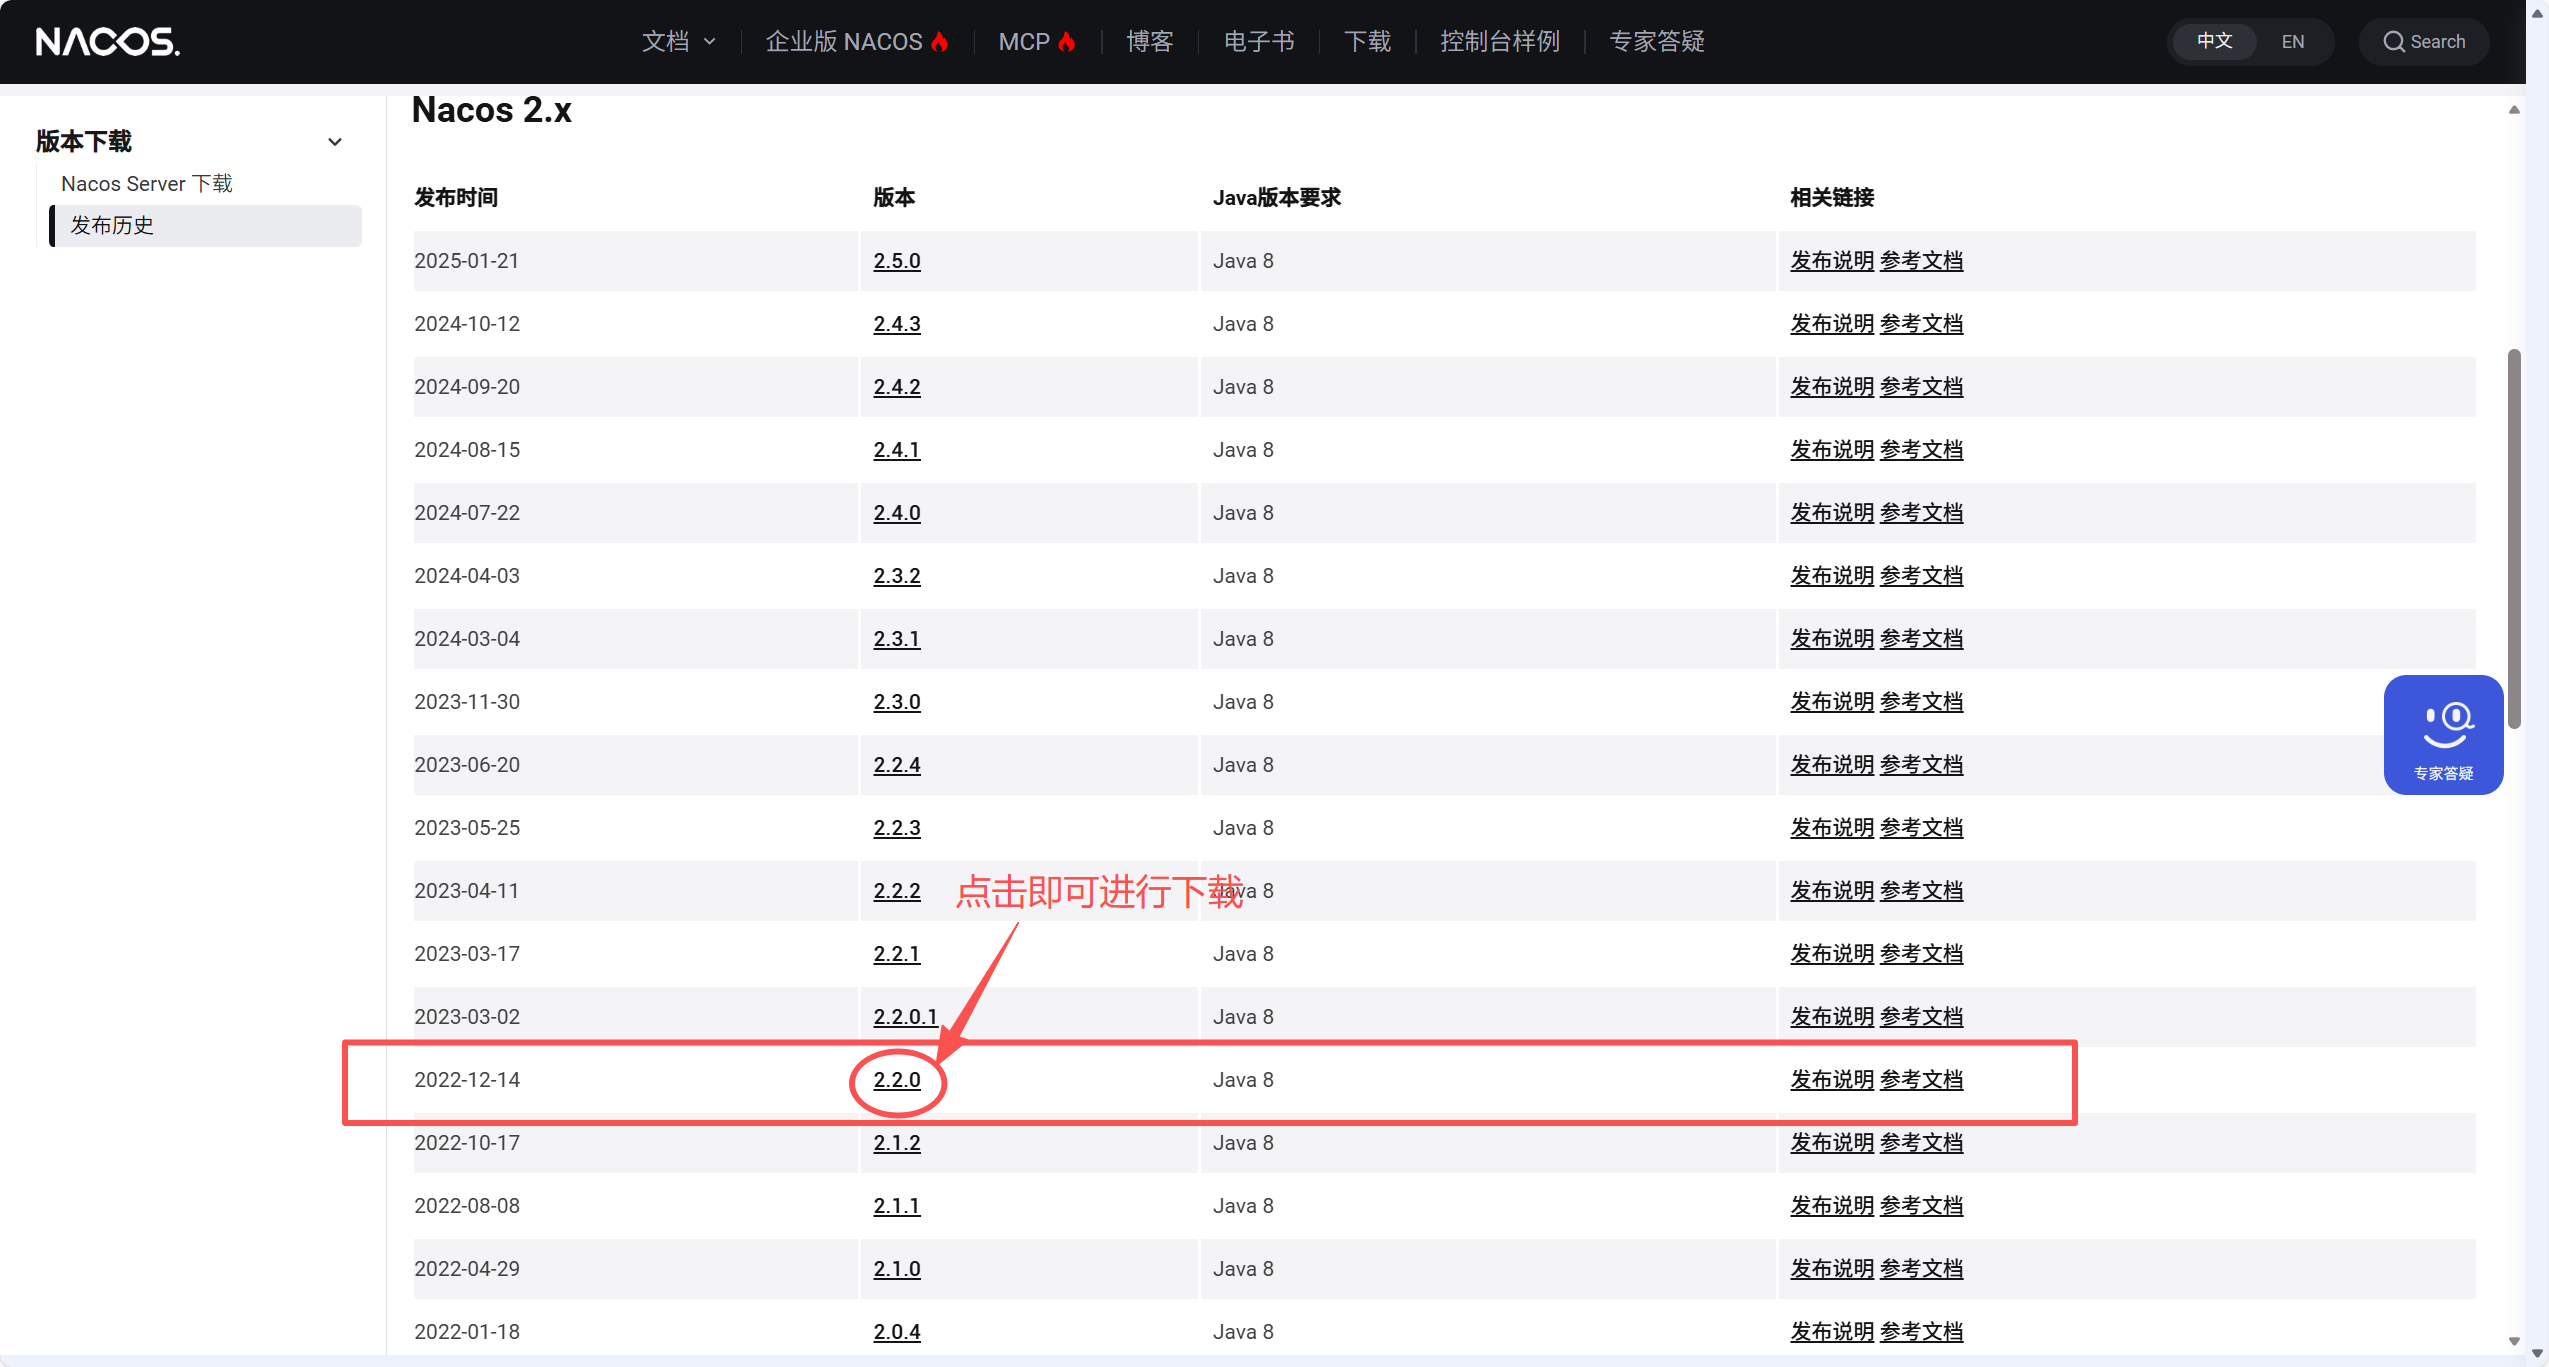
1.查看 nacos 的版本
通过 spring-cloud-alibaba-dependencies 进行 查看,可以得出是 2.2.0
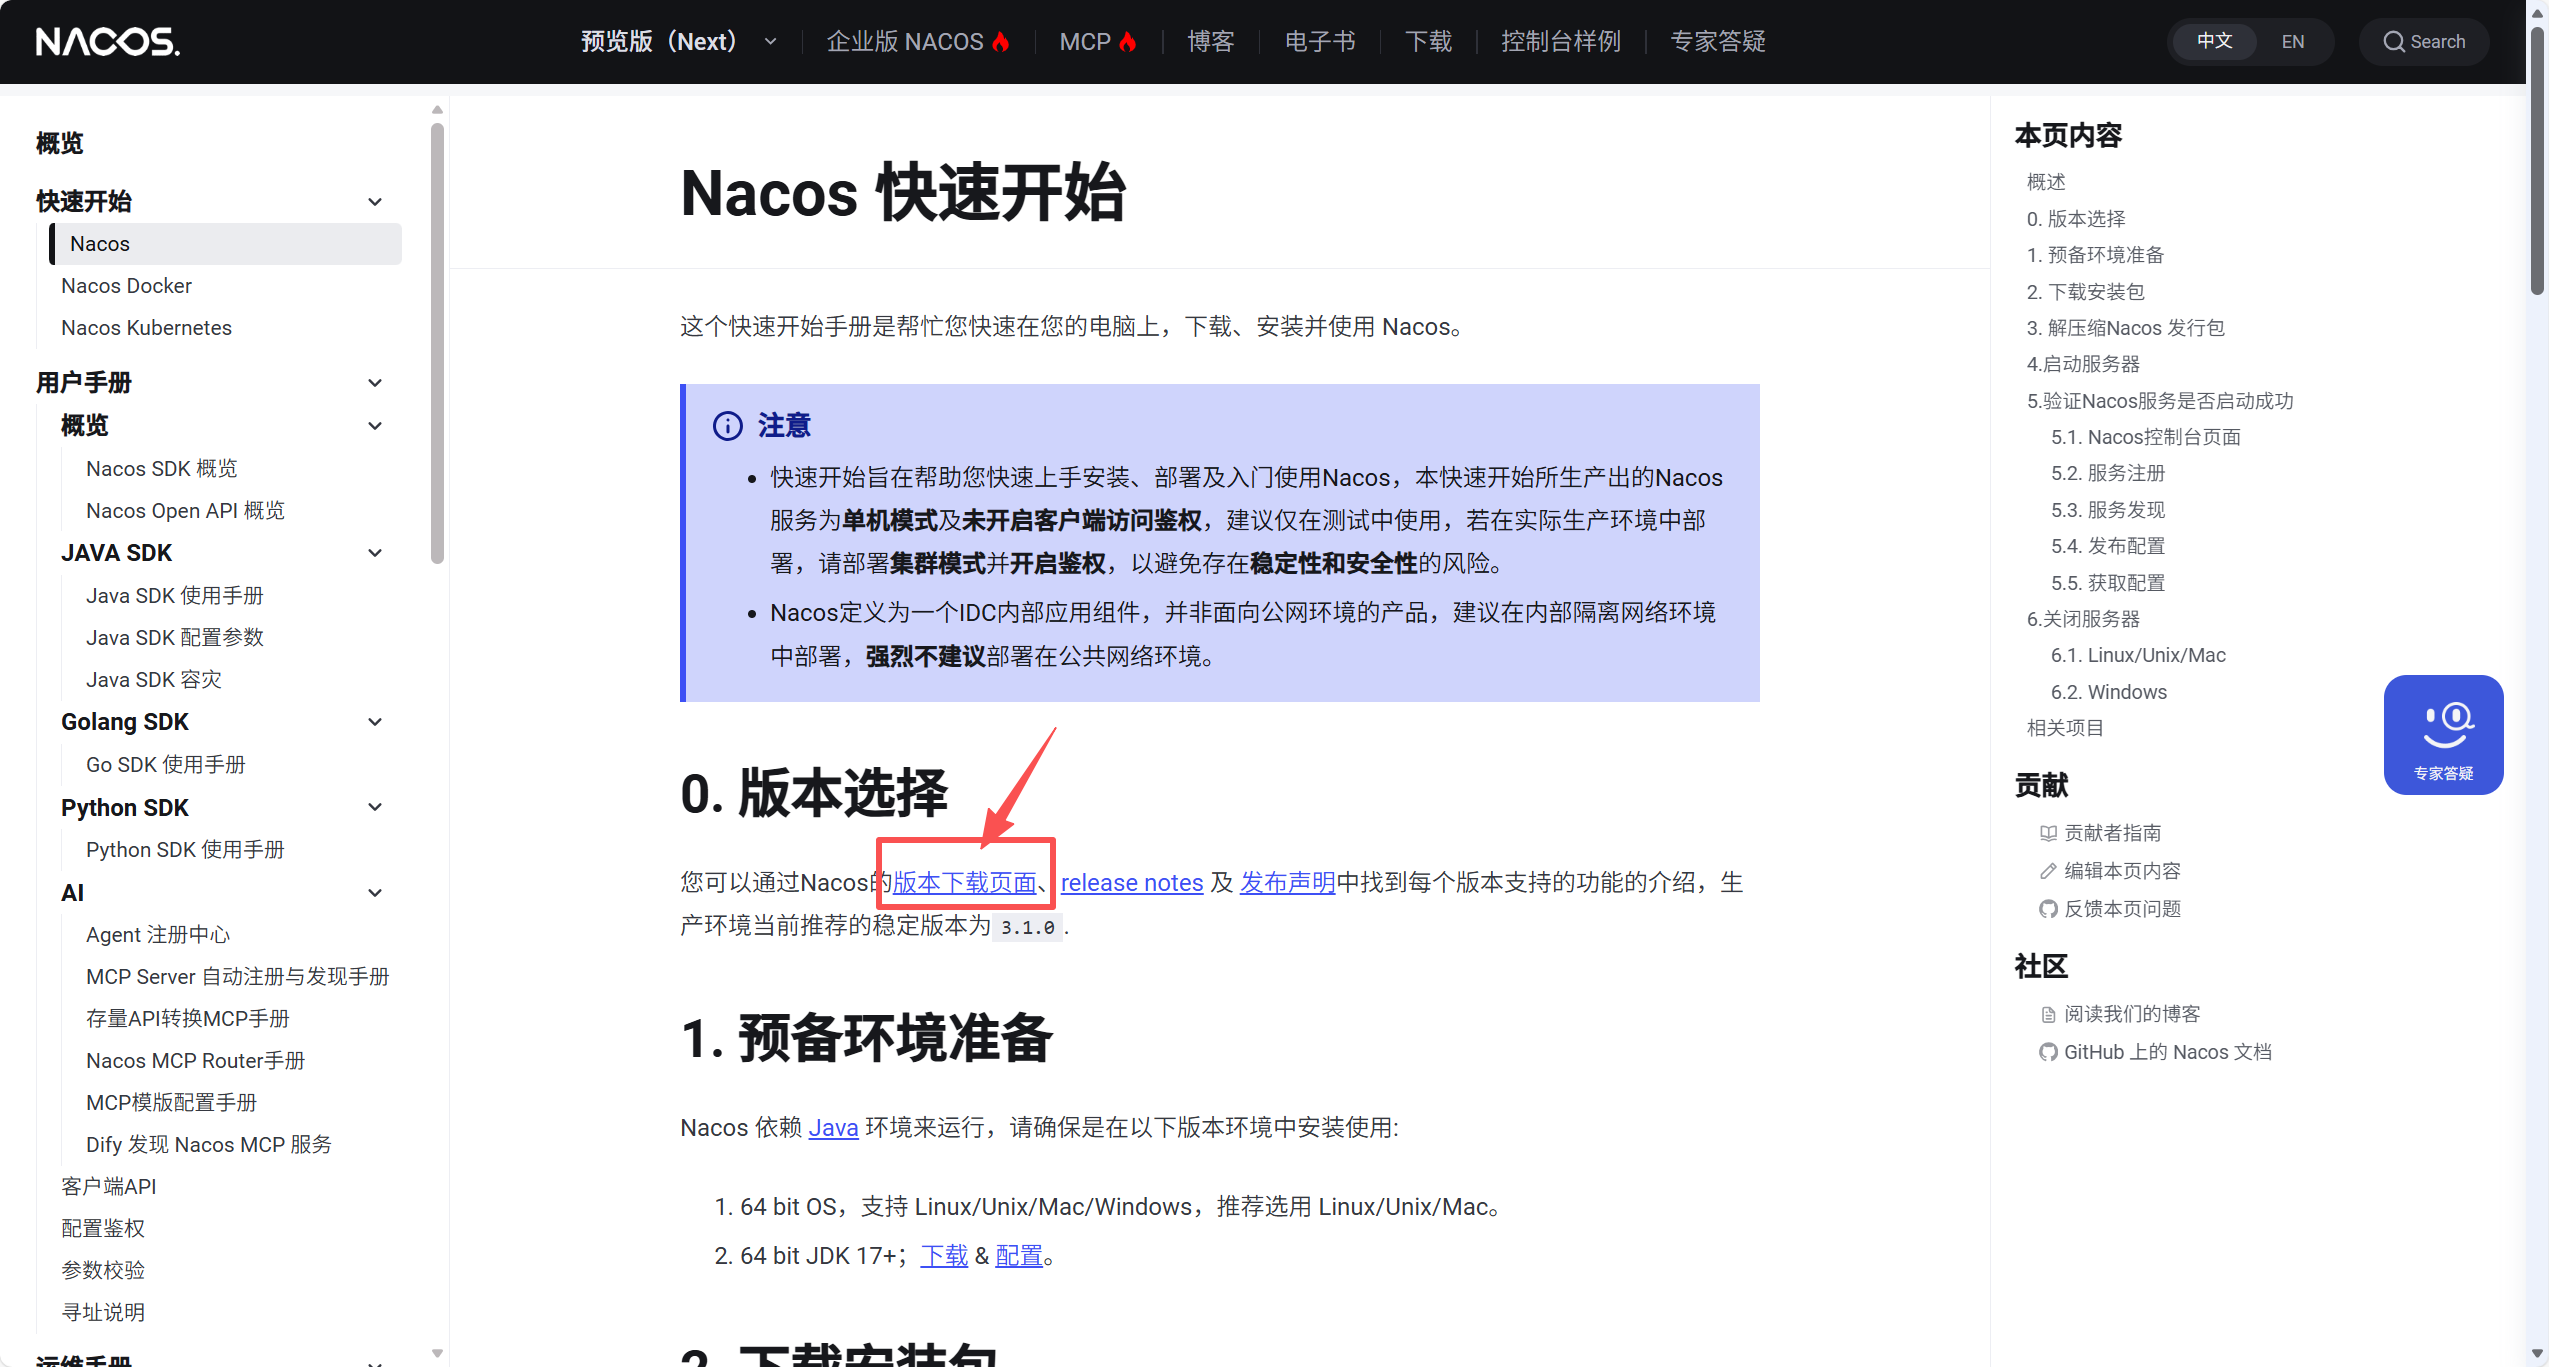
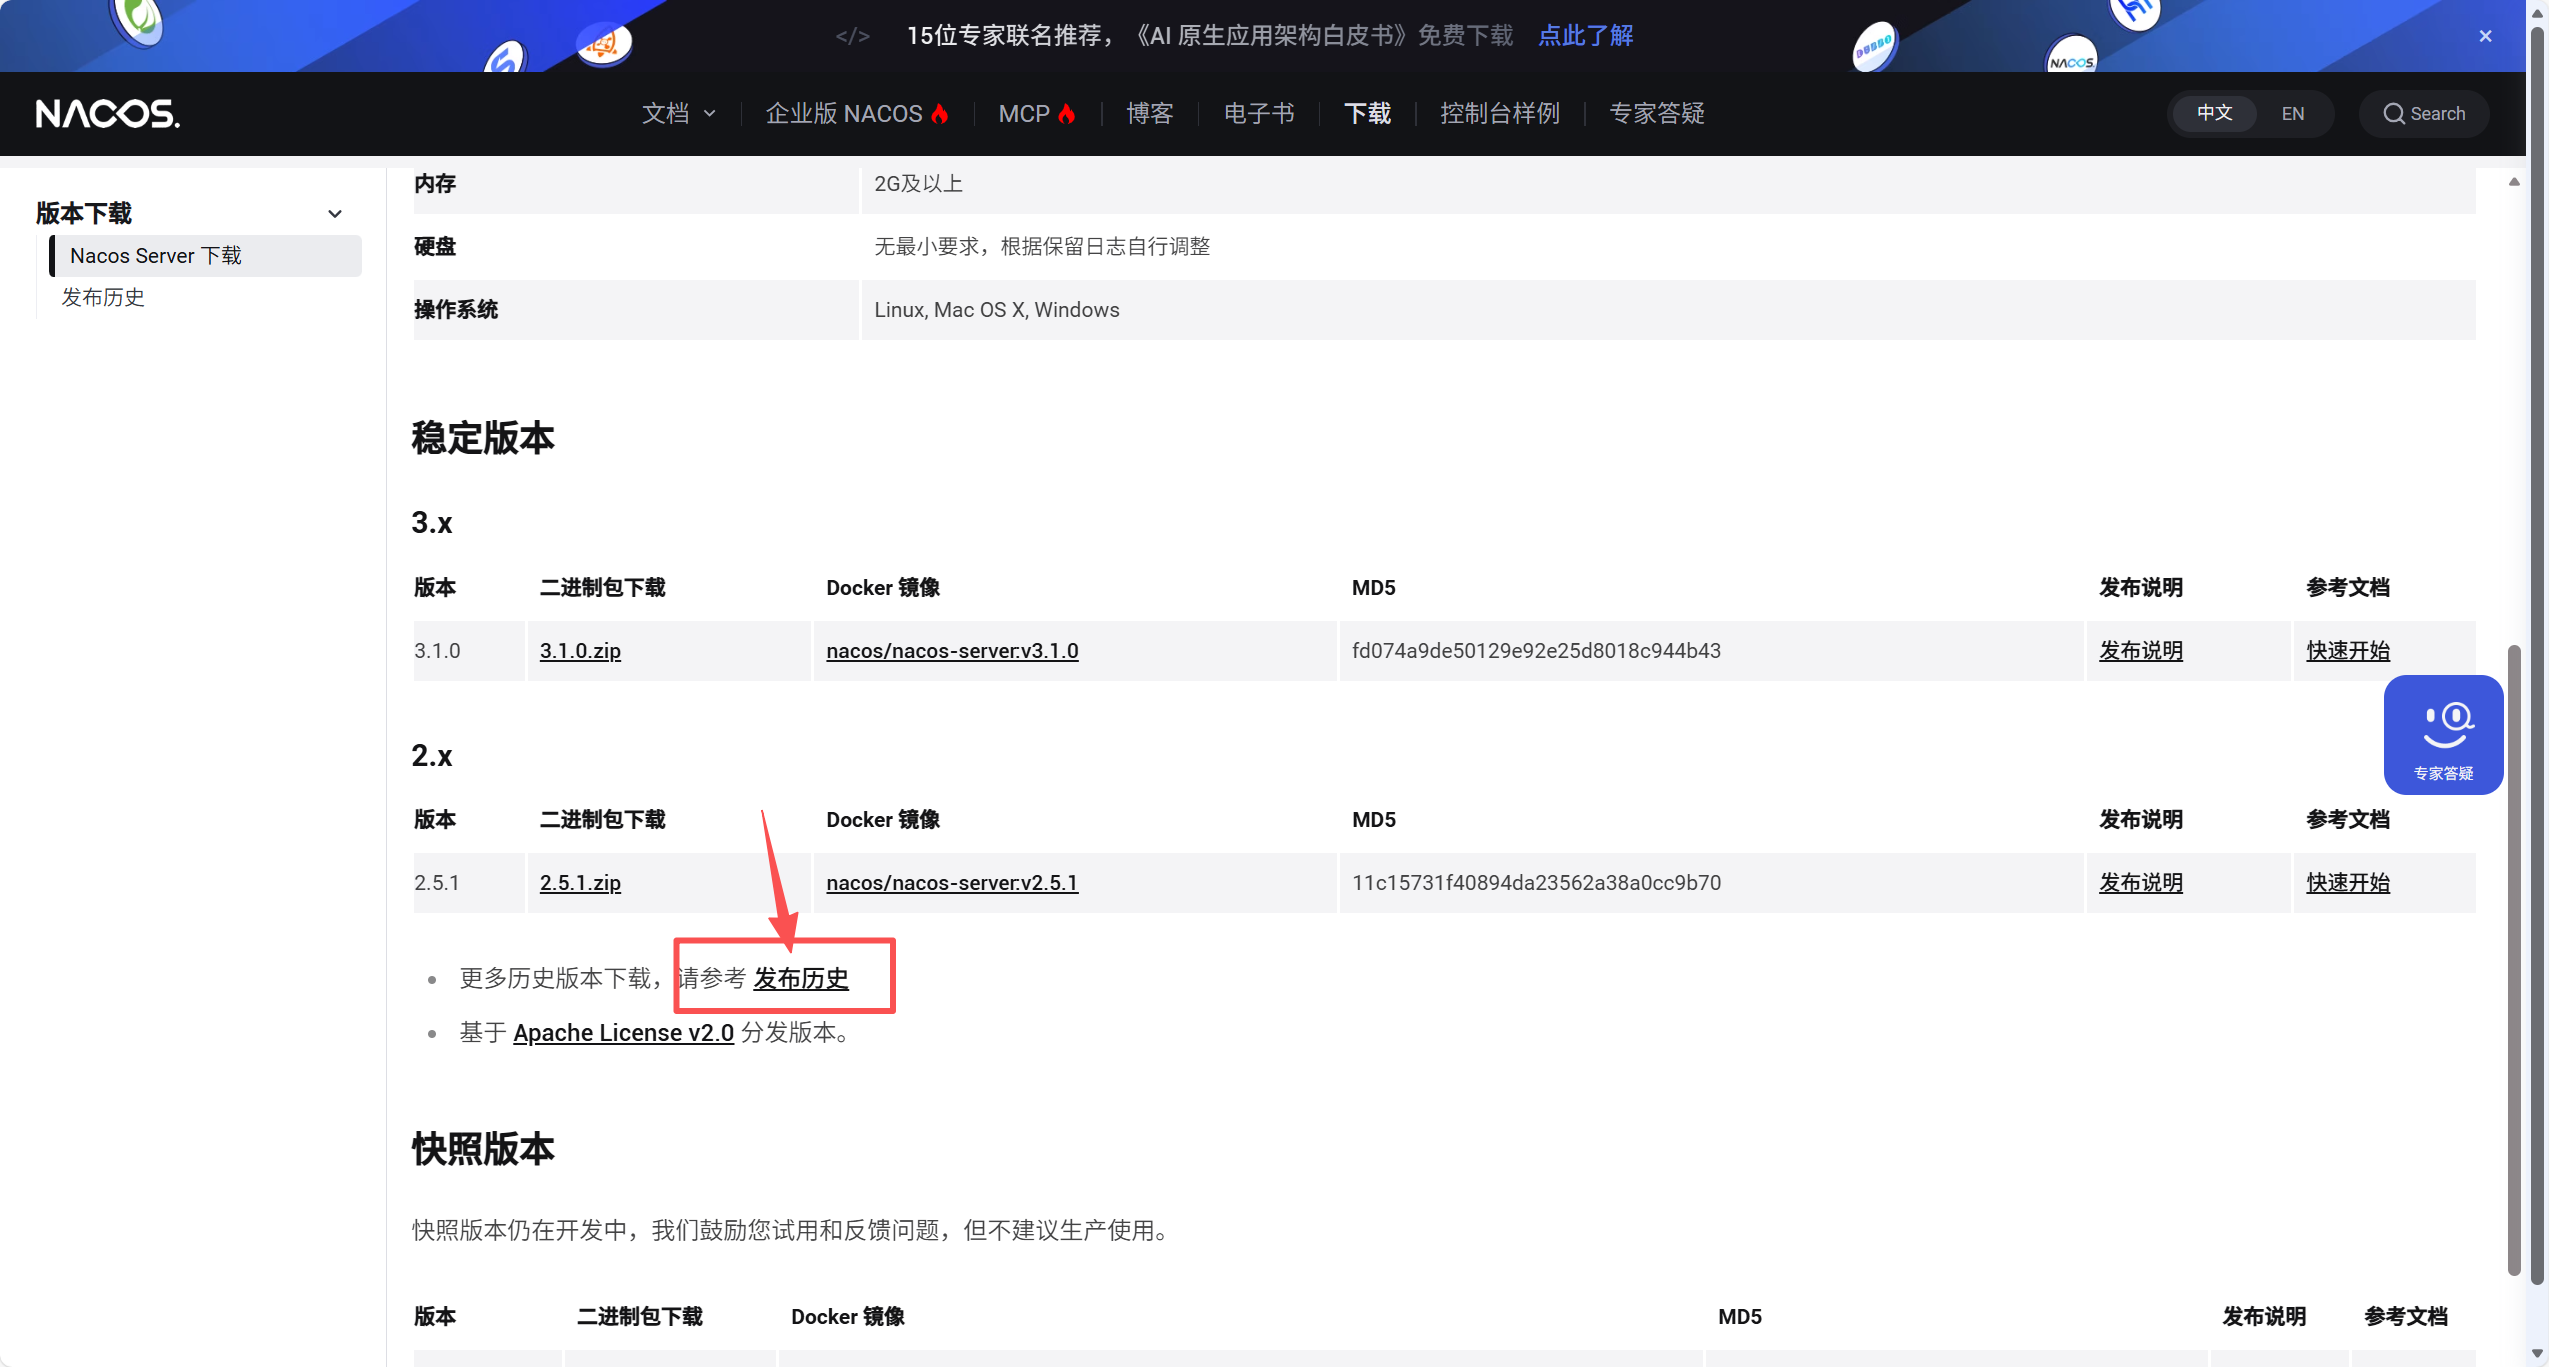
2.下载
nacos 官网:[https://nacos.io/docs/next/quickstart/quick-start/]
2. 改成单机模式
因为 Nacos 默认以 “集群模式” 启动,所以需要先调整成单机模式
找到你 Nacos 的安装目录 → 进入 bin 文件夹
创建一个名为"单机模式"的bat脚本,内容如下
startup.cmd -m standalone
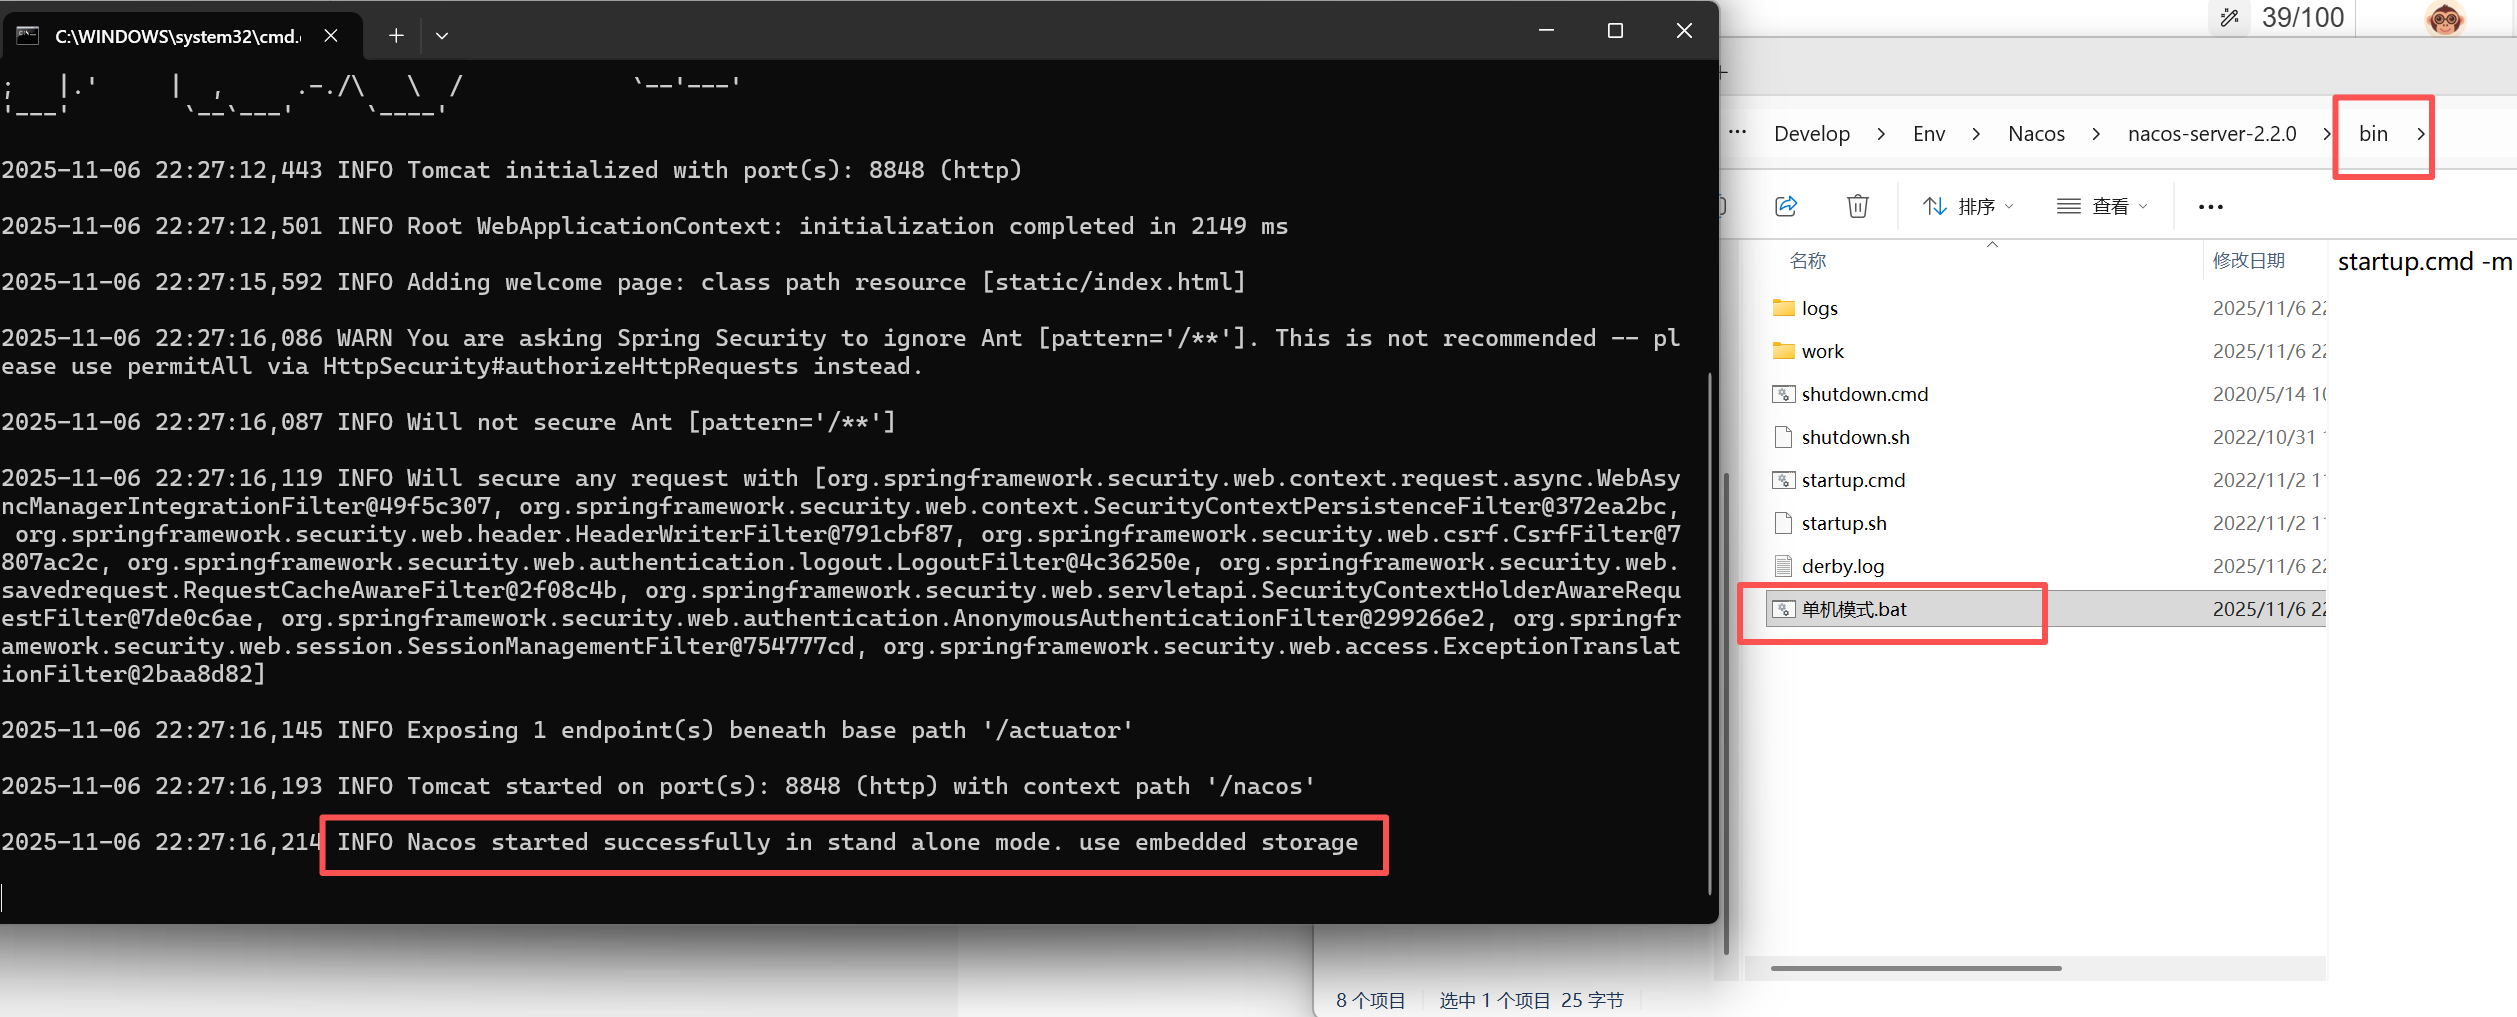
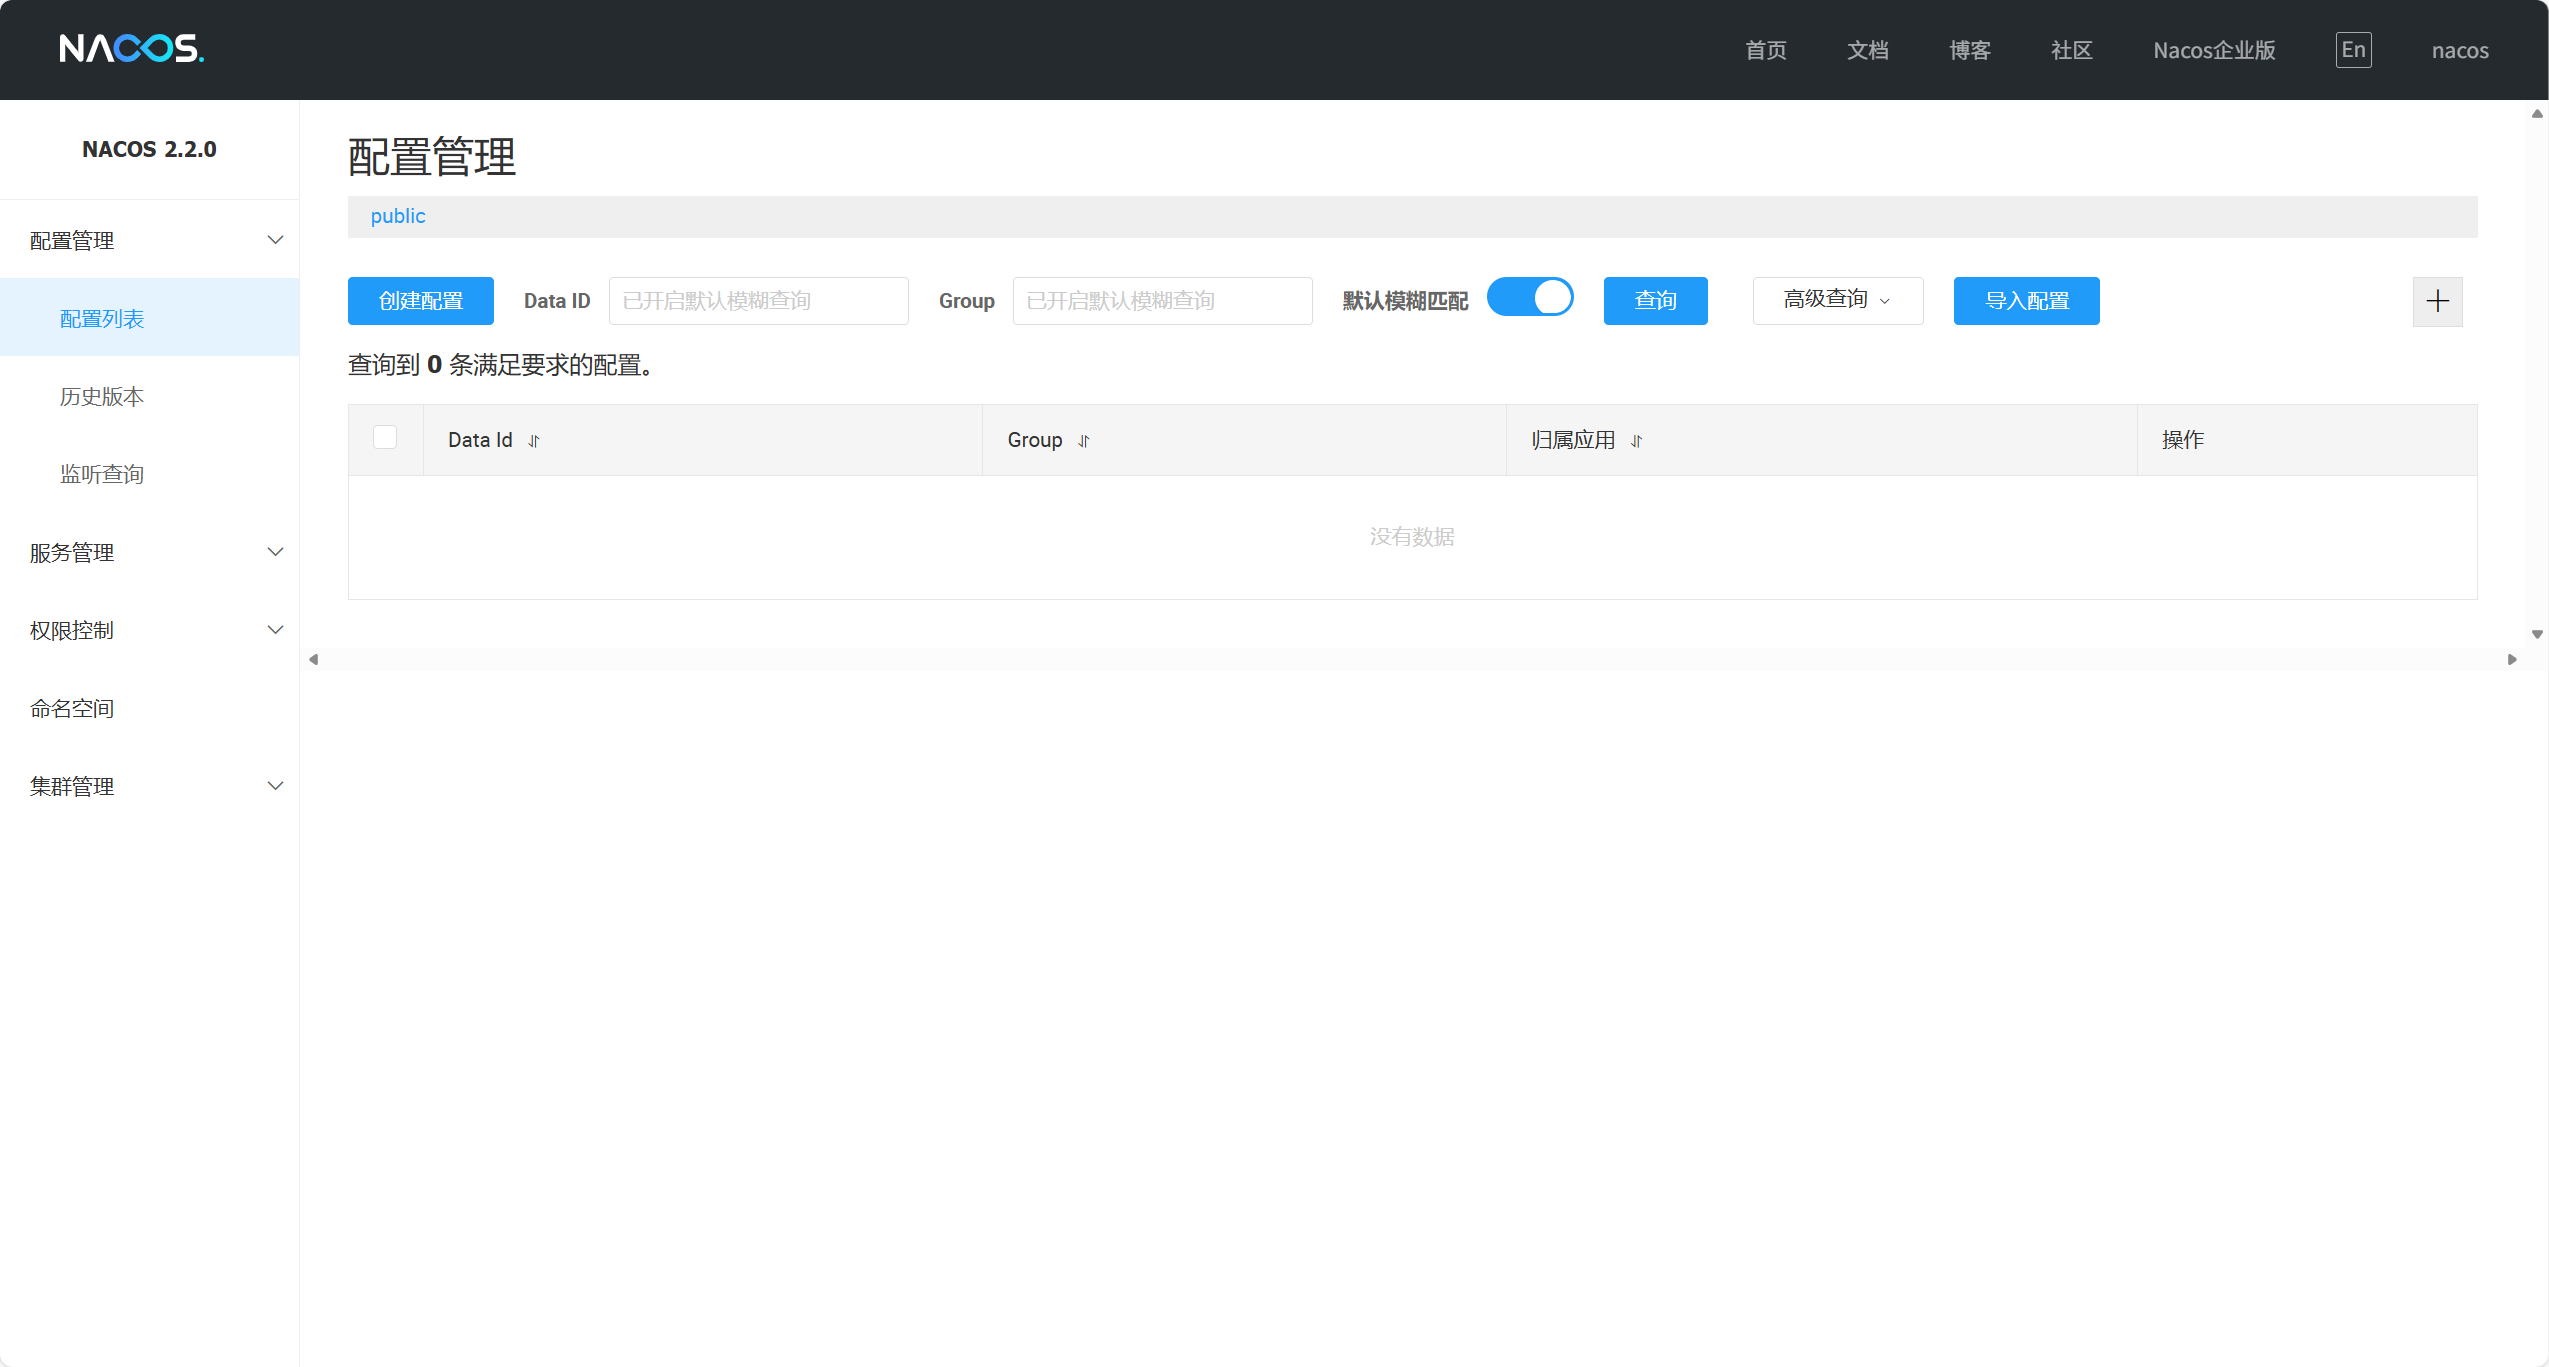
3. 进入naocs
请求地址:http://localhost:8848/nacos
账号密码都为:nacos