released信号,windowIcon/setWindowIcon(QIcon),qrc机制
目录
普通按钮的released信号
windowIcon/setWindowIcon(QIcon)
qrc机制
普通按钮的released信号
#include "widget.h"
#include "ui_widget.h"Widget::Widget(QWidget *parent): QWidget(parent), ui(new Ui::Widget)
{ui->setupUi(this);srand(time(0));
}Widget::~Widget()
{delete ui;
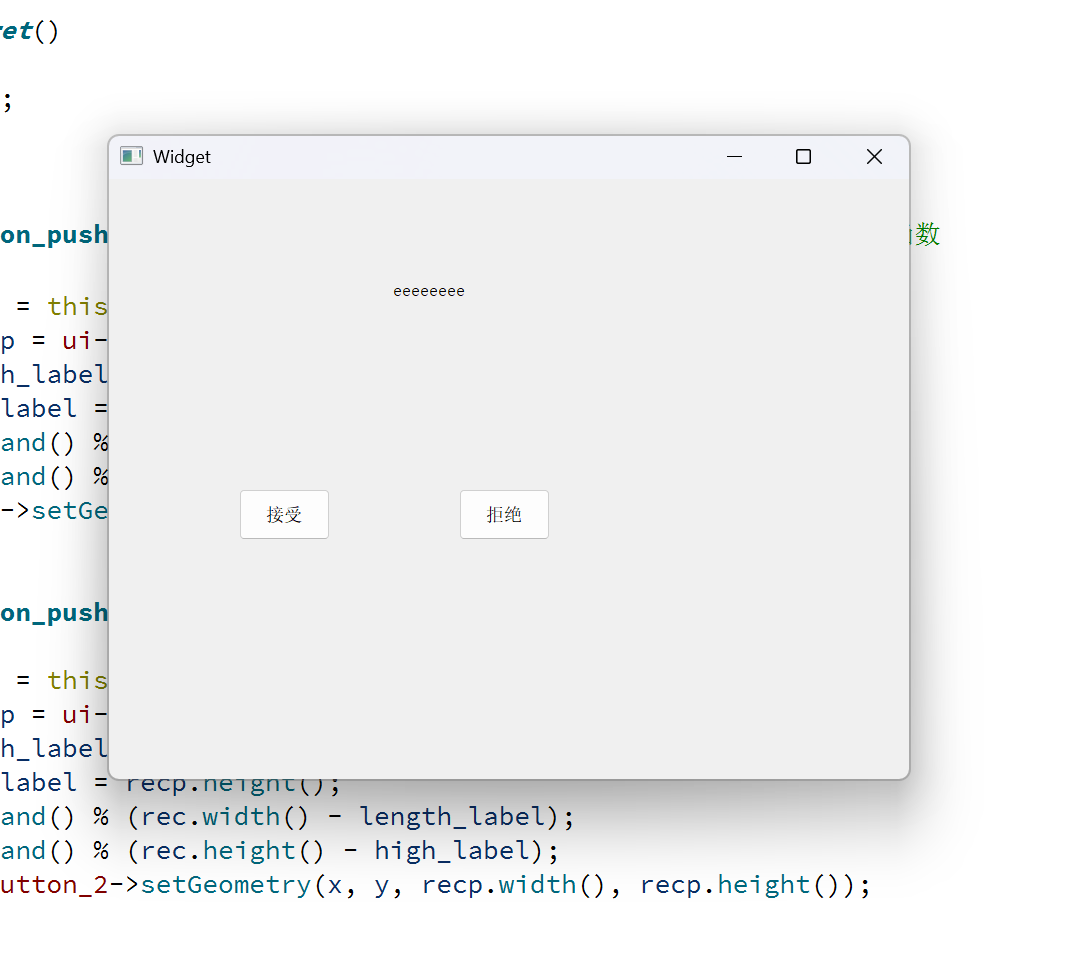
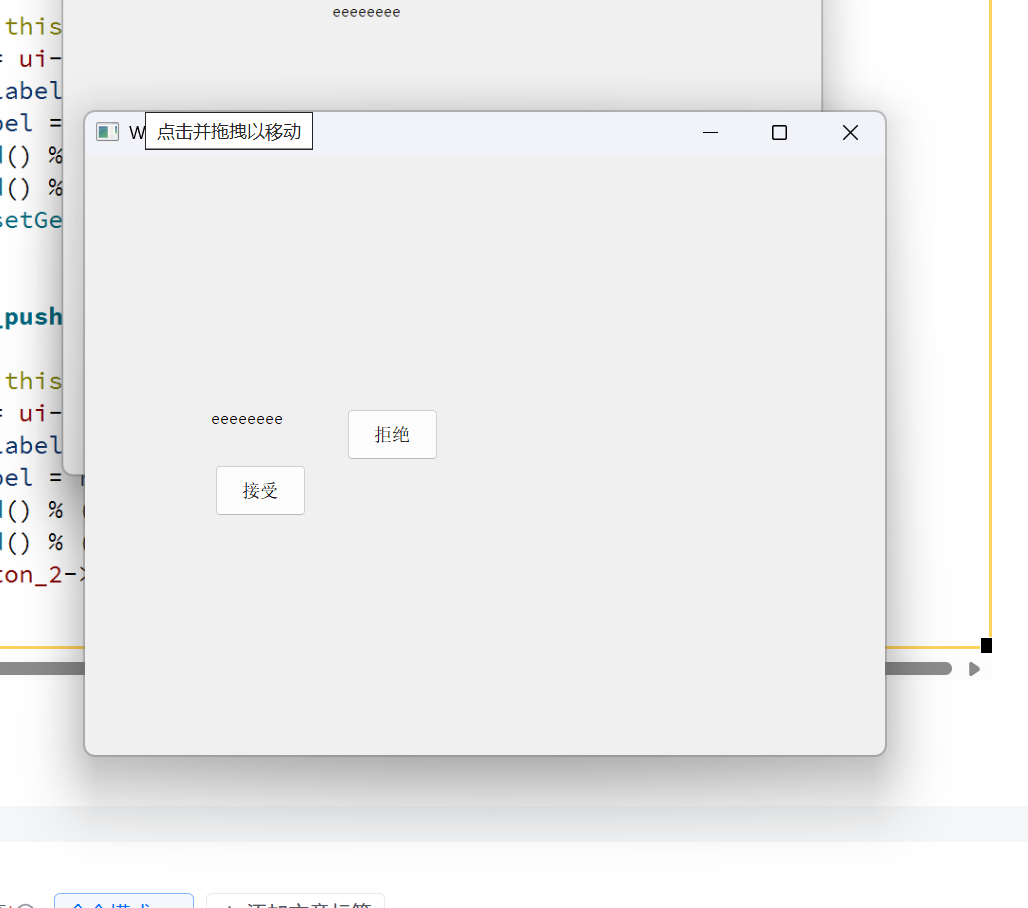
}void Widget::on_pushButton_released() //鼠标即松即停,鼠标一离开按钮就执行槽函数
{QRect rec = this->geometry();QRect recp = ui->label->geometry();int length_label = ui->label->geometry().width();int high_label = ui->label->geometry().height();int x = rand() % (rec.width() - length_label);int y = rand() % (rec.height() - high_label);ui->label->setGeometry(x, y, recp.width(), recp.height());
}void Widget::on_pushButton_2_released()
{QRect rec = this->geometry();QRect recp = ui->pushButton_2->geometry();int length_label = recp.width();int high_label = recp.height();int x = rand() % (rec.width() - length_label);int y = rand() % (rec.height() - high_label);ui->pushButton_2->setGeometry(x, y, recp.width(), recp.height());
}相比clicked信号需要就地完成整个点击松开过程才触发,released信号只需要松开就行,而且不需要就地松开。
windowIcon/setWindowIcon(QIcon)
#include "widget.h"
#include "ui_widget.h"
#include<QIcon>
#include<QDebug>
Widget::Widget(QWidget *parent): QWidget(parent), ui(new Ui::Widget)
{ui->setupUi(this);//windowIcon用于获取顶层窗口的图标,返回值QIcon表示图标类//setWindowIcon(QIcon)用于设置顶层窗口的图标//仅有widget可以设置和获取//像QIcon这种小的类对象不可以挂在父节点上,也不需要在堆上创建,就算其销毁了也不影响图标的显示QIcon icon = this->windowIcon();qDebug() << icon;//开始默认没有创建图标所以是空的//创建图标的方式是通过初始化图标的路径进行创建,这里不可以直接使用\进行路径分割不然会被转义掉//使用/或者R"()"语法或者\\进行防止转义//QIcon icon2("D:\qt.png");//QIcon icon2("D:/qt.png");//QIcon icon2(R"(D:\qt.png)");//也可以使用qrc机制进行转入(推荐)//使用qrc是为了防止相对路径不存在时的错误,一定要在路径前面加上:才会体现出使用了qrcQIcon icon2(":/qt.png");//相当于移到当前指定目录的相对路径形式了this->setWindowIcon(icon2);qDebug() << icon2;
}Widget::~Widget()
{delete ui;
}
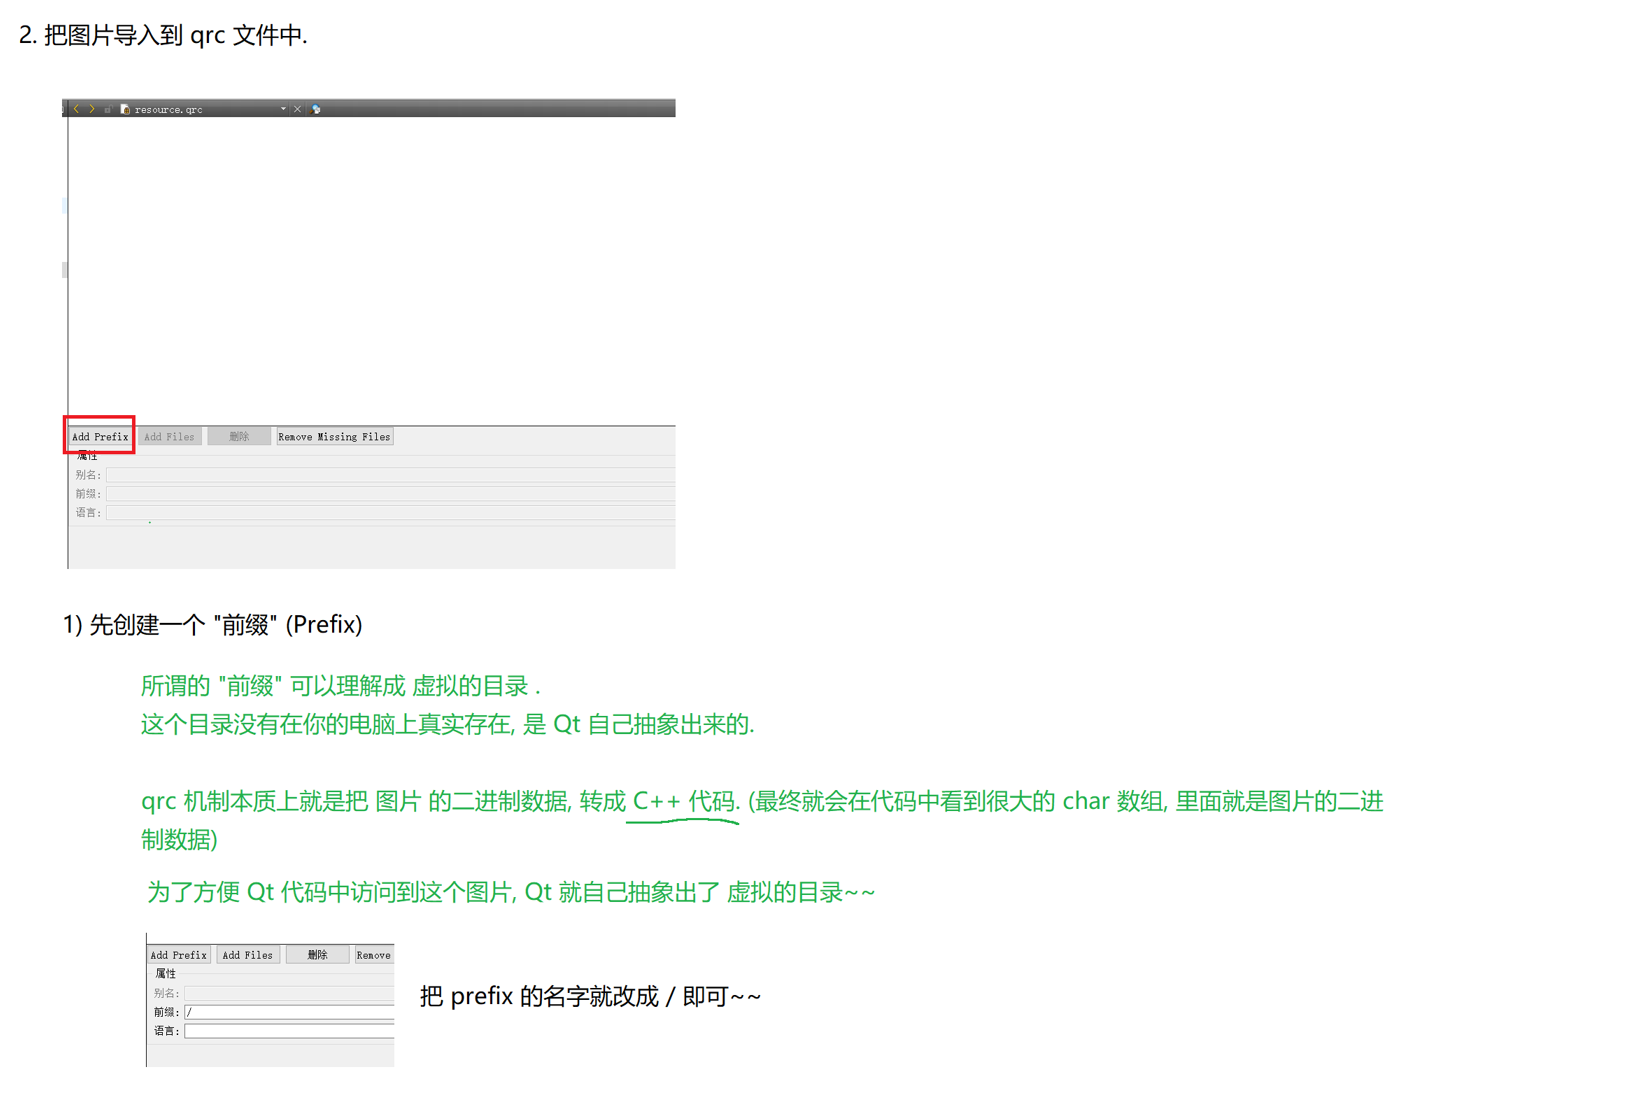
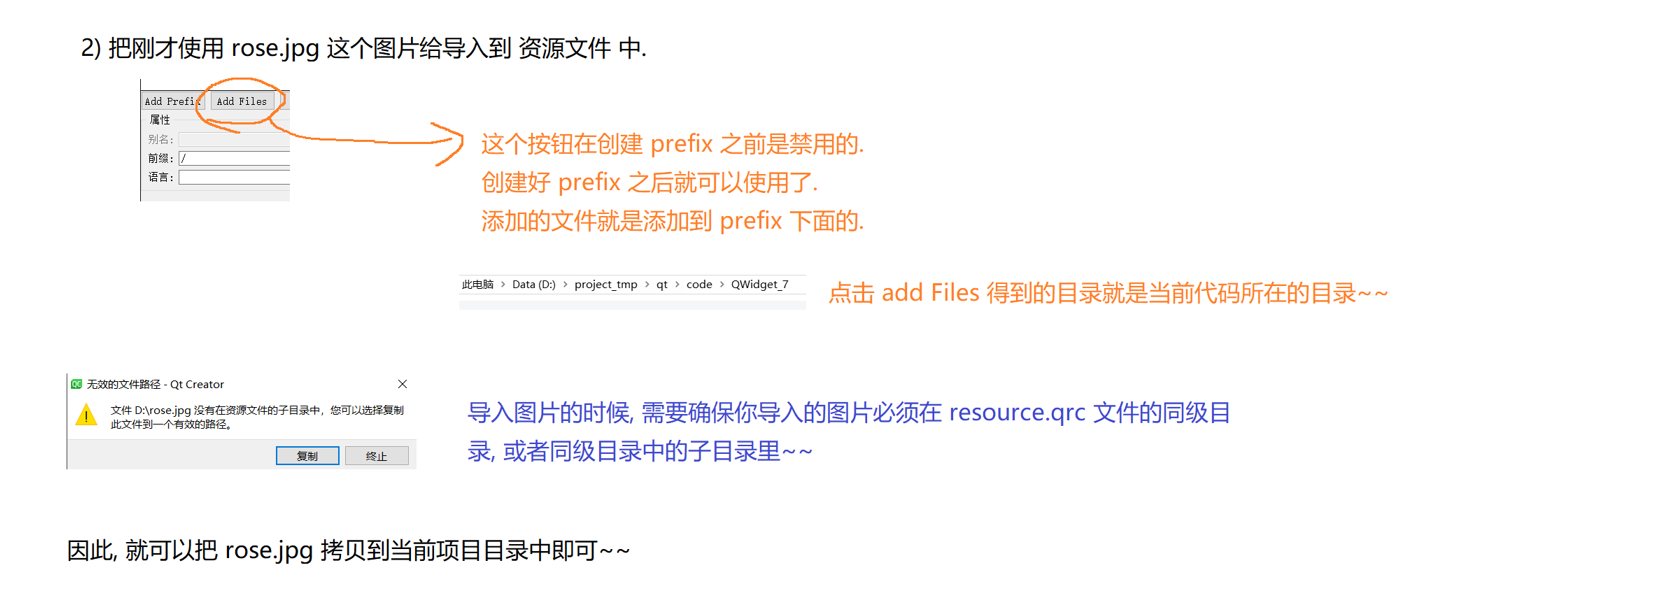
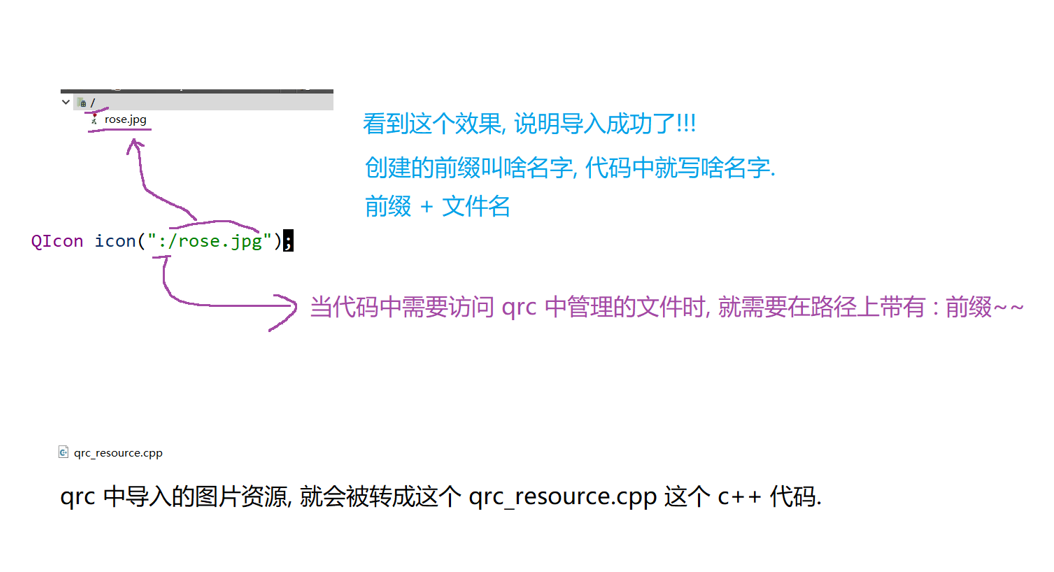
qrc机制
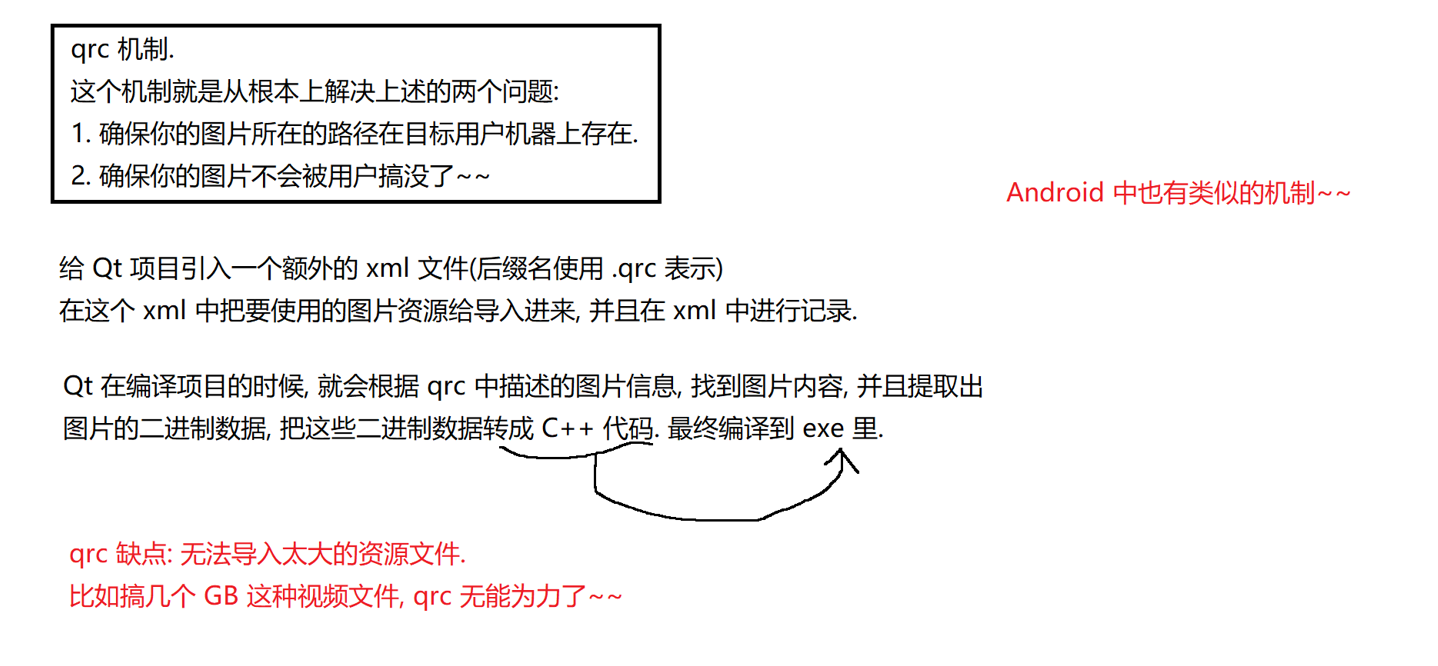
我们来看一下怎么用:
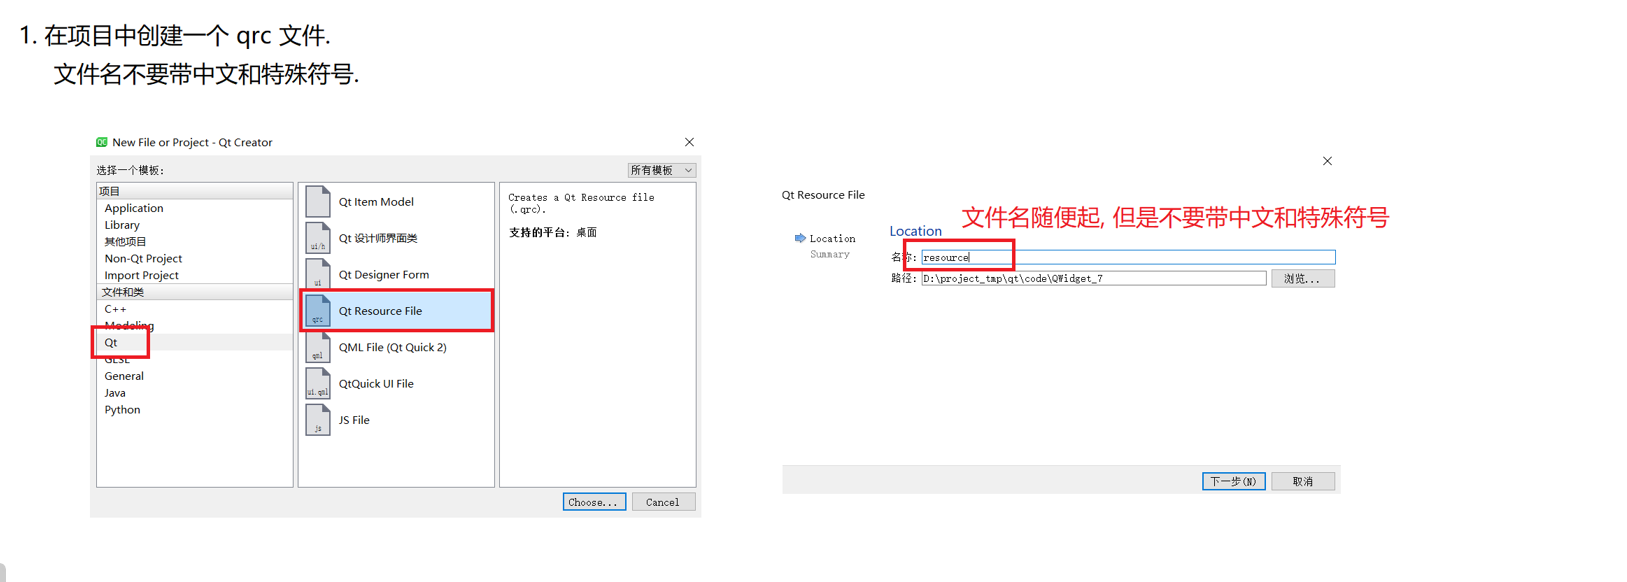
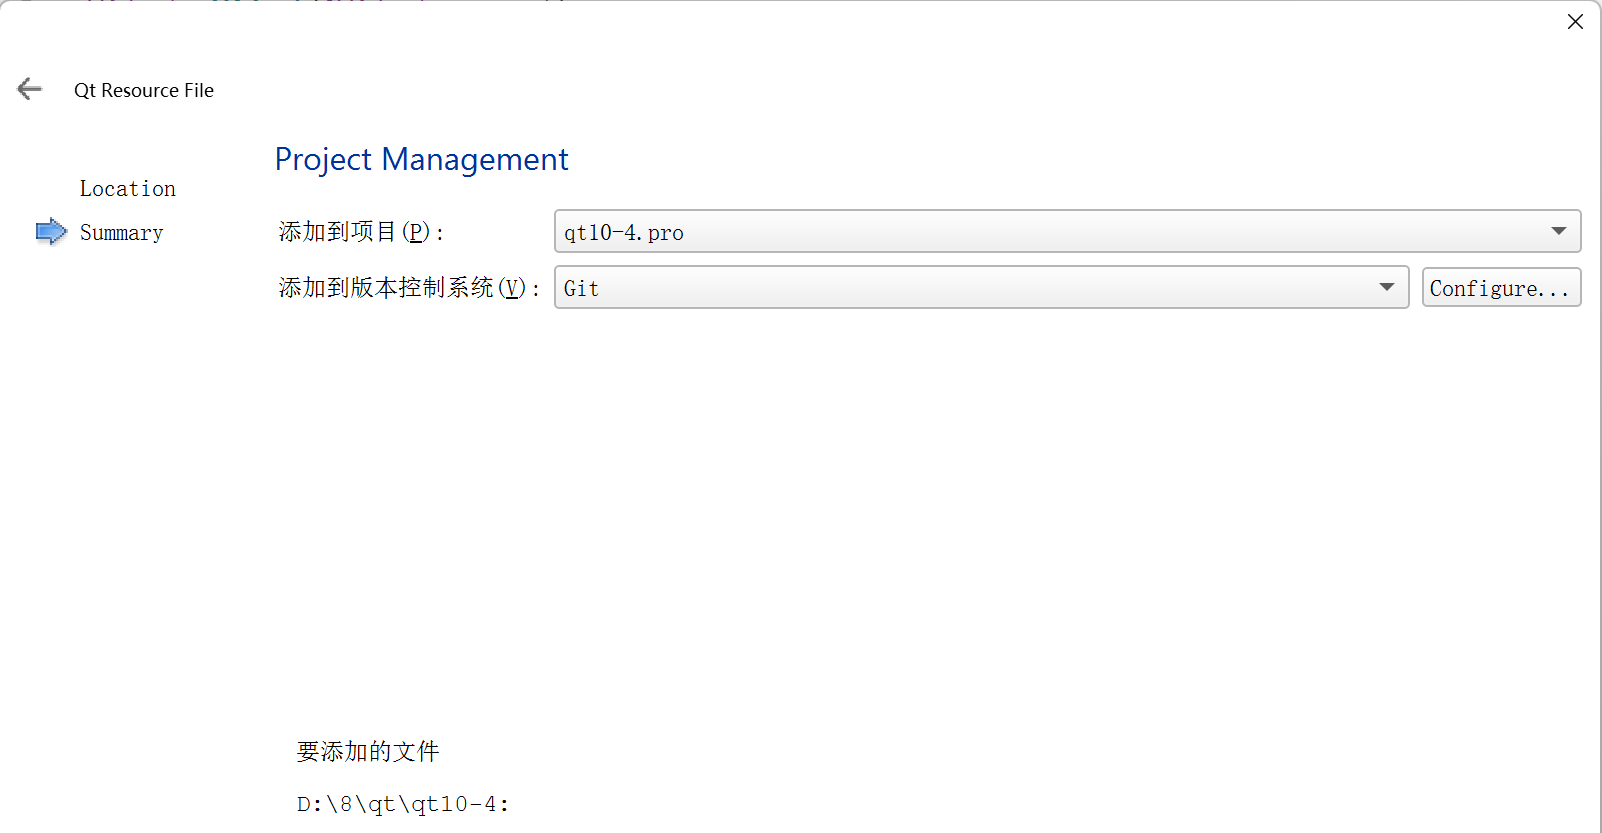
取完名字之后要记得选添加到项目,不然隐藏了!!!