谷歌网站排名搭建一个平台要多少钱
ModelScope 是一个开放的模型共享平台,提供丰富的预训练模型和工具,支持开发者快速构建AI应用,本文介绍 ModelScope 使用所需的环境配置。
方式1、直接使用官方镜像(Docker)
25/9/1 当前最新镜像
正常情况下,官方推荐使用最新版本镜像,以下两个完全够用:
- GPU环境镜像(
python3.11)
modelscope-registry.cn-beijing.cr.aliyuncs.com/modelscope-repo/modelscope:ubuntu22.04-cuda12.1.0-py311-torch2.3.1-tf2.16.1-1.29.0
modelscope-registry.cn-hangzhou.cr.aliyuncs.com/modelscope-repo/modelscope:ubuntu22.04-cuda12.1.0-py311-torch2.3.1-tf2.16.1-1.29.0
modelscope-registry.us-west-1.cr.aliyuncs.com/modelscope-repo/modelscope:ubuntu22.04-cuda12.1.0-py311-torch2.3.1-tf2.16.1-1.29.0
- CPU环境镜像(
python3.11)
modelscope-registry.cn-beijing.cr.aliyuncs.com/modelscope-repo/modelscope:ubuntu22.04-py311-torch2.3.1-1.29.0
modelscope-registry.cn-hangzhou.cr.aliyuncs.com/modelscope-repo/modelscope:ubuntu22.04-py311-torch2.3.1-1.29.0
modelscope-registry.us-west-1.cr.aliyuncs.com/modelscope-repo/modelscope:ubuntu22.04-py311-torch2.3.1-1.29.0
但是使用时需要注意 pytorch 版本的安全漏洞问题:
ValueError: Due to a serious vulnerability issue in `torch.load`, even with `weights_only=True`, we now require users to upgrade torch to at least v2.6 in order to use the function. This version restriction does not apply when loading files with safetensors.
See the vulnerability report here https://nvd.nist.gov/vuln/detail/CVE-2025-32434
当然官方也有针对特殊场景用途的镜像,提供了基于 PyTorch:2.6.0 及 vLLM:0.8.x/LMDeploy:0.7.x 的镜像,镜像如下:
- 特别针对
LLM和AIGC模型的运行环境
modelscope-registry.cn-beijing.cr.aliyuncs.com/modelscope-repo/modelscope:ubuntu22.04-cuda12.4.0-py311-torch2.6.0-1.29.0-LLM
modelscope-registry.cn-hangzhou.cr.aliyuncs.com/modelscope-repo/modelscope:ubuntu22.04-cuda12.4.0-py311-torch2.6.0-1.29.0-LLM
modelscope-registry.us-west-1.cr.aliyuncs.com/modelscope-repo/modelscope:ubuntu22.04-cuda12.4.0-py311-torch2.6.0-1.29.0-LLM
- 针对大模型训练场景
modelscope-registry.cn-hangzhou.cr.aliyuncs.com/modelscope-repo/modelscope:ubuntu22.04-cuda12.4.0-py310-torch2.6.0-vllm0.8.5.post1-modelscope1.28.1-swift3.6.4
modelscope-registry.cn-beijing.cr.aliyuncs.com/modelscope-repo/modelscope:ubuntu22.04-cuda12.4.0-py310-torch2.6.0-vllm0.8.5.post1-modelscope1.28.1-swift3.6.4
modelscope-registry.us-west-1.cr.aliyuncs.com/modelscope-repo/modelscope:ubuntu22.04-cuda12.4.0-py310-torch2.6.0-vllm0.8.5.post1-modelscope1.28.1-swift3.6.4
1、拉取镜像
以GPU环境镜像(python3.11)为例。
# 可能会遇到网络问题,多重试几遍即可
sudo docker pull modelscope-registry.cn-hangzhou.cr.aliyuncs.com/modelscope-repo/modelscope:ubuntu22.04-cuda12.1.0-py311-torch2.3.1-tf2.16.1-1.29.0
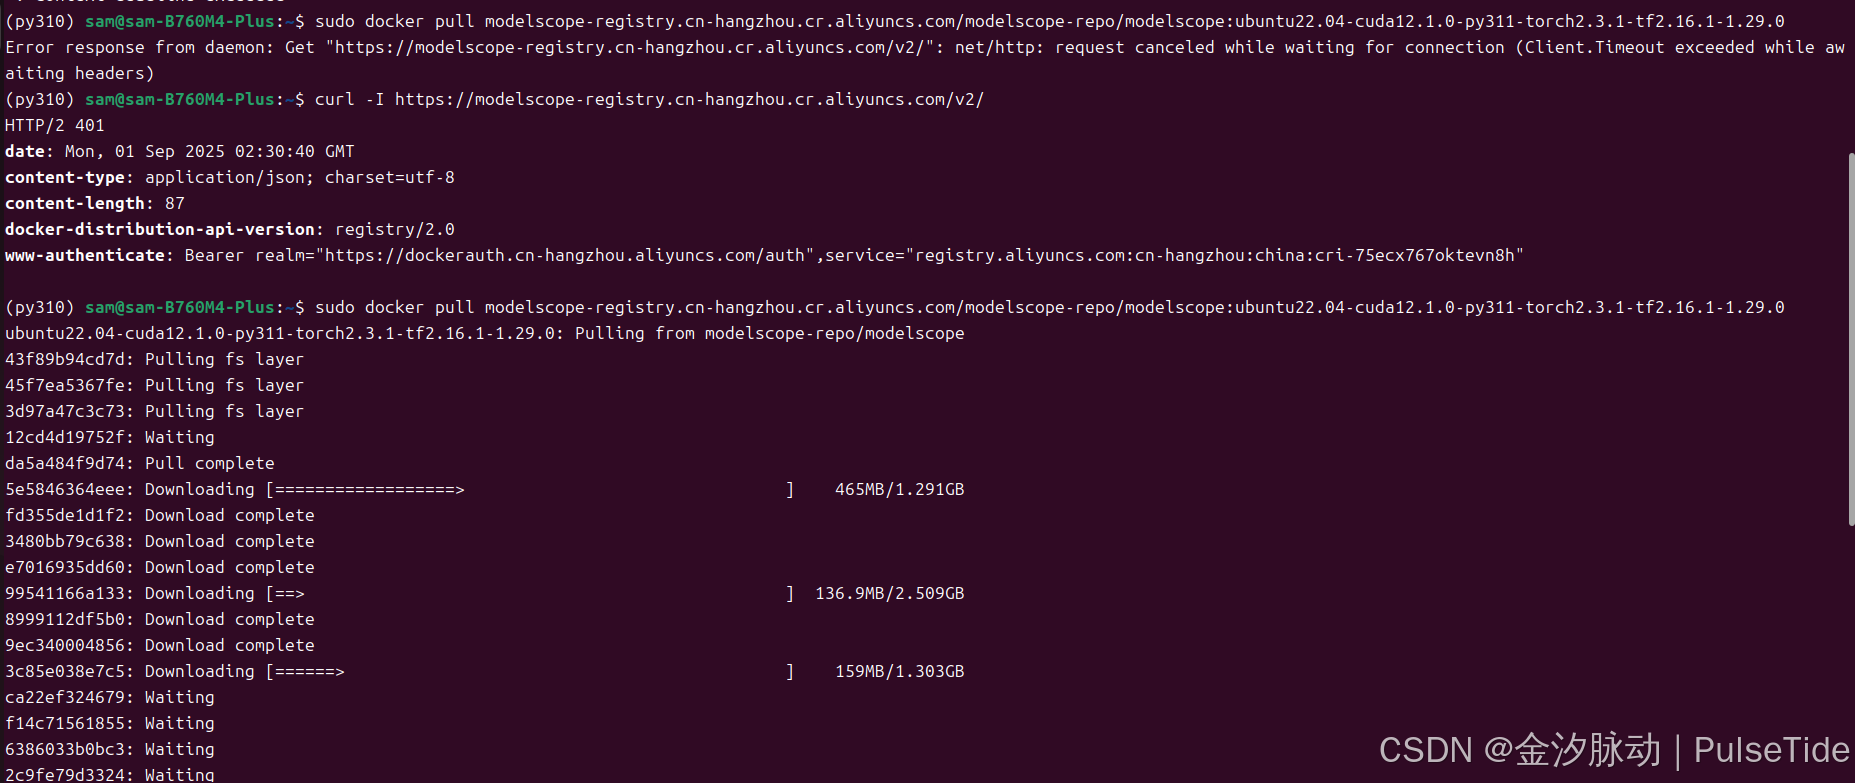
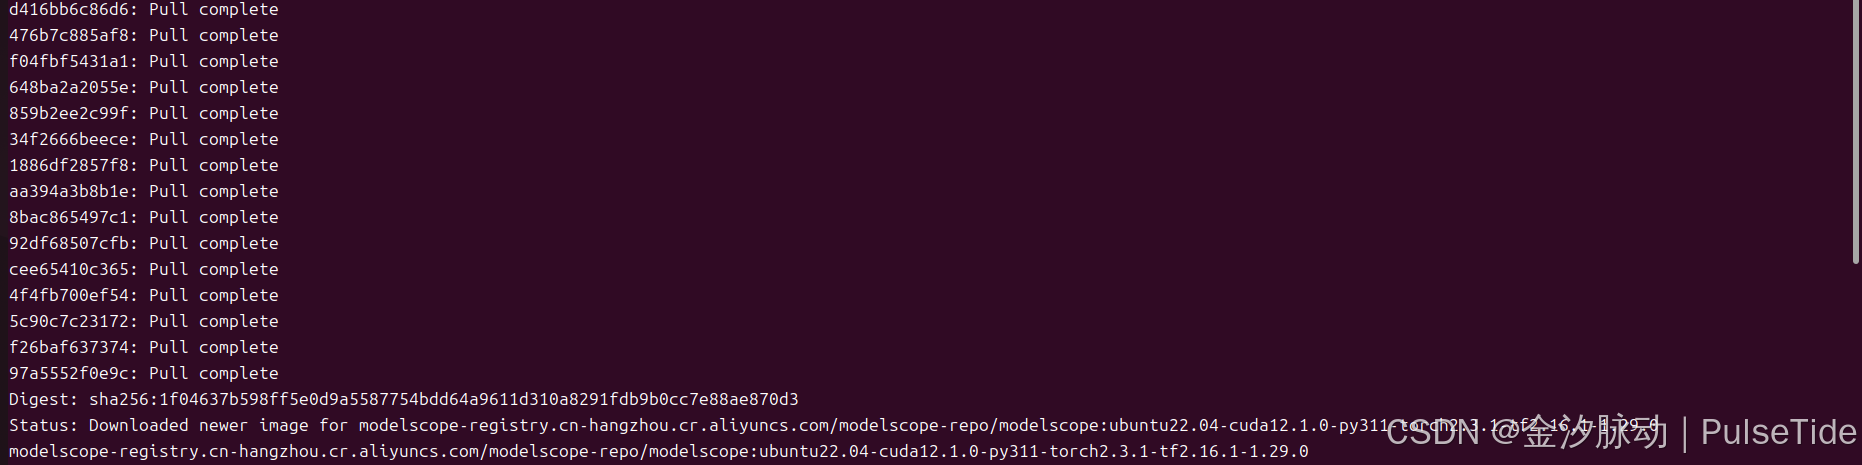
下载过程稍微有点久,镜像大概 31.1GB:

2、启动容器
# 启动容器
sudo docker run -d --name my_modelscope --gpus all -v /home/sam/mydata:/app/data -p 8889:8888  modelscope-registry.cn-hangzhou.cr.aliyuncs.com/modelscope-repo/modelscope:ubuntu22.04-cuda12.1.0-py311-torch2.3.1-tf2.16.1-1.29.0
3、notebook
# 进入容器
sudo docker exec -it my_modelscope /bin/bash
可以看到镜像已经自带 jupyter-lab:

# 启动 notebook
jupyter-lab --allow-root --no-browser --ip='0.0.0.0' --notebook-dir=/app/data
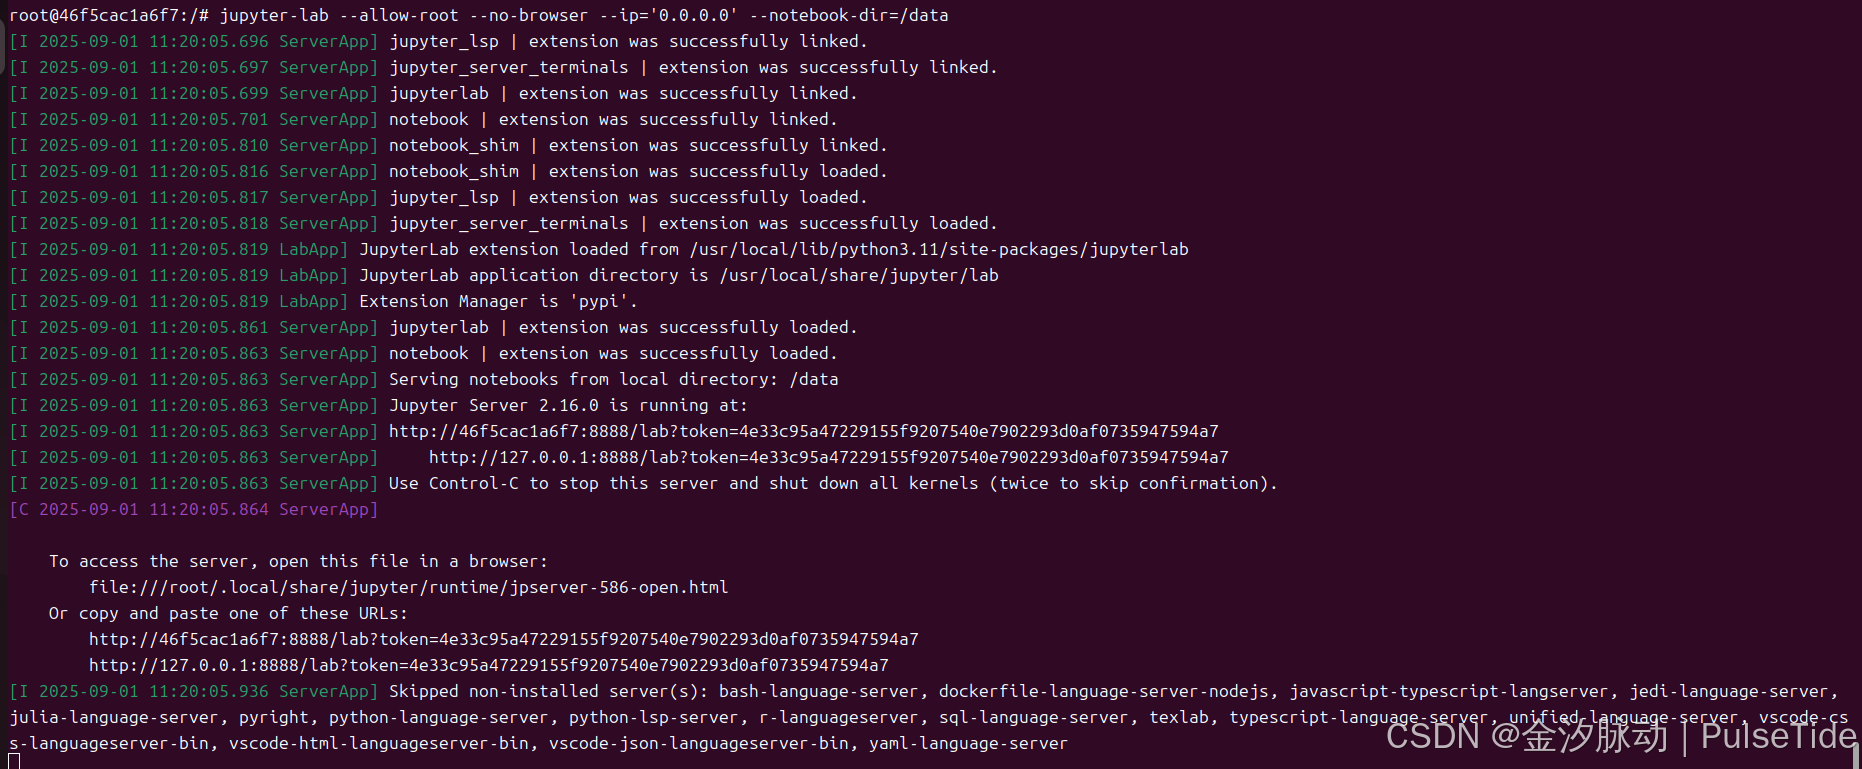
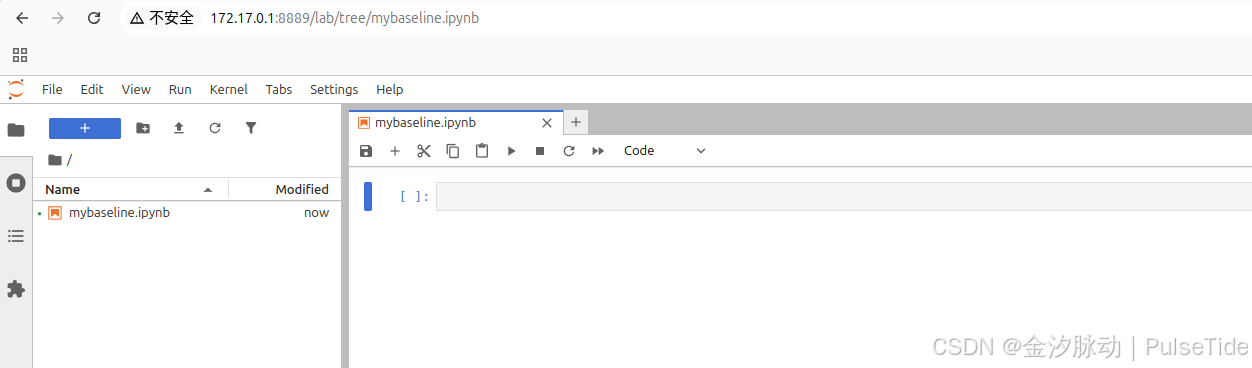
宿主主机访问 notebook :
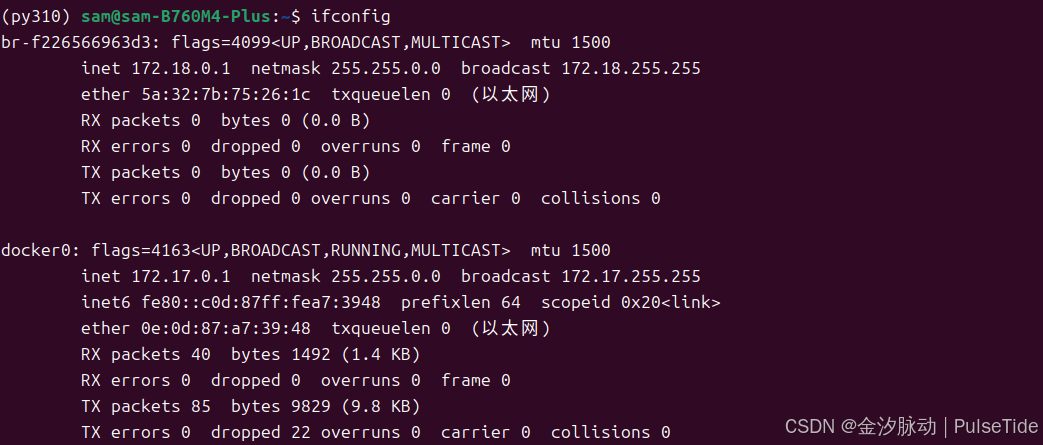
注意使用 docker 内网地址和映射端口:
ok,最后将 notebook 设置为自启动:
# 启动容器
sudo docker run -d --name my_modelscope --gpus all -v /home/sam/mydata:/app/data -p 8889:8888  modelscope-registry.cn-hangzhou.cr.aliyuncs.com/modelscope-repo/modelscope:ubuntu22.04-cuda12.1.0-py311-torch2.3.1-tf2.16.1-1.29.0 jupyter-lab --allow-root --no-browser --ip='0.0.0.0' --notebook-dir='/app/data'

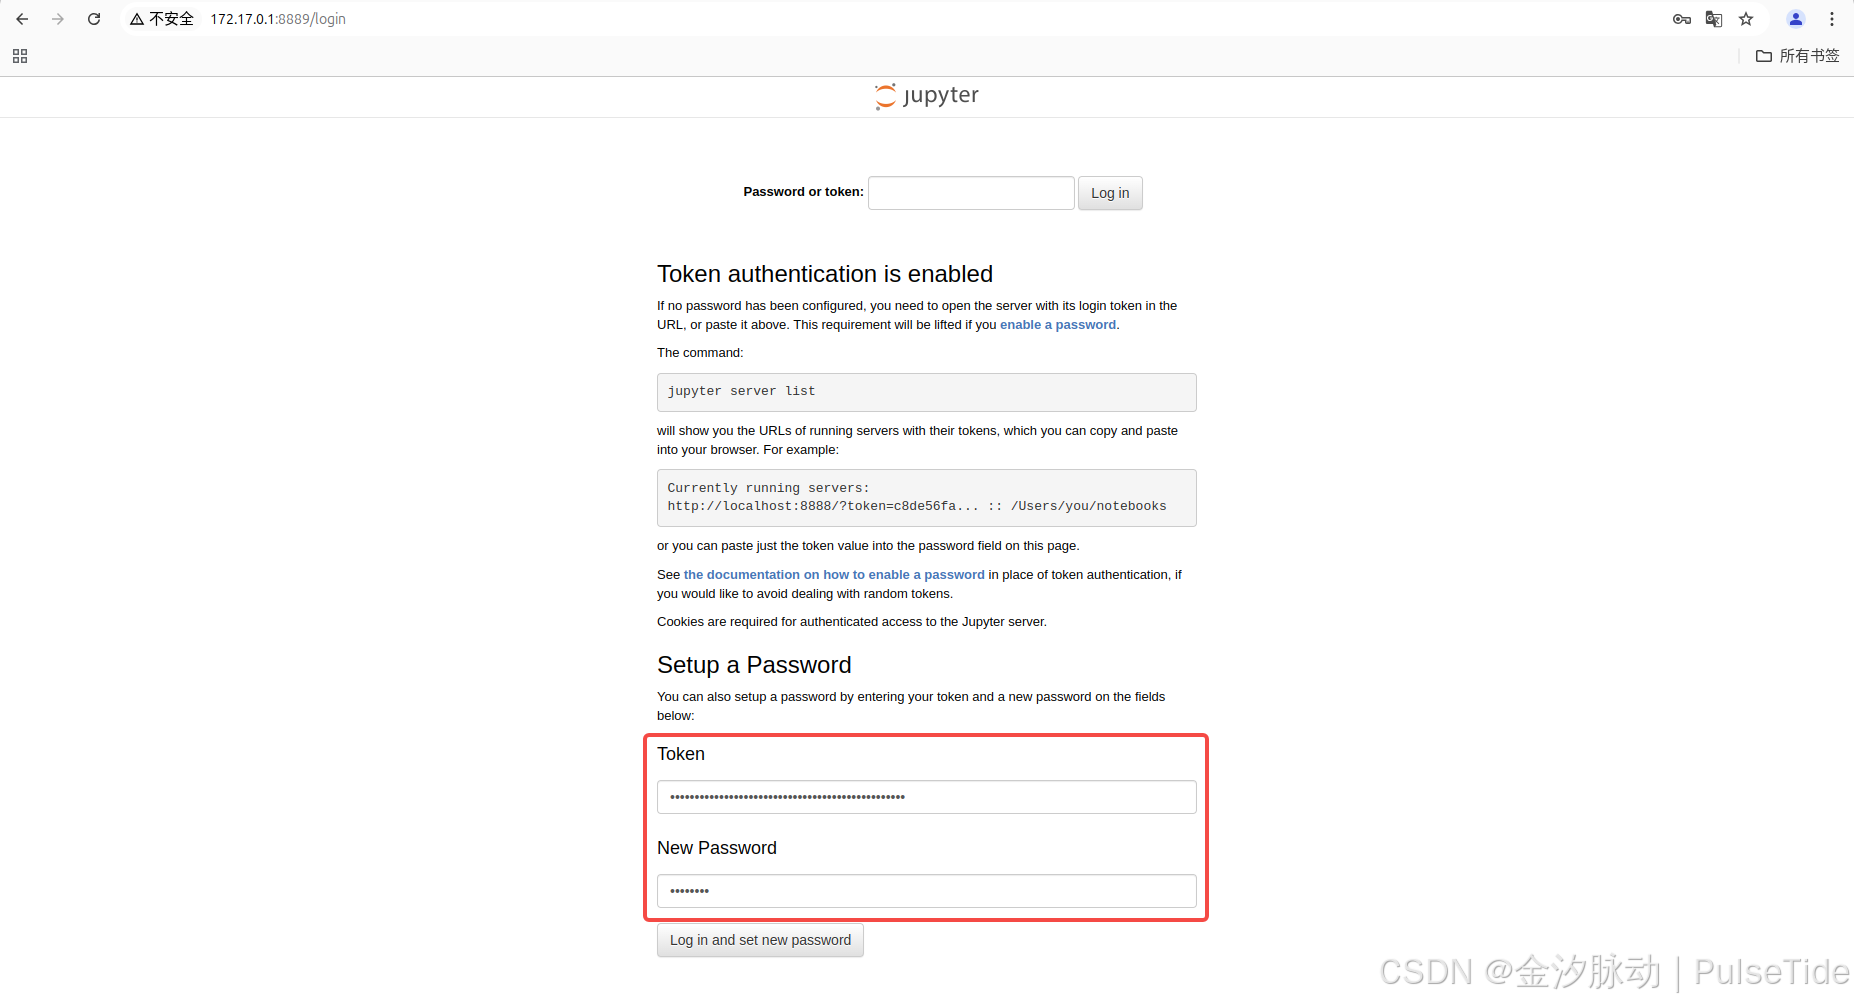
配置登录密码:
http://172.17.0.1:8889/login
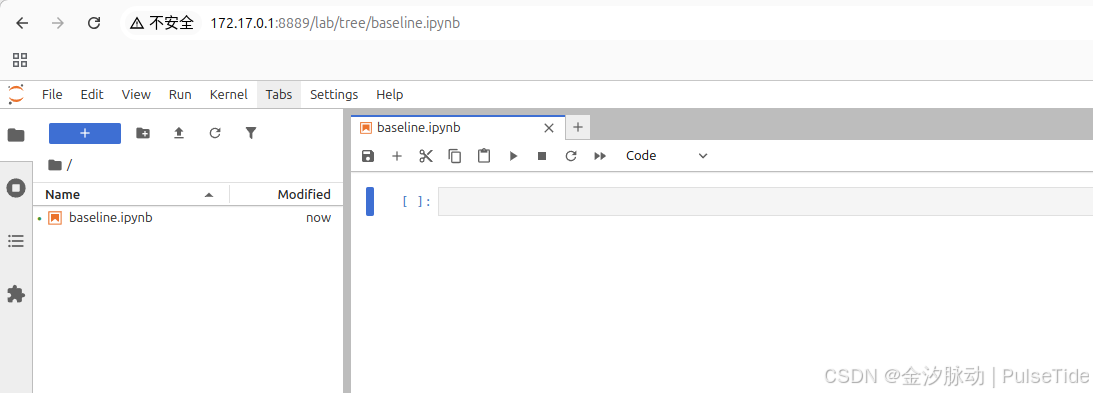
注意,因为文件夹映射,数据会保存到宿主主机的 /mydata 路径下:

至此环境配置完成,可以使用 notebook 开始做实验。
方式2、手动搭建环境(Anaconda)
Step1、环境创建
创建 Python 环境并激活:
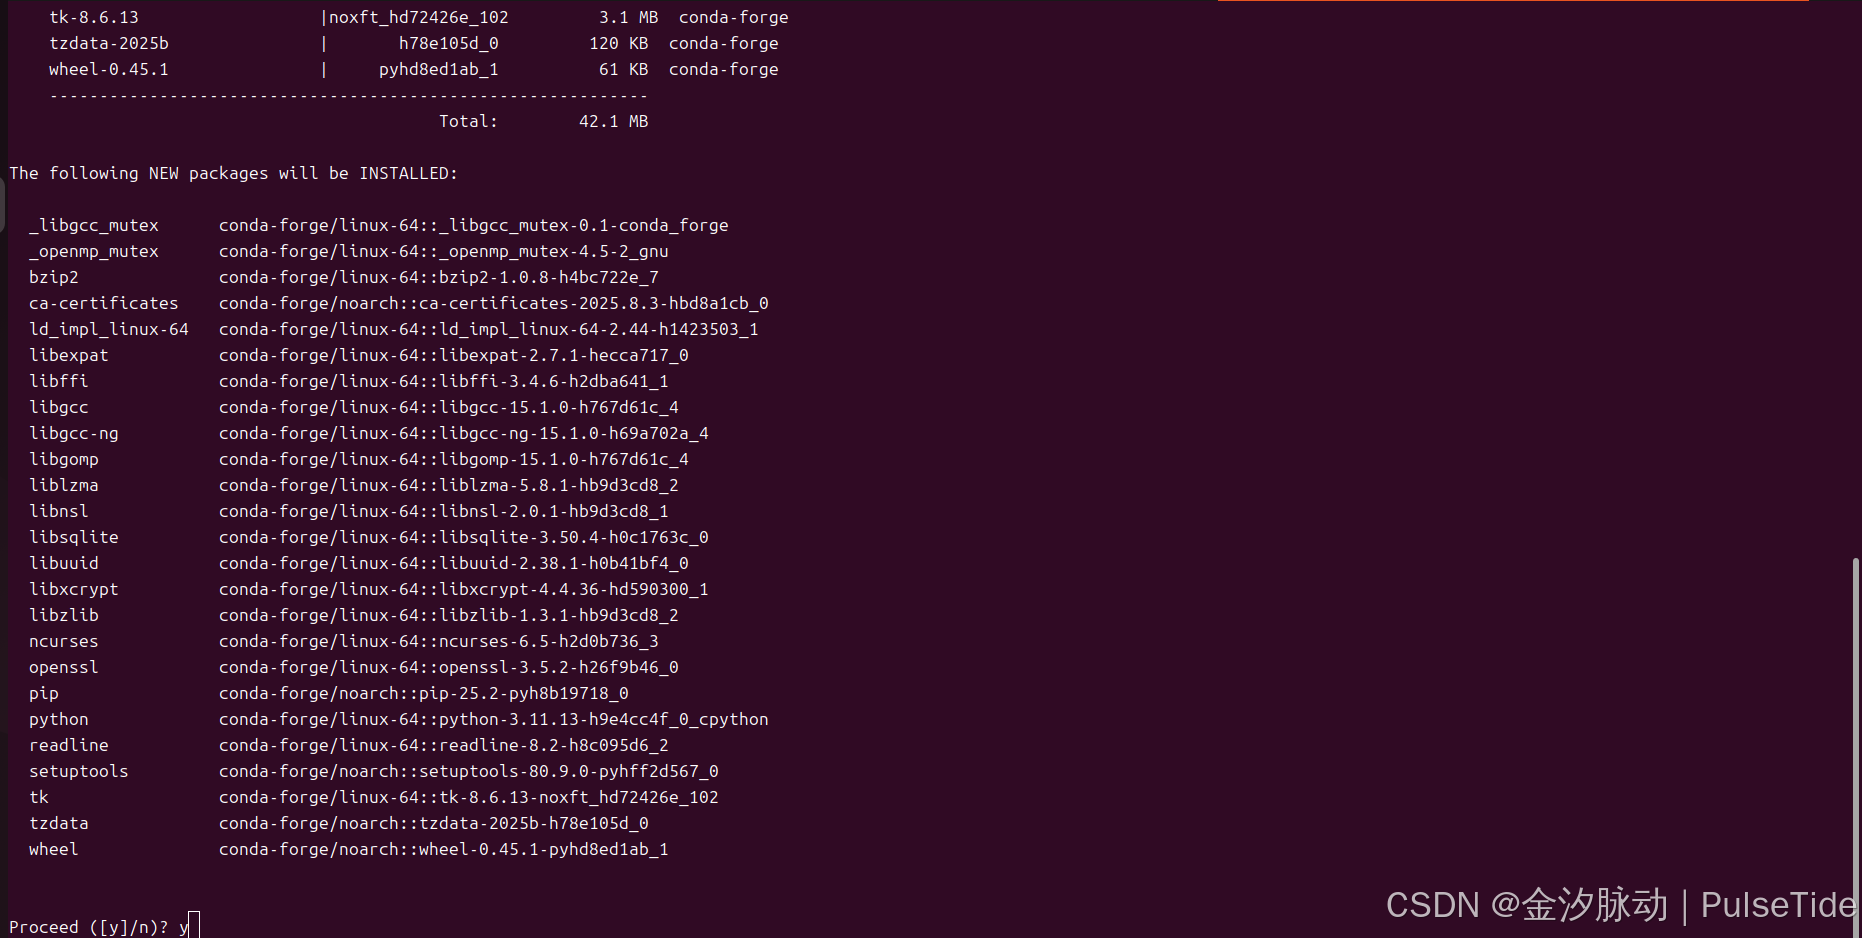
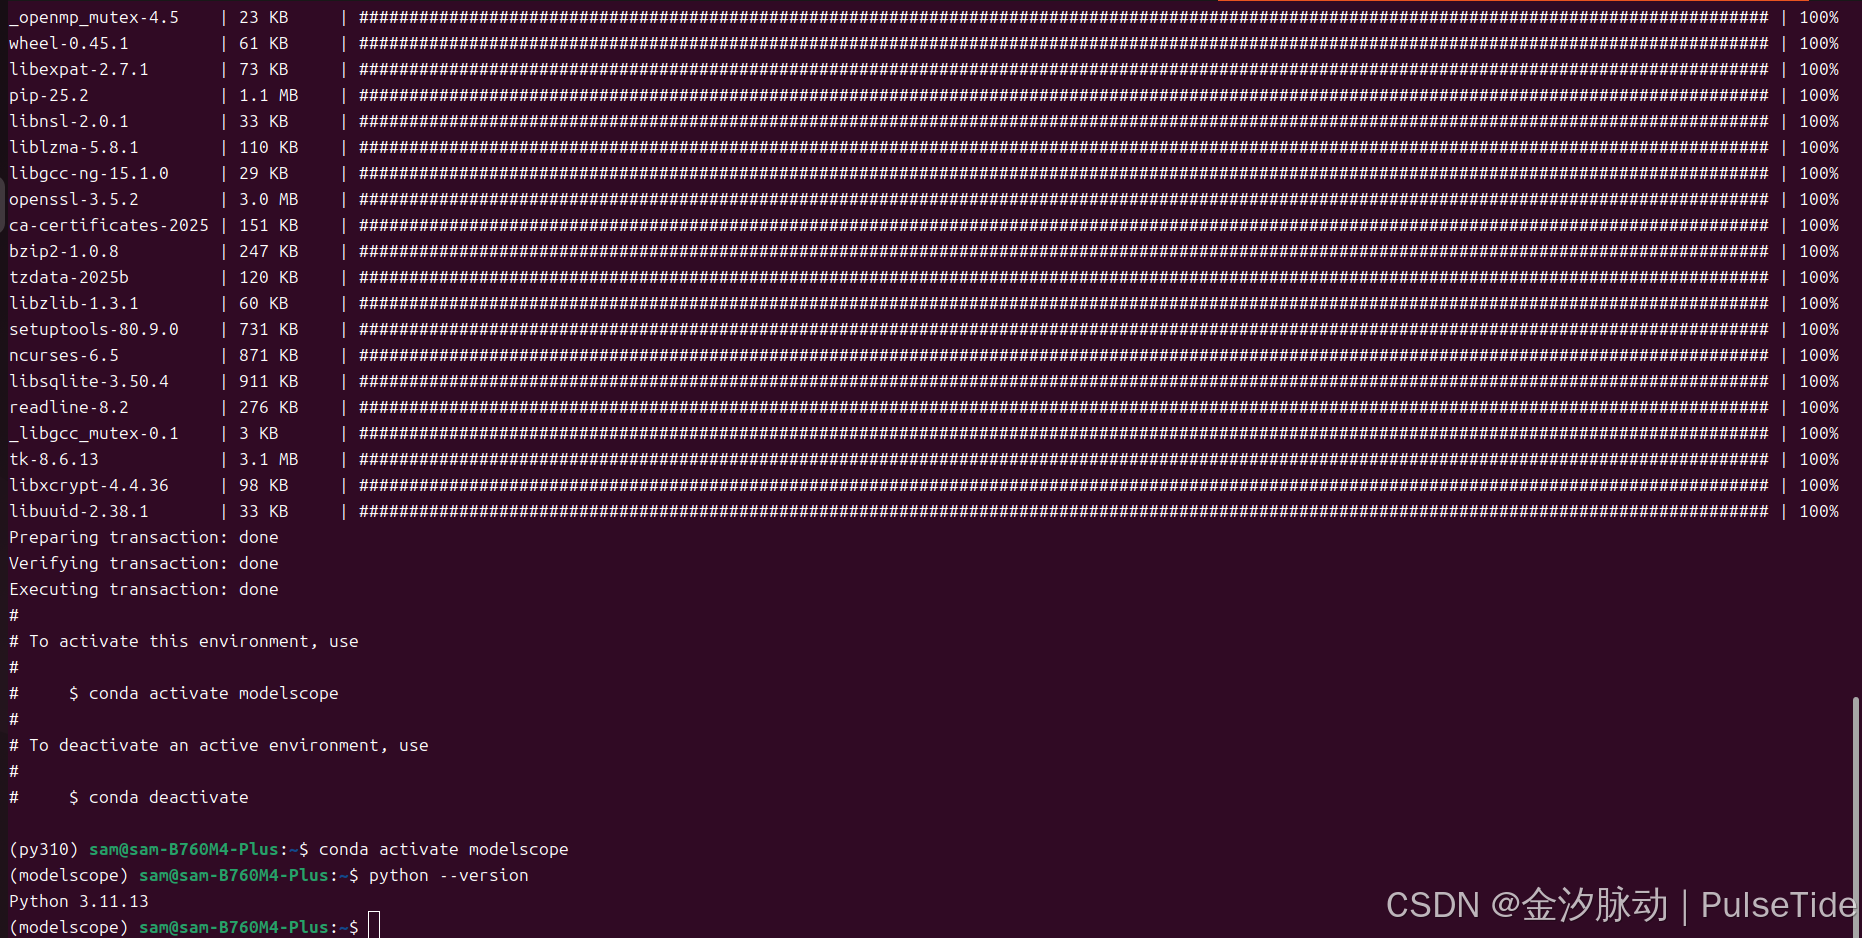
conda create -n modelscope python=3.11
conda activate modelscope
Step2、依赖安装
pip 换源(可选):
pip config set global.index-url https://pypi.tuna.tsinghua.edu.cn/simple

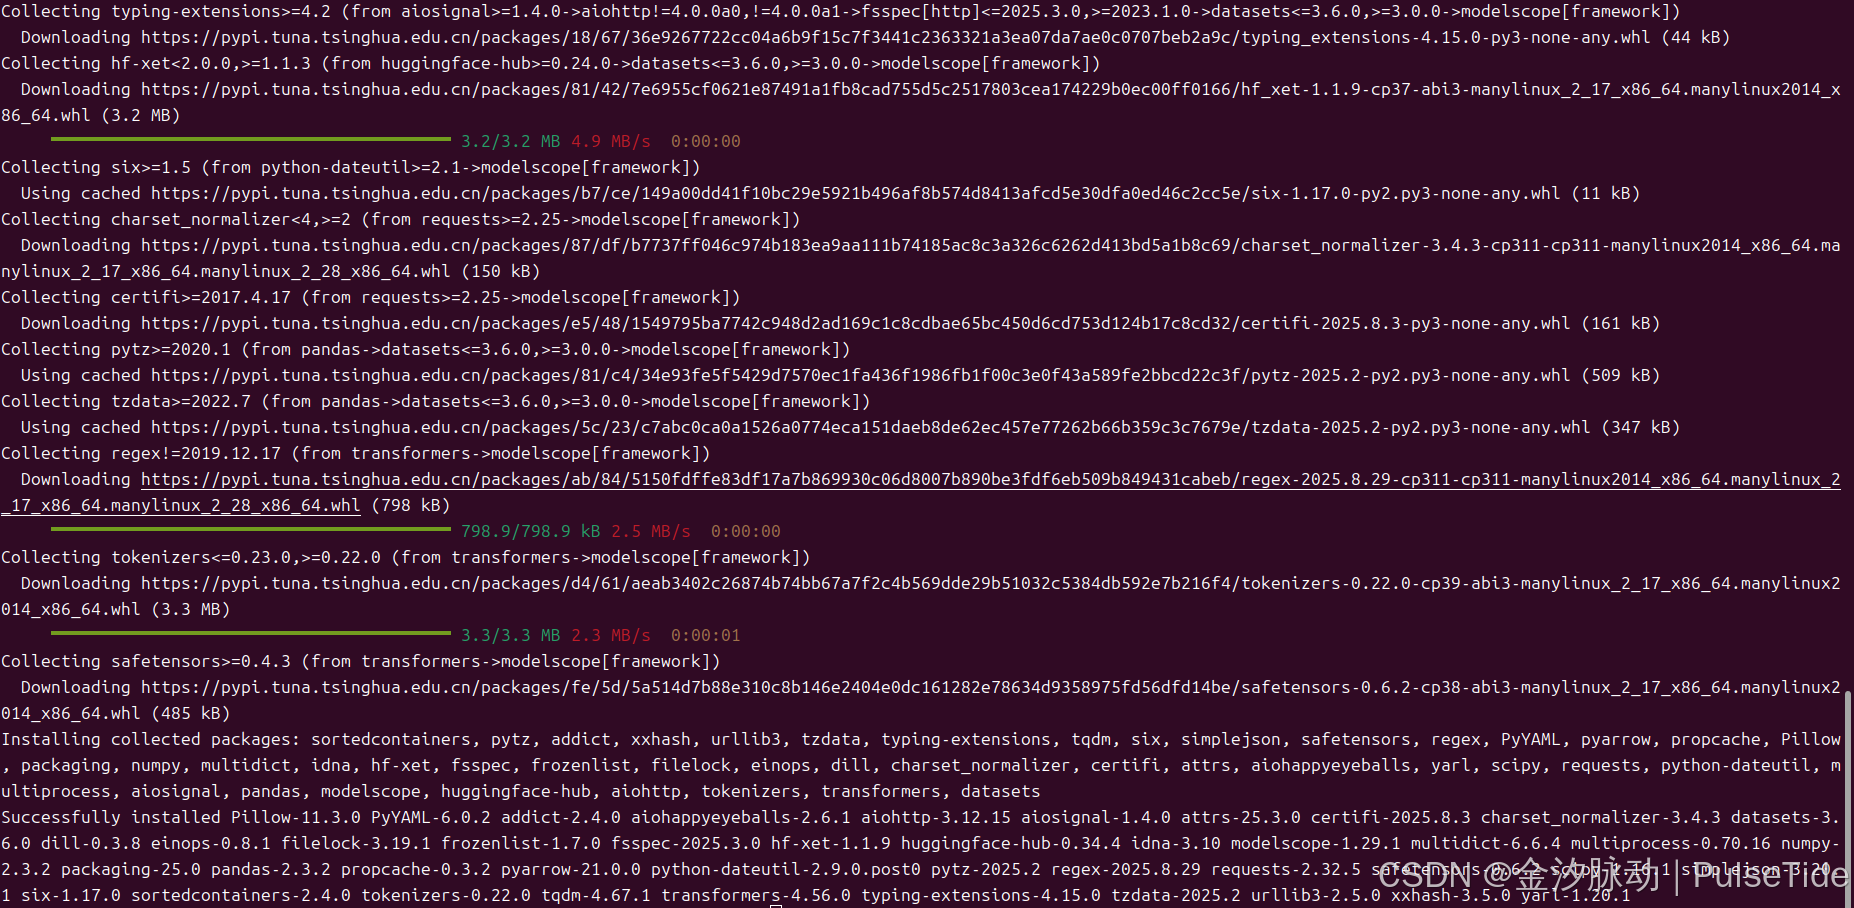
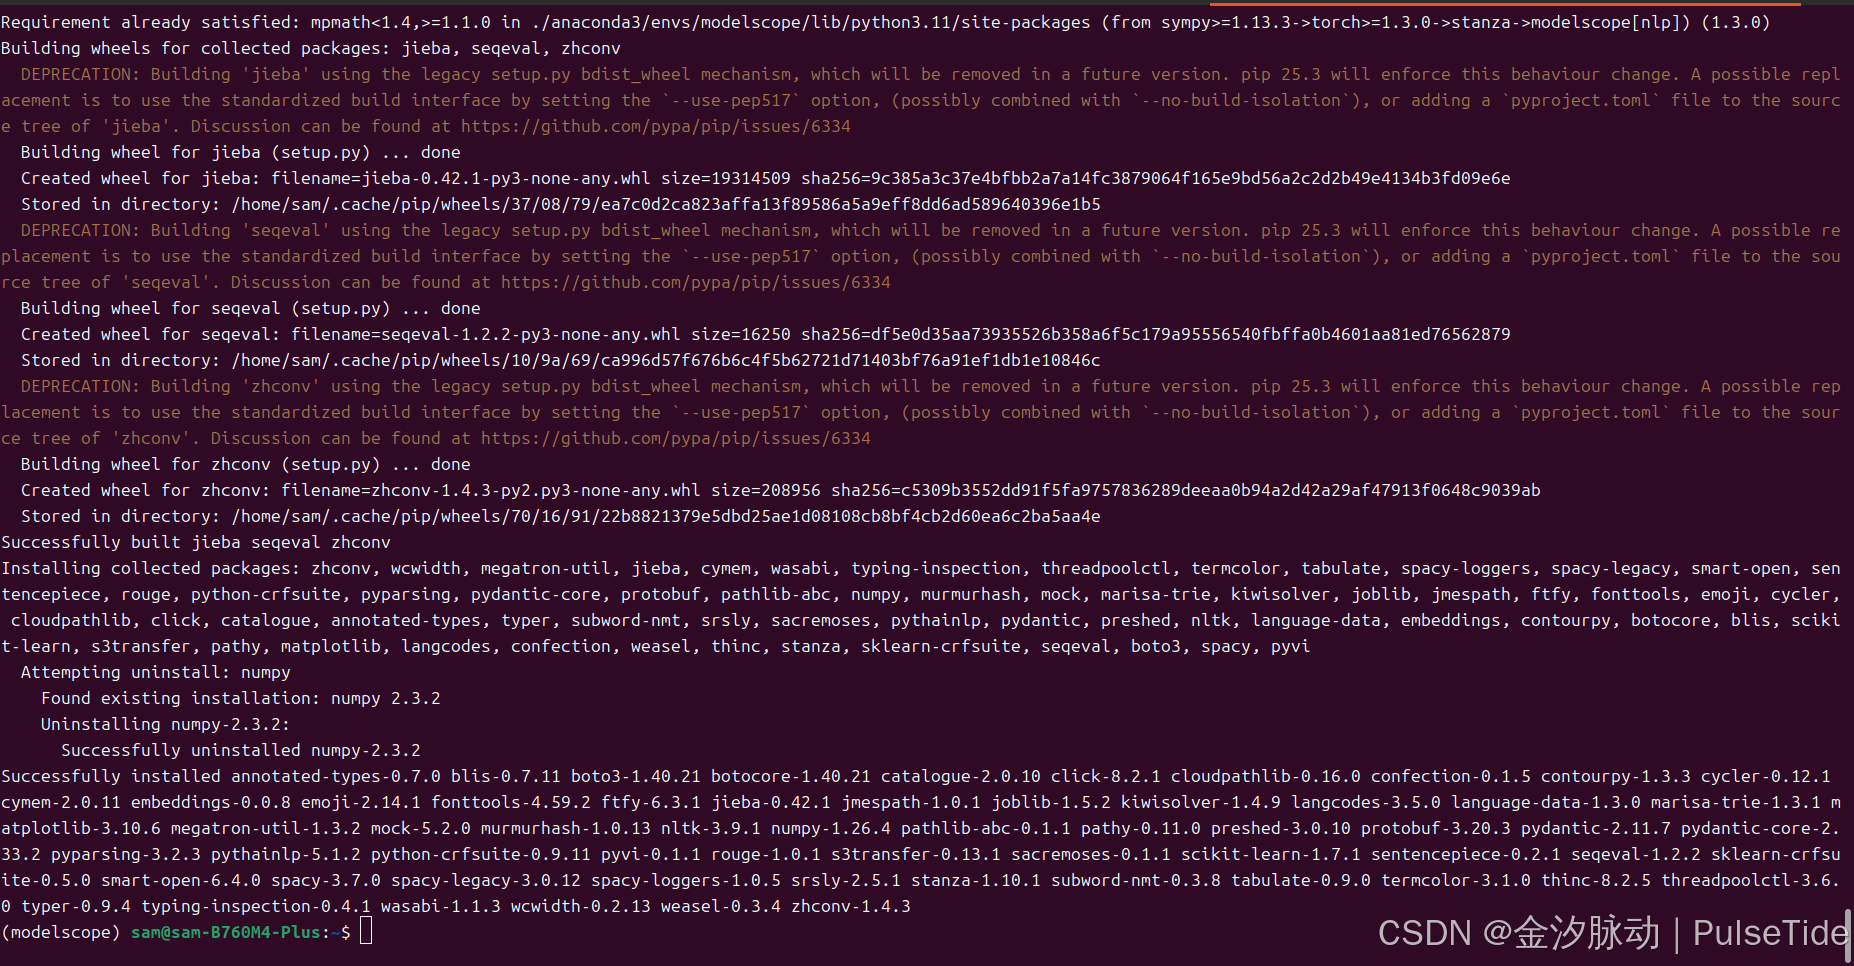
安装 ModelScope Library:
pip install modelscope[framework]
安装深度学习框架库:
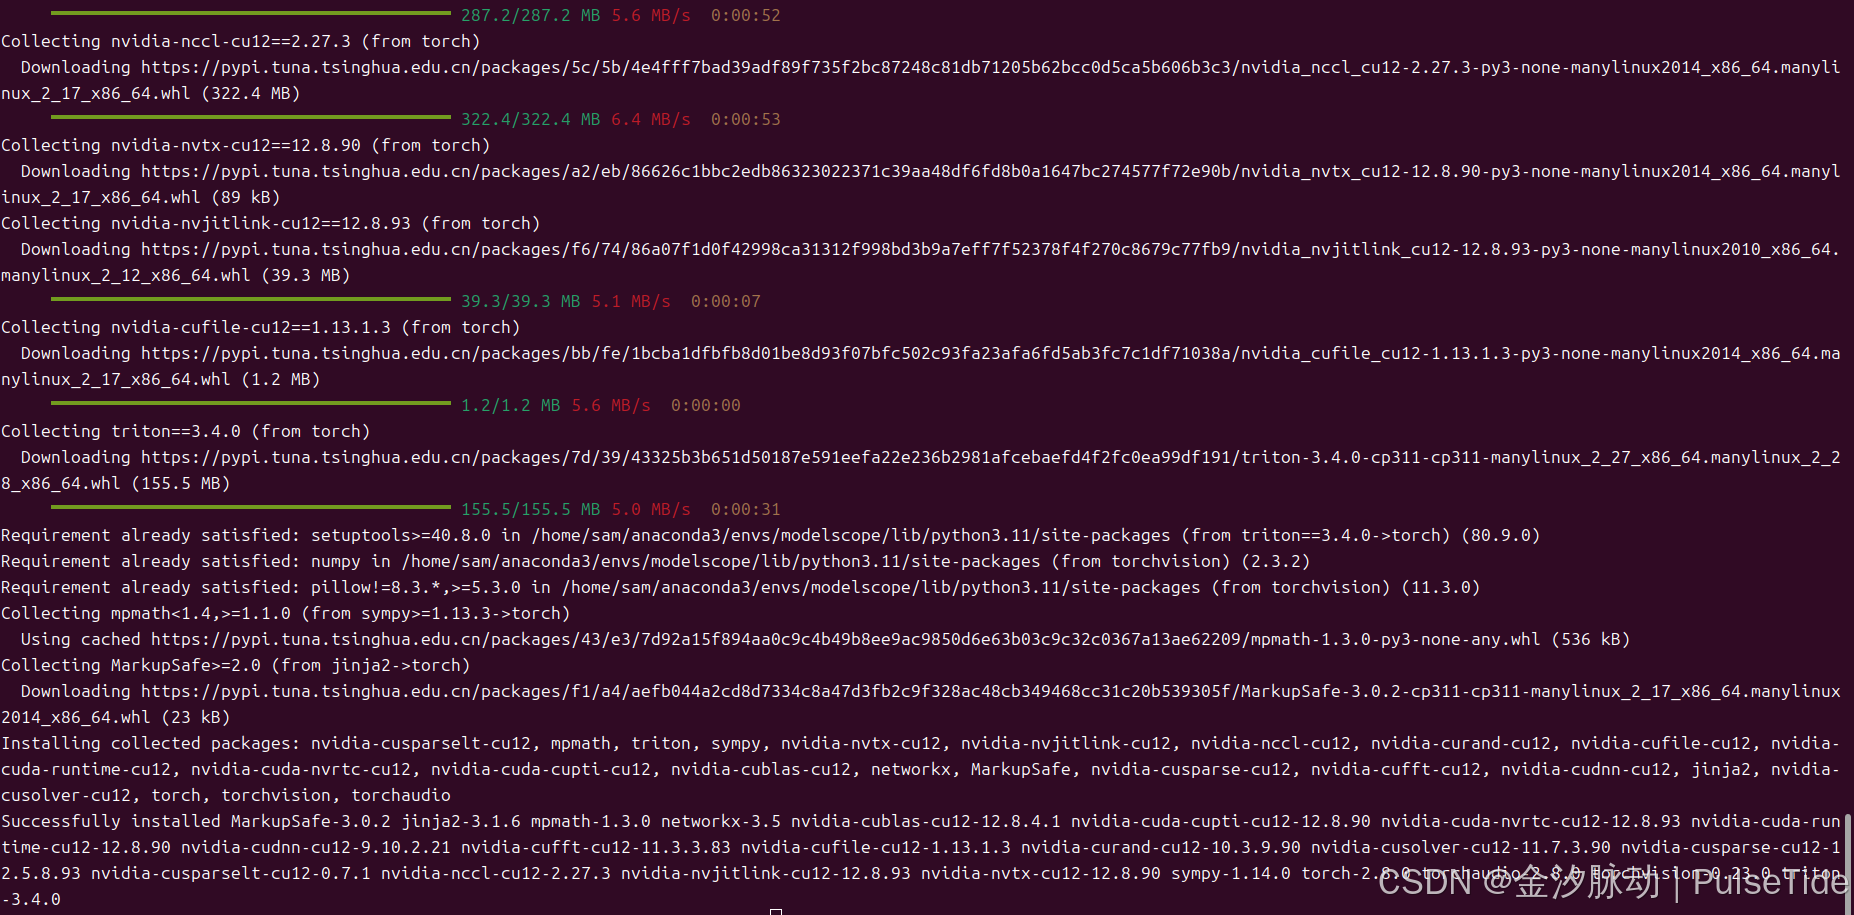
# PyTorch
pip install torch torchvision torchaudio
# Tensorflow
pip install tensorflow
安装模型领域依赖库:
因部分依赖由 ModelScope 独立 host,所以需要使用 “-f” 参数
# nlp 领域
pip install "modelscope[nlp]" -f https://modelscope.oss-cn-beijing.aliyuncs.com/releases/repo.html
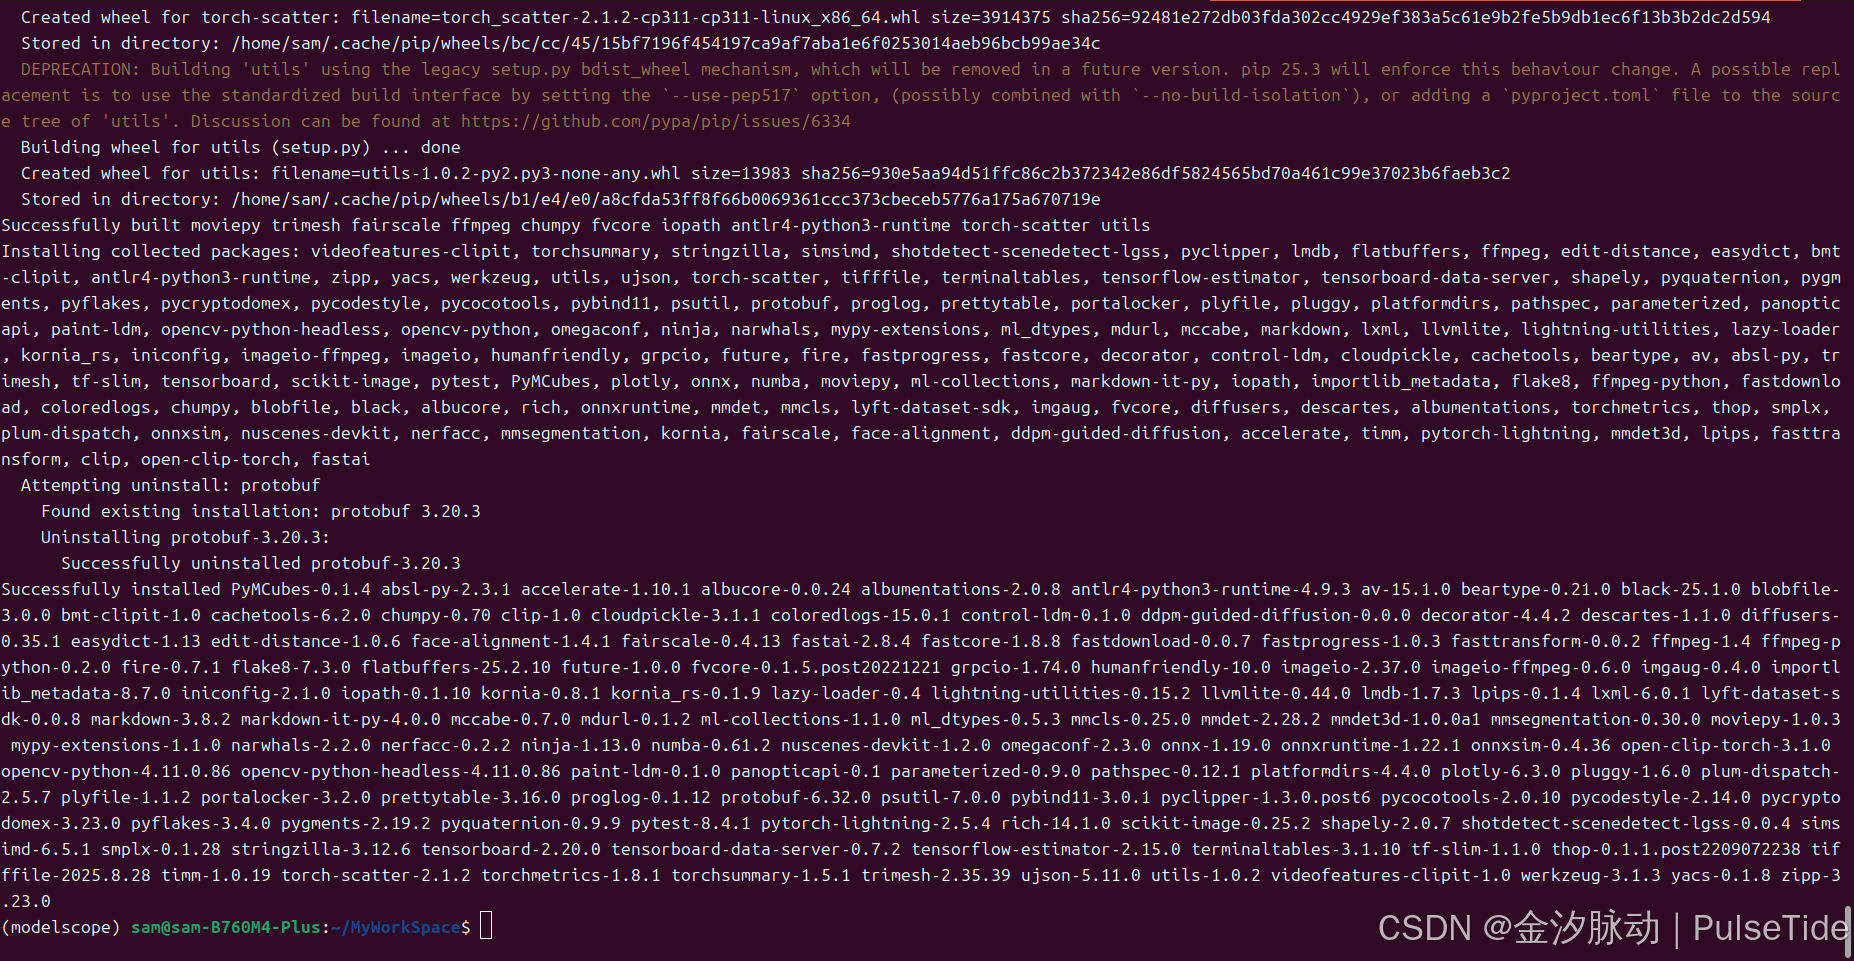
# cv 领域
pip install "modelscope[cv]" -f https://modelscope.oss-cn-beijing.aliyuncs.com/releases/repo.html
# 多模态 领域
pip install "modelscope[multi-modal]"
# 语音 领域(*需要 linux+python3.8 环境)
pip install "modelscope[audio]" -f https://modelscope.oss-cn-beijing.aliyuncs.com/releases/repo.html
Step3、安装验证
安装依赖库后,即可使用对应领域模型进行推理、训练等操作,这里以 NLP 领域为例,运行中文分词任务,来验证安装是否正确:
python -c "from modelscope.pipelines import pipeline;print(pipeline('word-segmentation')('今天天气不错,适合出去游玩'))"
Traceback (most recent call last):File "/home/sam/anaconda3/envs/modelscope/lib/python3.11/site-packages/modelscope/utils/registry.py", line 211, in build_from_cfgreturn obj_cls(**args)^^^^^^^^^^^^^^^File "/home/sam/anaconda3/envs/modelscope/lib/python3.11/site-packages/modelscope/pipelines/nlp/token_classification_pipeline.py", line 50, in __init__super().__init__(File "/home/sam/anaconda3/envs/modelscope/lib/python3.11/site-packages/modelscope/pipelines/base.py", line 104, in __init__self.model = self.initiate_single_model(model, **kwargs)^^^^^^^^^^^^^^^^^^^^^^^^^^^^^^^^^^^^^^^^^^^File "/home/sam/anaconda3/envs/modelscope/lib/python3.11/site-packages/modelscope/pipelines/base.py", line 56, in initiate_single_modelreturn Model.from_pretrained(^^^^^^^^^^^^^^^^^^^^^^File "/home/sam/anaconda3/envs/modelscope/lib/python3.11/site-packages/modelscope/models/base/base_model.py", line 217, in from_pretrainedmodel = build_model(^^^^^^^^^^^^File "/home/sam/anaconda3/envs/modelscope/lib/python3.11/site-packages/modelscope/models/builder.py", line 35, in build_modelmodel = build_from_cfg(^^^^^^^^^^^^^^^File "/home/sam/anaconda3/envs/modelscope/lib/python3.11/site-packages/modelscope/utils/registry.py", line 183, in build_from_cfgLazyImportModule.import_module(sig)File "/home/sam/anaconda3/envs/modelscope/lib/python3.11/site-packages/modelscope/utils/import_utils.py", line 492, in import_moduleimportlib.import_module(module_name)File "/home/sam/anaconda3/envs/modelscope/lib/python3.11/importlib/__init__.py", line 126, in import_modulereturn _bootstrap._gcd_import(name[level:], package, level)^^^^^^^^^^^^^^^^^^^^^^^^^^^^^^^^^^^^^^^^^^^^^^^^^^^^File "<frozen importlib._bootstrap>", line 1204, in _gcd_importFile "<frozen importlib._bootstrap>", line 1176, in _find_and_loadFile "<frozen importlib._bootstrap>", line 1147, in _find_and_load_unlockedFile "<frozen importlib._bootstrap>", line 690, in _load_unlockedFile "<frozen importlib._bootstrap_external>", line 940, in exec_moduleFile "<frozen importlib._bootstrap>", line 241, in _call_with_frames_removedFile "/home/sam/anaconda3/envs/modelscope/lib/python3.11/site-packages/modelscope/models/nlp/structbert/token_classification.py", line 29, in <module>from .backbone import SbertModel, SbertPreTrainedModelFile "/home/sam/anaconda3/envs/modelscope/lib/python3.11/site-packages/modelscope/models/nlp/structbert/backbone.py", line 28, in <module>from transformers.modeling_utils import (PreTrainedModel,
ImportError: cannot import name 'apply_chunking_to_forward' from 'transformers.modeling_utils' (/home/sam/anaconda3/envs/modelscope/lib/python3.11/site-packages/transformers/modeling_utils.py)The above exception was the direct cause of the following exception:Traceback (most recent call last):File "<string>", line 1, in <module>File "/home/sam/anaconda3/envs/modelscope/lib/python3.11/site-packages/modelscope/pipelines/builder.py", line 229, in pipelinereturn build_pipeline(cfg, task_name=task)^^^^^^^^^^^^^^^^^^^^^^^^^^^^^^^^^^^File "/home/sam/anaconda3/envs/modelscope/lib/python3.11/site-packages/modelscope/pipelines/builder.py", line 69, in build_pipelinereturn build_from_cfg(^^^^^^^^^^^^^^^File "/home/sam/anaconda3/envs/modelscope/lib/python3.11/site-packages/modelscope/utils/registry.py", line 214, in build_from_cfgraise type(e)(f'{obj_cls.__name__}: {e}') from e
ImportError: WordSegmentationPipeline: cannot import name 'apply_chunking_to_forward' from 'transformers.modeling_utils' (/home/sam/anaconda3/envs/modelscope/lib/python3.11/site-packages/transformers/modeling_utils.py)
transformers 版本存在兼容问题,查看当前版本:
import transformers;print(transformers.__version__)
transformers 降版本:
# 卸载当前Transformers
pip uninstall -y transformers# 安装指定兼容版本
pip install transformers==4.28.0
pip show transformers

重新运行:
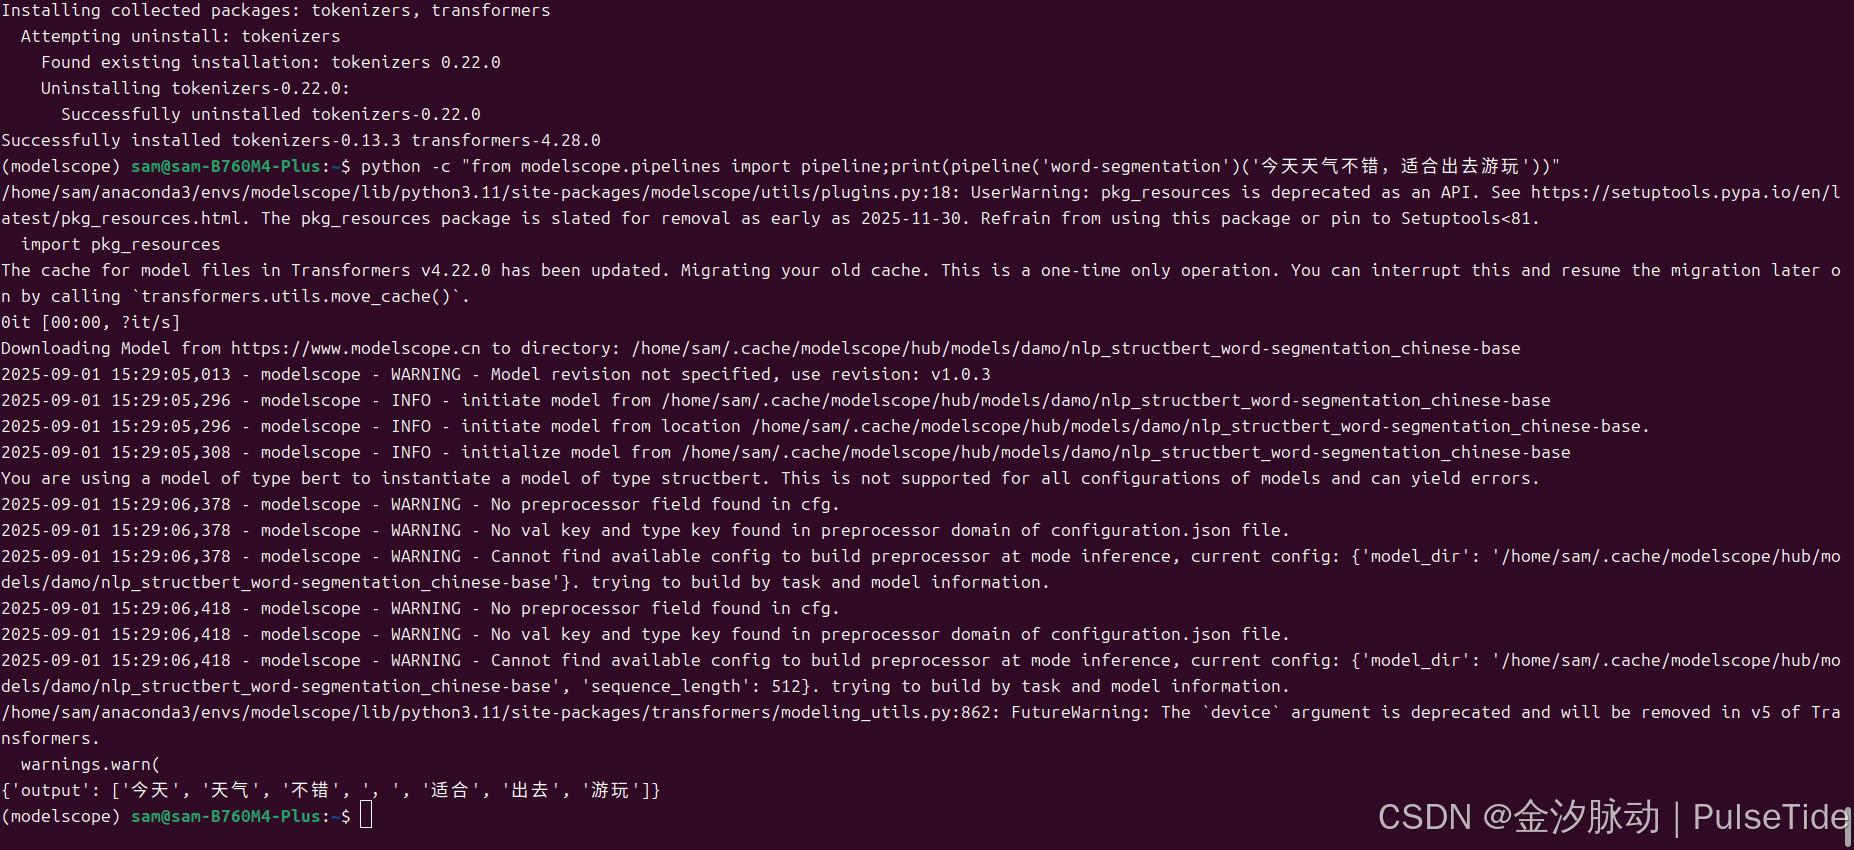
{'output': ['今天', '天气', '不错', ',', '适合', '出去', '游玩']}
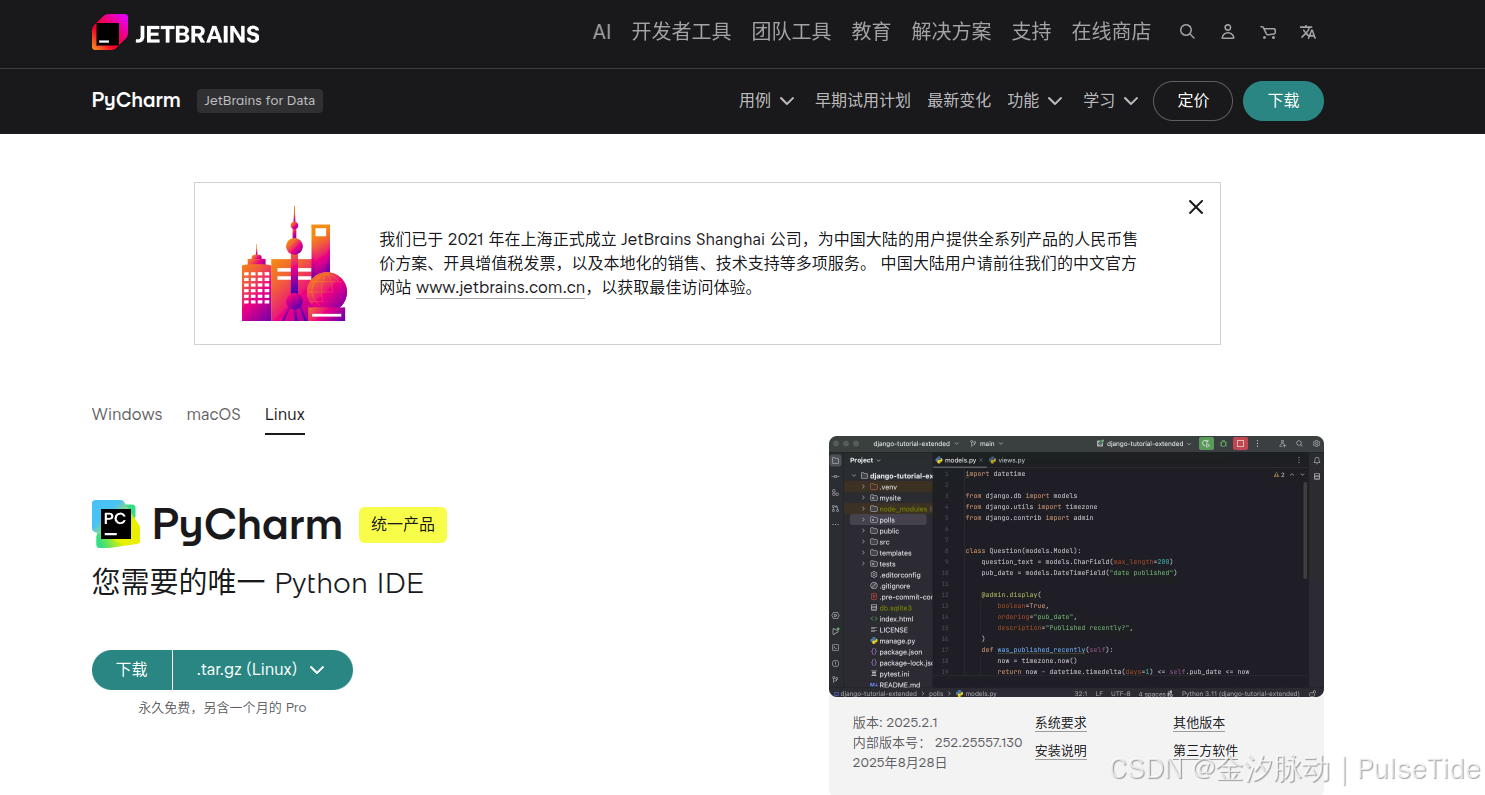
安装 Pycharm(可选)
https://www.jetbrains.com/zh-cn/pycharm/
下载地址:https://www.jetbrains.com/zh-cn/pycharm/download/?section=linux

解压后配置环境变量:
sudo vim ~/.bashrc
# pycharm
export PATH=/home/sam/pycharm-2025.2.0.1/bin:$PATH
source ~/.bashrc
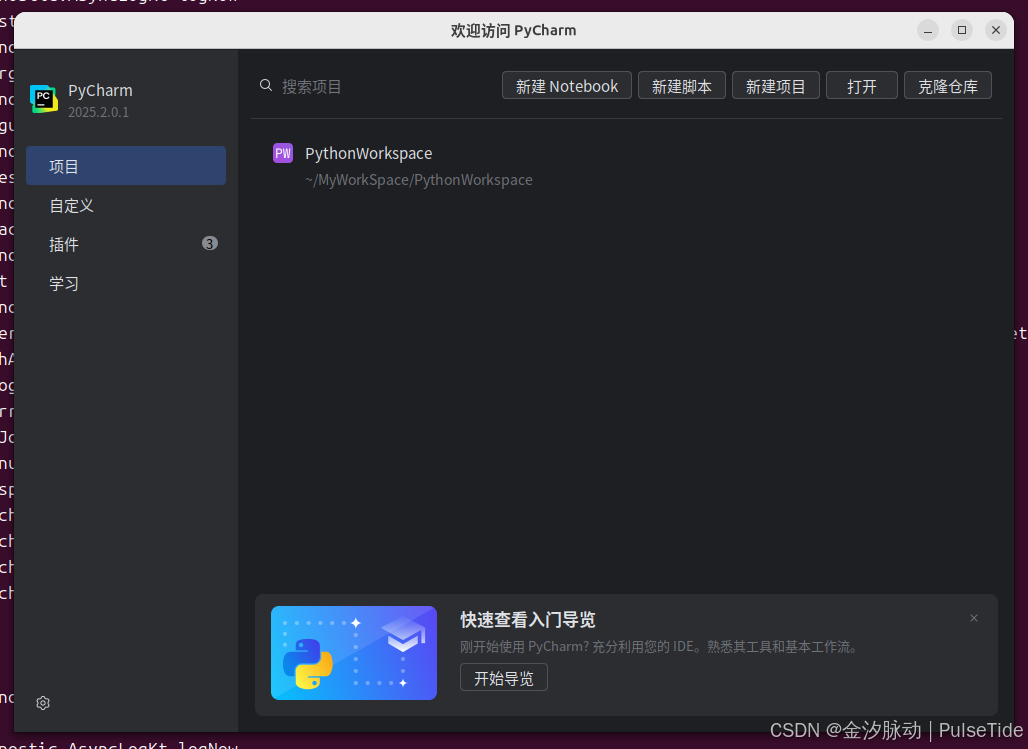
直接在命令行中键入 pycharm 回车就能打开编辑器了:
无论是写 project 还是 notebook,pycharm 都支持,非常好用。
最后将 conda 创建的 modelscope 环境添加到 pycharm 中:
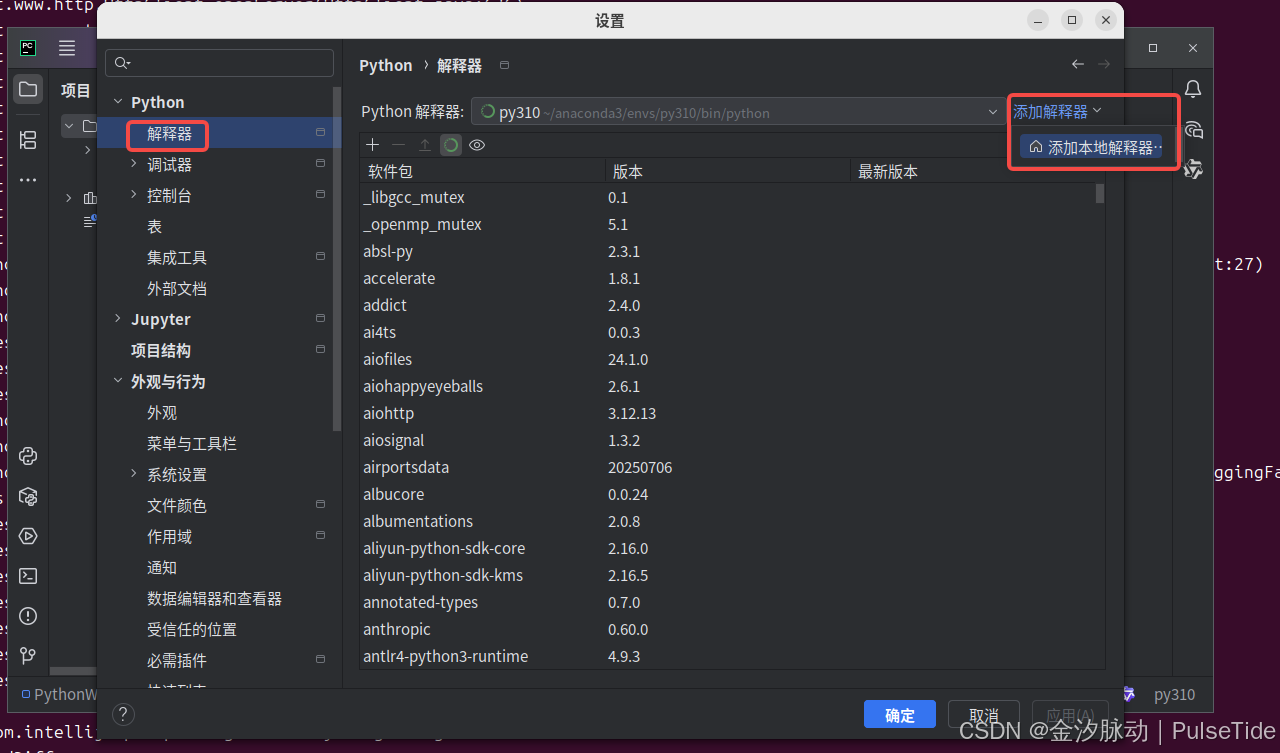
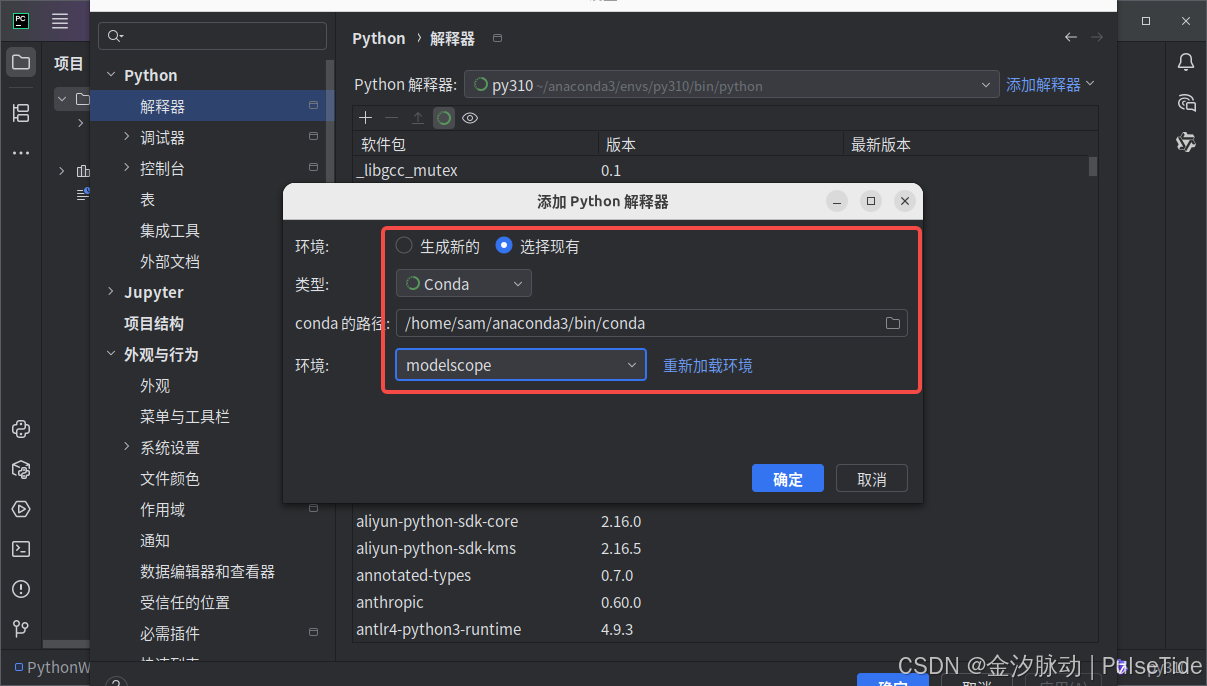
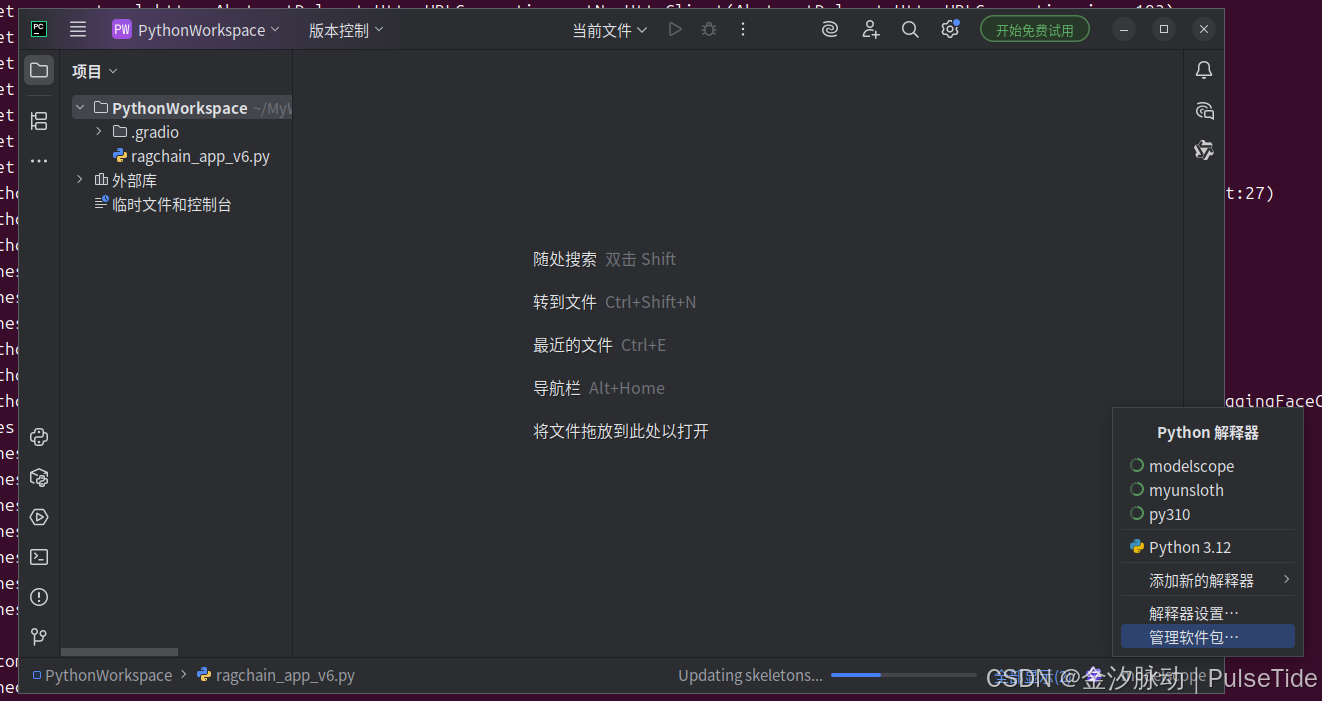
右下角切换 python 解释器:
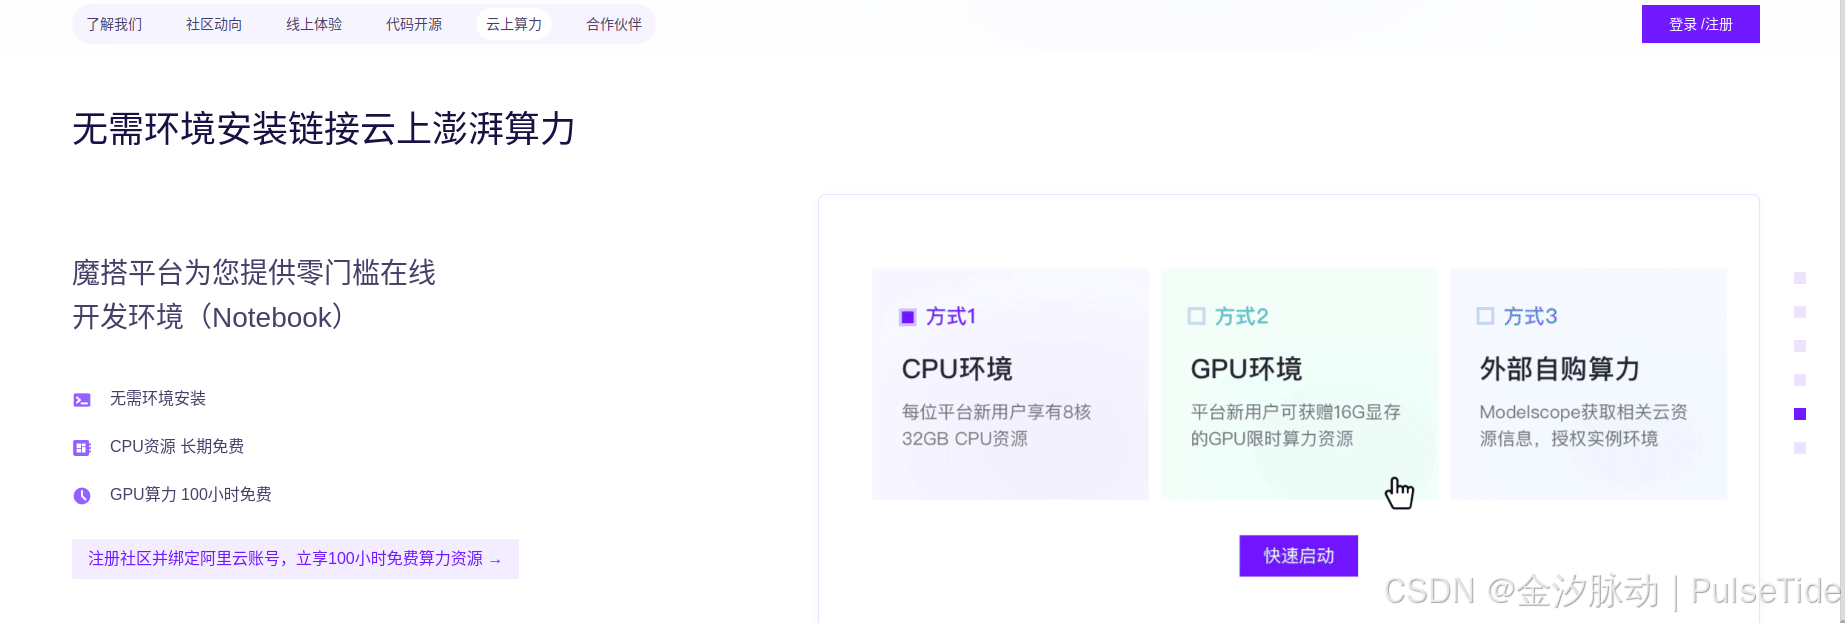
方式3、云托管 notebook
modelscope 官方提供了云服务,CPU版本长期免费,开箱即用,若想偷个懒则可以直接注册个帐号使用在线 notebook。
补充:使用指南
1、下载模型
modelscope download --model iic/PASD_image_super_resolutions
注意模型名称:

一般来说模型会下载到路径:~/.cache/modelscope/hub/models,当然也可以下载到指定路径:
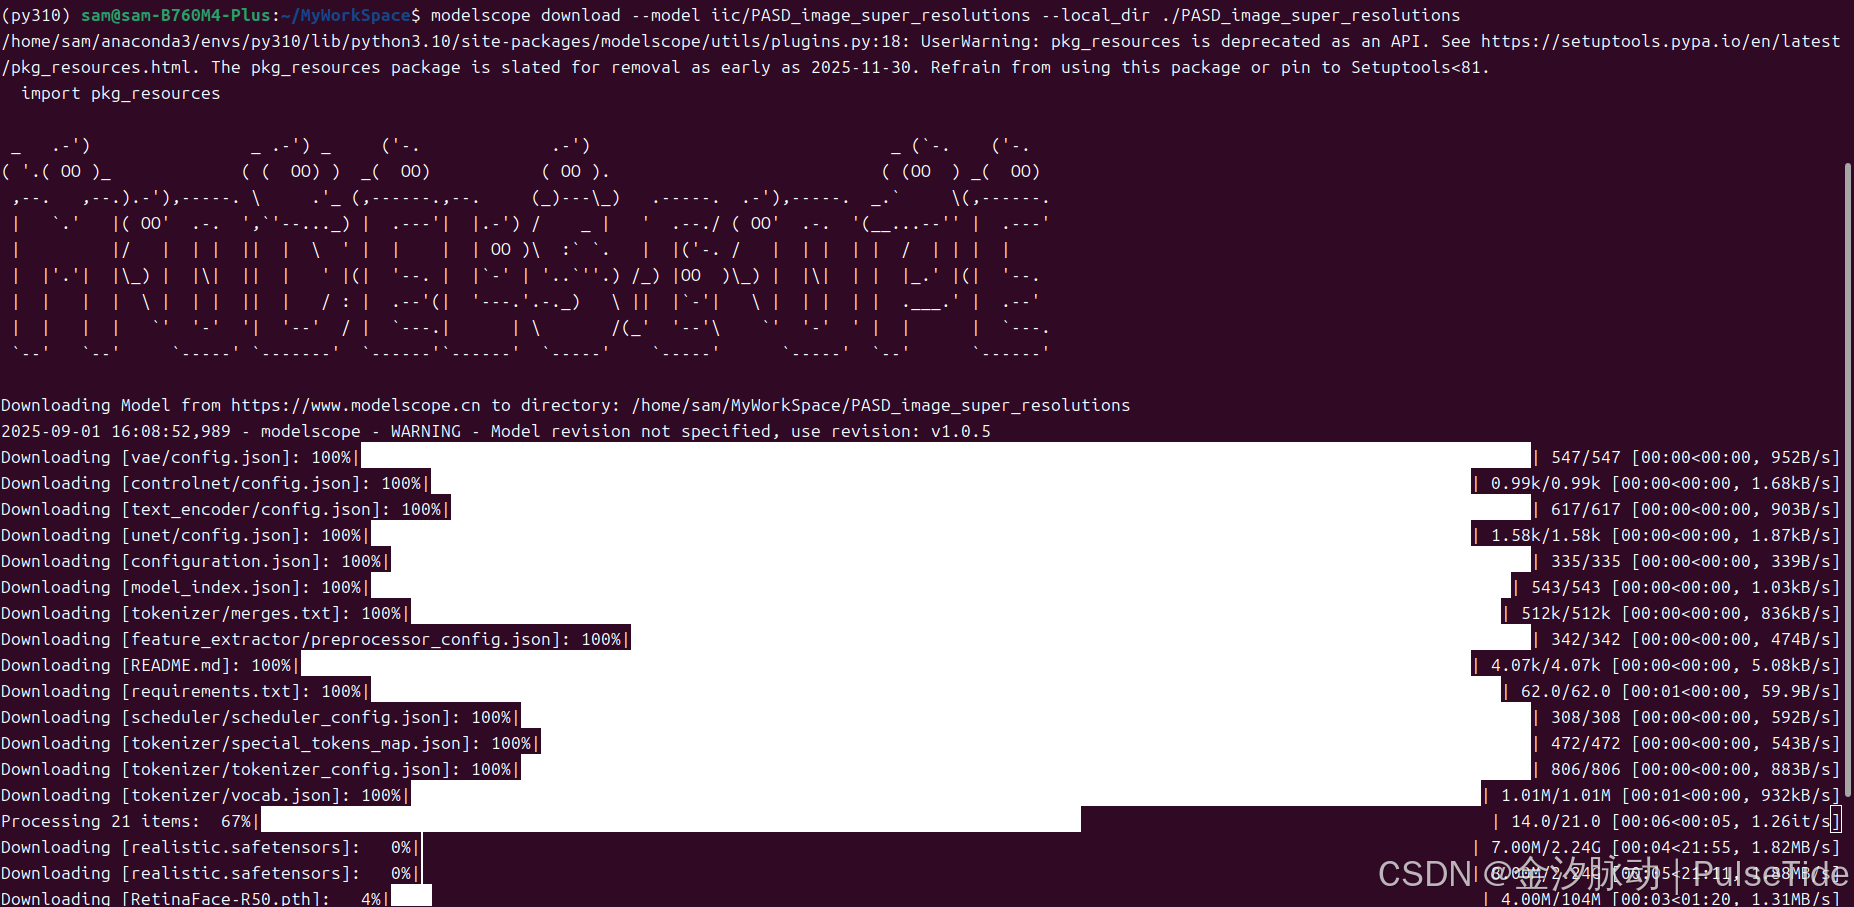
# 下载到当前目录下的 PASD_image_super_resolutions 文件夹
modelscope download --model iic/PASD_image_super_resolutions --local_dir ./PASD_image_super_resolutions
也可以只下载指定文件:
# 只下载 README.md
modelscope download --model iic/PASD_image_super_resolutions README.md --local_dir ./dir
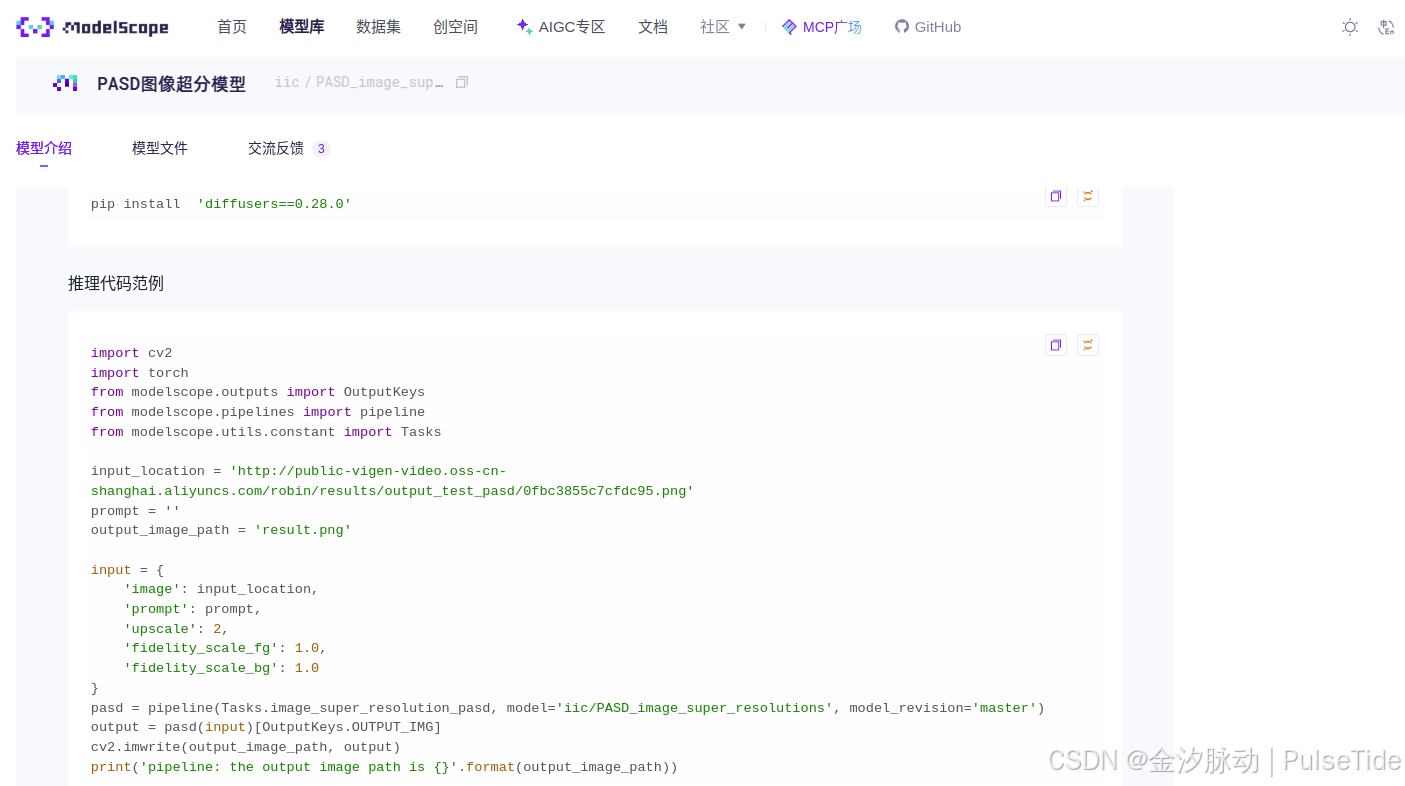
2、跑 PASD 图像超分模型
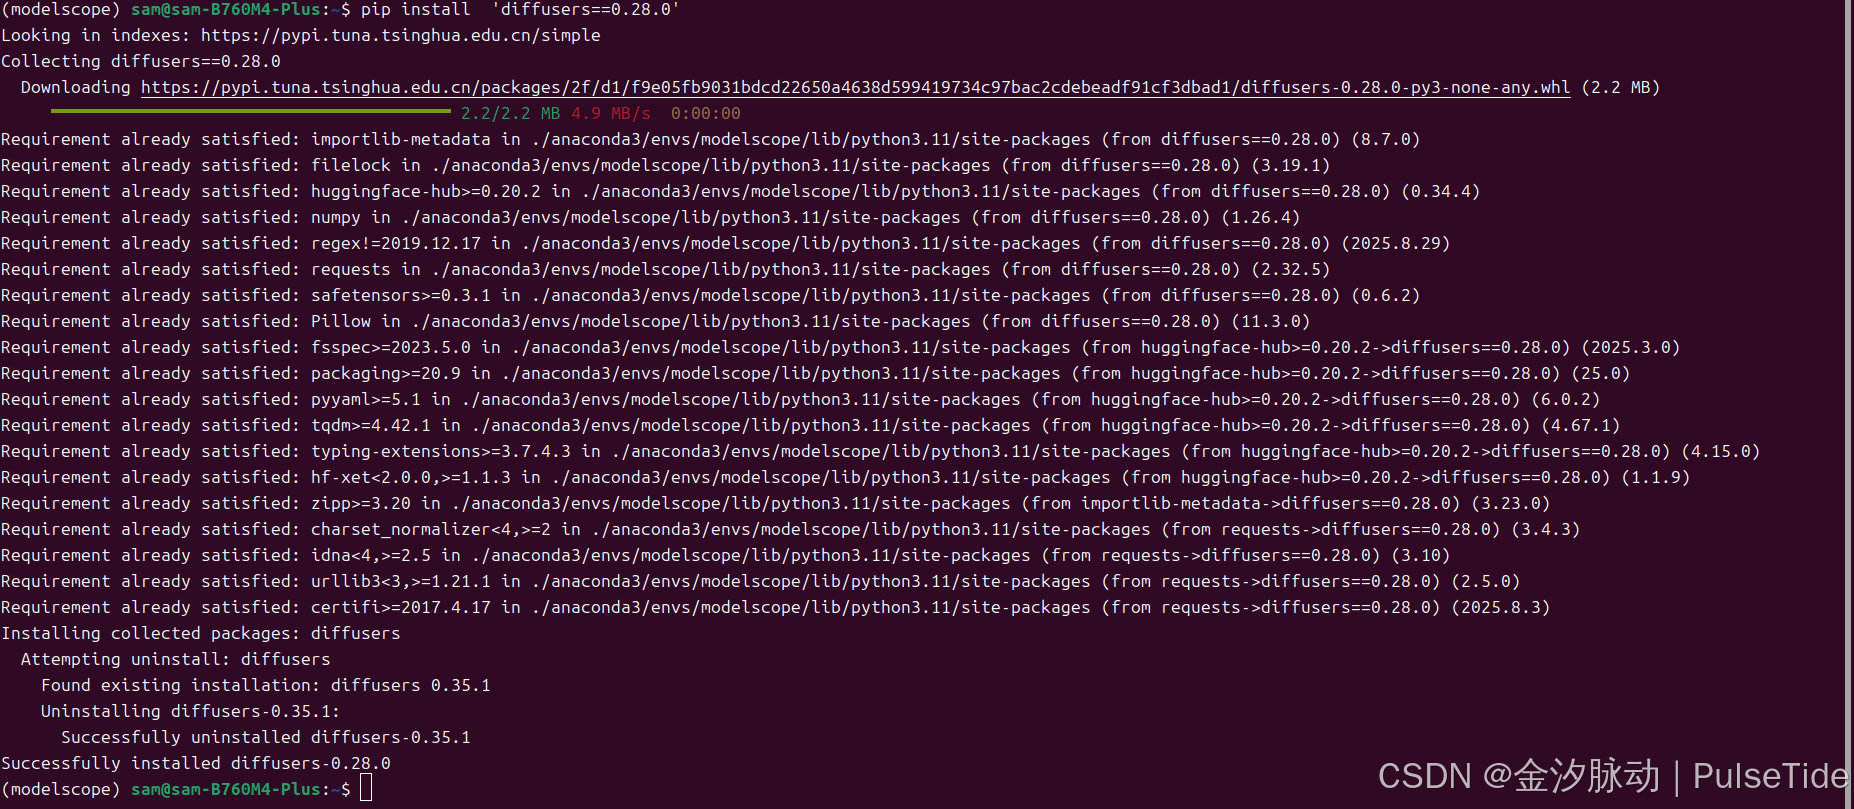
示例使用 diffusers 指定版本:
pip install 'diffusers==0.28.0'
import cv2
import torch
from modelscope.outputs import OutputKeys
from modelscope.pipelines import pipeline
from modelscope.utils.constant import Tasksinput_location = 'http://public-vigen-video.oss-cn-shanghai.aliyuncs.com/robin/results/output_test_pasd/0fbc3855c7cfdc95.png'
prompt = ''
output_image_path = 'result.png'input = {'image': input_location,'prompt': prompt,'upscale': 2,'fidelity_scale_fg': 1.0,'fidelity_scale_bg': 1.0
}
pasd = pipeline(Tasks.image_super_resolution_pasd, model='/home/sam/MyWorkSpace/PASD_image_super_resolutions', model_revision='master')
output = pasd(input)[OutputKeys.OUTPUT_IMG]
cv2.imwrite(output_image_path, output)
print('pipeline: the output image path is {}'.format(output_image_path))
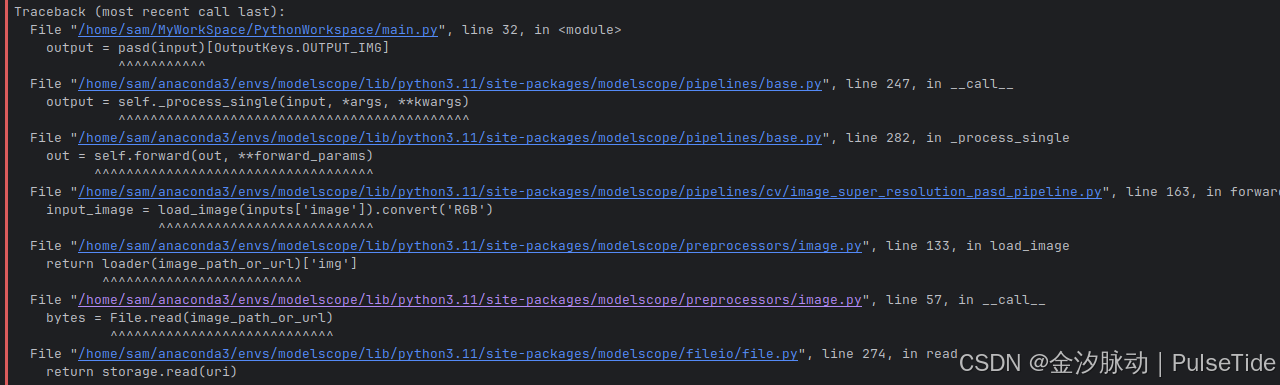
from huggingface_hub import cached_download, hf_hub_download, model_info
ImportError: cannot import name 'cached_download' from 'huggingface_hub' (/home/sam/anaconda3/envs/modelscope/lib/python3.11/site-packages/huggingface_hub/__init__.py)
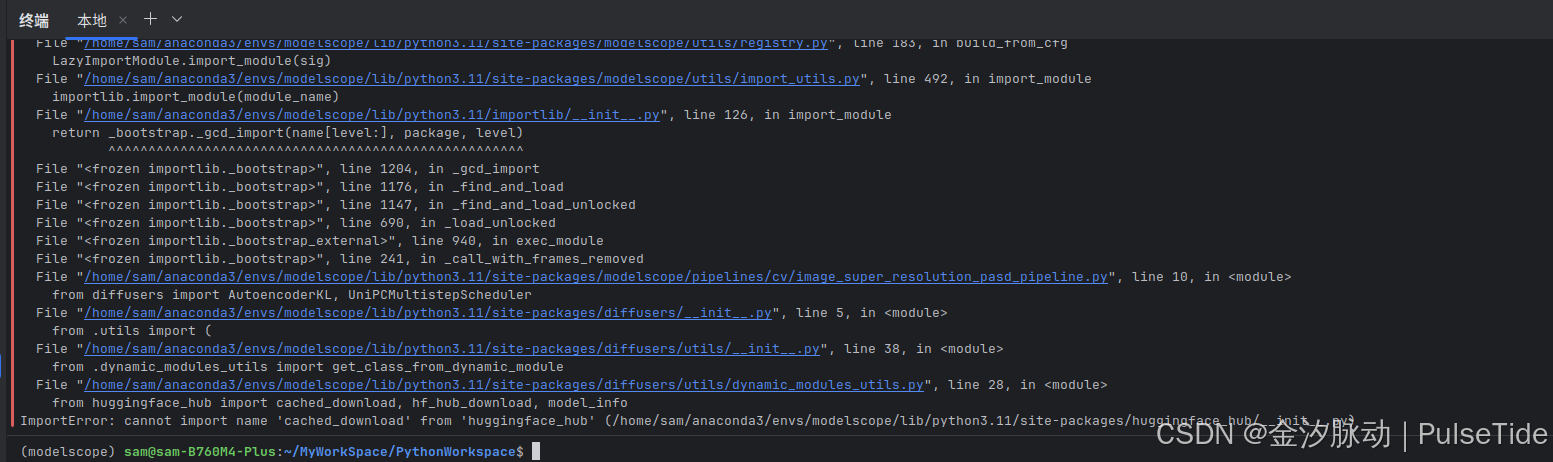
依赖报错解决思路:
通常是版本太低或者太高导致,首先AI搜索下最兼容的版本,解决问题的可能性最大,然后再在一个版本区间内尝试。
huggingface_hub 版本问题,尝试了 0.18~0.25 版本,最终升级到 0.25 可以解决:
pip install huggingface_hub==0.25
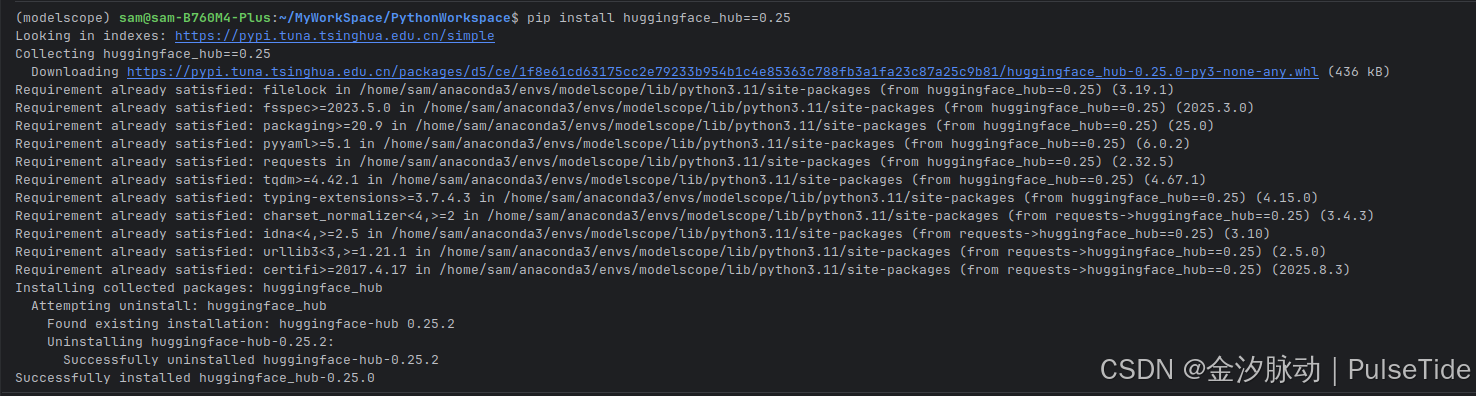
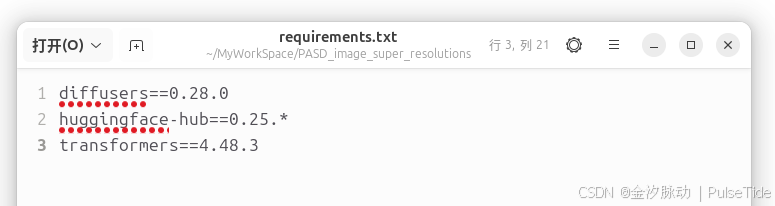
后来在模型目录下找到依赖文件,确实是需要 0.25:

重新运行:成功!
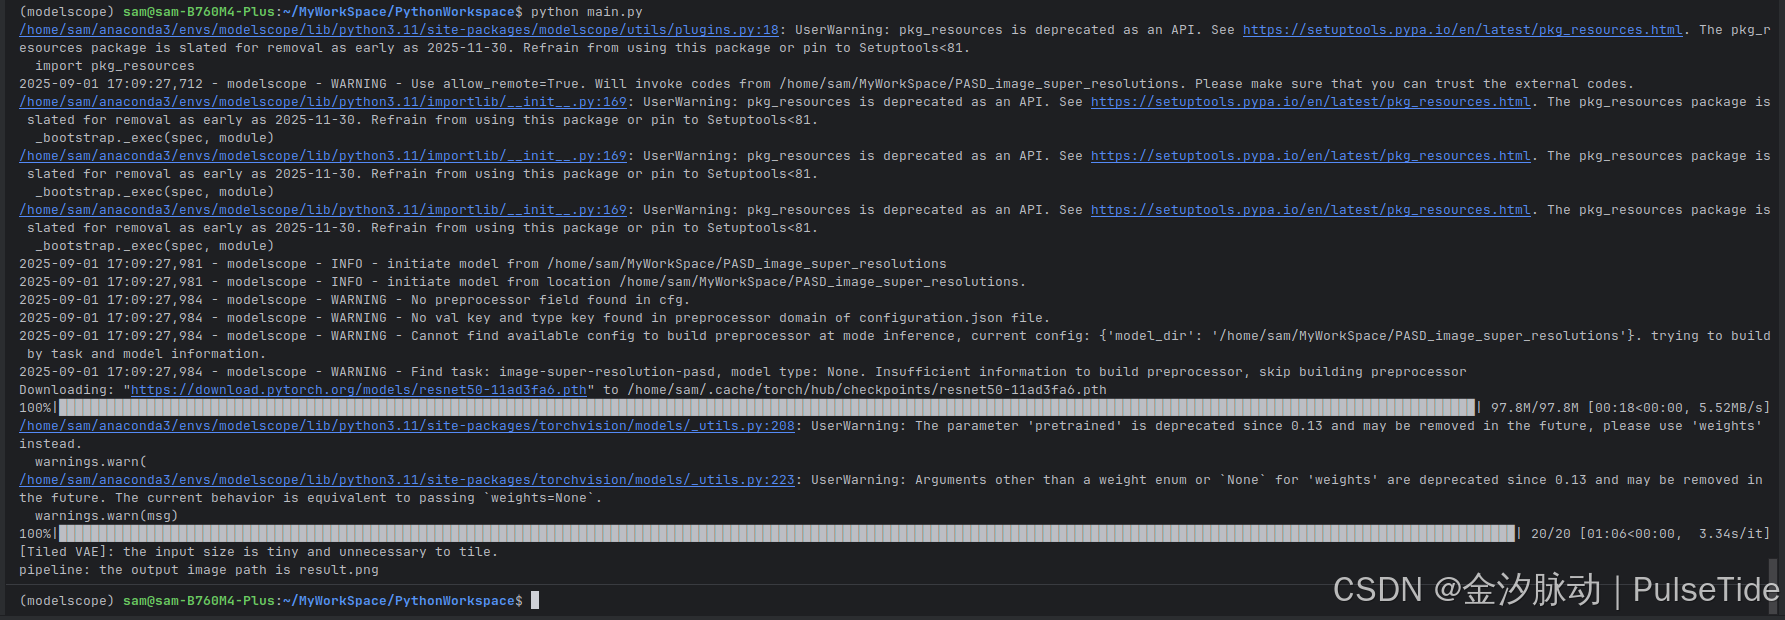
图像从 426KB 修复到 1.6MB,分辨率从 512*512 修复到 1024*1024,放大图片之后查看,修复效果还是很不错的。
# url 图片
# input_location = 'http://public-vigen-video.oss-cn-shanghai.aliyuncs.com/robin/results/output_test_pasd/0fbc3855c7cfdc95.png'# 本地图片
input_location ='test.png'
若需要使用本地图片,则将 url 替换为本地路径即可,如上所示。
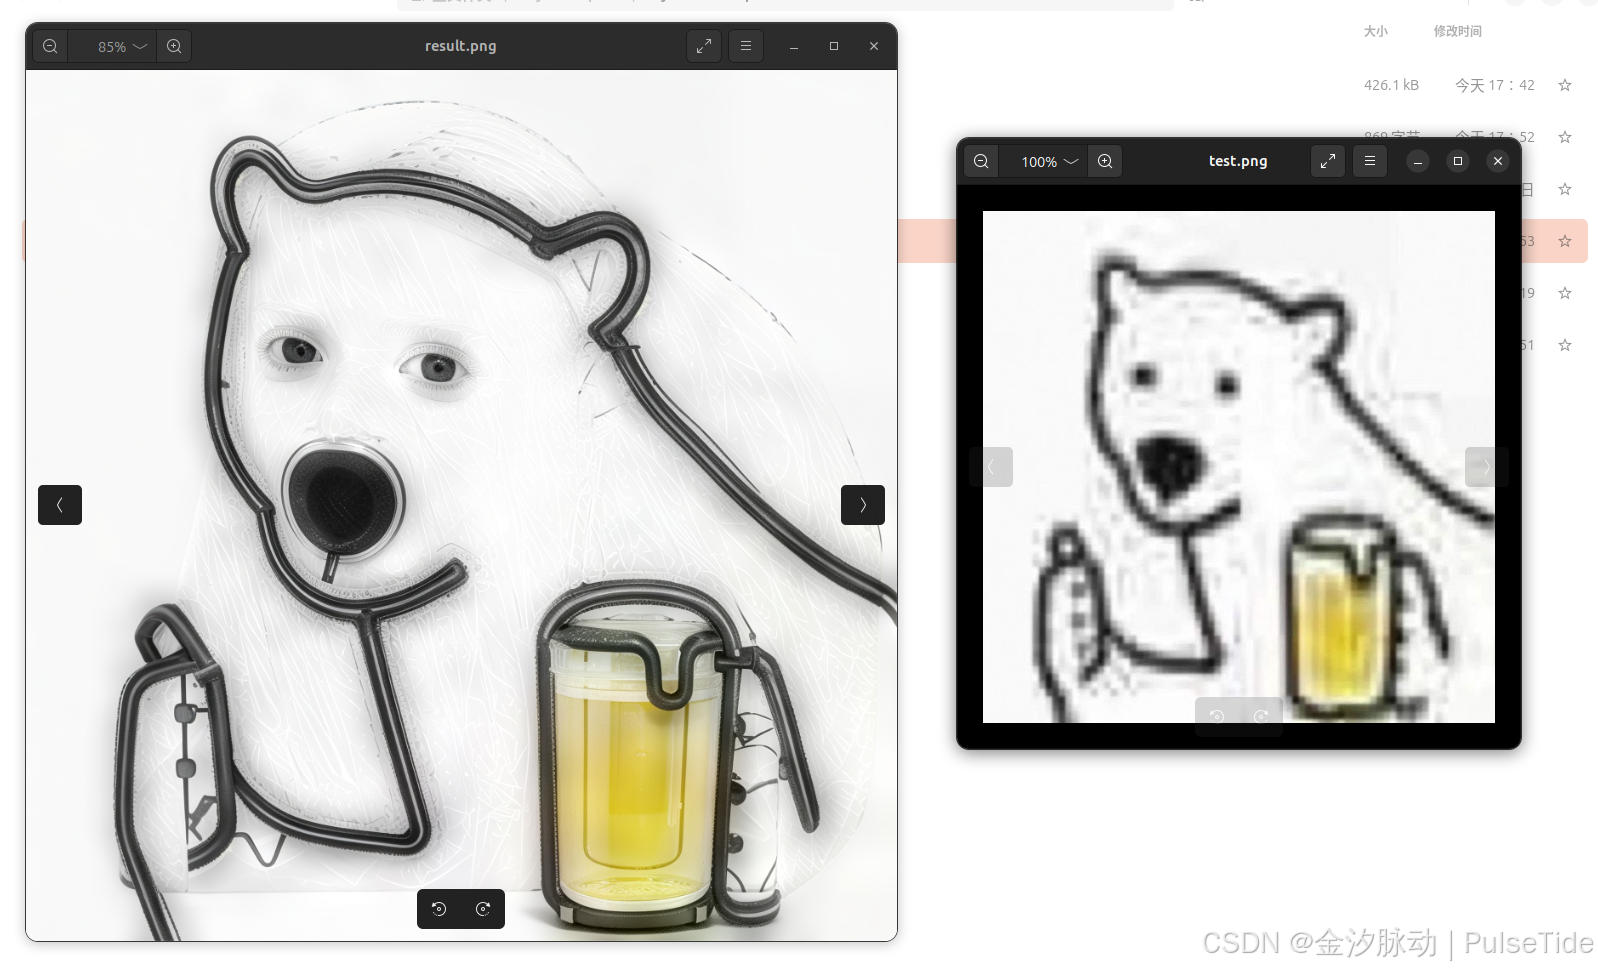
效果如图所示,在一些场景下,模型的处理效果可能不佳,但该模型在人脸场景有优异表现,可以通过更改种子或者调整prompt 等尝试多次生成,取最佳的结果。
Pipeline 调用参数如下:
'image':'',
'prompt': '',
'num_inference_steps': 20,
'guidance_scale': 7.5,
'added_prompt': 'clean, high-resolution, 8k, best quality, masterpiece, extremely detailed',
'negative_prompt': 'dotted, noise, blur, lowres, smooth, longbody, bad anatomy, bad hands, missing fingers, extra digit, fewer digits, cropped, worst quality, low quality',
'upscale': 2,
'fidelity_scale_fg': 1.0,
'fidelity_scale_bg': 1.0,
'eta': 0.0
其中 fidelity_scale_fg 和 fidelity_scale_bg 两个值分别用于控制前景(人脸区域)和背景的控制强度,强度越弱(值越小),生成的能力越强;强度越强(值越大),保真能力越好。
踩坑1:如果输入图片分辨率为 1024*1024,则输出结果为一张黑图,具体原因尚不清楚。
参考文档
- https://www.modelscope.cn/docs/intro/environment-setup
- https://modelscope.cn/models/iic/PASD_image_super_resolutions/summary