2048游戏笔记3 游戏开始与结束 cocos3.8.7
游戏开始界面
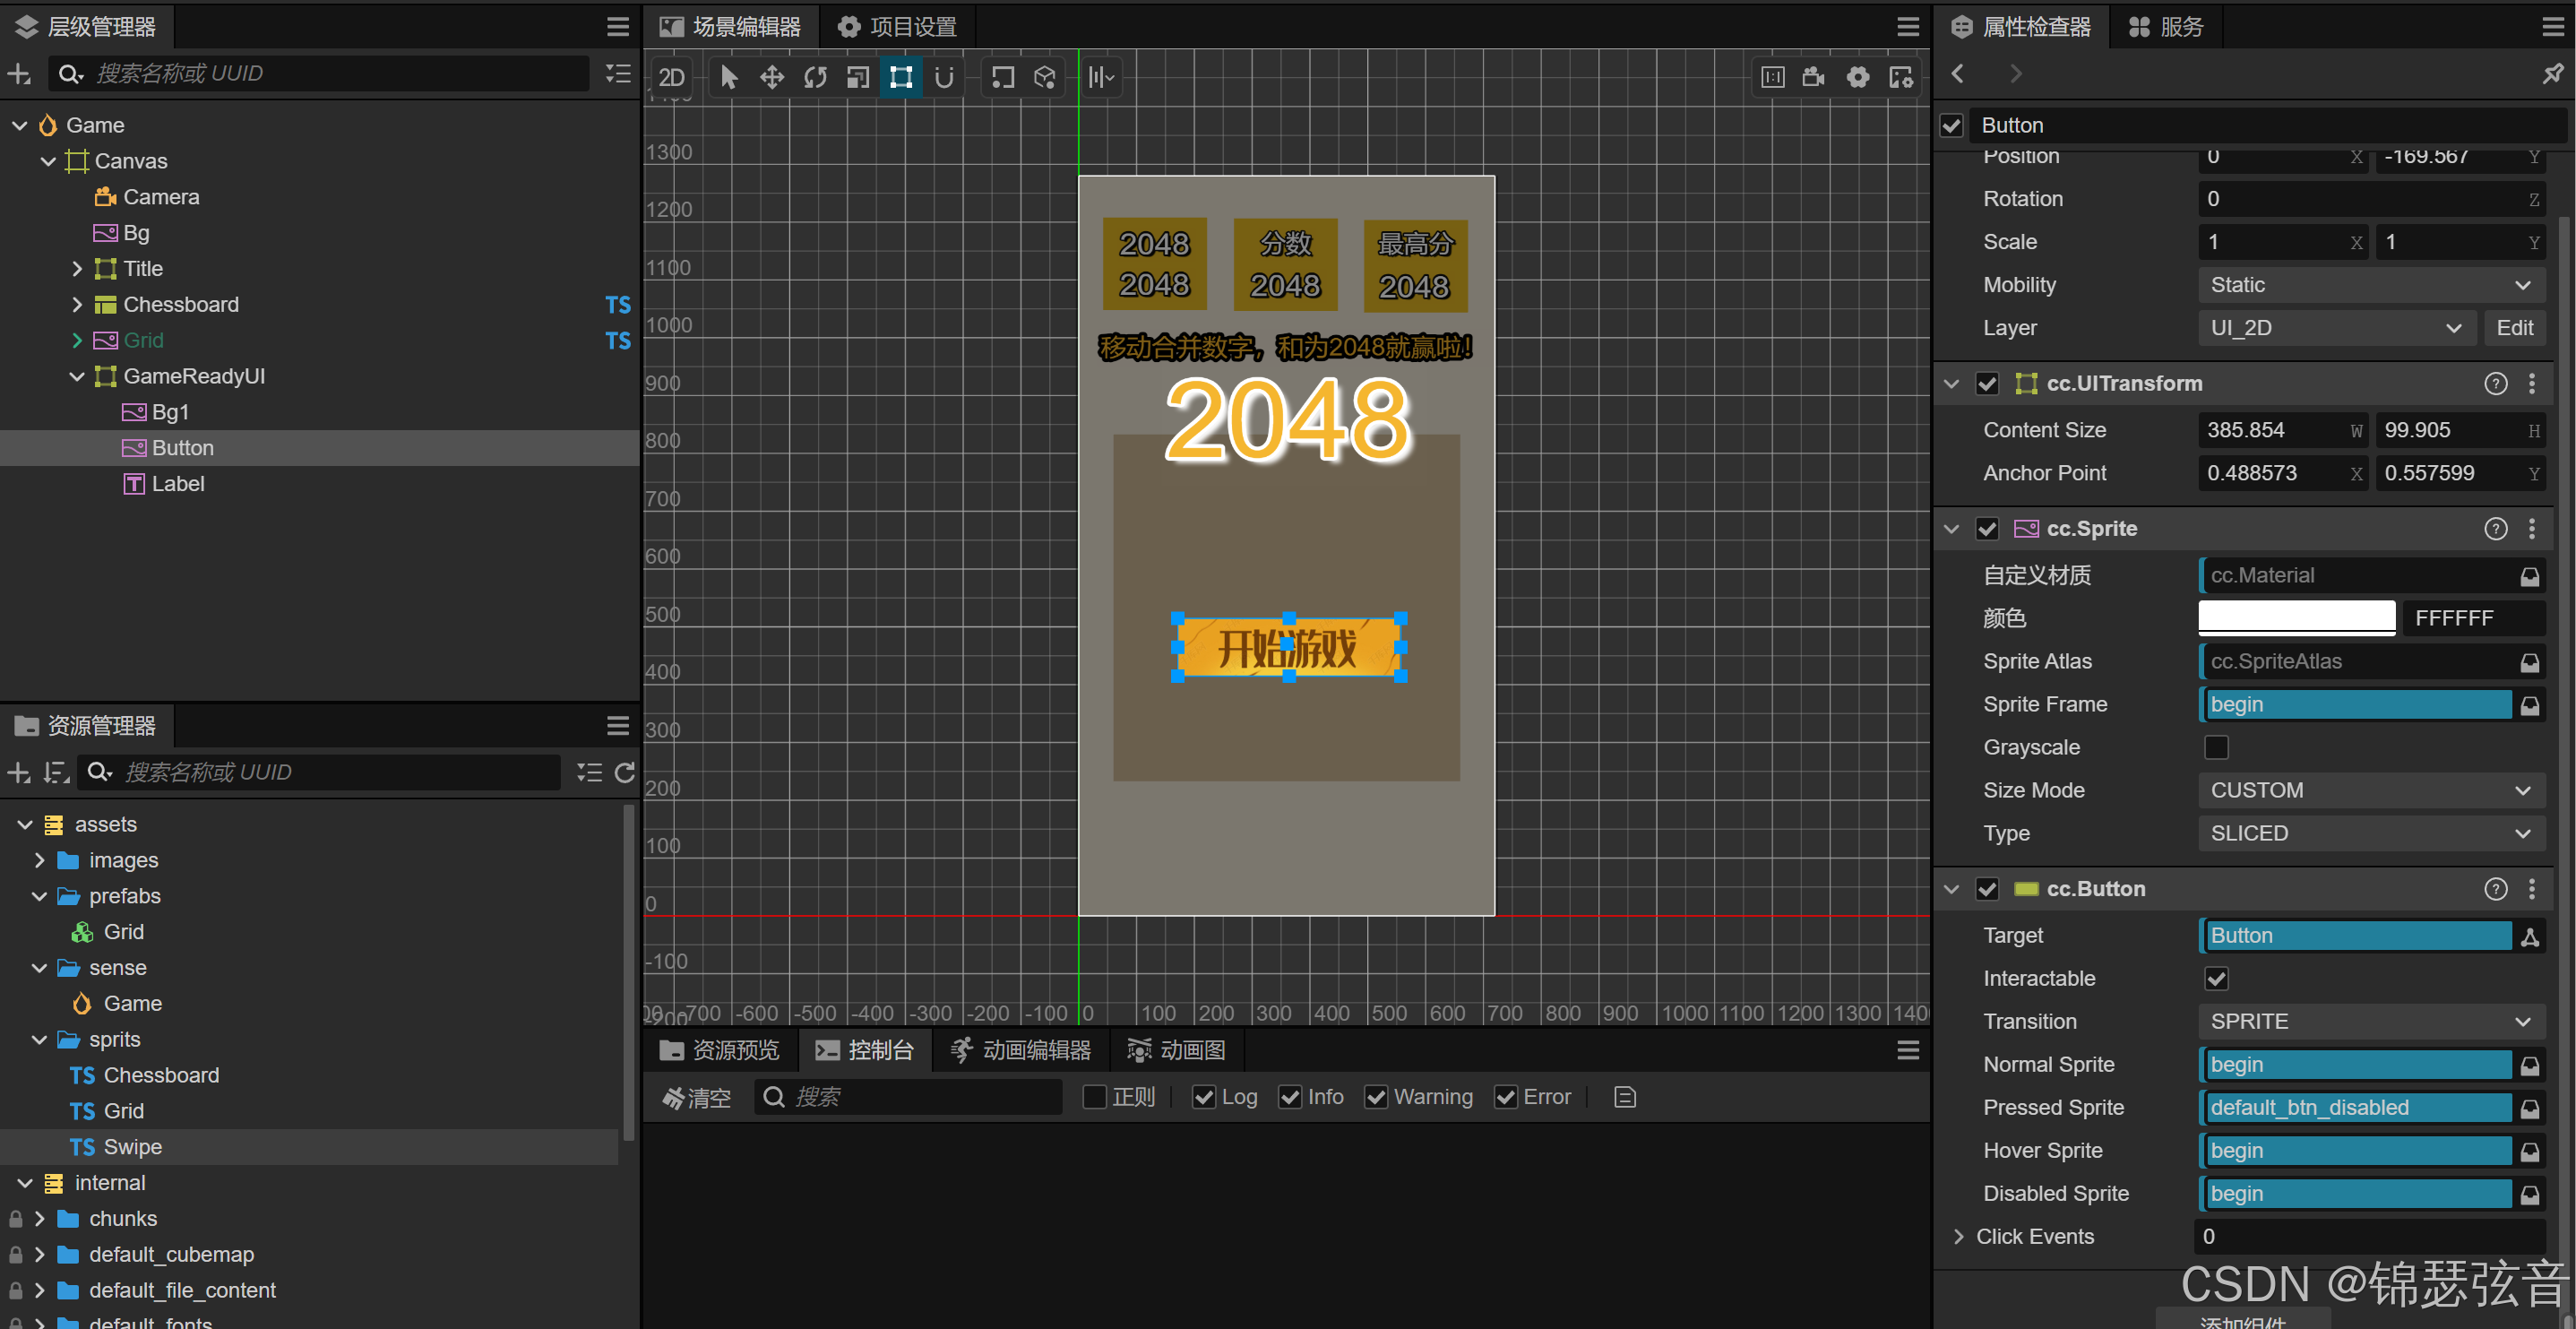
开始游戏按钮
start() {this.startButton.node.on(Button.EventType.CLICK, this.onStartGame, this);}this.startButton:指向脚本中通过@property(Button)声明的按钮组件实例,是需要监听点击事件的按钮。.node:获取按钮组件所在的节点(Node),因为事件监听是注册在节点上的。.on():节点的事件注册方法,用于监听特定类型的事件,接收三个主要参数:Button.EventType.CLICK:事件类型,这里指定为按钮点击事件(Cocos 内置的按钮事件常量)。this.onStartGame:事件触发时要执行的回调函数(即点击按钮后要执行的逻辑)。this:回调函数的上下文(this 指向),确保在onStartGame函数中使用this时,能正确指向当前脚本实例。
作用:当 startButton 被点击时,会自动调用当前脚本中的 onStartGame 方法,实现点击按钮后的逻辑(比如开始游戏、切换界面等)。
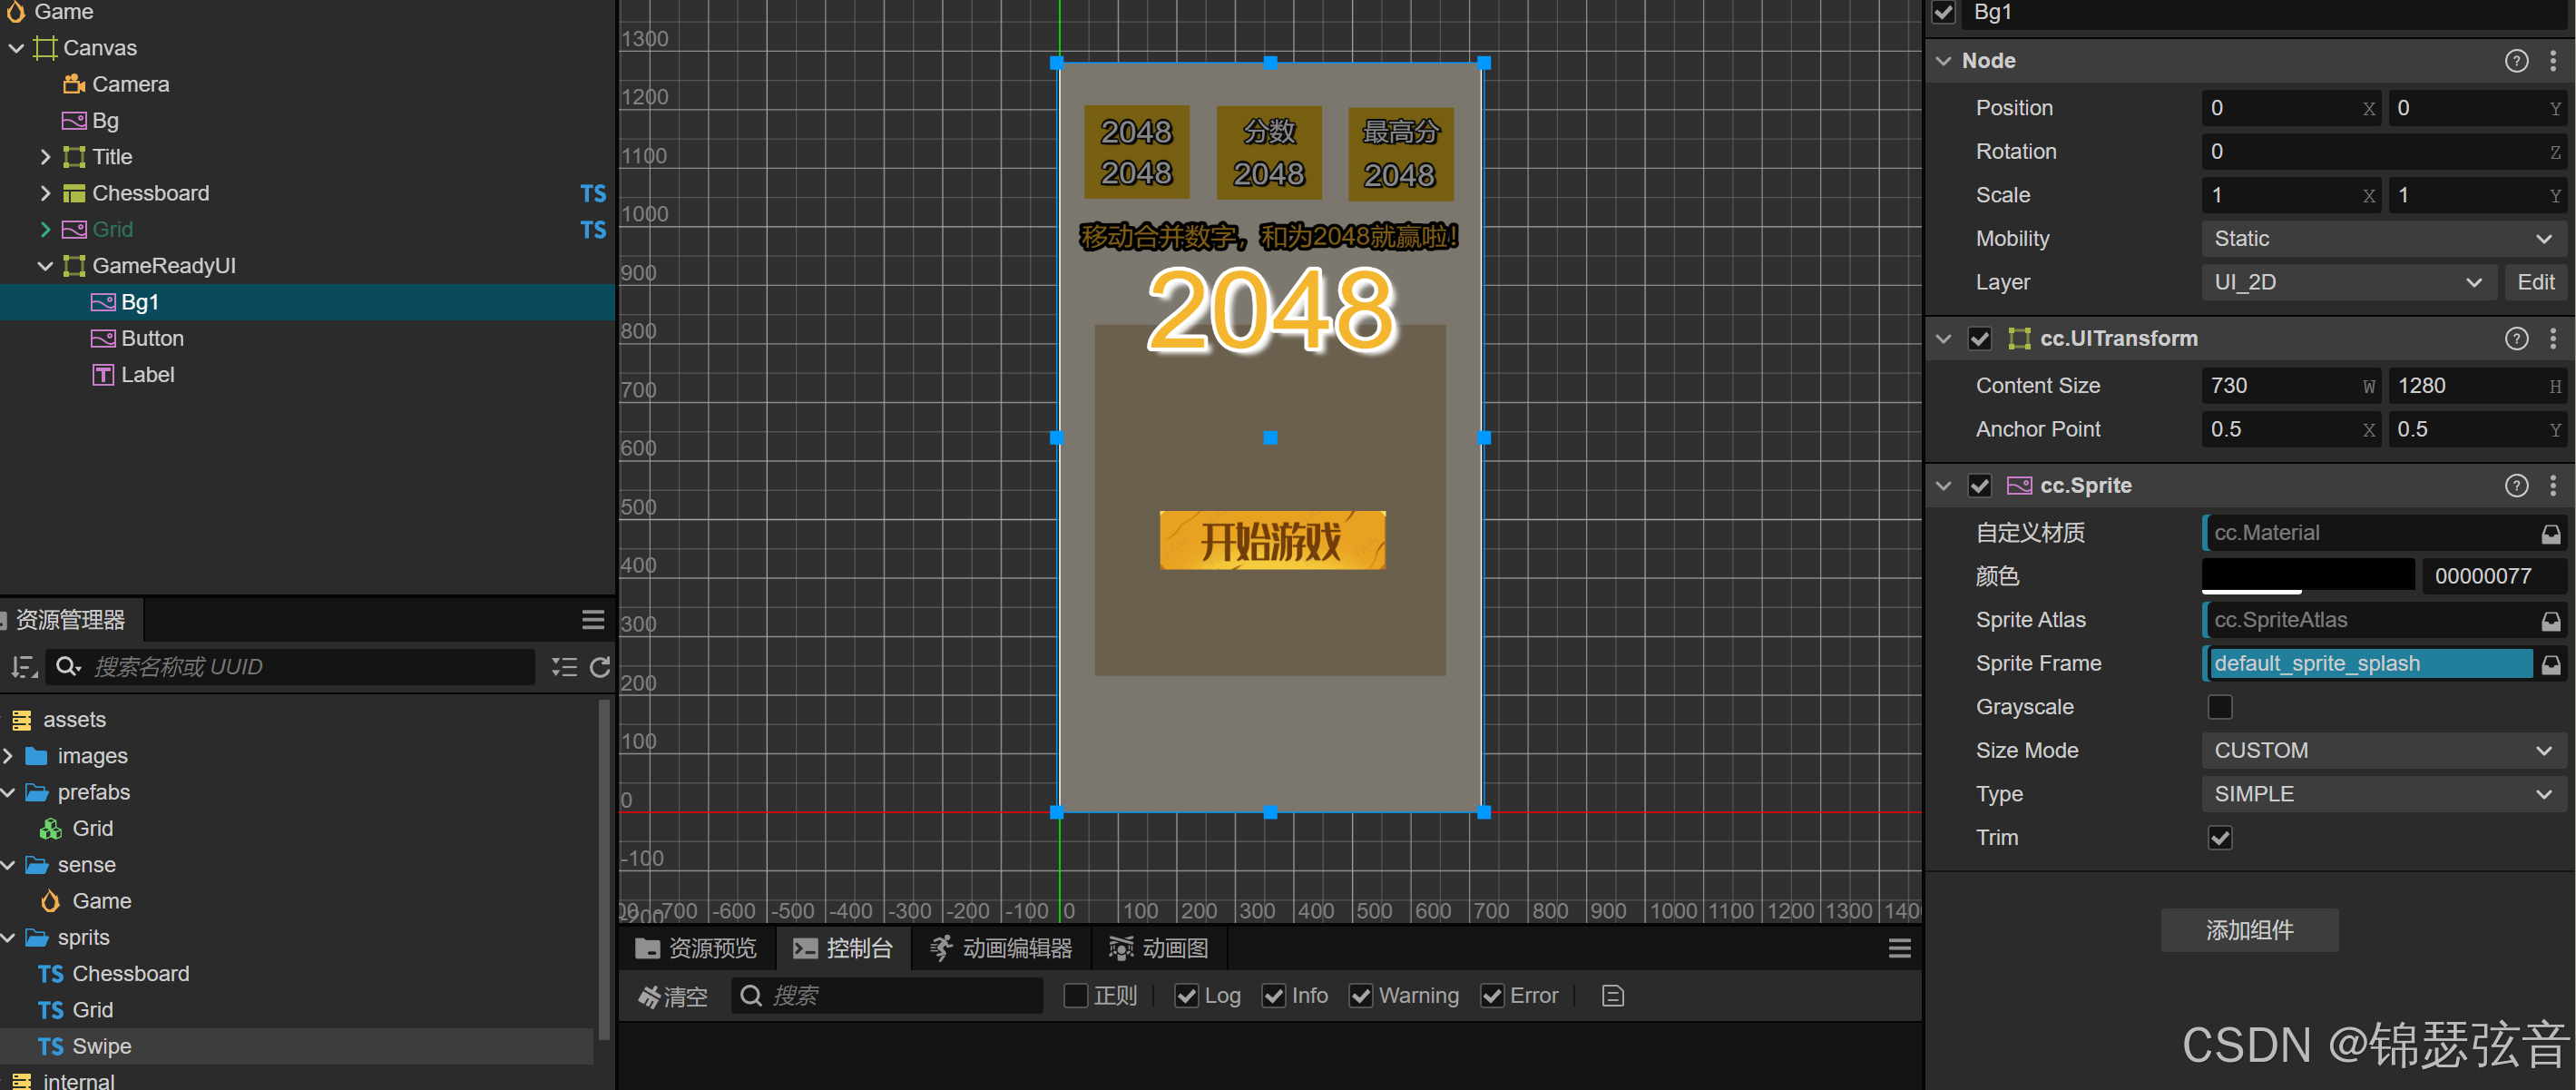
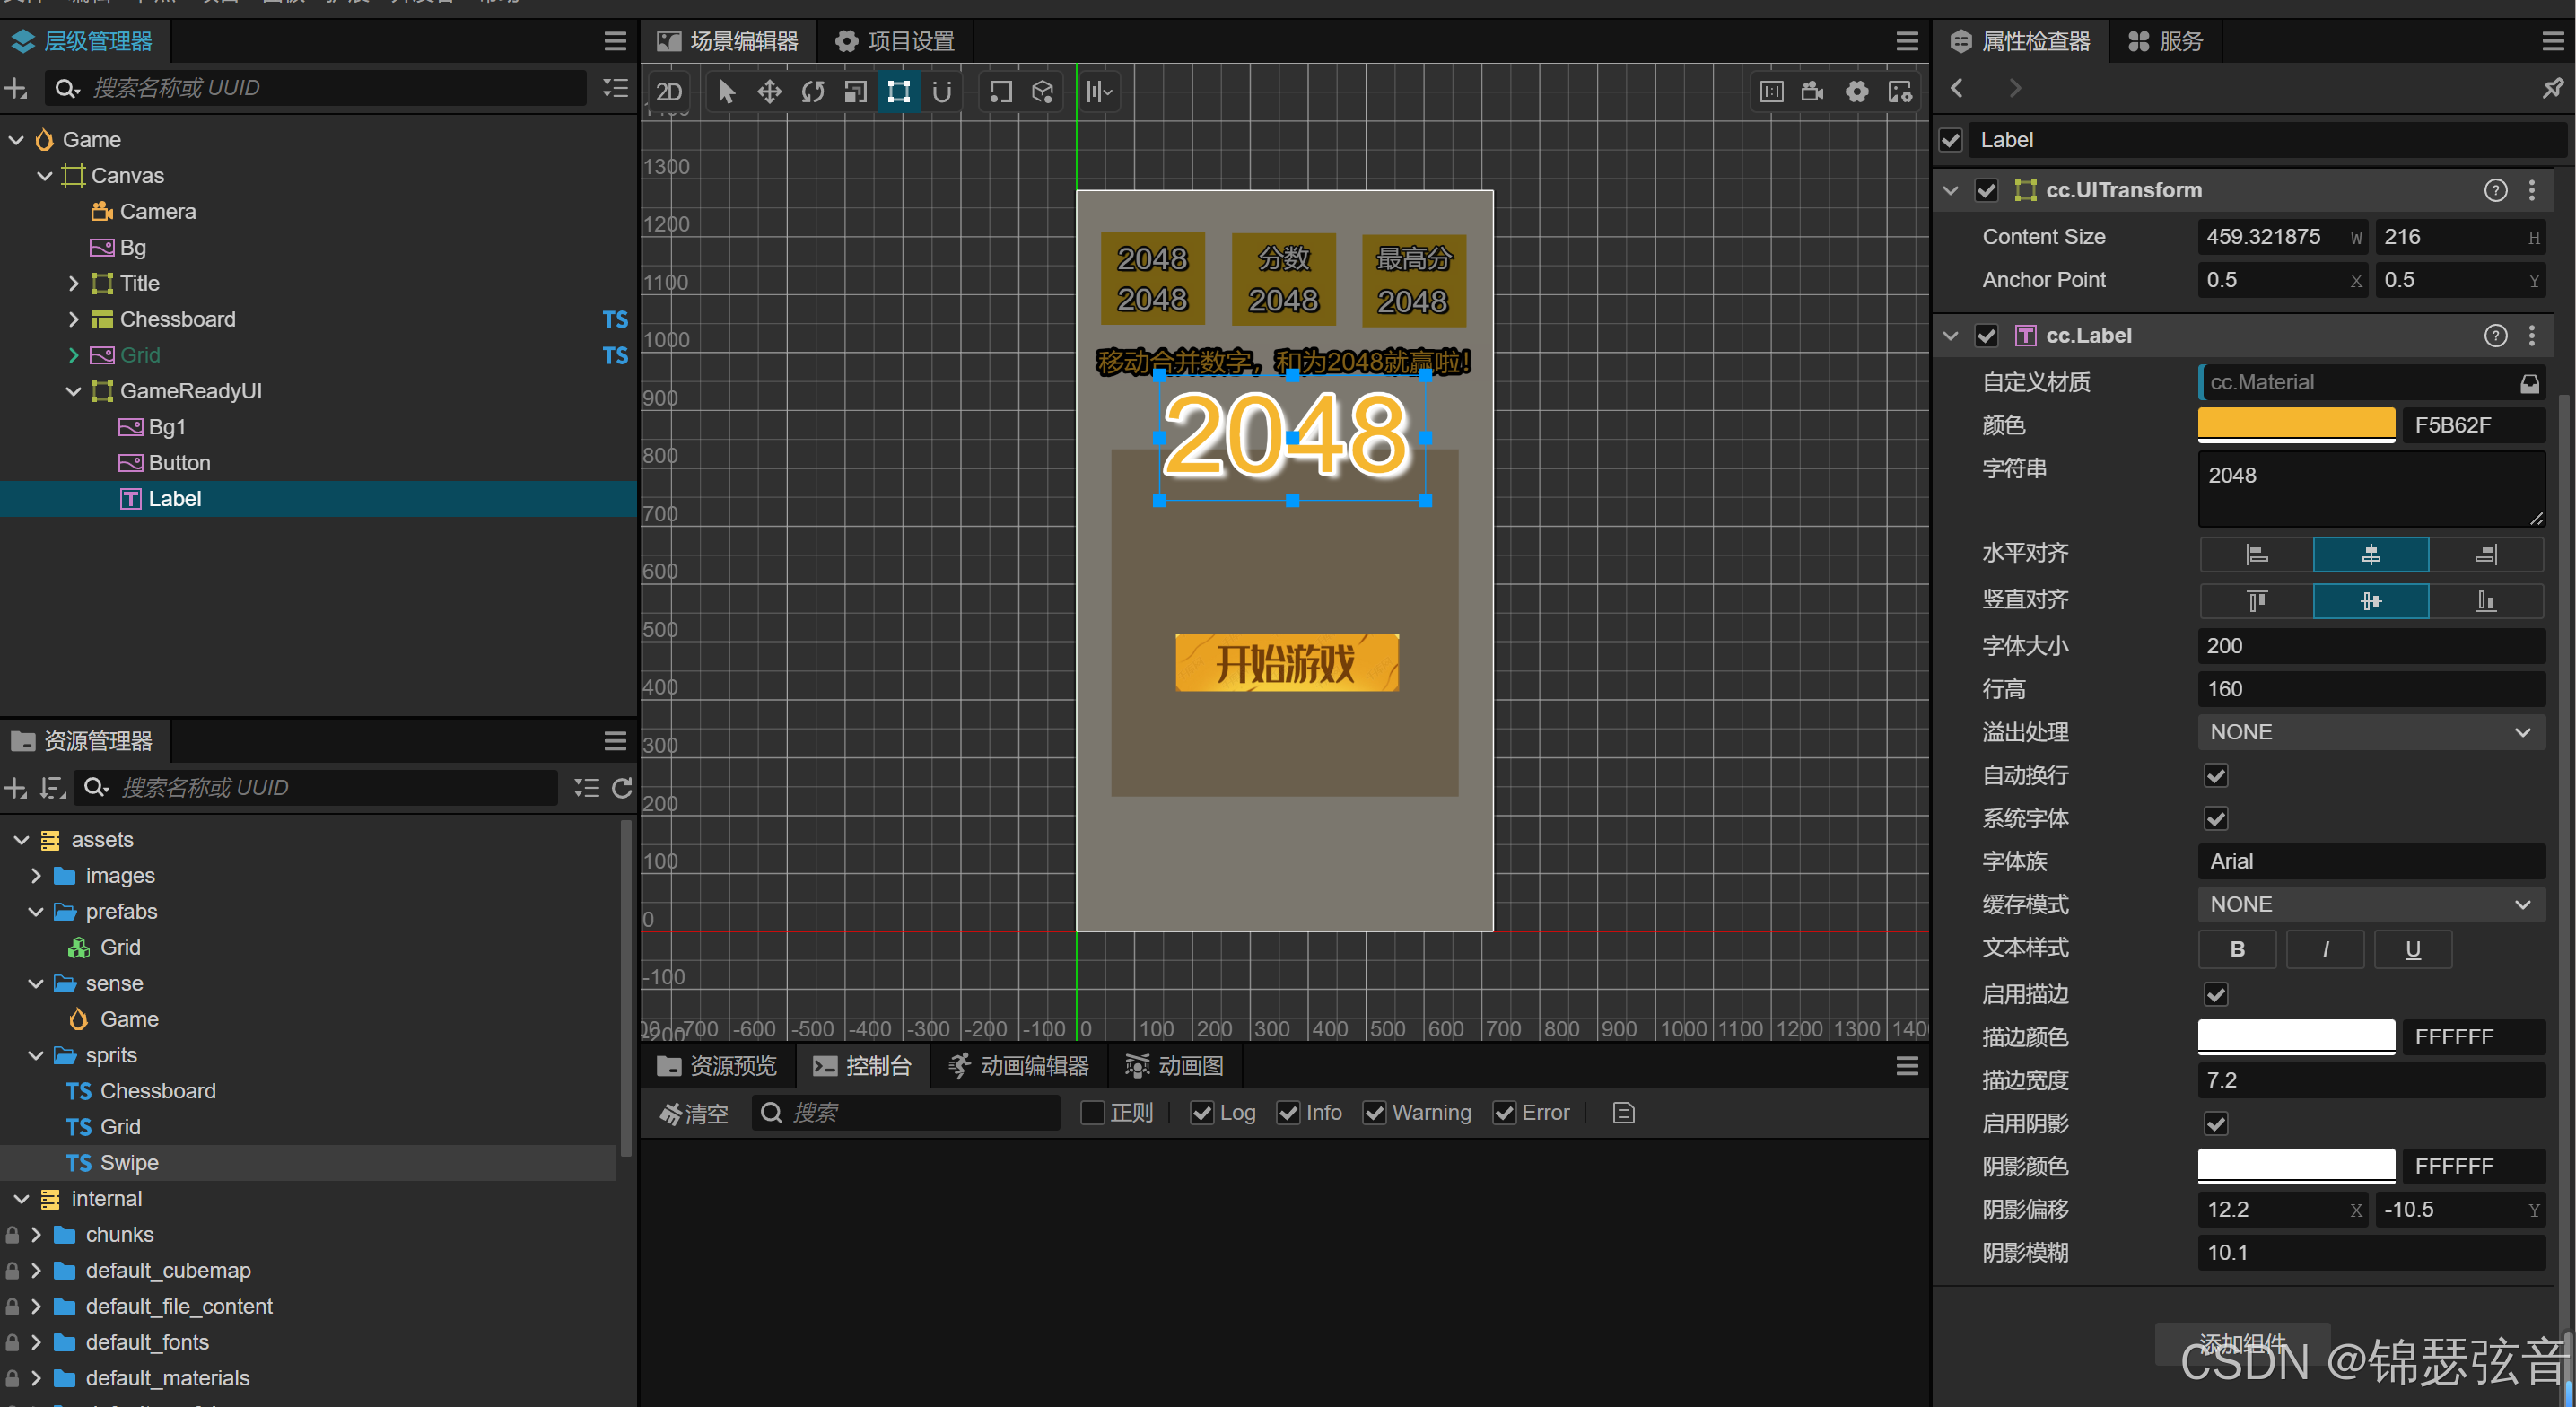
GameReadyUI
点击按钮,GameReadyUI界面禁用
private onStartGame() {// 通知游戏管理器开始游戏GameManager.inst().StartGame();// 隐藏开始界面this.node.active = false;}在代码中使用 this.node.active = false 来隐藏开始界面,是基于 Cocos Creator 引擎的节点激活状态机制设计的,具体原因和优势如下:
Cocos Creator 中节点激活状态的作用
在 Cocos Creator 中,node.active 是控制节点及其子节点是否可见、是否参与交互的核心属性:
- 当
active = false时:- 节点及其所有子节点会从渲染树中移除,不再显示在屏幕上(实现隐藏效果)。
- 节点上的组件(如按钮、碰撞体等)会暂停工作,不再响应事件(避免隐藏后仍能被点击等误操作)。
- 当
active = true时:- 节点及其子节点重新显示,组件恢复正常功能。
滑动事件的启用和禁用
protected start(): void {this.transitionToReadyState();}transitionToReadyState(){this.curGS = GameState.Ready;// 初始禁用滑动if ( this.chessboard ){this.chessboard.setSwipeEnable(false);}}StartGame(){this.curGS = GameState.Gaming;// 启用滑动if( this.chessboard ){this.chessboard.setSwipeEnable(true);}}- 避免空引用错误:
if (this.chessboard)检查确保chessboard实例已正确初始化(在 Cocos Creator 中,通过编辑器绑定的属性可能因配置问题为空),防止调用setSwipeEnable时出现报错。 - 单一职责原则:滑动功能的具体实现(如触摸检测、方向判断)封装在
Chessboard中,GameManager仅负责 “开关控制”,不关心滑动的具体逻辑,降低代码耦合。
private isSwipeEnabled: boolean = false;public setSwipeEnable(enabled: boolean) {this.isSwipeEnabled = enabled;console.log(`滑动功能${enabled ? '启用' : '禁用'}`);}isSwipeEnabled 标记和 setSwipeEnable 方法的设计,是为了精准控制滑动功能的可用性,确保滑动交互仅在正确的游戏阶段响应。以下是具体解析:
一、核心作用
private isSwipeEnabled: boolean = false; // 滑动功能是否启用的标记
public setSwipeEnable(enabled: boolean) { ... } // 控制标记的方法
这两个成员共同实现了对滑动功能的 “开关控制”,本质是通过状态标记限制滑动事件的处理逻辑。
二、逐部分解析设计逻辑
1. private isSwipeEnabled: boolean = false
访问权限
private:确保只有Chessboard自身能直接修改该标记,外部(如GameManager)必须通过setSwipeEnable方法操作,避免标记被意外篡改(例如其他脚本误将其设为true导致滑动提前启用)。初始值
false:游戏默认处于 “准备状态”(GameState.Ready),此时不应响应滑动操作(如点击开始按钮前,玩家滑动屏幕不应有反应),因此初始禁用滑动符合逻辑。作为状态标记的意义:它是滑动事件处理的 “闸门”,在
handleSwipe方法中会先检查该标记:private handleSwipe(direction: SwipeDirection) {if (!this.isSwipeEnabled) { // 若未启用,直接忽略事件console.log("滑动功能未启用,忽略滑动事件");return;}// 只有启用时才处理滑动逻辑... }这种设计确保了滑动交互仅在允许的状态下生效。
2. public setSwipeEnable(enabled: boolean) 方法
访问权限
public:允许外部模块(如GameManager)通过该方法控制滑动功能的开关,例如:// GameManager 中切换状态时启用/禁用滑动 transitionToReadyState() {this.chessboard.setSwipeEnable(false); // 准备阶段禁用 } StartGame() {this.chessboard.setSwipeEnable(true); // 游戏阶段启用 }这体现了模块化协作:
GameManager负责管理游戏状态,Chessboard负责实现滑动逻辑,通过该方法完成状态同步。参数
enabled与日志输出:- 方法接收布尔值参数,直接修改
isSwipeEnabled标记,逻辑简洁直观。 - 日志
console.log(...)用于调试,方便开发时确认滑动功能的状态变化(例如控制台打印 “滑动功能启用”,可验证StartGame方法是否正确调用)。
- 方法接收布尔值参数,直接修改
游戏结束界面

再来一次按钮
点击按钮,重新开始游戏,同时隐藏游戏结束界面
@property(Button)AgainButton: Button = null;start() {this.AgainButton.node.on(Button.EventType.CLICK,this.onPlayAgainGame,this);}onPlayAgainGame(){// 点击按钮之后,调用// 游戏开始GameManager.inst().StartGame();// 隐藏游戏结束界面this.node.active = false;}
GameReadyUI和GameOverUI的启用与禁用
根据游戏状态来启用和禁用ui界面。
游戏开始界面
@property(Button)startButton: Button = null;start() {// 当 startButton 被点击时,会自动调用当前脚本中的 onStartGame 方法,this.startButton.node.on(Button.EventType.CLICK, this.onStartGame, this);// 启用自身uithis.EnableGameReadyUI();}private onStartGame() {// 通知游戏管理器开始游戏GameManager.inst().StartGame();// 隐藏开始界面this.DisableGameReadyUI();}DisableGameReadyUI(){// 隐藏开始界面this.node.active = false;}EnableGameReadyUI(){// 显示开始界面this.node.active = true;}游戏结束界面
@property(Button)AgainButton: Button = null;start() {this.AgainButton.node.on(Button.EventType.CLICK,this.onPlayAgainGame,this);// 启用自身ui,在这里不可以直接禁用gameReadyui,初始化会冲突this.EnableGameOverUI();}onPlayAgainGame(){// 点击按钮之后,调用// 游戏开始GameManager.inst().StartGame();// 隐藏游戏结束界面this.DisableGameOverUI();}public DisableGameOverUI(){// 隐藏游戏结束界面this.node.active = false;}EnableGameOverUI(){// 展示游戏结束界面this.node.active = true;}GameManager
@property(GameReadyUI)
gameReadyUI:GameReadyUI = null;@property(GameOverUI)
gameOverUI: GameOverUI = null;curGS: GameState = GameState.Ready;protected start(): void {this.transitionToReadyState();}transitionToReadyState(){this.curGS = GameState.Ready;// 启用uiif(this.gameReadyUI){this.gameReadyUI.EnableGameReadyUI();}if(this.gameOverUI){this.gameOverUI.DisableGameOverUI();}// 初始禁用滑动if ( this.chessboard ){this.chessboard.setSwipeEnable(false);}}StartGame(){this.curGS = GameState.Gaming;// 启用滑动if( this.chessboard ){this.chessboard.setSwipeEnable(true);}}GameOver(){this.curGS = GameState.GameOver;// 启用uiif(this.gameOverUI){this.gameOverUI.EnableGameOverUI();}if(this.gameReadyUI){this.gameReadyUI.DisableGameReadyUI();}// 禁用滑动if(this.chessboard){this.chessboard.setSwipeEnable(false);}}
问题(在GameReadyUI中调用禁用GameOverUI方法会冲突)
一、先解决循环引用的错误(关键前提)
报错明确指出 GameOverUI 和 GameReadyUI 相互导入,形成了循环引用,导致类型定义异常(undefined),进而可能引发 UI 控制逻辑失效。
问题代码分析:
GameOverUI.ts导入了GameReadyUI,同时GameReadyUI.ts又导入了GameOverUI,形成闭环。- 循环引用会导致 TypeScript 在解析时无法正确识别类类型,使得
@property(GameReadyUI)这类定义失效,可能导致组件引用为null。 初始化冲突:
GameReadyUI的start方法会调用EnableGameReadyUI,其中尝试禁用GameOverUI。GameOverUI的start方法会调用EnableGameOverUI,其中尝试禁用GameReadyUI。- 两个
start方法在游戏启动时几乎同时执行,可能导致相互禁用失败(此时对方组件可能还未初始化)。
解决方案:移除相互导入,通过 GameManager 间接访问
- 态唯一:
GameManager的curGS始终只有一个状态,确保同一时间只会触发对应状态的 UI 逻辑。 - 显隐成对出现:每个状态切换时,都会同时处理 “显示当前 UI” 和 “隐藏另一个 UI”,例如:
- 准备状态:显示
GameReadyUI+ 隐藏GameOverUI。 - 结束状态:显示
GameOverUI+ 隐藏GameReadyUI。
- 准备状态:显示
- UI 解耦:
GameReadyUI和GameOverUI互不感知对方存在,所有联动逻辑由GameManager统一调度,避免循环依赖或冲突。
游戏结束状态
无空格且无相邻可合并方块则游戏结束
private CheckGameOver(): boolean{// 检查是否有空格子for (let i=0; i<this.rowCount; i++){for(let j=0; j<this.colCount; j++){if(this.values[i][j] == 0){return false;}}}// 检查是否有相邻相同数值(水平方向)for( let i=0; i<this.rowCount; i++){for( let j=0; j<this.colCount-1; j++){if(this.values[i][j] == this.values[i][j+1]){return false;}} }// 垂直方向for(let j=0;j< this.colCount; j++){for(let i=0; i<this.rowCount-1; i++){if( this.values[i][j] === this.values[i+1][j]){return false;}}}return true;}分数记录
// 向上移动private moveUp(): boolean {let moved = false;for (let j = 0; j < this.colCount; j++) { // 遍历每一列for (let i = 1; i < this.rowCount; i++) { // 从第二行开始向上移动if (this.values[i][j] !== 0) {let k = i;// 移动到最上方空位while (k > 0 && this.values[k - 1][j] === 0) {this.values[k - 1][j] = this.values[k][j];this.values[k][j] = 0;k--;moved = true;}// 合并上方相同数值if (k > 0 && this.values[k - 1][j] === this.values[k][j]) {this.values[k - 1][j] *= 2;this.values[k][j] = 0;moved = true;this.node.emit('score', this.values[k - 1][j]);}}}}this.updateGridViews();return moved;}
this.node.emit('score', this.values[k - 1][j]);✅ 作用解释(一句话):
把“本次合并得到的分数”广播出去,让别的脚本(如 Score.ts)听见并处理。
✅ 拆分解释:
表格
复制
| 片段 | 含义 |
|---|---|
this.node | 当前脚本所在的节点(这里是 Chessboard 节点) |
.emit('score', ...) | 向 同一节点 发送一个自定义事件,事件名叫 'score' |
this.values[k - 1][j] | 合并后新生成的数字(比如 2+2=4,这里就是 4) |
✅ 事件流(整个链条):
用户滑动 → 两个 2 合并成 4
执行
this.values[k - 1][j] *= 2→ 格子变成 4执行
this.node.emit('score', 4)→ 发出事件GameManager监听到 → 调用Score.onScore(4)分数增加 4 → UI 更新
Score.ts
import { _decorator, Component, Label, Node } from 'cc';
const { ccclass, property } = _decorator;@ccclass('Score')
export class Score extends Component {// 游戏中实时显示的“当前得分”标签@property(Label)presentScore: Label = null;// 游戏中实时显示的“历史最高分”标签@property(Label)highestScoreEver: Label = null;// 游戏结束界面显示的“本局分数”标签@property(Label)currentScore: Label = null;// 游戏结束界面显示的“历史最佳分数”标签@property(Label)bestScore: Label = null;// 当前局内得分(内存变量)private _presentScore: number = 0;// 历史最高分(从本地存储读取)private _highestScoreEver: number = 0;// 组件加载时触发:读取存档、初始化显示、注册得分事件protected onLoad(): void {// 从浏览器本地存储读取历史最高分,不存在则默认为 0this._highestScoreEver = parseInt(localStorage.getItem('bestScore') || '0');// 同步所有 Label 的初始文字this.UpDataLabels();// 监听同节点发出的自定义事件 'score',收到后调用 onScore 方法this.node.on('score', this.onScore, this);}// 得分事件回调:value 为合并后新生成的数字(如 4、8、16...)public onScore(value: number): void {// 累加到当前局内得分this._presentScore += value;// 如果突破历史最高分,则更新并持久化if (this._presentScore > this._highestScoreEver) {this._highestScoreEver = this._presentScore;// 写入浏览器本地存储,key 为 'bestScore'localStorage.setItem('bestScore', this._highestScoreEver.toString());}// 刷新所有相关 Label 的显示this.UpDataLabels();}// 统一刷新四个 Label 的显示文字private UpDataLabels(): void {if (this.presentScore) {this.presentScore.string = this._presentScore.toString();}if (this.highestScoreEver) {this.highestScoreEver.string = this._highestScoreEver.toString();}if (this.currentScore) {this.currentScore.string = this._presentScore.toString();}if (this.bestScore) {this.bestScore.string = this._highestScoreEver.toString();}}// 重新开始时重置当前局内得分并刷新显示public resetScore(): void {this._presentScore = 0;this.UpDataLabels();}start() { }update(deltaTime: number) { }
}
this._highestScoreEver = parseInt(localStorage.getItem('bestScore') || '0');✅ 作用一句话:
从浏览器本地存储中读取历史最高分,如果之前没存过,就默认为 0。
✅ 拆分解释:
| 片段 | 含义 | ||
|---|---|---|---|
localStorage | 浏览器提供的本地存储对象,游戏退出后数据仍在 | ||
.getItem('bestScore') | 尝试读取键为 'bestScore' 的值(字符串) | ||
| ` | '0'` | 如果读不到(第一次玩或清过缓存),就用 '0' 作为默认值 | |
parseInt(...) | 把字符串转成整数,方便后续比较和计算 | ||
this._highestScoreEver = ... | 存到内存变量里,供本局逻辑使用 |
得分事件监听
onLoad() {GameManager._insc = this;// 监听棋盘得分事件if (this.chessboard) {this.chessboard.node.on('score', (value: number) => {const score = this.node.getComponent(Score);if (score) {score.onScore(value); // 直接调用得分逻辑}});}}这段代码写在 GameManager 的 onLoad 生命周期里,负责 “搭桥”——把棋盘里发出的得分事件转交给分数组件。逐句拆解如下:
✅ 1. 单例赋值
GameManager._insc = this;把当前实例存到类的静态变量 _insc,方便全局随时通过 GameManager.inst() 拿到这个唯一的管理器。
✅ 2. 监听棋盘事件
if (this.chessboard) {this.chessboard.node.on('score', (value: number) => { ... });
}
如果编辑器里给
GameManager拖了Chessboard引用,就监听它的节点。事件名必须是
'score'(与棋盘合并时this.node.emit('score', ...)保持一致)。回调参数
value就是合并后新生成的数字(例如 4、8、16 ...)。
✅ 3. 转发给分数组件
const score = this.node.getComponent(Score);
if (score) {score.onScore(value);   // 直接调用 Score 脚本里的累加方法
}this.node是GameManager自己所挂的节点。如果同一个节点上还有
Score组件,就立即把分数值塞给它,让它累加、刷新界面、更新最高纪录。