Codex CLI 配置 Azure OpenAI GPT-5-codex 指南
昨日,微软宣布在Azure AI Foundry(国际版)正式上线 GPT-5 Codex,并在 Visual Studio Code 的智能 GitHub Copilot 副驾驶® 中开启公共预览。
今天,我们将手把手带您完成模型操作,了解具体的部署方式,助您快人一步。
先决条件
- 拥有Azure 订阅账号
- 拥有 Azure AI Foundry 的 Contributor(参与者)权限。
- homebrew 或者 npm,使用 Codex Extension 安装 Codex CLI 或 VS Code。
在 Azure AI Foundry 中部署模型
1.访问 Azure AI Foundry 并创建新项目。
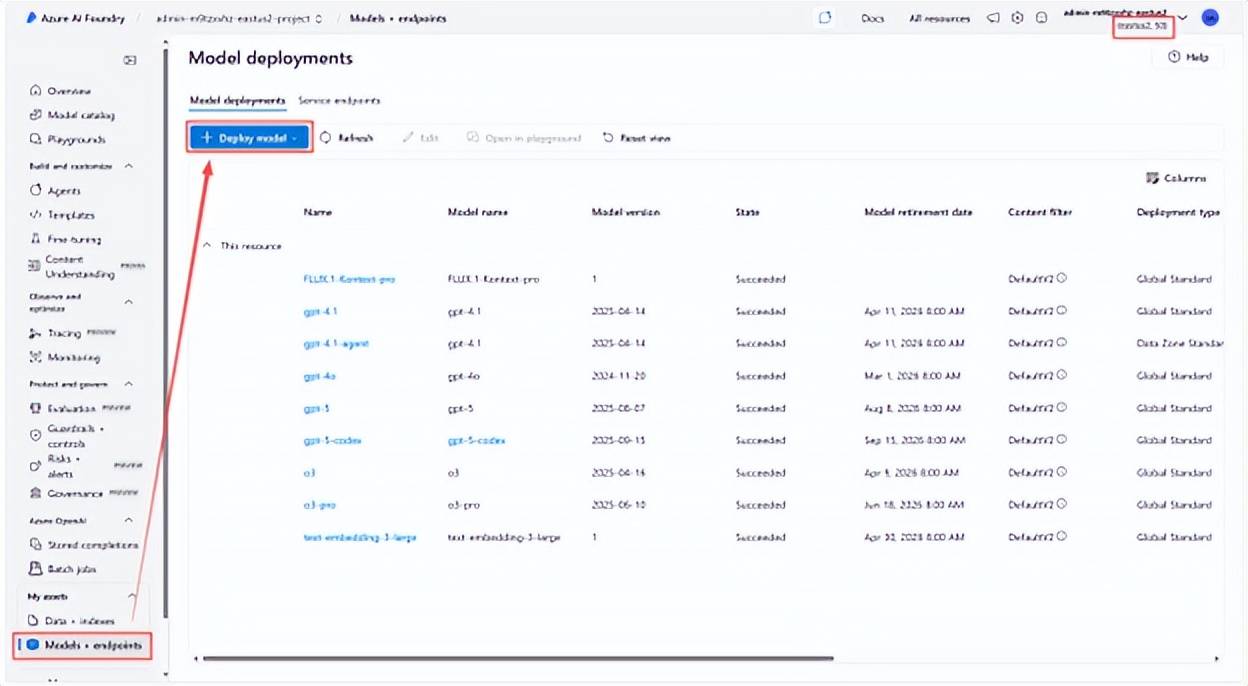
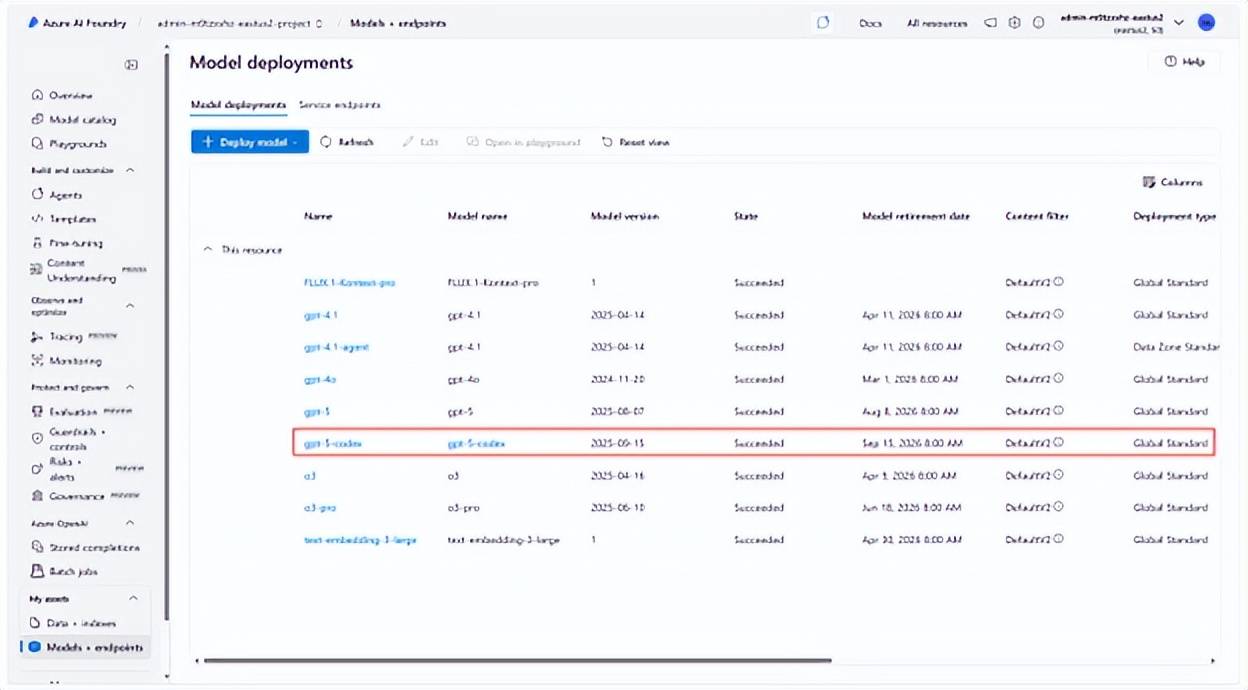
2.从模型目录中选择一个支持 Responses API 的模型,例如 GPT-5-codex。

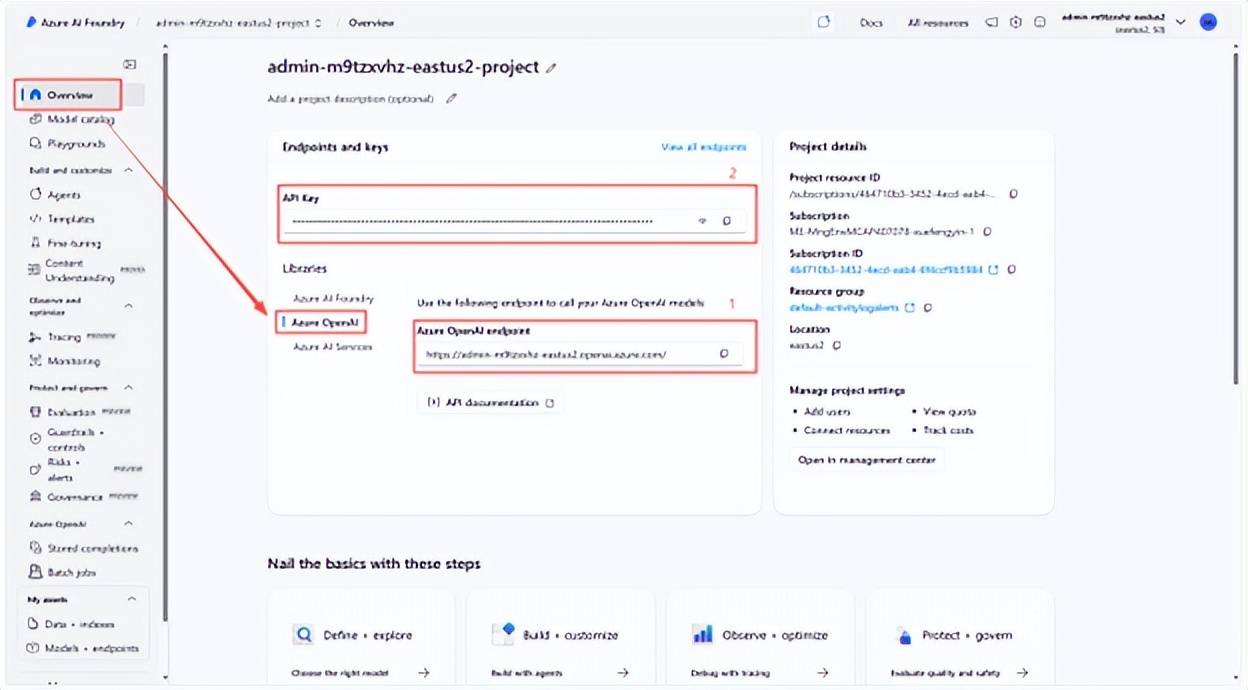
3.获取 Endpoint + API Key,并记录。格式分别为:
Endpoint: https://xxxx.openai.azure.com
API Key: xxxxxxxxxxxxxxxxxxxxxxxxx
安装 Codex CLI
在终端中运行以下命令以安装 Codex CLI
npm
npm install -g @openai/codex
codex --version # verify installation
brew
brew install codex
codex --version # verify installation
创建和配置 config.toml
- 若要将 Codex CLI 与 Azure 配合使用,需要创建和设置 config.toml 文件。
- config.toml 文件需要存储在 ~/.codex 目录中。 在此目录中创建文件 config.toml ,或者编辑现有文件(如果已存在):
cd ~/.codex
nano config.toml
2.复制下方文本,使用 v1 Responses API。 借助 v1 API 您将不再需要传递 API 版本,但必须在路径中包含 base_url /v1。 不能将 API 密钥作为字符串直接传递给 env_key。env_key 必须指向环境变量。
使用您的资源名称更新 base_url:
model = "gpt-5-codex" # Replace with your actual Azure model deployment name
model_provider = "azure"
model_reasoning_effort = "high"
[model_providers.azure]
name = "Azure OpenAI"
base_url = "https://YOUR_RESOURCE_NAME.openai.azure.com/openai/v1"
env_key = "AZURE_OPENAI_API_KEY"
wire_api = "responses"
3.将更新 config.toml 保存到文件后,返回到终端,并创建配置文件中引用的环境变量实例。
# Linux, macOS, or WSL
export AZURE_OPENAI_API_KEY="<your-api-key>"
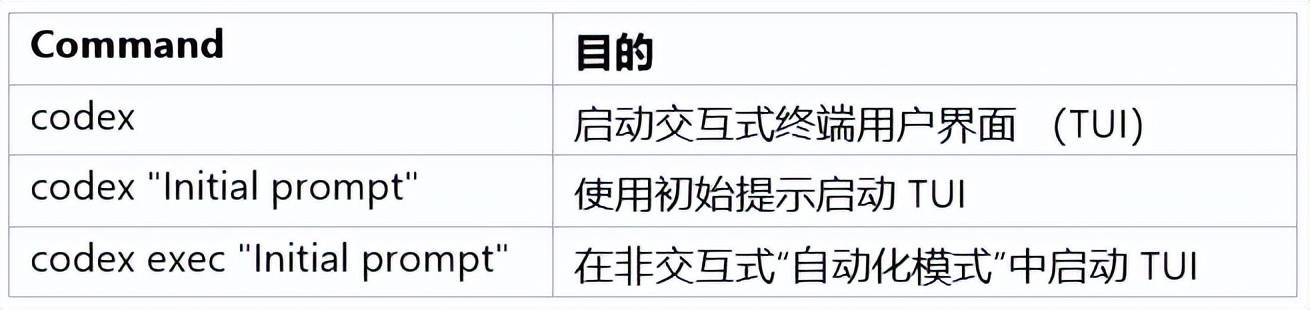
4.最后,在终端中运行以下命令之一,测试 Codex CLI 配置是否成功:
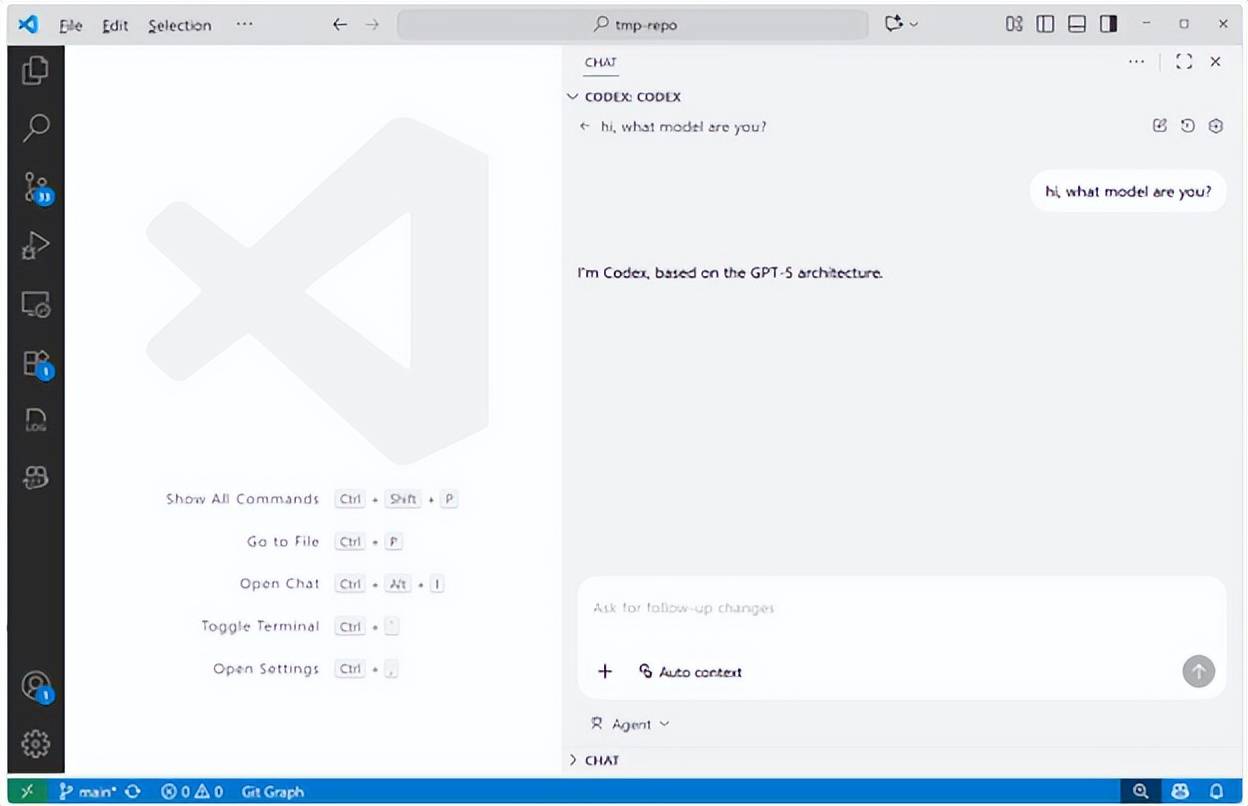
在 VSCode 中使用 Codex Extension
1.在 VSCode 插件市场搜索并安装 Codex 插件

2.可以直接通过UI方式与Codex交互,并且与Codex CLI共享API配置与对话历史数据
使用 AGENTS.md 进行持续引导
可以使用 AGENTS.md 文件为 Codex 提供附加说明和引导。 Codex 支持在以下位置查找 AGENTS.md 文件,并从上到下合并这些文件,从而提供关于个人偏好、项目特定细节和当前任务的上下文。
- ~/.codex/AGENTS.md 个人全球指导。
- AGENTS.md 存储库根目录中的共享项目备注。
- AGENTS.md 在当前工作目录中 - 子文件夹/功能细节。
例如,为了帮助 Codex 了解如何为 Azure AI Foundry Agents(国际版)编写代码,可以使用以下内容在项目根目录中创建一个 AGENTS.md ,这些内容来自 Azure AI Agents SDK 文档:
# Instructions for working with Azure AI Foundry Agents
You are an expert in the Azure AI Agents client library for Python.
## Key Concepts
- **Client Initialization**: Always start by creating an `AIProjectClient` or `AgentsClient`. The recommended way is via `AIProjectClient`.
- **Authentication**: Use `DefaultAzureCredential` from `azure.identity`.
- **Agent Creation**: Use `agents_client.create_agent()`. Key parameters are `model`, `name`, and `instructions`.
- **Tools**: Agents use tools to perform actions like file search, code interpretation, or function calls.
- To use tools, they must be passed to `create_agent` via the `tools` and `tool_resources` parameters or a `toolset`.
- Example: `file_search_tool = FileSearchTool(vector_store_ids=[...])`
- Example: `code_interpreter = CodeInterpreterTool(file_ids=[...])`
- Example: `functions = FunctionTool(user_functions)`
## Example: Creating a basic agent
\`\`\`python
import os
from azure.ai.projects import AIProjectClient
from azure.identity import DefaultAzureCredential
# 1. Create Project Client
project_client = AIProjectClient(
endpoint=os.environ["PROJECT_ENDPOINT"],
credential=DefaultAzureCredential(),
# 2. Get Agents Client
with project_client:
agents_client = project_client.agents
# 3. Create Agent
agent = agents_client.create_agent(
model=os.environ["MODEL_DEPLOYMENT_NAME"],
name="my-helpful-agent",
instructions="You are a helpful agent that can answer questions.",
)
print(f"Created agent with ID: {agent.id}")
\`\`\`
在前面的示例中,Python 代码块中的反引号进行了转义,以允许正确渲染。 \ 可以删除 's。
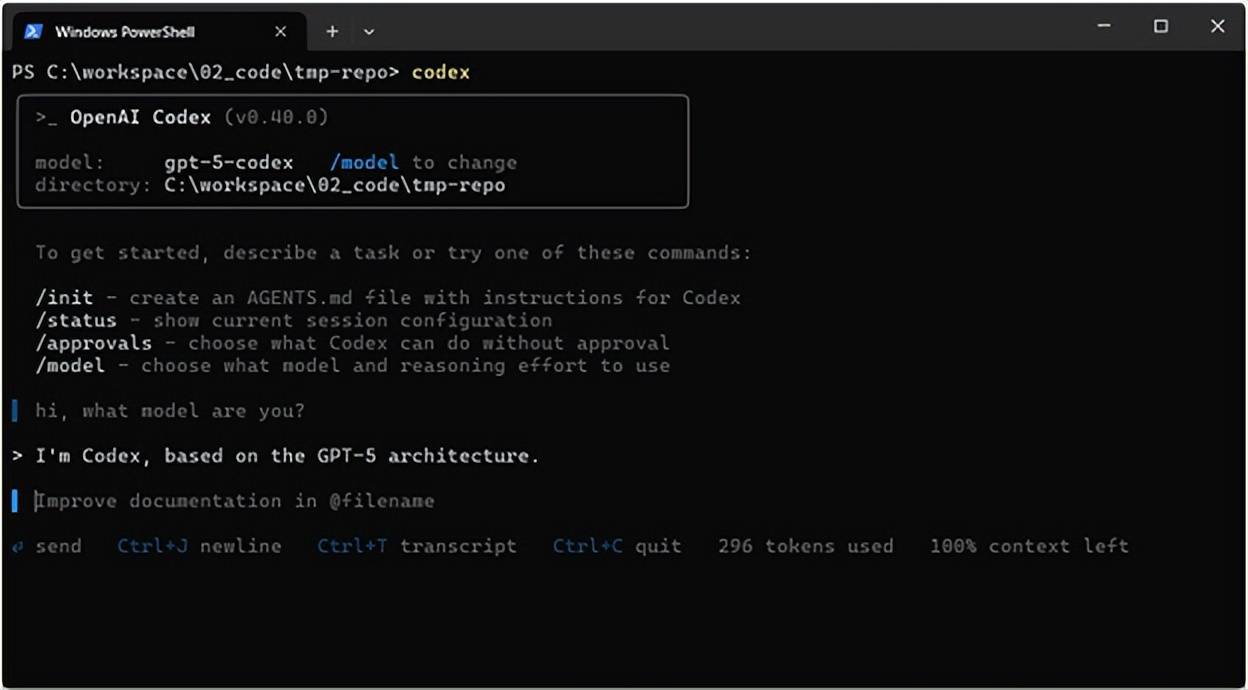
尝试使用 “CodexCLI”
在命令行中执行 codex 命令,可以看到无需登录,直接进入了使用页面。
GitHub Actions 中的 Codex
Codex 可以作为持续集成(CI)管道的一部分执行。 将 API 密钥存储在存储库的机密存储 AZURE_OPENAI_KEY 中,并添加如下所示的作业,以确保在发布之前自动更新更改日志:
jobs:
update_changelog:
runs-on: ubuntu-latest
steps:
- uses: actions/checkout@v4
- name: Update changelog via Codex
run: |
npm install -g @openai/codex
export AZURE_OPENAI_API_KEY="${{ secrets.AZURE_OPENAI_KEY }}"
codex -p azure exec --full-auto"update CHANGELOG for next release"
作为微软中国南区核心合作伙伴及HKCSP 1T首批授权云服务商之一,领驭科技正积极整合Azure OpenAI的强大功能,包括先进的自然语言处理、分析和推理能力,到其产品和行业解决方案中。
Azure OpenAI服务通过其大规模生成式AI模型,支持企业客户根据特定需求和场景,开发创新应用,涵盖辅助写作、代码编写、多媒体内容生成以及数据分析等多个领域,为互联网、游戏、金融、零售、医药等行业以及自动驾驶和智能制造等前沿技术领域带来深远影响。