二、WPF——Style样式玩法(通过资源字典将Style独立,全局调用)
该博文参考B站博主丑萌气质狗视频学习小笔记,如有侵权联系立删
视频链接:WPF入门
第一篇博文链接:一、WPF入门介绍+Grid和StackPanel布局介绍+实战模拟Notepad++页面布局
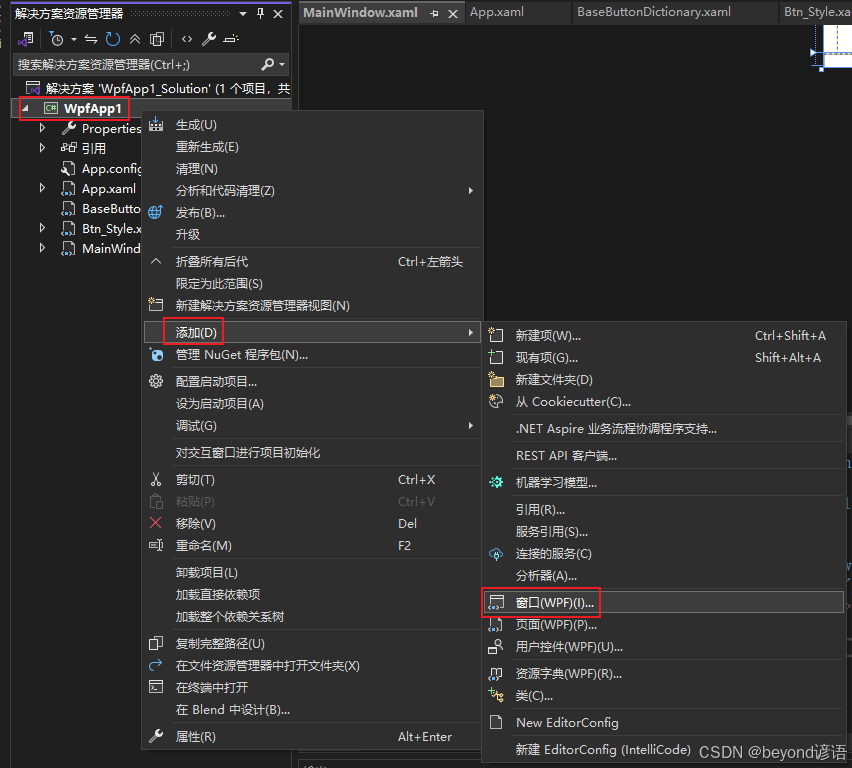
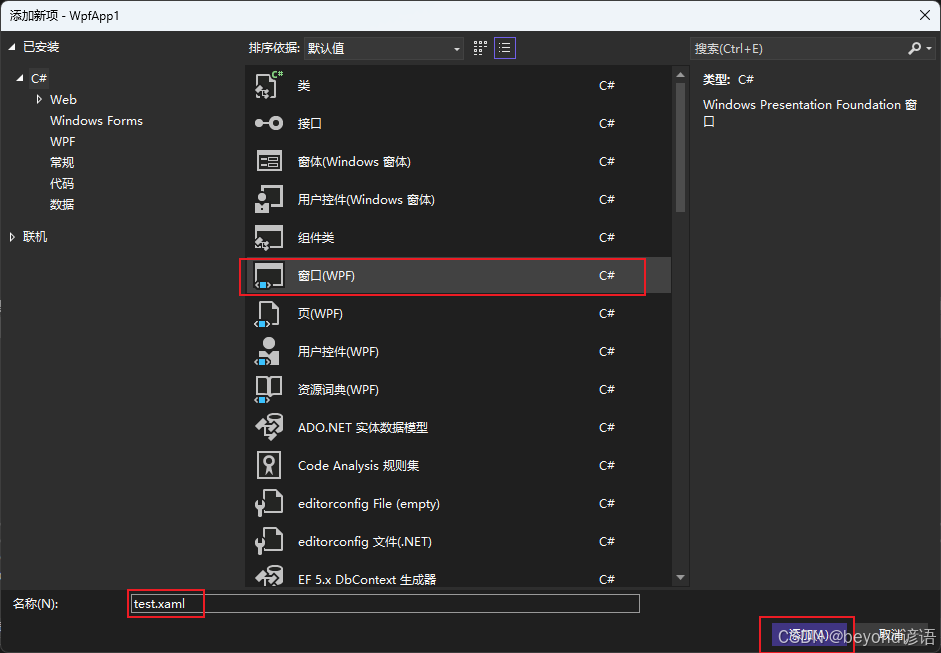
接着第一篇博文继续哈,添加一个窗口
在App.xaml中修改启动页面为StartupUri="Btn_Style.xaml"
一、给Button更换风格
首先我们使用了一个StackPanel布局,默认是水平布局(Orientation="Vertical"),每个button都可以设置很多属性,比如宽高、字体大小、背景颜色等
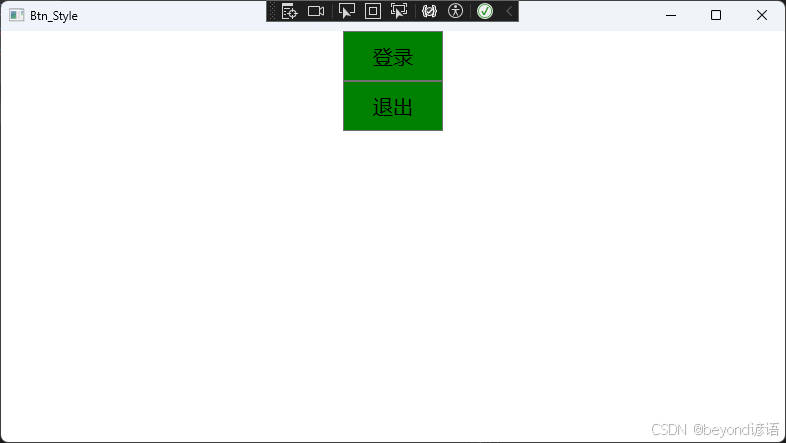
<Window x:Class="WpfApp1.Btn_Style"xmlns="http://schemas.microsoft.com/winfx/2006/xaml/presentation"xmlns:x="http://schemas.microsoft.com/winfx/2006/xaml"xmlns:d="http://schemas.microsoft.com/expression/blend/2008"xmlns:mc="http://schemas.openxmlformats.org/markup-compatibility/2006"xmlns:local="clr-namespace:WpfApp1"mc:Ignorable="d"Title="Btn_Style" Height="450" Width="800"><StackPanel><Button Content="登录" Height="50" Width="100" FontSize="20" Background="Green"/><Button Content="退出" Height="50" Width="100" FontSize="20" Background="Green"/></StackPanel>
</Window>
二、提取Button共有Style,其他Button直接延用
上面案例我们可以看到,两个button其实是一样的,那我们就没必要去重复代码了
我们可以通过Window.Resources里面的Style TargetType="Button"来绑定Button控件
通过<Setter Property="Height" Value="50"/>开抽离公共属性,后续所有的Button控件都可以使用
<Window x:Class="WpfApp1.Btn_Style"xmlns="http://schemas.microsoft.com/winfx/2006/xaml/presentation"xmlns:x="http://schemas.microsoft.com/winfx/2006/xaml"xmlns:d="http://schemas.microsoft.com/expression/blend/2008"xmlns:mc="http://schemas.openxmlformats.org/markup-compatibility/2006"xmlns:local="clr-namespace:WpfApp1"mc:Ignorable="d"Title="Btn_Style" Height="450" Width="800"><Window.Resources><Style TargetType="Button"><Setter Property="Height" Value="50"/><Setter Property="Width" Value="100"/><Setter Property="FontSize" Value="20"/><Setter Property="Background" Value="Green"/></Style></Window.Resources><StackPanel><Button Content="登录"/><Button Content="退出"/></StackPanel></Window>
三、多个Style,指定哪个,应用哪个
我们可以看到,所有的Button都一样了,但是我们的现实需求是,需要用到的时候再用该style,不需要的时候保持默认样式
我们可以通过Style x:Key="Login" TargetType="Button"中的x:Key来指定关键字,例如是Login
后面的Button可以通过<Button Content="登录" Style="{StaticResource Login}"/>中的StaticResource Login进行调用即可

<Window x:Class="WpfApp1.Btn_Style"xmlns="http://schemas.microsoft.com/winfx/2006/xaml/presentation"xmlns:x="http://schemas.microsoft.com/winfx/2006/xaml"xmlns:d="http://schemas.microsoft.com/expression/blend/2008"xmlns:mc="http://schemas.openxmlformats.org/markup-compatibility/2006"xmlns:local="clr-namespace:WpfApp1"mc:Ignorable="d"Title="Btn_Style" Height="450" Width="800"><Window.Resources><Style x:Key="Login" TargetType="Button"><Setter Property="Height" Value="70"/><Setter Property="Width" Value="120"/><Setter Property="FontSize" Value="20"/><Setter Property="Background" Value="Green"/></Style><Style x:Key="Quit" TargetType="Button"><Setter Property="Height" Value="50"/><Setter Property="Width" Value="100"/><Setter Property="FontSize" Value="20"/><Setter Property="Background" Value="Red"/></Style></Window.Resources><StackPanel Orientation="Vertical"><Button Content="登录" Style="{StaticResource Login}"/><Button Content="退出" Style="{StaticResource Quit}"/></StackPanel></Window>
四、多个Style,指定哪个,应用哪个,若不指定则使用BaseStyle
我们需要将BaseStyle表示默认的Button风格,其他的Style可以继承此,方便后续进行操作,特例化
<Style TargetType="Button">定义一个应用于所有Button的风格
<Style x:Key="Login" TargetType="Button" BasedOn="{StaticResource {x:Type Button}}">表明该Style是基于x:Type Button的原先Button控件,后续的可以覆盖前面的
之前是白色的,后面的<Style x:Key="Login" TargetType="Button" BasedOn="{StaticResource {x:Type Button}}">和<Style x:Key="Quit" TargetType="Button" BasedOn="{StaticResource {x:Type Button}}">均继承了前面的风格,但若有重复的则会覆盖掉,这里以Background进行覆盖演示
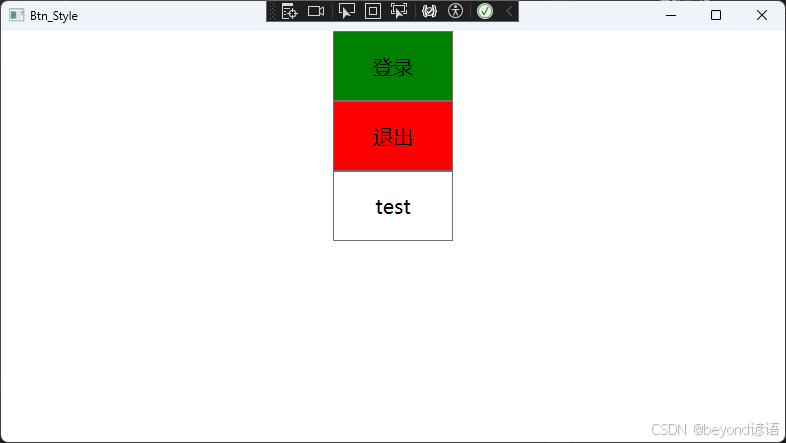
<Window x:Class="WpfApp1.Btn_Style"xmlns="http://schemas.microsoft.com/winfx/2006/xaml/presentation"xmlns:x="http://schemas.microsoft.com/winfx/2006/xaml"xmlns:d="http://schemas.microsoft.com/expression/blend/2008"xmlns:mc="http://schemas.openxmlformats.org/markup-compatibility/2006"xmlns:local="clr-namespace:WpfApp1"mc:Ignorable="d"Title="Btn_Style" Height="450" Width="800"><Window.Resources><Style TargetType="Button"><Setter Property="Height" Value="70"/><Setter Property="Width" Value="120"/><Setter Property="FontSize" Value="20"/><Setter Property="Background" Value="White"/></Style><Style x:Key="Login" TargetType="Button" BasedOn="{StaticResource {x:Type Button}}"><Setter Property="Background" Value="Green"/></Style><Style x:Key="Quit" TargetType="Button" BasedOn="{StaticResource {x:Type Button}}"><Setter Property="Background" Value="Red"/></Style></Window.Resources><StackPanel Orientation="Vertical"><Button Content="登录" Style="{StaticResource Login}"/><Button Content="退出" Style="{StaticResource Quit}"/><Button Content="test"/></StackPanel></Window>
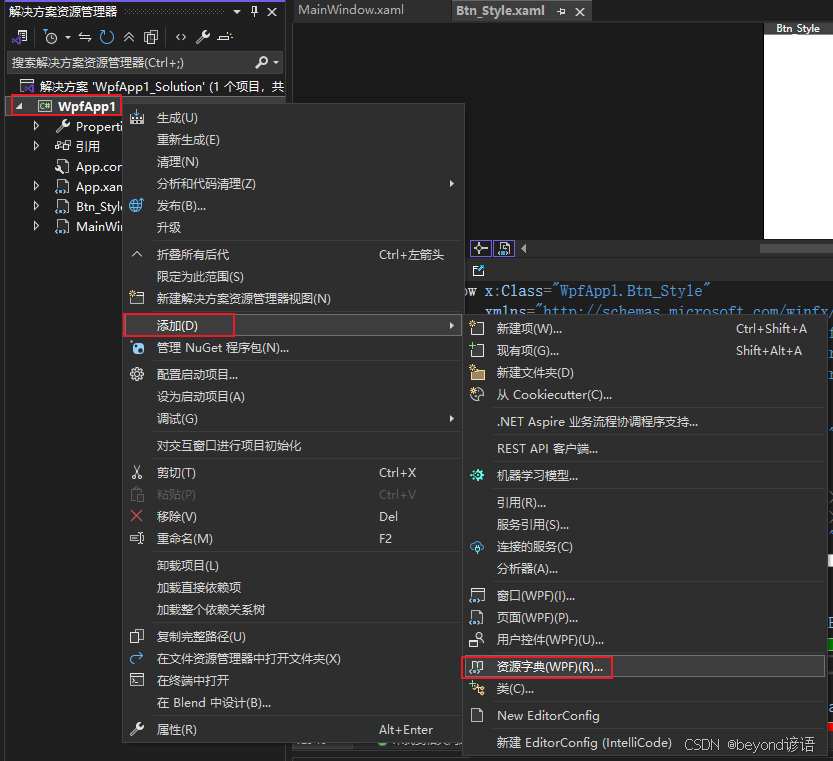
五、使用资源字典将所有的Style独立到其他XAML文件中,通过外部调用
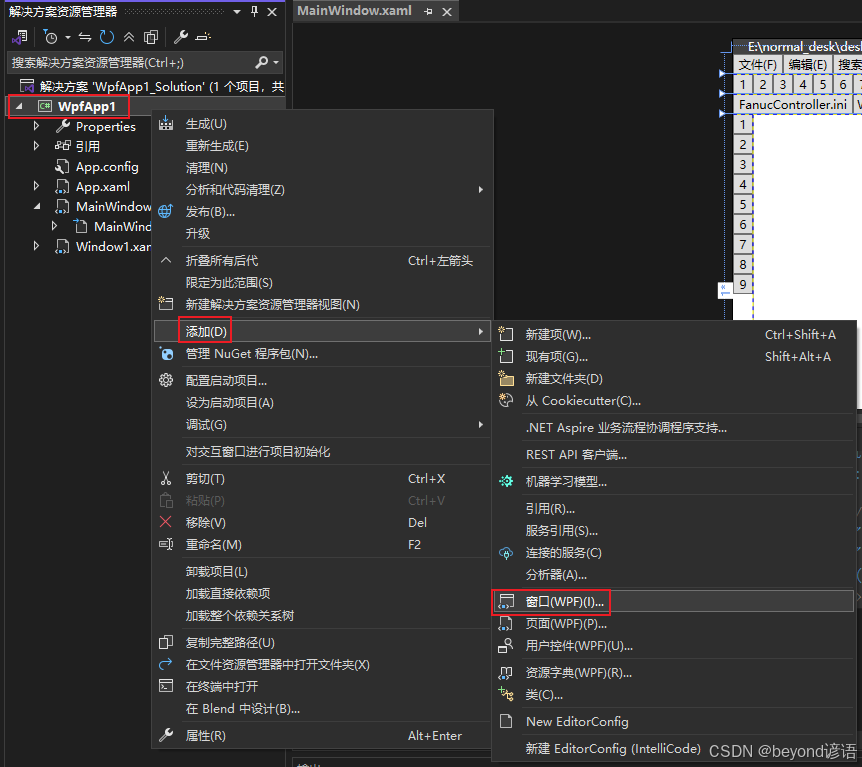
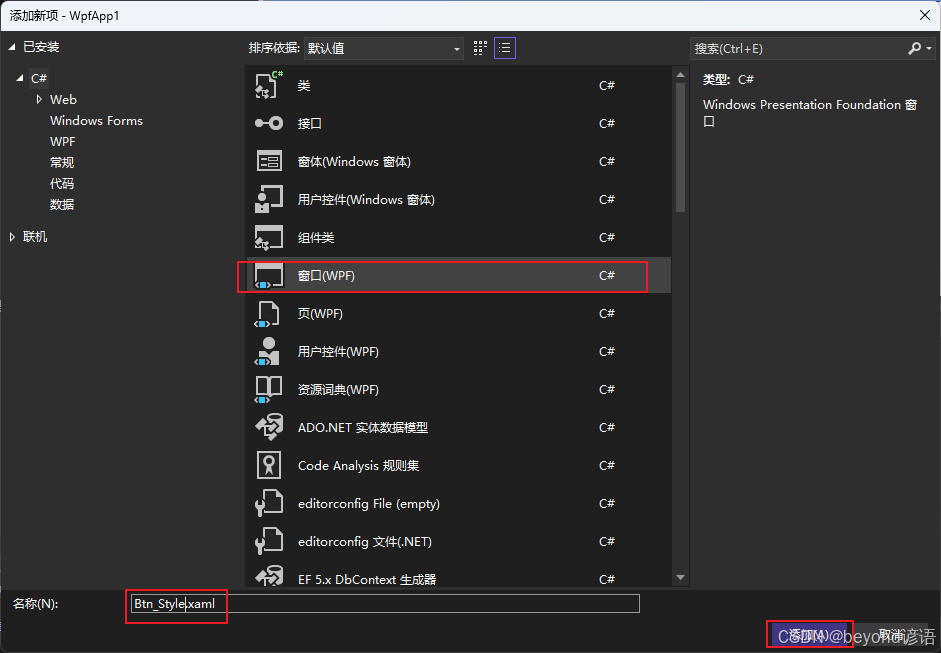
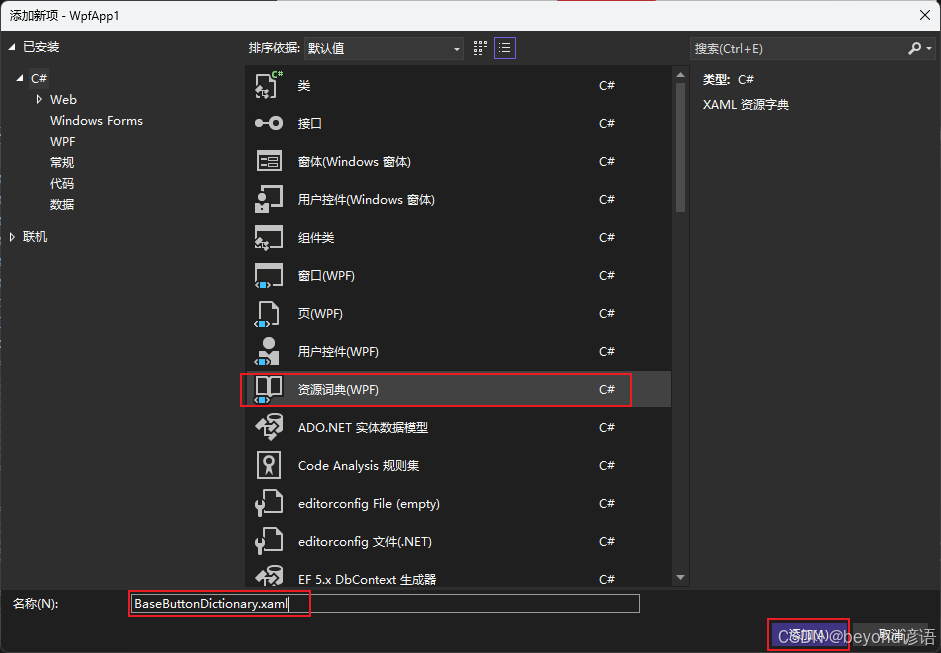
1,新建资源字典,用于存放所有的Style格式
<ResourceDictionary xmlns="http://schemas.microsoft.com/winfx/2006/xaml/presentation"xmlns:x="http://schemas.microsoft.com/winfx/2006/xaml"><Style TargetType="Button"><Setter Property="Height" Value="70"/><Setter Property="Width" Value="120"/><Setter Property="FontSize" Value="20"/><Setter Property="Background" Value="White"/></Style><Style x:Key="Login" TargetType="Button" BasedOn="{StaticResource {x:Type Button}}"><Setter Property="Content" Value="Login"/><Setter Property="Background" Value="Green"/></Style><Style x:Key="Quit" TargetType="Button" BasedOn="{StaticResource {x:Type Button}}"><Setter Property="Content" Value="Quit"/><Setter Property="Background" Value="Red"/></Style>
</ResourceDictionary>
2,在App.xaml中引入该资源字典
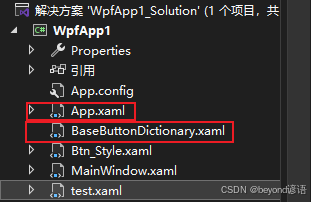
把资源字典(BaseButtonDictionary.xaml)的相对路径填入即可
<Application x:Class="WpfApp1.App"xmlns="http://schemas.microsoft.com/winfx/2006/xaml/presentation"xmlns:x="http://schemas.microsoft.com/winfx/2006/xaml"xmlns:local="clr-namespace:WpfApp1"StartupUri="Btn_Style.xaml"><Application.Resources><ResourceDictionary><ResourceDictionary.MergedDictionaries><ResourceDictionary Source="/BaseButtonDictionary.xaml"/></ResourceDictionary.MergedDictionaries></ResourceDictionary></Application.Resources>
</Application>
3,在其他窗口中直接使用
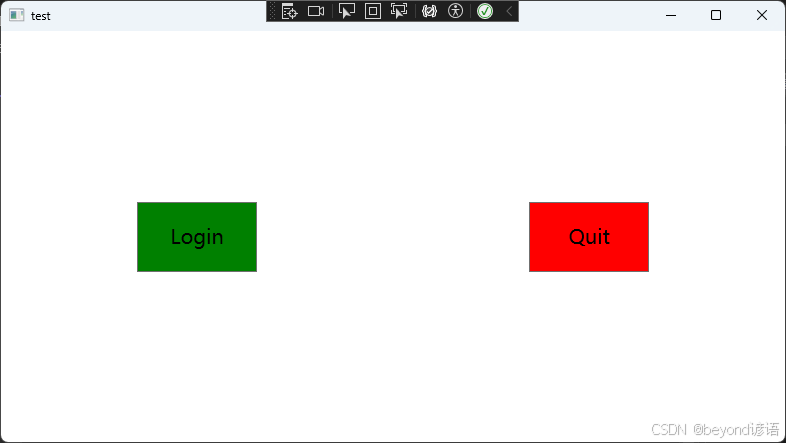
使用一个2列的Grid表格布局,每一列都占1/2
每一列都放一个button,一个是Login风格,一个是Quit风格
需要在App.xaml中修改启动窗口StartupUri="test.xaml"

<Window x:Class="WpfApp1.test"xmlns="http://schemas.microsoft.com/winfx/2006/xaml/presentation"xmlns:x="http://schemas.microsoft.com/winfx/2006/xaml"xmlns:d="http://schemas.microsoft.com/expression/blend/2008"xmlns:mc="http://schemas.openxmlformats.org/markup-compatibility/2006"xmlns:local="clr-namespace:WpfApp1"mc:Ignorable="d"Title="test" Height="450" Width="800"><Grid Grid.Row="2"><Grid.ColumnDefinitions><ColumnDefinition Width="1*"/><ColumnDefinition Width="1*"/></Grid.ColumnDefinitions><Button Style="{StaticResource Login}" Grid.Column="0"/><Button Style="{StaticResource Quit}"  Grid.Column="1"/></Grid>
</Window>
4,完整代码
①App.xaml
<Application x:Class="WpfApp1.App"xmlns="http://schemas.microsoft.com/winfx/2006/xaml/presentation"xmlns:x="http://schemas.microsoft.com/winfx/2006/xaml"xmlns:local="clr-namespace:WpfApp1"StartupUri="test.xaml"><Application.Resources><ResourceDictionary><ResourceDictionary.MergedDictionaries><ResourceDictionary Source="/BaseButtonDictionary.xaml"/></ResourceDictionary.MergedDictionaries></ResourceDictionary></Application.Resources>
</Application>
②BaseButtonDictionary.xaml
<ResourceDictionary xmlns="http://schemas.microsoft.com/winfx/2006/xaml/presentation"xmlns:x="http://schemas.microsoft.com/winfx/2006/xaml"><Style TargetType="Button"><Setter Property="Height" Value="70"/><Setter Property="Width" Value="120"/><Setter Property="FontSize" Value="20"/><Setter Property="Background" Value="White"/></Style><Style x:Key="Login" TargetType="Button" BasedOn="{StaticResource {x:Type Button}}"><Setter Property="Content" Value="Login"/><Setter Property="Background" Value="Green"/></Style><Style x:Key="Quit" TargetType="Button" BasedOn="{StaticResource {x:Type Button}}"><Setter Property="Content" Value="Quit"/><Setter Property="Background" Value="Red"/></Style>
</ResourceDictionary>
③test.xaml
<Window x:Class="WpfApp1.test"xmlns="http://schemas.microsoft.com/winfx/2006/xaml/presentation"xmlns:x="http://schemas.microsoft.com/winfx/2006/xaml"xmlns:d="http://schemas.microsoft.com/expression/blend/2008"xmlns:mc="http://schemas.openxmlformats.org/markup-compatibility/2006"xmlns:local="clr-namespace:WpfApp1"mc:Ignorable="d"Title="test" Height="450" Width="800"><Grid Grid.Row="2"><Grid.ColumnDefinitions><ColumnDefinition Width="1*"/><ColumnDefinition Width="1*"/></Grid.ColumnDefinitions><Button Style="{StaticResource Login}" Grid.Column="0"/><Button Style="{StaticResource Quit}"  Grid.Column="1"/></Grid>
</Window>
效果展示: