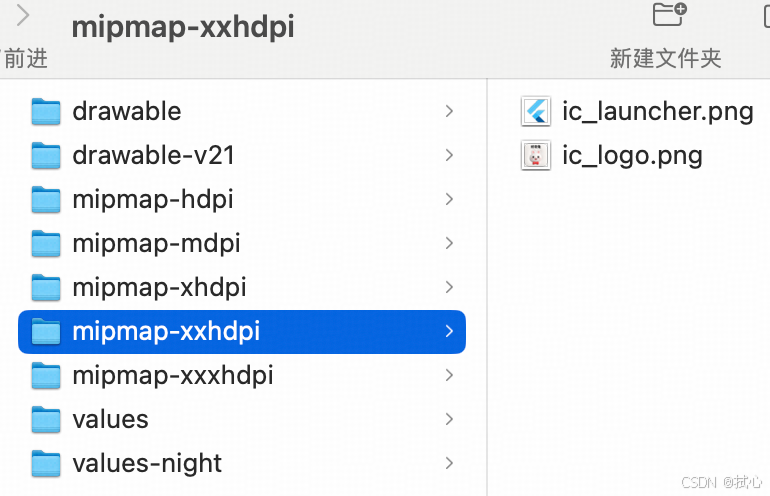
一键生成 Android 适配不同分辨率尺寸的图片
很实用的脚本,记录下备用。

#!/usr/bin/env python3
"""
图片尺寸转换脚本
将带透明背景的图片转换为多种尺寸的1:1图片
"""import os
import sys
from PIL import Image, ImageOps
import argparsedef resize_image(input_path, output_dir, sizes=[48, 72, 96, 144, 192]):"""将输入图片转换为多种尺寸的1:1图片Args:input_path (str): 输入图片路径output_dir (str): 输出目录sizes (list): 目标尺寸列表"""try:# 打开图片with Image.open(input_path) as img:# 获取原始图片信息original_width, original_height = img.sizeprint(f"原始图片尺寸: {original_width} x {original_height}")# 确保输出目录存在os.makedirs(output_dir, exist_ok=True)# 获取原始文件名(包含扩展名)original_filename = os.path.basename(input_path)# 为每个目标尺寸生成图片for size in sizes:# 创建以尺寸命名的文件夹size_folder = os.path.join(output_dir, str(size))os.makedirs(size_folder, exist_ok=True)# 创建1:1的正方形画布,背景透明square_img = Image.new('RGBA', (size, size), (0, 0, 0, 0))# 计算缩放比例,保持宽高比scale = min(size / original_width, size / original_height)new_width = int(original_width * scale)new_height = int(original_height * scale)# 缩放图片resized_img = img.resize((new_width, new_height), Image.Resampling.LANCZOS)# 计算居中位置x_offset = (size - new_width) // 2y_offset = (size - new_height) // 2# 将缩放后的图片粘贴到正方形画布中心square_img.paste(resized_img, (x_offset, y_offset), resized_img)# 保存图片到对应尺寸的文件夹,文件名与输入文件相同output_path = os.path.join(size_folder, original_filename)square_img.save(output_path, 'PNG')print(f"已生成: {output_path} ({size}x{size})")except Exception as e:print(f"处理图片时出错: {e}")return Falsereturn Truedef main():parser = argparse.ArgumentParser(description='将图片转换为多种尺寸的1:1图片')parser.add_argument('input', help='输入图片路径')parser.add_argument('-o', '--output', default='output', help='输出目录 (默认: output)')parser.add_argument('-s', '--sizes', nargs='+', type=int, default=[48, 72, 96, 144, 192], help='目标尺寸列表 (默认: 48 72 96 144 192)')args = parser.parse_args()# 检查输入文件是否存在if not os.path.exists(args.input):print(f"错误: 输入文件 '{args.input}' 不存在")sys.exit(1)# 检查输入文件是否为图片try:with Image.open(args.input) as img:passexcept Exception as e:print(f"错误: 无法打开图片文件 '{args.input}': {e}")sys.exit(1)print(f"开始处理图片: {args.input}")print(f"目标尺寸: {args.sizes}")print(f"输出目录: {args.output}")print("-" * 50)# 处理图片success = resize_image(args.input, args.output, args.sizes)if success:print("-" * 50)print("所有图片处理完成!")else:print("处理失败!")sys.exit(1)if __name__ == "__main__":main()
用法:
python resize_images.py your_image.png
输出内容:
output/
├── 48/
│   └── logo.png  (48x48)
├── 72/
│   └── logo.png  (72x72)
├── 96/
│   └── logo.png  (96x96)
├── 144/
│   └── logo.png  (144x144)
└── 192/└── logo.png  (192x192)
