某梆企业壳frida检测绕过
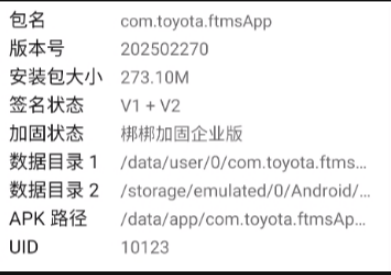
遇到个汽车app 是个企业壳 有frida检测,导致无法注入,本文记录下绕过的过程
一、尝试hook pthread_create 定位线程 通过杀线程方法干掉他
function hook_pthread_create(){var pthread_create_addr = Module.findExportByName("libc.so", "pthread_create");console.log("pthread_create_addr: ", pthread_create_addr);Interceptor.attach(pthread_create_addr,{onEnter:function(args){console.log(args[2], Process.findModuleByAddress(args[2]).name);},onLeave:function(retval){}});}hook_pthread_create();
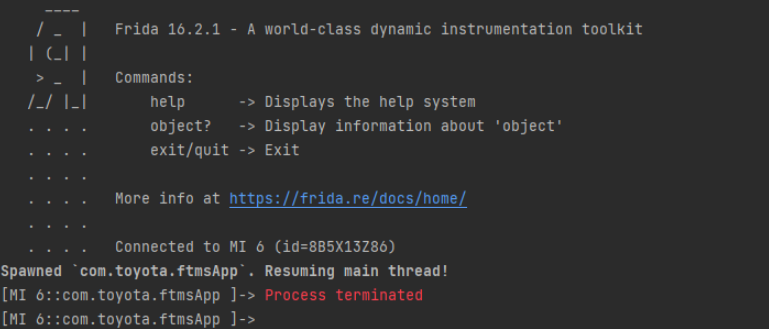
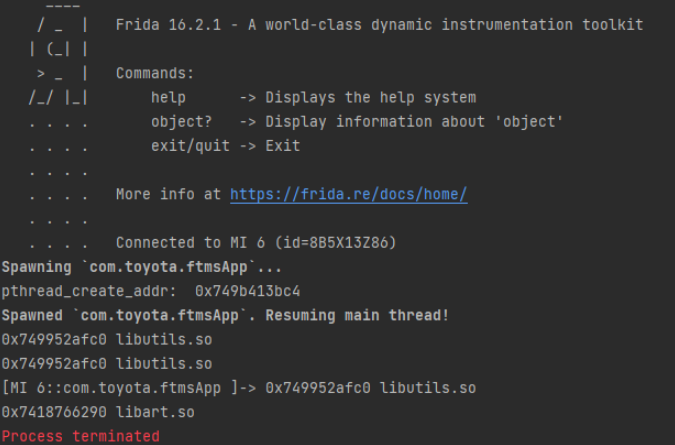 发现没有起到什么用,应该是检测到
 pthread_create被hook了,它既然检测 pthread_create 函数得hook ,那clone函数应该没有把 通过hook clone函数 得到线程相关信息然后去nop 干掉线程 是不是就可以实现绕过。
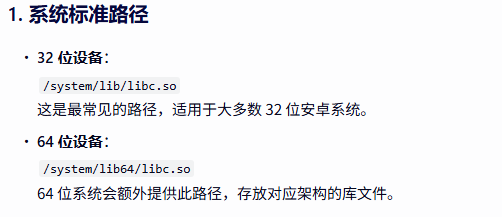
二、在app中的系统目录下找到libc.so文件,导出一份用ida打开,看pthread_create 如何去调用clone函数创建线程的
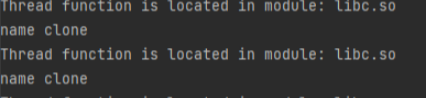
// Hook clone 系统调用Interceptor.attach(Module.findExportByName(null, 'clone'), {onEnter: function (args) {// 获取线程函数的地址(即第一个参数)var thread_func = args[0];// 打印线程函数地址console.log('Thread function address: ' + thread_func);// 获取线程函数所在模块(.so 文件)var module = Process.findModuleByAddress(thread_func);if (module) {console.log('Thread function is located in module: ' + module.name);} else {console.log('Thread function is not in a loaded module or location could not be determined.');}},onLeave: function (retval) {// 可以在这里修改 clone 的返回值(如需要)}});输出Thread function address: 0x749b4140dcThread function is located in module: libc.soThread function address: 0x749b4140dcThread function is located in module: libc.soThread function address: 0x749b4140dcThread function is located in module: libc.so
从上面 clone hook处 ,打印下堆栈 ,看下哪里调用了 代码和hook 结果如下
Interceptor.attach(Module.findExportByName(null, 'clone'), {onEnter: function (args) {// 获取线程函数地址var thread_func = args[0];// 尝试获取线程函数所在模块var module = Process.findModuleByAddress(thread_func);if (module) {console.log('Thread function is located in module: ' + module.name);} else {}// 打印调用栈console.log('Backtrace:');console.log(Thread.backtrace(this.context, Backtracer.ACCURATE).map(DebugSymbol.fromAddress).join('\n'));},onLeave: function (retval) {// 返回值处理(如果需要)}});结果Thread function is located in module: libc.soBacktrace:0x749b413e40 libc.so!pthread_create+0x27c
然后 IDA跳转到pthread_create+0x27c 此处 调用了函数E6850 于是进去瞧一瞧 发现是DCQ数据
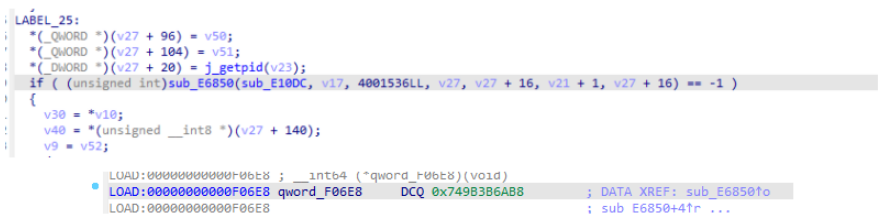
继续使用frida hook 读取下 结果是clone 也就说这里调用了clone函数
Interceptor.attach(Module.findExportByName(null, 'clone'), {onEnter: function (args) {// 获取线程函数地址var thread_func = args[0];// 尝试获取线程函数所在模块var module = Process.findModuleByAddress(thread_func);if (module) {console.log('Thread function is located in module: ' + module.name);const address = module.base.add(0xF06E8);const value = Memory.readU64(address);const symbol = DebugSymbol.fromAddress(ptr(value));console.log("name",symbol.name)} else {}// 打印调用栈},onLeave: function (retval) {// 返回值处理(如果需要)}});结果 clone
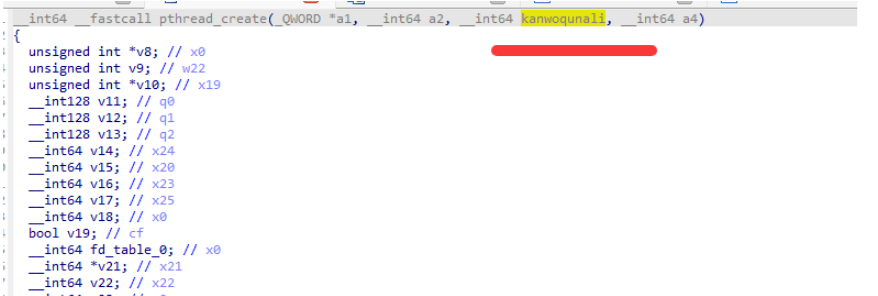
观察 pthread_create 函数的传参走向 也就是 a3,我们将a3改名为kanwoquanli。
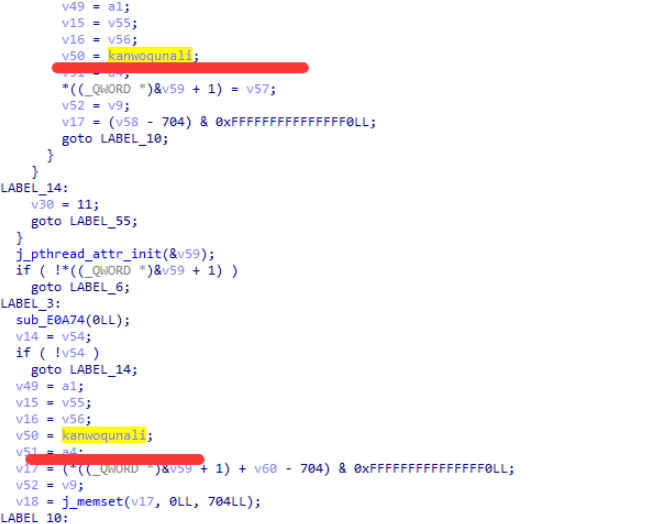
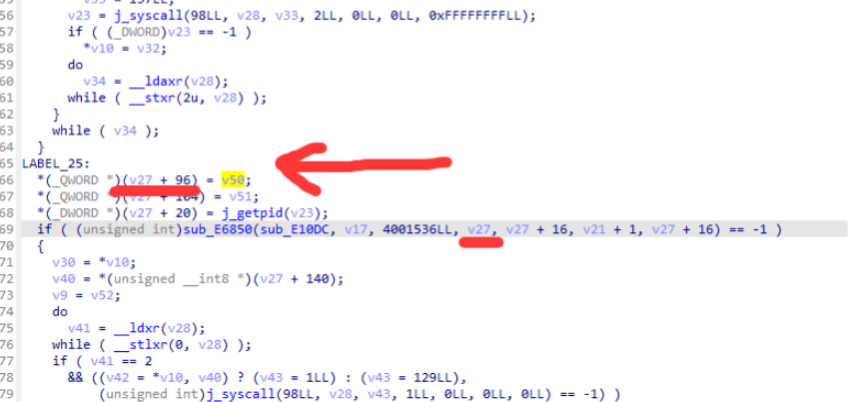 红色箭头所指的 E6850是clone 而 通过 pthread_create 函数创建线程传递的 线程函数 就是 v50 而clone函数的第四个参数 v27 + 96 是所需要的线程函数 这样 就可以去试试 写一下hook clone代码了
var clone = Module.findExportByName('libc.so', 'clone');Interceptor.attach(clone, {onEnter: function(args) {// args[3] 子线程的栈地址。如果这个值为 0,可能意味着没有指定栈地址if(args[3] != 0){var addr = args[3].add(96).readPointer()var so_name = Process.findModuleByAddress(addr).name;var so_base = Module.getBaseAddress(so_name);var offset = (addr - so_base);console.log("===============>", so_name, addr,offset, offset.toString(16));}},onLeave: function(retval) {}});
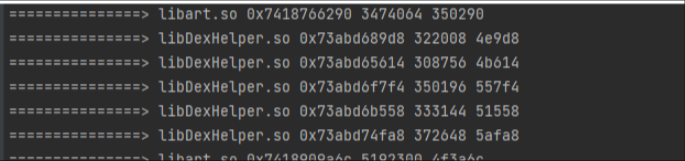
后运行后发现, 打印出来了我们所需要的参数
最后 我们 去给他nop掉 即可
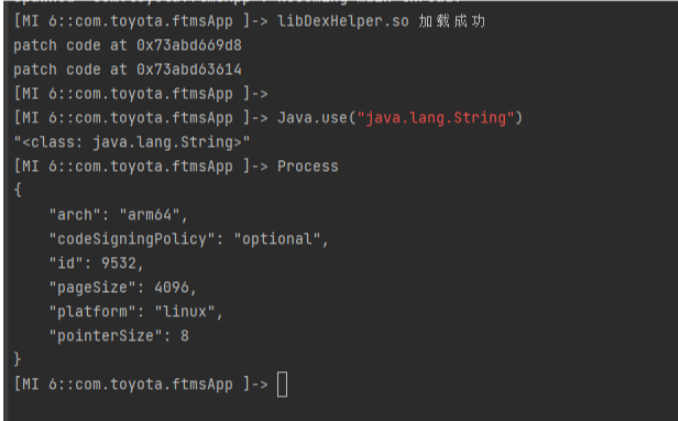
function hook_dlopen(so_name) {Interceptor.attach(Module.findExportByName(null, "android_dlopen_ext"), {onEnter: function (args) {var pathptr = args[0];if (pathptr !== undefined && pathptr != null) {var path = ptr(pathptr).readCString();// console.log(path)if (path.indexOf(so_name) !== -1) {this.match = true}}},onLeave: function (retval) {if (this.match) {console.log(so_name, "加载成功");var base = Module.findBaseAddress("libDexHelper.so")patch_func_nop(base.add(322008));patch_func_nop(base.add(308756));}}});}function patch_func_nop(addr) {Memory.patchCode(addr, 8, function (code) {code.writeByteArray([0xE0, 0x03, 0x00, 0xAA]);code.writeByteArray([0xC0, 0x03, 0x5F, 0xD6]);console.log("patch code at " + addr)});}hook_dlopen("libDexHelper.so")