centos9安装k8s集群
以下是基于CentOS Stream 9的Kubernetes 1.28.2完整安装流程(containerd版):
一、系统初始化(所有节点执行)
# 关闭防火墙
systemctl disable --now firewalld

# 关闭SELinux
sed -i "s/SELINUX=enforcing/SELINUX=disabled/g" /etc/selinux/config
setenforce 0

# 关闭交换分区
swapoff -a
sed -i '/swap/s/^$.*$$/#\1/g' /etc/fstab

# 配置hosts解析
cat >> /etc/hosts <<EOF
192.168.60.130 k8s-master
192.168.60.131 k8s-node1
EOF

# 设置主机名(主节点)
hostnamectl set-hostname k8s-master
# 从节点执行:
# hostnamectl set-hostname k8s-node1

# 配置内核参数
cat > /etc/sysctl.d/k8s.conf <<EOF
net.bridge.bridge-nf-call-ip6tables = 1
net.bridge.bridge-nf-call-iptables = 1
net.ipv4.ip_forward = 1
EOF
sysctl --system

# 加载内核模块
modprobe br_netfilter
lsmod | grep br_netfilter
二、安装containerd(所有节点)
# 添加阿里云Docker源
wget https://mirrors.aliyun.com/docker-ce/linux/centos/docker-ce.repo -O /etc/yum.repos.d/docker-ce.repo

# 安装containerd
yum install -y containerd.io

# 生成默认配置
containerd config default > /etc/containerd/config.toml

# 修改配置(替换镜像源)
sed -i 's#registry.k8s.io/pause:3.8#registry.aliyuncs.com/google_containers/pause:3.8#' /etc/containerd/config.toml
sed -i 's/SystemdCgroup = false/SystemdCgroup = true/' /etc/containerd/config.toml

# 启动服务
systemctl enable --now containerd
三、安装Kubernetes组件(所有节点)
# 添加阿里云Kubernetes源
cat > /etc/yum.repos.d/kubernetes.repo <<EOF
[kubernetes]
name=Kubernetes
baseurl=https://mirrors.aliyun.com/kubernetes/yum/repos/kubernetes-el7-x86_64/
enabled=1
gpgcheck=0
EOF

# 安装组件
yum install -y kubelet-1.28.2 kubeadm-1.28.2 kubectl-1.28.2

# 启动kubelet
systemctl enable --now kubelet
四、初始化Master节点(仅在主节点执行)
kubeadm init \
  --apiserver-advertise-address=192.168.60.130 \
  --image-repository registry.aliyuncs.com/google_containers \
  --kubernetes-version v1.28.2 \
  --pod-network-cidr=10.244.0.0/16

# 配置kubectl
mkdir -p $HOME/.kube
cp -i /etc/kubernetes/admin.conf $HOME/.kube/config
chown $(id -u):$(id -g) $HOME/.kube/config
五、安装网络插件(主节点)
# 如果ping不通需要更改镜像源,如果可以,直接忽略
ping docker.io

kubectl apply -f https://docs.projectcalico.org/manifests/calico.yaml
如果出现下载不了 需要更改 将docker.io换成 quay.io
六、加入Worker节点(从节点执行)
# 使用主节点初始化时输出的join命令,例如:
kubeadm join 192.168.60.130:6443 \
  --token <token> \
  --discovery-token-ca-cert-hash sha256:<hash>

mkdir ~/.kube

cp /etc/kubernetes/kubelet.conf  ~/.kube/config
七、验证集群
# 查看节点状态
kubectl get nodes -o wide

# 查看Pod状态
kubectl get pods -n kube-system
八、node验证
kubectl get pods -n kube-system
9、安装KubeSphere
curl https://raw.githubusercontent.com/helm/helm/main/scripts/get-helm-3 | bash

# 如果无法访问 charts.kubesphere.io, 可将 charts.kubesphere.io 替换为 charts.kubesphere.com.cn
helm upgrade --install -n kubesphere-system --create-namespace ks-core https://charts.kubesphere.io/main/ks-core-1.1.3.tgz --debug --wait

说明
如果您访问 Docker Hub 受限,请在命令后添加如下配置,修改默认的镜像拉取地址。

--set global.imageRegistry=swr.cn-southwest-2.myhuaweicloud.com/ks

--set extension.imageRegistry=swr.cn-southwest-2.myhuaweicloud.com/ks
如果显示如下信息,则表明 ks-core 安装成功:

NOTES:
Thank you for choosing KubeSphere Helm Chart.

Please be patient and wait for several seconds for the KubeSphere deployment to complete.

1. Wait for Deployment Completion

    Confirm that all KubeSphere components are running by executing the following command:

    kubectl get pods -n kubesphere-system

2. Access the KubeSphere Console

    Once the deployment is complete, you can access the KubeSphere console using the following URL:

    http://192.168.6.10:30880

3. Login to KubeSphere Console

    Use the following credentials to log in:

    Account: admin
    Password: P@88w0rd

NOTE: It is highly recommended to change the default password immediately after the first login.

For additional information and details, please visit https://kubesphere.io.

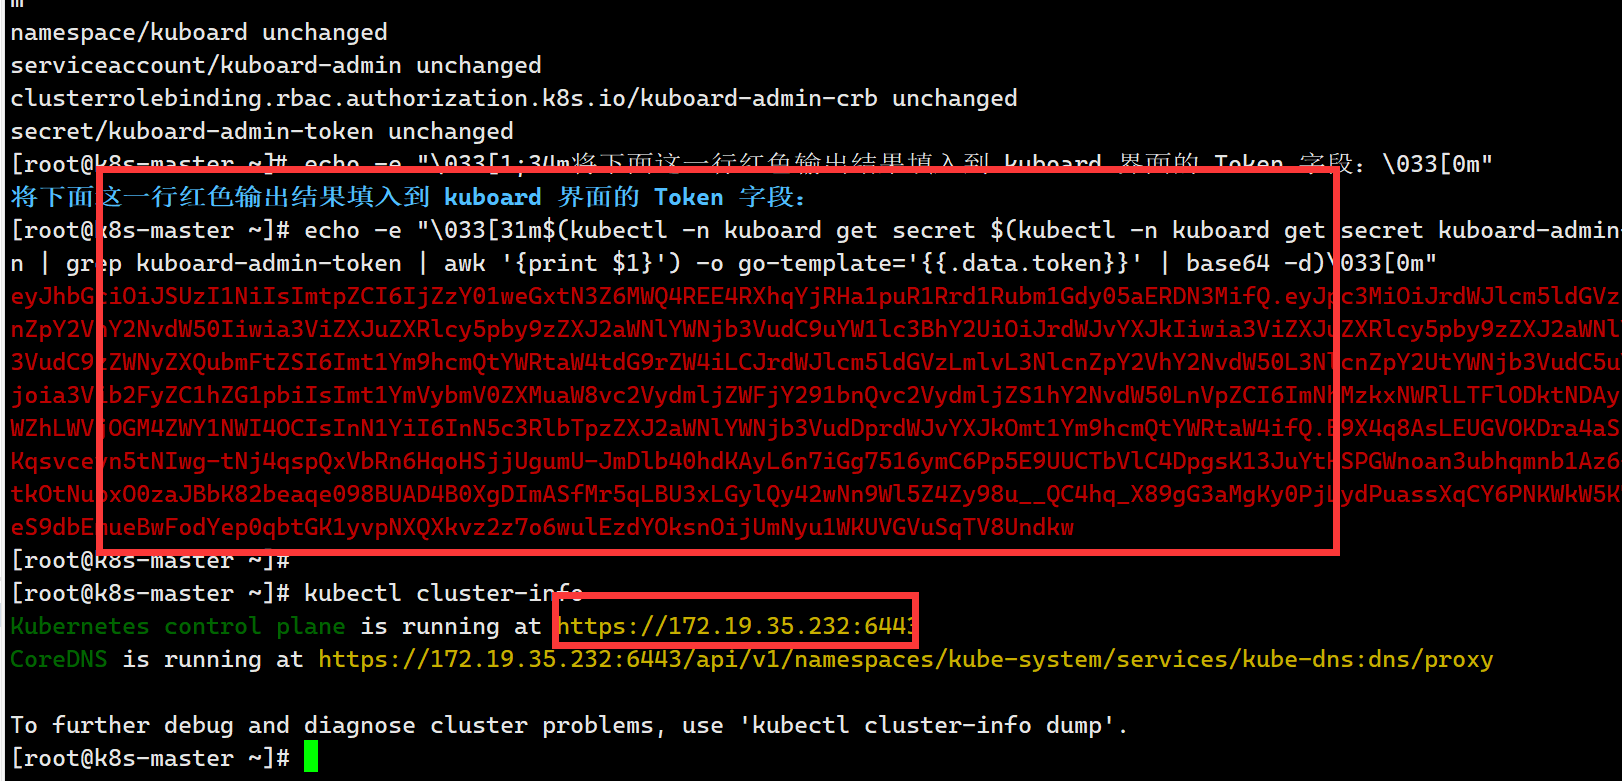
10、安装kuboard
sudo docker run -d \
  --restart=unless-stopped \
  --name=kuboard \
  -p 80:80/tcp \
  -p 10081:10081/tcp \
  -e KUBOARD_ENDPOINT="http://内网IP:80" \
  -e KUBOARD_AGENT_SERVER_TCP_PORT="10081" \
  -v /root/kuboard-data:/data \
  eipwork/kuboard:v3
  # 也可以使用镜像 swr.cn-east-2.myhuaweicloud.com/kuboard/kuboard:v3 ,可以更快地完成镜像下载。
  # 请不要使用 127.0.0.1 或者 localhost 作为内网 IP \
  # Kuboard 不需要和 K8S 在同一个网段,Kuboard Agent 甚至可以通过代理访问 Kuboard Server \
DANGER
KUBOARD_ENDPOINT 参数的作用是,让部署到 Kubernetes 中的 kuboard-agent 知道如何访问 Kuboard Server;
KUBOARD_ENDPOINT 中也可以使用外网 IP;
Kuboard 不需要和 K8S 在同一个网段,Kuboard Agent 甚至可以通过代理访问 Kuboard Server;
建议在 KUBOARD_ENDPOINT 中使用域名;
如果使用域名,必须能够通过 DNS 正确解析到该域名,如果直接在宿主机配置 /etc/hosts 文件,将不能正常运行;
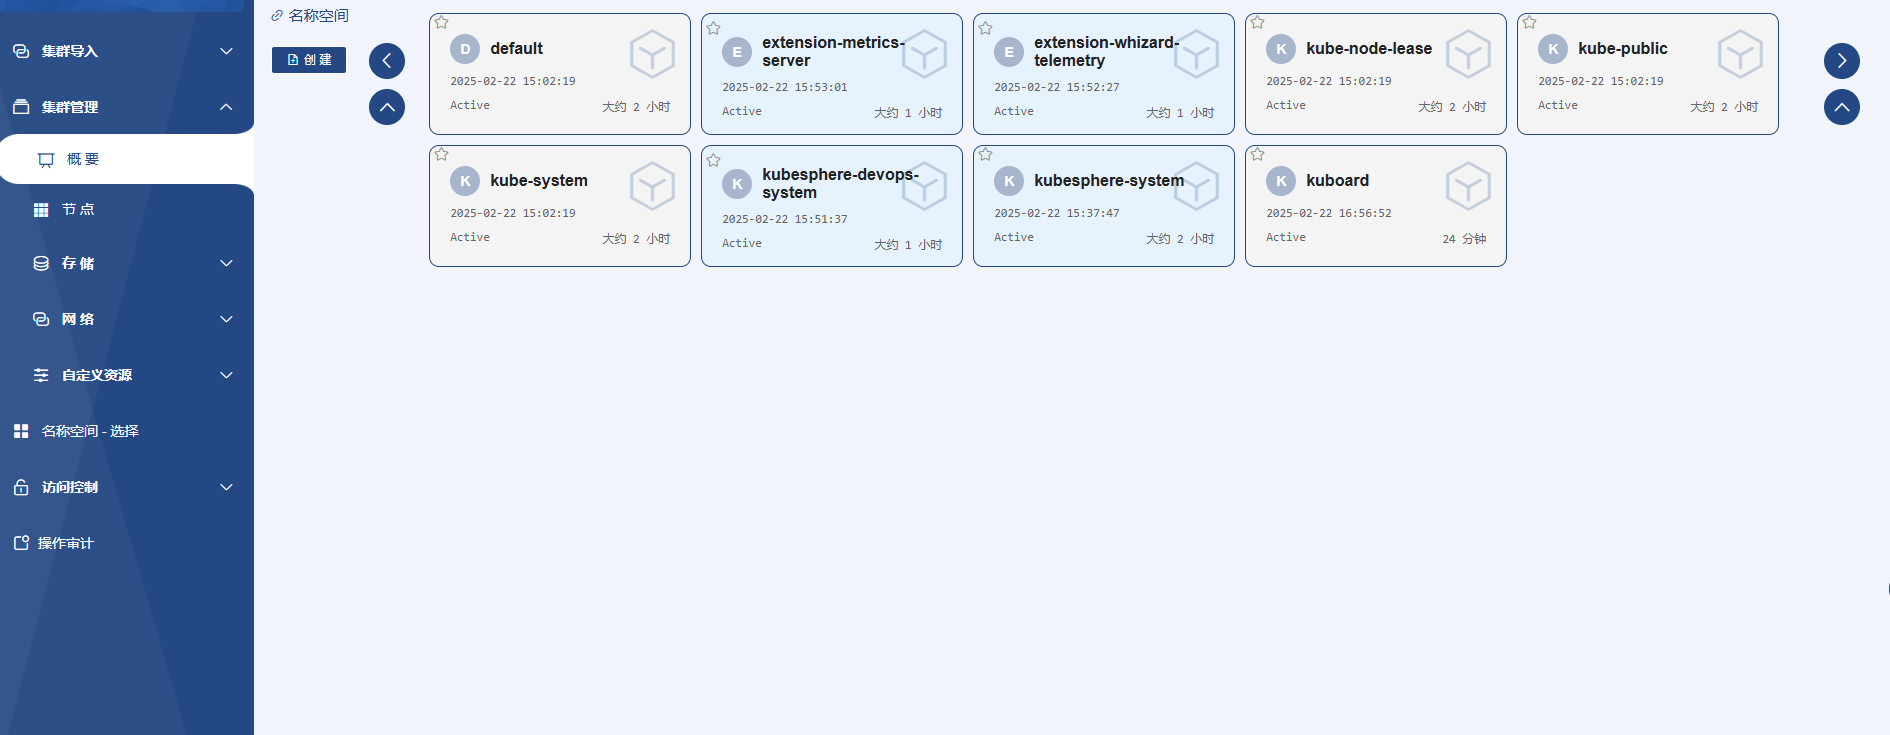
访问 Kuboard v3.x
在浏览器输入 http://your-host-ip:80 即可访问 Kuboard v3.x 的界面,登录方式:
用户名: admin
密 码: Kuboard123