在CentOS 7上搭建GitLab服务器的完整指南
前言

GitLab是一个强大的DevOps平台,集代码托管、CI/CD、项目管理于一体。本文将详细介绍在CentOS 7上搭建GitLab企业级服务器的完整流程,包含关键配置和避坑指南。
一、环境准备
1.1 系统要求
最低配置:
4核CPU / 4GB内存(推荐8GB+)
50GB+磁盘空间
CentOS 7.6+(64位)
⚠️ 注意:内存不足会导致GitLab运行缓慢甚至崩溃!
服务器配置参考:
| 场景 | CPU | 内存 | 存储 |
|---|---|---|---|
| 小型团队 | 4核 | 8GB | 100GB |
| 中型企业 | 8核 | 16GB | 500GB |
| 大型部署 | 16核 | 32GB | 1TB+ |
1.2基础服务配置
# 安装SSH服务、curl工具和系统管理工具
sudo yum install -y curl policycoreutils-python openssh-server# 设置SSH服务开机自启动
sudo systemctl enable sshd# 启动SSH服务(允许远程连接)
sudo systemctl start sshd# 安装防火墙管理工具
sudo yum install firewalld systemd -y# 启动防火墙服务
sudo systemctl start firewalld# 添加HTTP服务到防火墙(--permanent表示永久生效)
sudo firewall-cmd --permanent --add-service=http# 添加HTTPS服务到防火墙
sudo firewall-cmd --permanent --add-service=https# 添加SSH服务到防火墙
sudo firewall-cmd --permanent --add-service=ssh# 重新加载防火墙配置(使更改生效)
sudo systemctl reload firewalld# 安装邮件服务(用于GitLab通知)
sudo yum install postfix -y# 设置邮件服务开机自启动
sudo systemctl enable postfix# 启动邮件服务
sudo systemctl start postfix# 安装vim编辑器(配置文件修改)
sudo yum install -y vim# 安装wget下载工具(获取安装包)
sudo yum install -y wget
二、GitLab安装与配置
2.1 使用国内镜像加速安装
# 下载清华镜像站提供的GitLab RPM包(版本14.3.2)
wget https://mirrors.tuna.tsinghua.edu.cn/gitlab-ce/yum/el7/gitlab-ce-14.3.2-ce.0.el7.x86_64.rpm# 使用RPM包管理器安装GitLab
rpm -i gitlab-ce-14.3.2-ce.0.el7.x86_64.rpm
2.2 关键配置修改
# 编辑GitLab主配置文件
vim /etc/gitlab/gitlab.rb
进入gitlab.rb文件后,查找内容
# 修改以下配置项(示例):
#external_url ‘http://IP:Port’
#external_url ‘http://域名’
external_url 'http://your-server-ip:1000'  # 使用自定义端口 gitlab_rails['smtp_enable'] = true         # 启用邮件发送(可选)
gitlab_rails['smtp_address'] = "smtp.exmail.qq.com"  # 邮件服务器地址(可选)
gitlab_rails['time_zone'] = 'Asia/Shanghai' # 设置时区(可选)
2.3 防火墙与初始化
# 添加自定义端口到防火墙(示例端口1000)
firewall-cmd --permanent --add-port=1000/tcp# 重新加载防火墙配置
sudo systemctl reload firewalld# 重新配置GitLab(应用配置更改)
gitlab-ctl reconfigure# 重启GitLab服务
gitlab-ctl restart
2.4 密码重置方法
# 进入GitLab控制台
sudo gitlab-rails console -e production# 执行密码重置命令序列
user = User.where(id: 1).first  # 获取root用户
user.password = 'YourNewPassword123!'  # 设置新密码
user.password_confirmation = 'YourNewPassword123!'  # 确认密码
user.save!  # 保存更改
exit  # 退出
2.5重启Gitlab
# 重启GitLab服务
gitlab-ctl restart
三、故障排除指南(附解决方案)
3.1 502错误(最常见)
原因分析:
内存不足(GitLab至少需要4GB)
Unicorn服务崩溃
4.2 422页面错误
原因分析:
CSRF令牌验证失败
代理服务器配置错误
四 GitLab服务管理命令
# 启动所有服务
gitlab-ctl start# 停止所有服务
gitlab-ctl stop# 重启所有服务
gitlab-ctl restart# 查看服务状态
gitlab-ctl status# 查看实时日志(Nginx)
gitlab-ctl tail nginx# 检查系统配置
gitlab-rake gitlab:check SANITIZE=true
五 实操截图
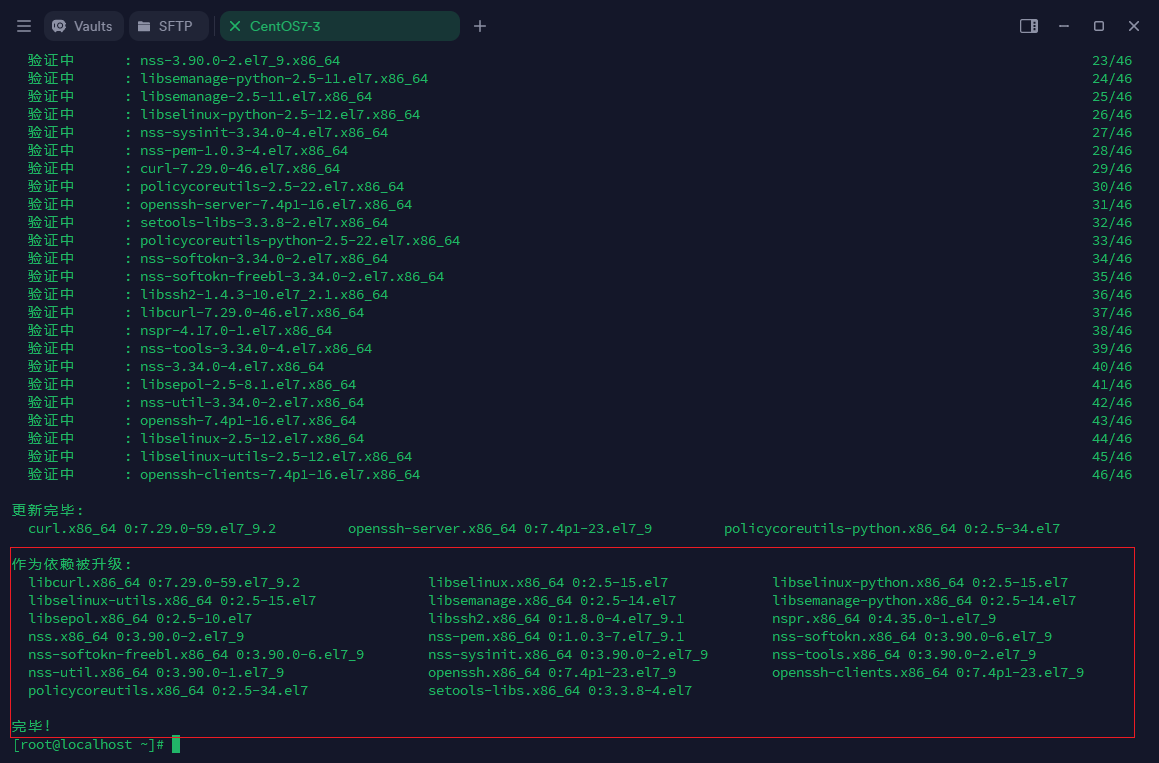
1.安装SSH服务、curl工具和系统管理工具
# 安装SSH服务、curl工具和系统管理工具
sudo yum install -y curl policycoreutils-python openssh-server
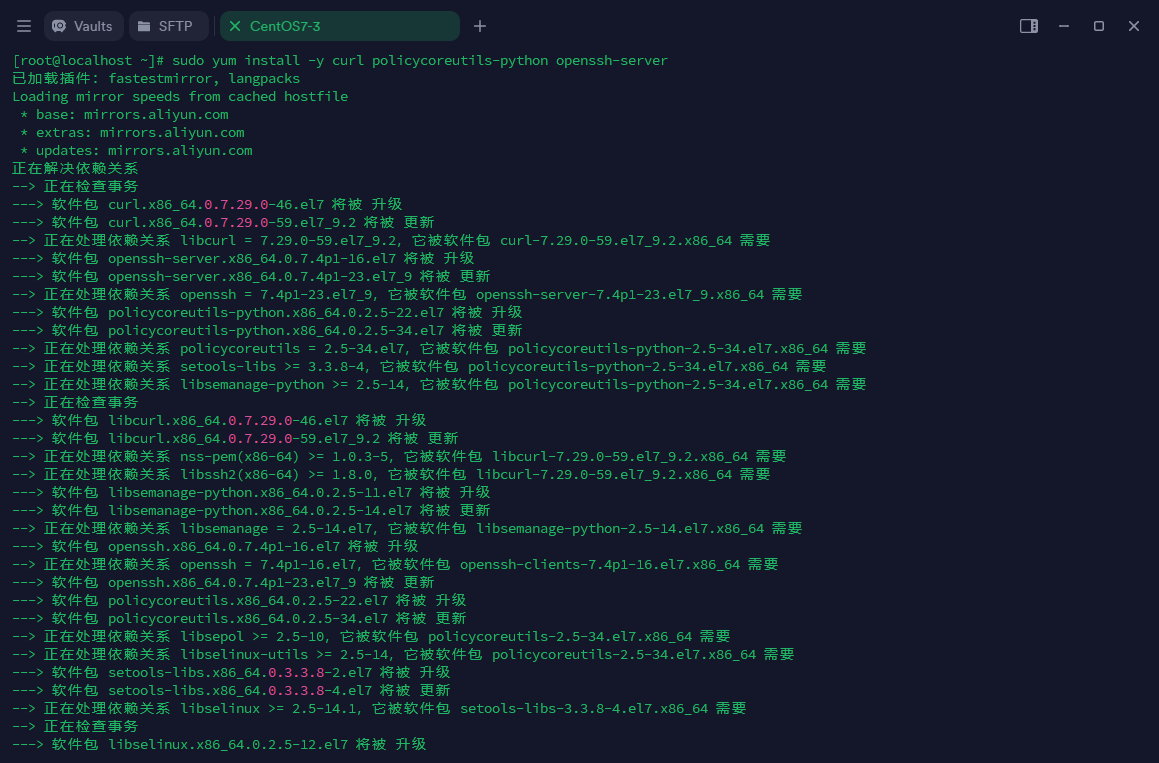
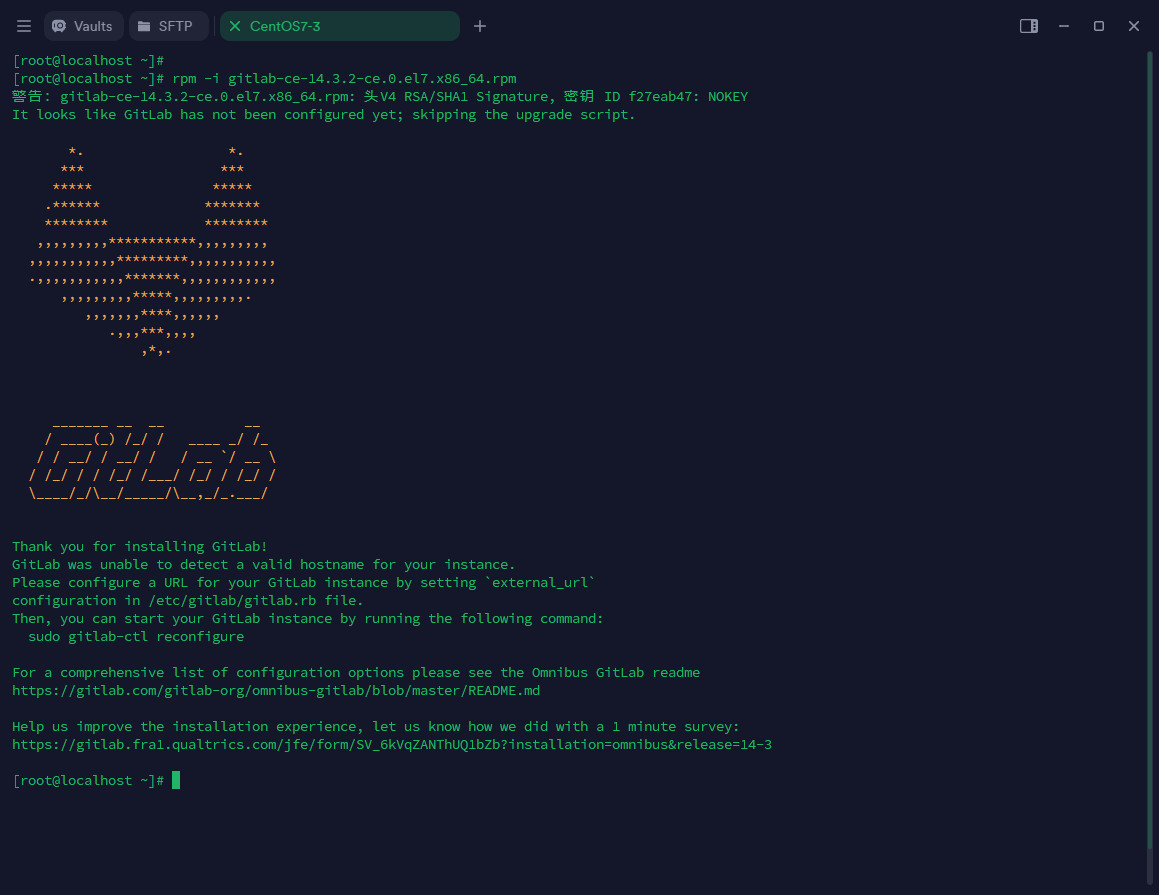
安装成功会出现如下图所示
2.设置SSH服务
# 设置SSH服务开机自启动
sudo systemctl enable sshd
# 启动SSH服务(允许远程连接)
sudo systemctl start sshd
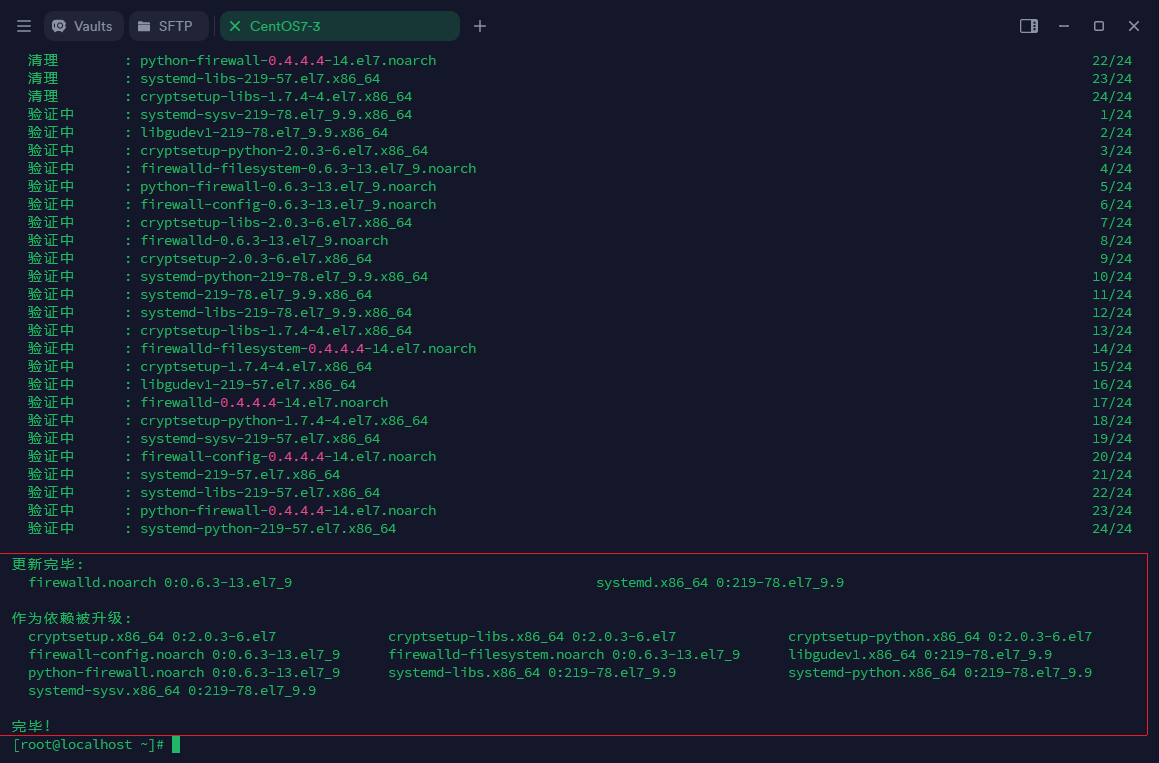
# 安装防火墙管理工具
sudo yum install firewalld systemd -y
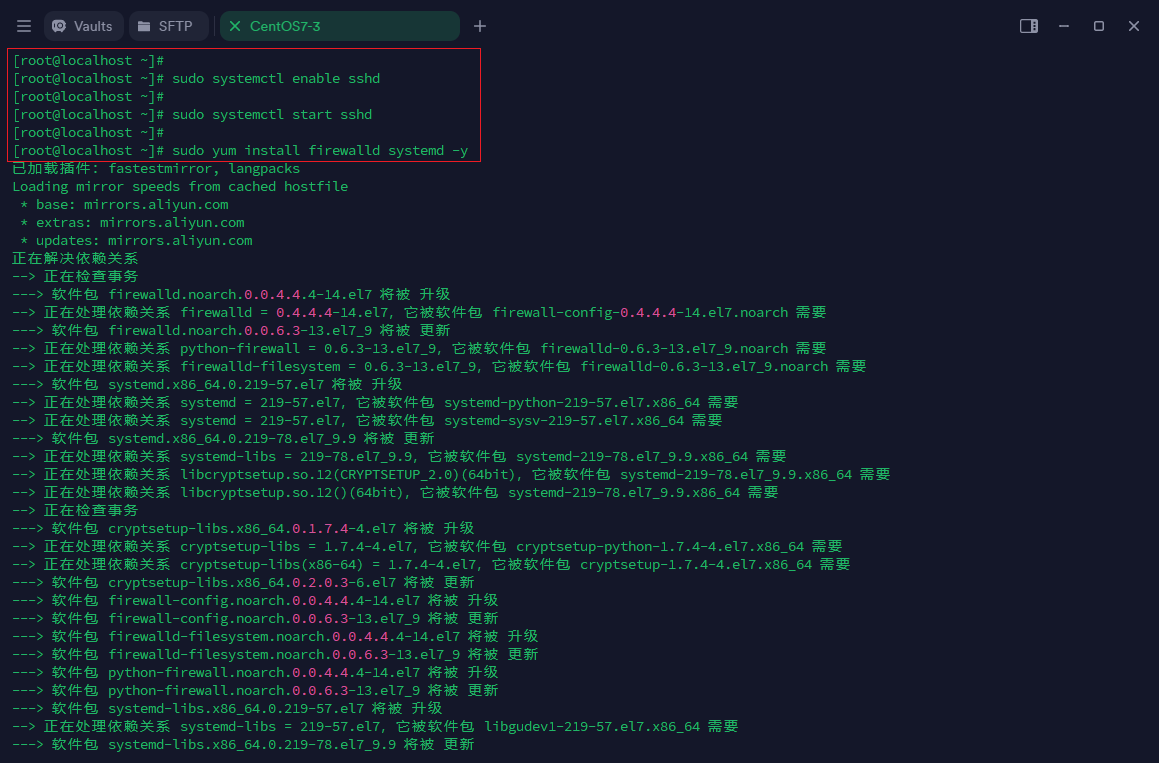
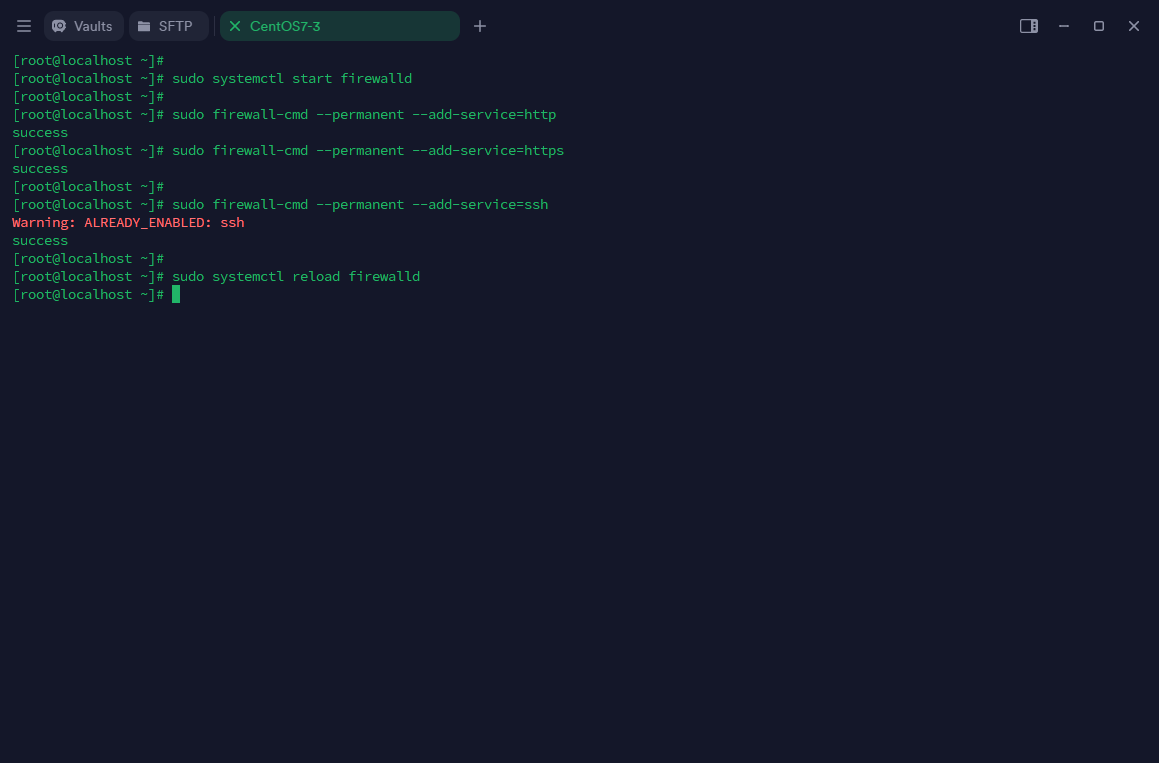
安装成功会出现如下图所示
# 启动防火墙服务
sudo systemctl start firewalld
# 添加HTTP服务到防火墙(--permanent表示永久生效)
sudo firewall-cmd --permanent --add-service=http
# 添加HTTPS服务到防火墙
sudo firewall-cmd --permanent --add-service=https
# 添加SSH服务到防火墙
sudo firewall-cmd --permanent --add-service=ssh
# 重新加载防火墙配置(使更改生效)
sudo systemctl reload firewalld
3.安装Postfix
# 安装邮件服务(用于GitLab通知)
sudo yum install postfix -y
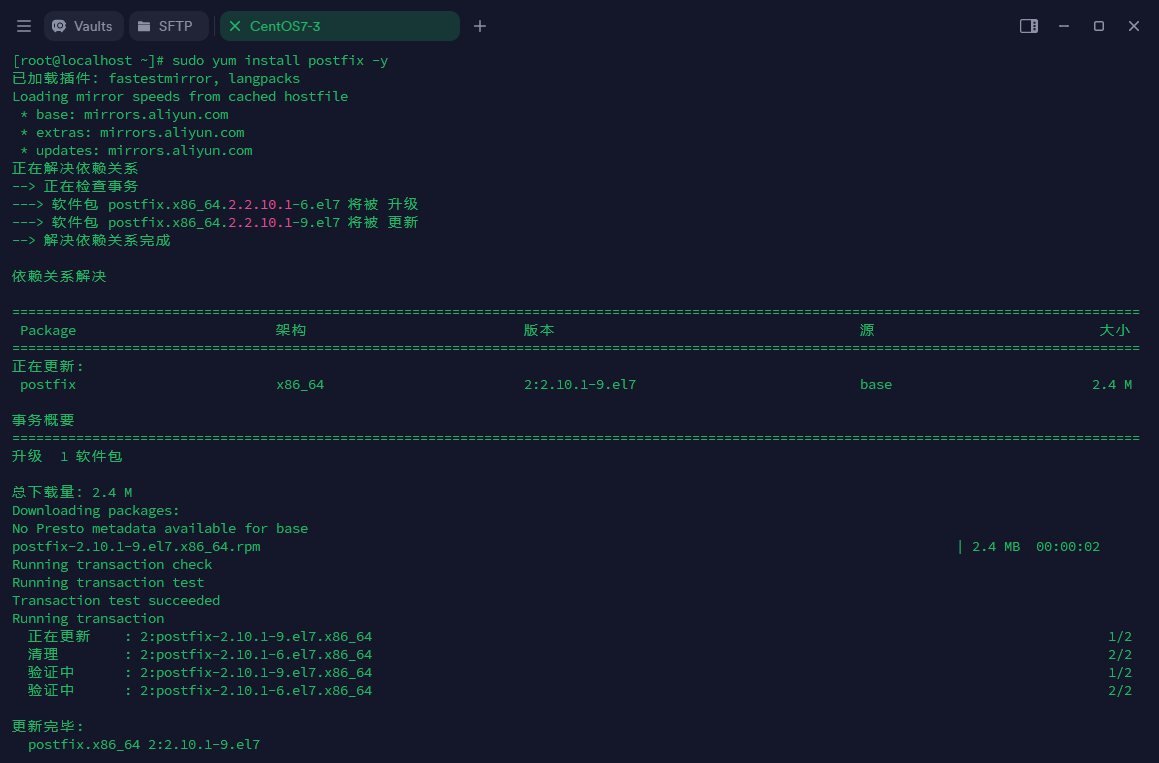
# 设置邮件服务开机自启动
sudo systemctl enable postfix
# 启动邮件服务
sudo systemctl start postfix
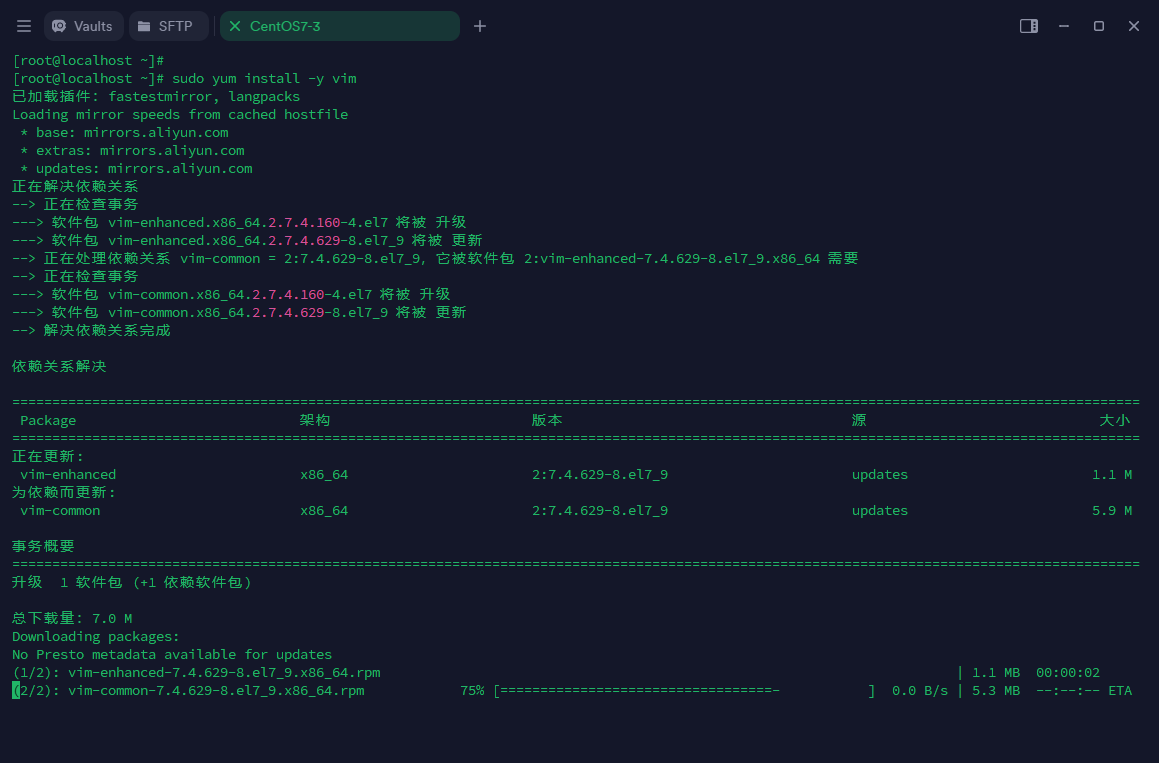
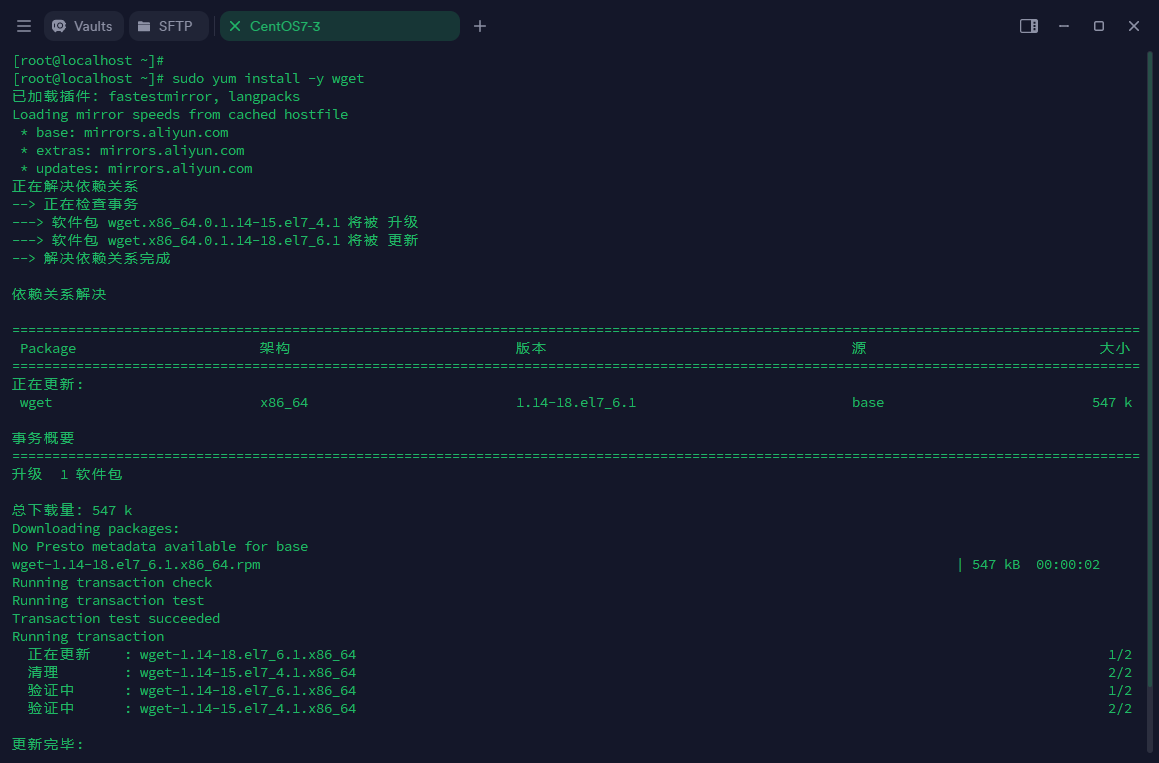
 4.安装vim编辑器和wget下载器
# 安装vim编辑器(配置文件修改)
sudo yum install -y vim
# 安装wget下载工具(获取安装包)
sudo yum install -y wget
 5.添加GitLab镜像源并安装gitlab
# 下载清华镜像站提供的GitLab RPM包(版本14.3.2)
wget https://mirrors.tuna.tsinghua.edu.cn/gitlab-ce/yum/el7/gitlab-ce-14.3.2-ce.0.el7.x86_64.rpm
# 使用RPM包管理器安装GitLab
rpm -i gitlab-ce-14.3.2-ce.0.el7.x86_64.rpm
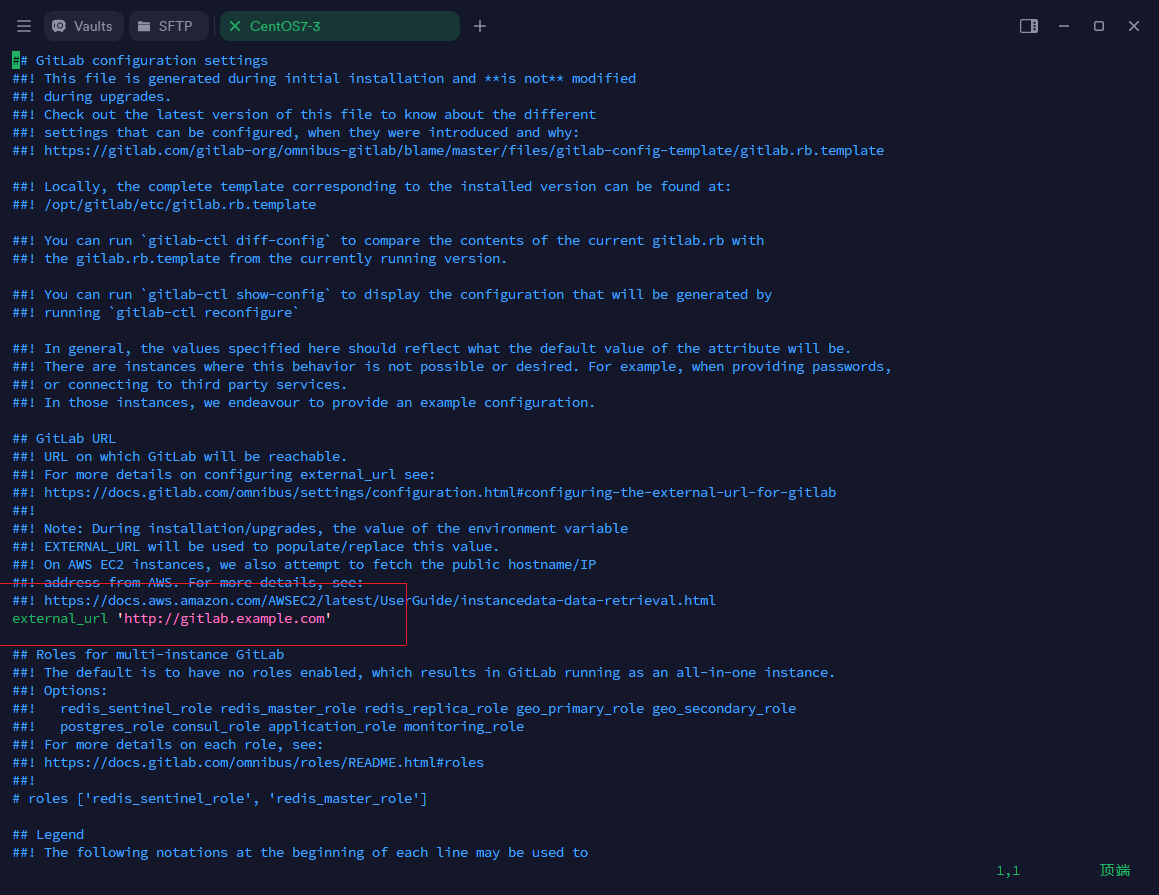
 6.关键配置修改
# 编辑GitLab主配置文件
vim /etc/gitlab/gitlab.rb
# 修改以下配置项(示例):
#external_url ‘http://IP:Port’
#external_url ‘http://域名’
external_url 'http://your-server-ip:1000' # 使用自定义端口
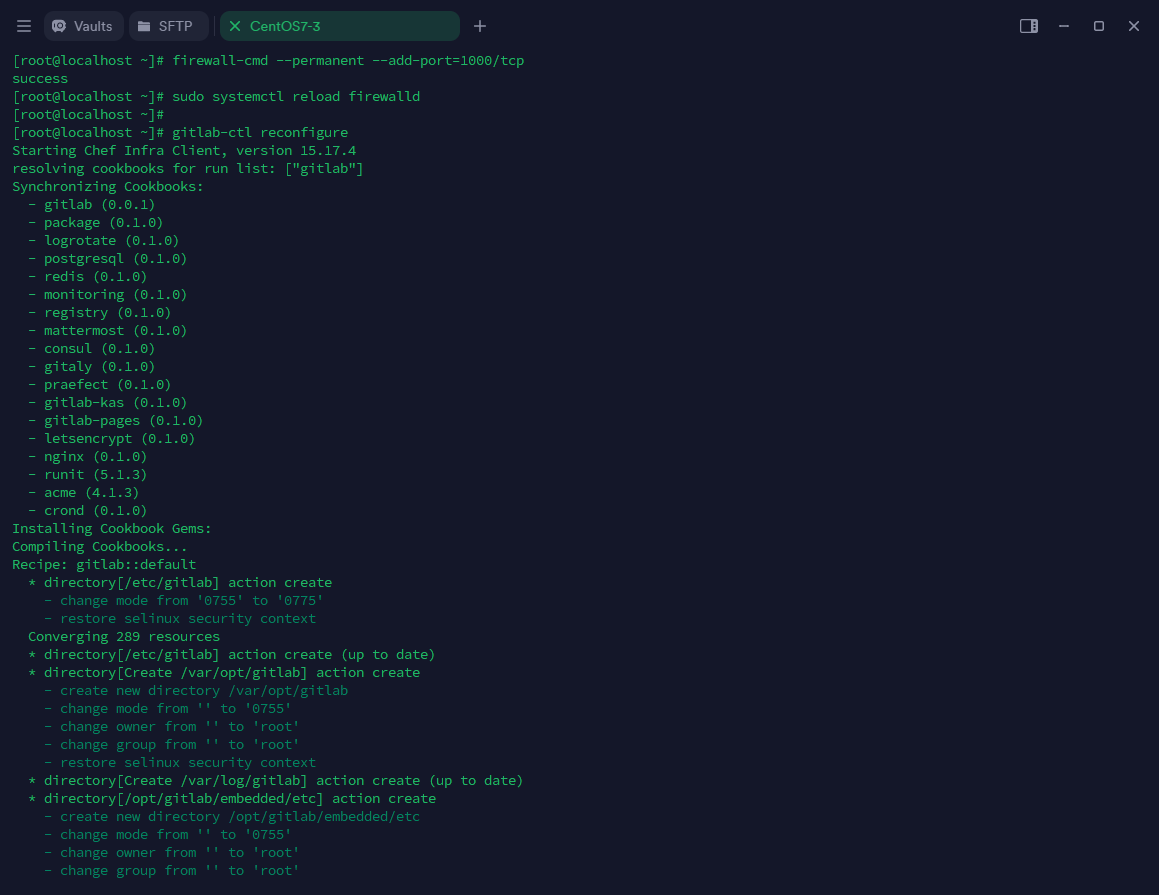
 7.防火墙与初始化
# 添加自定义端口到防火墙(示例端口1000)
firewall-cmd --permanent --add-port=1000/tcp
# 重新加载防火墙配置
sudo systemctl reload firewalld
# 重新配置GitLab(应用配置更改) 重置过程需要一些时间等待
gitlab-ctl reconfigure
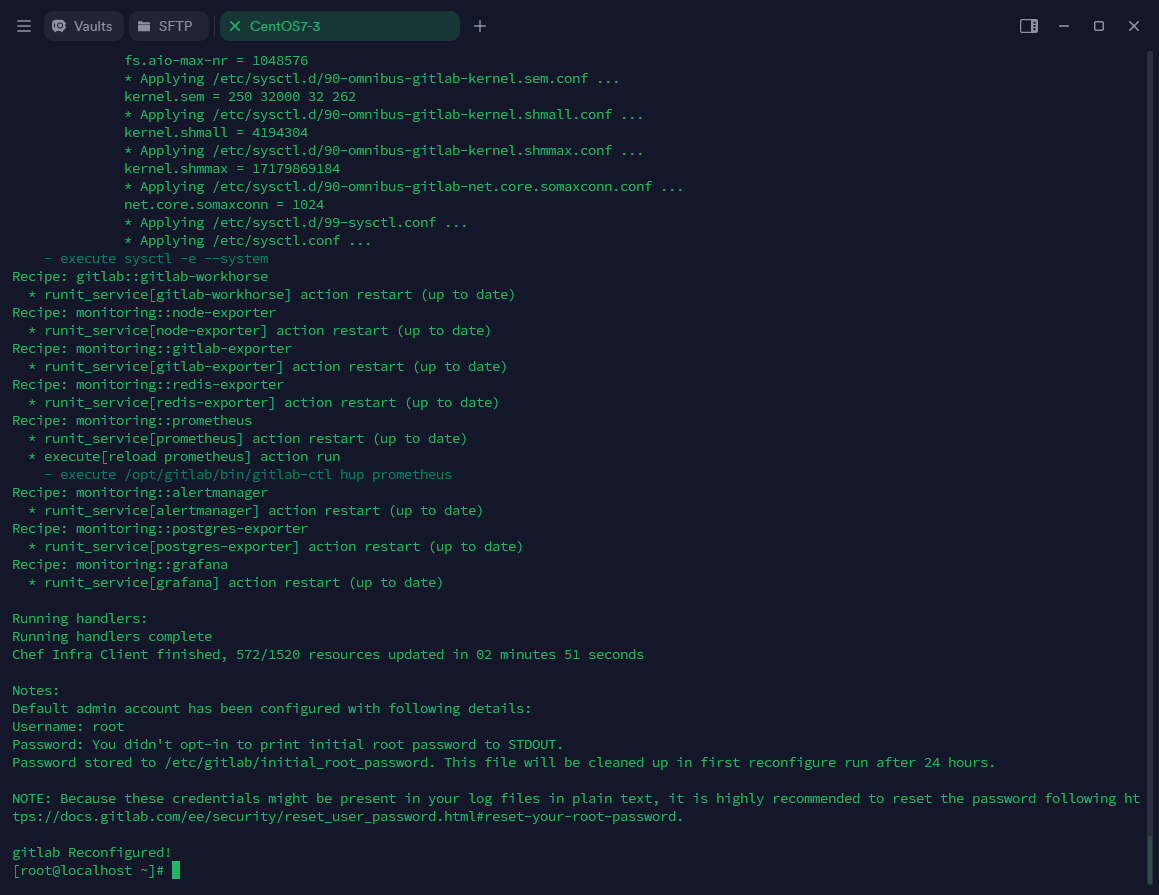
 重置成功后,最后几行的信息如下图所示
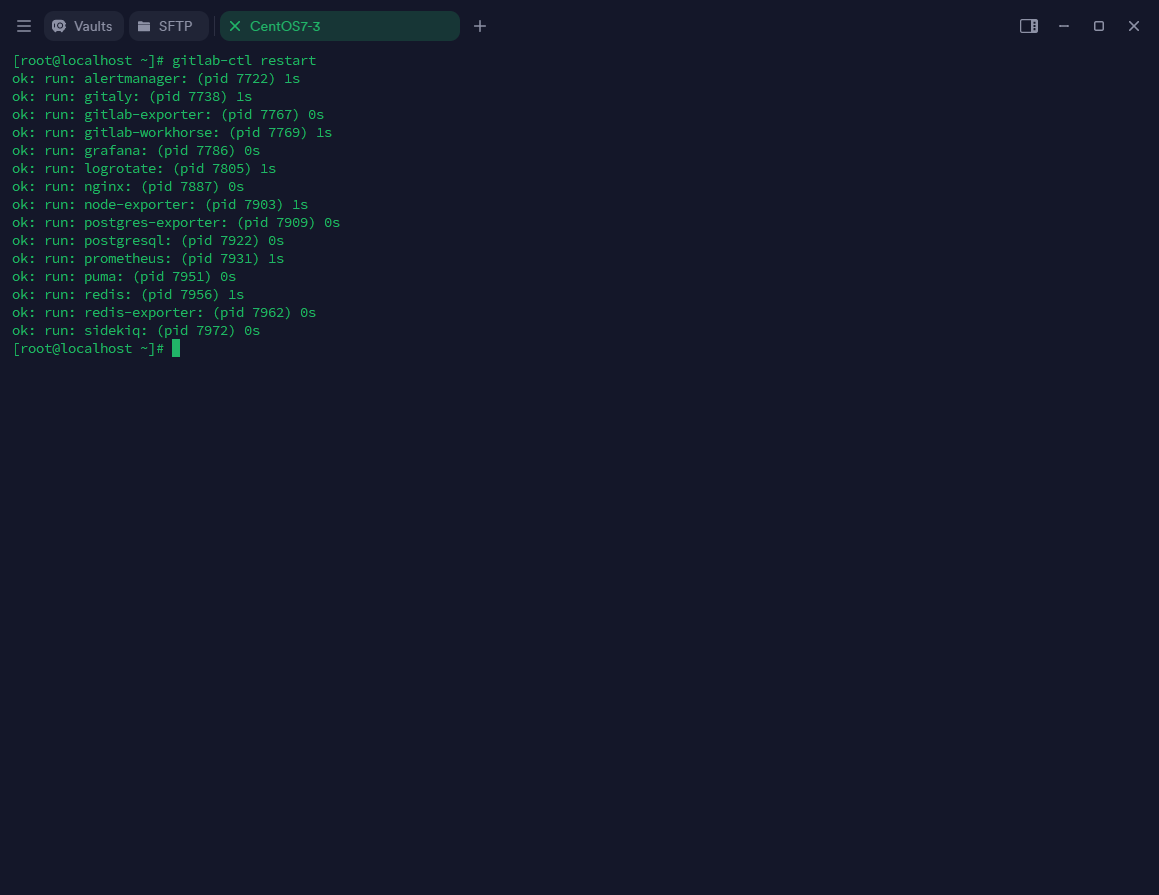
 8.重启GitLab服务
# 重启GitLab服务
gitlab-ctl restart
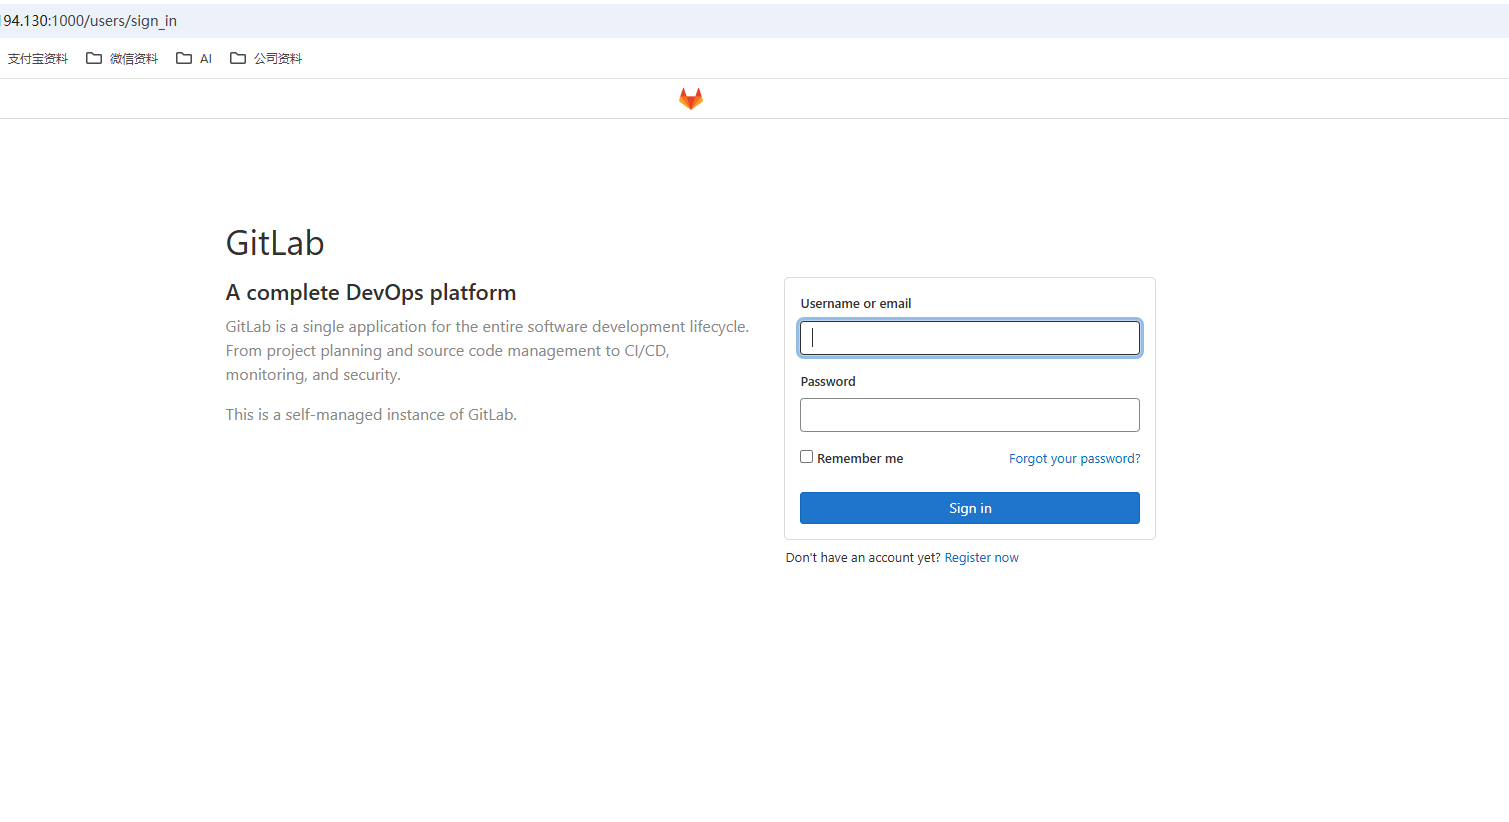
9.访问GitLab页面
访问方式:IP地址+端口号
访问地址是来源
#external_url ‘http://IP:Port’
#external_url ‘http://域名’
external_url 'http://your-server-ip:1000' # 使用自定义端口
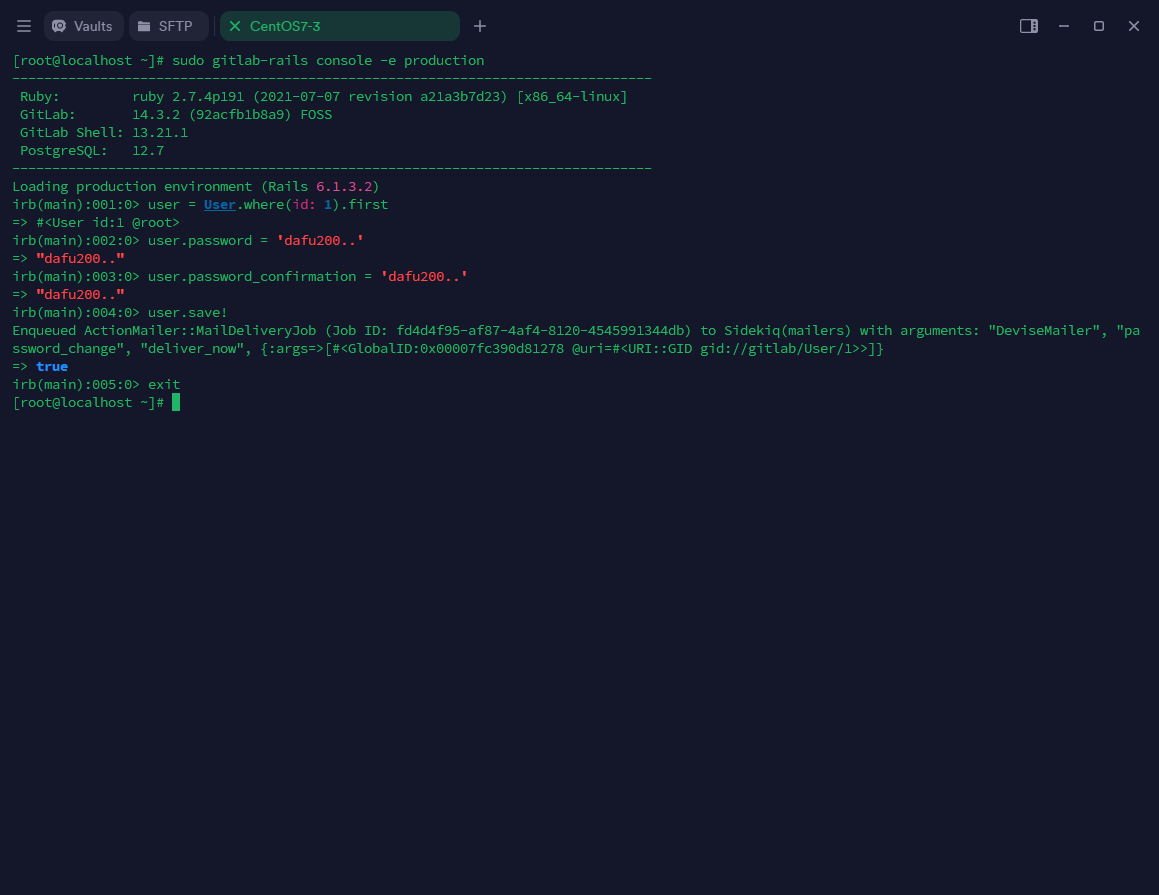
10.密码重置方法
# 进入GitLab控制台
sudo gitlab-rails console -e production
# 执行密码重置命令序列
user = User.where(id: 1).first # 获取root用户
user.password = 'dafu200..' # 设置新密码
user.password_confirmation = 'dafu200..' # 确认密码
user.save! # 保存更改
exit # 退出
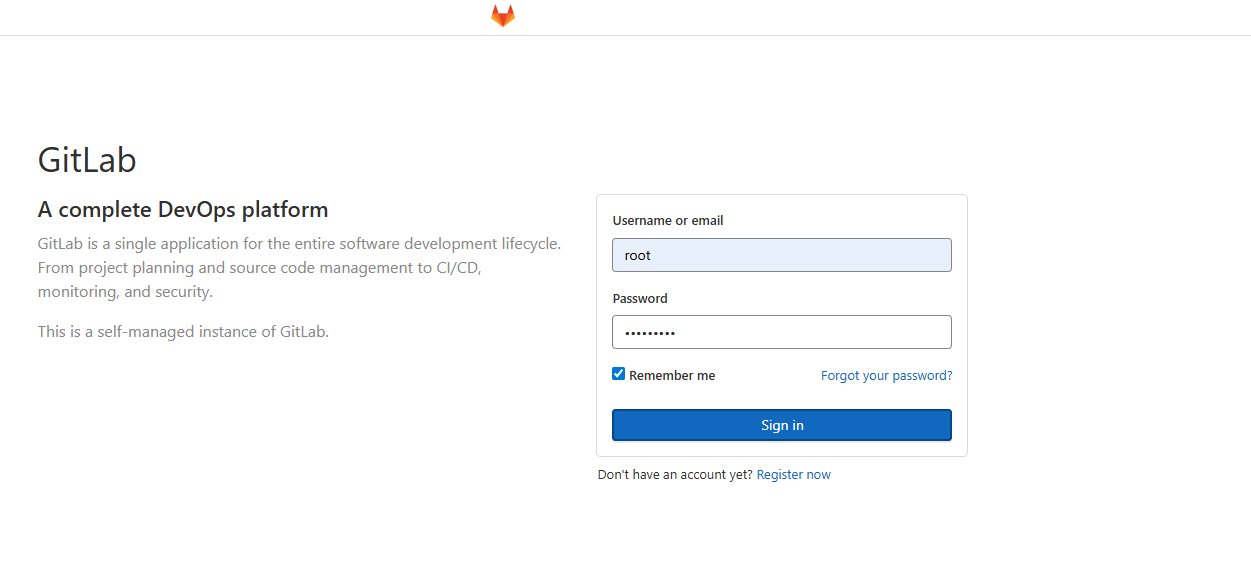
 11.重置完成登录
11.创建项目仓库

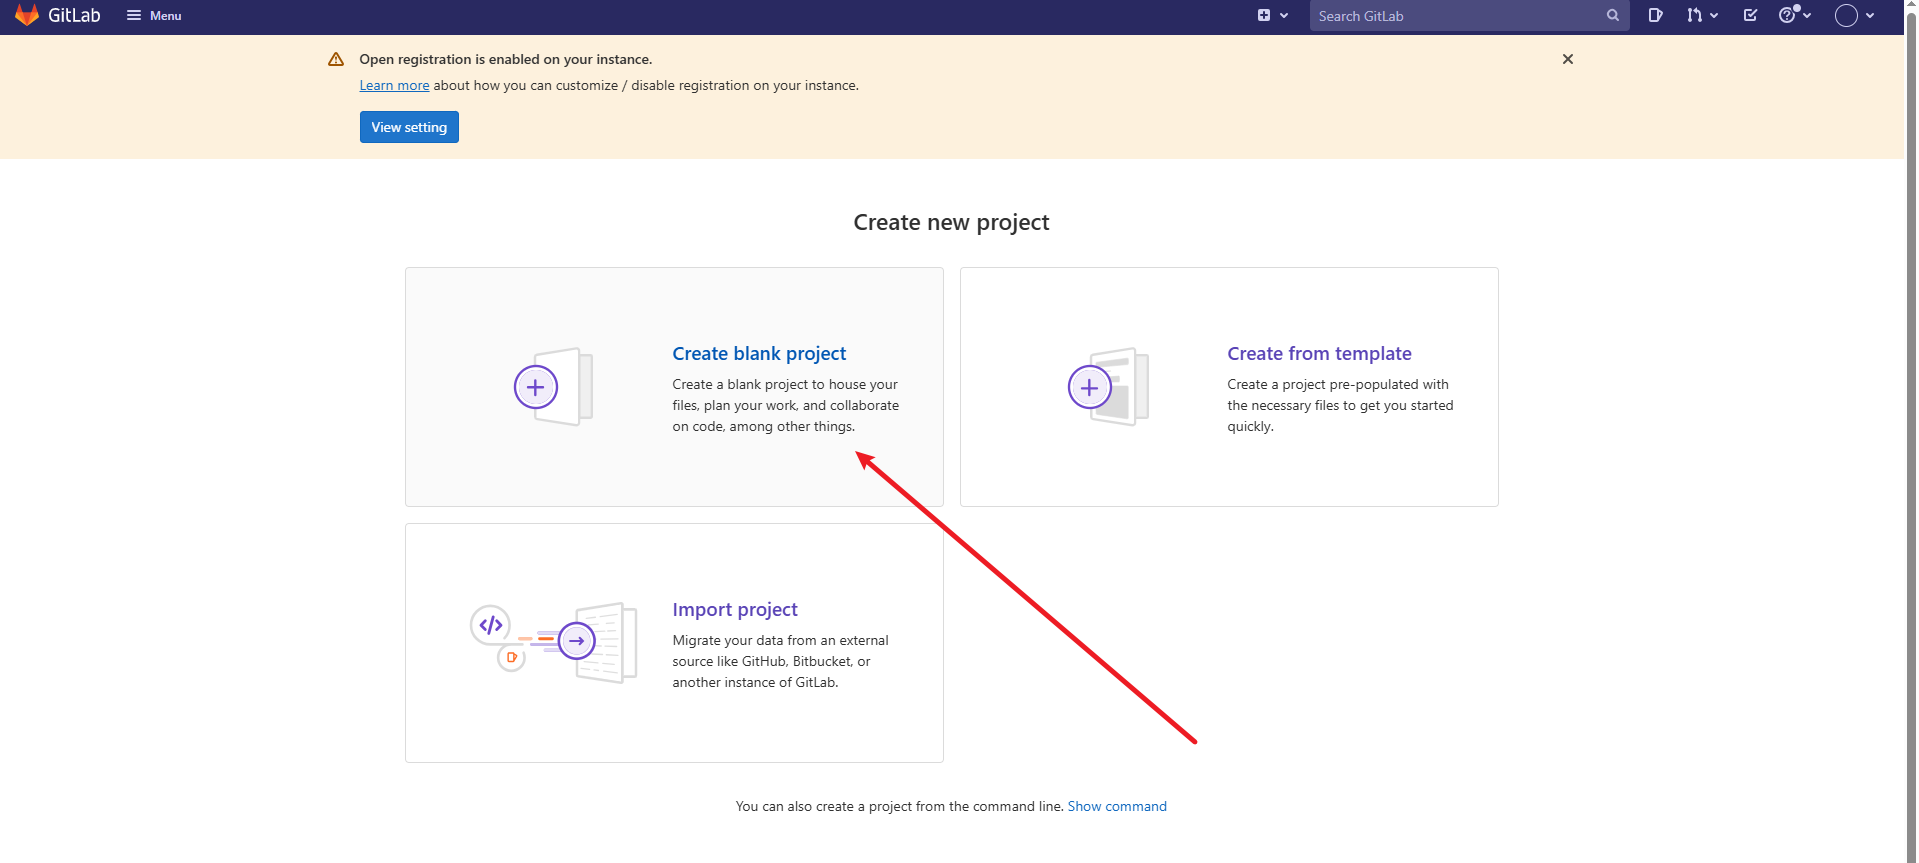
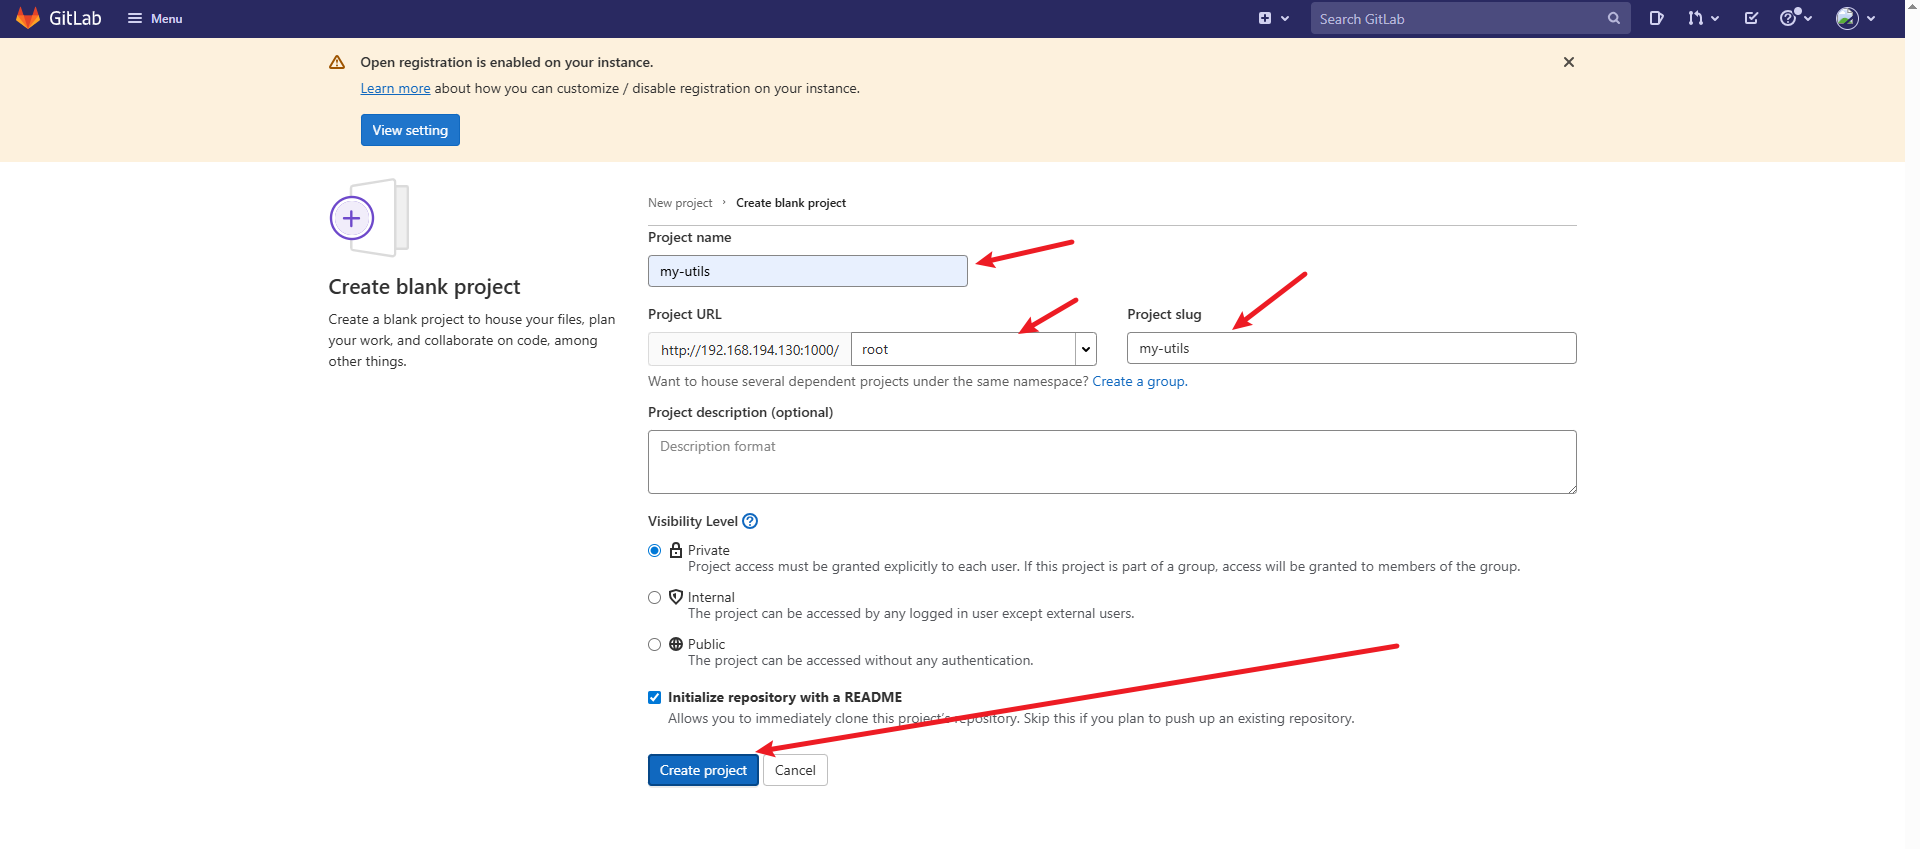
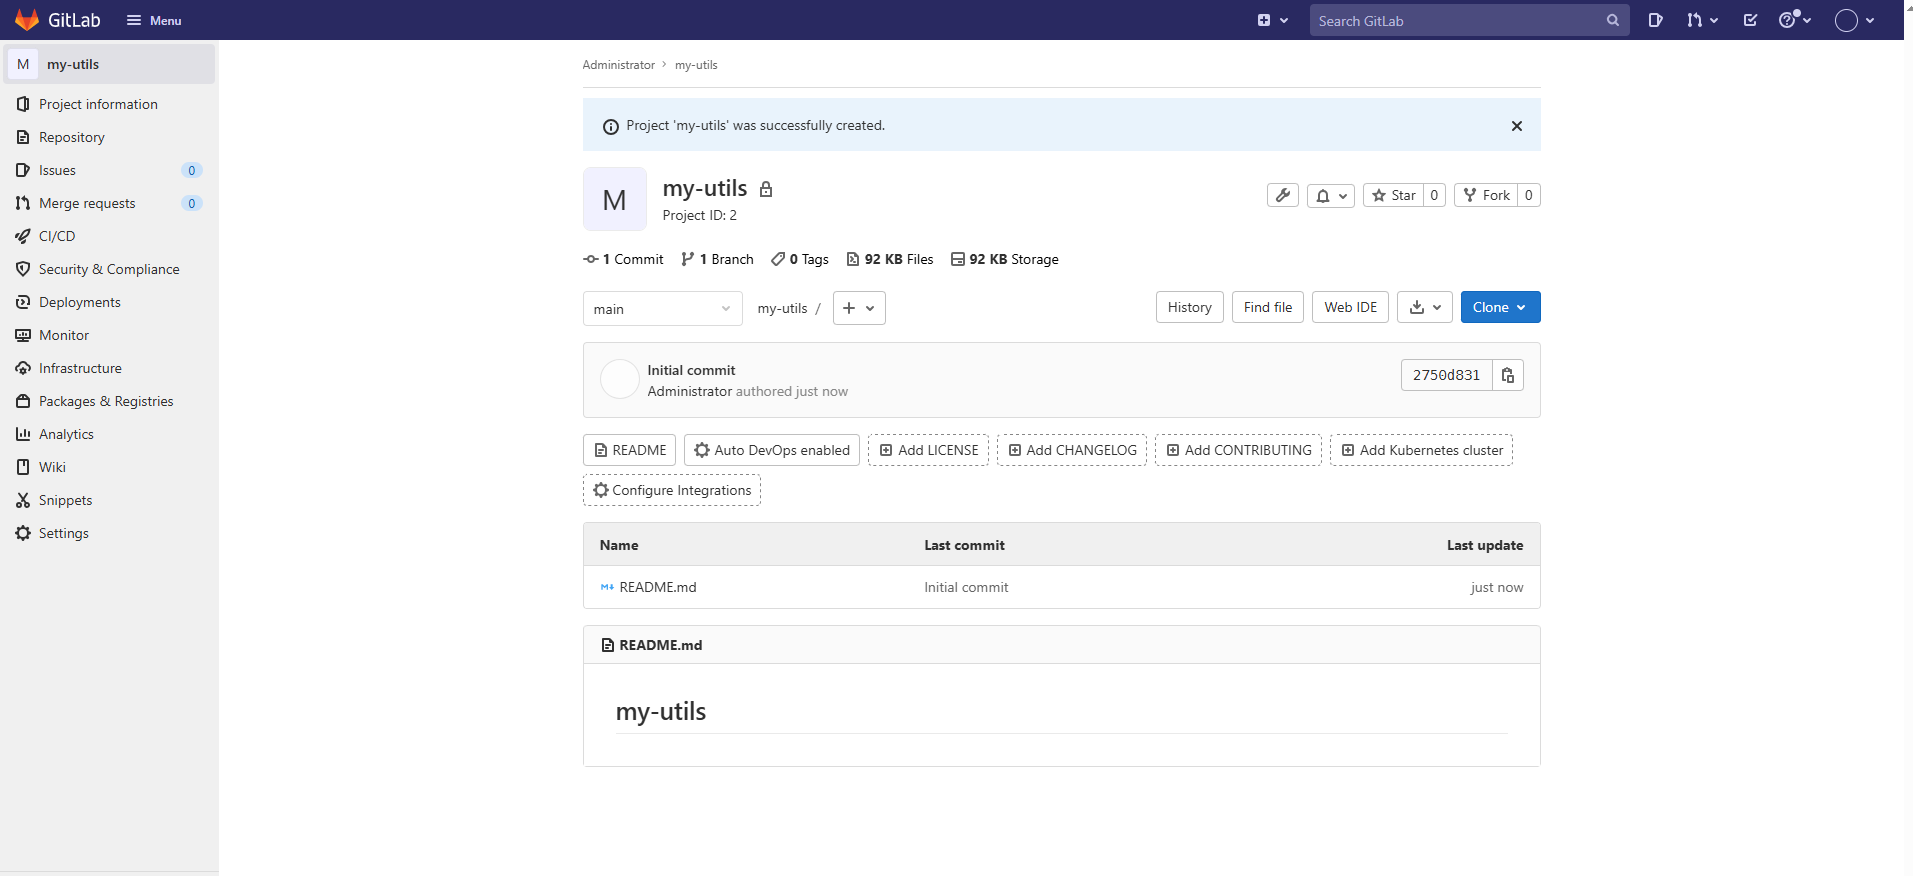
完美结束,接下来创建分支