(笔记+作业)第五期书生大模型实战营---L1G3000 LMDeploy 高效部署量化实践
学员闯关手册:https://aicarrier.feishu.cn/wiki/QdhEwaIINietCak3Y1dcdbLJn3e
课程视频:https://www.bilibili.com/video/BV13U1VYmEUr/
课程文档:https://github.com/InternLM/Tutorial/tree/camp4/docs/L0/Python
关卡作业:https://github.com/InternLM/Tutorial/blob/camp4/docs/L0/Python/task.md
开发机平台:https://studio.intern-ai.org.cn/
开发机平台介绍:https://aicarrier.feishu.cn/wiki/GQ1Qwxb3UiQuewk8BVLcuyiEnHe
书生浦语官网:https://internlm.intern-ai.org.cn/
github网站:https://github.com/internLM/
InternThinker: https://internlm-chat.intern-ai.org.cn/internthinker
快速上手飞书文档:https://www.feishu.cn/hc/zh-CN/articles/945900971706-%E5%BF%AB%E9%80%9F%E4%B8%8A%E6%89%8B%E6%96%87%E6%A1%A3
提交作业:https://aicarrier.feishu.cn/share/base/form/shrcnUqshYPt7MdtYRTRpkiOFJd;
作业批改结果:https://aicarrier.feishu.cn/share/base/query/shrcnkNtOS9gPPnC9skiBLlao2c
internLM-Chat 智能体:https://github.com/InternLM/InternLM/blob/main/agent/README_zh-CN.md
lagent:https://lagent.readthedocs.io/zh-cn/latest/tutorials/action.html#id2

模型推理
#1、环境安装
conda create -n lmdeploy python=3.10
conda activate lmdeploy
pip install lmdeploy
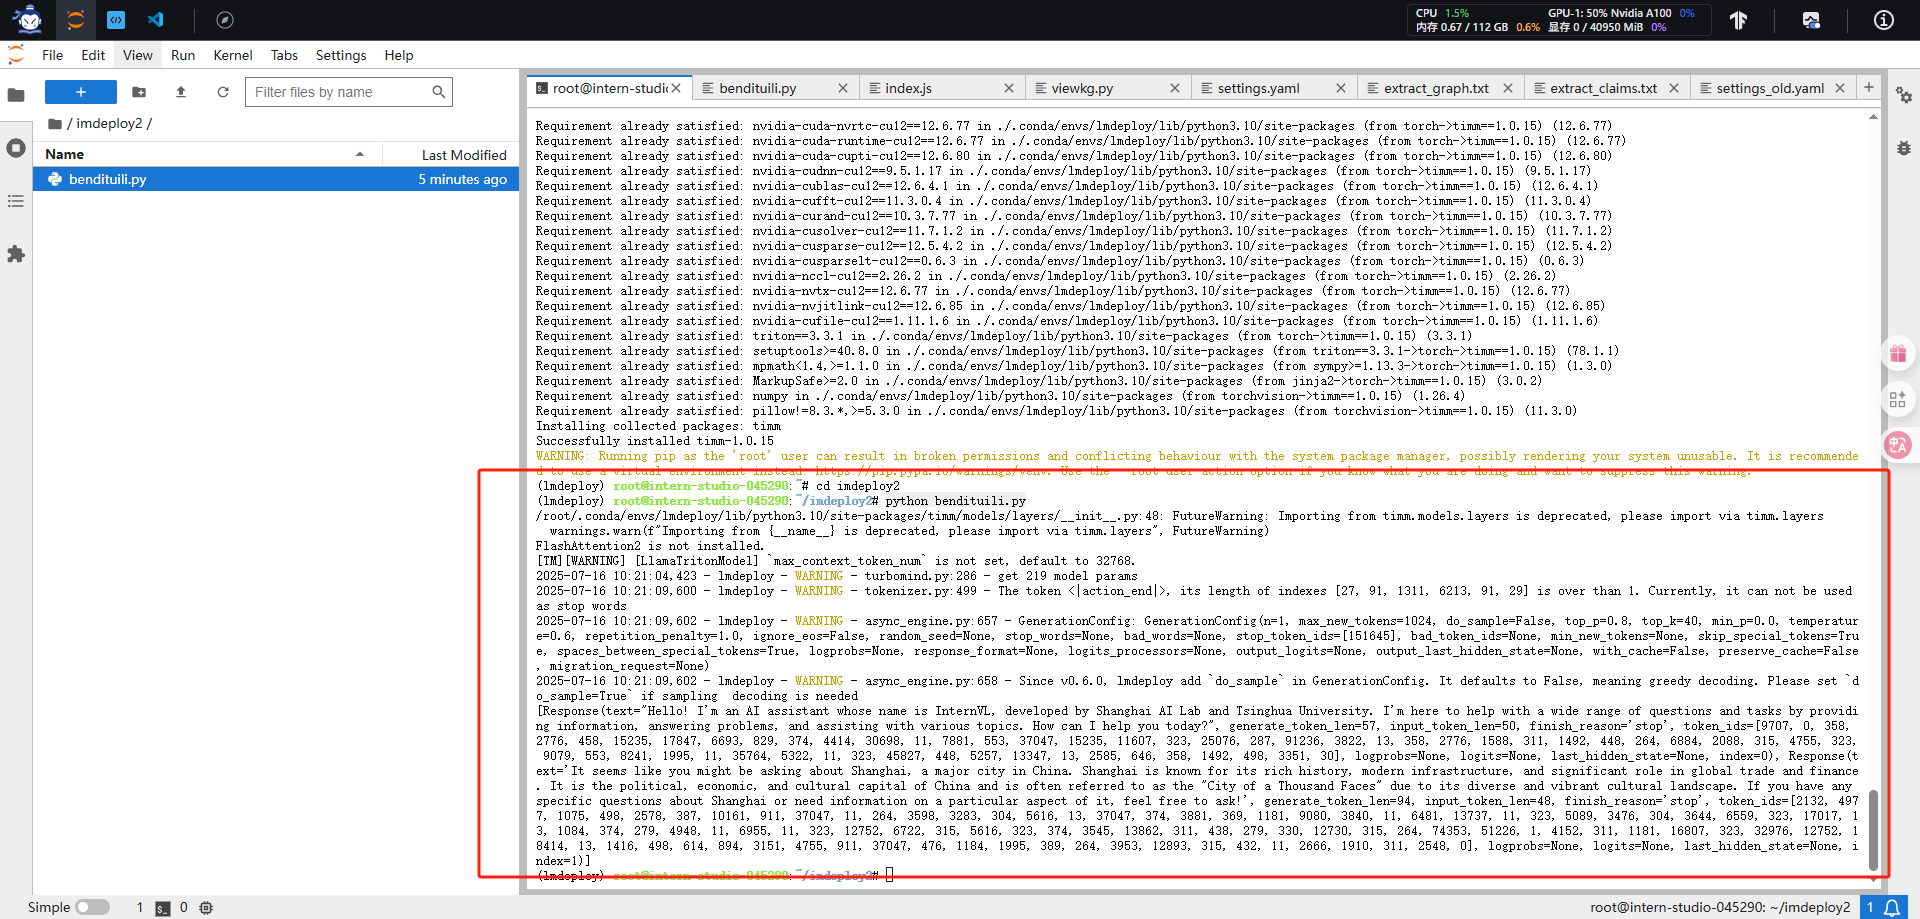
pip install timm==1.0.15 #安装本地推理需要的依赖#2.1、新建和编辑本地推理文件bendituili.py
python bendituili.py
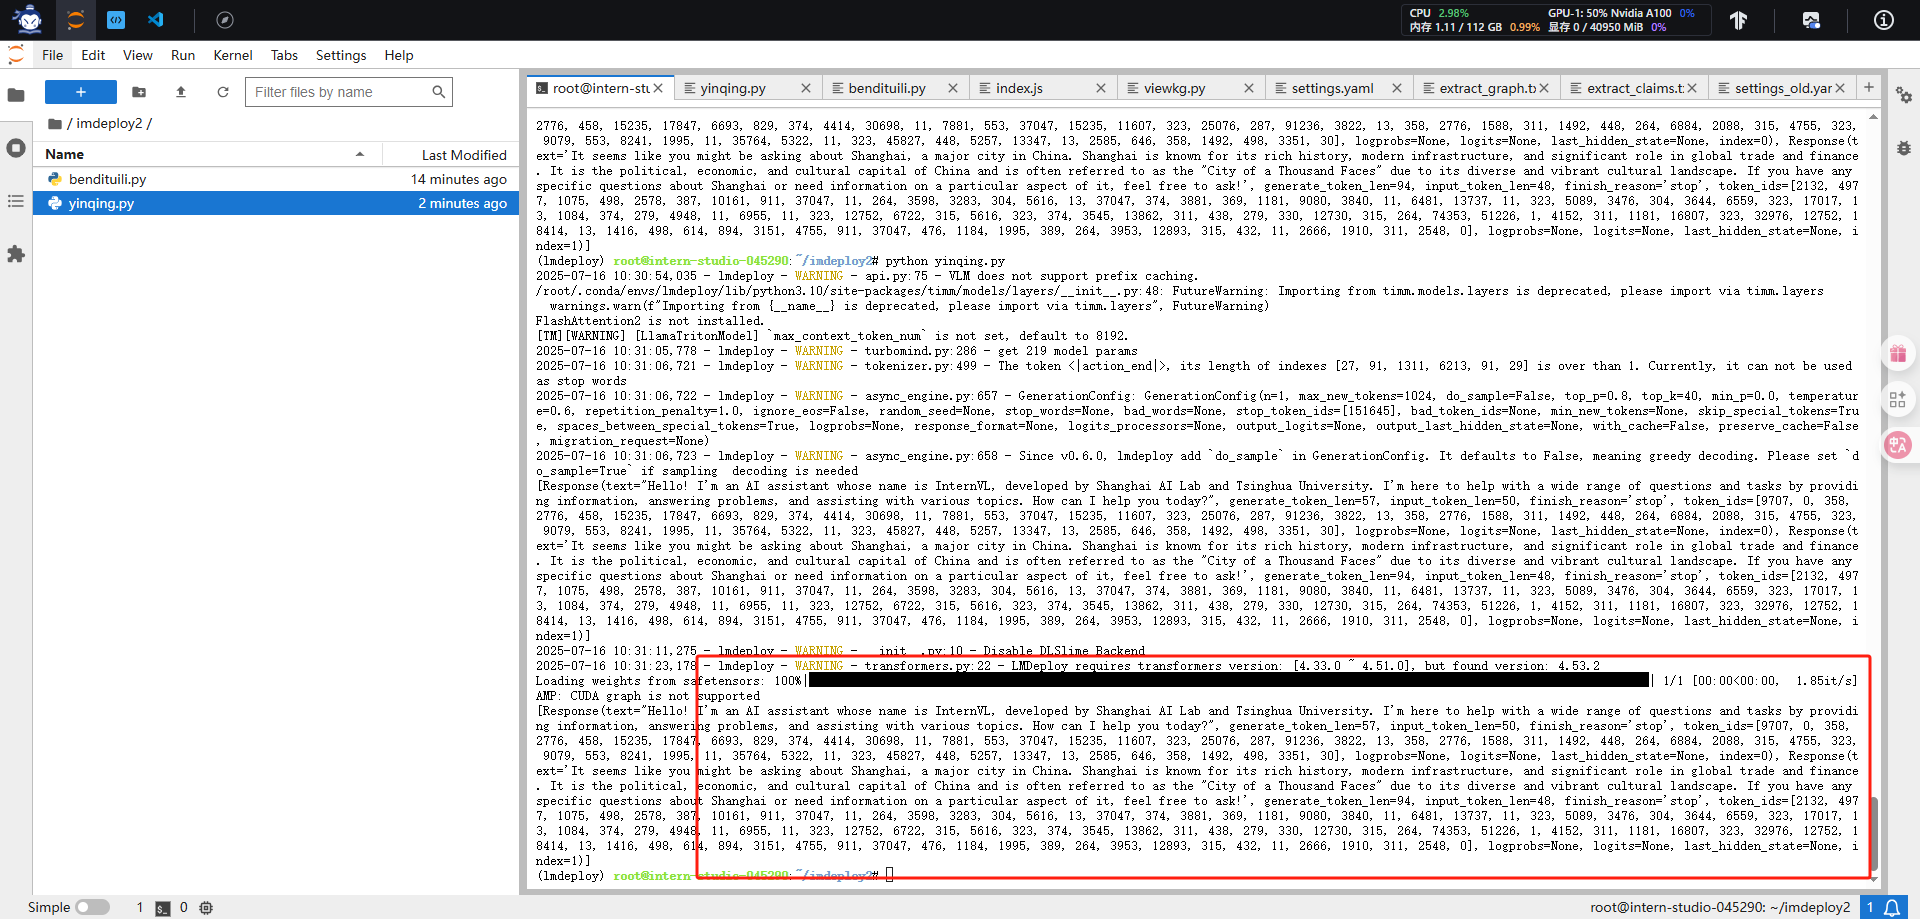
#2.2、新建和编辑指定推理引擎yinqing.py
python yinqing.py
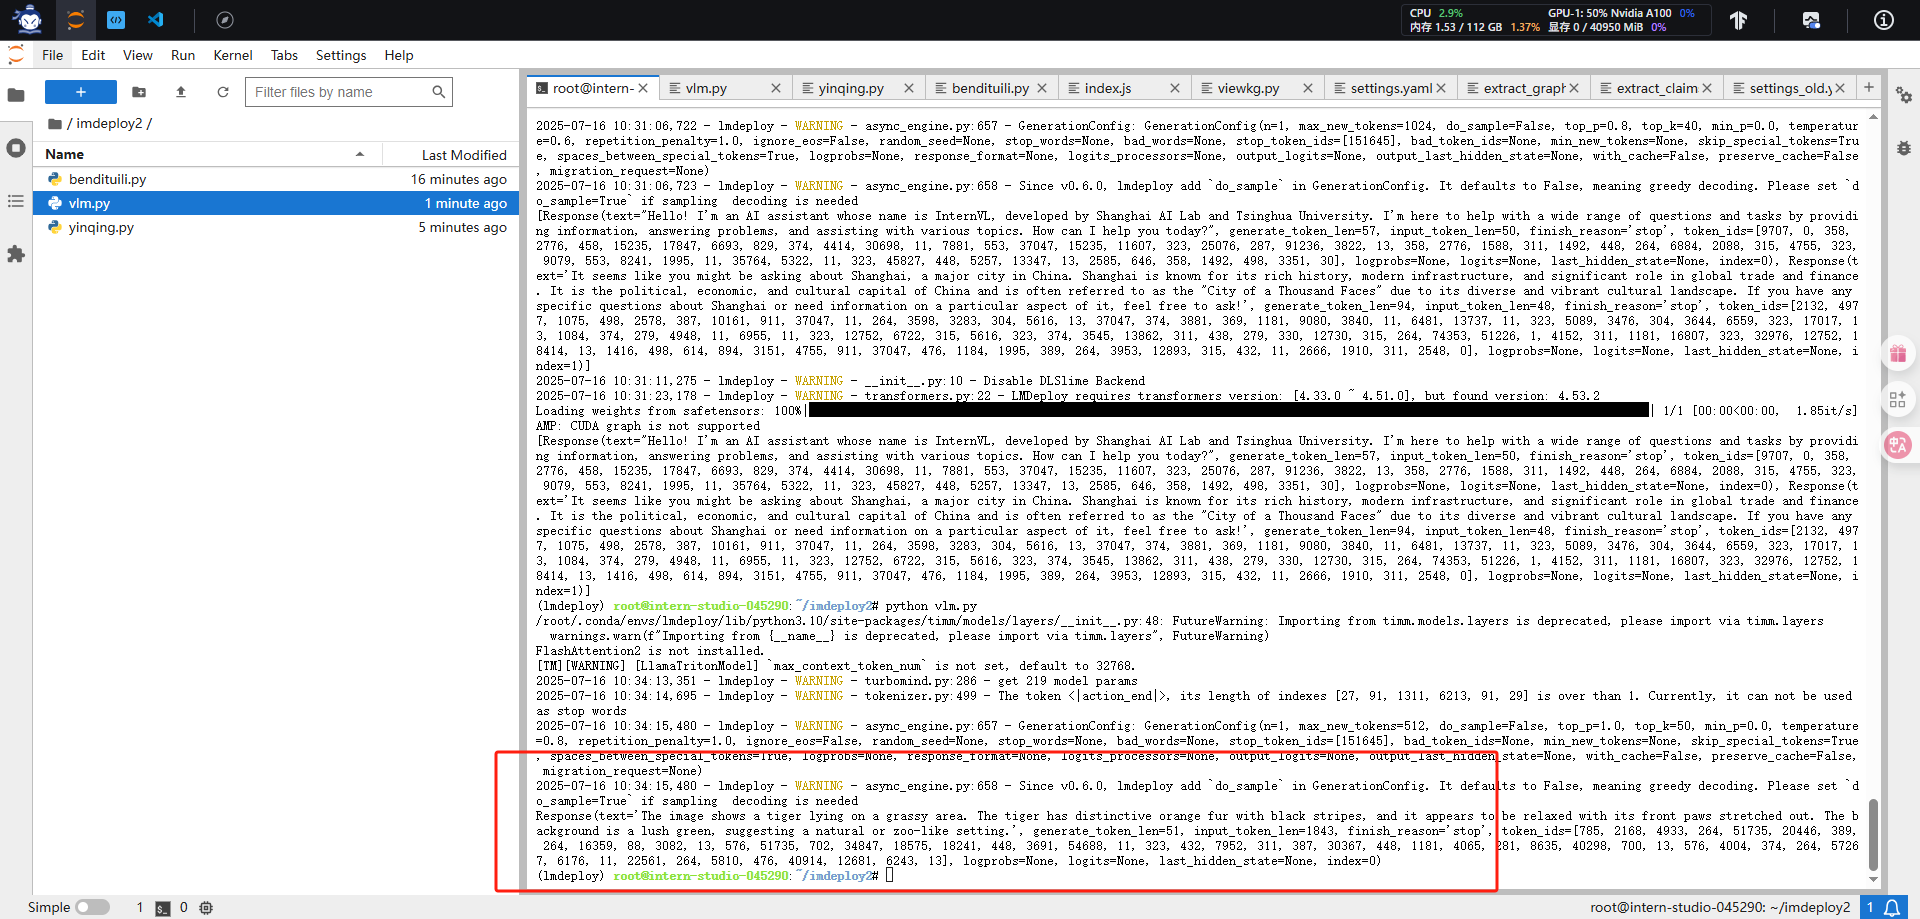
#2.3、VLM 推理(Visual Language Models
python vlm.py
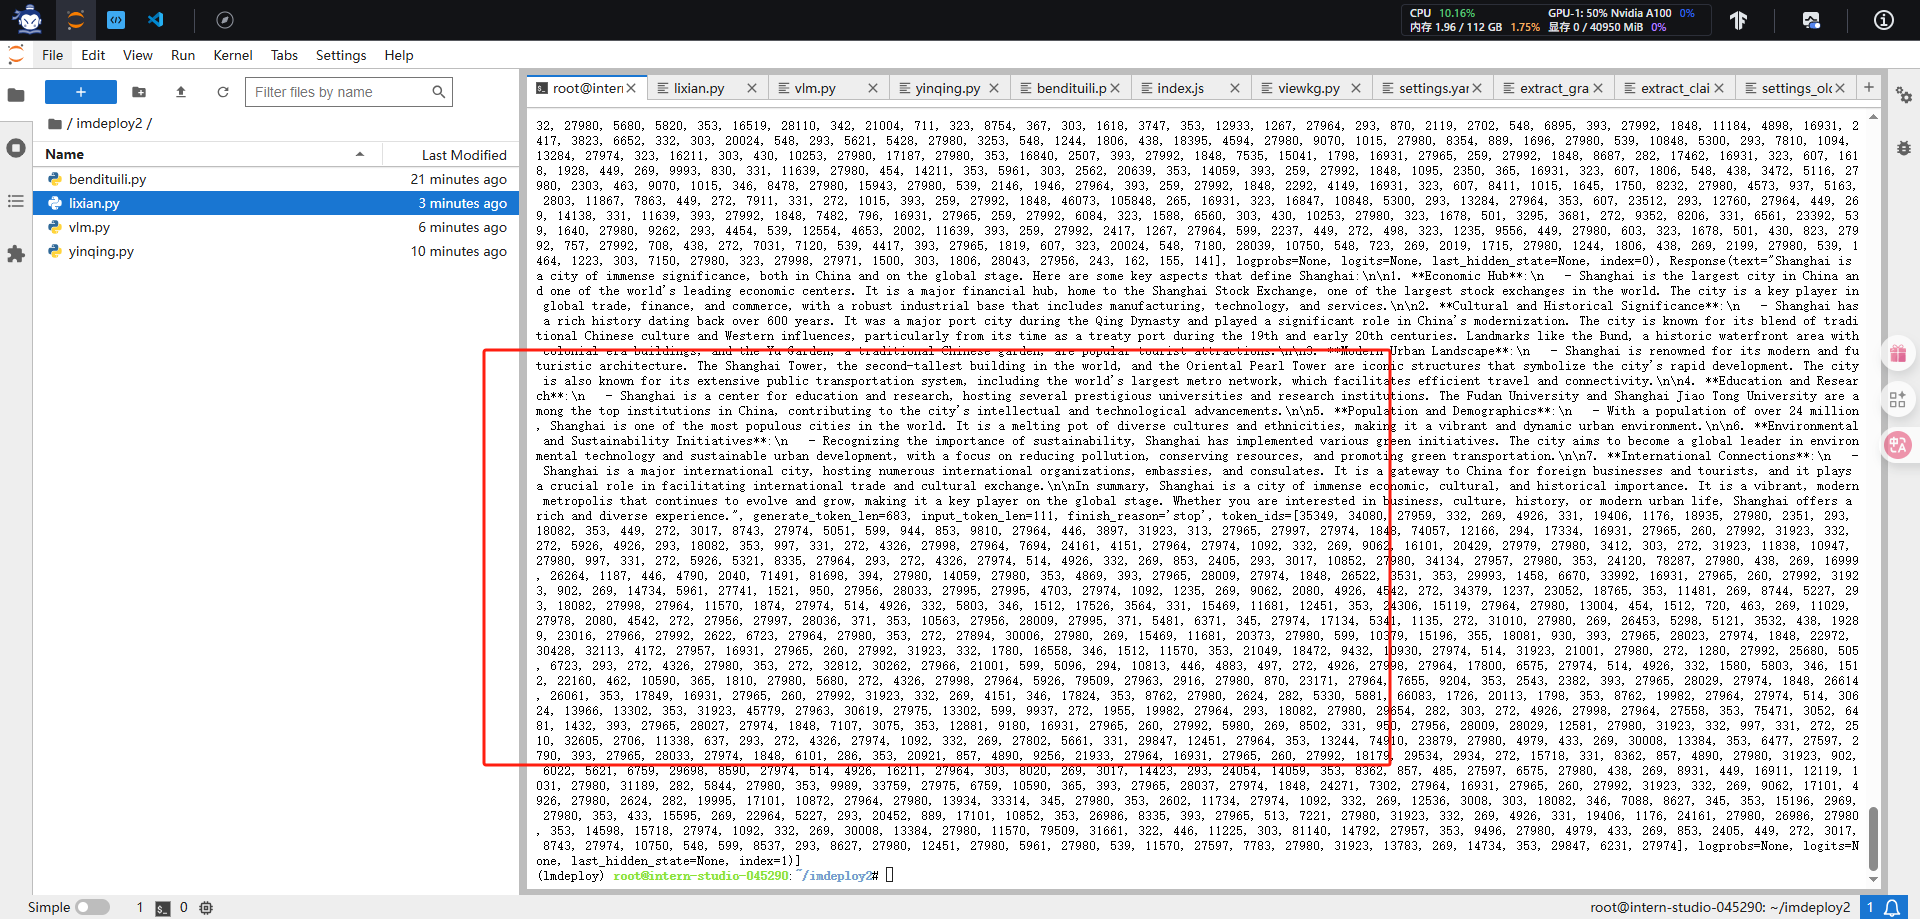
#lixian.py
python lixian.py
本地推理
#bendituili.py
import lmdeploy
from lmdeploy import GenerationConfigpipe = lmdeploy.pipeline("/root/share/new_models/InternVL3/InternVL3-1B")
response = pipe(prompts=["Hi, pls intro yourself", "Shanghai is"],gen_config=GenerationConfig(max_new_tokens=1024,top_p=0.8,top_k=40,temperature=0.6))
print(response)
指定推理引擎
#yinqing.py
### TurbomindEngineConfig推理引擎from lmdeploy import pipeline, TurbomindEngineConfig
from lmdeploy import GenerationConfigpipe = pipeline('/root/share/new_models/InternVL3/InternVL3-1B',backend_config=TurbomindEngineConfig(max_batch_size=32,enable_prefix_caching=True,cache_max_entry_count=0.8,session_len=8192,))
response = pipe(prompts=["Hi, pls intro yourself", "Shanghai is"],gen_config=GenerationConfig(max_new_tokens=1024,top_p=0.8,top_k=40,temperature=0.6))
print(response)### PytorchEngineConfig推理引擎from lmdeploy import pipeline, PytorchEngineConfig
from lmdeploy import GenerationConfigpipe = pipeline('/root/share/new_models/InternVL3/InternVL3-1B',backend_config=PytorchEngineConfig(max_batch_size=32,enable_prefix_caching=True,cache_max_entry_count=0.8,session_len=8192,))response = pipe(prompts=["Hi, pls intro yourself", "Shanghai is"],gen_config=GenerationConfig(max_new_tokens=1024,top_p=0.8,top_k=40,temperature=0.6))
print(response)
VLM 推理(Visual Language Models
#python vlm.py
from lmdeploy import pipeline, VisionConfig
from lmdeploy.vl import load_imagepipe = pipeline('/root/share/new_models/InternVL3/InternVL3-1B',vision_config=VisionConfig(max_batch_size=8))image = load_image('https://raw.githubusercontent.com/open-mmlab/mmdeploy/main/tests/data/tiger.jpeg')
response = pipe(('describe this image', image))
print(response)
大语言模型(LLMs)部署
离线部署
#lixian.py
import lmdeploy
from lmdeploy import GenerationConfig
pipe = lmdeploy.pipeline("/root/share/new_models/internlm3/internlm3-8b-instruct")
response = pipe(prompts=["Hi, pls intro yourself", "Shanghai is"],gen_config=GenerationConfig(max_new_tokens=1024,top_p=0.8,top_k=40,temperature=0.6))
print(response)
部署类OpenAI 服务
使用类openai方式
(i) 不启用权限鉴别(api-key)
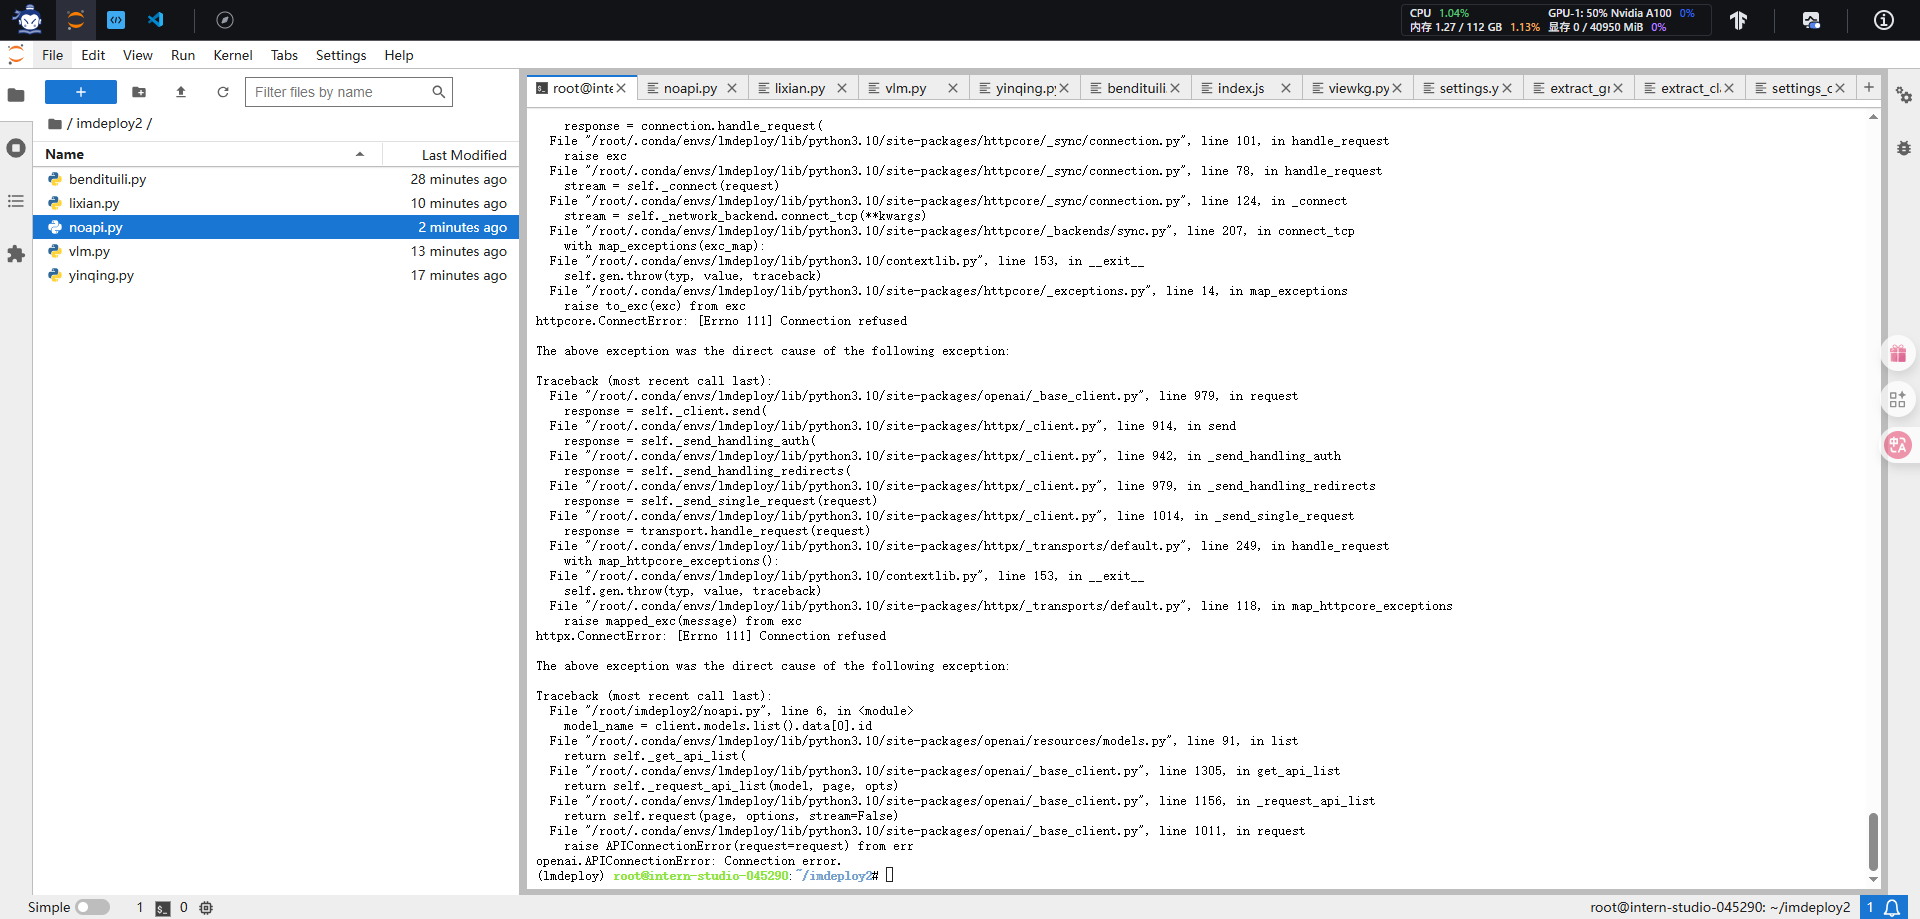
#noapi.py
from openai import OpenAI
client = OpenAI(api_key='none',# 若未启用鉴权,可填任意值(如 "none")base_url="http://0.0.0.0:23333/v1"
)
model_name = client.models.list().data[0].id
response = client.chat.completions.create(model=model_name,messages=[{"role": "system", "content": "You are a helpful assistant."},{"role": "user", "content": " provide three suggestions about time management"},],temperature=0.8,top_p=0.8
)
print(response)
报错
模型量化
conda activate lmdeploy
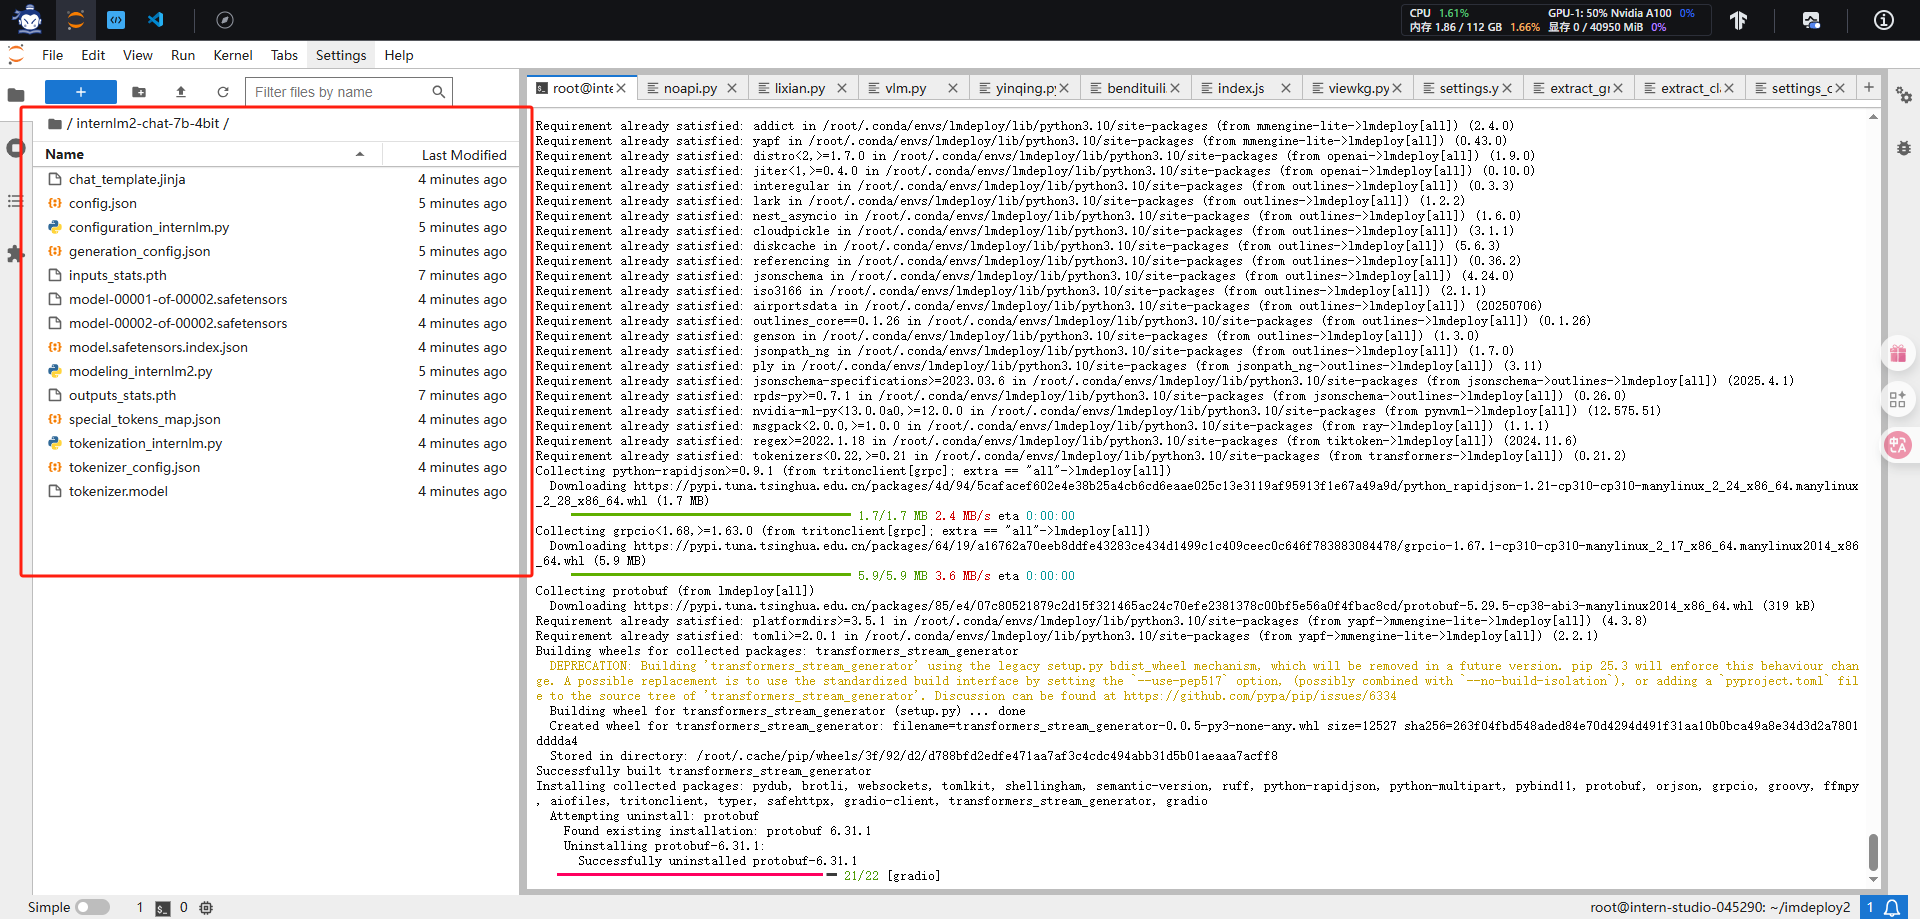
pip uninstall -y datasets && pip install --no-cache-dir "datasets==2.19.2" #1、量化internlm2-chat-7b的命令
export HF_MODEL=/root/share/model_repos/internlm2-chat-7b
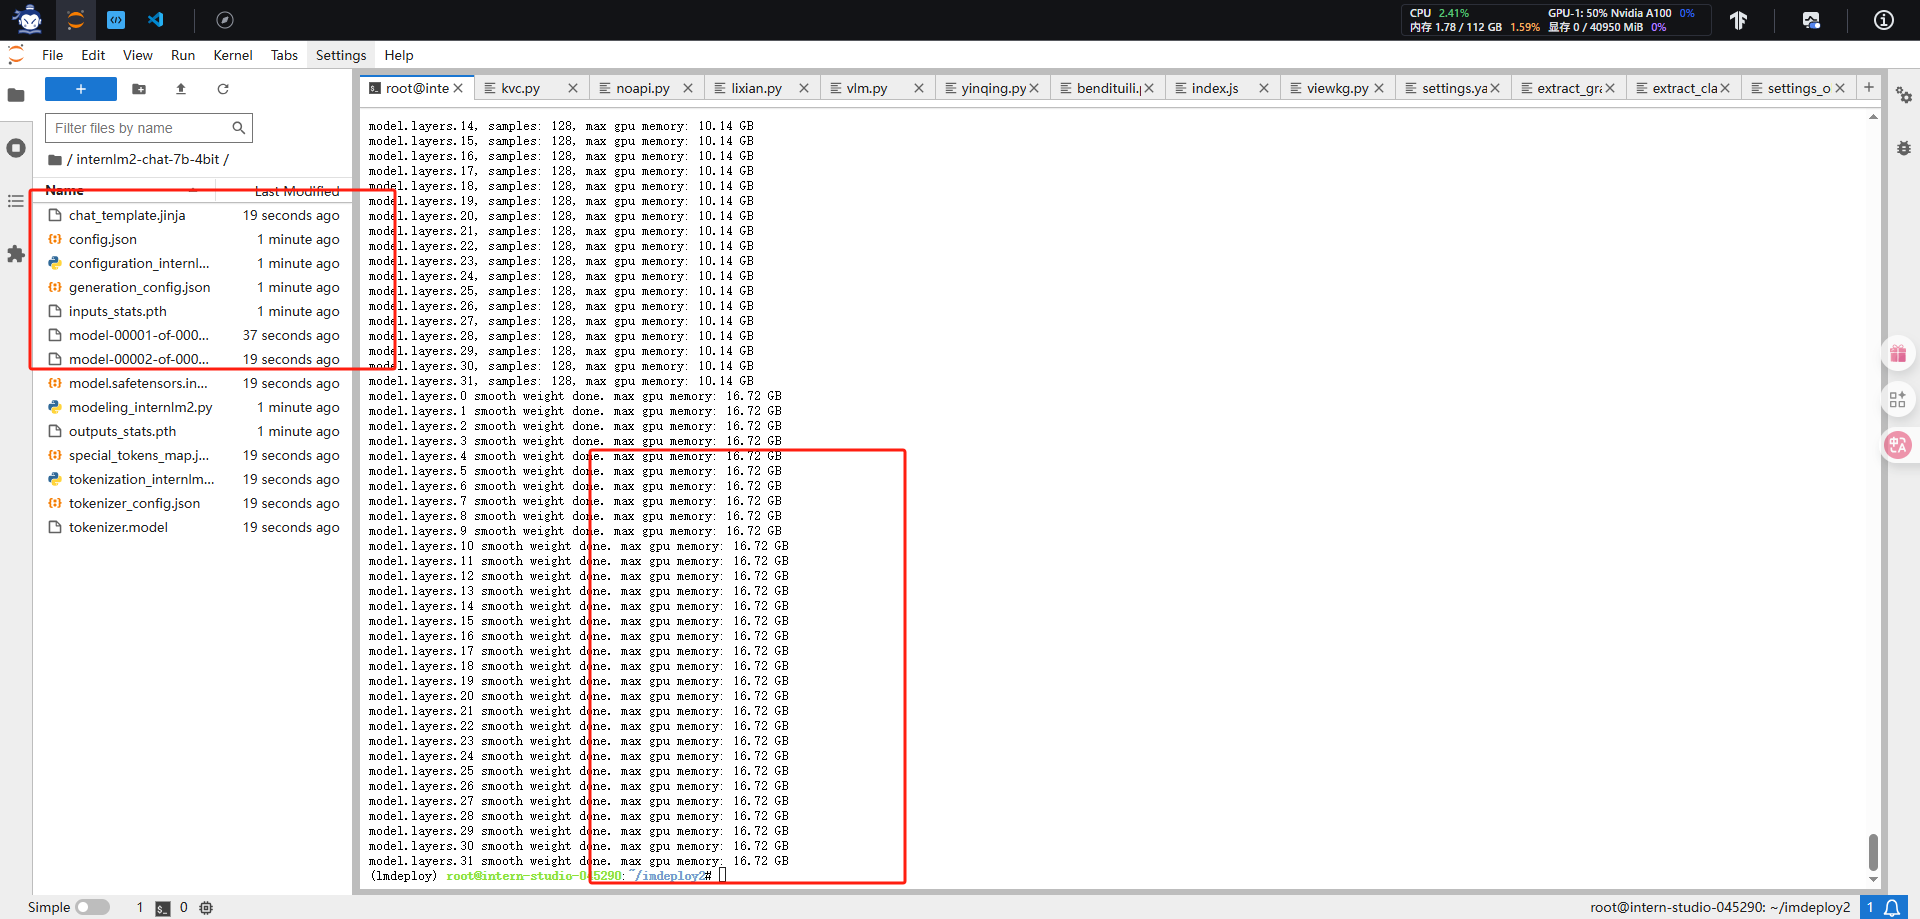
export WORK_DIR=/root/internlm2-chat-7b-4bitlmdeploy lite auto_awq $HF_MODEL --calib-dataset 'ptb' --calib-samples 128 --calib-seqlen 2048 --w-bits 4 --w-group-size 128 --batch-size 1 --work-dir $WORK_DIR#2、量化InternVL3-1B的命令
lmdeploy lite auto_awq /root/share/new_models/InternVL3/InternVL3-1B \--work-dir /root/InternVL3-1B-4bit#3、W8A8量化
pip install lmdeploy[all]
#3.1、int8量化
export HF_MODEL=/root/share/model_repos/internlm2-chat-7b
export WORK_DIR=/root/internlm2-chat-7b-4bitlmdeploy lite smooth_quant \$HF_MODEL \--work-dir $WORK_DIR \--quant-dtype int8#3.2、fp8量化
lmdeploy lite smooth_quant $HF_MODEL --work-dir $WORK_DIR --quant-dtype fp8#3.3、Key-Value(KV) Cache 量化
#kvc.py
from lmdeploy import pipeline, TurbomindEngineConfig
engine_config = TurbomindEngineConfig(quant_policy=8)
pipe = pipeline("/root/share/model_repos/internlm2-chat-7b", backend_config=engine_config)
response = pipe(["Hi, pls intro yourself", "Shanghai is"])
print(response)
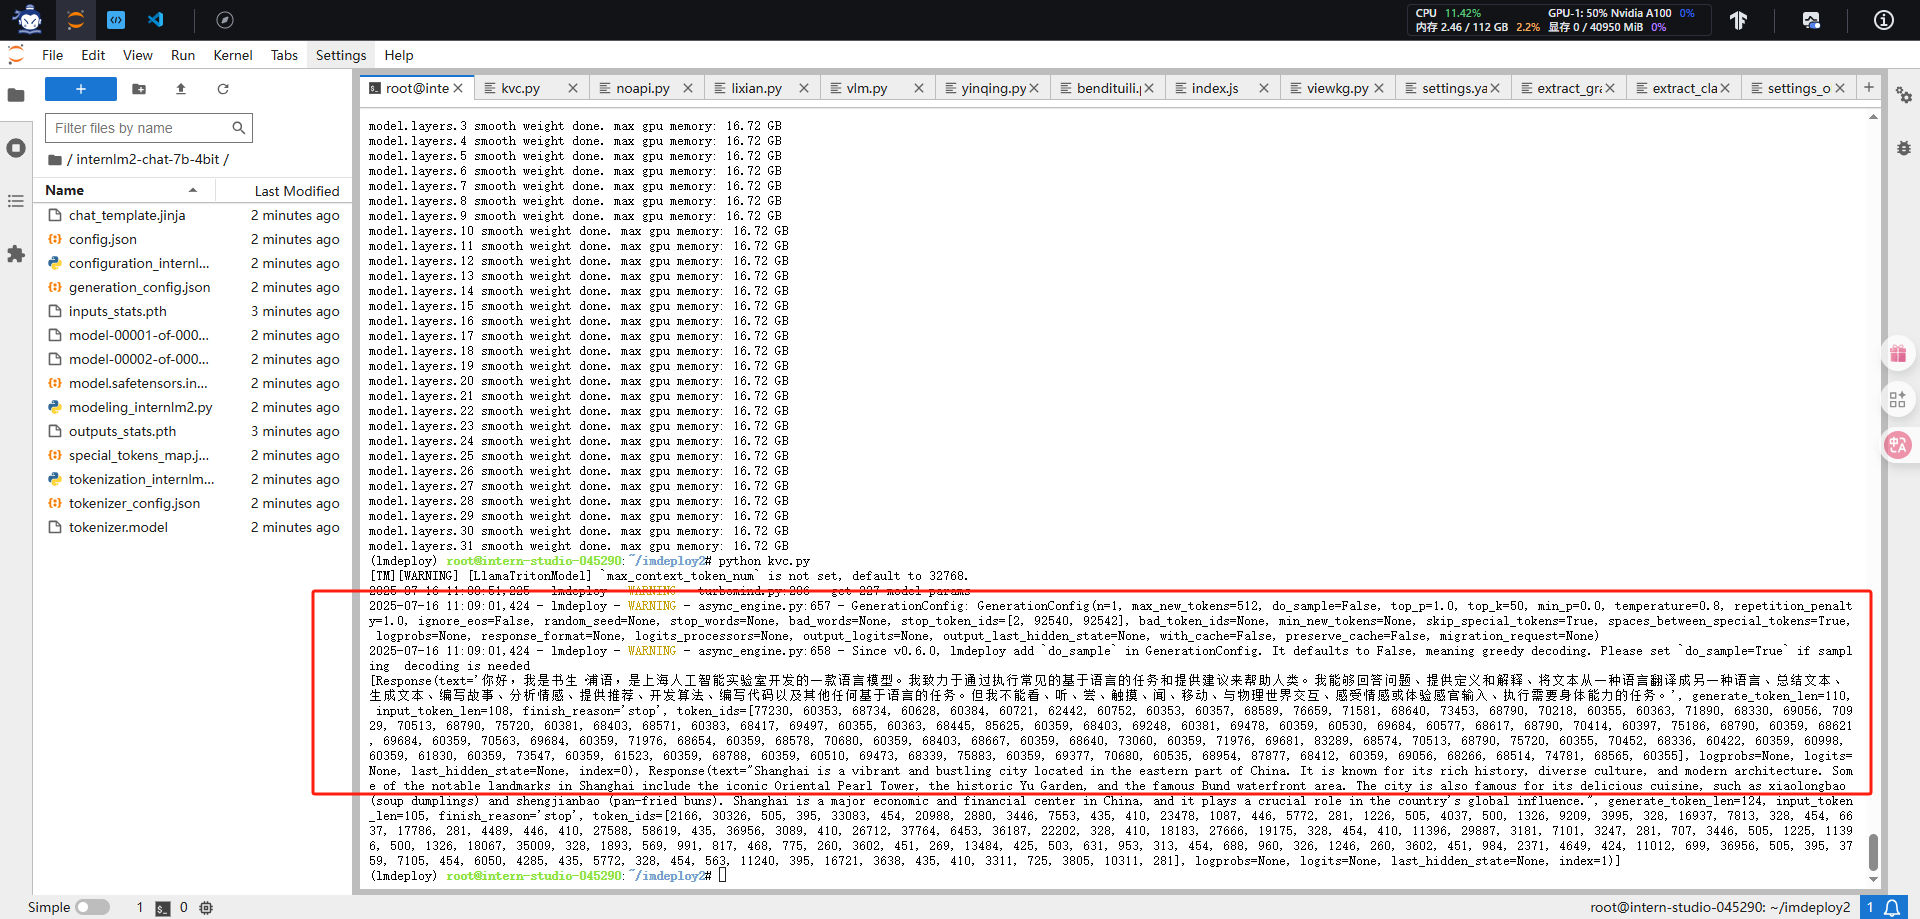
1、量化internlm2-chat-7b的命令
3.1、int8量化
3.3、Key-Value(KV) Cache 量化