【亲测有效 | Cursor Pro每月500次快速请求扩5倍】(Windows版)Cursor中集成interactive-feedback-mcp
前言:使用这个
interactive-feedback-mcp组件可以根据用户反馈来决定是否结束这一次的请求。如果本次请求并没有解决我们的问题,那我们便可以选择继续这次请求流程,直到问题解决。这样的话,就可以避免为了修复bug而白白多出的请求。(备注:刚开始是在wsl下安装的,但cursor中配置interactive-feedback-mcp一直未成功启动。后面改成了windows下配置,最后可以正常使用了。)
文章目录
- 1. 下载代码
- 2. 安装uv
- 3. 创建虚拟环境
- 4. 运行MCP
- 5. Cursor中集成interactive-feedback-mcp
- 6. 使用效果
1. 下载代码
下载interactive-feedback-mcp 代码到本地
git clone https://github.com/noopstudios/interactive-feedback-mcp.git
2. 安装uv
- 直接pip安装uv
pip install uv
- 将uv路径添加到环境变量Path中(路径可参考:
C:\Users\asus\AppData\Local\Packages\PythonSoftwareFoundation.Python.3.13_qbz5n2kfra8p0\LocalCache\local-packages\Python313\Scripts)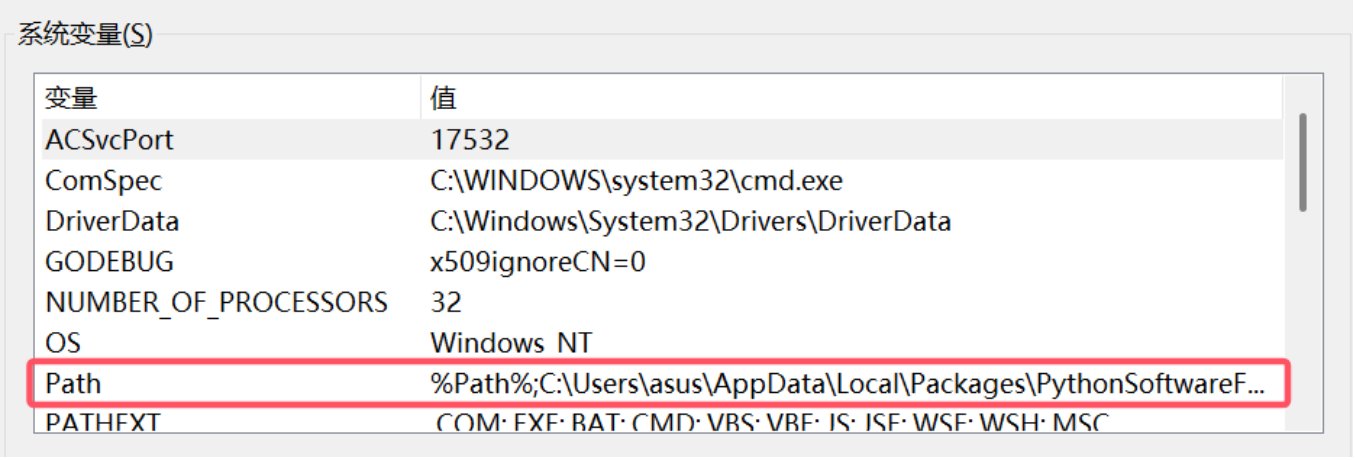 3. 打开WindowsPowershell,输入命令:
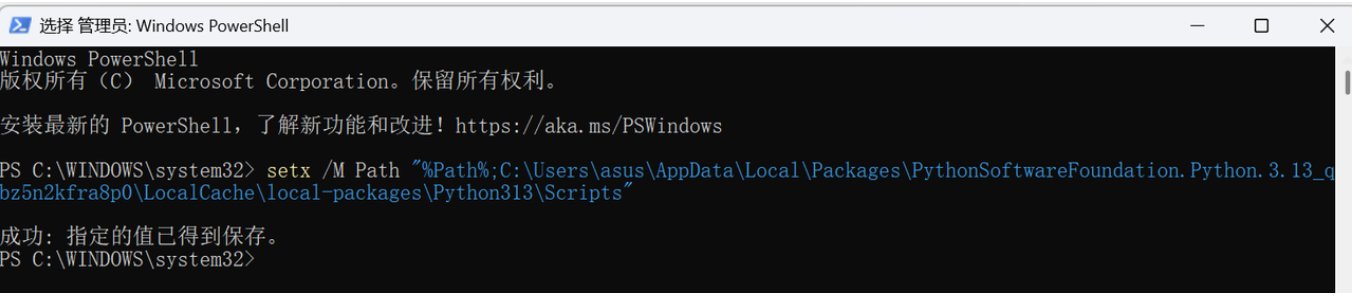
setx /M Path "%Path%;C:\Users\asus\AppData\Local\Packages\PythonSoftwareFoundation.Python.3.13_qbz5n2kfra8p0\LocalCache\local-packages\Python313\Scripts"
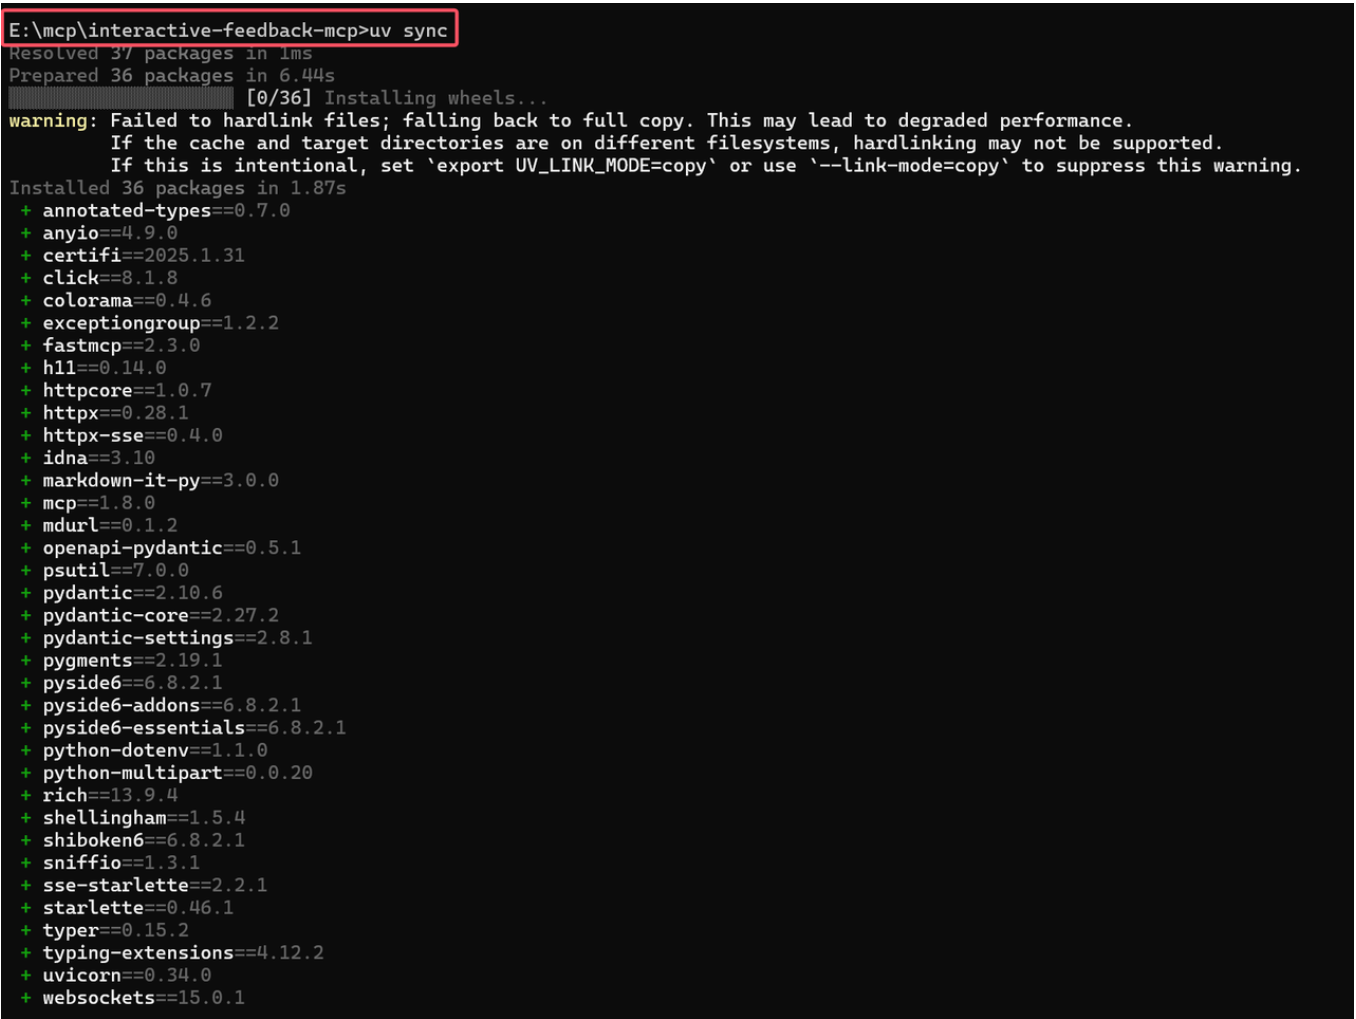
3. 创建虚拟环境
uv venv E:\mcp\interactive-feedback-mcp\.venv
uv sync

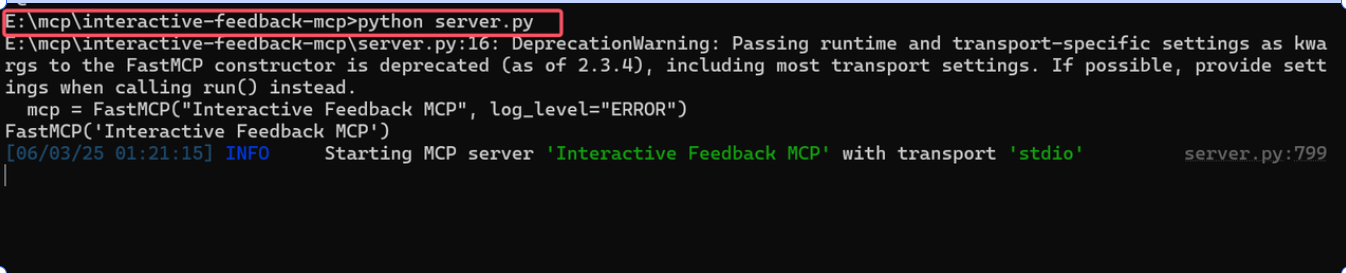
4. 运行MCP
python server.py
5. Cursor中集成interactive-feedback-mcp
点击cursor右上角齿轮按钮。
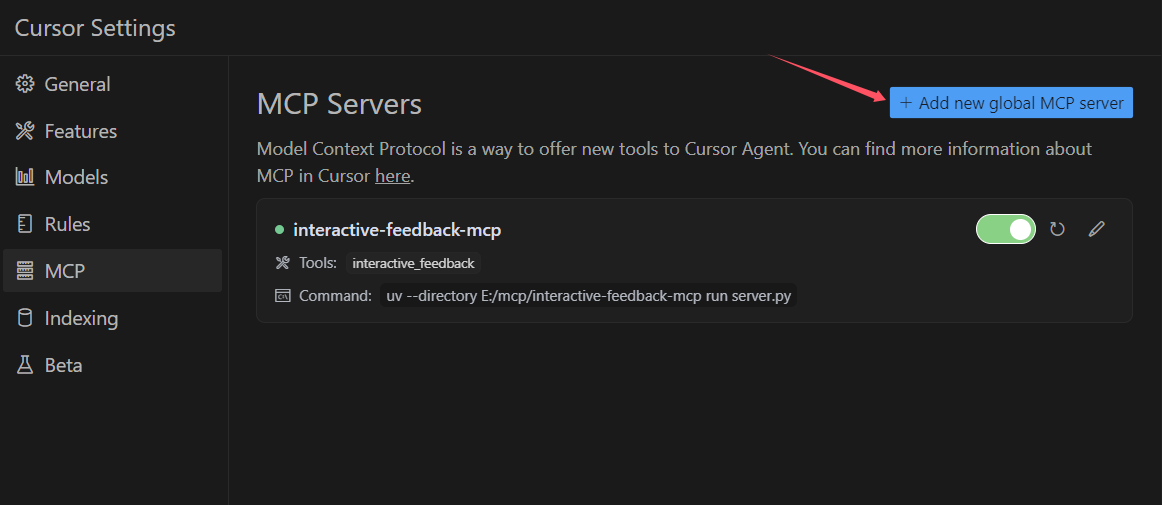
写入以下json内容。(注意:路径替换为自己的)
{"mcpServers": {"interactive-feedback-mcp": {"command": "uv","args": ["--directory","E:/mcp/interactive-feedback-mcp","run","server.py"],"timeout": 600,"autoApprove": ["interactive_feedback"]}}
}
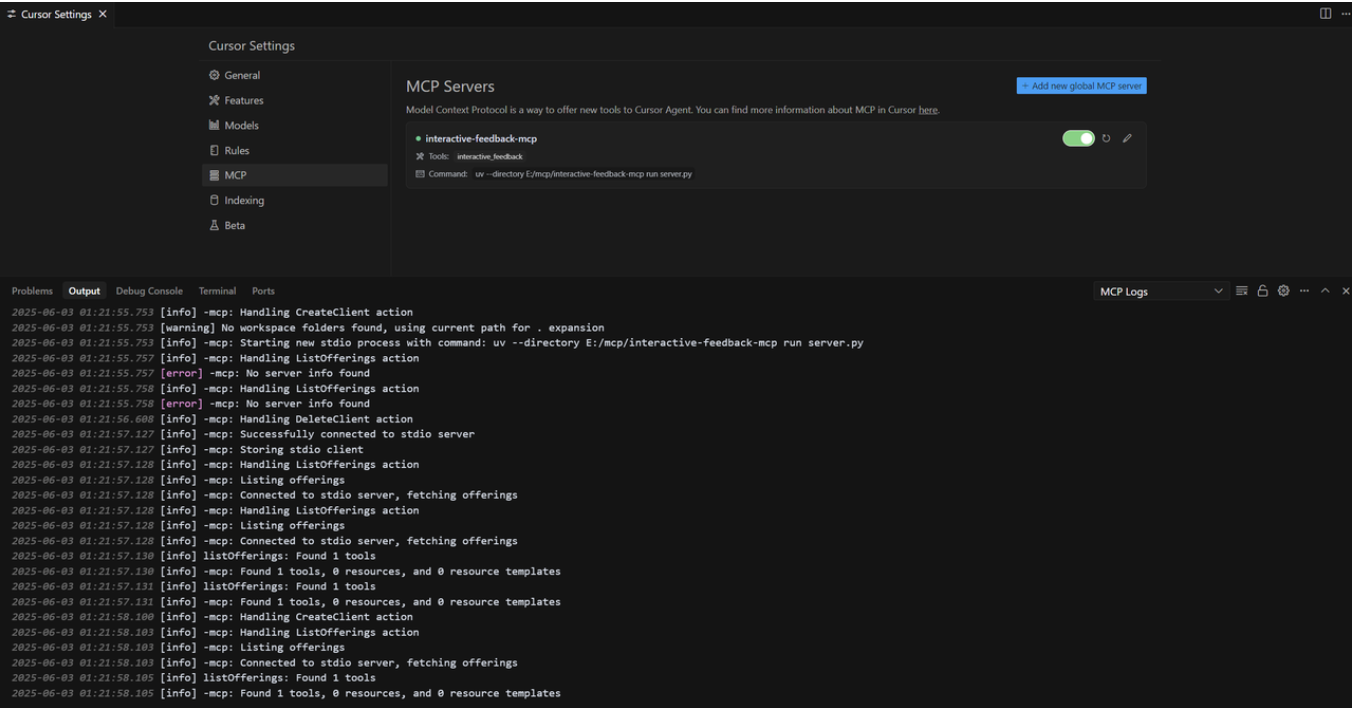
如果出现以下绿色按钮,说明配置成功了。
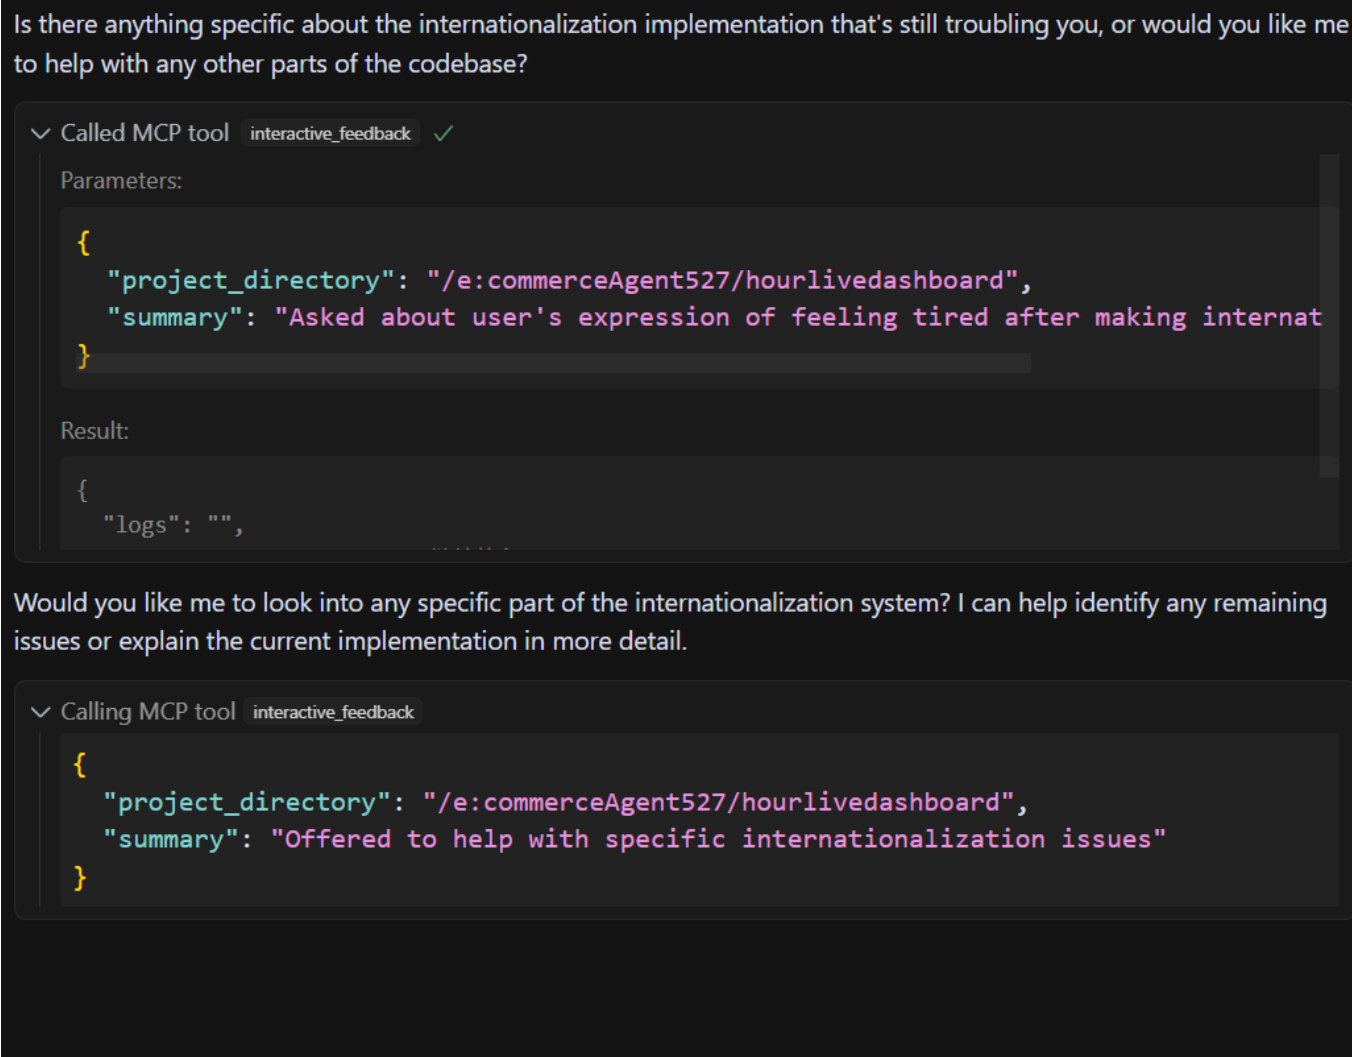
6. 使用效果
Is there anything specific about the internationalization implementation that’s still troubling you, or would you like me to help with any other parts of the codebase?
可以看到,能调用我们的交互反馈MCP组件了,该组件会询问我们还有需要解决的吗,如果还有问题需要解决,则可以继续本地请求,不会自动结束。