手写HashMap
项目仓库:https://gitee.com/bossDuy/hand-tear-collection-series
基于一个b站up的课程:https://www.bilibili.com/video/BV1SWZrYDEag?spm_id_from=333.788.videopod.sections&vd_source=4cda4baec795c32b16ddd661bb9ce865
手写简单的HashMap
这里实现的是jdk1.7的,没有实现红黑树
简单的实现
并没对桶数组进行扩容
package com.yb0os1;import org.w3c.dom.Node;public class MyHashMap<K, V> {//默认的初始容量private static final int DEFAULT_INITIAL_CAPACITY = 16;//默认的负载因子private static final float DEFAULT_LOAD_FACTOR = 0.75f;//当前HashMap的大小private int size;//存储Node的数组private Node<K, V>[] table;//负载因子private float loadFactor;public MyHashMap() {this.size = 0;this.table = new Node[DEFAULT_INITIAL_CAPACITY];this.loadFactor = DEFAULT_LOAD_FACTOR;}public V put(K key, V value) {//put的时候,首先获取key的hashcode计算对应的indexOfint index = indexOf(key);Node<K, V> head = table[index];//判断数组当前index是否为空if (head == null) {//为空table[index] = new Node<>(key, value);size++;return null;}//当前数组下标位置不为空while (true) {//当前位置key和传入的key相同,替换valueif (head.key.equals(key)) {V oldValue = head.value;head.value = value;return oldValue;}//当前位置key和传入的key不相同,先判断是否到链表尾部if (head.next == null) {head.next = new Node<>(key, value);size++;return null;}//继续遍历下一个节点head = head.next;}}public V get(K key) {//get的时候,首先获取key的hashcode计算对应的indexOfint index = indexOf(key);Node<K, V> head = table[index];//判断数组当前index是否为空while (head != null){if(head.key.equals(key)){return head.value;}head = head.next;}return null;}public V remove(K key) {//remove的时候,首先获取key的hashcode计算对应的indexOfint index = indexOf(key);Node<K,V> head = table[index];//要判断是否为头节点//是头节点if(head!=null&&head.key.equals(key)){table[index] = head.next;--size;return head.value;}//不为头节点Node<K,V> pre = head;Node<K,V> cur = head.next;while(cur!=null){if(cur.key.equals(key)){pre.next=cur.next;--size;return cur.value;}pre = cur;cur  = cur.next;}return null;}public int size(){return size;}private int indexOf(Object key) {return key.hashCode() & (table.length - 1);}//hashmap里面的节点 entryprivate class Node<K, V> {public Node() {}public Node(K key, V value) {this.key = key;this.value = value;}public K key;public V value;public Node<K,V> next;}
}
我们进行测试
@org.junit.Testpublic void test() {MyHashMap<String,String> myHashMap = new MyHashMap();int count = 100000;for (int i = 0; i < count; i++) {myHashMap.put(String.valueOf(i), String.valueOf(i));}System.out.println(myHashMap.size());for (int i = 0; i < count; i++) {assertEquals(String.valueOf(i),myHashMap.get(String.valueOf(i)));}}

桶数组扩容版本
增加了桶数组扩容
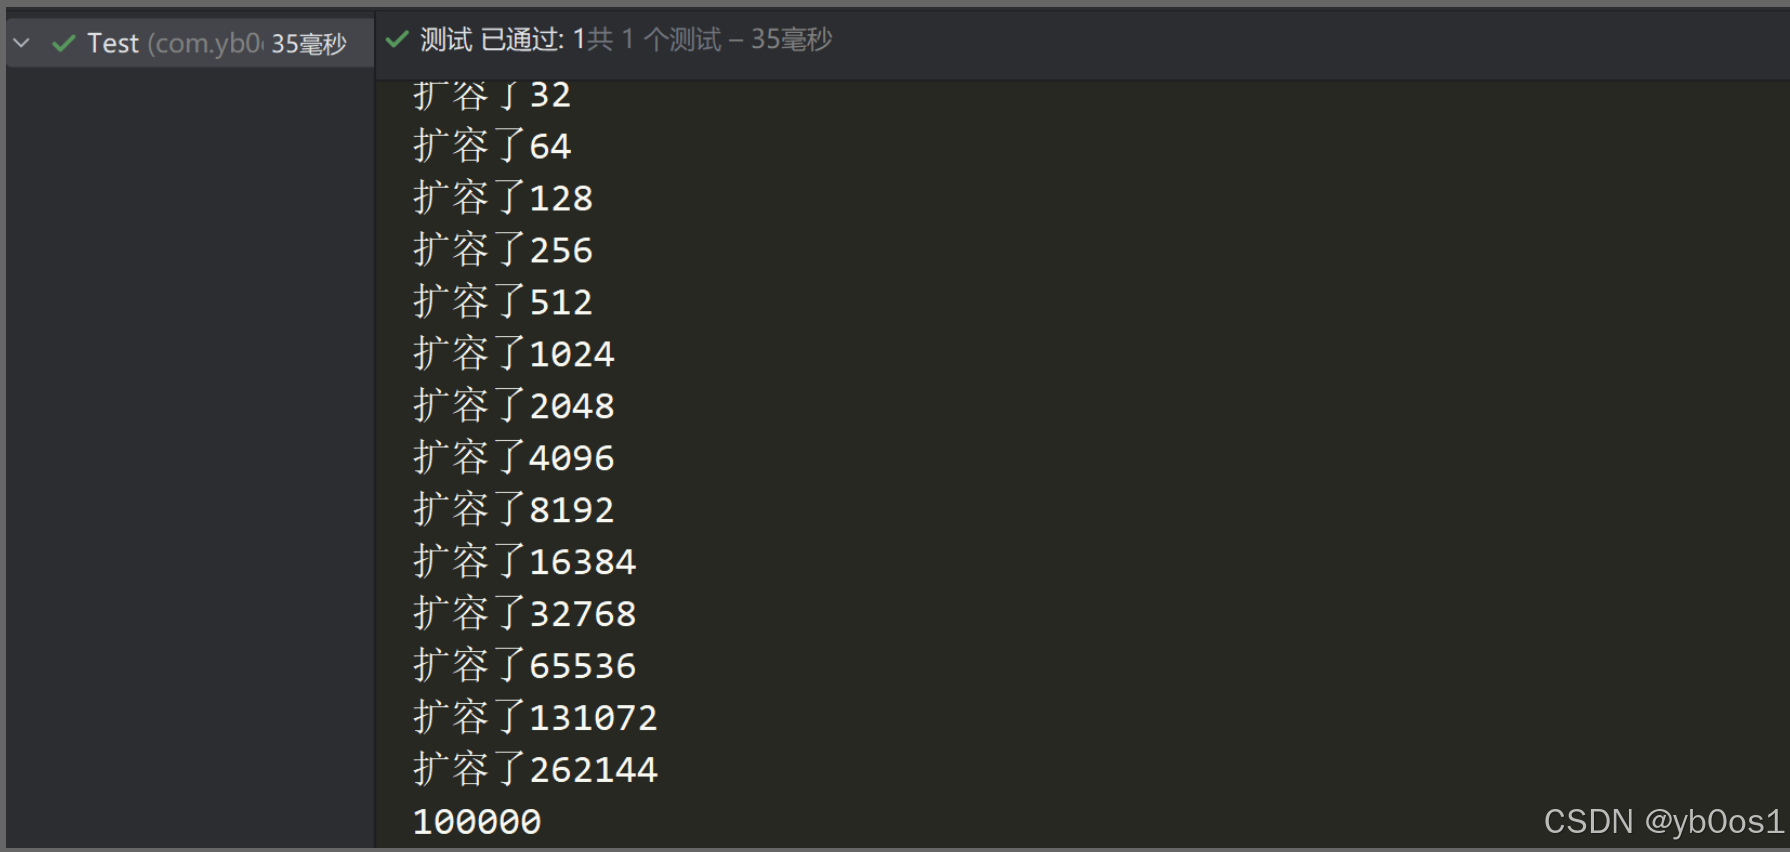
package com.yb0os1;import org.w3c.dom.Node;public class MyHashMap<K, V> {//默认的初始容量private static final int DEFAULT_INITIAL_CAPACITY = 16;//默认的负载因子private static final float DEFAULT_LOAD_FACTOR = 0.75f;//当前HashMap的大小private int size;//存储Node的数组private Node<K, V>[] table;//负载因子private float loadFactor;public MyHashMap() {this.size = 0;this.table = new Node[DEFAULT_INITIAL_CAPACITY];this.loadFactor = DEFAULT_LOAD_FACTOR;}public V put(K key, V value) {//put的时候,首先获取key的hashcode计算对应的indexOfint index = indexOf(key);Node<K, V> head = table[index];//判断数组当前index是否为空if (head == null) {//为空table[index] = new Node<>(key, value);size++;resizeIfNecessary();return null;}//当前数组下标位置不为空while (true) {//当前位置key和传入的key相同,替换valueif (head.key.equals(key)) {V oldValue = head.value;head.value = value;return oldValue;}//当前位置key和传入的key不相同,先判断是否到链表尾部if (head.next == null) {head.next = new Node<>(key, value);size++;resizeIfNecessary();return null;}//继续遍历下一个节点head = head.next;}}public V get(K key) {//get的时候,首先获取key的hashcode计算对应的indexOfint index = indexOf(key);Node<K, V> head = table[index];//判断数组当前index是否为空while (head != null){if(head.key.equals(key)){return head.value;}head = head.next;}return null;}public V remove(K key) {//remove的时候,首先获取key的hashcode计算对应的indexOfint index = indexOf(key);Node<K,V> head = table[index];//要判断是否为头节点//是头节点if(head!=null&&head.key.equals(key)){table[index] = head.next;--size;return head.value;}//不为头节点Node<K,V> pre = head;Node<K,V> cur = head.next;while(cur!=null){if(cur.key.equals(key)){pre.next=cur.next;--size;return cur.value;}pre = cur;cur  = cur.next;}return null;}public int size(){return size;}private int indexOf(Object key) {return key.hashCode() & (table.length - 1);}private void resizeIfNecessary() {//不需要扩容的情况if(size<table.length*loadFactor)return;//需要扩容的情况 新建一个新的桶数组Node<K,V>[] newTable = new Node[table.length*2];//遍历老的桶数组,将原先的元素再哈希放到新的桶数组for(Node<K,V> head:table){if ( head==null)continue;Node<K,V>current = head;while(current!=null){//获取当前元素在新的桶数组中的indexint newIndex = current.key.hashCode() & (newTable.length-1);if( newTable[newIndex]==null){newTable[newIndex] = current;Node< K,V>next = current.next;current.next = null;current = next;}else{//头插法Node< K,V>next =current.next;current.next = newTable[newIndex];newTable[newIndex] = current;current = next;}}}this.table = newTable;System.out.println( "扩容了"+ table.length);}//hashmap里面的节点 entryprivate class Node<K, V> {public Node() {}public Node(K key, V value) {this.key = key;this.value = value;}public K key;public V value;public Node<K,V> next;}
}
test的用时变为:35ms
但是导致桶数组很大,而且如果hash冲突很严重的话查找还是O(n),所以在jdk1.8引进了红黑树
注意点
多线程下hashmap存在死循环、数据丢失的问题。
1、jdk1.7扩容时采用的是头插法,1.8之后改为了尾插法
- 头插法的效率相比尾插法高,因为头插法只需要将新插入的节点的next指向原想的头节点,尾插法需要遍历到链表最尾端。
- 头插法在多线程情况下存在死循环的问题:比如两个线程,线程1修改头节点之后,线程2拿到current的节点还是已经修改之后的,那么就会导致current.next = current的操作,导致了死循环;尾插法不存在这个问题。
- JDK官方可能考虑在多线程环境下保证HashMap的可用性而不保证正确性,但是多线程下使用hashmap本就是一个错误的行为,因为错误的行为换成了一个效率比较低的操作我感觉有点本末倒置了
2、关于数据丢失的问题
- 两个线程1,2同时put操作,并且发生了哈希冲突(index相同)
- 当判断完冲突,并且计算到应该插入到哪一个位置的时候,线程1挂起
- 线程2执行插入操作,由于之前线程1已经计算到应该插入的位置,此时直接插入就导致线程2插入的数据被覆盖了