AI书签管理工具开发全记录(六):前端管理基础框框搭建 Vue3+Element Plus
文章目录
- AI书签管理工具开发全记录(五):前端管理基础框框搭建(Vue3+Element Plus)
- 前言 📝
- 1. 前端技术选型 🛠️
- 2. 项目创建与初始化 🚀
- 2.1 创建项目
- 2.2 配置路径别名
- 2.3 配置代码格式化
- 3. 核心库集成 💻
- 3.1 安装 Element Plus
- 3.2 集成 Pinia 状态管理
- 3.3 集成 Vue Router
- 3.4 集成 Axios
- 4. 全局样式与布局 🎨
- 4.1 全局样式配置
- 4.2 实现基础布局
- 5.修改入口文件 📝
- 5.1 修改网站图标和标题
- 5.2 修改`App.vue`
- 5.3 修改`main.js`
- 6. 项目结构与运行 🏗️
- 6.1 项目结构
- 6.2 启动项目
- 总结 📚
AI书签管理工具开发全记录(五):前端管理基础框框搭建(Vue3+Element Plus)
前言 📝
在上一篇博客中,我们基于 Gin 框架搭建了后端 API 服务,实现了书签和分类的 CRUD 功能。现在,我们将使用 Vue3 和 Element Plus 搭建一个现代化的前端管理界面,为用户提供直观易用的操作体验。
1. 前端技术选型 🛠️
在众多前端框架中,我们选择了以下技术栈:
- Vue3:渐进式 JavaScript 框架,提供响应式和组件化开发
- Element Plus:基于 Vue3 的桌面端组件库
- Pinia:轻量级状态管理库
- Vue Router:官方路由管理库
- Axios:HTTP 请求库
- Vite:下一代前端构建工具
# 安装 Vue CLI
npm install -g @vue/cli# 查看版本
vue --version
# @vue/cli 5.0.8
2. 项目创建与初始化 🚀
2.1 创建项目
使用 Vite 创建 Vue3 项目:
npx create-vite@latest web --template vue --yes
cd web
npm install
启动前端应用
npm run dev
启动成功后,访问http://localhost:5173
此时,vue项目已经正常工作了
2.2 配置路径别名
修改 vite.config.js,添加路径别名:
import { defineConfig } from "vite"
import vue from "@vitejs/plugin-vue"
import path from "path"export default defineConfig({plugins: [vue()],resolve: {alias: {"/@": path.resolve(__dirname, "./src/")}}
})
2.3 配置代码格式化
安装 Prettier:
npm install --save-dev prettier
创建 .prettierrc 文件:
{"semi": false,"singleQuote": true,"trailingComma": "none"
}
在 VSCode 中配置保存时自动格式化。
3. 核心库集成 💻
3.1 安装 Element Plus
npm install element-plus
npm install -D unplugin-vue-components unplugin-auto-import
配置 vite.config.js:
import AutoImport from 'unplugin-auto-import/vite'
import Components from 'unplugin-vue-components/vite'
import { ElementPlusResolver } from 'unplugin-vue-components/resolvers'export default defineConfig({plugins: [vue(),AutoImport({resolvers: [ElementPlusResolver()],}),Components({resolvers: [ElementPlusResolver()],}),],
})
3.2 集成 Pinia 状态管理
安装 Pinia:
npm install pinia
在 main.js 中配置:
import { createApp } from 'vue'
import { createPinia } from 'pinia'
import App from './App.vue'const app = createApp(App)
app.use(createPinia())
app.mount('#app')
创建示例 store (src/stores/counter.js):
import { defineStore } from 'pinia'export const useCounterStore = defineStore('counter', {state: () => ({ count: 0 }),actions: {increment() {this.count++}}
})
3.3 集成 Vue Router
安装 Vue Router:
npm install vue-router@4
创建category和bookmark占位页面
创建src/views/category/index.vue
<template><div><h1>category</h1></div>
</template><script setup></script><style scoped></style>
创建src/views/bookmark/index.vue
<template><div><h1>bookmark</h1></div>
</template><script setup></script><style scoped></style>
创建路由配置 (src/router/index.js):
import { createRouter, createWebHistory } from 'vue-router'const routes = [{path: '/bookmarks',name: 'Bookmarks',component: () => import('/@/views/bookmark/index.vue')},{path: '/categories',name: 'Categories',component: () => import('/@/views/category/index.vue')}
]const router = createRouter({history: createWebHistory(),routes
})export default router
3.4 集成 Axios
安装 Axios:
npm install axios
创建请求工具 (src/utils/request.js):
import axios from 'axios'// 创建 axios 实例
const service = axios.create({baseURL: import.meta.env.VITE_API_BASE_URL,timeout: 10000
})export default service
4. 全局样式与布局 🎨
4.1 全局样式配置
创建全局样式文件src/styles.css
* {margin: 0;padding: 0;box-sizing: border-box;}html, body, #app {height: 100%;margin: 0;overflow: hidden; /* 禁止整个页面滚动 */}
创建全局样式文件 src/styles/variables.scss存放一些额外的样式,可以存放变量
:root {--primary-color: #409EFF;--success-color: #67C23A;--warning-color: #E6A23C;--danger-color: #F56C6C;--info-color: #909399;--sidebar-width: 200px;--header-height: 60px;
}#app {display: flex;flex-direction: column;background-color: #f5f7fa;
}
安装sass-embedded
npm install -D sass-embedded
在 `vite.config.js` 中配置全局 SCSS 变量:```javascript
export default defineConfig({css: {preprocessorOptions: {scss: {additionalData: `@import "/@/styles/variables.scss";`}}}
})
4.2 实现基础布局
创建布局组件 (src/layout/index.vue):
<template><el-container class="layout-container"><!-- 侧边栏 --><el-aside :width="sidebarWidth" class="sidebar"><div class="logo">AI书签管理</div><el-menu:default-active="activeMenu"routerbackground-color="#304156"text-color="#bfcbd9"active-text-color="#409EFF":collapse="isCollapse"class="sidebar-menu"><el-menu-item index="/bookmarks"><el-icon><icon-menu /></el-icon><span>书签管理</span></el-menu-item><el-menu-item index="/categories"><el-icon><setting /></el-icon><span>分类管理</span></el-menu-item></el-menu></el-aside><!-- 主内容区 --><el-containerclass="main-container":style="{ 'margin-left': sidebarWidth }"><!-- 顶部导航 --><el-header class="header"><div class="header-left"><el-icon @click="toggleSidebar"><expand v-if="isCollapse" /><fold v-else /></el-icon><el-breadcrumb separator="/"><el-breadcrumb-item :to="{ path: '/' }">首页</el-breadcrumb-item><el-breadcrumb-item v-if="route.meta?.title">{{route.meta.title}}</el-breadcrumb-item></el-breadcrumb></div></el-header><!-- 内容区域 --><el-main class="main-content"><router-view v-slot="{ Component }"><transition name="fade" mode="out-in"><component :is="Component" /></transition></router-view></el-main></el-container></el-container>
</template><script setup>
import { ref, computed } from 'vue'
import { useRoute } from 'vue-router'
import {Menu as IconMenu,Setting,Expand,Fold
} from '@element-plus/icons-vue'const route = useRoute()
const isCollapse = ref(false)
const sidebarWidth = computed(() => (isCollapse.value ? '64px' : '200px'))
const activeMenu = computed(() => route?.path || '/')const toggleSidebar = () => {isCollapse.value = !isCollapse.value
}
</script><style scoped>
.layout-container {min-height: 100vh;display: flex;
}.sidebar {background-color: #304156;height: 100vh;position: fixed;left: 0;top: 0;z-index: 1000;transition: width 0.3s;display: flex;flex-direction: column;overflow: hidden;
}.logo {height: 60px;line-height: 60px;text-align: center;color: #fff;font-size: 18px;font-weight: bold;background-color: #2b2f3a;flex-shrink: 0;
}.sidebar-menu {flex: 1;overflow-y: auto;overflow-x: hidden;border-right: none;
}.main-container {width: 100%;min-height: 100vh;display: flex;flex-direction: column;transition: margin-left 0.3s;
}.header {display: flex;align-items: center;justify-content: space-between;background-color: #fff;box-shadow: 0 1px 4px rgba(0, 21, 41, 0.08);height: 60px;flex-shrink: 0;z-index: 999;position: sticky;top: 0;padding: 0 20px;
}.header-left {display: flex;align-items: center;gap: 16px;
}.header-left .el-icon {font-size: 20px;cursor: pointer;
}.main-content {padding: 20px;background-color: #f5f7fa;flex: 1;overflow-y: auto;height: calc(100vh - 60px);
}/* 过渡动画 */
.fade-enter-active,
.fade-leave-active {transition: opacity 0.3s ease;
}.fade-enter-from,
.fade-leave-to {opacity: 0;
}
</style>
5.修改入口文件 📝
5.1 修改网站图标和标题
将favicon.ico图标放到public目录下,修改图标和标题
<!doctype html>
<html lang="en"><head><meta charset="UTF-8" /><link rel="icon" type="image/x-icon" href="/favicon.ico" /><meta name="viewport" content="width=device-width, initial-scale=1.0" /><title>AiBookmark</title></head><body><div id="app"></div><script type="module" src="/src/main.js"></script></body>
</html>
5.2 修改App.vue
<script setup>
import MainLayout from '/@/layout/index.vue'
</script><template><MainLayout><router-view /></MainLayout>
</template><style scoped></style>
5.3 修改main.js
import { createApp } from 'vue'
import { createPinia } from 'pinia'
import './style.css'
import router from './router'
import App from './App.vue'const app = createApp(App)
app.use(router)
app.use(createPinia())
app.mount('#app')
6. 项目结构与运行 🏗️
6.1 项目结构
web/
├── public/
├── src/
│   ├── api/             # API 接口
│   ├── assets/          # 静态资源
│   ├── components/      # 通用组件
│   ├── layout/          # 布局组件
│   ├── router/          # 路由配置
│   ├── stores/          # Pinia 状态管理
│   ├── styles/          # 全局样式
│   ├── utils/           # 工具函数
│   ├── views/           # 页面组件
│   │   ├── bookmark/    # 书签管理
│   │   ├── category/    # 分类管理
│   ├── App.vue
│   └── main.js
├── .env.development     # 开发环境变量
├── .prettierrc         # 代码格式化配置
├── index.html
├── package.json
└── vite.config.js
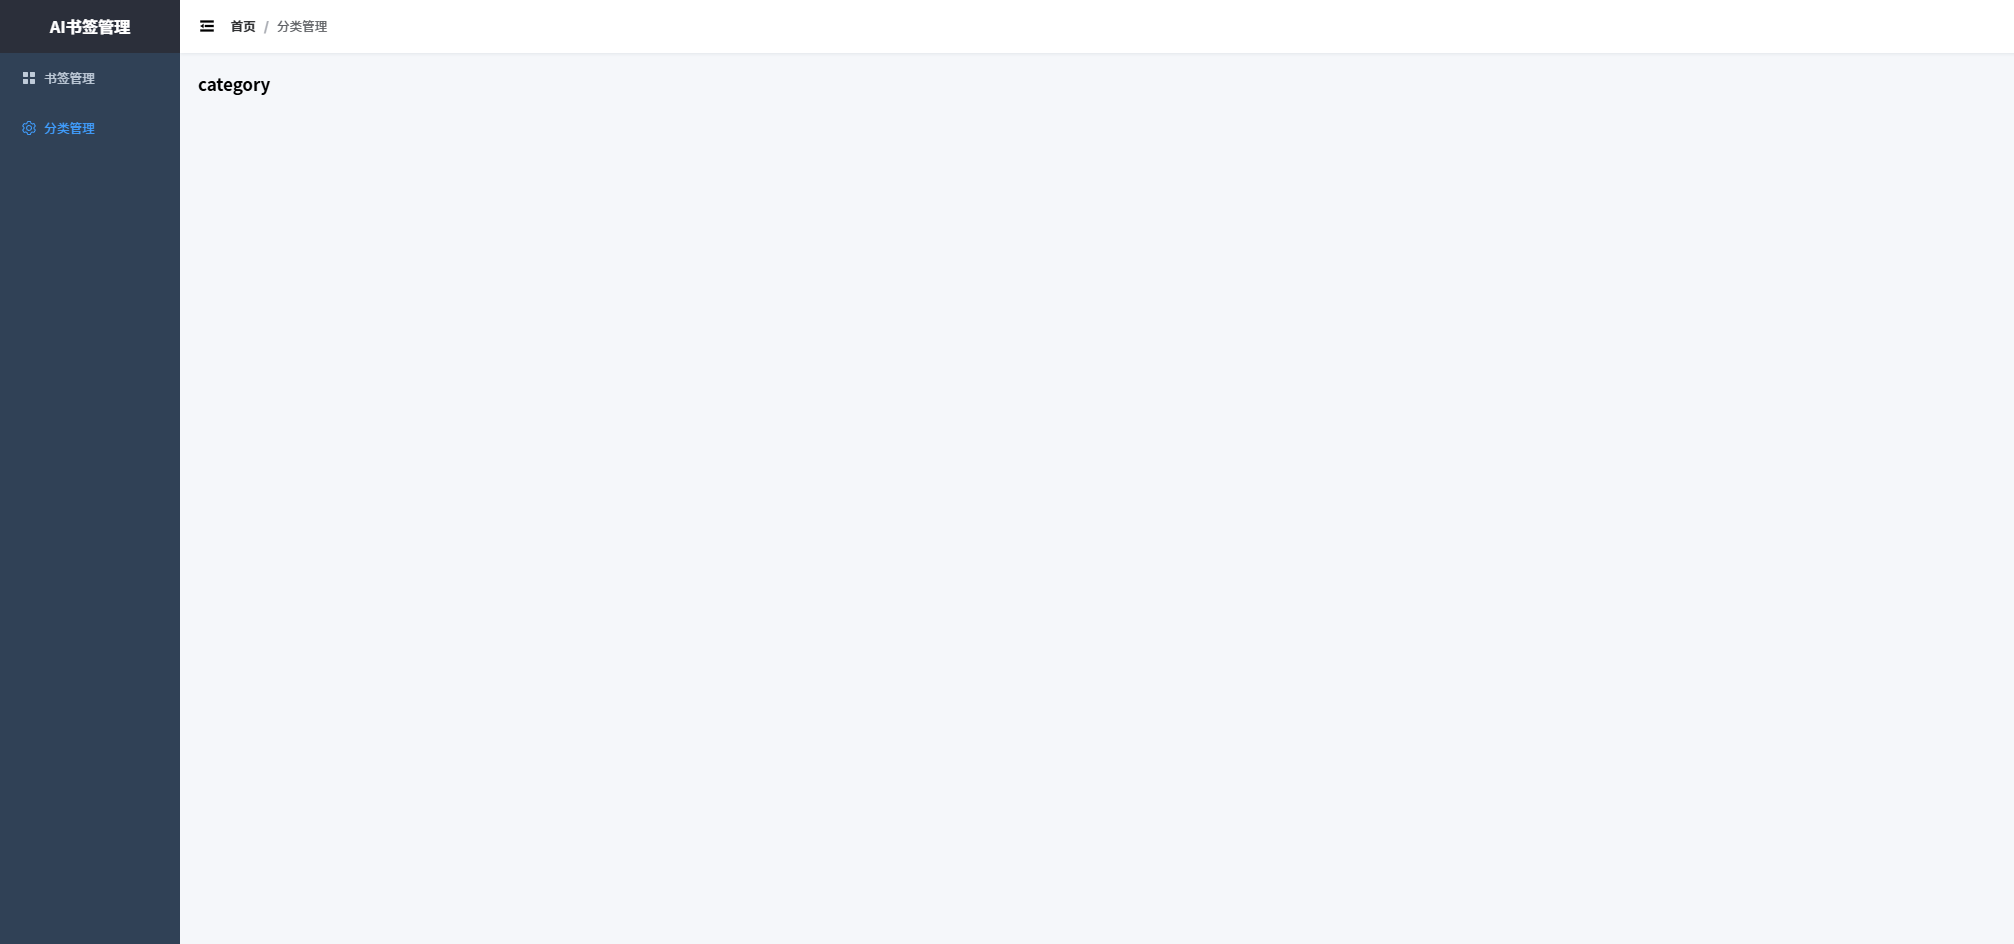
6.2 启动项目
重新启动前端项目
# 启动前端
npm run dev
访问 http://localhost:5173 查看效果:
总结 📚
本文详细介绍了如何基于 Vue3 和 Element Plus 搭建前端管理界面。我们实现了:
- 现代化的后台管理布局
- 响应式侧边栏和顶部导航
- 路由配置
在下一篇文章中,我们将实现页面编写和接口对接。