15.three官方示例+编辑器+AI快速学习webgl_buffergeometry_instancing
本实例主要讲解内容
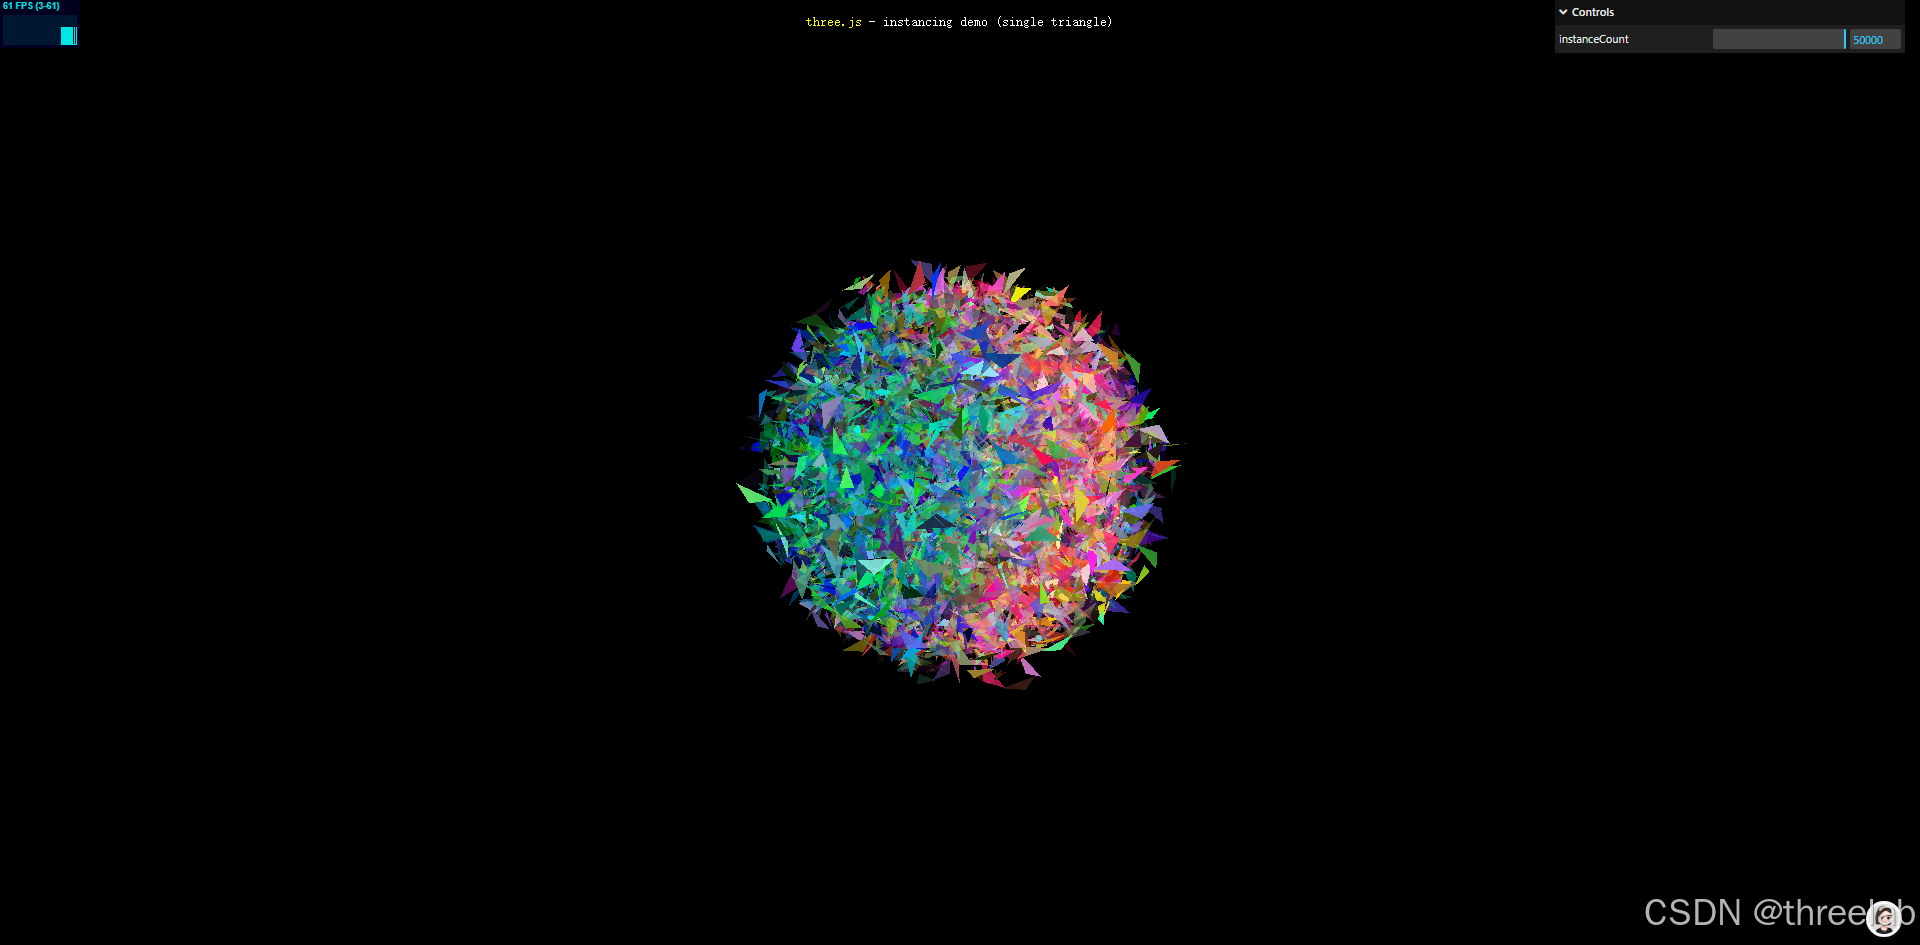
这个Three.js示例展示了如何使用GPU实例化技术高效渲染大量相同基元的不同实例。通过自定义着色器和实例属性,我们可以为每个实例应用独特的变换和颜色,同时保持极高的渲染性能。
核心技术包括:
- GPU实例化的基本原理
- 自定义着色器编程
- 四元数旋转动画
- 实例属性的动态更新
- 渲染性能优化
完整代码注释
<!DOCTYPE html>
<html lang="en">
<head><title>three.js webgl - instancing test (single triangle)</title><meta charset="utf-8"><meta name="viewport" content="width=device-width, user-scalable=no, minimum-scale=1.0, maximum-scale=1.0"><link type="text/css" rel="stylesheet" href="main.css">
</head>
<body><div id="container"></div><div id="info"><a href="https://threejs.org" target="_blank" rel="noopener">three.js</a> - instancing demo (single triangle)<div id="notSupported" style="display:none">Sorry your graphics card + browser does not support hardware instancing</div></div><!-- 顶点着色器 --><script id="vertexShader" type="x-shader/x-vertex">precision highp float;uniform float sineTime;  // 基于时间的正弦值,用于动画uniform mat4 modelViewMatrix;  // 模型视图矩阵uniform mat4 projectionMatrix; // 投影矩阵attribute vec3 position;       // 顶点位置(基元几何体)attribute vec3 offset;         // 实例偏移量attribute vec4 color;          // 实例颜色attribute vec4 orientationStart; // 起始方向(四元数)attribute vec4 orientationEnd;   // 结束方向(四元数)varying vec3 vPosition;        // 传递给片段着色器的位置varying vec4 vColor;           // 传递给片段着色器的颜色void main(){// 基于时间计算实例位置,添加缩放动画效果vPosition = offset * max( abs( sineTime * 2.0 + 1.0 ), 0.5 ) + position;// 基于时间在两个四元数之间插值,实现平滑旋转vec4 orientation = normalize( mix( orientationStart, orientationEnd, sineTime ) );// 使用四元数旋转顶点位置vec3 vcV = cross( orientation.xyz, vPosition );vPosition = vcV * ( 2.0 * orientation.w ) + ( cross( orientation.xyz, vcV ) * 2.0 + vPosition );// 传递颜色到片段着色器vColor = color;// 计算最终裁剪空间位置gl_Position = projectionMatrix * modelViewMatrix * vec4( vPosition, 1.0 );}</script><!-- 片段着色器 --><script id="fragmentShader" type="x-shader/x-fragment">precision highp float;uniform float time;  // 时间变量,用于动画varying vec3 vPosition;  // 从顶点着色器接收的位置varying vec4 vColor;     // 从顶点着色器接收的颜色void main() {vec4 color = vec4( vColor );// 基于位置和时间添加动态颜色变化color.r += sin( vPosition.x * 10.0 + time ) * 0.5;gl_FragColor = color;}</script><script type="importmap">{"imports": {"three": "../build/three.module.js","three/addons/": "./jsm/"}}</script><script type="module">import * as THREE from 'three';import Stats from 'three/addons/libs/stats.module.js';import { GUI } from 'three/addons/libs/lil-gui.module.min.js';let container, stats;let camera, scene, renderer;init();function init() {container = document.getElementById( 'container' );// 初始化相机camera = new THREE.PerspectiveCamera( 50, window.innerWidth / window.innerHeight, 1, 10 );camera.position.z = 2;// 初始化场景scene = new THREE.Scene();// 实例数量const instances = 50000;// 基元几何体数据(一个三角形)const positions = [];positions.push( 0.025, - 0.025, 0 );positions.push( - 0.025, 0.025, 0 );positions.push( 0, 0, 0.025 );// 实例属性数据const offsets = [];        // 位置偏移const colors = [];         // 颜色const orientationsStart = []; // 起始方向const orientationsEnd = [];   // 结束方向for ( let i = 0; i < instances; i ++ ) {// 随机位置偏移offsets.push( Math.random() - 0.5, Math.random() - 0.5, Math.random() - 0.5 );// 随机颜色(RGBA)colors.push( Math.random(), Math.random(), Math.random(), Math.random() );// 随机起始方向(四元数)const vector = new THREE.Vector4();vector.set( Math.random() * 2 - 1, Math.random() * 2 - 1, Math.random() * 2 - 1, Math.random() * 2 - 1 );vector.normalize();orientationsStart.push( vector.x, vector.y, vector.z, vector.w );// 随机结束方向(四元数)vector.set( Math.random() * 2 - 1, Math.random() * 2 - 1, Math.random() * 2 - 1, Math.random() * 2 - 1 );vector.normalize();orientationsEnd.push( vector.x, vector.y, vector.z, vector.w );}// 创建实例化几何体const geometry = new THREE.InstancedBufferGeometry();geometry.instanceCount = instances; // 设置实例数量// 设置基元几何体属性geometry.setAttribute( 'position', new THREE.Float32BufferAttribute( positions, 3 ) );// 设置实例属性geometry.setAttribute( 'offset', new THREE.InstancedBufferAttribute( new Float32Array( offsets ), 3 ) );geometry.setAttribute( 'color', new THREE.InstancedBufferAttribute( new Float32Array( colors ), 4 ) );geometry.setAttribute( 'orientationStart', new THREE.InstancedBufferAttribute( new Float32Array( orientationsStart ), 4 ) );geometry.setAttribute( 'orientationEnd', new THREE.InstancedBufferAttribute( new Float32Array( orientationsEnd ), 4 ) );// 创建自定义着色器材质const material = new THREE.RawShaderMaterial( {uniforms: {'time': { value: 1.0 },'sineTime': { value: 1.0 }},vertexShader: document.getElementById( 'vertexShader' ).textContent,fragmentShader: document.getElementById( 'fragmentShader' ).textContent,side: THREE.DoubleSide,forceSinglePass: true,transparent: true} );// 创建实例化网格const mesh = new THREE.Mesh( geometry, material );scene.add( mesh );// 初始化渲染器renderer = new THREE.WebGLRenderer();renderer.setPixelRatio( window.devicePixelRatio );renderer.setSize( window.innerWidth, window.innerHeight );renderer.setAnimationLoop( animate );container.appendChild( renderer.domElement );// 添加GUI控制面板const gui = new GUI( { width: 350 } );gui.add( geometry, 'instanceCount', 0, instances ); // 可动态调整实例数量// 添加性能统计stats = new Stats();container.appendChild( stats.dom );// 窗口大小变化事件监听window.addEventListener( 'resize', onWindowResize );}// 窗口大小变化处理函数function onWindowResize() {camera.aspect = window.innerWidth / window.innerHeight;camera.updateProjectionMatrix();renderer.setSize( window.innerWidth, window.innerHeight );}// 动画循环function animate() {const time = performance.now();// 获取场景中的对象const object = scene.children[ 0 ];// 旋转整个对象object.rotation.y = time * 0.0005;// 更新着色器中的uniform变量object.material.uniforms[ 'time' ].value = time * 0.005;object.material.uniforms[ 'sineTime' ].value = Math.sin( object.material.uniforms[ 'time' ].value * 0.05 );// 渲染场景renderer.render( scene, camera );// 更新性能统计stats.update();}</script></body></html>
GPU实例化技术解析
什么是GPU实例化
GPU实例化是一种渲染技术,允许在单次绘制调用中渲染同一基元的多个实例,每个实例可以有不同的属性(如位置、颜色、旋转)。与传统的逐个渲染方式相比,实例化渲染的优势在于:
- 减少CPU-GPU通信:只需一次绘制调用,而不是为每个实例单独调用
- 降低内存占用:共享相同的几何体数据
- 提高渲染效率:特别适合大量相似对象的场景,如粒子系统、植被、城市建筑等
在Three.js中,我们可以通过InstancedBufferGeometry和InstancedBufferAttribute来实现GPU实例化。
实例化几何体的创建
本示例中,我们创建实例化几何体的步骤如下:
- 定义基元几何体:创建一个简单的三角形作为基元
- 准备实例属性数据:为每个实例创建位置、颜色和方向数据
- 创建实例化几何体:使用
InstancedBufferGeometry - 设置基元属性:使用普通的
BufferAttribute - 设置实例属性:使用
InstancedBufferAttribute
关键代码:
// 创建实例化几何体
const geometry = new THREE.InstancedBufferGeometry();// 设置基元几何体属性
geometry.setAttribute( 'position', new THREE.Float32BufferAttribute( positions, 3 ) );// 设置实例属性(每个实例有不同的值)
geometry.setAttribute( 'offset', new THREE.InstancedBufferAttribute( new Float32Array( offsets ), 3 ) );
geometry.setAttribute( 'color', new THREE.InstancedBufferAttribute( new Float32Array( colors ), 4 ) );
四元数旋转动画
本示例使用四元数实现平滑的旋转动画:
- 定义起始和结束方向:为每个实例定义两个四元数表示起始和结束方向
- 在着色器中插值:基于时间在两个四元数之间插值
- 应用旋转:使用四元数旋转顶点位置
顶点着色器中的关键代码:
// 基于时间在两个四元数之间插值
vec4 orientation = normalize( mix( orientationStart, orientationEnd, sineTime ) );// 使用四元数旋转顶点位置
vec3 vcV = cross( orientation.xyz, vPosition );
vPosition = vcV * ( 2.0 * orientation.w ) + ( cross( orientation.xyz, vcV ) * 2.0 + vPosition );
性能优化与应用场景
GPU实例化技术特别适合以下场景:
- 粒子系统:如烟雾、火焰、雨等效果
- 植被模拟:渲染森林、草地等
- 城市建筑:渲染大量相似的建筑或建筑部件
- 大规模数据可视化:如点云数据、星空模拟等
使用实例化渲染时的性能优化建议:
- 批量更新数据:尽量批量更新实例属性,减少渲染状态切换
- 合理使用uniforms和attributes:将频繁变化的数据放在uniforms中,静态数据放在attributes中
- 优化着色器计算:避免在着色器中进行复杂计算,特别是在处理大量实例时
- 考虑视锥体剔除:对于大规模场景,考虑实现视锥体剔除以避免渲染不可见的实例
这种技术虽然强大,但需要注意并非所有硬件都支持,特别是较旧的移动设备。在实际应用中,建议提供回退方案或降级策略。