vLLM部署多模态大模型Qwen2.5-VL-3B-Instruct
一、前提环境
1、系统环境
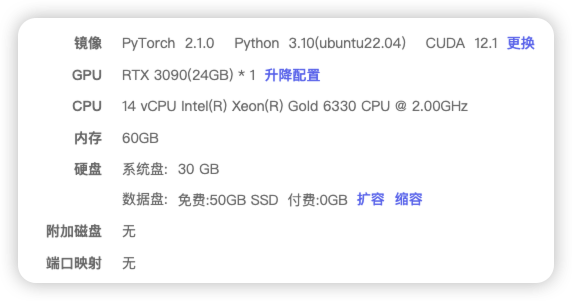
2、安装相关环境
- 安装依赖
%pip install accelerate qwen-vl-utils[decord]==0.0.8
%pip install transformers==4.50.0
%pip install modelscope==1.24.0
%pip install torch==2.5.1 torchvision==0.20.1 torchaudio==2.5.1 --index-url https://download.pytorch.org/whl/cu121
%pip install pillow requests python-dotenv
%pip install vllm==0.4.0- 注意:flash-attn 不是必须安装的,可安可不安
- 注意:如果安装 flash-attn 失败,使用离线安装
下载地址:flash-attn下载 - 下载界面:根据自己系统的版本进行下载
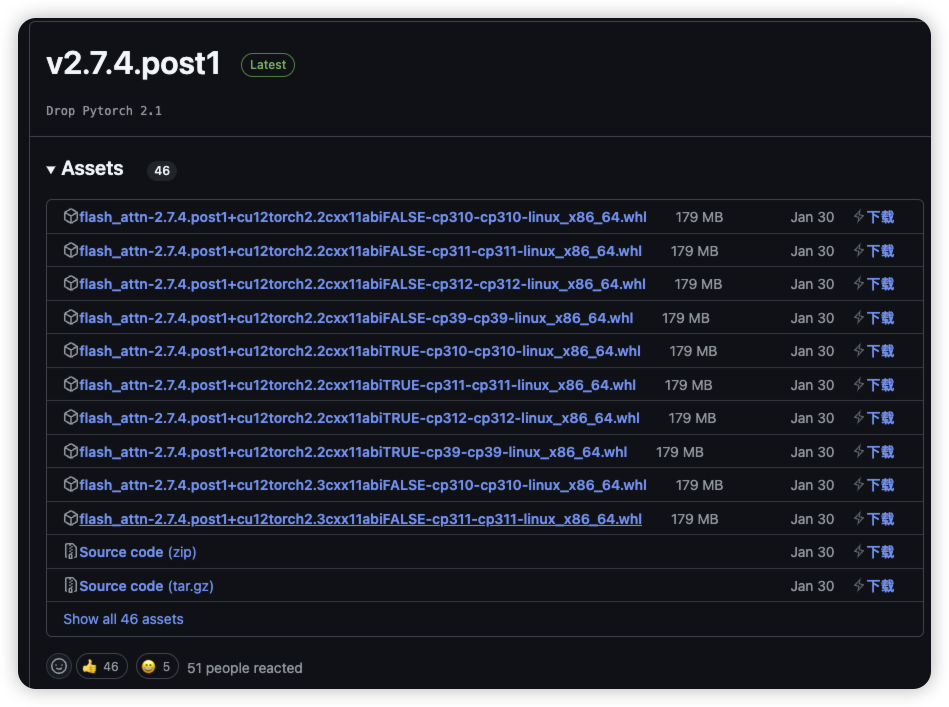
- 安装命令
pip install flash-att本地地址
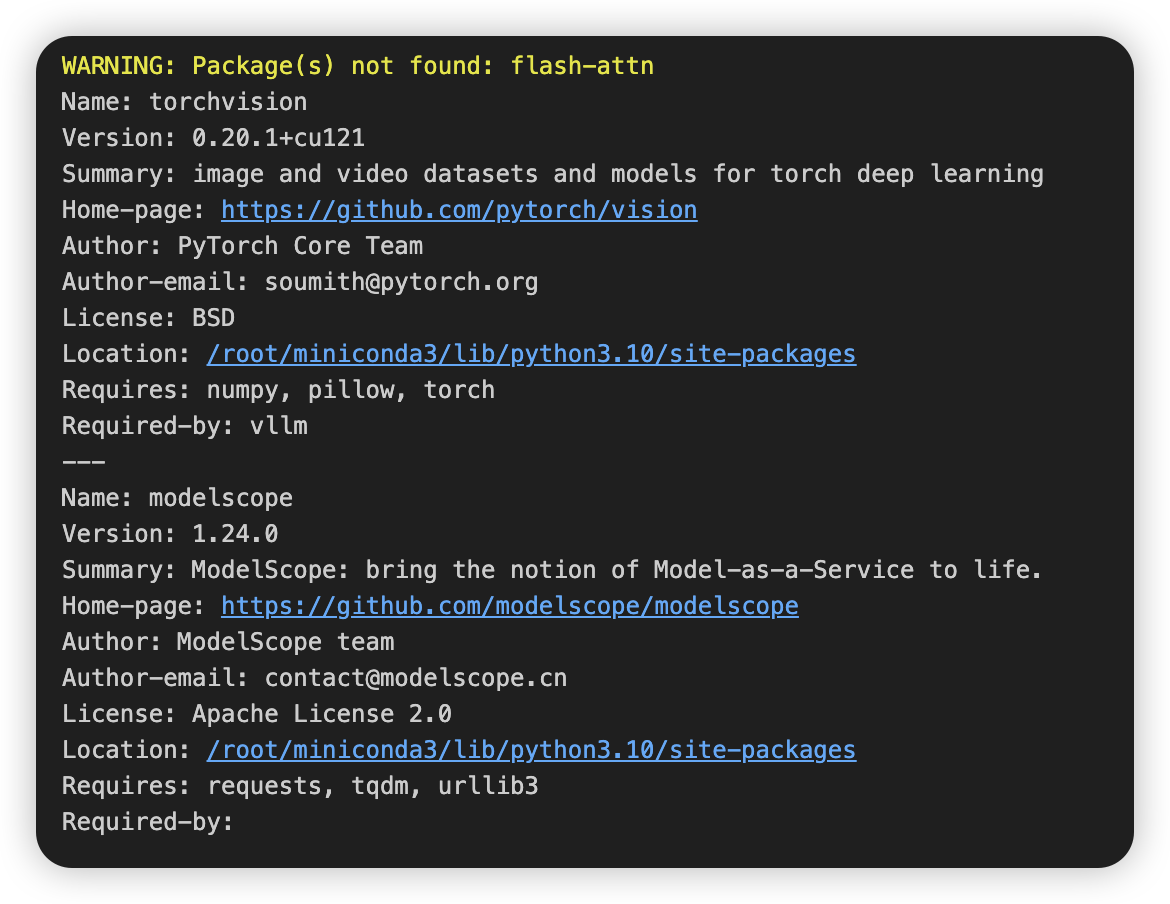
3、查看相关环境
%pip show torchvision modelscope flash-attn
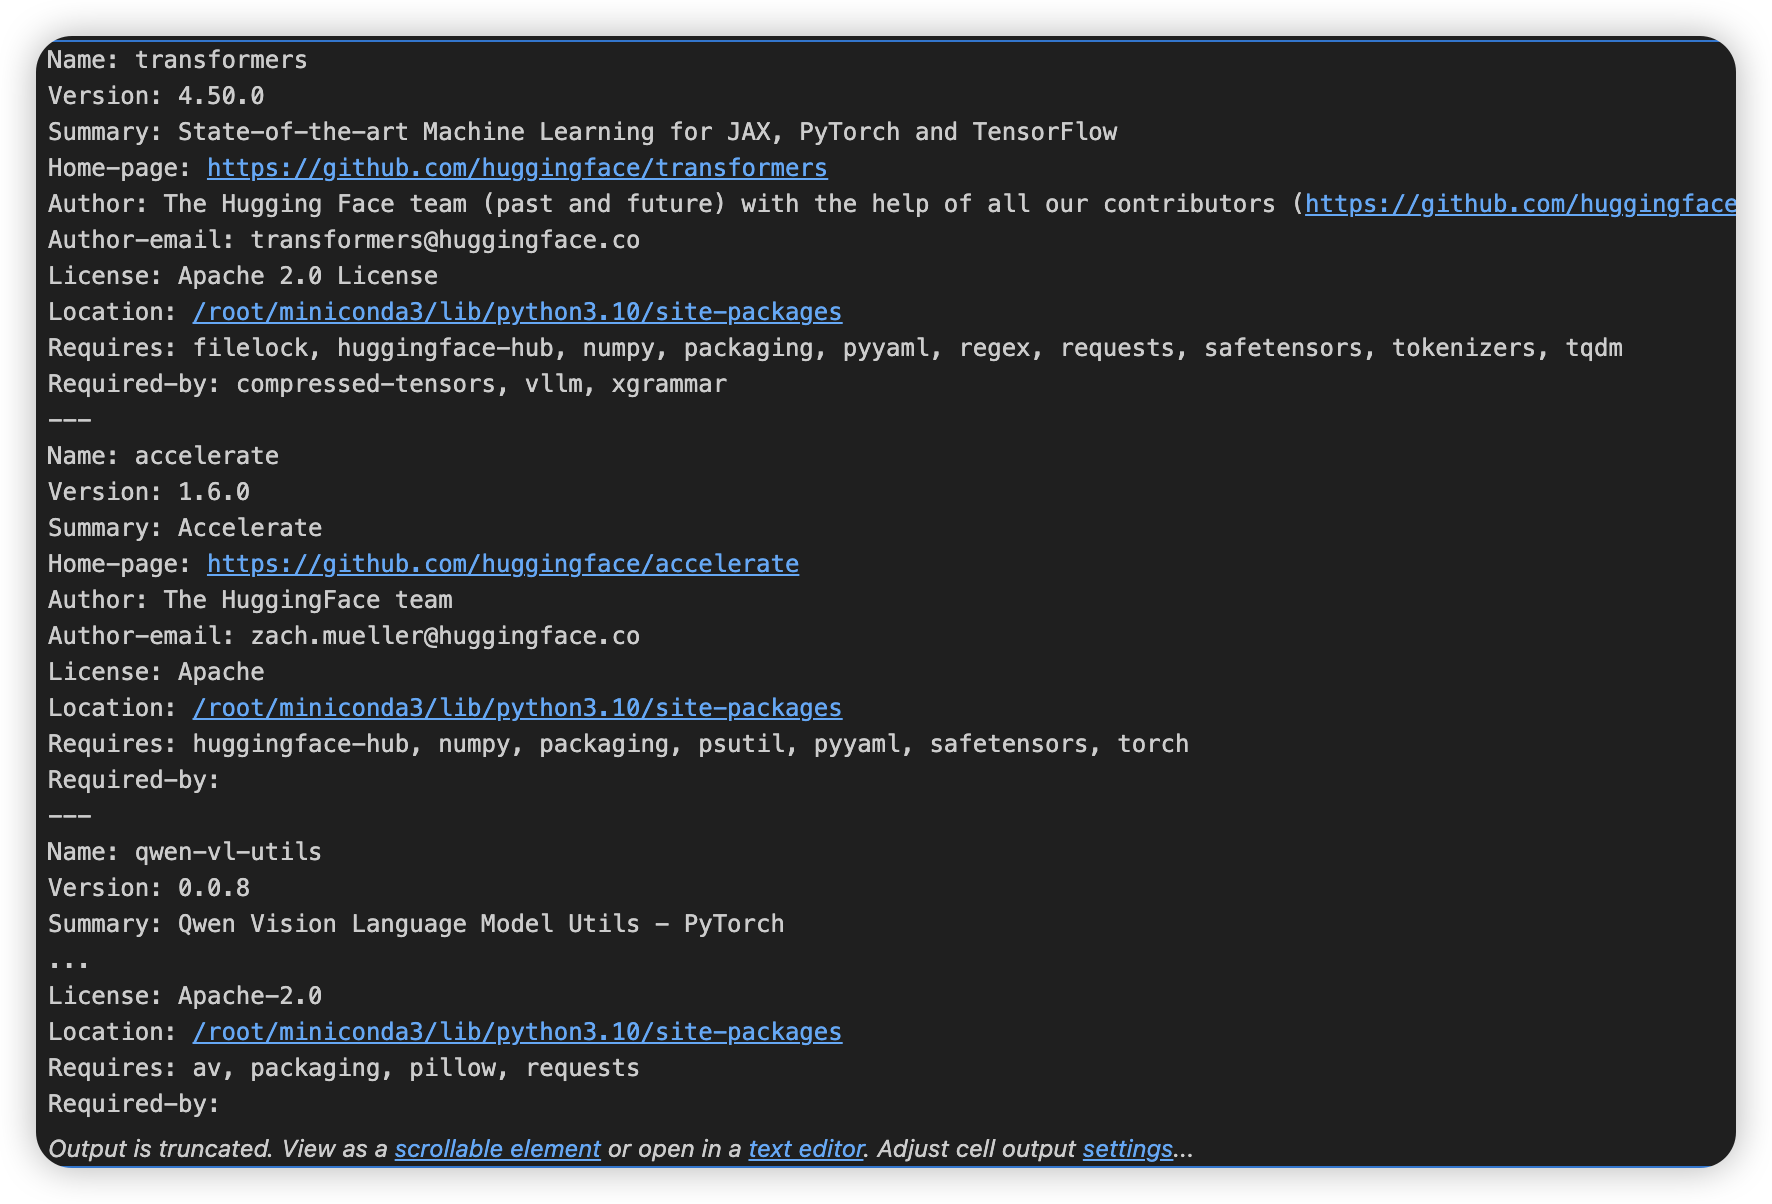
%pip show transformers accelerate qwen-vl-utils
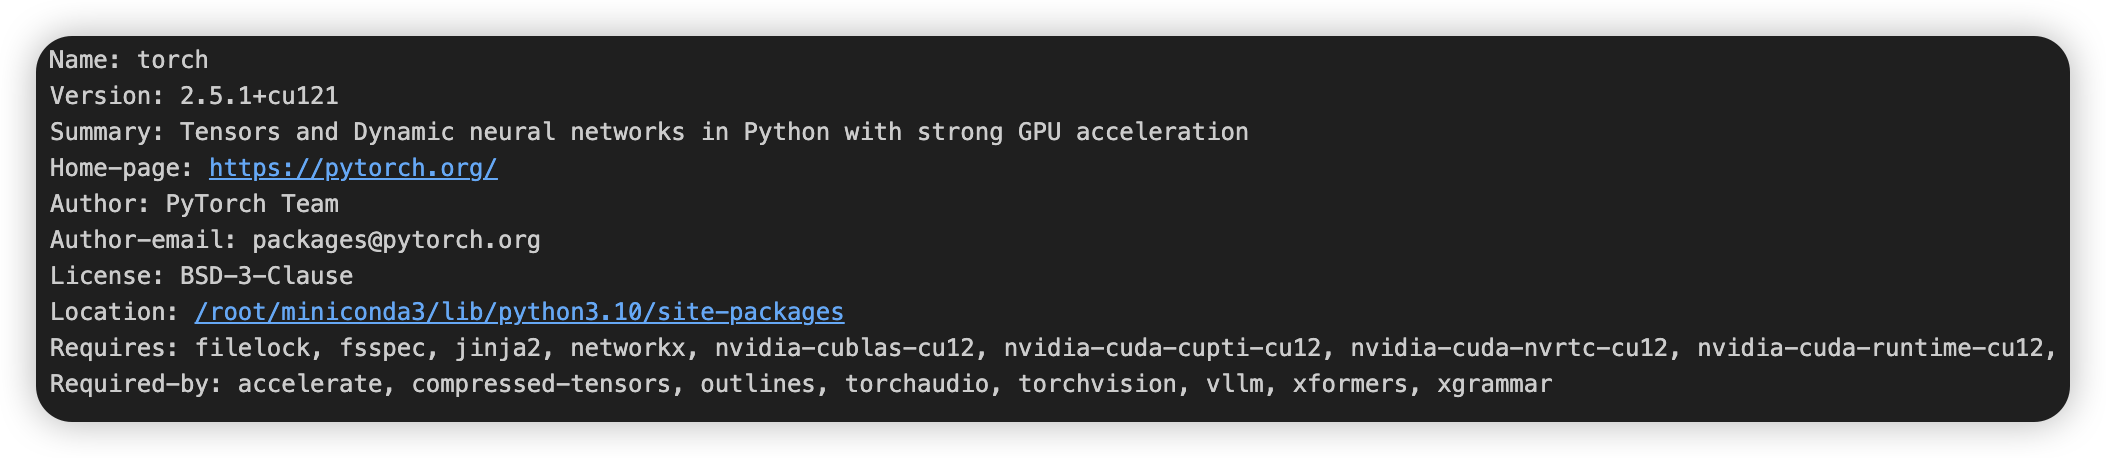
%pip show torch
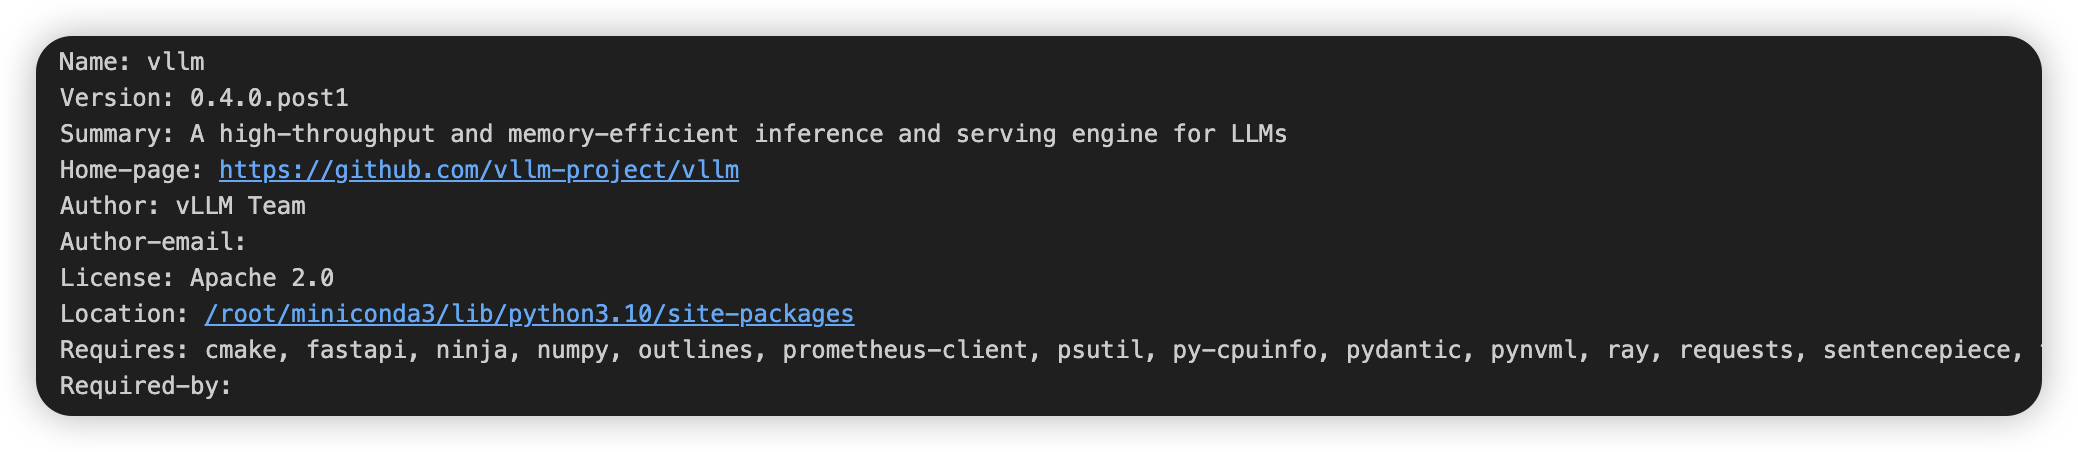
%pip show vllm
二、模型下载
- 使用 魔搭 下载模型
# model_download.py
#模型下载
from modelscope import snapshot_download
model_dir = snapshot_download('Qwen/Qwen2.5-VL-3B-Instruct', cache_dir='/root/autodl-tmp', revision='master')
三、运行模型
1、方式一(使用代码 直接运行 模型)
- 首先从 vLLM 库中导入 LLM 和 SamplingParams 类。LLM 类是使用 vLLM 引擎运行离线推理的主要类。SamplingParams 类指定采样过程的参数,用于控制和调整生成文本的随机性和多样性。
- vLLM 提供了非常方便的封装,我们直接传入模型名称或模型路径即可,不必手动初始化模型和分词器
- 详细代码如下:
# vllm_model.py
# 使用 vllm 本地模式 使用
from transformers import AutoProcessor
from vllm import LLM, SamplingParams
from qwen_vl_utils import process_vision_infoclass QwenVLModel:def __init__(self, model_path="/root/autodl-tmp/Qwen/Qwen2.5-VL-3B-Instruct"):self.model_path = model_pathself.llm = LLM(model=self.model_path,limit_mm_per_prompt={"image": 1, "video": 1},tensor_parallel_size=1,      # 设置为1以减少GPU内存使用gpu_memory_utilization=0.9,  # 控制GPU内存使用率max_model_len=2048,          # 限制最大序列长度# quantization="awq",        # 使用AWQ量化来减少内存使用)self.sampling_params = SamplingParams(temperature=0.1,top_p=0.001,repetition_penalty=1.05,max_tokens=512,stop_token_ids=[],)self.processor = AutoProcessor.from_pretrained(self.model_path)def generate(self, messages):prompt = self.processor.apply_chat_template(messages,tokenize=False,add_generation_prompt=True,)image_inputs, video_inputs = process_vision_info(messages)mm_data = {}if image_inputs is not None:mm_data["image"] = image_inputsif video_inputs is not None:mm_data["video"] = video_inputsllm_inputs = {"prompt": prompt,"multi_modal_data": mm_data,}outputs = self.llm.generate([llm_inputs], sampling_params=self.sampling_params)return outputs[0].outputs[0].textfrom tqdm import tqdm
img_path = "https://qianwen-res.oss-cn-beijing.aliyuncs.com/Qwen-VL/assets/demo.jpeg"
prompt_str = "请用中文描述一下这张图片"
image_messages = [{"role": "system", "content": "You are a helpful assistant."},{"role": "user","content": [{"type": "image","image": img_path,"min_pixels": 256 * 28 * 28,"max_pixels": 1280 * 28 * 28,},{"type": "text", "text": prompt_str},],},
]
model = QwenVLModel()
output_text = model.generate(image_messages)
print(output_text)- 代码运行结果

2、方式二(提高 openai 式接口)
- 运行指令
#vllm 执行命令python -m vllm.entrypoints.openai.api_server \
--model /root/autodl-tmp/Qwen/Qwen2.5-VL-3B-Instruct \
--served-model-name qwen-vl \
--max-model-len 64000 \
--limit-mm-per-prompt "image=5" \  # 允许每个prompt处理5张图像[9](@ref)
--port 8000
- 解释:
--port 参数指定地址。
–model 参数指定模型名称。
–served-model-name 指定服务模型的名称。
–max-model-len 指定模型的最大长度。
--limit-mm-per-prompt "image=5"  允许每个prompt处理5张图像
-
指令运行结果

-
测试代码
#使用langchain 调用 openai 的方式调用
# 引入 OpenAI 支持库
from langchain_openai import ChatOpenAI
from langchain_core.messages import HumanMessage
import base64, osbase_url ="http://localhost:8000/v1"
api_key ="EMPTY"  # 初始化LangChain客户端
llm = ChatOpenAI(model="qwen-vl",  # 与--served-model-name一致temperature=0.7,max_tokens=1024,base_url=base_url,  api_key=api_key
)# 处理多模态输入(示例:文本+图像)
def image_to_base64(image_path):with open(image_path, "rb") as img_file:return base64.b64encode(img_file.read()).decode('utf-8')# 构造多模态消息
messages = [{"role": "user","content": [{"type": "text", "text": "请用中文描述这张图片的内容"},{"type": "image_url","image_url": {"url": f"data:image/jpeg;base64,{image_to_base64('demo.jpeg')}"}}]}
]# 发送请求
response = llm.invoke(messages)
print(f"模型回复:{response.content}")
- 运行结果
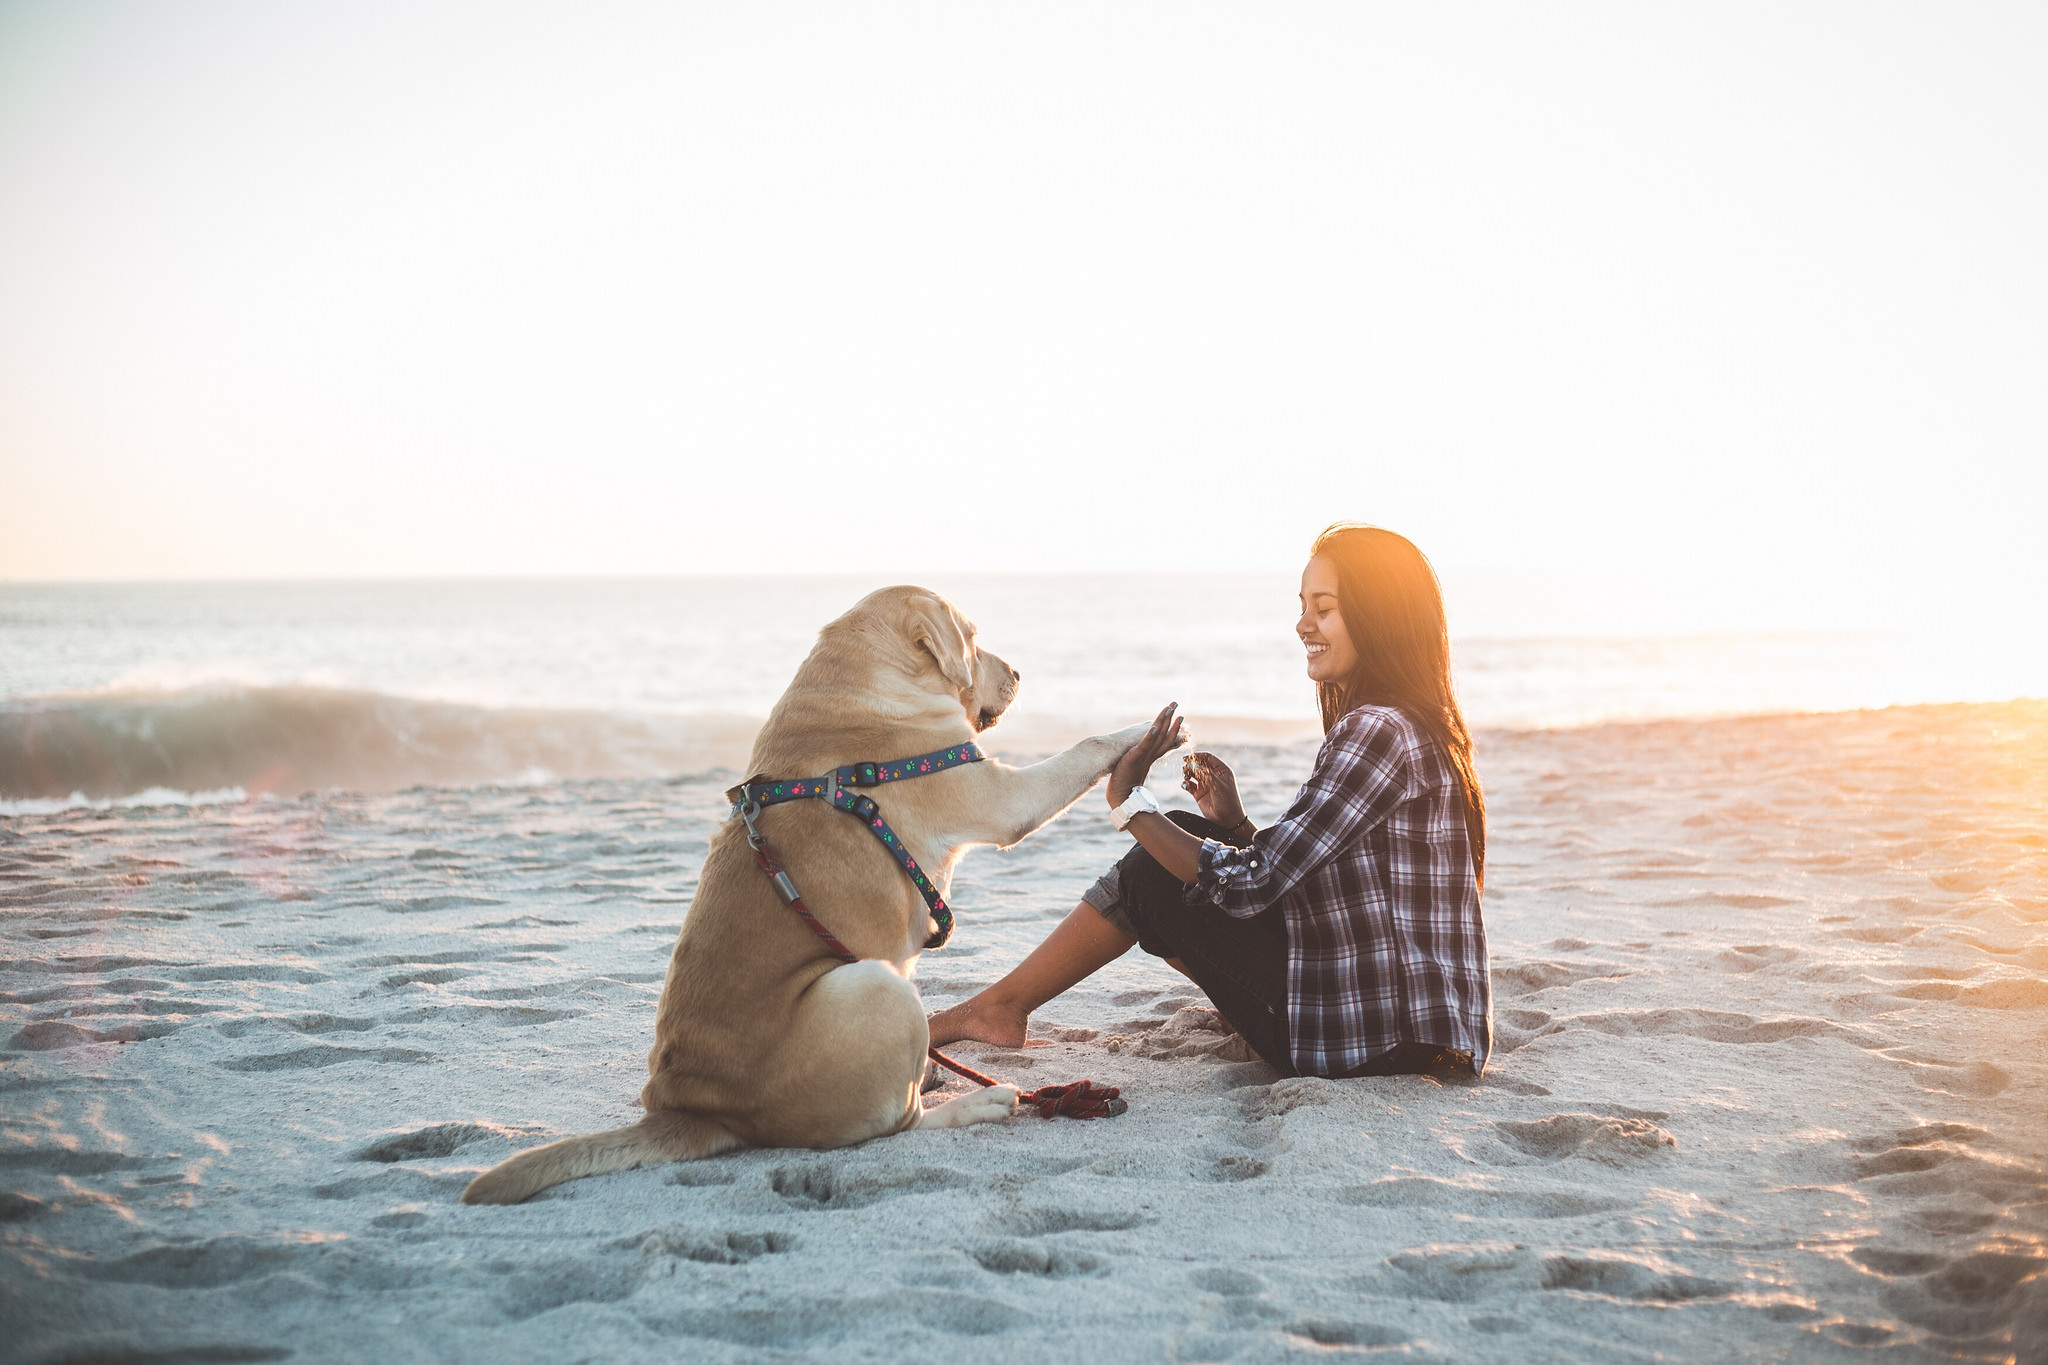
模型回复:这张图片展示了一位年轻女子和她的金毛犬在海滩上。女子坐在沙滩上,微笑着与狗狗互动。狗狗戴着项圈,看起来非常温顺和友好。背景是广阔的海洋,海浪轻轻拍打着海岸,整个场景充满了温馨和幸福的氛围。阳光洒在沙滩和海洋上,给人一种温暖而宁静的感觉。
3、方式三(使用 transformers 运行模型)
# 本地加载使用
from transformers import Qwen2_5_VLForConditionalGeneration, AutoProcessor
from qwen_vl_utils import process_vision_info
import torchclass QwenVLModel:def __init__(self, model_path="/root/autodl-tmp/Qwen/Qwen2.5-VL-3B-Instruct", use_flash_attention=False):"""初始化Qwen VL模型Args:model_path: 模型路径use_flash_attention: 是否使用flash attention加速"""# 加载模型if use_flash_attention:self.model = Qwen2_5_VLForConditionalGeneration.from_pretrained(model_path,torch_dtype=torch.bfloat16,attn_implementation="flash_attention_2",device_map="auto",)else:self.model = Qwen2_5_VLForConditionalGeneration.from_pretrained(model_path, torch_dtype="auto", device_map="auto")# 初始化处理器min_pixels = 256*28*28max_pixels = 1280*28*28self.processor = AutoProcessor.from_pretrained(model_path, min_pixels=min_pixels, max_pixels=max_pixels, use_fast=True)def process_image(self, image_path, prompt):"""处理图片并生成输出Args:image_path: 图片路径prompt: 提示文本Returns:生成的文本输出"""messages = [{"role": "user","content": [{"type": "image","image": image_path,},{"type": "text", "text": prompt},],}]# 准备推理输入text = self.processor.apply_chat_template(messages, tokenize=False, add_generation_prompt=True)image_inputs, video_inputs = process_vision_info(messages)inputs = self.processor(text=[text],images=image_inputs,videos=video_inputs,padding=True,return_tensors="pt",)inputs = inputs.to(self.model.device)# 生成输出generated_ids = self.model.generate(**inputs, max_new_tokens=512)generated_ids_trimmed = [out_ids[len(in_ids) :] for in_ids, out_ids in zip(inputs.input_ids, generated_ids)]output_text = self.processor.batch_decode(generated_ids_trimmed, skip_special_tokens=True, clean_up_tokenization_spaces=False)return output_text#测试
model = QwenVLModel()
img_path = "https://qianwen-res.oss-cn-beijing.aliyuncs.com/Qwen-VL/assets/demo.jpeg"
output_text = model.process_image(img_path,"请用中文描述一下这张图片"
)
print(f"输出信息: {output_text}")