文本数据可视化
目录
【实验目的】
【实验原理】
【实验环境】
【实验步骤】
原理
操作步骤
图像展示
【实验目的】
-
了解什么是文本可视化
-
掌握文本可视化的相关技术
-
文本信息的提取和可视表达
-
本次实验是将某一文本进行可视化生成词云图片
-
尝试构造文本指纹
【实验原理】
文本是语言和沟通的载体,文本的含义以及读者对文本的理解需求均纷繁复杂。例如,对于同一个文本,不同的人的解读也是不一样的,有的人希望了解文本中涉及到的事物,而有的人希望得到文本中的关键词。鉴于对文本信息需求的多样性,需要从不同层级提取与呈现文本信息。一般把对文本的理解 需 求 分 成 三 级 : 词 汇 级 ( Lexical Level ) 、 语 法 级(Syntactic Level)和语义级(Semantic Level)。不同级的信息挖掘方法也不同,词汇级当然是用各类分词算法,语法级用一些句法分析算法,语义级用主题抽取算法。文本文档的类别多种多样,包括单文本、文档集合和时序文本数据三大类,这使得文本信息的需求更为丰富。
【实验环境】
Python:v3.6
【实验步骤】
1、读入txt文本数据
数据来源:实验-第六章文件夹,千千阙歌-歌词.txt
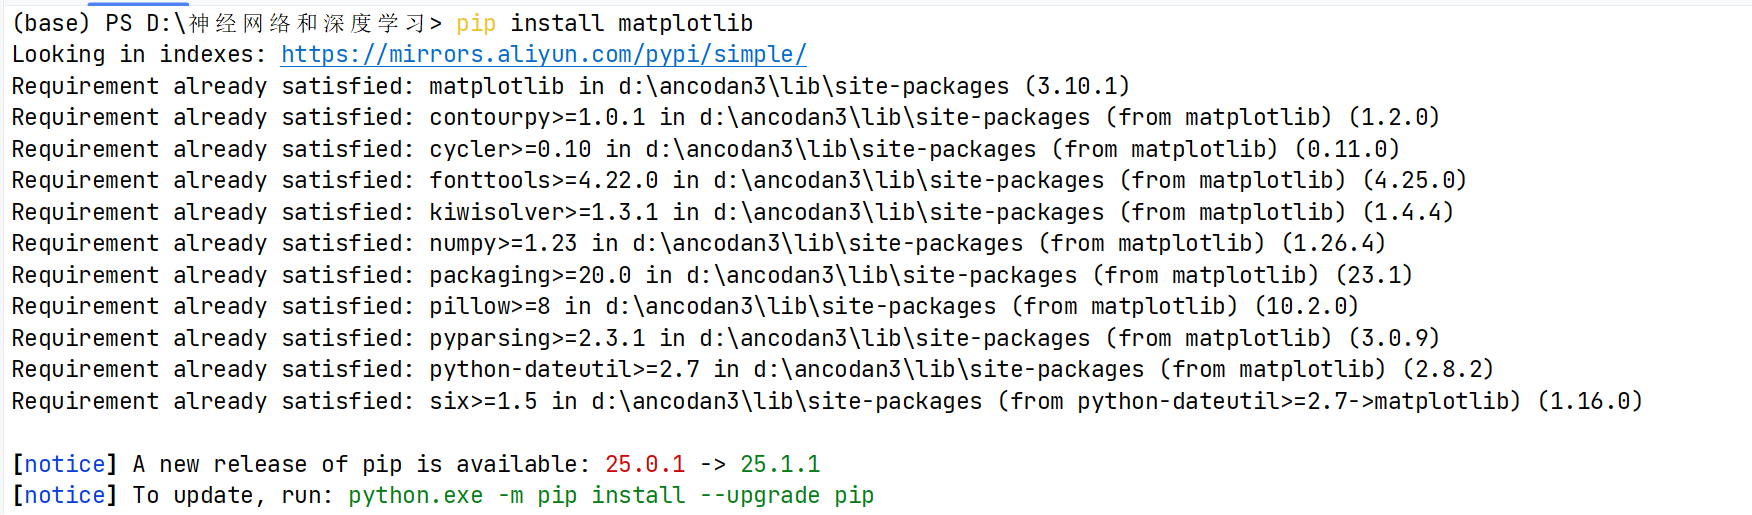
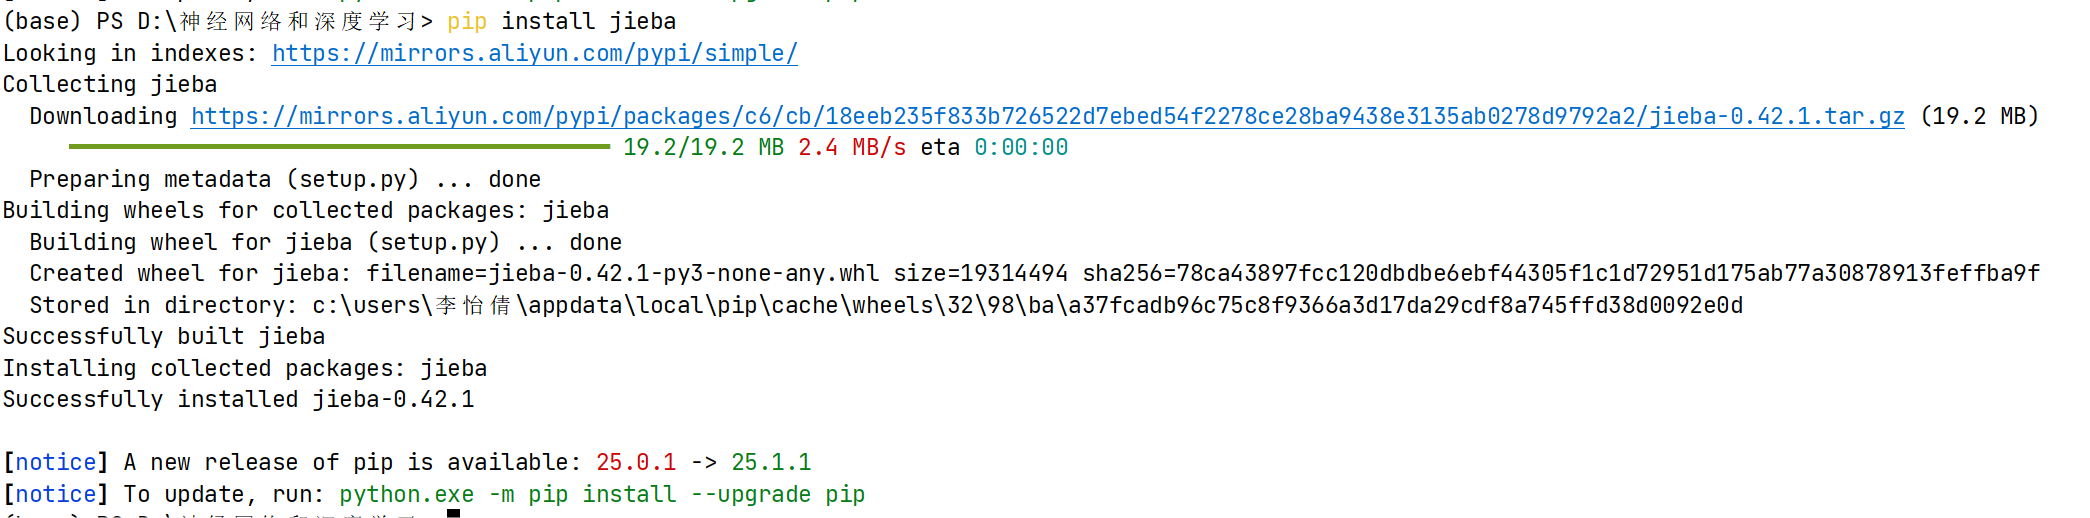
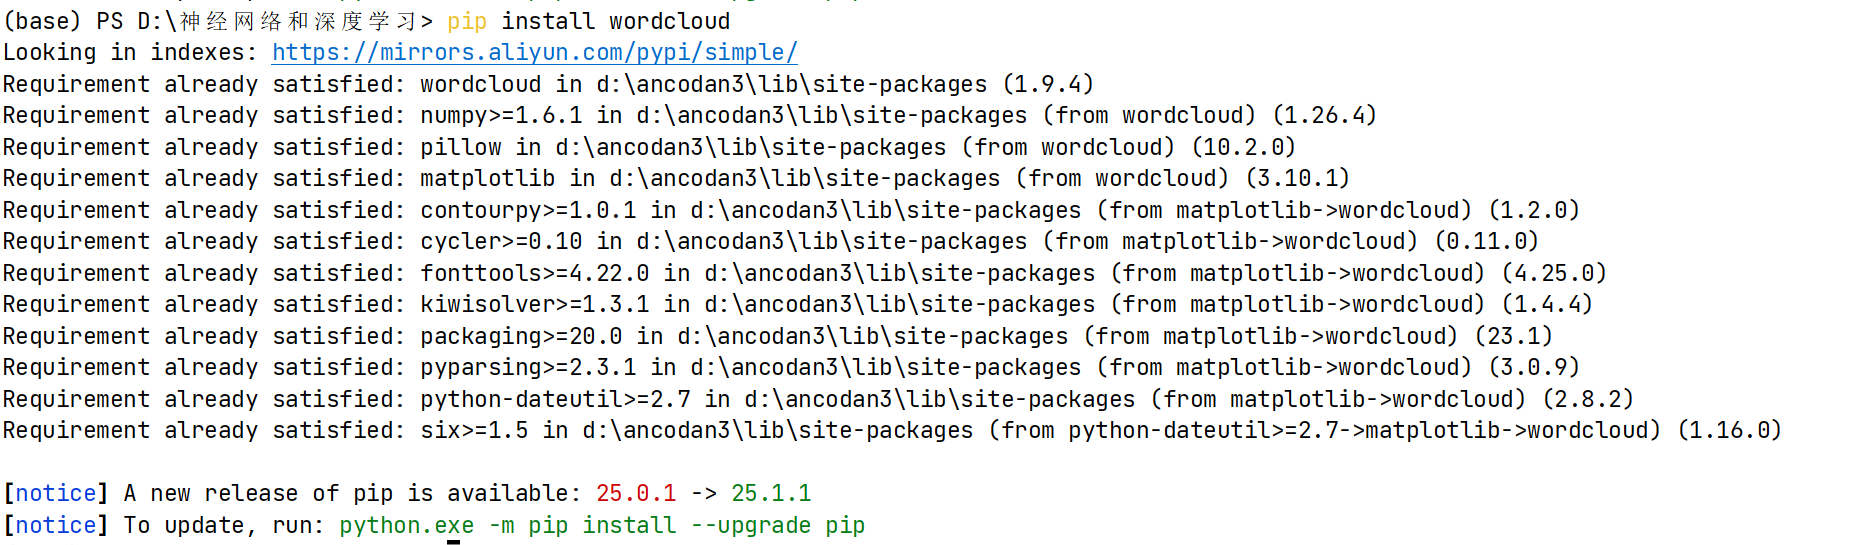
2、安装matplotlib、jieba、wordcloud
3、编写代码,构造不同形状的词云。
提示:
1.读入 txt 文本数据
2.结巴中文分词,生成字符串,默认精确模式,如果不通过分词,无法直接生成正确的中文词云
3.生成词云图,需要注意的是 WordCloud 默认不支持中文,所以这里需已下载好的中文字库
import jieba
from wordcloud import WordCloud
import matplotlib.pyplot as plt
import numpy as np
from PIL import Image
import os
from matplotlib.font_manager import FontProperties
from matplotlib.colors import LinearSegmentedColormap
import random
import io
from matplotlib.animation import FuncAnimation
from matplotlib.backends.backend_agg import FigureCanvasAgg# 1. 设置中文字体
def set_chinese_font():try:# 尝试常见字体路径font_paths = ['simhei.ttf','C:/Windows/Fonts/simhei.ttf','C:/Windows/Fonts/msyh.ttc','/System/Library/Fonts/PingFang.ttc','/usr/share/fonts/truetype/wqy/wqy-microhei.ttc']# 查找可用字体for path in font_paths:if os.path.exists(path):# 返回字体属性对象return FontProperties(fname=path)# 如果都找不到,尝试使用系统默认中文字体return FontProperties(family='sans-serif')except:return FontProperties(family='sans-serif')# 获取字体属性
font_prop = set_chinese_font()# 2. 读取文本文件
def load_text(file_path):try:with open(file_path, 'r', encoding='utf-8') as f:return f.read()except FileNotFoundError:print(f"错误: 文件 '{file_path}' 未找到!")return ""except Exception as e:print(f"错误: 读取文件时发生异常: {e}")return ""# 3. 中文分词处理
def chinese_text_segmentation(text):# 移除常见停用词stopwords = {'的', '了', '在', '是', '我', '有', '和', '就', '不', '人', '都', '一', '一个', '上', '也', '很', '到','说', '要', '去', '你', '会', '着', '没有', '看', '好', '自己', '这'}word_list = jieba.cut(text, cut_all=False)return " ".join([word for word in word_list if word not in stopwords and len(word) > 1])# 4. 创建不同形状的遮罩
def create_shapes(width=400, height=400):# 矩形rect_mask = None# 圆形x, y = np.ogrid[:height, :width]circle_mask = (x - height / 2) ** 2 + (y - width / 2) ** 2 > (min(width, height) / 2 - 10) ** 2circle_mask = 255 * circle_mask.astype(int)# 心形t = np.linspace(0, 2 * np.pi, 1000)x = 16 * np.sin(t) ** 3y = 13 * np.cos(t) - 5 * np.cos(2 * t) - 2 * np.cos(3 * t) - np.cos(4 * t)# 标准化到图像尺寸x = ((x - x.min()) / (x.max() - x.min()) * width * 0.8 + width * 0.1).astype(int)y = ((y - y.min()) / (y.max() - y.min()) * height * 0.8 + height * 0.1).astype(int)heart_mask = np.ones((height, width)) * 255for i in range(len(x)):if 0 <= x[i] < width and 0 <= y[i] < height:heart_mask[y[i], x[i]] = 0# 填充心形内部from scipy.ndimage import binary_fill_holesheart_mask = binary_fill_holes(heart_mask == 0).astype(int) * 255# 五角星star_mask = np.ones((height, width)) * 255cx, cy = width // 2, height // 2r = min(width, height) // 3for i in range(height):for j in range(width):x, y = j - cx, i - cyangle = np.arctan2(y, x) % (2 * np.pi)distance = np.sqrt(x ** 2 + y ** 2)# 五角星的极坐标方程k = 5 # 五角星的角数star_radius = r * (0.5 * np.cos(k * angle) + 0.5)if distance <= star_radius:star_mask[i, j] = 0return {'rect': rect_mask,'circle': circle_mask,'heart': heart_mask,'star': star_mask}# 5. 生成静态词云
def generate_static_wordcloud(mask_shape, title, bg_color='white', contour_color='pink', colormap='viridis',output_file=None):# 创建词云对象wc = WordCloud(font_path=font_prop.get_file() if font_prop.get_file() else None,background_color=bg_color,mask=mask_shape,max_words=200,contour_width=2,contour_color=contour_color,collocations=False,width=800,height=600,colormap=colormap,prefer_horizontal=0.9)wc.generate(word_string)# 显示词云plt.figure(figsize=(10, 8))plt.imshow(wc, interpolation='bilinear')plt.axis('off')plt.title(title, fontproperties=font_prop)if output_file:plt.savefig(output_file, dpi=300, bbox_inches='tight')print(f"已保存图片: {output_file}")plt.show()# 6. 生成多层词云
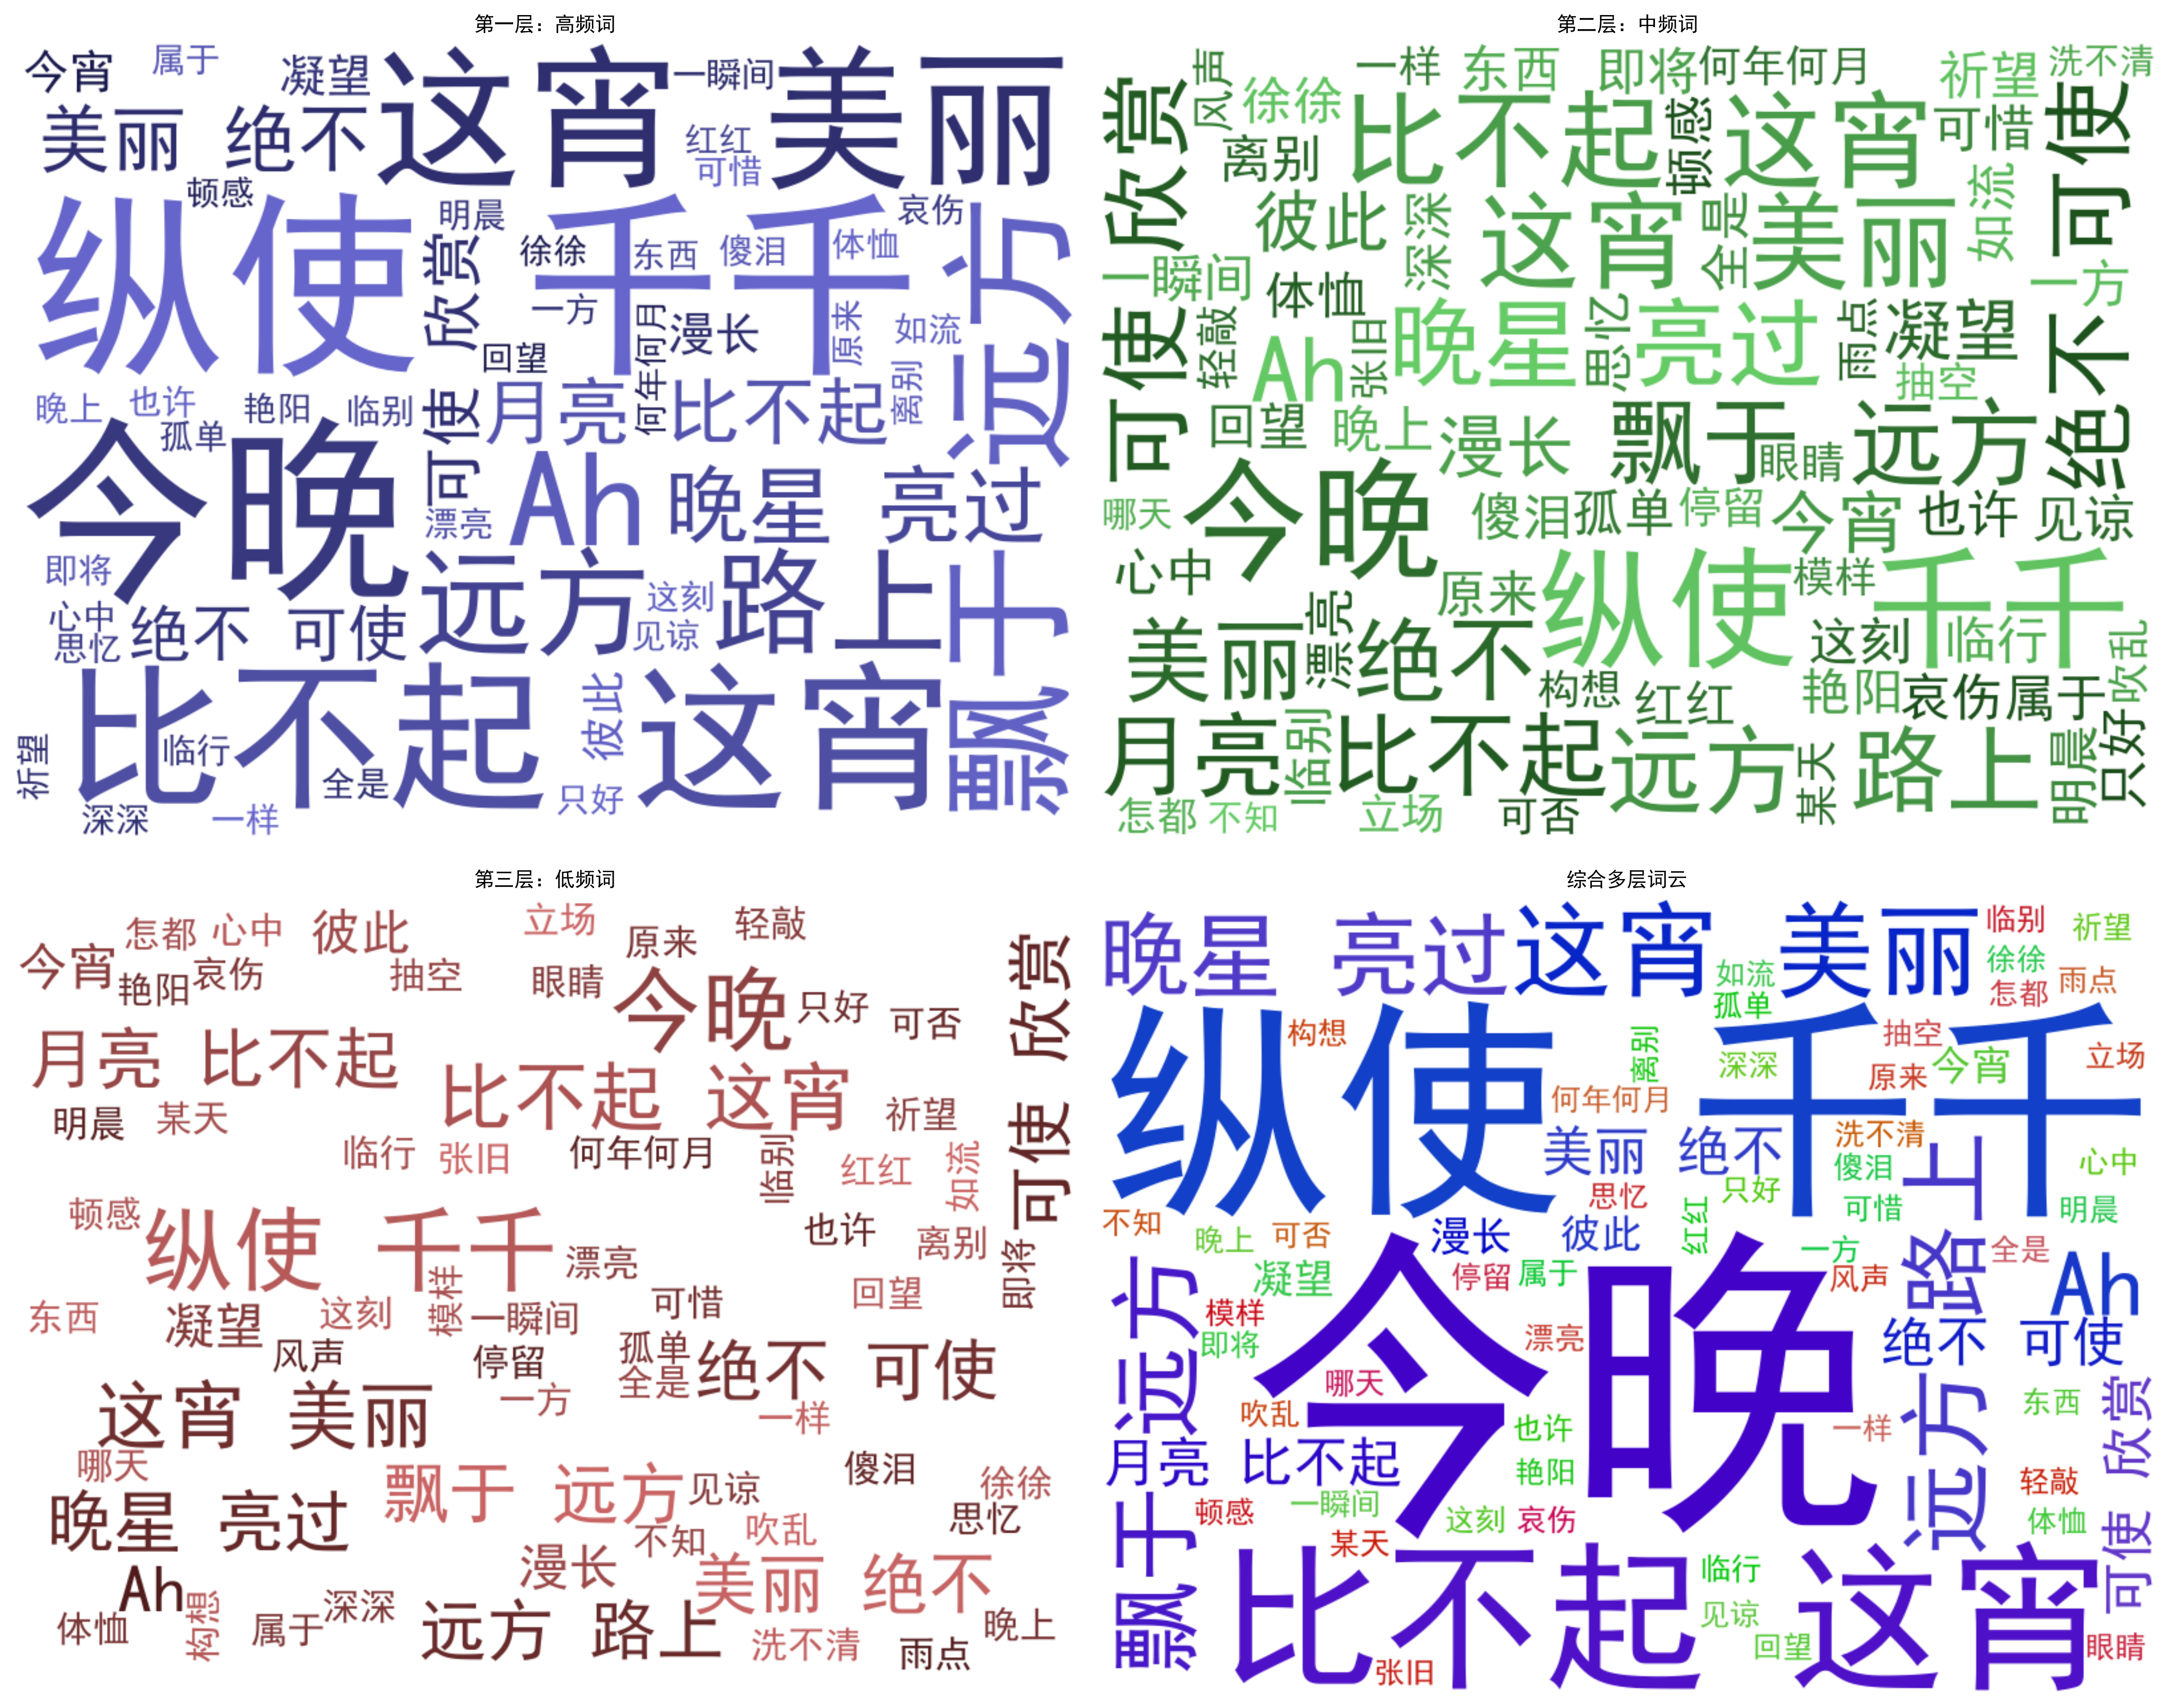
def generate_multi_layer_wordcloud(output_file=None):# 创建自定义颜色映射colors1 = [(0.1, 0.1, 0.3), (0.4, 0.4, 0.8)] # 深蓝色到浅蓝色colors2 = [(0.1, 0.3, 0.1), (0.4, 0.8, 0.4)] # 深绿色到浅绿色colors3 = [(0.3, 0.1, 0.1), (0.8, 0.4, 0.4)] # 深红色到浅红色cmap1 = LinearSegmentedColormap.from_list('custom1', colors1)cmap2 = LinearSegmentedColormap.from_list('custom2', colors2)cmap3 = LinearSegmentedColormap.from_list('custom3', colors3)# 基本词云plt.figure(figsize=(15, 12))# 第一层:高频词plt.subplot(2, 2, 1)wc1 = WordCloud(font_path=font_prop.get_file() if font_prop.get_file() else None,background_color='white',max_words=50,max_font_size=150,colormap=cmap1,width=800,height=600).generate(word_string)plt.imshow(wc1, interpolation='bilinear')plt.axis('off')plt.title('第一层:高频词', fontproperties=font_prop)# 第二层:中频词plt.subplot(2, 2, 2)wc2 = WordCloud(font_path=font_prop.get_file() if font_prop.get_file() else None,background_color='white',max_words=100,max_font_size=100,min_font_size=20,colormap=cmap2,width=800,height=600).generate(word_string)plt.imshow(wc2, interpolation='bilinear')plt.axis('off')plt.title('第二层:中频词', fontproperties=font_prop)# 第三层:低频词plt.subplot(2, 2, 3)wc3 = WordCloud(font_path=font_prop.get_file() if font_prop.get_file() else None,background_color='white',max_words=150,max_font_size=70,min_font_size=10,colormap=cmap3,width=800,height=600).generate(word_string)plt.imshow(wc3, interpolation='bilinear')plt.axis('off')plt.title('第三层:低频词', fontproperties=font_prop)# 综合多层词云plt.subplot(2, 2, 4)# 创建综合词云wc_combined = WordCloud(font_path=font_prop.get_file() if font_prop.get_file() else None,background_color='white',max_words=200,width=800,height=600,prefer_horizontal=0.9).generate(word_string)# 按频率排序并着色word_freq = wc_combined.process_text(word_string)sorted_words = sorted(word_freq.items(), key=lambda x: x[1], reverse=True)# 根据排名设置不同颜色def color_func(word, font_size, position, orientation, random_state=None, **kwargs):rank = next((i for i, (w, _) in enumerate(sorted_words) if w == word), 0)if rank < len(sorted_words) * 0.2: # 前20%return "rgb({}, {}, {})".format(random.randint(0, 100), random.randint(0, 100), 200) # 蓝色elif rank < len(sorted_words) * 0.6: # 中间40%return "rgb({}, {}, {})".format(random.randint(0, 100), 200, random.randint(0, 100)) # 绿色else: # 后40%return "rgb({}, {}, {})".format(200, random.randint(0, 100), random.randint(0, 100)) # 红色wc_combined.recolor(color_func=color_func)plt.imshow(wc_combined, interpolation='bilinear')plt.axis('off')plt.title('综合多层词云', fontproperties=font_prop)plt.tight_layout()if output_file:plt.savefig(output_file, dpi=300, bbox_inches='tight')print(f"已保存图片: {output_file}")plt.show()# 7. 生成动态词云
def generate_animated_wordcloud(output_file=None):# 创建词云对象wc = WordCloud(font_path=font_prop.get_file() if font_prop.get_file() else None,background_color='white',max_words=100,width=800,height=600,prefer_horizontal=0.9)wc.generate(word_string)# 创建画布和图形fig, ax = plt.subplots(figsize=(10, 8))plt.axis('off')plt.title('动态词云', fontproperties=font_prop)# 初始图像im = ax.imshow(np.zeros((100, 100)), interpolation='bilinear')# 更新函数def update(frame):# 随机改变颜色def random_color_func(word=None, font_size=None, position=None,orientation=None, font_path=None, random_state=None):h = 360.0 * random.randint(0, 240) / 240.0s = 100.0 * random.randint(60, 100) / 100.0l = 100.0 * random.randint(30, 70) / 100.0return f"hsl({h}, {s}%, {l}%)"# 重新着色词云wc.recolor(color_func=random_color_func)im.set_data(wc)return im,# 创建动画ani = FuncAnimation(fig, update, frames=range(20), interval=500, blit=True)if output_file:try:# 保存为GIFani.save(output_file, writer='pillow', fps=2)print(f"已保存动态词云: {output_file}")except Exception as e:print(f"保存动态词云失败: {e}")print("尝试保存为静态图片...")plt.savefig(output_file.replace('.gif', '.png'), dpi=300, bbox_inches='tight')print(f"已保存静态图片: {output_file.replace('.gif', '.png')}")plt.show()# 8. 生成3D效果词云(使用不同颜色层次模拟深度)
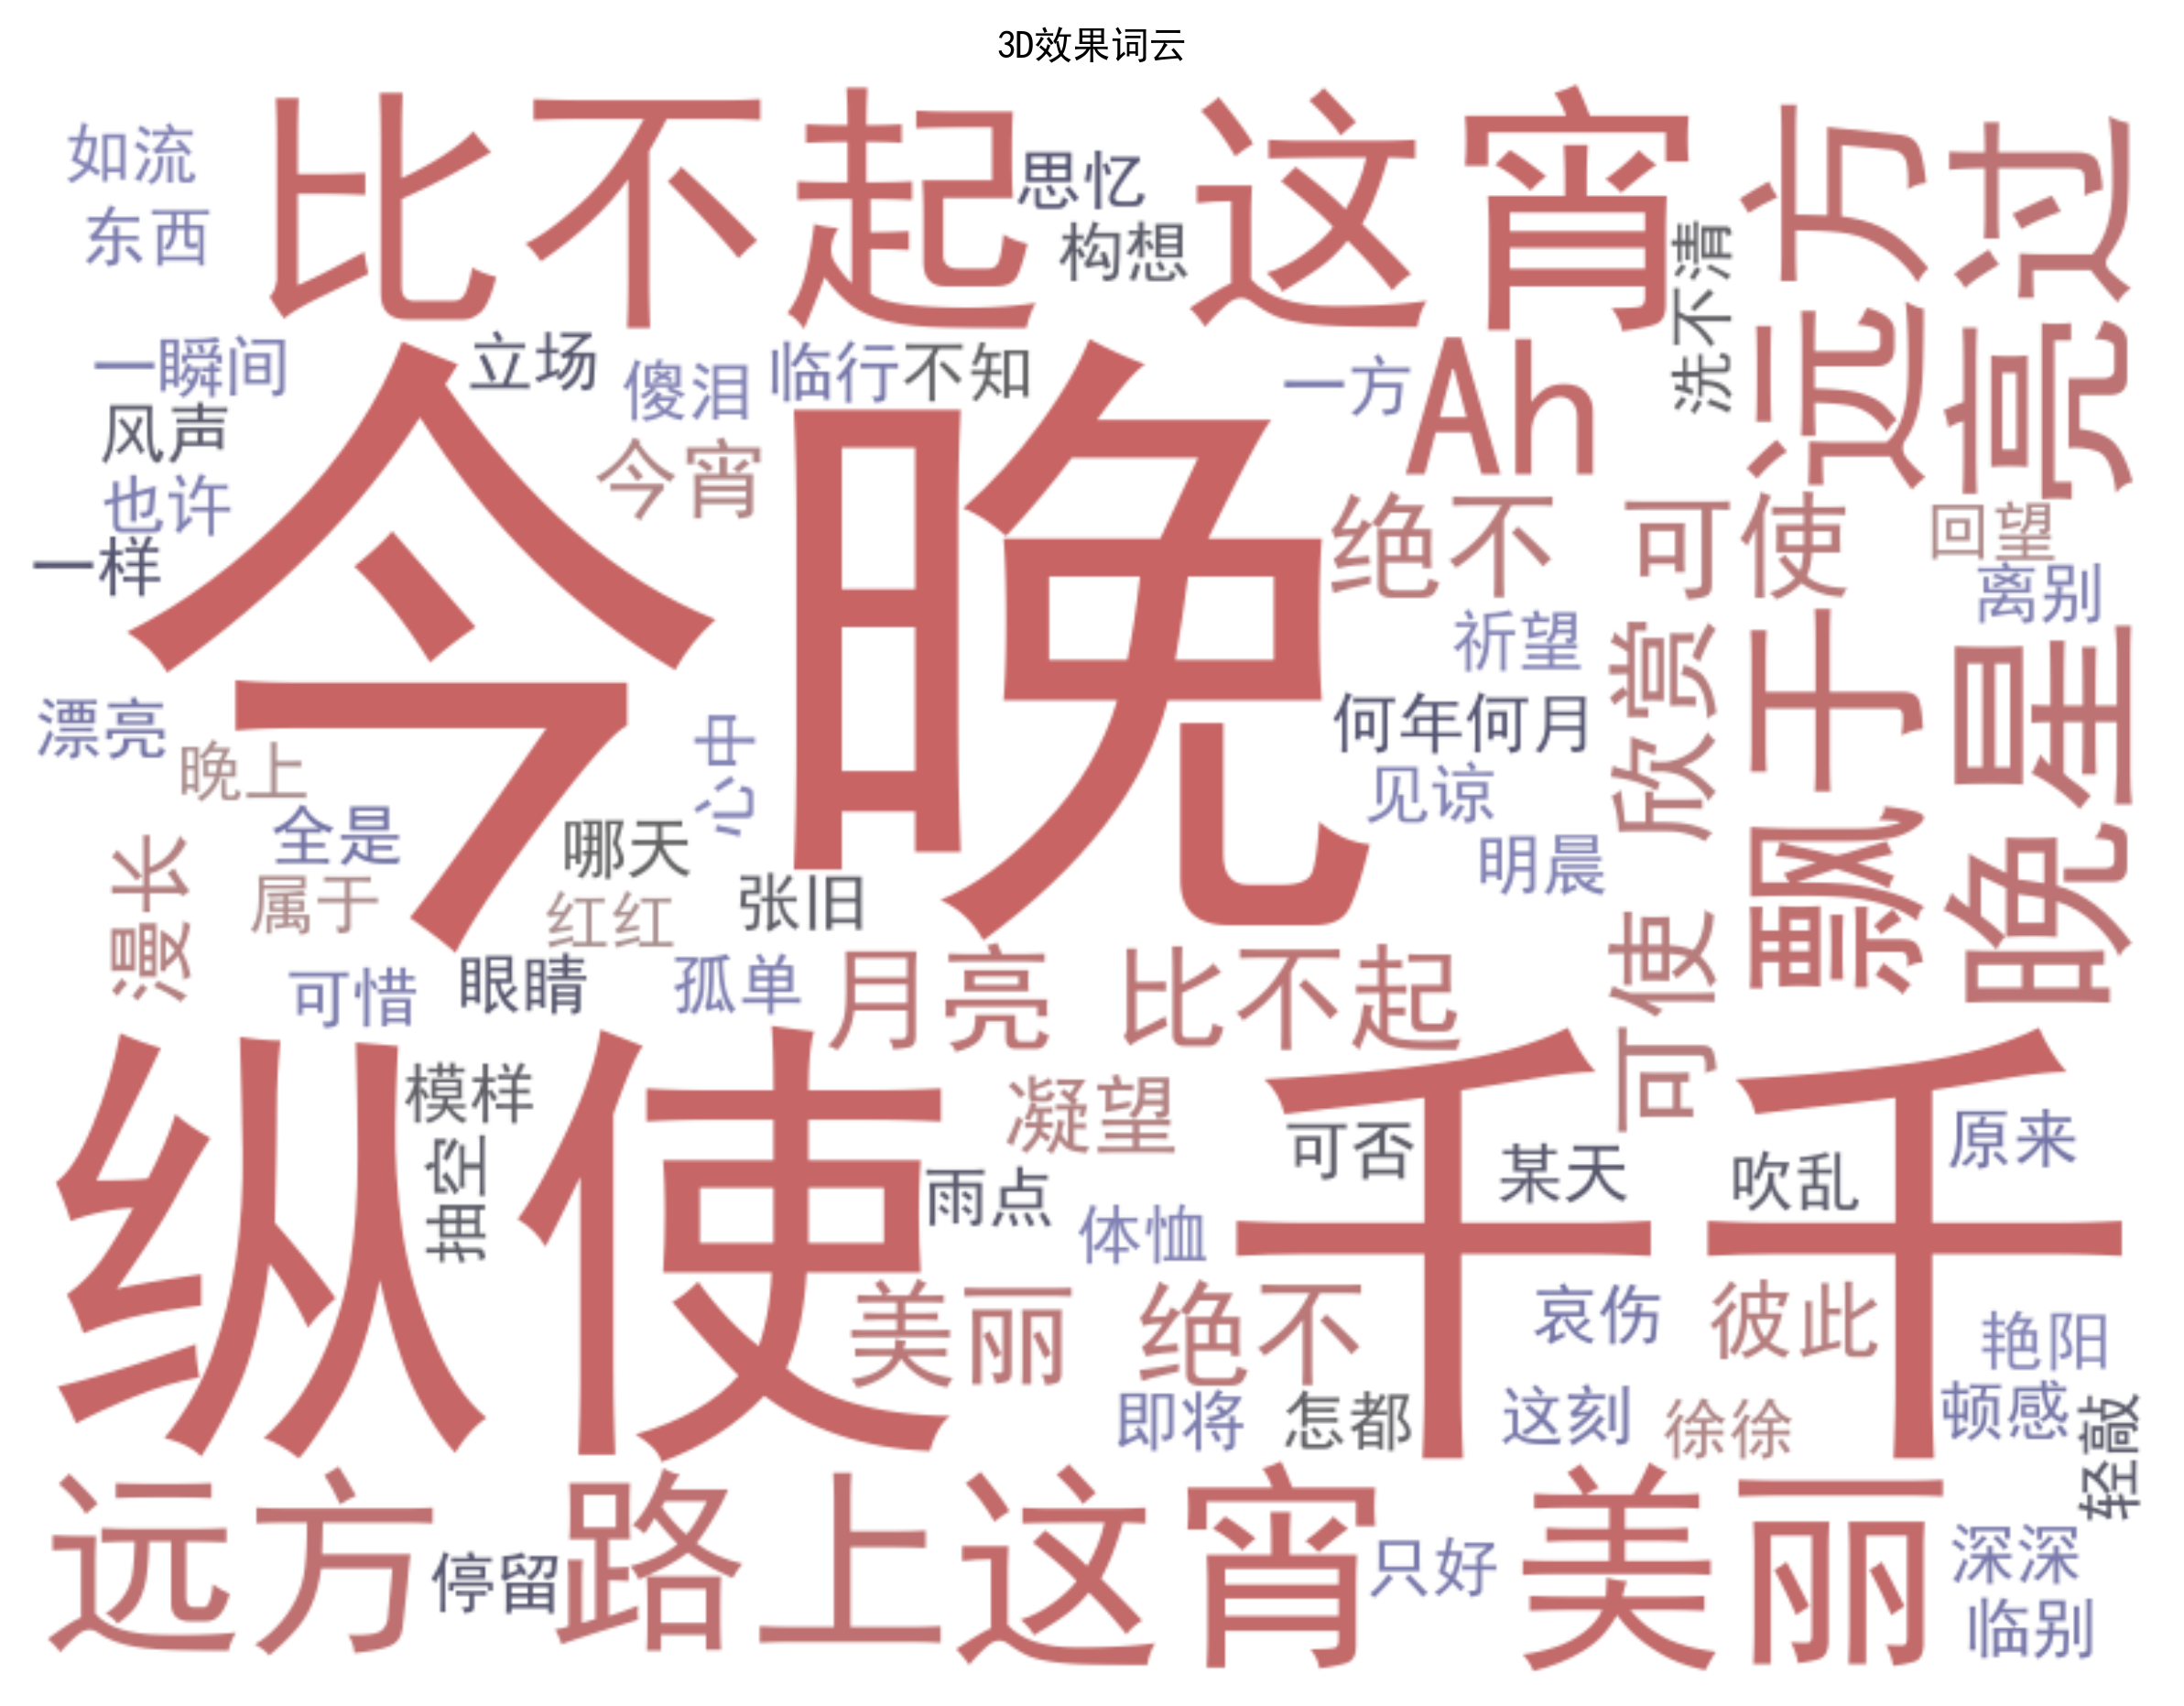
def generate_3d_wordcloud(output_file=None):# 创建词云对象wc = WordCloud(font_path=font_prop.get_file() if font_prop.get_file() else None,background_color='white',max_words=150,width=800,height=600,prefer_horizontal=0.9)wc.generate(word_string)# 按频率排序word_freq = wc.process_text(word_string)sorted_words = sorted(word_freq.items(), key=lambda x: x[1], reverse=True)# 颜色映射 - 模拟深度def depth_color_func(word, font_size, position, orientation, random_state=None, **kwargs):rank = next((i for i, (w, _) in enumerate(sorted_words) if w == word), 0)depth = rank / len(sorted_words)# 前景词 - 亮色if depth < 0.3:r = int(200 - depth * 100)g = int(100 + depth * 150)b = int(100 + depth * 150)return f"rgb({r}, {g}, {b})"# 中景词 - 中等亮度elif depth < 0.7:r = int(150 - depth * 50)g = int(150 - depth * 50)b = int(200 - depth * 50)return f"rgb({r}, {g}, {b})"# 背景词 - 暗色else:r = int(50 + depth * 50)g = int(50 + depth * 50)b = int(150 - depth * 50)return f"rgb({r}, {g}, {b})"# 应用颜色wc.recolor(color_func=depth_color_func)# 显示词云plt.figure(figsize=(10, 8))plt.imshow(wc, interpolation='bilinear')plt.axis('off')plt.title('3D效果词云', fontproperties=font_prop)if output_file:plt.savefig(output_file, dpi=300, bbox_inches='tight')print(f"已保存图片: {output_file}")plt.show()# 主程序
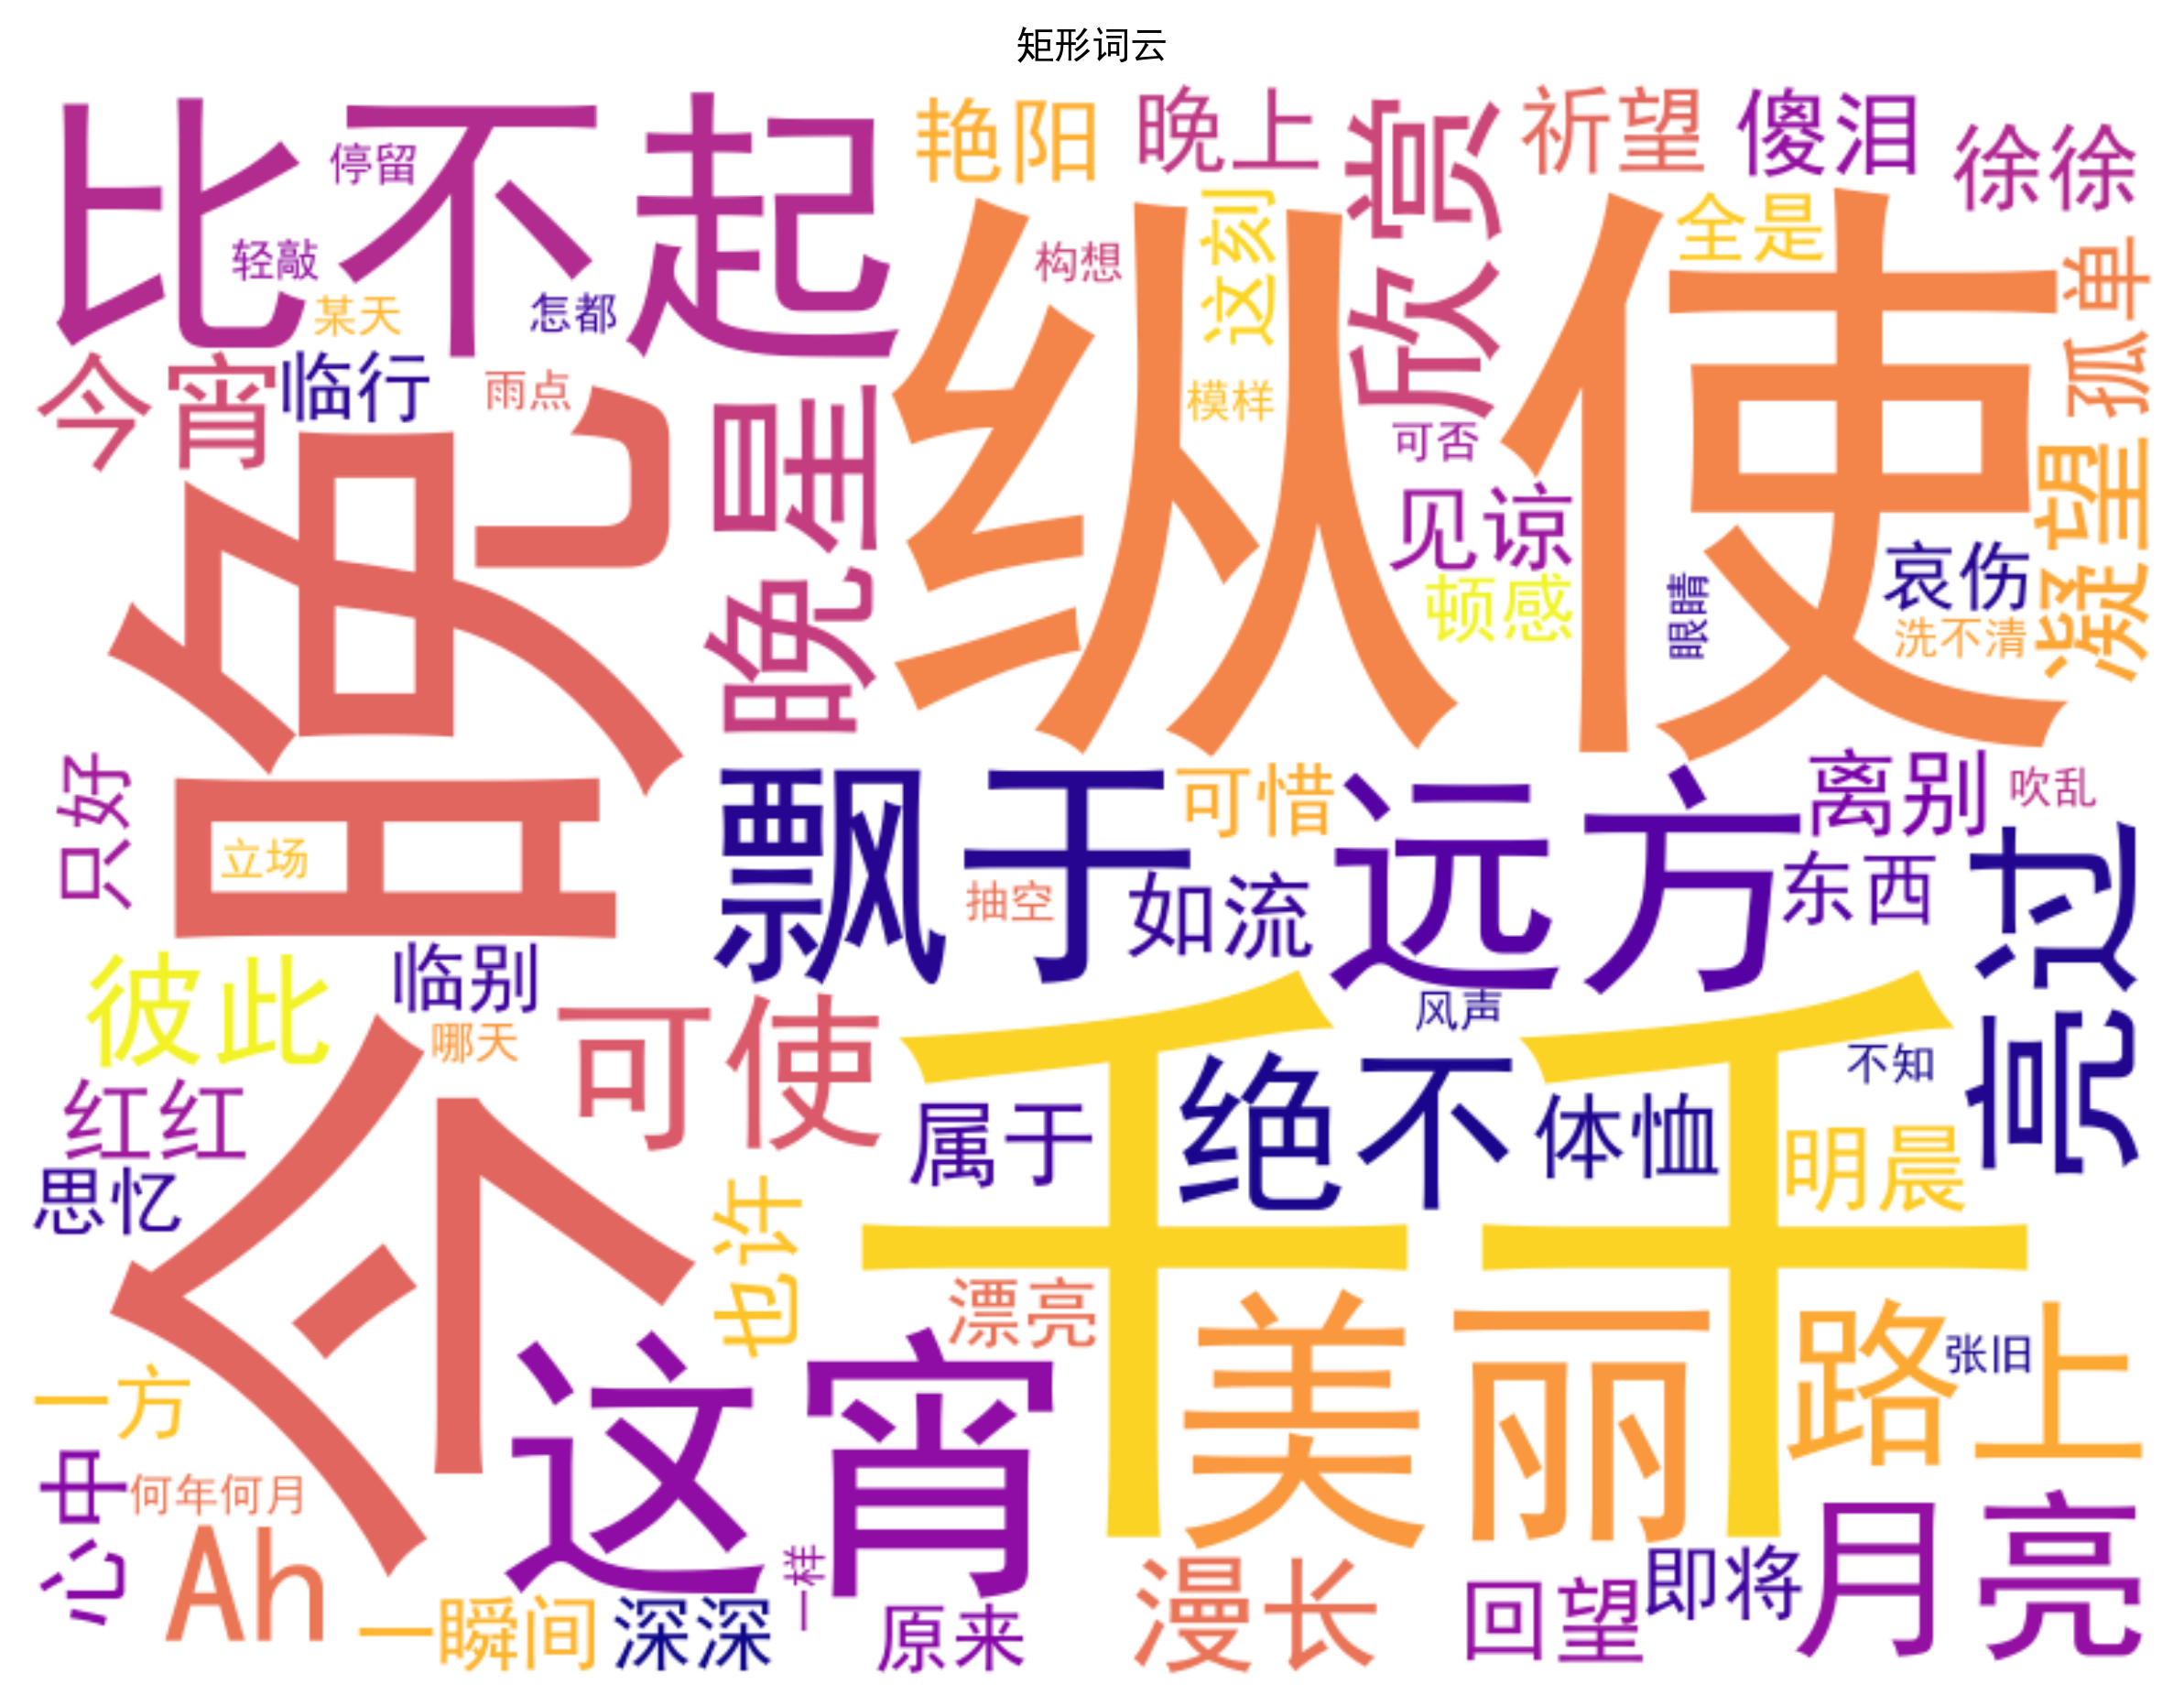
if __name__ == "__main__":# 读取文本text = load_text("千千阙歌-歌词.txt")if not text:# 使用示例文本text = "红日升在东方 其大道满霞光 我何其幸 生于你怀 承一脉血流淌 难同当 福共享 挺立起了脊梁 吾国万疆 以仁爱 千年不灭的信仰"# 分词处理word_string = chinese_text_segmentation(text)# 创建形状遮罩shapes = create_shapes()# 创建输出目录output_dir = "词云输出"os.makedirs(output_dir, exist_ok=True)# 生成各种形状的词云generate_static_wordcloud(shapes['rect'], '矩形词云', colormap='plasma',output_file=f"{output_dir}/矩形词云.png")generate_static_wordcloud(shapes['circle'], '圆形词云', colormap='viridis',output_file=f"{output_dir}/圆形词云.png")generate_static_wordcloud(shapes['heart'], '心形词云', colormap='Reds',output_file=f"{output_dir}/心形词云.png")generate_static_wordcloud(shapes['star'], '星形词云', colormap='YlOrBr',output_file=f"{output_dir}/星形词云.png")# 生成多层词云generate_multi_layer_wordcloud(output_file=f"{output_dir}/多层词云.png")# 生成动态词云generate_animated_wordcloud(output_file=f"{output_dir}/动态词云.gif")# 生成3D效果词云generate_3d_wordcloud(output_file=f"{output_dir}/3D效果词云.png")print(f"所有词云已保存到 '{output_dir}' 目录")1.矩形词云图
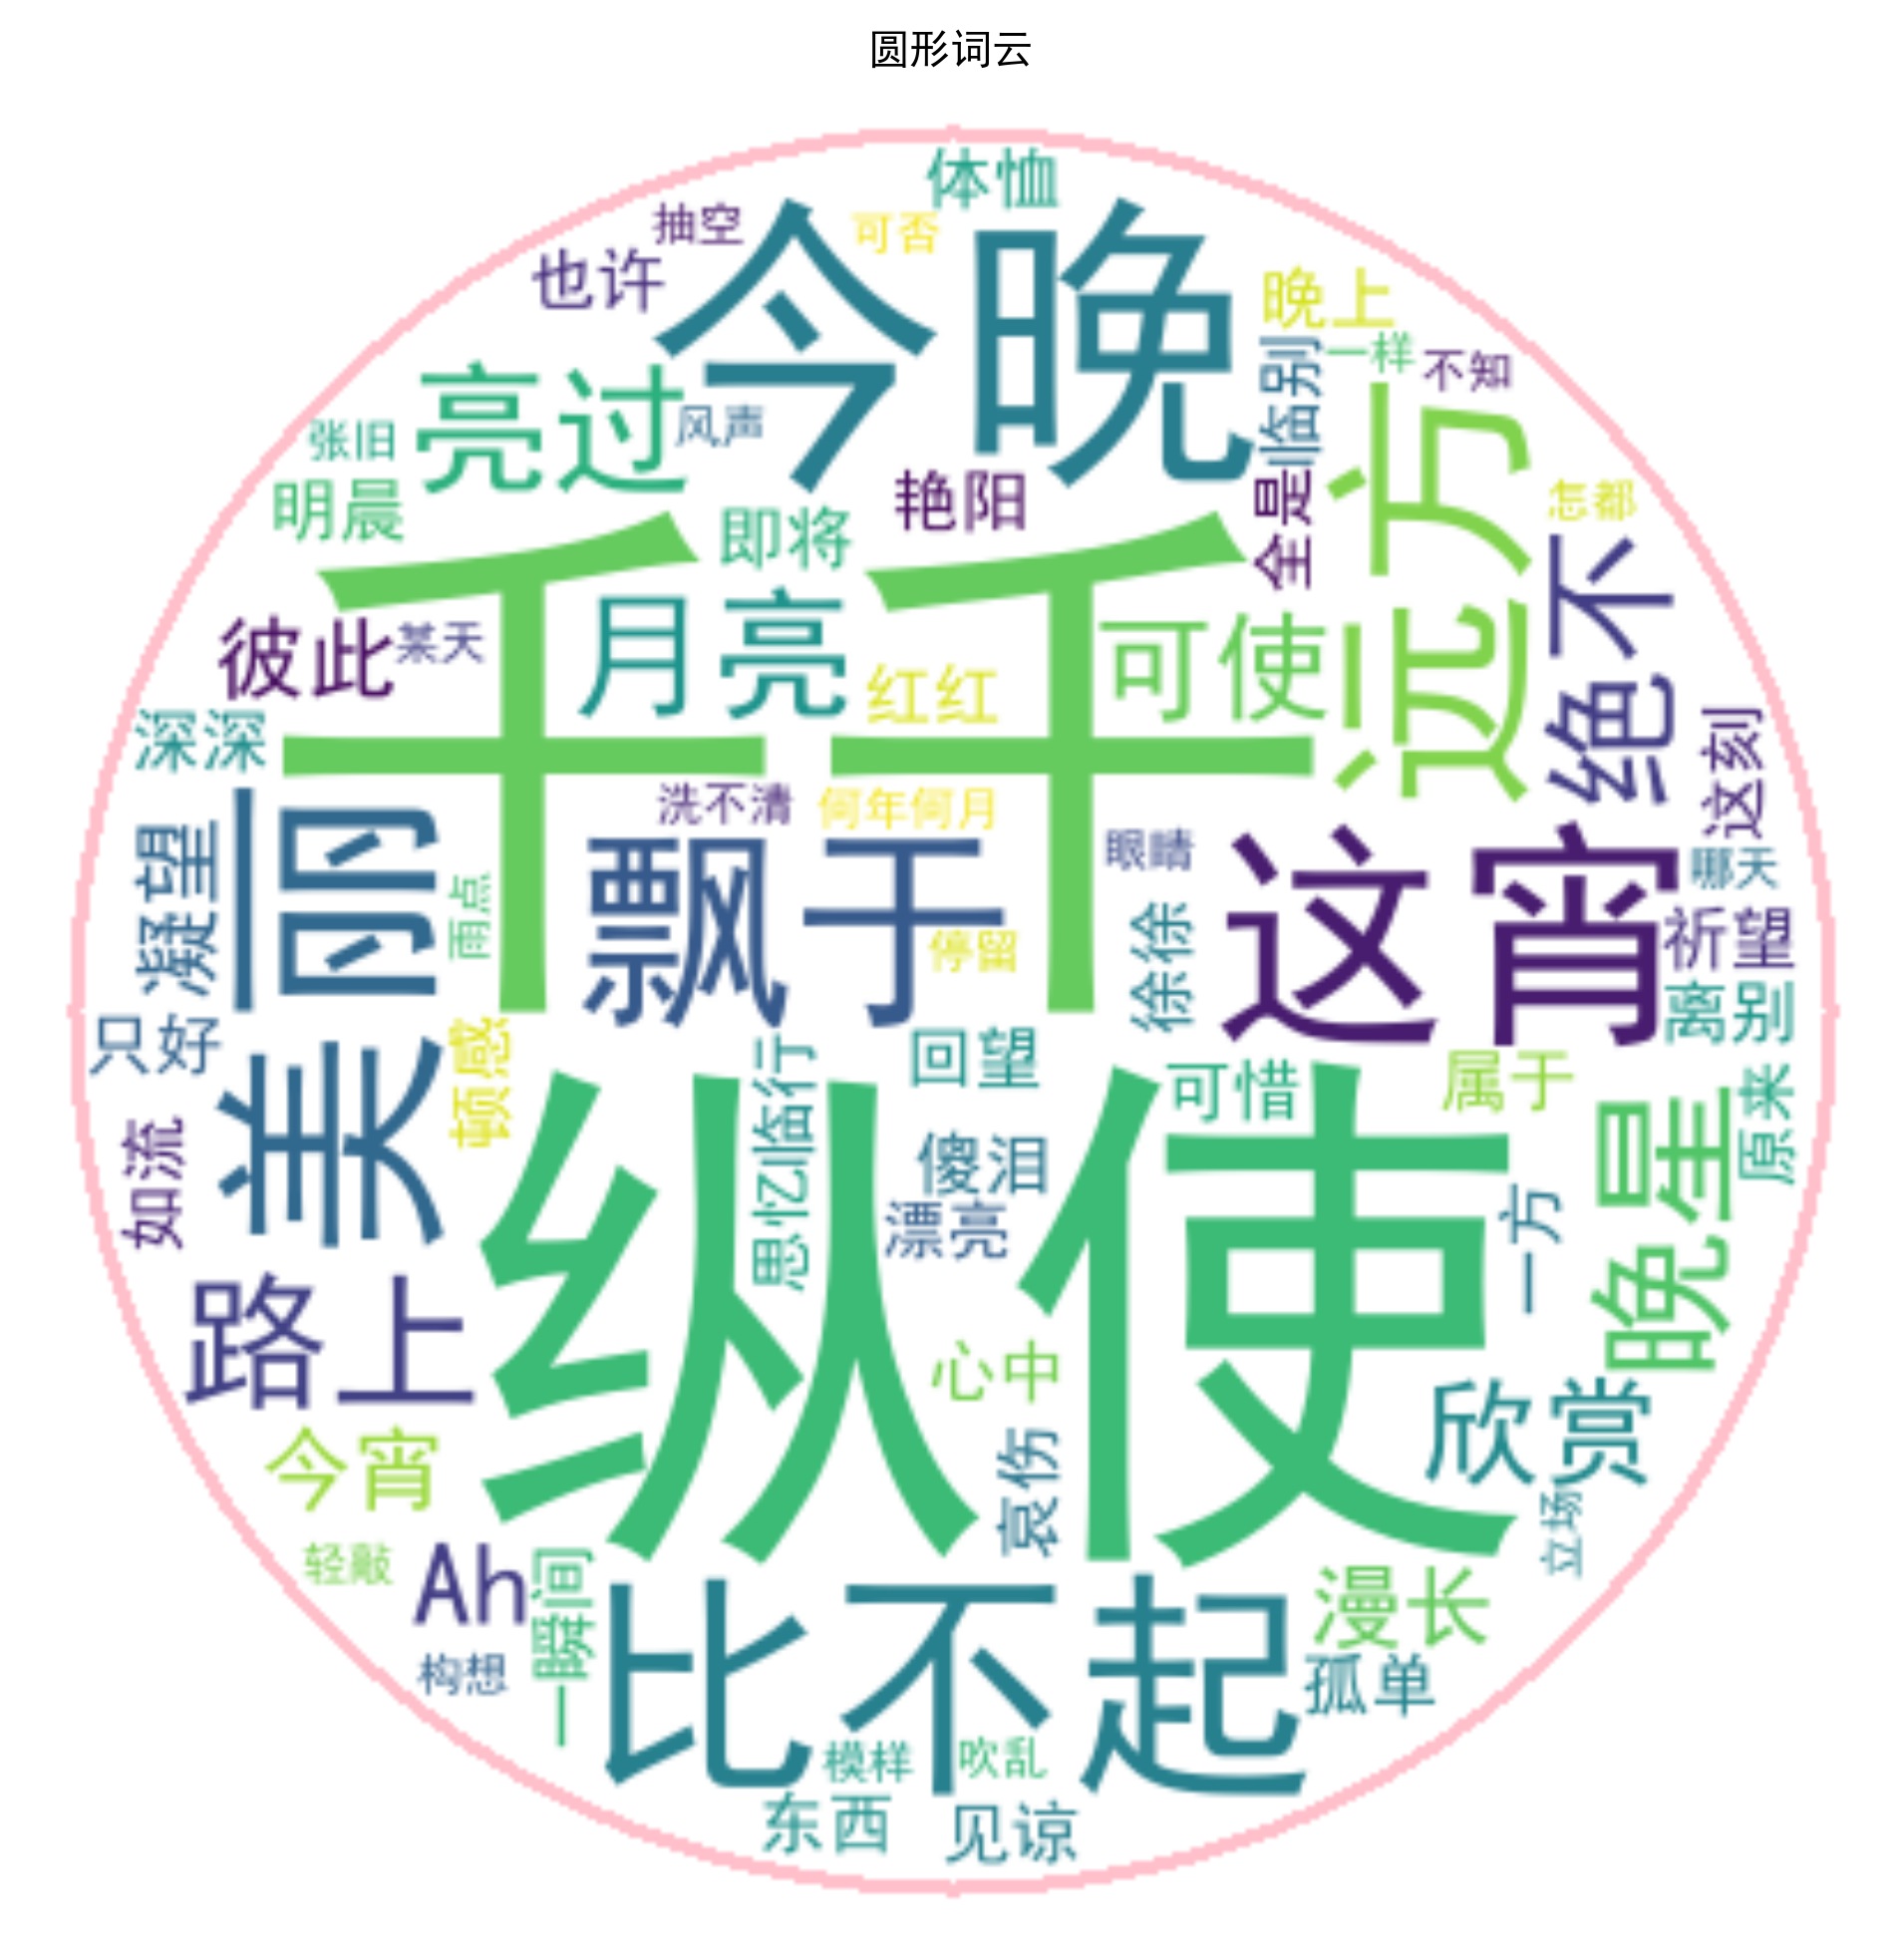
2.圆形词云图
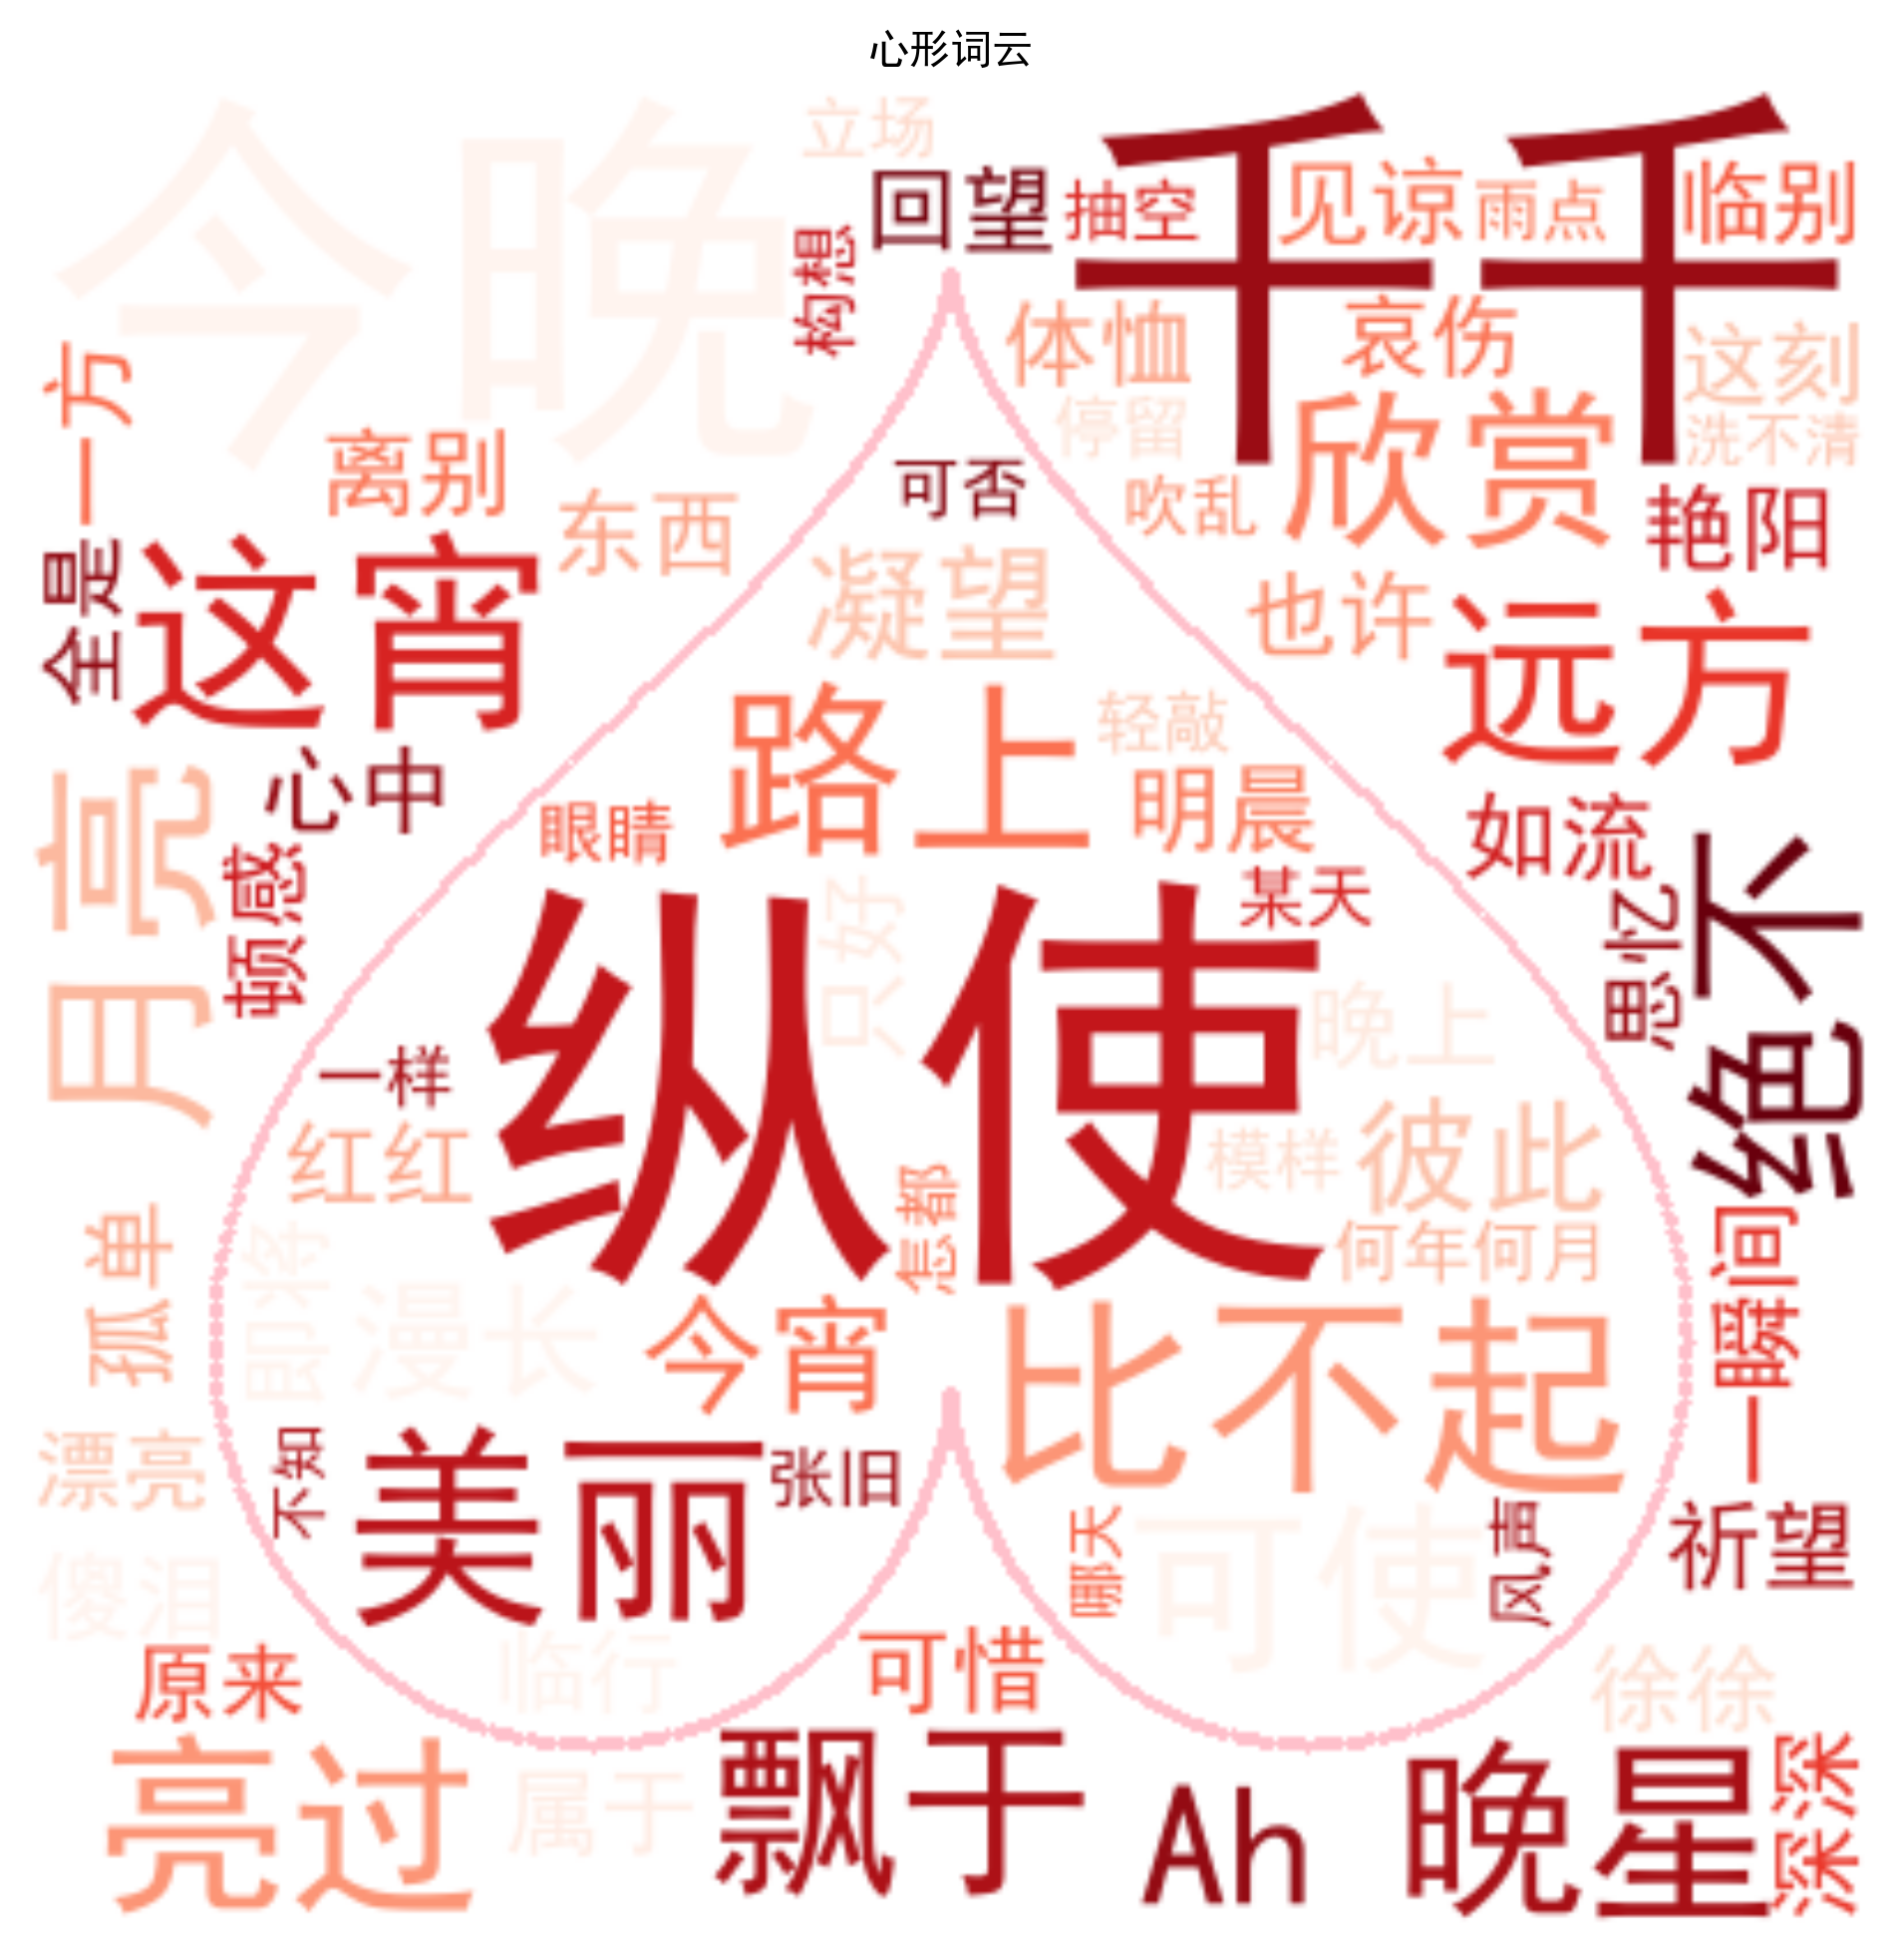
3.心形词云图
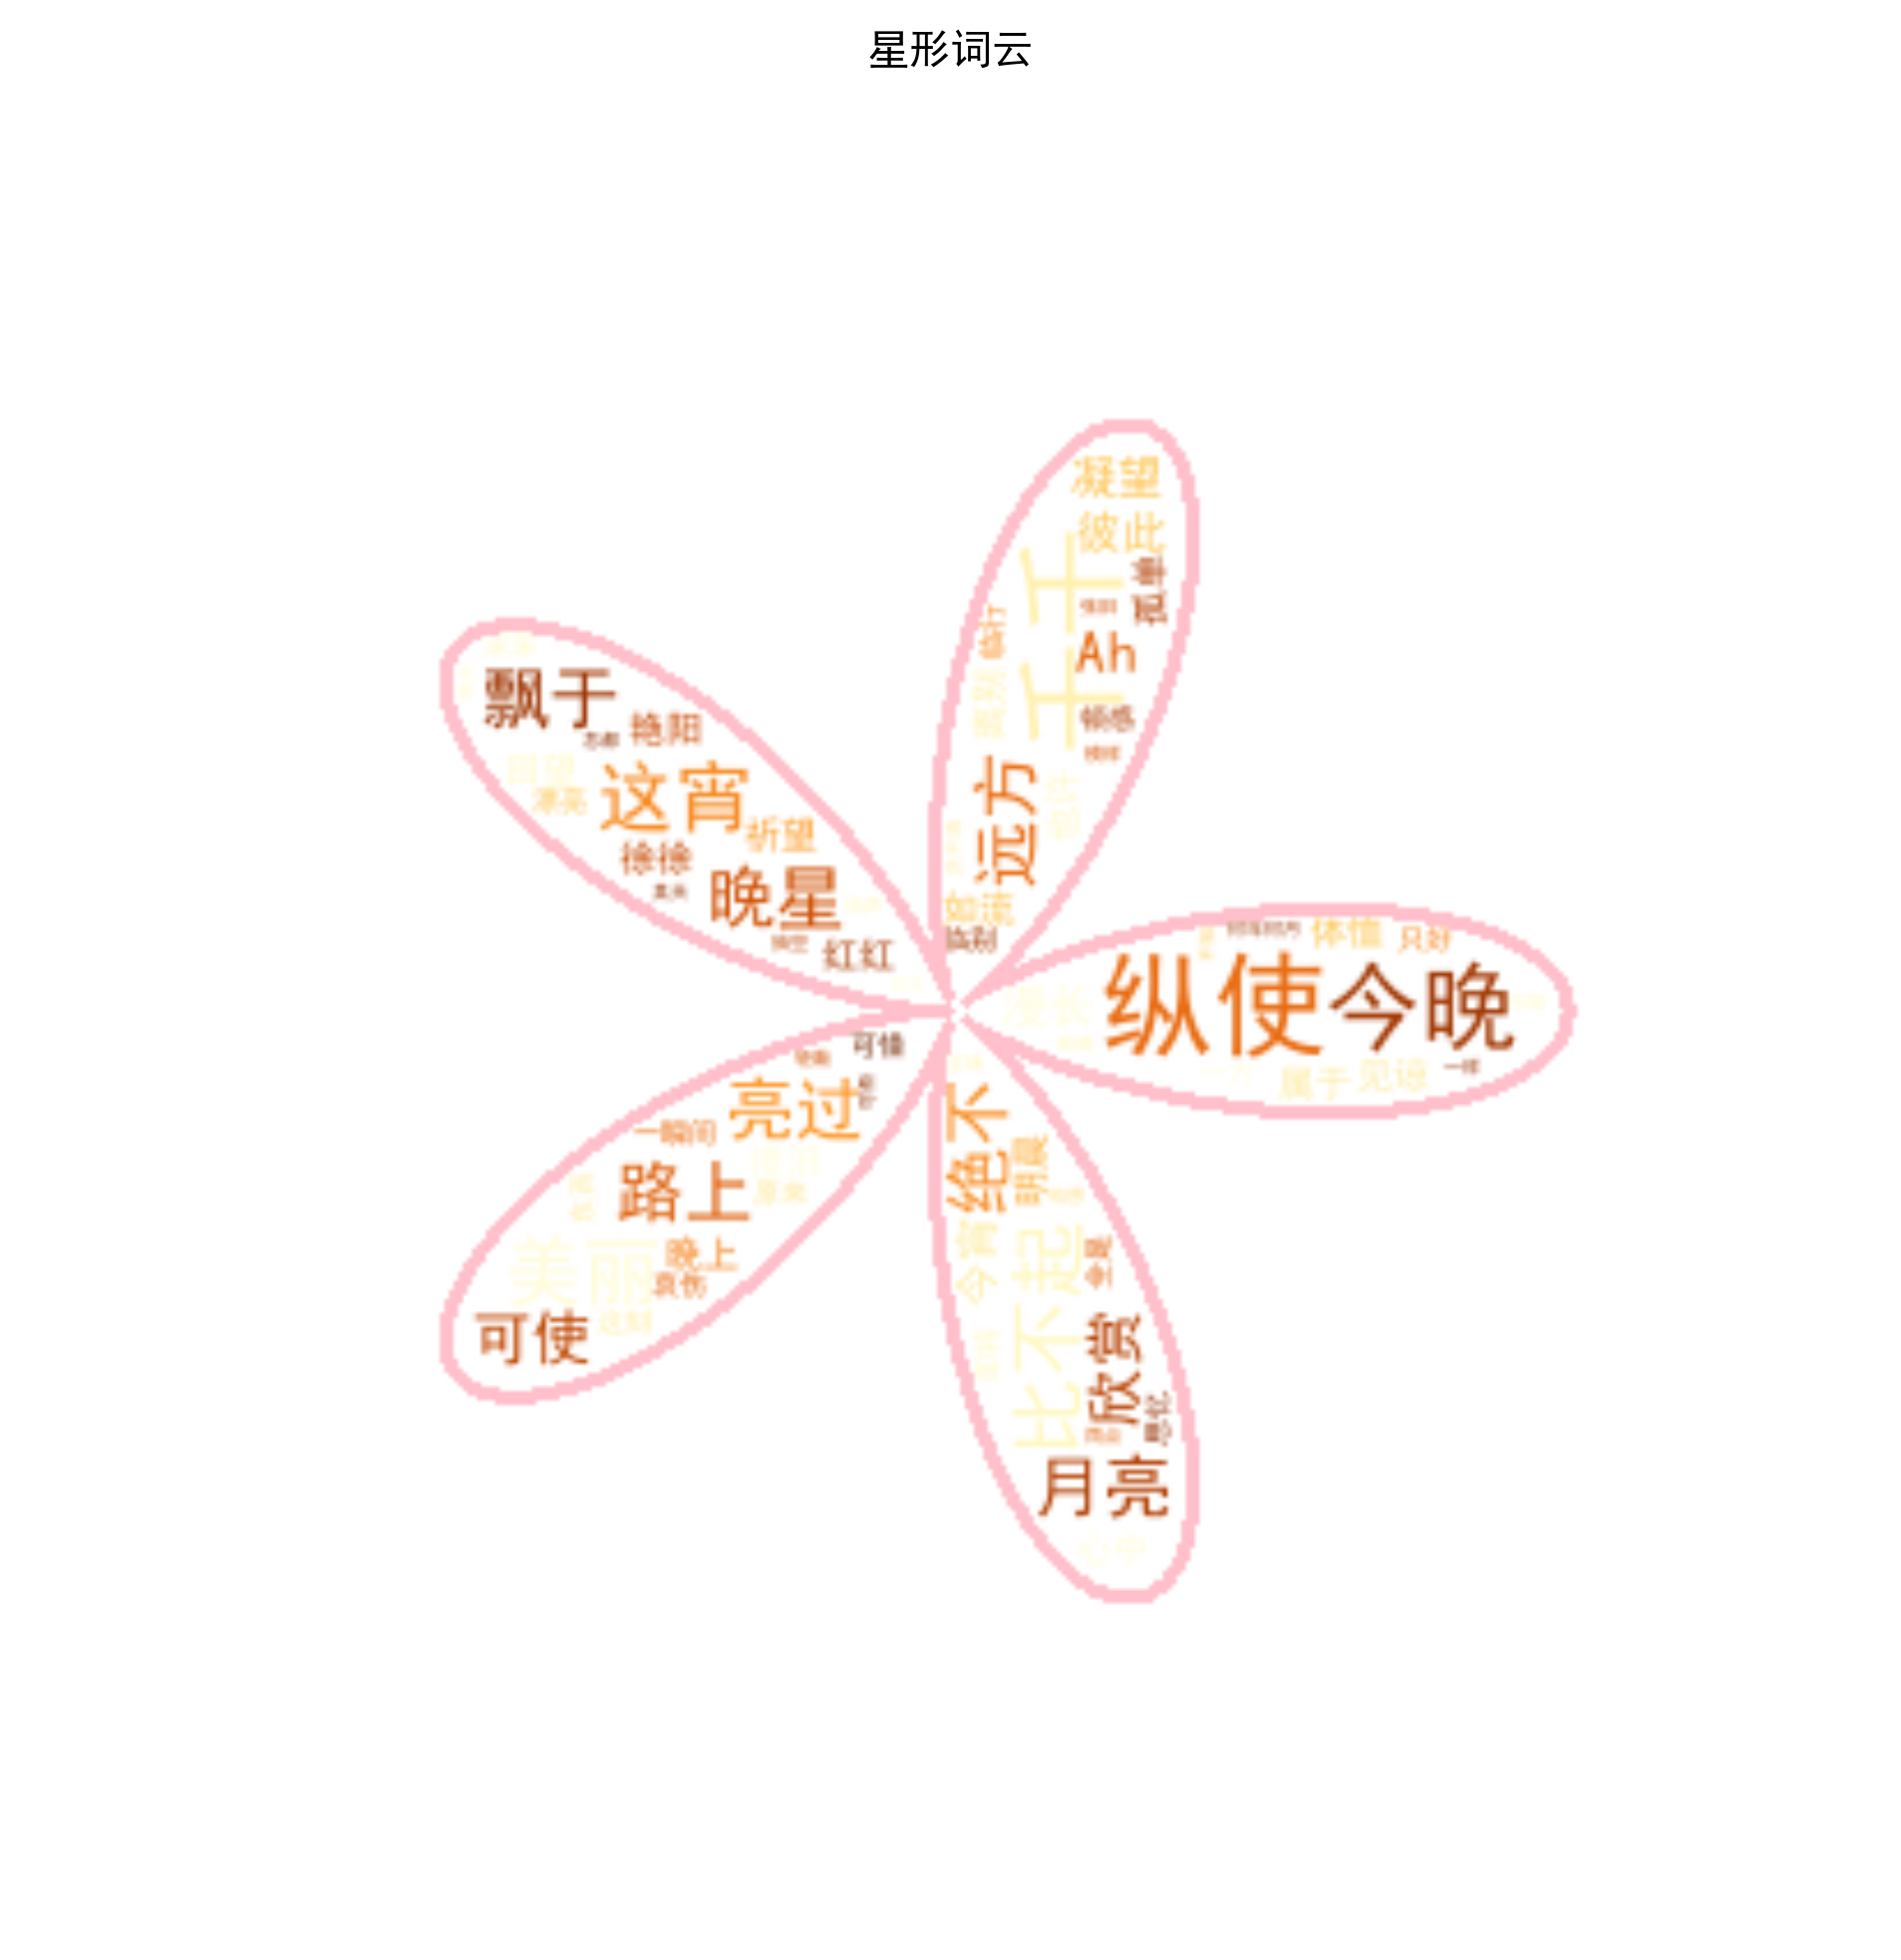
4.星形词云图
5.多层词云图
6.动态词云图
7.3D效果词云图
4、文献指纹练习(Literature Fingerprinting)
数据来源:实验-第六章文件夹,《师说》-韩愈.txt
尝试构造该文本内容的文献指纹。
要求:将操作步骤逐一展示,描述背后的原理。内容要求有层次有逻辑。
文献指纹是用于唯一标识文献内容的一种特征表示,其原理是通过对文献内容进行特定处理,提取出能代表该文献独特性的信息。下面以一种基于词频统计结合哈希算法的方式来构造《师说》文本的文献指纹,并使用matplotlib库绘制词频统计的柱状图来展示文本中词汇的频率分布情况。
原理
- 哈希算法:哈希算法是一种将任意长度的数据映射为固定长度值的函数。在这个过程中,无论输入数据的大小和内容如何,哈希算法都会生成一个固定长度的哈希值。对于不同的输入,哈希值通常是不同的(虽然理论上存在哈希冲突的可能性,但在实际应用中概率极低)。因此,通过计算哈希值,可以将文本内容转换为一个唯一的特征标识,即文献指纹。
sha256算法:sha256是一种广泛使用的哈希算法,它生成的哈希值长度为 256 位(32 字节),具有较高的安全性和稳定性,能够有效地减少哈希冲突的发生,适用于文本内容的指纹生成。
操作步骤
-
文本预处理:读取文本内容,将文本转换为小写形式,去除标点符号,这样可以统一文本格式,方便后续处理。
-
分词:使用合适的分词工具(如
jieba库)将文本分割成单个的词语。 -
词频统计:统计每个词语在文本中出现的频率,记录这些频率信息。
-
生成特征向量:根据词频统计结果,选取出现频率较高的若干个词语及其频率组成特征向量。这一步是为了提取文本的关键特征,减少数据维度同时保留重要信息。
-
计算文献指纹:将特征向量转换为字符串形式,使用哈希算法(如
MD5)计算该字符串的哈希值,得到文献指纹。哈希算法能将任意长度的数据映射为固定长度的哈希值,不同的输入通常会得到不同的哈希值,从而保证指纹的唯一性。 -
绘制词频统计图像:使用
matplotlib库,根据词频统计结果绘制柱状图,直观展示文本中词汇的频率分布。
import jieba
import string
import hashlib
import matplotlib.pyplot as plt
from wordcloud import WordCloud# 设置中文字体
plt.rcParams['font.sans-serif'] = ['SimHei']
plt.rcParams['axes.unicode_minus'] = Falsedef preprocess_text(text):# 转换为小写text = text.lower()# 去除标点符号text = text.translate(str.maketrans('', '', string.punctuation))return textdef tokenize_text(text):return jieba.lcut(text)def calculate_word_frequency(tokens):word_freq = {}for token in tokens:if token in word_freq:word_freq[token] += 1else:word_freq[token] = 1return word_freqdef select_top_words(word_freq, top_n=10):sorted_word_freq = sorted(word_freq.items(), key=lambda x: x[1], reverse=True)top_words = sorted_word_freq[:top_n]return top_wordsdef generate_fingerprint(top_words):feature_vector = ''.join([f"{word}:{freq}," for word, freq in top_words])fingerprint = hashlib.md5(feature_vector.encode()).hexdigest()return fingerprintdef plot_word_frequency(word_freq):words = list(word_freq.keys())frequencies = list(word_freq.values())plt.figure(figsize=(10, 6))plt.bar(words, frequencies)plt.xlabel('Words')plt.ylabel('Frequency')plt.title('Word Frequency Distribution in "Shi Shuo"')plt.xticks(rotation=45)plt.tight_layout()plt.show()def generate_wordcloud(word_freq):# 创建词云对象wc = WordCloud(font_path='C:/Windows/Fonts/SimHei.ttf',  # 确保字体能正确显示中文background_color='white',width=800,height=600,max_words=200)# 根据词频生成词云wc.generate_from_frequencies(word_freq)# 显示词云图plt.figure(figsize=(10, 8))plt.imshow(wc, interpolation='bilinear')plt.axis('off')plt.title('《师说》词云图')plt.show()if __name__ == "__main__":with open("《师说》-韩愈.txt", 'r', encoding='utf-8') as file:text = file.read()preprocessed_text = preprocess_text(text)tokens = tokenize_text(preprocessed_text)word_freq = calculate_word_frequency(tokens)top_words = select_top_words(word_freq)fingerprint = generate_fingerprint(top_words)print(f"文献指纹: {fingerprint}")plot_word_frequency(word_freq)generate_wordcloud(word_freq)
图像展示