公司网站服务器维护设计公司起名字寓意好的字
文章目录
- 一、高德地图应用注册。
- 二、注册步骤
- 三、接入Vue3项目
- 1.安装依赖
- 2.配置 securityJsCode
- 3.增加对应类型
- 4.初始化高德地图资源
- 5.初始化地图
- 四、高德地图-物流轨迹配置
- 五、高德地图-绘制标记
- 六、完整代码参考
- 总结
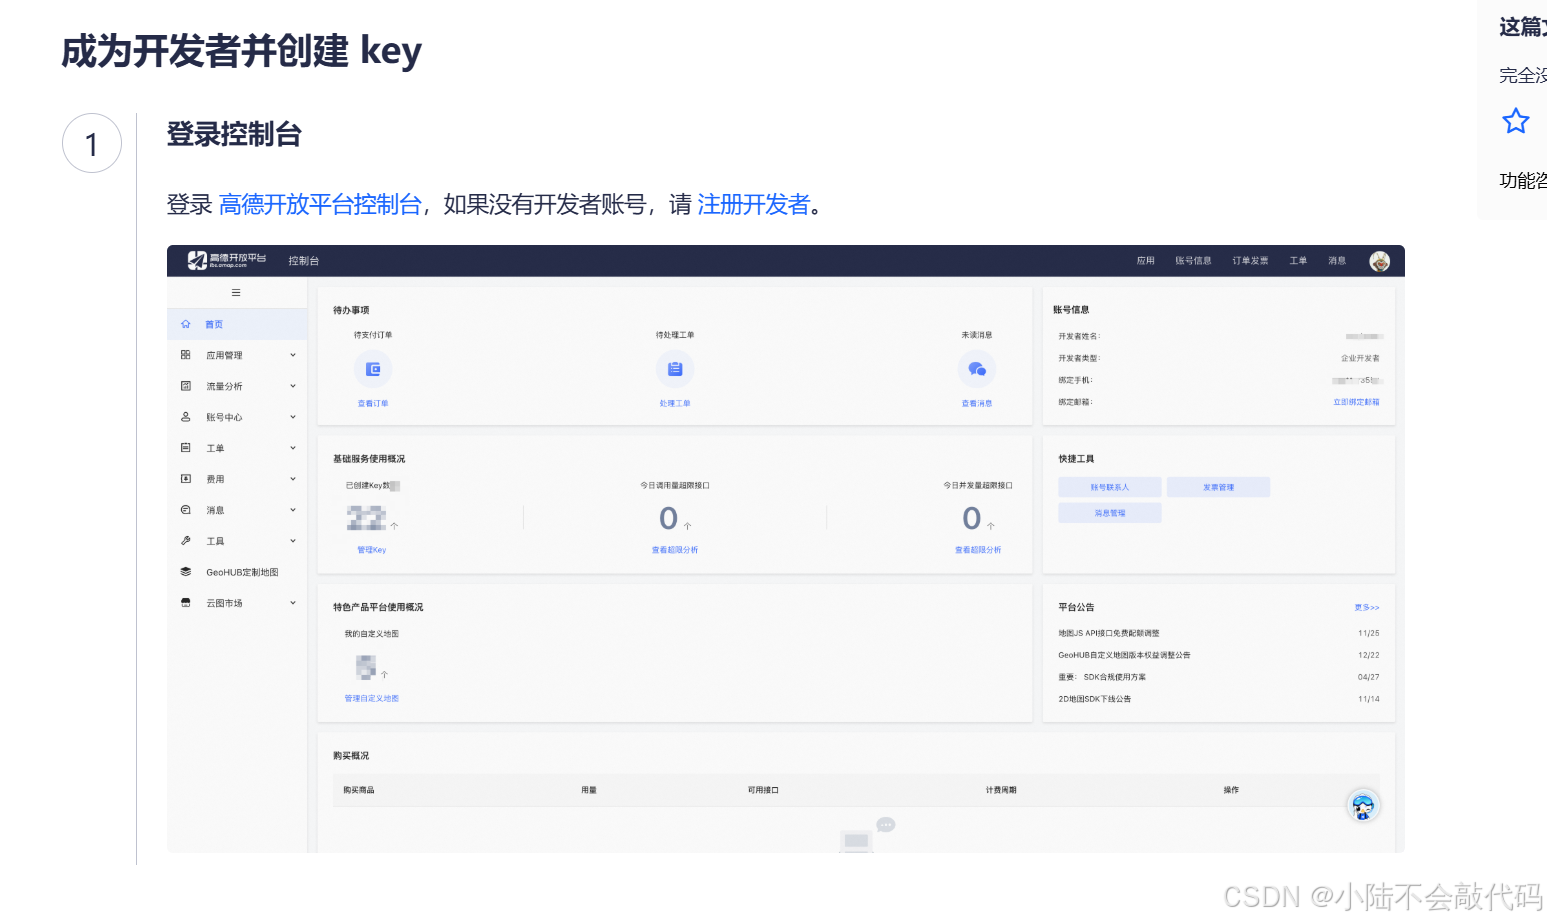
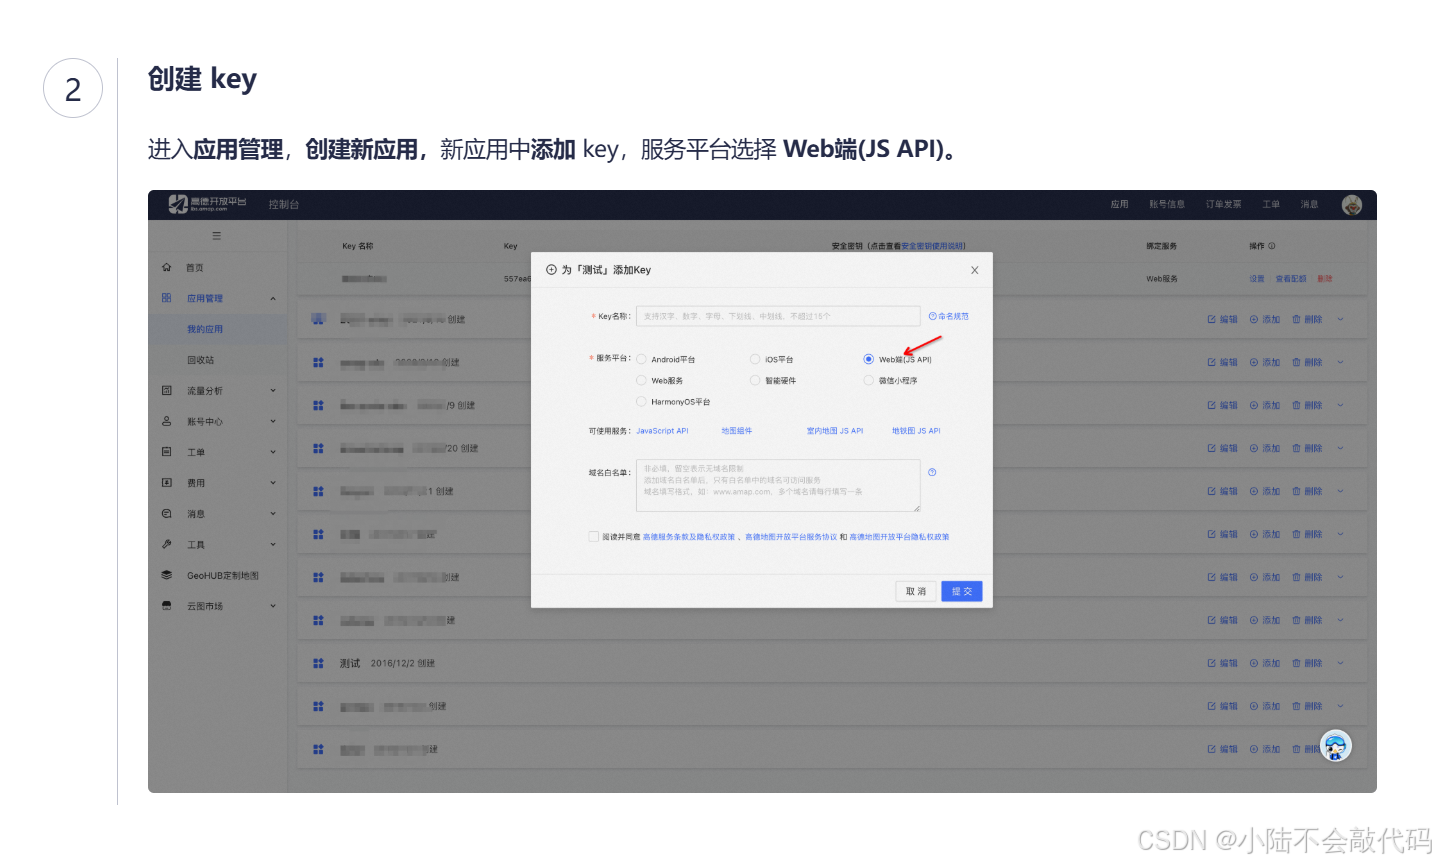
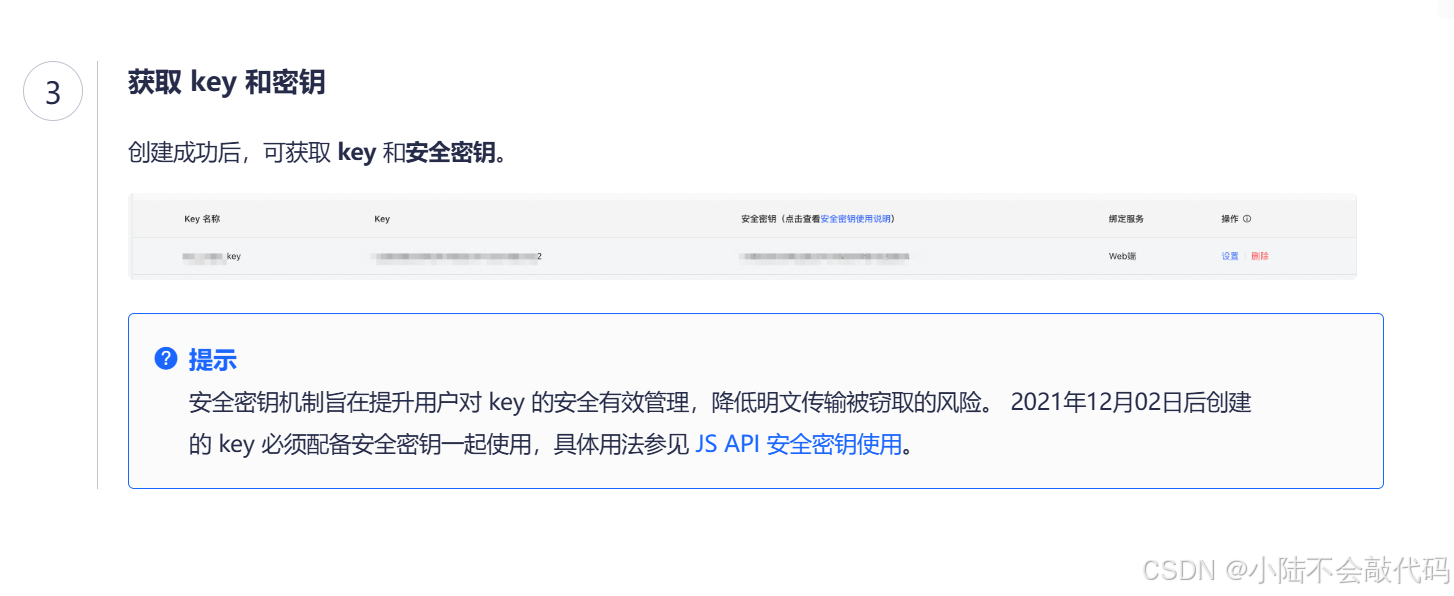
一、高德地图应用注册。
高德地图开放平台: https://lbs.amap.com/api/jsapi-v2/guide/abc/prepare
Vue中使用: https://lbs.amap.com/api/jsapi-v2/guide/webcli/map-vue1
注册&认证完毕===>创建web应用====>得到 key 和 jscode
二、注册步骤
三、接入Vue3项目
1.安装依赖
pnpm add @amap/amap-jsapi-loader
2.配置 securityJsCode
window._AMapSecurityConfig = {securityJsCode: '自己的秘钥'
}
3.增加对应类型
interface Window {_AMapSecurityConfig: {securityJsCode: string}
}
4.初始化高德地图资源
import AMapLoader from '@amap/amap-jsapi-loader'cnst initMap = () => {MapLoader.load({key: '自己的key',version: '2.0'}).then((AMap) => {// 使用 Amap 初始化地图})
}
onMounted(async () => {initMap()
})
5.初始化地图
const map = new AMap.Map('map', {mapStyle: 'amap://styles/whitesmoke',zoom: 12
})
四、高德地图-物流轨迹配置
步骤:
- 绘制轨迹
- 关闭默认覆盖物
- 绘制位置
样例代码:
AMap.plugin('AMap.Driving', function () {const driving = new AMap.Driving({map: map,showTraffic: false,hideMarkers: true})if (logistics.value?.logisticsInfo &&logistics.value.logisticsInfo.length >= 2) {const list = [...logistics.value.logisticsInfo]// 起点const start = list.shift()// 终点const end = list.pop()driving.search([start?.longitude, start?.latitude],[end?.longitude, end?.latitude],{ waypoints: list.map((item) => [item.longitude, item.latitude]) },() => {// 规划完毕})}
})
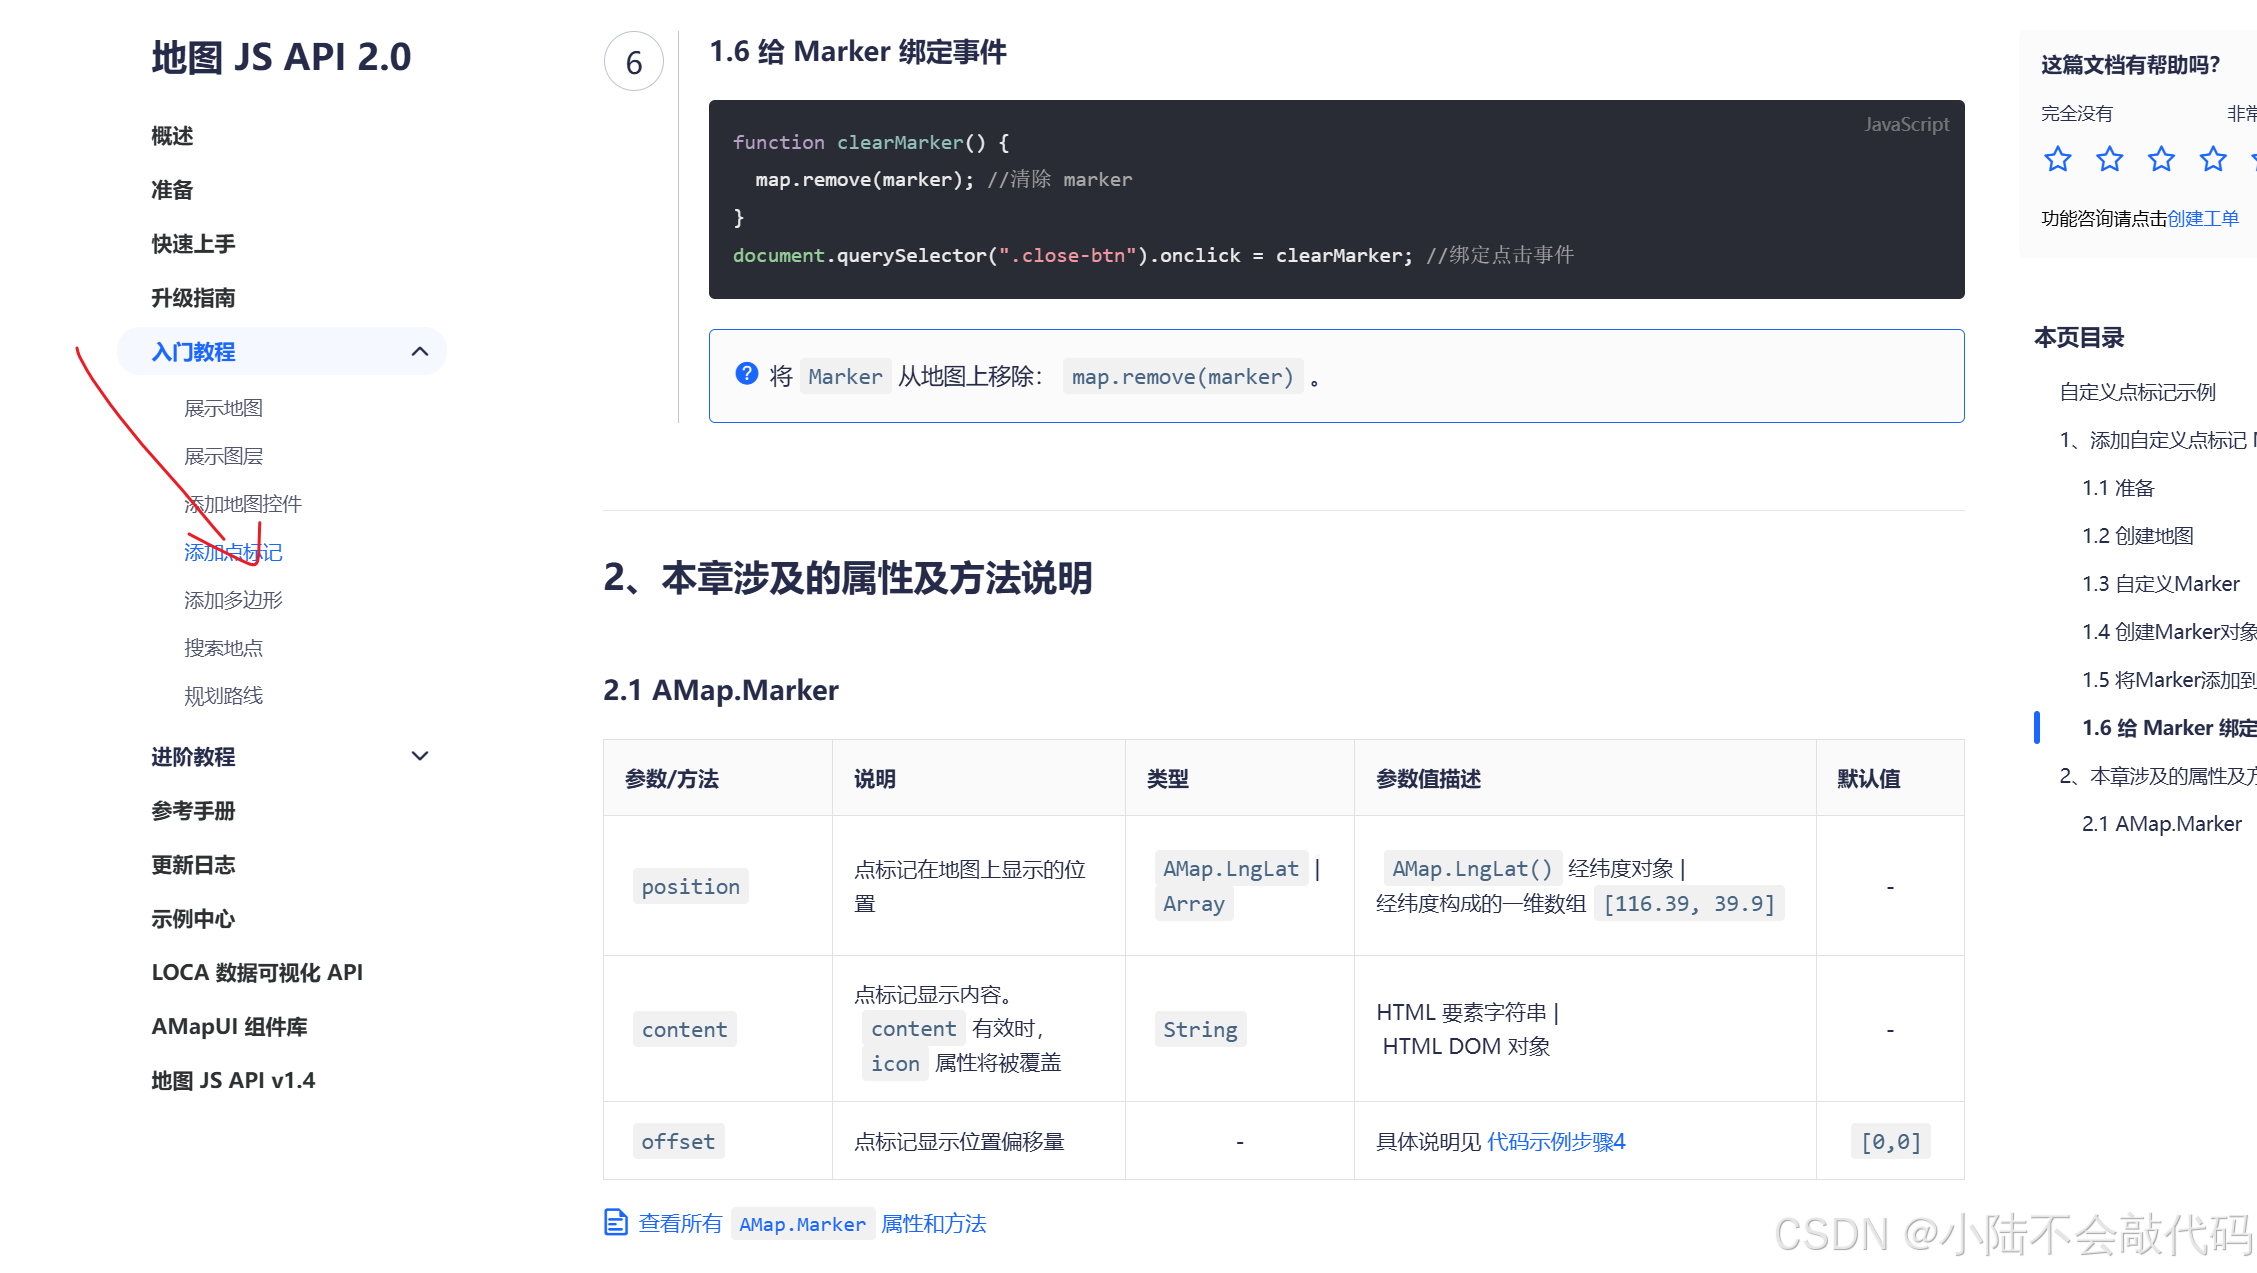
五、高德地图-绘制标记
参考文档
样例代码:
if (logistics.value?.logisticsInfo &&logistics.value.logisticsInfo.length >= 2) {const list = [...logistics.value.logisticsInfo]// 创建标记函数const getMarker = (point: Location,image: string,width = 25,height = 30) => {const icon = new AMap.Icon({size: new AMap.Size(width, height),image,imageSize: new AMap.Size(width, height)})const marker = new AMap.Marker({position: [point?.longitude, point?.latitude],icon: icon,offset: new AMap.Pixel(-width / 2, -height)})return marker}// 起点const start = list.shift()const startMarker = getMarker(start!, startImg)map.add(startMarker)// 终点const end = list.pop()const endMarker = getMarker(end!, endImg)map.add(endMarker)driving.search([start?.longitude, start?.latitude],[end?.longitude, end?.latitude],{ waypoints: list.map((item) => [item.longitude, item.latitude]) },() => {// 规划完毕// 运输位置const curr = logistics.value?.currentLocationInfoconst currMarker = getMarker(curr!, carImg, 33, 20)map.add(currMarker)// 3s后定位当中间进行缩放setTimeout(() => {map.setFitView([currMarker])map.setZoom(10)}, 3000)})}六、完整代码参考
<script setup lang="ts">
import { getMedicalOrderLogistics } from '@/services/order'
import type { Logistics, Location } from '@/types/order'
import { onMounted, ref } from 'vue'
import { useRoute } from 'vue-router'
import AMapLoader from '@amap/amap-jsapi-loader'
import startImg from '@/assets/start.png'
import endImg from '@/assets/end.png'
import carImg from '@/assets/car.png'// 获取物流信息
const route = useRoute()
const logistics = ref<Logistics>()
onMounted(async () => {const res = await getMedicalOrderLogistics(route.params.id as string)logistics.value = res.datainitMap()
})// 配置地图
window._AMapSecurityConfig = {securityJsCode: '自己的秘钥'
}
// 初始化地图
const initMap = () => {AMapLoader.load({key: '自己的key',version: '2.0'}).then((AMap) => {// 使用 Amap 初始化地图const map = new AMap.Map('map', {mapStyle: 'amap://styles/whitesmoke',zoom: 12})AMap.plugin('AMap.Driving', function () {const driving = new AMap.Driving({map: map,showTraffic: false,hideMarkers: true})if (logistics.value?.logisticsInfo &&logistics.value.logisticsInfo.length >= 2) {const list = [...logistics.value.logisticsInfo]// 创建标记函数const getMarker = (point: Location,image: string,width = 25,height = 30) => {const icon = new AMap.Icon({size: new AMap.Size(width, height),image,imageSize: new AMap.Size(width, height)})const marker = new AMap.Marker({position: [point?.longitude, point?.latitude],icon: icon,offset: new AMap.Pixel(-width / 2, -height)})return marker}// 存储所有标记点const allMarkers = [] as any[] // 使用类型断言// 起点const start = list.shift()const startMarker = getMarker(start!, startImg)map.add(startMarker)allMarkers.push(startMarker)// 终点const end = list.pop()const endMarker = getMarker(end!, endImg)map.add(endMarker)allMarkers.push(endMarker)// 运输位置const curr = logistics.value?.currentLocationInfoconst currMarker = getMarker(curr!, carImg, 33, 20)map.add(currMarker)allMarkers.push(currMarker)// 先设置一个合适的初始视野map.setFitView(allMarkers)// 然后进行路线规划driving.search([start?.longitude, start?.latitude],[end?.longitude, end?.latitude],{ waypoints: list.map((item) => [item.longitude, item.latitude]) },() => {// 路线规划完成后再次调整视野,确保路线也在视野内map.setFitView(allMarkers)// 3秒后再聚焦到运输车辆位置setTimeout(() => {map.setFitView([currMarker])map.setZoom(10)}, 3000)})}})})
}
</script><template><div class="order-logistics-page"><div id="map"><div class="title"><van-icon name="arrow-left" @click="$router.back()" /><span>{{ logistics?.statusValue }}</span><van-icon name="service" /></div><div class="current"><p class="status">{{ logistics?.statusValue }} 预计{{ logistics?.estimatedTime }}送达</p><p class="predict"><span>{{ logistics?.name }}</span><span>{{ logistics?.awbNo }}</span></p></div></div><div class="logistics"><p class="title">物流详情</p><van-steps direction="vertical" :active="0"><van-step v-for="item in logistics?.list" :key="item.id"><p class="status">{{ item.statusValue }}</p><p class="content">{{ item.content }}</p><p class="time">{{ item.createTime }}</p></van-step></van-steps></div></div>
</template><style lang="scss" scoped>
.order-logistics-page {--van-step-icon-size: 18px;--van-step-circle-size: 10px;
}
#map {height: 450px;background-color: var(--cp-bg);overflow: hidden;position: relative;.title {background-color: #fff;height: 46px;width: 355px;border-radius: 4px;display: flex;align-items: center;padding: 0 15px;font-size: 16px;position: absolute;left: 10px;top: 10px;box-sizing: border-box;box-shadow: 0px 0px 22px 0px rgba(229, 229, 229, 0.5);z-index: 999;> span {flex: 1;text-align: center;}.van-icon {font-size: 18px;color: #666;&:last-child {color: var(--cp-primary);}}}.current {height: 80px;border-radius: 4px;background-color: #fff;height: 80px;width: 355px;box-sizing: border-box;padding: 15px;position: absolute;left: 10px;bottom: 10px;box-shadow: 0px 0px 22px 0px rgba(229, 229, 229, 0.5);z-index: 999;.status {font-size: 15px;line-height: 26px;}.predict {color: var(--cp-tip);font-size: 13px;margin-top: 5px;> span {padding-right: 10px;}}}
}
.logistics {padding: 0 10px 20px;.title {font-size: 16px;padding: 15px 5px 5px;}.van-steps {:deep(.van-step) {&::after {display: none;}}.status {font-size: 15px;color: var(--cp-text3);margin-bottom: 4px;}.content {font-size: 13px;color: var(--cp-tip);margin-bottom: 4px;}.time {font-size: 13px;color: var(--cp-tag);}}
}
</style>
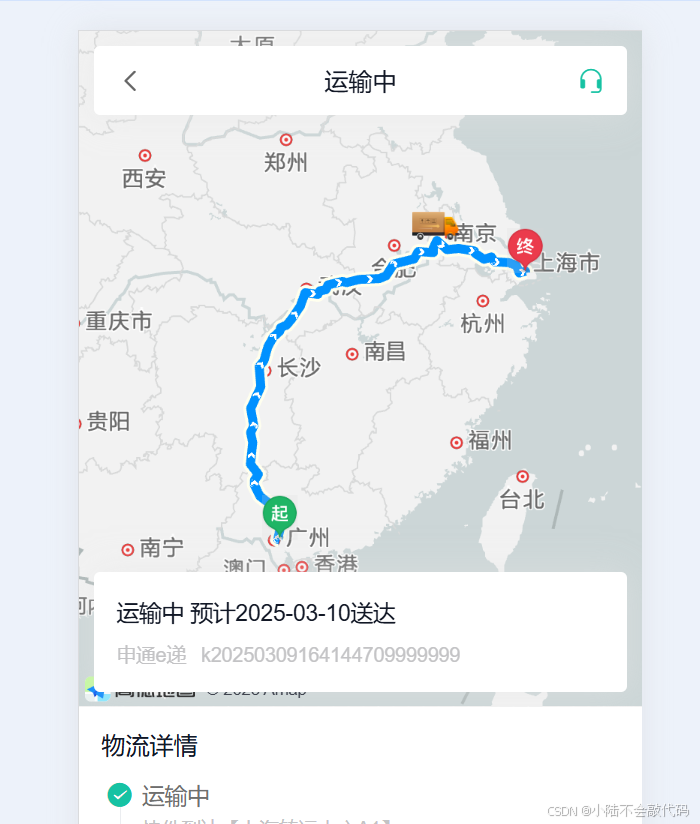
最终效果:
总结
这样,你就可以在 Vue 项目中集成高德地图,并进行基本的地图显示和交互了。