wordpress mxl-rpc服务专业网站优化培训
创建一个场景
在 Cocos Creator 中,我们将从接口获取的图片 URL 列表动态创建图片节点并显示在页面上。使用 assetManager.loadRemote 来加载这些图片并显示。
目录结构如下
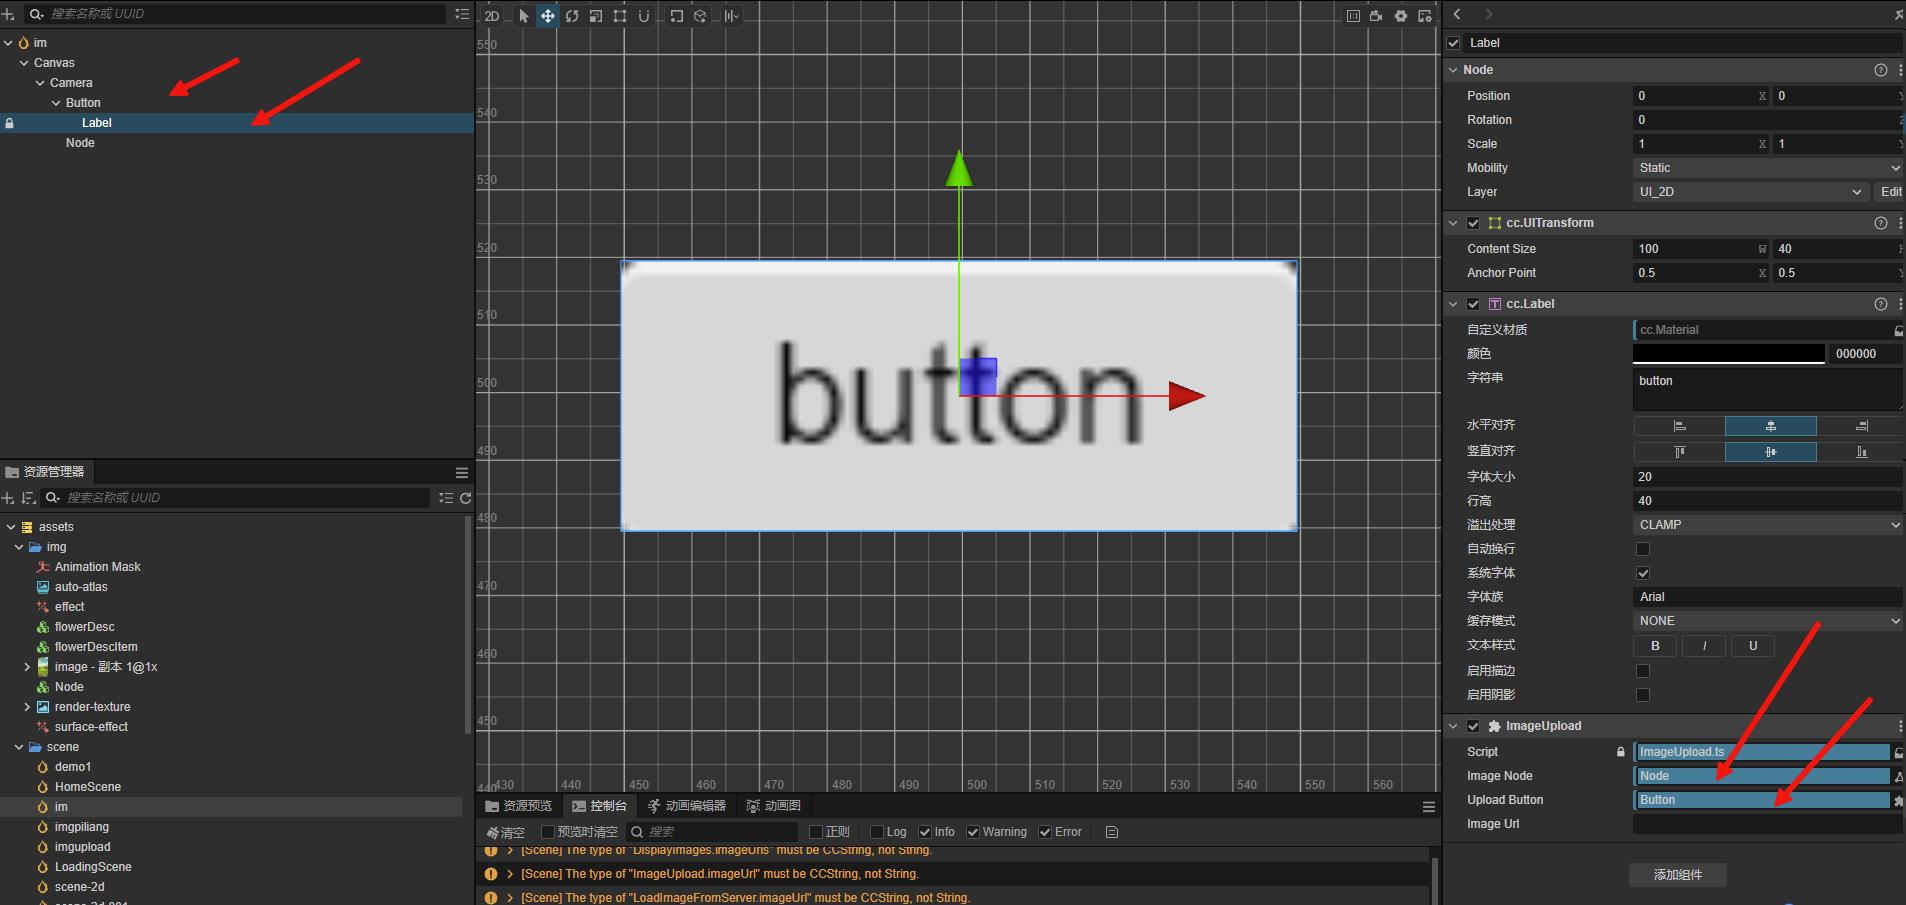
为按钮button和文本Lable挂载ts脚本
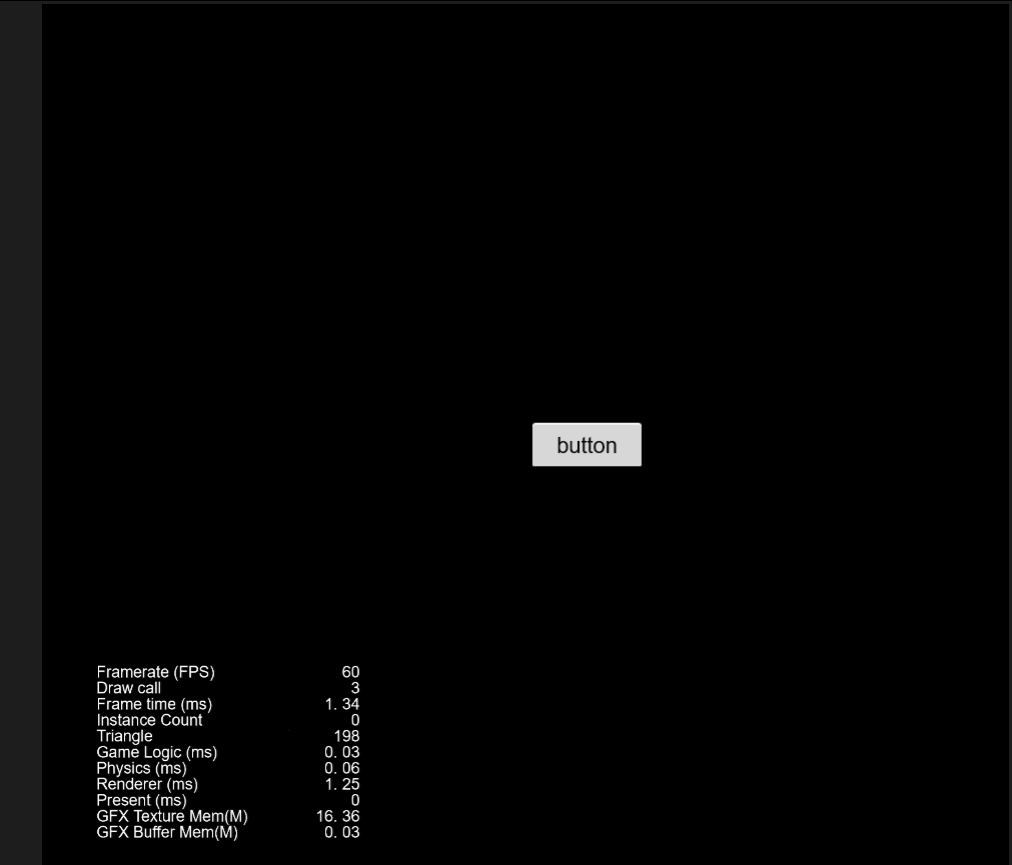
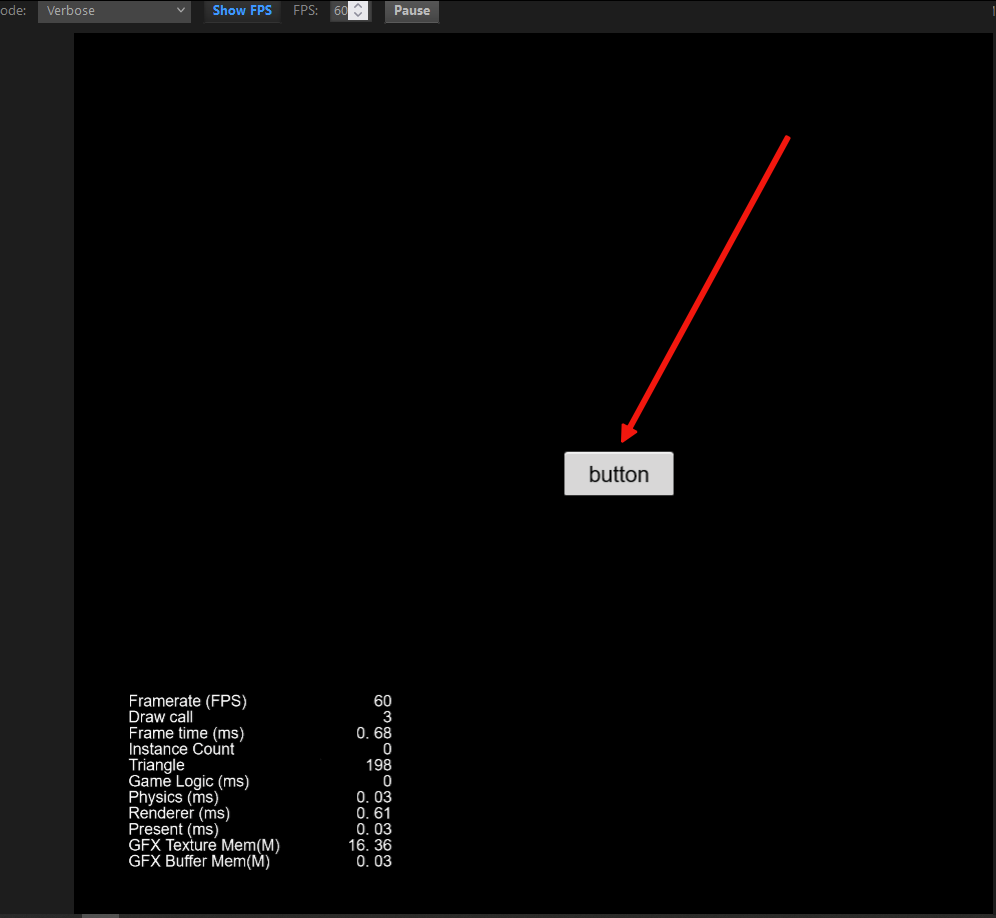
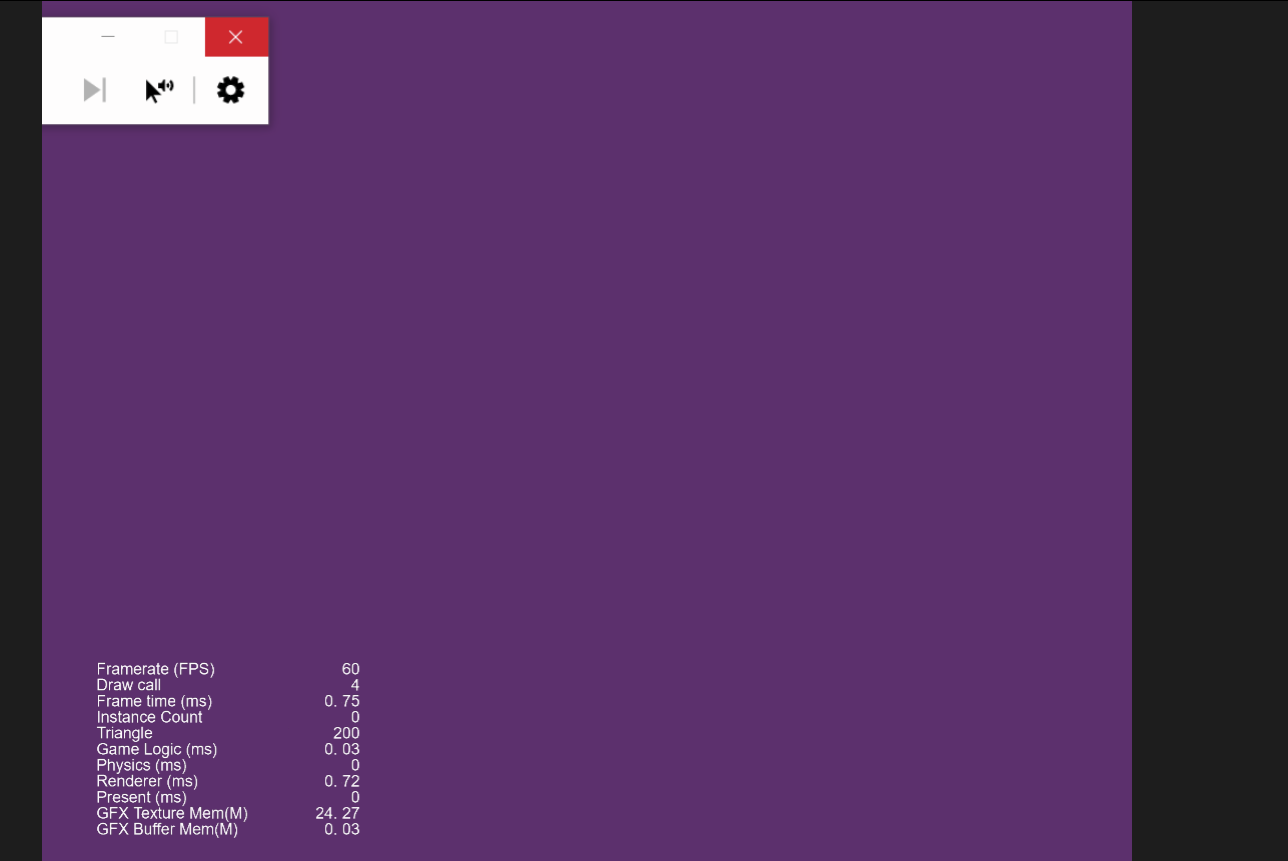
运行界面
图片上传测试
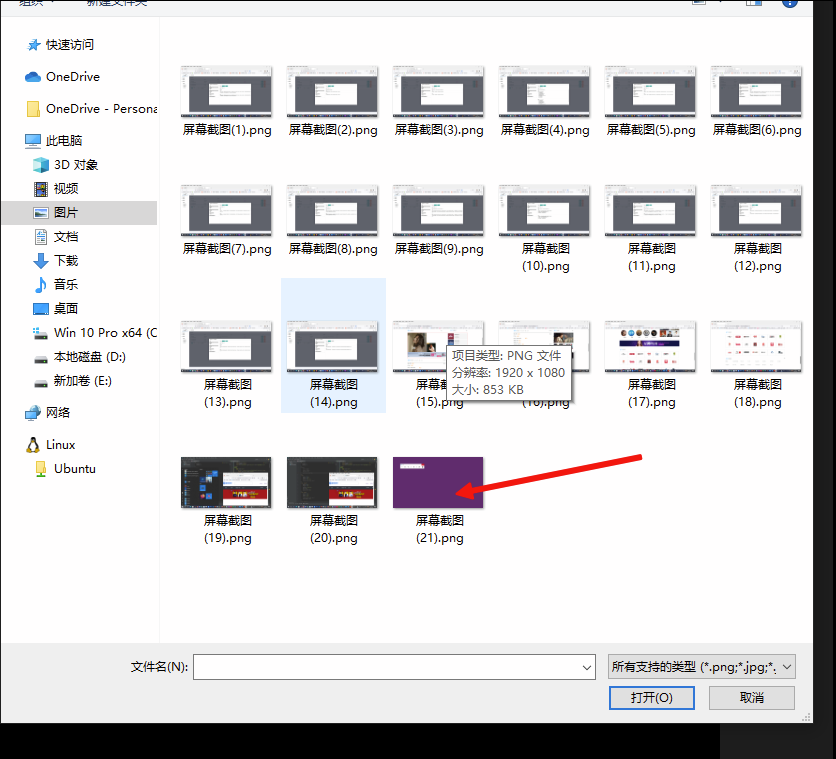
背景会变成上传的图片
以下是操作步骤的详细说明,帮助你将从后端获取的图片展示在 Cocos Creator 页面上。
操作步骤
前提条件
-
后端已实现图片上传接口,并能够返回图片的 URL 列表。
-
使用 Cocos Creator 进行开发,确保项目已经启动并且可以正常运行。
步骤 1:创建容器 Node 用于显示图片
-
在 Cocos Creator 编辑器中,首先创建一个容器 Node 用于放置加载的所有图片。
-
在 Hierarchy 窗口中,右键点击空白区域,选择 Create -> Node,并将其命名为
ImageContainer。 -
该容器 Node 将用来显示所有加载的图片。
-
-
设置容器的尺寸:
-
在 Inspector 窗口中,可以调整容器的尺寸、位置等,使其适合放置多个图片。
-
步骤 2:创建脚本并绑定到容器 Node
-
在 Cocos Creator 中,创建一个新的 TypeScript 脚本 文件。
-
在 Assets 窗口中,右键点击,选择 Create -> TypeScript,并命名为
DisplayImages.ts。
-
-
打开脚本并将以下代码粘贴进去:
import { _decorator, Component, Node, Sprite, SpriteFrame, Texture2D, Button, assetManager } from 'cc';
const { ccclass, property } = _decorator;@ccclass('ImageUpload')
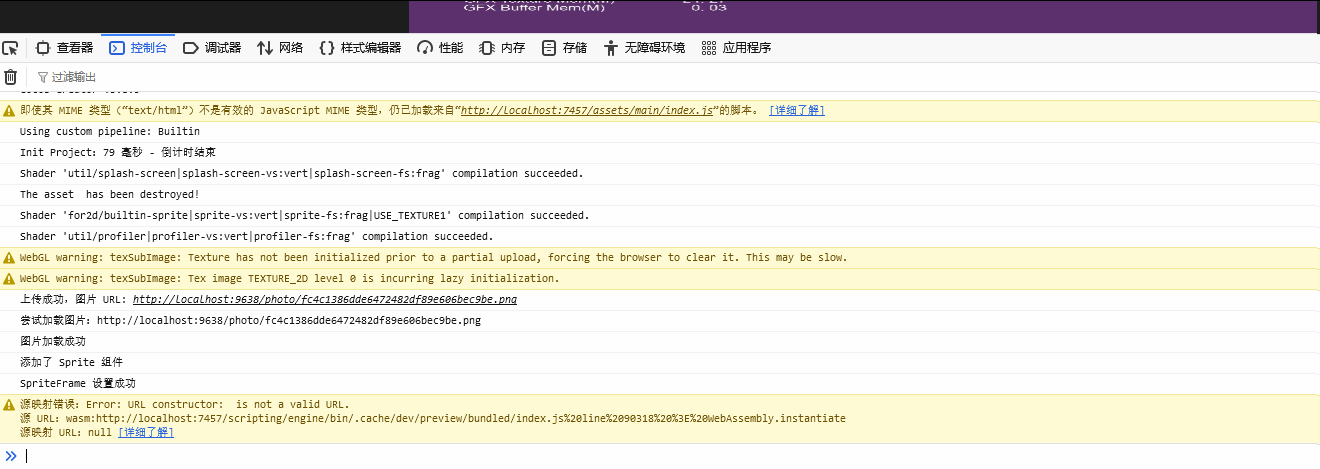
export class ImageUpload extends Component {@property(Node)imageNode: Node = null!; // 用于显示图片的节点@property(Button)uploadButton: Button = null!; // 上传按钮@property(String)imageUrl: string = ''; // 图片 URLstart() {// 给按钮添加点击事件this.uploadButton.node.on('click', this.onUploadButtonClick, this);}// 点击按钮选择文件并上传onUploadButtonClick() {// 创建一个 input 元素来选择图片文件const input = document.createElement('input');input.type = 'file';input.accept = 'image/png, image/jpeg'; // 只允许选择 PNG 和 JPG 文件// 当选择文件后触发input.onchange = (event: Event) => {const fileInput = event.target as HTMLInputElement;if (fileInput.files && fileInput.files[0]) {const file = fileInput.files[0];this.uploadImage(file);}};// 触发文件选择框input.click();}// 上传文件到后端async uploadImage(file: File) {const formData = new FormData();formData.append('file', file);try {// 发送文件到后端const response = await fetch('http://localhost:9638/photo/upload', {method: 'POST',body: formData,});if (!response.ok) {throw new Error('上传失败');}// 获取返回的图片 URLconst imageUrl = await response.text();console.log('上传成功,图片 URL:', imageUrl);// 使用上传后的图片 URL 来加载并显示图片this.imageUrl = imageUrl; // 存储返回的图片 URLthis.loadImageFromServer(imageUrl); // 下载并显示图片} catch (error) {console.error('文件上传失败:', error);}}// 从服务器加载并显示图片loadImageFromServer(imageUrl: string) {console.log(`尝试加载图片:${imageUrl}`); // 添加调试日志// 使用 assetManager.loadRemote 来加载远程图片assetManager.loadRemote(imageUrl, (err, imageAsset) => {if (err) {console.error('加载图片失败:', err);return;}if (!imageAsset) {console.error('加载的图片资产无效');return;}console.log('图片加载成功');// 获取 Node 上的 Sprite 组件let sprite = this.imageNode.getComponent(Sprite);if (!sprite) {// 如果没有 Sprite 组件,添加一个sprite = this.imageNode.addComponent(Sprite);console.log('添加了 Sprite 组件');}// 创建 SpriteFrame 并将纹理设置给它const spriteFrame = new SpriteFrame();const texture = new Texture2D();texture.image = imageAsset; // 使用 imageAsset 的纹理spriteFrame.texture = texture;// 将 SpriteFrame 设置到 Sprite 组件sprite.spriteFrame = spriteFrame;console.log('SpriteFrame 设置成功');});}
}-
将 DisplayImages 脚本绑定到场景中的一个空 Node 节点(例如,创建一个空节点
DisplayImagesNode来挂载脚本)。-
右键点击
DisplayImagesNode,选择 Add Component -> Scripts -> DisplayImages。
-
-
在 Inspector 窗口中的
DisplayImages脚本组件部分,将imageContainer设置为步骤 1 中创建的ImageContainer节点。
步骤 3:从后端获取图片 URL
-
假设你的后端接口是
GET /getAllUserAvatar,返回的数据是一个包含图片 URL 数组的 JSON。你可以手动填充 URL 或从后端动态获取。-
如果你使用动态获取 URL,可以在
start方法中使用fetch请求获取图片 URL。以下是从后端获取图片 URL 的代码示例:
-
package com.example.demo.controller;import cn.hutool.core.io.FileUtil;
import cn.hutool.core.util.IdUtil;
import cn.hutool.core.util.StrUtil;
import org.slf4j.Logger;
import org.slf4j.LoggerFactory;
import org.springframework.beans.factory.annotation.Value;
import org.springframework.http.HttpStatus;
import org.springframework.http.ResponseEntity;
import org.springframework.web.bind.annotation.*;
import org.springframework.web.multipart.MultipartFile;import javax.servlet.ServletOutputStream;
import javax.servlet.http.HttpServletResponse;
import java.io.File;
import java.io.IOException;
import java.net.URLEncoder;@RestController
@RequestMapping("/photo")
public class ImagineController {private static final Logger logger = LoggerFactory.getLogger(ImagineController.class);@Value("${files.upload.path}")private String fileUploadPath;@PostMapping("/upload")public ResponseEntity<?> upload(@RequestParam("file") MultipartFile file) {try {if (file.isEmpty()) {return ResponseEntity.status(HttpStatus.BAD_REQUEST).body("File is empty");}String originalFilename = file.getOriginalFilename();String type = FileUtil.extName(originalFilename);long size = file.getSize();File uploadParentFile = new File(fileUploadPath);if (!uploadParentFile.exists()) {uploadParentFile.mkdirs();}String uuid = IdUtil.fastSimpleUUID();String fileUUID = uuid + StrUtil.DOT + type;File uploadFile = new File(fileUploadPath + fileUUID);file.transferTo(uploadFile);String url = "http://localhost:9638/photo/" + fileUUID;logger.info("File uploaded successfully: {}", url);return ResponseEntity.ok(url);} catch (IOException e) {logger.error("Failed to upload file", e);return ResponseEntity.status(HttpStatus.INTERNAL_SERVER_ERROR).body("Failed to upload file");}}@GetMapping("/{url}")public void download(@PathVariable String url, HttpServletResponse response) {try {File uploadFile = new File(fileUploadPath + url);if (!uploadFile.exists()) {response.sendError(HttpServletResponse.SC_NOT_FOUND, "File not found");return;}try (ServletOutputStream os = response.getOutputStream()) {response.addHeader("Content-Disposition", "attachment;filename=" + URLEncoder.encode(url, "UTF-8"));response.setContentType("application/octet-stream");os.write(FileUtil.readBytes(uploadFile));os.flush();}logger.info("File downloaded successfully: {}", url);} catch (IOException e) {logger.error("Failed to download file", e);try {response.sendError(HttpServletResponse.SC_INTERNAL_SERVER_ERROR, "Failed to download file");} catch (IOException ex) {logger.error("Failed to send error response", ex);}}}
}
步骤 4:调整图片显示布局
-
你可以通过调整
imageContainer的布局,使得所有图片可以在屏幕上以合适的方式排列。 -
可以通过为图片节点设置
spacing或通过编写自定义布局脚本来调整图片的间距和排列方式。
步骤 5:运行测试
-
启动后端服务:确保后端接口正确返回图片 URL 列表。
-
运行 Cocos Creator 项目:点击 Play 按钮启动项目。
-
前端将从后端获取所有图片 URL 并逐一显示在界面上。
-
总结
-
创建容器:在 Cocos Creator 中创建一个用于显示图片的容器 Node。
-
编写脚本:编写一个脚本来从后端获取图片 URL,并通过
assetManager.loadRemote加载图片。 -
显示图片:通过
Sprite组件将图片显示在页面上。 -
调试与测试:确保后端接口返回图片 URL,并在前端显示所有图片。