网站建设方案是什么意思怎么制作网站?
人工智能-LangGraph+ChatUI+DeepSeek API搭建本地智能助手
- 0 环境说明
- 1 LangGraph
- 2 Agent Chat UI
0 环境说明
| 环境项 | 环境说明 |
|---|---|
| 操作系统 | Windows11 专业版 |
| 硬件信息 | 联想拯救者Y9000P |
| conda | Ananconda |
| Python版本 | 3.12 |
| NodeJs | 18.20.0 |
# 使用conda创建python环境
conda create -n langgraph python=3.12# 激活环境
conda activate langgraph# 下载依赖
pip install langchain-core langgraph -i https://pypi.tuna.tsinghua.edu.cn/simplepip install "langgraph-cli[inmem]" --upgrade -i https://pypi.tuna.tsinghua.edu.cn/simple
1 LangGraph
下载一个LangGraph Template项目
git clone https://github.com/langchain-ai/new-langgraph-project.git
修改配置文件
cd new-langgraph-project
cp .env.example .env
因为我使用的是DeepSeek API,所以需要配置 DEEPSEEK_API_KEY(上一步创建的DeepSeek API Key)
# To separate your traces from other application
LANGSMITH_PROJECT=new-agent# The following depend on your selected configuration## LLM choice:
# ANTHROPIC_API_KEY=....
# FIREWORKS_API_KEY=...
# OPENAI_API_KEY=...DEEPSEEK_API_KEY=your-deepseek-api-key
修改代码
src/agent/state.py
from __future__ import annotationsfrom typing_extensions import TypedDictfrom dataclasses import dataclass
from langchain_core.messages import AnyMessage
from langgraph.graph.message import add_messages
from typing import Annotated@dataclass
class State(TypedDict):messages: Annotated[list[AnyMessage], add_messages]
src/agent/configuration.py
"""Define the configurable parameters for the agent."""from __future__ import annotationsfrom dataclasses import dataclass, fields
from typing import Optionalfrom langchain_core.runnables import RunnableConfig@dataclass(kw_only=True)
class Configuration:model_name: str = "deepseek-chat"@classmethoddef from_runnable_config(cls, config: Optional[RunnableConfig] = None) -> Configuration:"""Create a Configuration instance from a RunnableConfig object."""configurable = (config.get("configurable") or {}) if config else {}_fields = {f.name for f in fields(cls) if f.init}return cls(**{k: v for k, v in configurable.items() if k in _fields})
src/agent/graph.py
from typing import Any, Dictfrom langchain_core.runnables import RunnableConfig
from langgraph.graph import StateGraph
from langchain_deepseek import ChatDeepSeek
from agent.configuration import Configuration
from agent.state import Statemodel = ChatDeepSeek(model="deepseek-chat",temperature=0,max_tokens=None,timeout=None,max_retries=2,
)def call_model(state, config):response = model.invoke(state["messages"])# We return a list, because this will get added to the existing listreturn {"messages": [response]}# Define a new graph
workflow = StateGraph(State, config_schema=Configuration)# Add the node to the graph
workflow.add_node("call_model", call_model)# Set the entrypoint as `call_model`
workflow.add_edge("__start__", "call_model")# Compile the workflow into an executable graph
graph = workflow.compile()
graph.name = "New Graph"  # This defines the custom name in LangSmith
接下来就可以启动项目了:
# 安装依赖
pip install -qU langchain-deepseek -i https://pypi.tuna.tsinghua.edu.cn/simple
pip install -e . -i https://pypi.tuna.tsinghua.edu.cn/simple# 启动项目
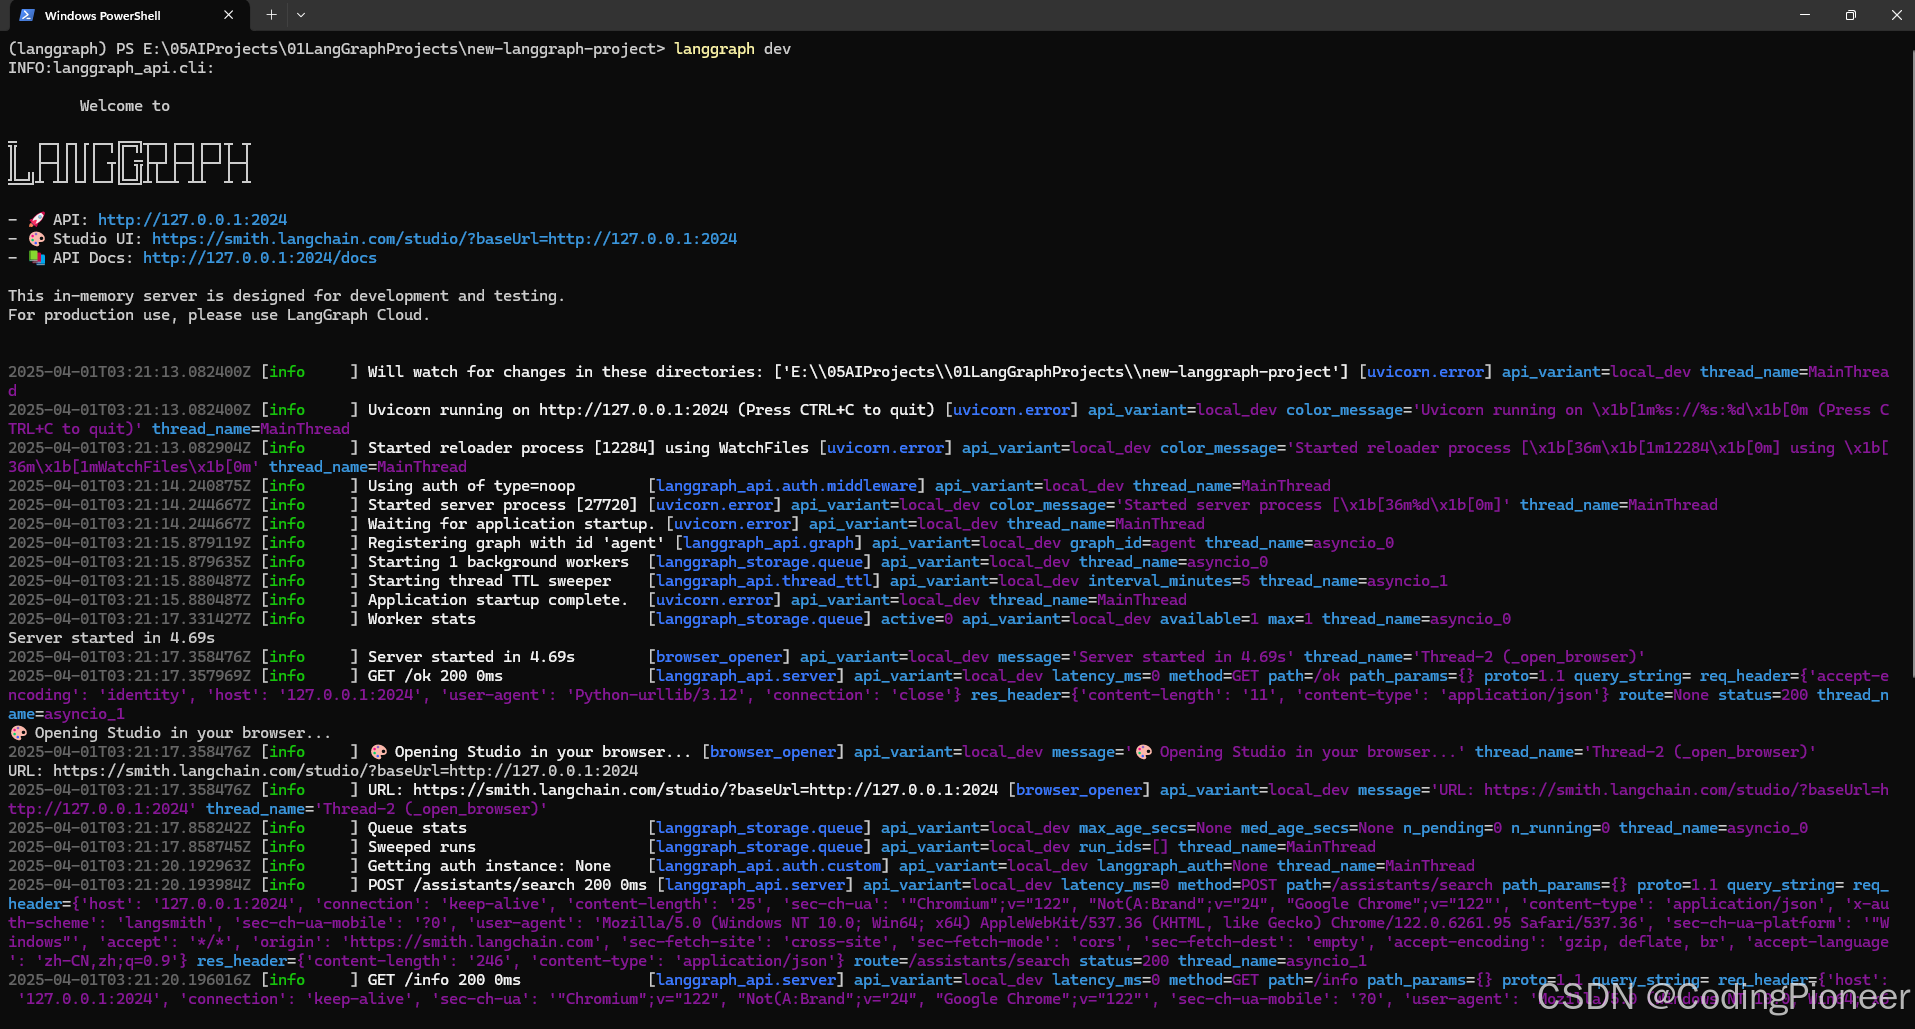
langgraph dev
启动的运行日志如下图:
启动完毕后,会自动弹出浏览器打开langsmith跟踪页面,如下图:

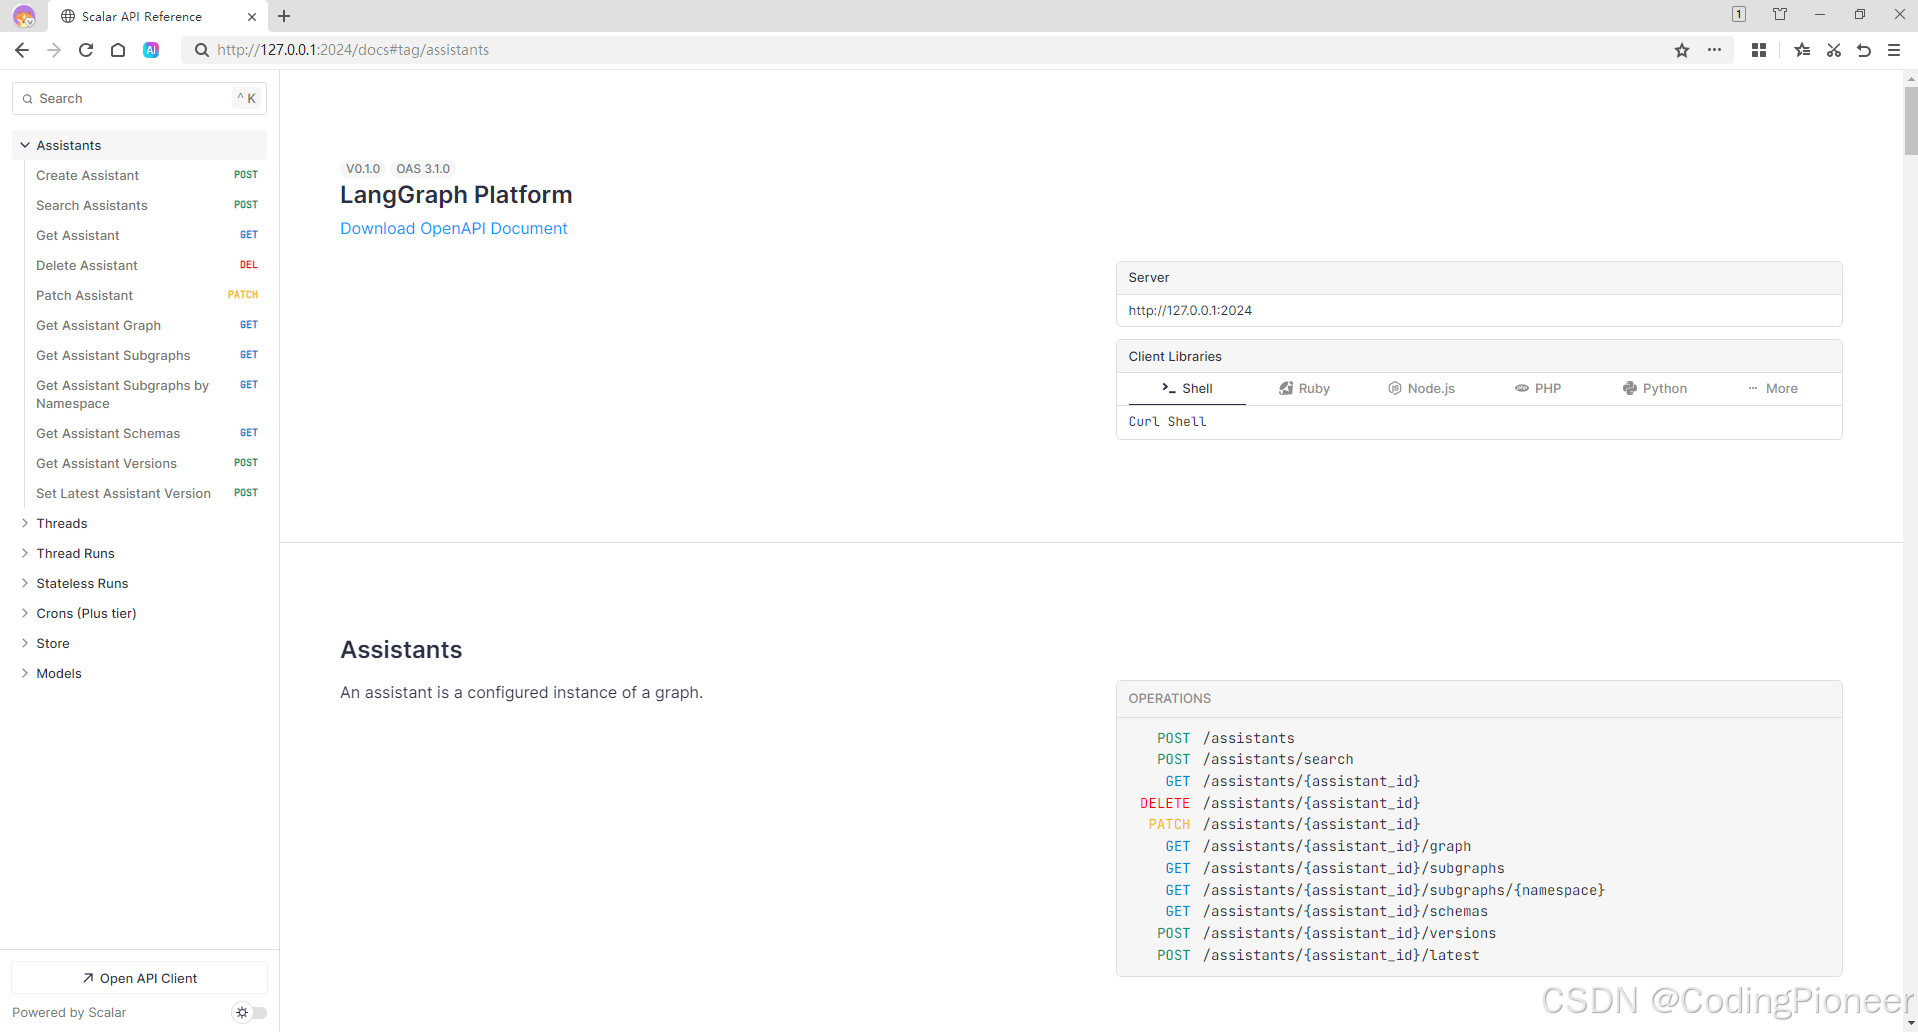
API文档地址(http://127.0.0.1:2024/docs)访问如下图:
2 Agent Chat UI
前端项目基于NodeJS。
- NodeJs版本 ≥ 18.12 我用的版本是 18.20.0
下载agent-chat-ui项目
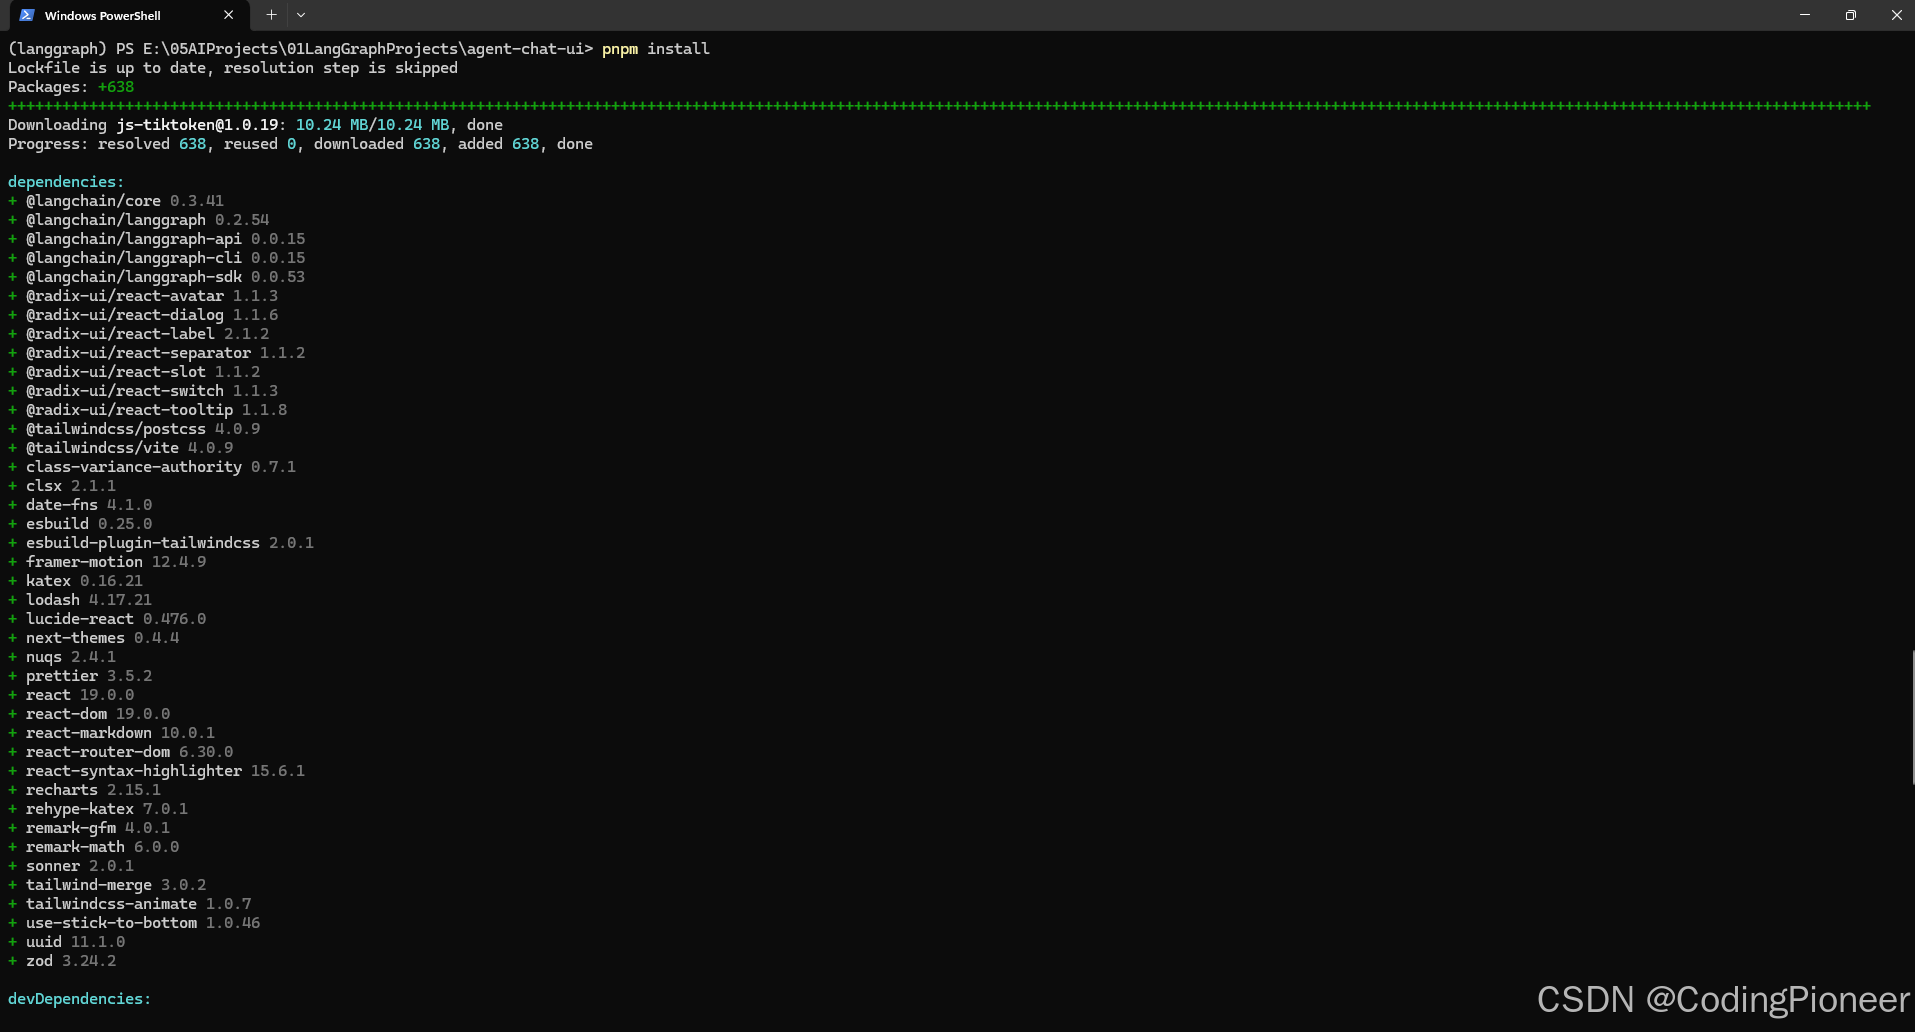
git clone https://github.com/langchain-ai/agent-chat-ui.gitcd agent-chat-ui# 先安装pnpm
npm install -g pnpm# 安装项目依赖
pnpm install# 启动项目
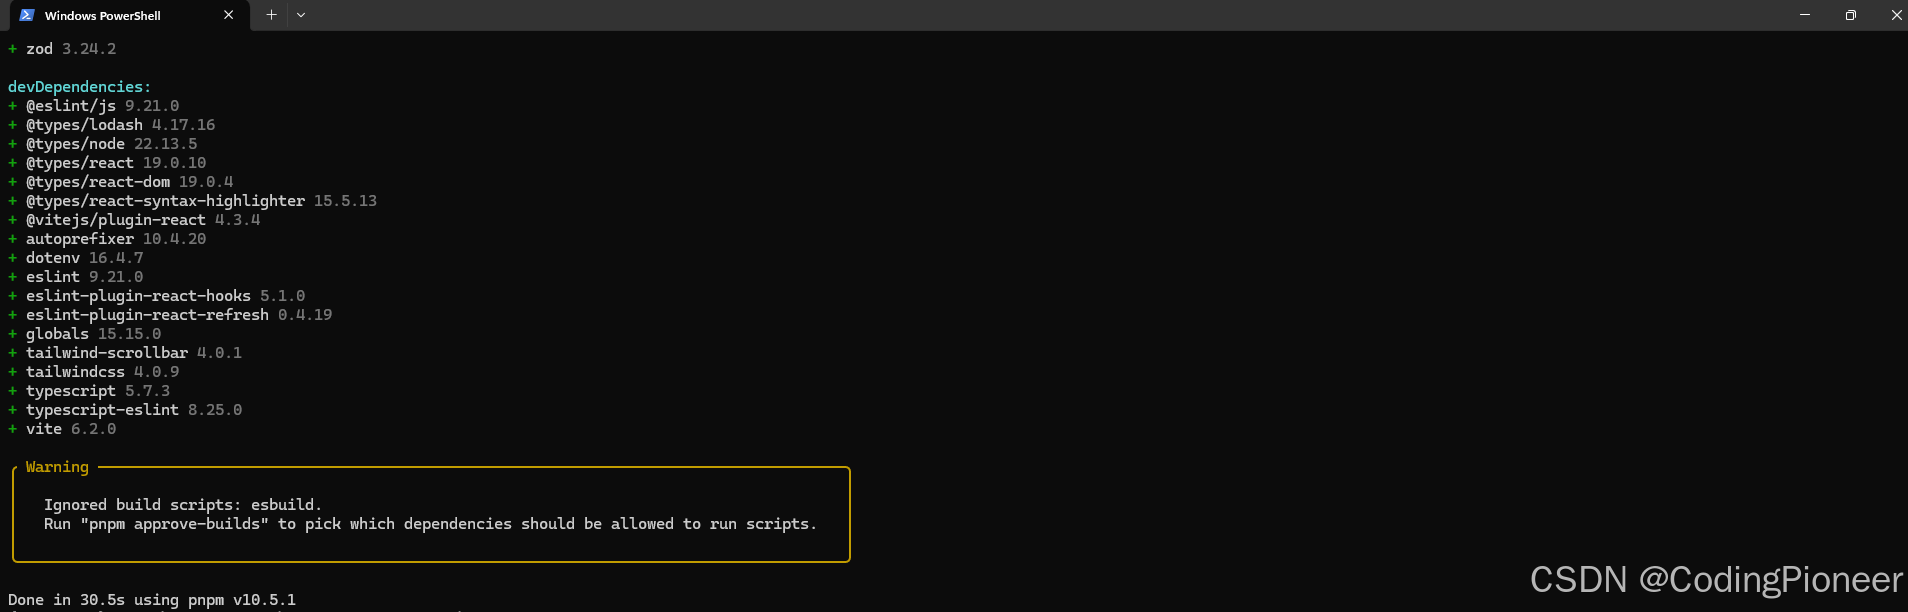
pnpm dev安装项目依赖过程如下图:
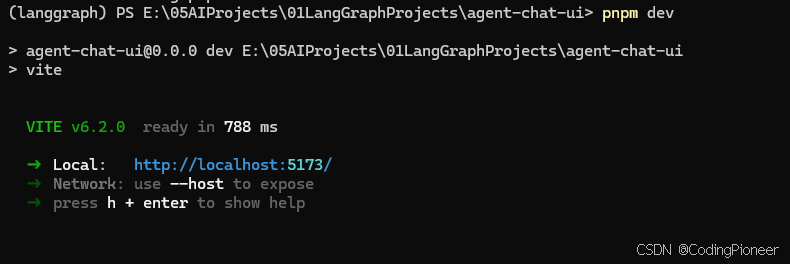
项目启动日志如下:
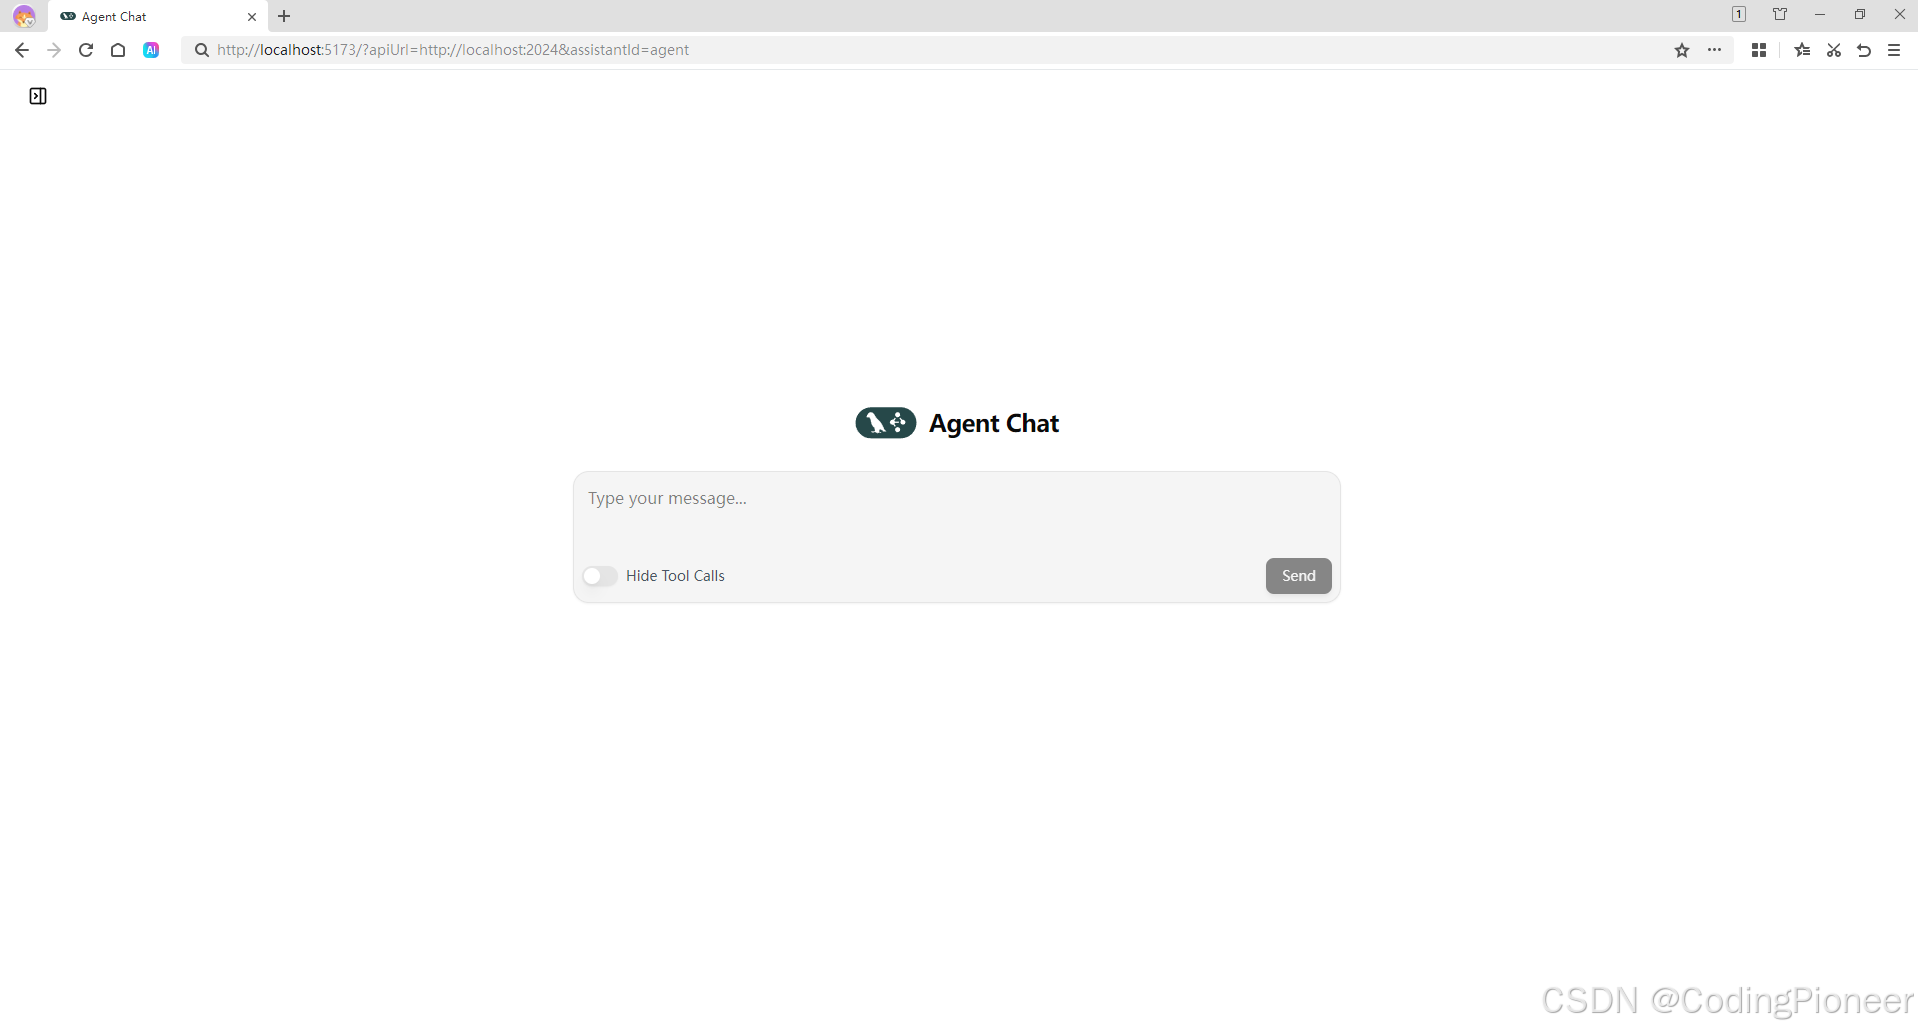
启动后可以通过浏览器输入: http://localhost:5173访问,如下图:
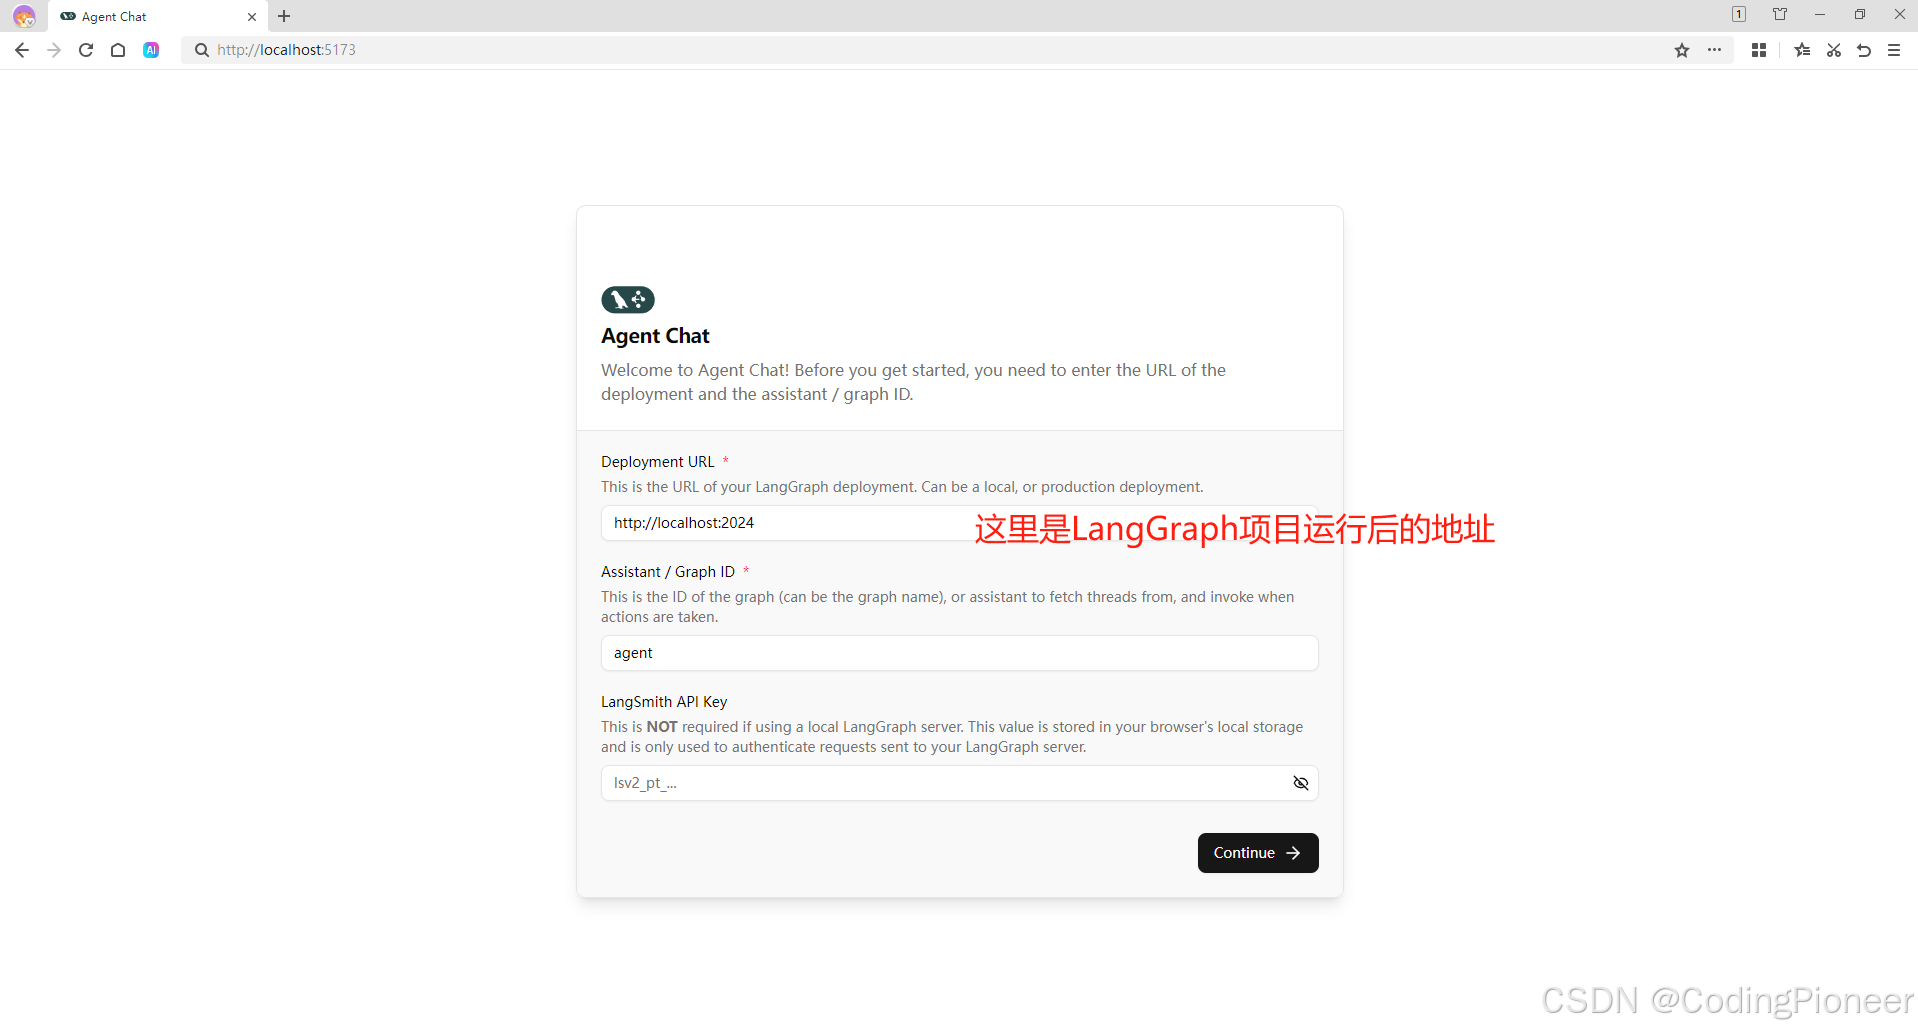
点击 Continue 进入对话界面,如下图: