微信公众平台开发外包seo快速优化软件网站
1 菜单递归组件
1.1 安装插件 path-browserify
path-browserify是一款专门用于在浏览器环境中模拟 Node.js path模块功能的 JavaScript 库。在 Node.js 中,path模块为处理文件和目录路径提供了诸多实用方法,但浏览器本身并不具备这样的功能。path-browserify填补了这一空白,使得开发者在前端项目中也能便捷地处理路径相关操作。
它支持路径拼接,通过path.join()方法可将多个路径片段组合成一个完整路径,自动适配不同操作系统的路径分隔符。path.resolve()能把相对路径转换为绝对路径,path.normalize()用于规范路径,去除冗余部分。还可利用path.dirname()和path.basename()分割路径,分别获取目录名和文件名。
通过 npm 安装后,在项目中以 ES Module 或 CommonJS 方式引入即可使用。在 Webpack 等构建工具中,需配置别名来确保正确引用。常用于前端构建工具配置、浏览器端涉及路径处理的场景以及跨平台开发,助力代码在不同环境下实现路径操作的一致性 。
@types/path-browserify专门为path-browserify库提供 TypeScript 类型定义。在 TypeScript 项目里,它能让代码拥有更可靠的类型保障。借助@types/path-browserify,开发人员使用path-browserify时,像path.join这类方法,编译器会自动检查传入参数类型是否匹配,返回值类型是否正确。若类型有误,能及时报错,避免运行时错误。安装十分简单,通过npm install @types/path-browserify即可。安装后,它无缝对接 TypeScript 项目,为路径操作代码带来智能提示与类型检查,显著提升代码质量与开发效率 。
通过 pnpm 安装插件
pnpm i path-browserify @types/path-browserify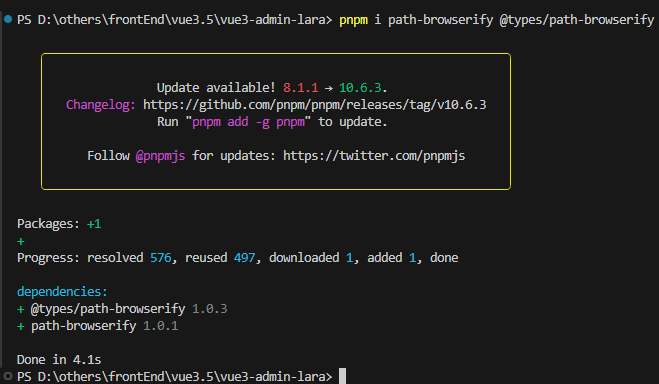
1.2 SidebarItemLink 组件
//src/layout/components/Sidebar/SidebarItemLink.vue
<template><component :is="componentType" v-bind="componentProps"><slot></slot></component>
</template><script lang="ts" setup>
import { isExternal } from "@/utils/validate";const { to } = defineProps<{to: string;
}>();const isExt = computed(() => isExternal(to));
const componentType = computed(() => {return isExt.value ? "a" : "router-link";
});const componentProps = computed(() => {if (isExt.value) {return {href: to,target: "_blank"};} else {return {to};}
});
</script>
1.3 SidebarItem 组件
//src/layout/components/Sidebar/SidebarItem.vue
<template><!-- 我们需要将路由表中的路径进行添加 index --><template v-if="!item.meta?.hidden"><sidebar-item-linkv-if="filteredChildren.length <= 1 && !item.meta?.alwaysShow":to="resolvePath(singleChildRoute.path)"><el-menu-item :index="resolvePath(singleChildRoute.path)"><el-icon v-if="iconName"><svg-icon :icon-name="iconName" /></el-icon><template #title>{{ singleChildRoute.meta.title }}</template></el-menu-item></sidebar-item-link><el-sub-menu v-else :index="item.path"><template #title><el-icon v-if="iconName"> <svg-icon :icon-name="iconName" /> </el-icon><span>{{ item.meta?.title }}</span></template><sidebar-itemv-for="child of filteredChildren":key="child.path":item="child":base-path="resolvePath(child.path)"></sidebar-item></el-sub-menu></template>
</template><script lang="ts" setup>
import type { RouteRecordRaw } from "vue-router";
import path from "path-browserify";const { item, basePath } = defineProps<{item: RouteRecordRaw;basePath: string;
}>();// 如果只有一个儿子,说明我们直接渲染这里的一个儿子即可// 如果菜单对应的children有多个 ,使用el-submenu去渲染const filteredChildren = computed(() =>(item.children || []).filter((child) => !child.meta?.hidden)
);// 要渲染的路由  system => children[]
const singleChildRoute = computed(() =>filteredChildren.value.length === 1? filteredChildren.value[0]: { ...item, path: "" }// 此处我们将自己的path置为“” 防止重复拼接
);
// 要渲染的图标
const iconName = computed(() => singleChildRoute.value.meta?.icon);// 解析父路径 + 子路径  (resolve 可以解析绝对路径
//   /system  /sytem/memu -> /sytem/memu)
//   /  dashboard => /dashboardconst resolvePath = (childPath: string) => path.join(basePath, childPath);
</script>
2 组件引用
在 src/layout/components/Sidebar/index.vue 中引用菜单递归组件,代码如下:
//src/layout/components/Sidebar/index.vue
<template><div><el-menuclass="sidebar-container-menu"router:default-active="defaultActive":background-color="varaibles.menuBg":text-color="varaibles.menuText":active-text-color="varaibles.menuActiveText":collapse="sidebar.opened"><sidebar-itemv-for="route in routes":key="route.path":item="route":base-path="route.path"/><!-- 增加父路径,用于el-menu-item渲染的时候拼接 --></el-menu></div><!-- :collapse="true" -->
</template><script lang="ts" setup>
import { useAppStore } from "@/stores/app";
import varaibles from "@/style/variables.module.scss";
import { routes } from "@/router";const route = useRoute();const { sidebar } = useAppStore();const defaultActive = computed(() => {// .....return route.path;
});
</script><style scoped></style>
3 页面及路由配置
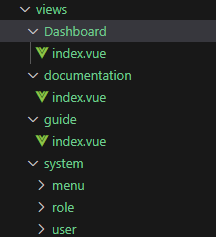
在 views 文件夹下新建页面,如:
在 src/router 下新建类型文件 typings.d.ts,如下:
//src/router/typings.d.ts
import "vue-router";// 给模块添加额外类型 , ts中的接口合并
declare module "vue-router" {interface RouteMeta {icon?: string;title?: string;hidden?: boolean;alwaysShow?: boolean;breadcrumb?: boolean;affix?: boolean;noCache?: boolean;}
}
在 src/router/index.ts 中进行页面路由配置,代码如下:
//src/router/index.ts
import {createRouter,createWebHistory,type RouteRecordRaw
} from "vue-router";
import Layout from "@/layout/index.vue";
export const constantRoutes: RouteRecordRaw[] = [{path: "/",component: Layout,redirect: "/dashboard",children: [{path: "dashboard",name: "dashboard",component: () => import("@/views/dashboard/index.vue"),meta: {icon: "ant-design:bank-outlined",title: "dashboard",affix: true, // 固定在tagsViews中noCache: true //   不需要缓存}}]}
];
export const asyncRoutes: RouteRecordRaw[] = [{path: "/documentation",component: Layout,redirect: "/documentation/index",children: [{path: "index",name: "documentation",component: () => import("@/views/documentation/index.vue"),meta: {icon: "ant-design:database-filled",title: "documentation"}}]},{path: "/guide",component: Layout,redirect: "/guide/index",children: [{path: "index",name: "guide",component: () => import("@/views/guide/index.vue"),meta: {icon: "ant-design:car-twotone",title: "guide"}}]},{path: "/system",component: Layout,redirect: "/system/menu",meta: {icon: "ant-design:unlock-filled",title: "system",alwaysShow: true// breadcrumb: false// 作为父文件夹一直显示},children: [{path: "menu",name: "menu",component: () => import("@/views/system/menu/index.vue"),meta: {icon: "ant-design:unlock-filled",title: "menu"}},{path: "role",name: "role",component: () => import("@/views/system/role/index.vue"),meta: {icon: "ant-design:unlock-filled",title: "role"}},{path: "user",name: "user",component: () => import("@/views/system/user/index.vue"),meta: {icon: "ant-design:unlock-filled",title: "user"}}]},{path: "/external-link",component: Layout,children: [{path: "http://www.baidu.com",redirect: "/",meta: {icon: "ant-design:link-outlined",title: "link Baidu"}}]}
];
// 需要根据用户赋予的权限来动态添加异步路由
export const routes = [...constantRoutes, ...asyncRoutes];
export default createRouter({routes, // 路由表history: createWebHistory() //  路由模式
});
4 菜单样式问题解决
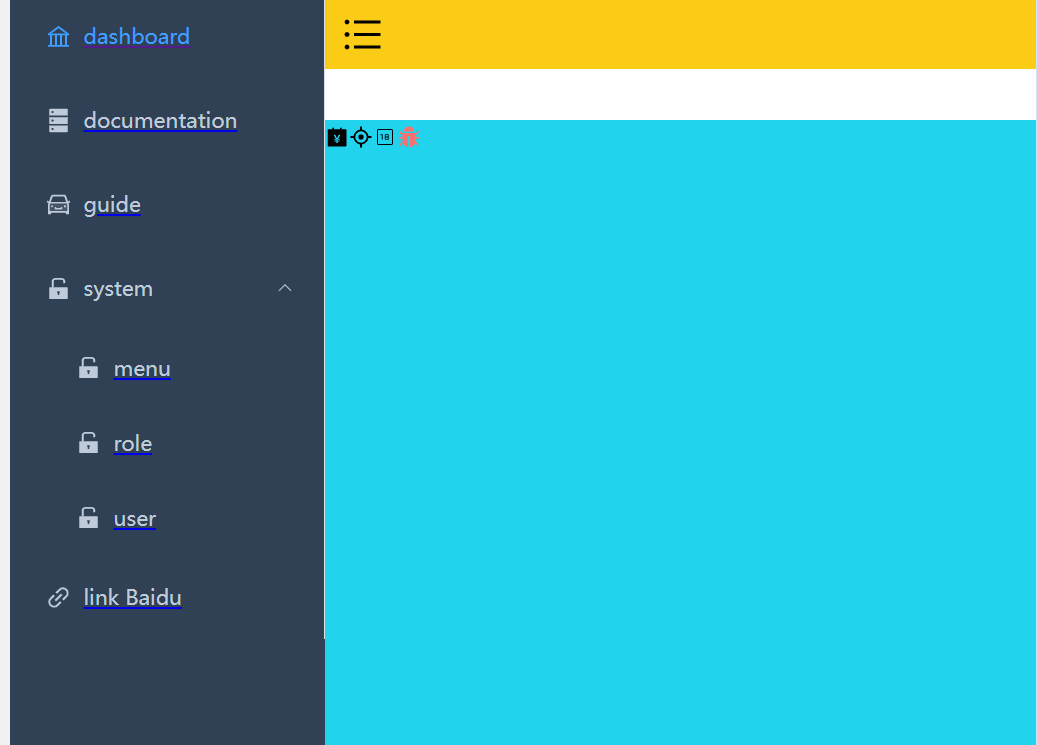
以上步骤后,页面显示如下,发现菜单标题下方有蓝色线条。
修改 src/style/index.scss
//src/style/index.scss
//@import "./variables.module.scss"; 弃用
@import "./variables.module.scss";:root {--sidebar-width: #{$sideBarWidth};--navbar-height: #{$navBarHeight};--tagsview-height: #{$tagsViewHeight};--menu-bg: #{$menuBg};
}a {@apply decoration-none active:(decoration-none) hover:(decoration-none);
}
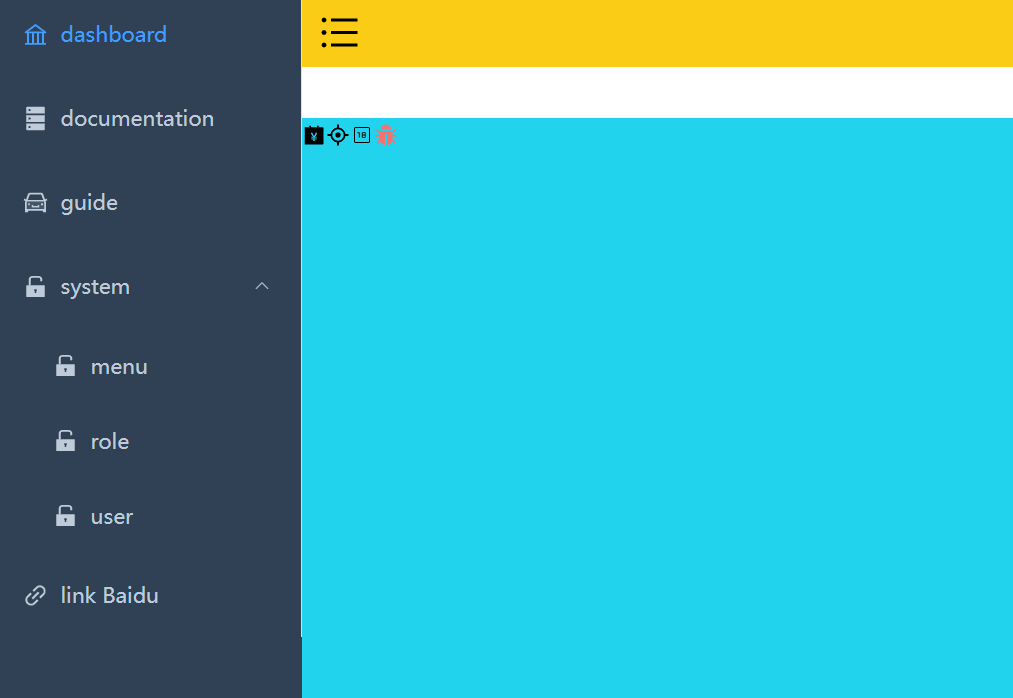
修改后,页面显示如下:
5 菜单组件缓存
在 dashboard.index 中加个输入框,输入值后,切换到其他菜单,再切换回来,发现输入的值已经置空,想要缓存已经输入的值,需要做组件的缓存。
5.1 AppMain 组件
在 layout/components 下新建 AppMain.vue
//layout/components/AppMain.vue
<template><router-view v-slot="{ Component }"><transition name="fade"><keep-alive><component :is="Component" :key="$route.path"></component></keep-alive></transition></router-view>
</template><script lang="ts" setup></script><style lang="scss">
.fade-enter-active,
.fade-leave-active {@apply transition-all duration-500 pos-absolute;
}
.fade-enter-from {@apply opacity-0 translate-x-[50px];
}
.fade-leave-to {@apply opacity-0 translate-x-[-50px];
}
</style>
5.2 修改 layout/index.vue
修改 layout/index.vue,引入 AppMain.vue,代码如下:
//src/layout/index.vue
<template><div class="app-wrapper"><div class="sidebar-container"><sidebar></sidebar></div><div class="main-container"><div class="header"><!--  上边包含收缩的导航条 --><navbar></navbar></div><div class="app-main"><app-main></app-main></div></div></div>
</template>
<style lang="scss" scoped>
.app-wrapper {@apply flex w-full h-full;.sidebar-container {// 跨组件设置样式@apply bg-[var(--menu-bg)];:deep(.sidebar-container-menu:not(.el-menu--collapse)) {@apply w-[var(--sidebar-width)];}}.main-container {@apply flex flex-col flex-1;}.header {@apply h-84px;.navbar {@apply h-[var(--navbar-height)] bg-yellow;}.tags-view {@apply h-[var(--tagsview-height)] bg-blue;}}.app-main {@apply bg-cyan;min-height: calc(100vh - var(--tagsview-height) - var(--navbar-height));}
}
</style>
这样,切换菜单后,就能对组件进行缓存。
以上,菜单组件就完成了。
下一篇将继续探讨面包屑导航组件,敬请期待~