网站各页面疫情最新情况
先看效果

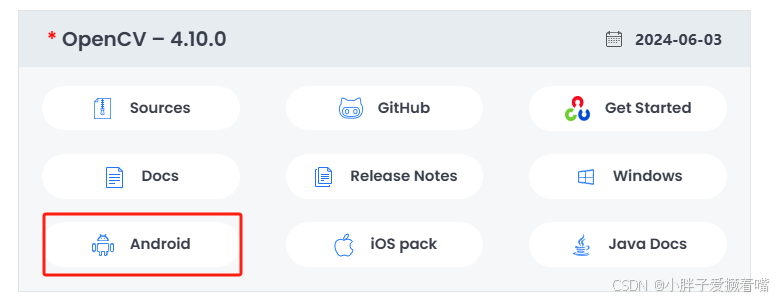
1.下载OpenCV
官网地址:opcv官网
找到Android 4.10.0版本下载
下载完毕 解压zip如图:
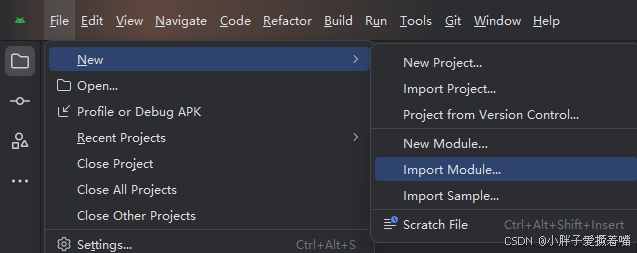
2.将OpenCV-android_sdk导入项目 我这里用的最新版的Android studio
如果是java开发 需要添加kotlin的支持。我用的studio比较新可以参考下,如果studio版本比较老 请在网上自行寻找 kotlin支持
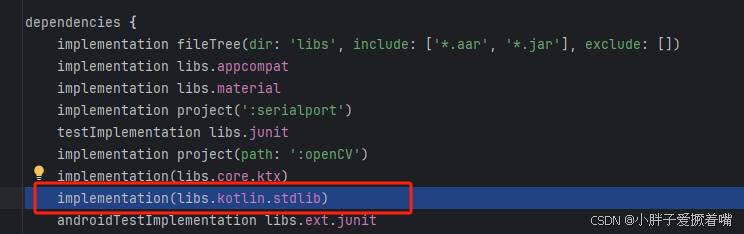
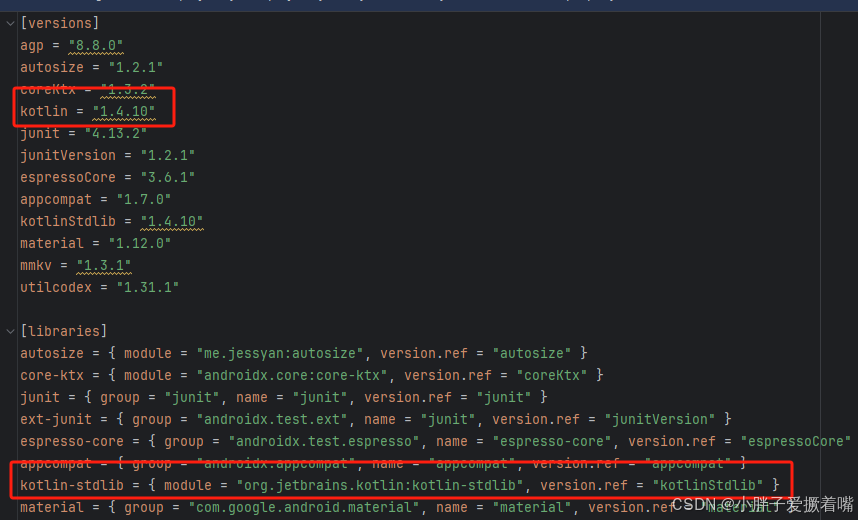
引入完成后如下

3.编写自定义javaCameraView
public class OpenCVCameraView extends JavaCameraView implements CameraBridgeViewBase.CvCameraViewListener2 {private boolean isDetecting = true;private CascadeClassifier faceDetector;private Mat mRgba;private Mat mGray;private boolean isSaving = false;private File cascadeFile;private DetectionCallback detectionCallback;private int[] previewSize = new int[2];private Scalar FACE_RECT_COLOR = new Scalar(0, 255, 0, 255); // 人脸框颜色(绿色)private Scalar ROI_COLOR = new Scalar(255, 0, 0, 255);       // 识别区域颜色(蓝色)private int frameWidth, frameHeight;private int centerX, centerY, radius;public interface DetectionCallback {void onFaceDetected(Bitmap bitmap);void onDetectionStopped();}private Bitmap bitmap = null;private long lastDetectionTime = 0;public OpenCVCameraView(Context context, AttributeSet attrs) {super(context, attrs);initFaceDetection();}public void setDetectionCallback(DetectionCallback callback) {this.detectionCallback = callback;}public void startDetection() {isDetecting = true;lastDetectionTime = System.currentTimeMillis();}public void stopDetection() {isDetecting = false;if (detectionCallback != null) {detectionCallback.onDetectionStopped();}}private void initFaceDetection() {try {// 加载人脸检测分类器InputStream is = getResources().openRawResource(R.raw.lbpcascade_frontalface);File cascadeDir = getContext().getDir("cascade", Context.MODE_PRIVATE);cascadeFile = new File(cascadeDir, "lbpcascade_frontalface.xml");FileOutputStream os = new FileOutputStream(cascadeFile);byte[] buffer = new byte[4096];int bytesRead;while ((bytesRead = is.read(buffer)) != -1) {os.write(buffer, 0, bytesRead);}is.close();os.close();faceDetector = new CascadeClassifier(cascadeFile.getAbsolutePath());} catch (Exception e) {e.printStackTrace();}}@Overridepublic void onCameraViewStarted(int width, int height) {mRgba = new Mat();mGray = new Mat();}@Overridepublic void onCameraViewStopped() {mRgba.release();mGray.release();}@Overrideprotected boolean initializeCamera(int width, int height) {return super.initializeCamera(width, height);}@Overridepublic Mat onCameraFrame(CvCameraViewFrame inputFrame) {mRgba = inputFrame.rgba(); // 使用灰度图进行检测frameWidth = mRgba.cols();frameHeight = mRgba.rows();centerX = frameWidth / 2;centerY = frameHeight / 2;radius = Math.min(frameWidth, frameHeight) / 4; //调整半径Core.flip(mRgba, mRgba, 1); // 参数 1 表示水平翻转// 检测人脸MatOfRect faces = new MatOfRect();if (faceDetector != null) {faceDetector.detectMultiScale(mRgba, faces, 1.1, 3, 0,new Size(30, 30), new Size(200, 200));}// 绘制中间圆形识别区域
//        Imgproc.circle(mRgba, new Point(centerX, centerY), radius, ROI_COLOR, 2);long currentTime = System.currentTimeMillis();// 过滤并绘制符合条件的人脸if (isDetecting && (currentTime - lastDetectionTime > 500)) {Rect[] facesArray = faces.toArray();for (Rect face : facesArray) {int faceCenterX = face.x + face.width / 2;int faceCenterY = face.y + face.height / 2;double distance = Math.sqrt(Math.pow(faceCenterX - centerX, 2) + Math.pow(faceCenterY - centerY, 2));// 仅处理位于圆形区域内的人脸if (distance <= radius) {saveImageWithFace(mRgba,face);Imgproc.rectangle(mRgba,new Point(face.x, face.y),new Point(face.x + face.width, face.y + face.height),FACE_RECT_COLOR, 2);if (detectionCallback != null && bitmap != null) {detectionCallback.onFaceDetected(bitmap);}}}lastDetectionTime = currentTime;}return mRgba; // 返回处理后的帧}@SuppressLint("StaticFieldLeak")private void saveImageWithFace(Mat rgbaMat, Rect faceRect) {isSaving = true;new AsyncTask<Void, Void, Void>() {@Overrideprotected Void doInBackground(Void... voids) {try {// 裁剪人脸区域Mat faceMat = new Mat(rgbaMat, faceRect);// 转换为Bitmapbitmap = Bitmap.createBitmap(faceMat.cols(),faceMat.rows(),Bitmap.Config.ARGB_8888);Utils.matToBitmap(faceMat, bitmap);// 保存到相册//saveToGallery(bitmap);} catch (Exception e) {e.printStackTrace();}return null;}@Overrideprotected void onPostExecute(Void aVoid) {isSaving = false;}}.execute();}public void restartDetection() {isDetecting = true;Log.d("restartDetection", "restartDetection: 重新开始检测");}private void saveToGallery(Bitmap bitmap) {String fileName = "Face_" + System.currentTimeMillis() + ".jpg";ContentValues values = new ContentValues();values.put(MediaStore.Images.Media.DISPLAY_NAME, fileName);values.put(MediaStore.Images.Media.MIME_TYPE, "image/jpeg");ContentResolver resolver = getContext().getContentResolver();Uri uri = resolver.insert(MediaStore.Images.Media.EXTERNAL_CONTENT_URI, values);try (OutputStream out = resolver.openOutputStream(uri)) {bitmap.compress(Bitmap.CompressFormat.JPEG, 100, out);Log.d("图片保存", "saveToGallery: " + fileName);//    Toast.makeText(getContext(), "保存成功: " + fileName, Toast.LENGTH_SHORT).show();} catch (IOException e) {Toast.makeText(getContext(), "保存失败", Toast.LENGTH_SHORT).show();e.printStackTrace();}}}
openCVCameraView 包含的功能:500 毫秒检测一次人脸通过lastDatectionTIme判断,打开检测,和关闭检测 startDetection,stopDetection,还可以识别人脸后保存到相册saveToGallery,只检测区域的人脸 防止误检测
4.在layout 里使用 再初始化
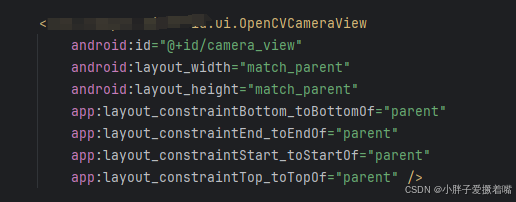
mOpenCvCameraView = findViewById(R.id.camera_view);mOpenCvCameraView.setCvCameraViewListener(mOpenCvCameraView);mOpenCvCameraView.setDetectionCallback(this); @Overrideprotected void onResume() {super.onResume();if (OpenCVLoader.initDebug()) {//0:后置摄像头 1:前置摄像头mOpenCvCameraView.setCameraIndex(0);mOpenCvCameraView.enableView();mOpenCvCameraView.setCameraPermissionGranted();}}@Overrideprotected void onPause() {super.onPause();if (mOpenCvCameraView != null) {mOpenCvCameraView.disableView();}}