34.CentOS-Stream-8-packstack安装OpenStack-Victoria
文章目录
- CentOS-Stream-8-packstack安装OpenStack
- 前期准备
- 1、资源清单
- 2、虚拟机硬件配置
- 3、网络拓扑
- 步骤一:准备模板虚拟机
- 配置yum源
- 安装方便操作环境包及基础软件包
- 设置/etc/hosts
- 关闭SELinux
- 编辑网卡信息
- 清除密钥信息
- 清除Machine ID
- 关闭操作系统并拍快照。
- 步骤二:准备openstack节点
- 克隆虚拟机并修改基础配置
- 配置主机名
- 配置IP地址
- 配置NTP
- 重启下操作系统
- 此处建议关机拍摄快照
- 步骤三:安装OpenStack和测试
- 控制节点安装packstack
- 生成应答文件
- 更改应答文件
- 关闭NetworkManager
- 根据应答文件配置安装openstack
- 安装完成
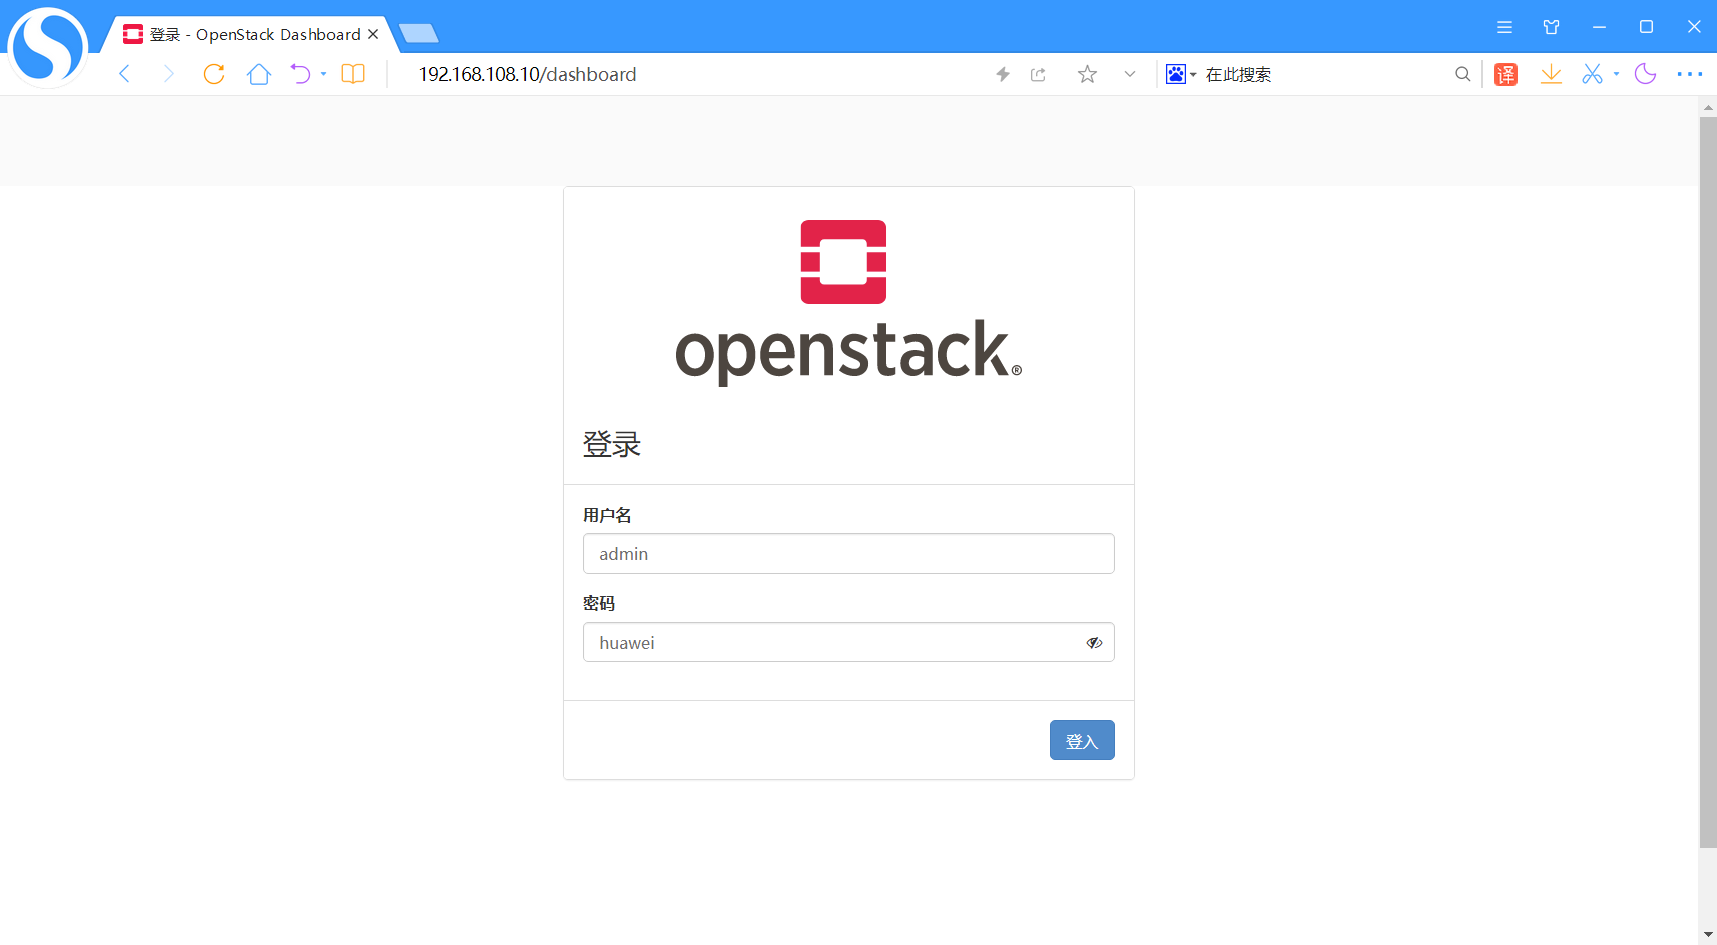
- 登录测试
- 开启network服务
- 配置OpenStack命令补全
- 关机拍快照
CentOS-Stream-8-packstack安装OpenStack
前期准备
1、资源清单
CentOS-Stream-8(minimal安装) -CentOS-Stream-8-20240603.0-x86_64-dvd1.iso
https://mirrors.aliyun.com/centos-vault/8-stream/isos/x86_64/CentOS-Stream-8-20240603.0-x86_64-dvd1.iso?spm=a2c6h.25603864.0.0.33e24ee4AiZUTJ
vmware workstation17.5
OpenStack-Victoria
2、虚拟机硬件配置
controller 4CPU 8G内存 1张网卡:NAT 100G系统盘
compute 4CPU 8G内存 1张网卡:NAT 100G系统盘
按照个人情况配置内存
3、网络拓扑
vmware网络设置:
NAT网络,开启DHCP,192.168.108.0/24,网关192.168.108.2,DNS 192.168.108.2
说明:
Windows环境vmware的NAT网络网关为192.168.108.2
Linux环境vmware的NAT网络网关为192.168.108.1
/etc/hosts
192.168.108.10 controller
192.168.108.11 compute
步骤一:准备模板虚拟机
基于CentOS-Stream-8模板制作.md制作的模板,克隆出一个虚拟机(openstack_template),作为openstack模板虚拟机


完整克隆,克隆好后,开机配置
配置yum源
[root@localhost ~]# rm -rf /etc/yum.repos.d/*[root@localhost ~]# cat <<EOF > /etc/yum.repos.d/openstack.repo
[centos-openstack-victoria]
name=CentOS 8 - OpenStack victoria
baseurl=https://mirrors.aliyun.com/centos-vault/8-stream/cloud/x86_64/openstack-victoria/
gpgcheck=0
enabled=1[highavailability]
name=CentOS Stream 8 - HighAvailability
baseurl=https://mirrors.aliyun.com/centos-vault/8-stream/HighAvailability/x86_64/os/
gpgcheck=0
enabled=1[nfv]
name=CentOS Stream 8 - NFV
baseurl=https://mirrors.aliyun.com/centos-vault/8-stream/NFV/x86_64/os/
gpgcheck=0
enabled=1[rt]
name=CentOS Stream 8 - RT
baseurl=https://mirrors.aliyun.com/centos-vault/8-stream/RT/x86_64/os/
gpgcheck=0
enabled=1[resilientstorage]
name=CentOS Stream 8 - ResilientStorage
baseurl=https://mirrors.aliyun.com/centos-vault/8-stream/ResilientStorage/x86_64/os/
gpgcheck=0
enabled=1[extras-common]
name=CentOS Stream 8 - Extras packages
baseurl=https://mirrors.aliyun.com/centos-vault/8-stream/extras/x86_64/extras-common/
gpgcheck=0
enabled=1[extras]
name=CentOS Stream $releasever - Extras
baseurl=https://mirrors.aliyun.com/centos-vault/8-stream/extras/x86_64/os/
gpgcheck=0
enabled=1[centos-ceph-pacific]
name=CentOS - Ceph Pacific
baseurl=https://mirrors.aliyun.com/centos-vault/8-stream/storage/x86_64/ceph-pacific/
gpgcheck=0
enabled=1[centos-rabbitmq-38]
name=CentOS-8 - RabbitMQ 38
baseurl=https://mirrors.aliyun.com/centos-vault/8-stream/messaging/x86_64/rabbitmq-38/
gpgcheck=0
enabled=1[centos-nfv-openvswitch]
name=CentOS Stream 8 - NFV OpenvSwitch
baseurl=https://mirrors.aliyun.com/centos-vault/8-stream/nfv/x86_64/openvswitch-2/
gpgcheck=0
enabled=1[baseos]
name=CentOS Stream 8 - BaseOS
baseurl=https://mirrors.aliyun.com/centos-vault/8-stream/BaseOS/x86_64/os/
gpgcheck=0
enabled=1[appstream]
name=CentOS Stream 8 - AppStream
baseurl=https://mirrors.aliyun.com/centos-vault/8-stream/AppStream/x86_64/os/
gpgcheck=0
enabled=1[powertools]
name=CentOS Stream 8 - PowerTools
baseurl=https://mirrors.aliyun.com/centos-vault/8-stream/PowerTools/x86_64/os/
gpgcheck=0
enabled=1
EOF[root@localhost ~]# yum clean all
0 files removed
[root@localhost ~]# yum makecache
安装方便操作环境包及基础软件包
[root@localhost ~]# yum install -y bash-completion vim open-vm-tools net-tools chrony.x86_64
[root@localhost ~]# source /usr/share/bash-completion/bash_completion
设置/etc/hosts
[root@localhost ~]# echo '192.168.108.10 controller' >> /etc/hosts
[root@localhost ~]# echo '192.168.108.11 compute' >> /etc/hosts
关闭SELinux
[root@localhost ~]# sed -i '/^SELINUX=/cSELINUX=disabled' /etc/selinux/config
编辑网卡信息
[root@localhost ~]# cd /etc/sysconfig/network-scripts/
[root@localhost network-scripts]# vim ifcfg-ens160
TYPE=Ethernet
BOOTPROTO=dhcp
NAME=ens160
DEVICE=ens160
ONBOOT=yes
清除密钥信息
[root@localhost ~]# cd /etc/ssh/
[root@localhost ssh]# rm -rf ssh_host_*
清除Machine ID
[root@localhost ~]# cat /dev/null > /etc/machine-id
[root@localhost ~]# cat /etc/machine-id
关闭操作系统并拍快照。
[root@localhost ~]# poweroff

步骤二:准备openstack节点
克隆虚拟机并修改基础配置
采用完全克隆方法克隆出其他2台虚拟机(openstack-controller , openstack-compute)。


同样的操作克隆计算节点

2节点的CPU需要开启虚拟化支持。

两节点配置不同的IP,主机名
两节点分别开机,做以下配置
配置主机名
controller:
[root@localhost ~]# hostnamectl set-hostname controller
compute:
[root@localhost ~]# hostnamectl set-hostname compute
配置IP地址
controller:
[root@controller ~]# vim /etc/sysconfig/network-scripts/ifcfg-ens160
TYPE=Ethernet
BOOTPROTO=none    #从dhcp转变为none
NAME=ens160
DEVICE=ens160
ONBOOT=yes
IPADDR=192.168.108.10
NETMASK=255.255.255.0
GATEWAY=192.168.108.2
DNS1=192.168.108.2
[root@controller ~]# nmcli connection down ens160
[root@controller ~]# nmcli connection up ens160
compute:
[root@compute ~]# vim /etc/sysconfig/network-scripts/ifcfg-ens160
TYPE=Ethernet
BOOTPROTO=none
NAME=ens160
DEVICE=ens160
ONBOOT=yes
IPADDR=192.168.108.11
NETMASK=255.255.255.0
GATEWAY=192.168.108.2
DNS1=192.168.108.2
[root@controller ~]# nmcli connection down ens160
[root@controller ~]# nmcli connection up ens160
配置NTP
controller:
[root@controller ~]# vim /etc/chrony.conf
# pool 2.centos.pool.ntp.org iburst
server ntp.aliyun.com iburst# Allow NTP client access from local network.
#allow 192.168.0.0/16
allow 192.168.108.0/24#启动服务
[root@controller ~]# systemctl restart chronyd
[root@controller ~]# systemctl enable chronyd
compute:
[root@compute ~]# vim /etc/chrony.conf
# pool 2.centos.pool.ntp.org iburst
server controller iburst#启动服务
[root@compute ~]# systemctl restart chronyd
[root@compute ~]# systemctl enable chronyd
重启下操作系统
controller:
[root@controller ~]# reboot
compute:
[root@compute ~]# reboot
此处建议关机拍摄快照
步骤三:安装OpenStack和测试
控制节点安装packstack
controller:
[root@controller ~]# yum install -y openstack-packstack
生成应答文件
controller:
[root@controller ~]# packstack --gen-answer-file=answers.txt
Packstack changed given value  to required value /root/.ssh/id_rsa.pub
Additional information:* Parameter CONFIG_NEUTRON_L2_AGENT: You have chosen OVN Neutron backend. Note that this backend does not support the VPNaaS plugin. Geneve will be used as the encapsulation method for tenant networks
更改应答文件
controller:
[root@controller ~]# sed -i '/^CONFIG_COMPUTE_HOSTS=/cCONFIG_COMPUTE_HOSTS=192.168.108.10,192.168.108.11' answers.txt
[root@controller ~]# sed -i '/^CONFIG_PROVISION_DEMO=/cCONFIG_PROVISION_DEMO=n' answers.txt
[root@controller ~]# sed -i '/^CONFIG_HEAT_INSTALL=/cCONFIG_HEAT_INSTALL=y' answers.txt
[root@controller ~]# sed -i '/^CONFIG_NEUTRON_OVN_BRIDGE_IFACES=/cCONFIG_NEUTRON_OVN_BRIDGE_IFACES=br-ex:ens160' answers.txt
[root@controller ~]# sed -i.bak -r 's/(.+_PW)=[0-9a-z]+/\1=huawei/g' answers.txt
关闭NetworkManager
controller:
[root@controller ~]# systemctl stop NetworkManager; systemctl disable NetworkManager; systemctl mask NetworkManager
compute:
[root@compute ~]# systemctl stop NetworkManager; systemctl disable NetworkManager; systemctl mask NetworkManager
CentOS 8 版本默认使用 NetworkManager 管理网络,但它会和 openstack 网络组件产生冲突,从而导致告警或错误
根据应答文件配置安装openstack
controller:
[root@controller ~]# packstack --answer-file=answers.txt
Welcome to the Packstack setup utilityThe installation log file is available at: /var/tmp/packstack/20240920-102825-fai6j5rg/openstack-setup.logInstalling:
Clean Up                                             [ DONE ]
Discovering ip protocol version                      [ DONE ]
root@192.168.108.10's password:huawei
root@192.168.108.11's password:huawei
Setting up ssh keys                                  [ DONE ]
Preparing servers                                    [ DONE ]
Pre installing Puppet and discovering hosts' details [ DONE ]
Preparing pre-install entries                        [ DONE ]
Setting up CACERT                                    [ DONE ]
Preparing AMQP entries                               [ DONE ]
Preparing MariaDB entries                            [ DONE ]
Fixing Keystone LDAP config parameters to be undef if empty[ DONE ]
Preparing Keystone entries                           [ DONE ]
Preparing Glance entries                             [ DONE ]
Checking if the Cinder server has a cinder-volumes vg[ DONE ]
Preparing Cinder entries                             [ DONE ]
Preparing Nova API entries                           [ DONE ]
Creating ssh keys for Nova migration                 [ DONE ]
Gathering ssh host keys for Nova migration           [ DONE ]
Preparing Nova Compute entries                       [ DONE ]
Preparing Nova Scheduler entries                     [ DONE ]
Preparing Nova VNC Proxy entries                     [ DONE ]
Preparing OpenStack Network-related Nova entries     [ DONE ]
Preparing Nova Common entries                        [ DONE ]
Preparing Neutron API entries                        [ DONE ]
Preparing Neutron L3 entries                         [ DONE ]
Preparing Neutron L2 Agent entries                   [ DONE ]
Preparing Neutron DHCP Agent entries                 [ DONE ]
Preparing Neutron Metering Agent entries             [ DONE ]
Checking if NetworkManager is enabled and running    [ DONE ]
Preparing OpenStack Client entries                   [ DONE ]
Preparing Horizon entries                            [ DONE ]
Preparing Swift builder entries                      [ DONE ]
Preparing Swift proxy entries                        [ DONE ]
Preparing Swift storage entries                      [ DONE ]
Preparing Heat entries                               [ DONE ]
Preparing Heat CloudFormation API entries            [ DONE ]
Preparing Gnocchi entries                            [ DONE ]
Preparing Redis entries                              [ DONE ]
Preparing Ceilometer entries                         [ DONE ]
Preparing Aodh entries                               [ DONE ]
Preparing Puppet manifests                           [ DONE ]
Copying Puppet modules and manifests                 [ DONE ]
Applying 192.168.108.10_controller.pp
Testing if puppet apply is finished: 192.168.108.10_controller.pp  [ | ]
安装过程中,会在Testing if …controller.pp步骤停留很长时间,预计40-50分钟,其他步骤很快。
安装完成

登录测试
开启network服务
controller:
[root@controller ~]# systemctl start network
[root@controller ~]# systemctl enable network
network.service is not a native service, redirecting to systemd-sysv-install.
Executing: /usr/lib/systemd/systemd-sysv-install enable network
compute:
[root@compute ~]# systemctl start network
[root@compute ~]# systemctl enable network
network.service is not a native service, redirecting to systemd-sysv-install.
Executing: /usr/lib/systemd/systemd-sysv-install enable network
配置OpenStack命令补全
#将命令写入到/etc/bash_completion.d/,路径一定要写正确
[root@controller ~]# openstack complete >> /etc/bash_completion.d/complete
The 'openstack bgp speaker show dragents' CLI is deprecated and will be removed in the future. Use 'openstack bgp dragent list' CLI instead.
[root@controller ~]# reboot
关机拍快照
openstack_controller和openstack_compute两个拍摄快照
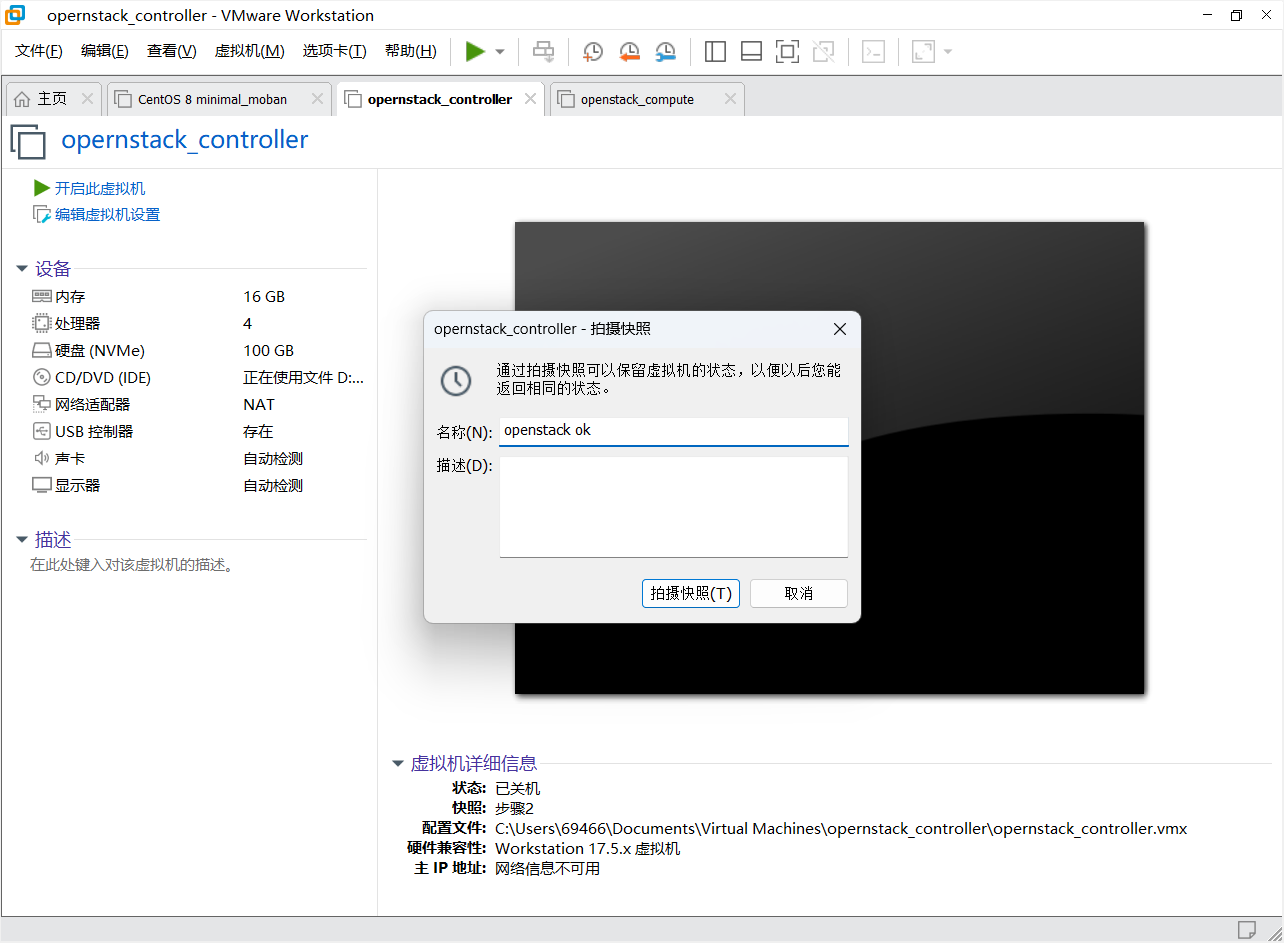
至此安装结束