Vue3集成Element Plus完整指南:从安装到主题定制下-实现后台管理系统框架搭建
本文将详细介绍如何使用 Vue 3 构建一个综合管理系统,包括路由配置、页面布局以及常用组件集成。
一、路由配置
首先,我们来看系统的路由配置,这是整个应用的基础架构:
import {createRouter, createWebHistory} from 'vue-router'const router = createRouter({history: createWebHistory(import.meta.env.BASE_URL), routes: [{path: '/', redirect: '/composite/home' // 默认重定向到首页}, {path: '/composite', component: () => import('@/vue_views/Composite.vue'), children: [{path: 'home', component: () => import('@/vue_views/Home.vue')}, {path: 'about', component: () => import('@/vue_views/About.vue')}]}, {path: '/not_found', component: () => import('@/vue_views/404.vue')}, {path: '/:patchMatch(.*)', redirect: '/not_found' // 捕获所有未匹配路由}],
})export default router
路由配置说明:
-
使用
createRouter和createWebHistory创建基于 HTML5 历史模式的路由 -
默认路由
/重定向到/composite/home -
/composite作为父路由,包含两个子路由:home和about -
配置了 404 页面处理,使用
:patchMatch(.*)捕获所有未匹配的路由
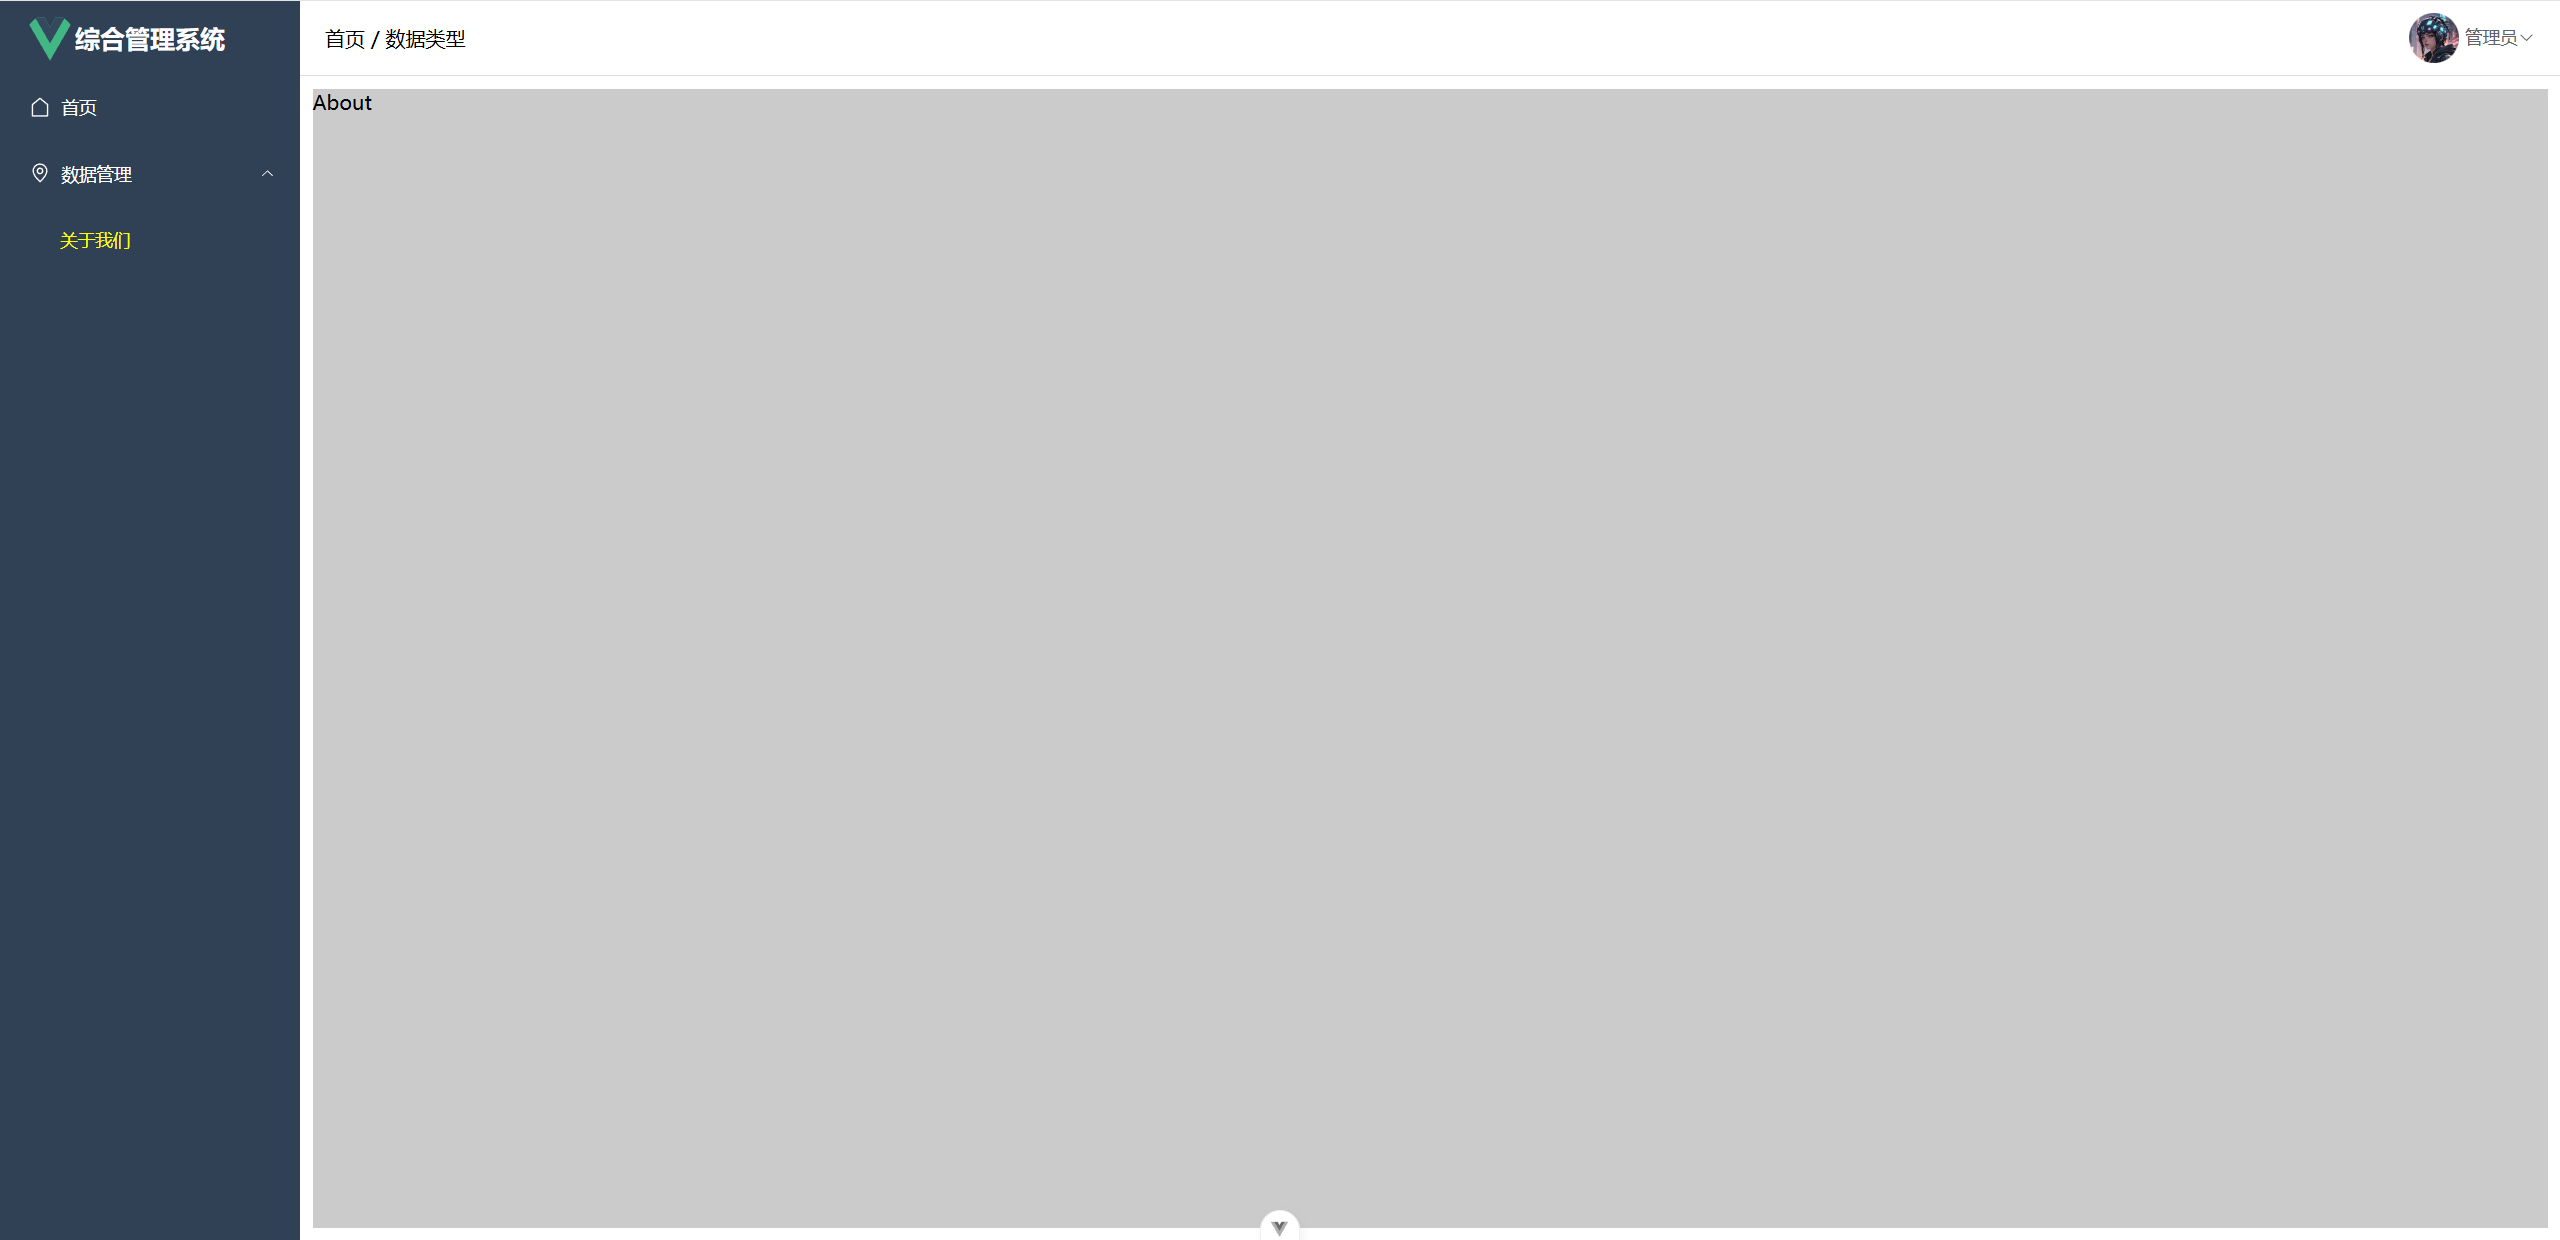
二、主页面布局 (Composite.vue)
主页面采用经典的头部+侧边栏+内容区布局:
<template><div><!-- 1.头部区域开始 --><div style="height: 60px; display: flex"><!-- 1.1左侧LOGO区域 --><div style="width: 240px;display: flex;align-items: center; padding-left: 20px; background-color: #304156"><img src="@/css_image_assets/logo.svg" alt="" style="width: 40px;height: 40px;border-radius: 50%"><span style="font-size: 20px;font-weight: bold;color : white">综合管理系统</span></div><!-- 1.2页眉区域 --><div style="flex: 1;display: flex;align-items: center;padding-left: 20px; border-bottom: 1px solid #ddd;">首页 / 数据类型</div><!-- 1.3头像区域 --><div style="width: fit-content;padding-right: 20px;display: flex;align-items: center;border-bottom: 1px solid #ddd"><el-dropdown><div style="display: flex;align-items: center;"><img style="width: 40px;height: 40px; border-radius: 50%"src="https://wdfgdzx.top:3333/document/cd39af3e175b4524890c267e07298f5b.png" alt=""><span style="margin-left: 5px;">管理员</span><el-icon><ArrowDown/></el-icon></div><template #dropdown><el-dropdown-menu><el-dropdown-item>个人信息</el-dropdown-item><el-dropdown-item>退出登录</el-dropdown-item></el-dropdown-menu></template></el-dropdown></div></div><!-- 1.头部区域结束 --><!-- 2.下方区域开始 --><div style="display: flex"><!-- 2.1菜单区域开始 --><div style="width:240px; "><el-menu :default-openeds="['1']" :default-active="router.currentRoute.value.path"style="min-height: calc(100vh - 60px)"router>  <!-- 关键:添加router属性 --><el-menu-item index="/composite/home"><el-icon><House/></el-icon><span>首页</span></el-menu-item><el-sub-menu index="1"><template #title><el-icon><location/></el-icon><span>数据管理</span></template><el-menu-item index="/composite/about">关于我们</el-menu-item></el-sub-menu></el-menu></div><!-- 2.1菜单区域结束 --><!-- 2.2数据渲染区域开始 --><div style="margin: 10px;background-color:#cbcbcb; flex:1; width: 0; margin: 10px; "><RouterView/></div><!-- 2.2数据渲染区域结束 --></div><!-- 2.下方区域结束 --></div>
</template><script setup>
import router from "@/js_router/router.js";
</script><style>
/* 设置菜单背景颜色 */
.el-menu {background-color: #304156;border: none;
}/* 设置菜单文字颜色 */
.el-sub-menu__title {color: white;
}/* hover的时候改变背景颜色 */
.el-sub-menu__title:hover {background-color: #cbcbcb;
}.el-menu-item {height: 50px;color: white;
}/* hover的时候改变背景颜色 */
.el-menu-item:hover {background-color: #cbcbcb;
}/* 设置高亮的文字颜色 */
.el-menu .is-active {color: yellow;
}.el-dropdown {cursor: pointer;
}/* 移出鼠标移入时的显示框 */
.el-tooltip__trigger {outline: none;
}.el-menu--inline .el-menu-item {padding-left: 48px !important;
}
</style>
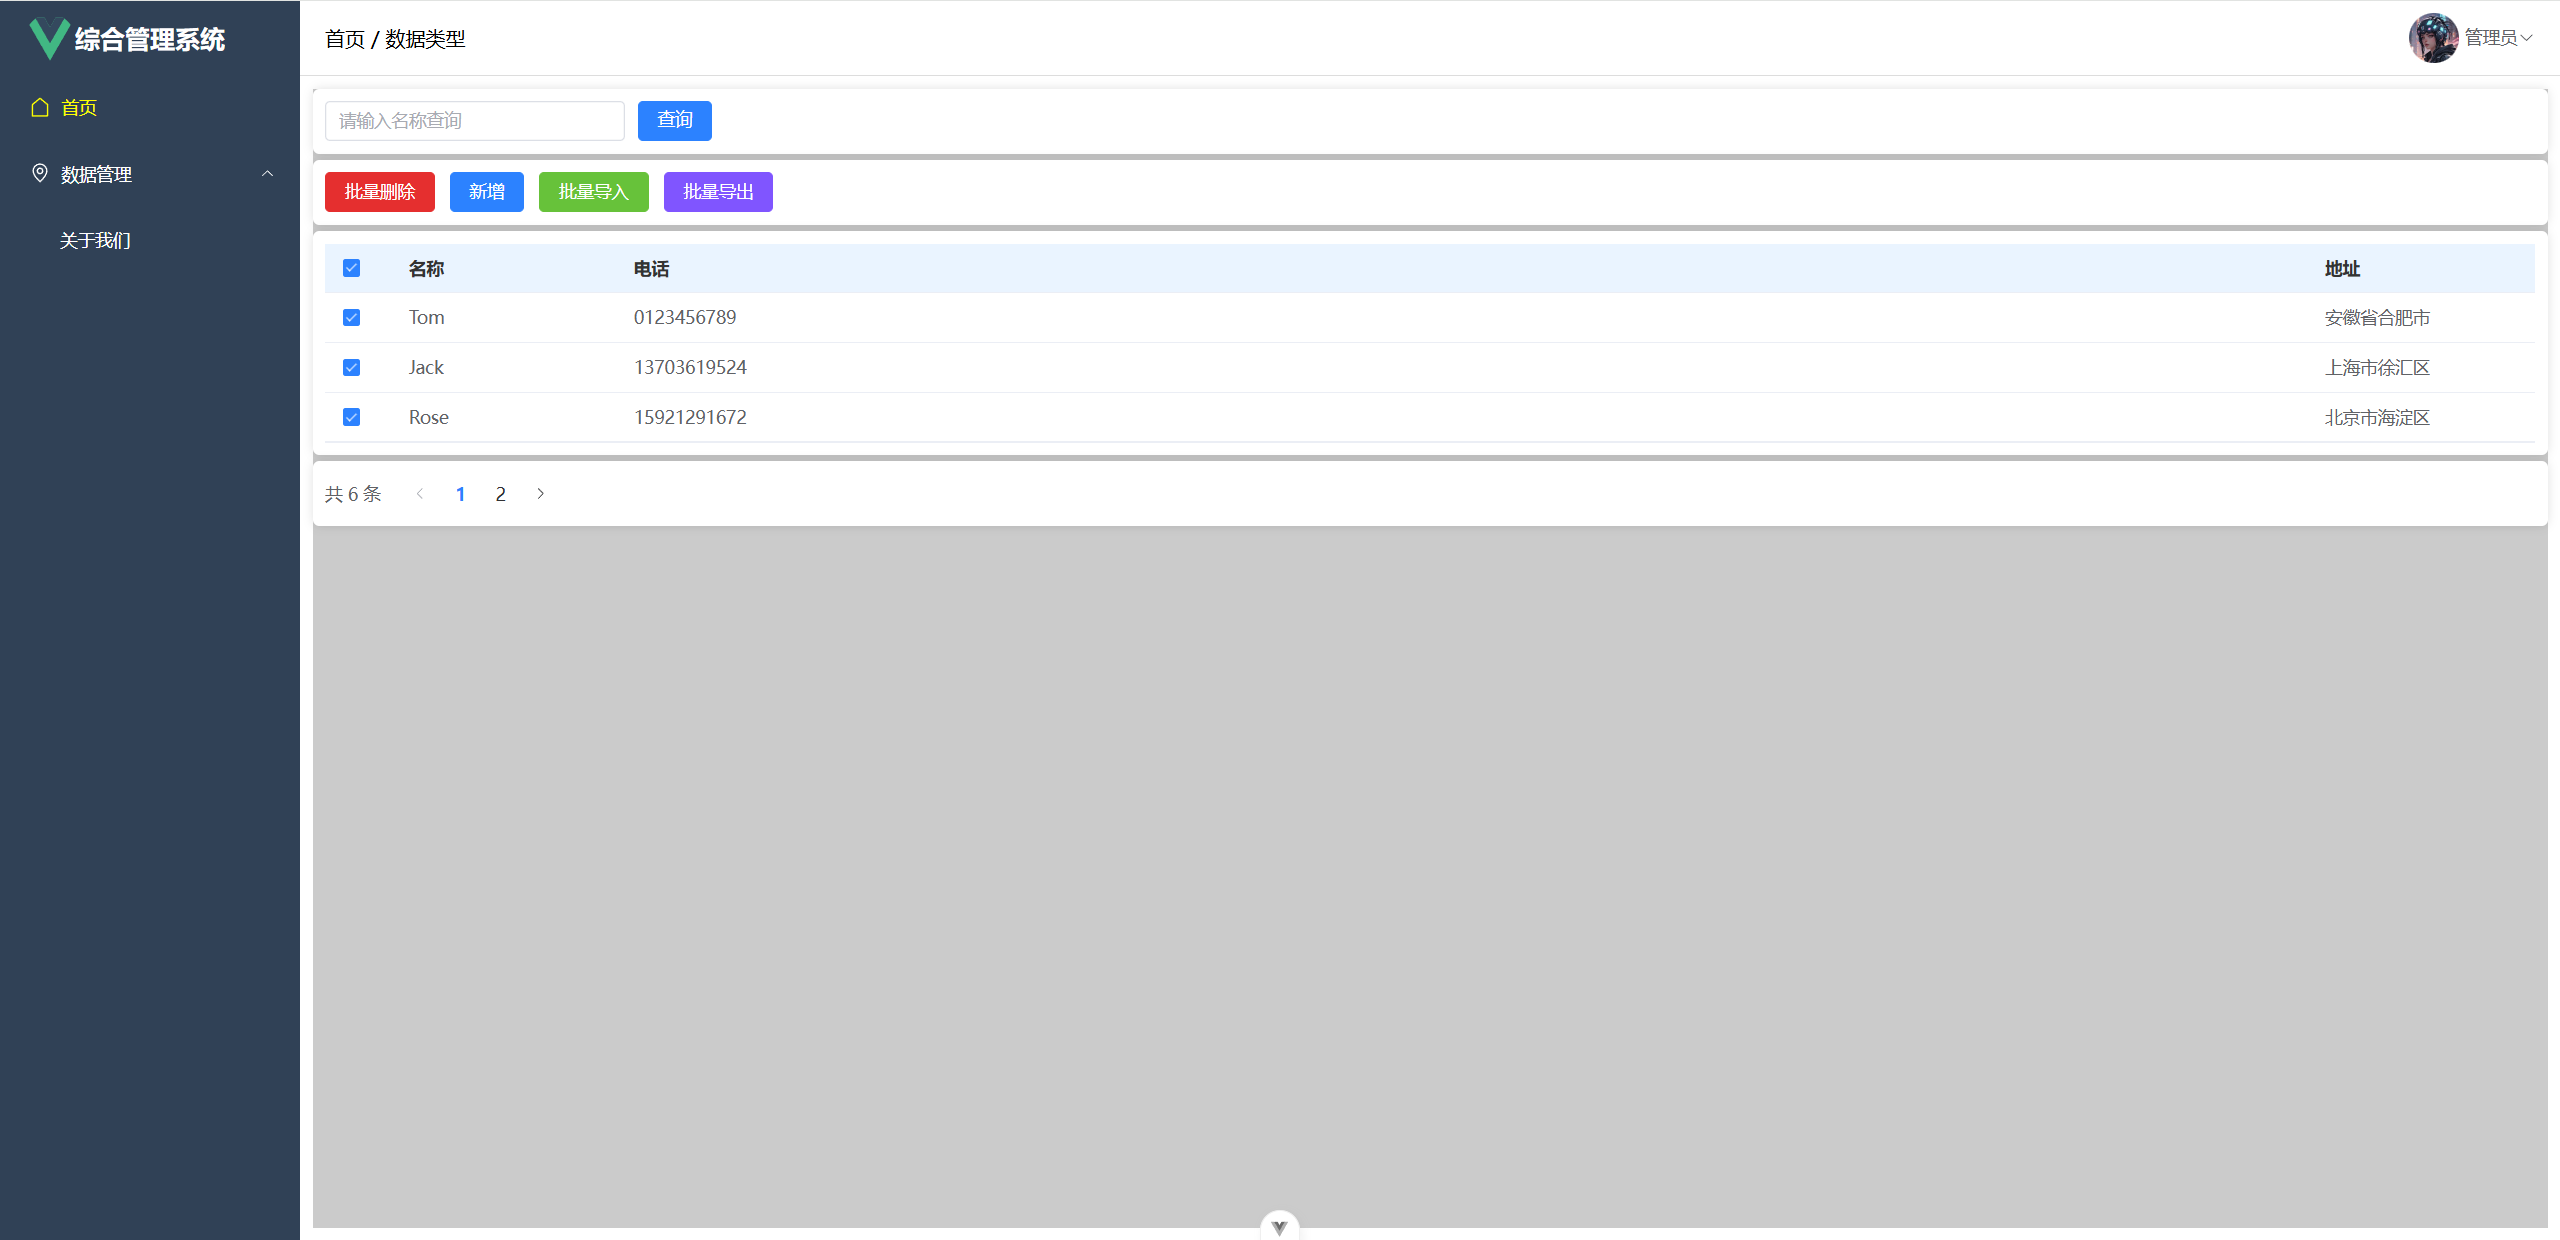
三、数据展示页面 (Home.vue)
数据展示页面包含查询表单、操作按钮、数据表格和分页组件:
<template><div><!-- 查询表单 --><div class="card mb-5"><el-input style="width: 240px;" v-model="data.name" placeholder="请输入名称查询"></el-input><el-button type="primary" class="ml-10">查询</el-button></div><!-- 操作按钮区 --><div class="card mb-5"><el-button type="danger">批量删除</el-button><el-button type="primary">新增</el-button><el-button type="success">批量导入</el-button><el-button type="info">批量导出</el-button></div><!-- 数据表格 --><div class="card mb-5"><el-table :data="data.tableData" style="width: 100%":header-cell-style="{fontWeight:'bold',color:'#333',backgroundColor:'#eaf4ff'}"><el-table-column type="selection" width="55"/><el-table-column prop="name" label="名称" width="180"/><el-table-column prop="phone" label="电话"/><el-table-column prop="address" label="地址" width="180"/></el-table></div><!-- 分页组件 --><div class="card"><el-paginationv-model:current-page="data.pageNum":page-size="data.pageSize"layout="total, prev, pager, next":total="data.total"/></div></div>
</template><script setup>
import {reactive} from 'vue';const data = reactive({name: null,pageNum: 1,pageSize: 5,total: 6,tableData: [{name: 'Tom',phone: '0123456789',address: '安徽省合肥市',}, {name: 'Jack',phone: '13703619524',address: '上海市徐汇区',}, {name: 'Rose',phone: '15921291672',address: '北京市海淀区',}]
})
</script>
四、技术要点总结
-
路由配置:
-
使用 Vue Router 4.x 版本
-
采用嵌套路由组织页面结构
-
配置了默认路由和 404 处理
-
-
页面布局:
-
采用经典的头部+侧边栏+内容区布局
-
使用 Element Plus 的菜单组件实现导航
-
通过
RouterView动态渲染子路由内容
-
-
数据展示:
-
使用 Element Plus 的表格组件展示数据
-
集成查询表单和分页功能
-
提供批量操作按钮
-
-
样式处理:
-
自定义 Element Plus 组件样式
-
使用 Flex 布局实现响应式设计
-
通过 CSS 变量控制主题颜色
-
五、扩展建议
-
可以添加路由守卫实现权限控制
-
集成 Axios 实现数据请求
-
使用 Pinia 进行状态管理
-
添加动态菜单功能,根据权限生成菜单
这个模板提供了企业级管理系统的基础框架,开发者可以根据实际需求进行扩展和定制。